

Hello, crafting friends!
Today, I’m excited to walk you through the steps of creating a delightful Dutch door fold card that I recently submitted for the Craft Roulette challenge! Inspired by the improv card-making show on YouTube, Craft Roulette, this project allowed me to showcase my creativity while entering for a chance to win fantastic prizes from beloved sponsors. I made sure to get my card submitted just in time—thanks to the amazing Flashcards from Pajama Crafters Stamps, which made the whole process a breeze!
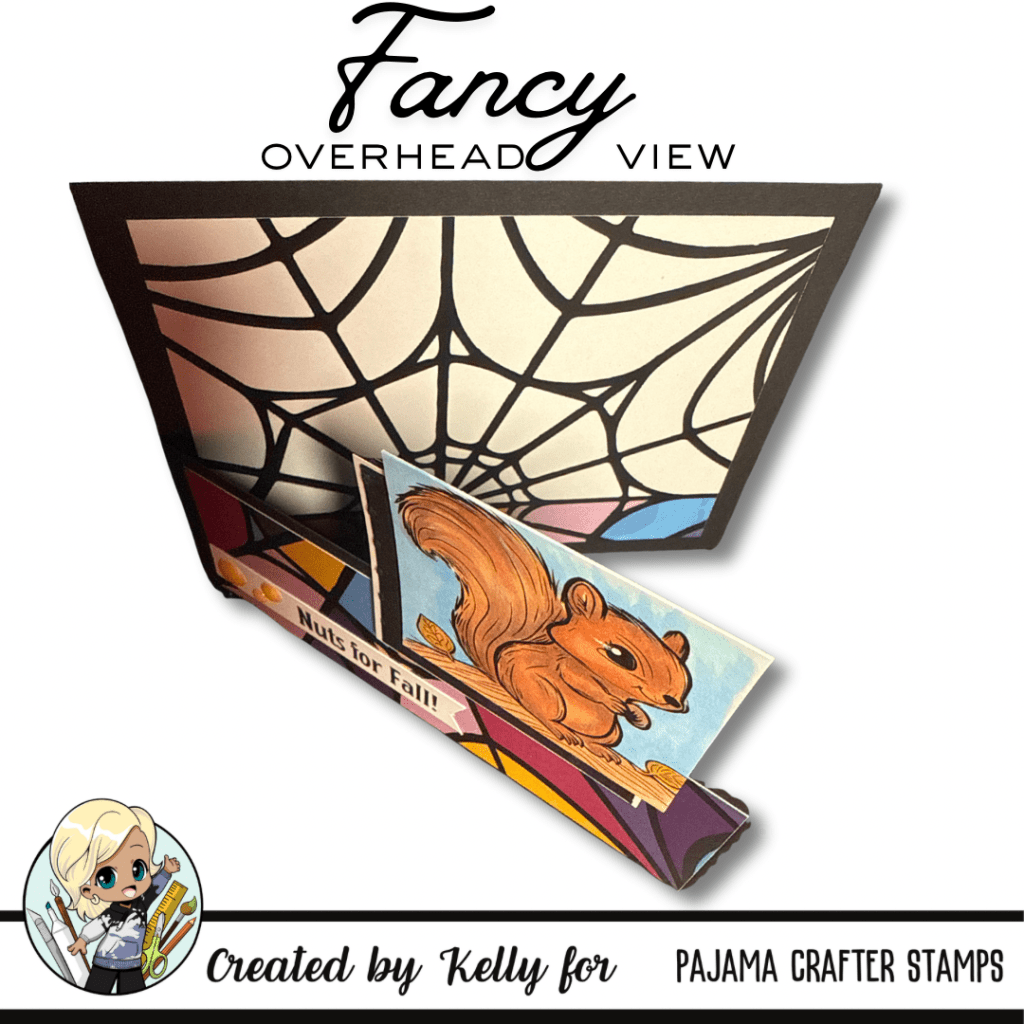
What is a Dutch Door Fold?
Before we dive into the step-by-step process, let’s talk about the unique Dutch door fold design. This fun fold technique typically allows the top half of the card to open like a door, while the bottom half remains closed by adhering down. I cut away the top “door” and left the bottom door to move freely. I then added the layered square with colored image as focal point. It creates a charming layered effect and adds an interesting twist to your card-making repertoire.
Steps to Create My Dutch Door Fold Card:
Gather Your Materials:
- Flashcards – Autumn/Thanksgiving from Pajama Crafters Stamps.
- Coordinating paper from your stash.
- Enamel dots for embellishing.
- Scissors and adhesive.
Cut Your Card Base:
- Start with a standard A2 card size (4.25” x 5.5”).
- On the top fold, measure about 2 inches down from the top and make a cut from the fold to the 2-inch mark. This will create the “door” effect. Then cut away just the top door.
- Prepare Your Flashcard Panel:
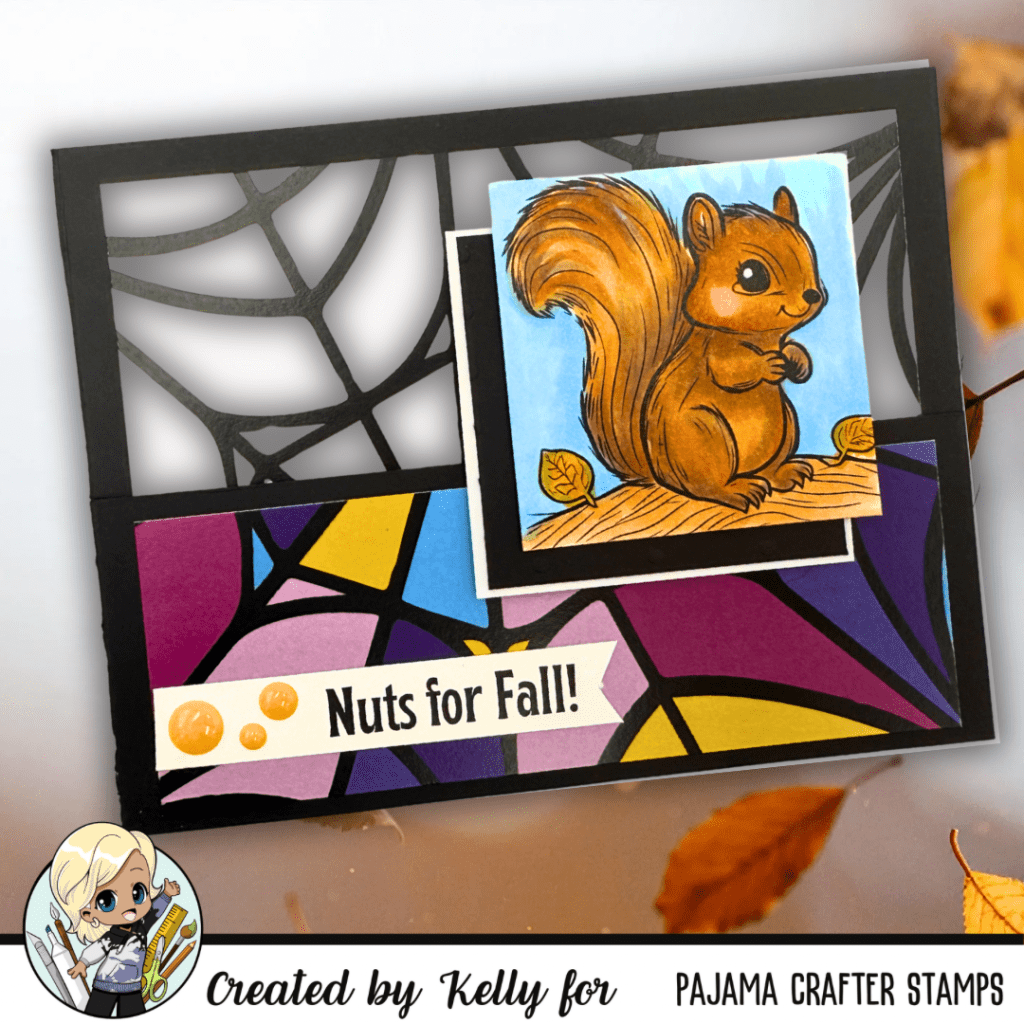
- Choose a panel from the Autumn/Thanksgiving Flashcards set and cut it into a square that fits the bottom half of your card beautifully. Mu square measures 2.25 inches. Mat if you wish.
Separate the Sentiment:
- Cut out the sentiment that you wish to feature. I created a fishtail cut at the end for added style to give it some flair.
Assemble Your Card:
- Adhere the flashcard panel to the bottom half of your card base. You can center it or off-set it.
- Attach your sentiment strip to the bottom left of the flashcard panel, ensuring it aligns with the Dutch door fold.
Add Embellishments:
- Finish your card by adding some enamel dots for a touch of whimsy.
Using Pajama Crafters Stamps’ Flashcards truly streamlined my process, allowing me to focus on creativity rather than get bogged down by excessive cutting or designing. Their variety of themes makes it perfect for any occasion and can really elevate your card-making game!
Join Me in Supporting Small Business
I encourage you to explore the delightful array of Flashcards and other whimsical products available at Pajama Crafters Stamps by clicking my affiliate link. It won’t cost you anything extra, but it tells Joy and Shawn that you appreciate the creativity I share. If you do make a purchase, know that I truly appreciate your support of small businesses!
Affiliate Link: https://pajamacrafterstamps.com/STAMPEDBYKELLYBLOG
Also, I’d love for you to join in the conversation! Please consider liking, commenting, or sharing what you’re creating. Don’t forget to follow me @stampedbykelly to see what I’ll be crafting for World Fussy Cutting Day on Saturday, October 26th, where I’ll be showcasing a new release from Pajama Crafters Stamps you won’t want to miss!
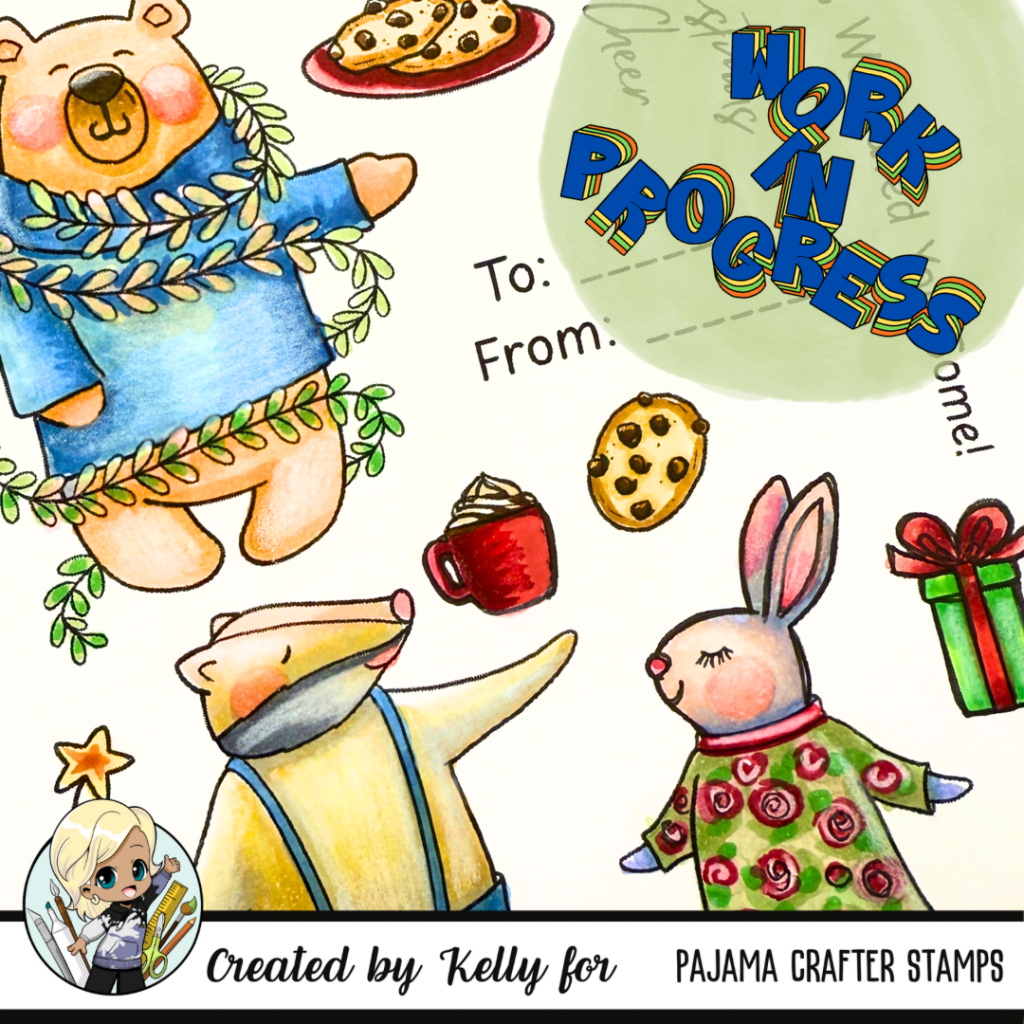
Here is the panel I will be fussy-cutting in honor of WORLD FUSSY CUTTING DAY and final project will be posted on Saturday during Pajama Crafter Stamps’ Instagram Hop.
Happy crafting, everyone!
Warmly,
Kelly

