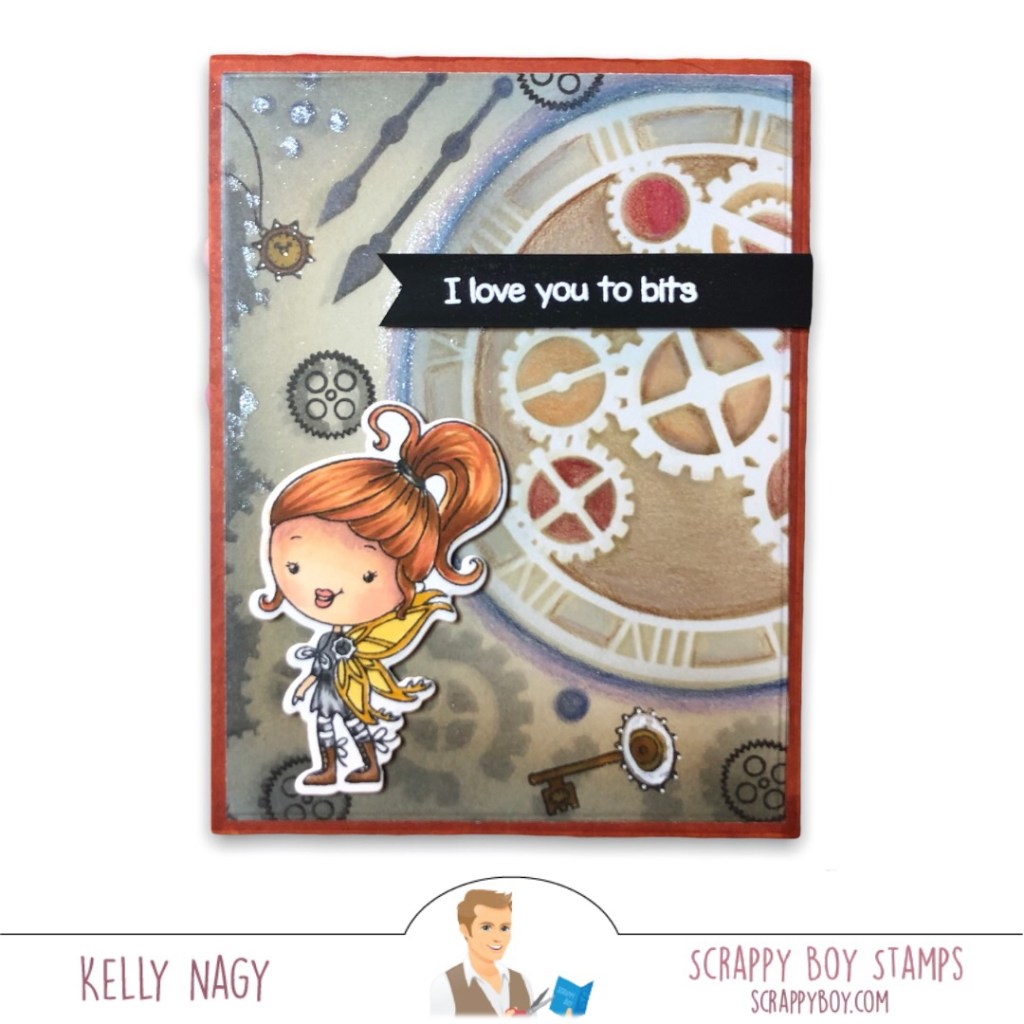
I used the Steampunk Watch 6×6 stencil to create some cloud shapes to fit my Steampunk scene using a light blue and light gray ink and ink blending brushes. I used a grass stencil from my stash to add some grass towards the bottom of my card front. I downloaded and printed the fairy house and colored it up with Copic markers. I then fussy-cut it out.
Copic Colors used to color all images are below:
Hair, Tree Trunk, Pathway, Door- E88, E59, E34, E57
Skin- E04, E11, E21, E00, E000
Blush – R20
Main House (top hat), Gear & Pipe – T9, T7, T5, T3, 0
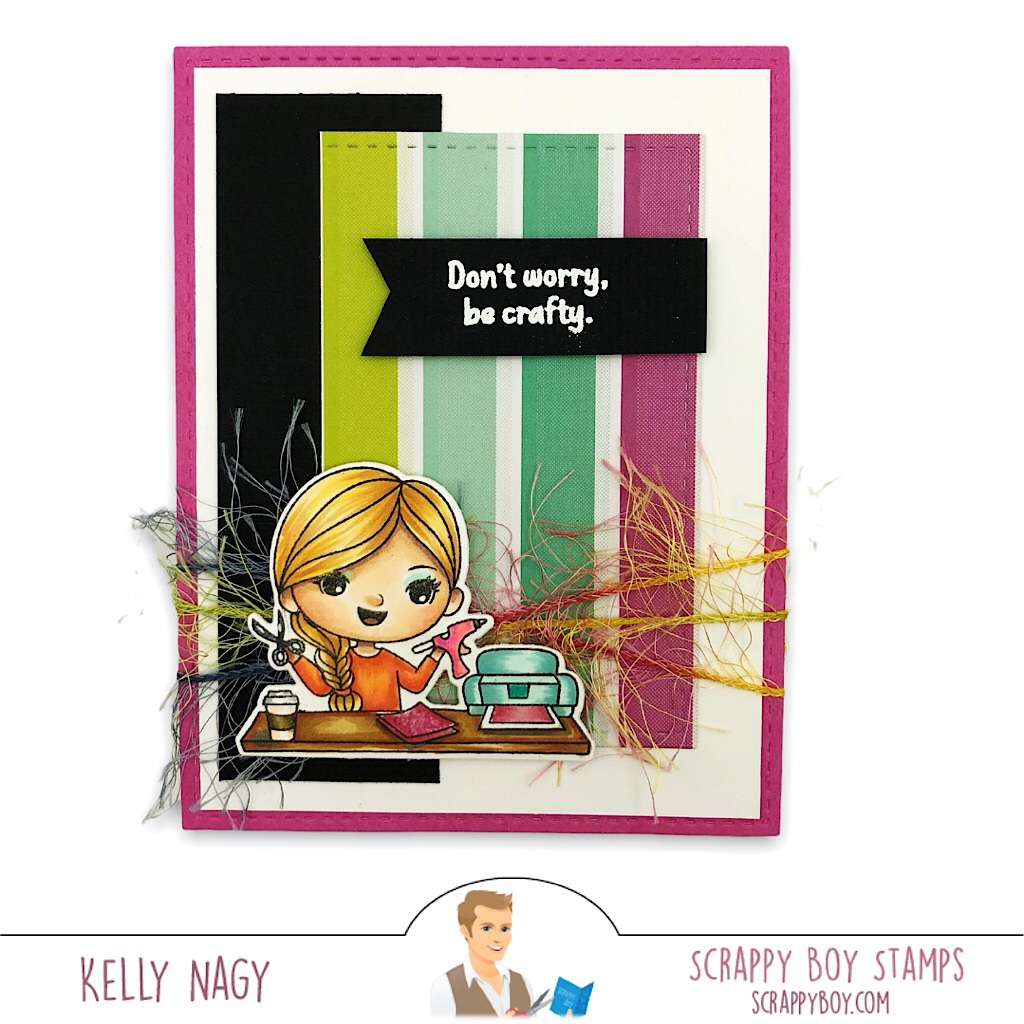
I created this card by pairing an image from June’s Cute Girls’ release – Crafting with a base I made using several scraps from cards I had made during the week.
This set is a MUST HAVE for card makers and crafters! Super cute images with elements crafters use on a daily basis! You can make tags to sell your various craft items or make cards to share the love with your crafty friends! No matter what crafty hobby you dabble in or whatever “maker” you are, Sean’s got you covered with this set!
Copic Combos used:
Hair – Y28, Y23, YR24 and Y21
Eye Shadow – BG01, BG000
Skin – YR01, YR000, YR0000 and R02
Orange Shirt – YR00, YR12, YR16, YR18
Pink Glue Gun & Paper – RV10,RV13, RV14, RV17
Diecut Machine – BG15, BG01 and BG72
Desktop – E23, E25 and E57
Scissors -C3
Coffee Cup – E30, E31, E25
I added coordinating fibers to add interest behind the image and a simple white heat embossed sentiment on black card stock to complete this Cute Girls card.
Image from Steampunk Fairies Set New June 2022 Release
Rust Card Stock Cut 5.5 x 4.25
White Card Stock Cut 5.25 x 4
Black Card Stock Scrap for sentiment
White Cardstock/Hammermill for Copic Coloring -3×5 in
Take 5.25 x 4 in white piece of card stock and ink blend over Steampunk Stencil (coordinating with this release)
Use Prismacolor pencils and gamsol, as well as white gel pen, for added detail and depth.
After stamping image onto the 3×5 piece of Hammermill or other alcohol friendly paper, with Momento Black ink and heat-set, I colored with Copic markers.
Featuring Products from Stamp Anniething & Artesprix
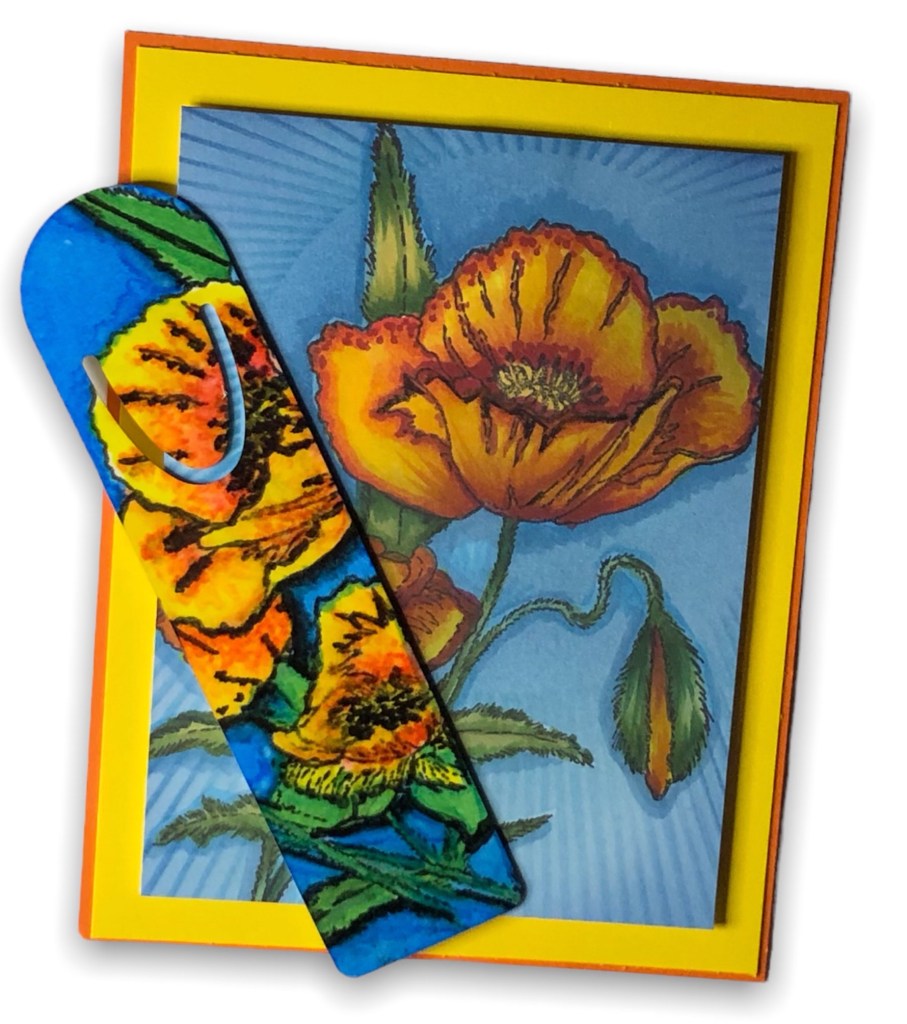
I am sharing a card and bookmark combo featuring The Poppy stamp set from Annie’s Garden at Stamp Anniething and sublimation inks and bookmark blanks from Artesprix.
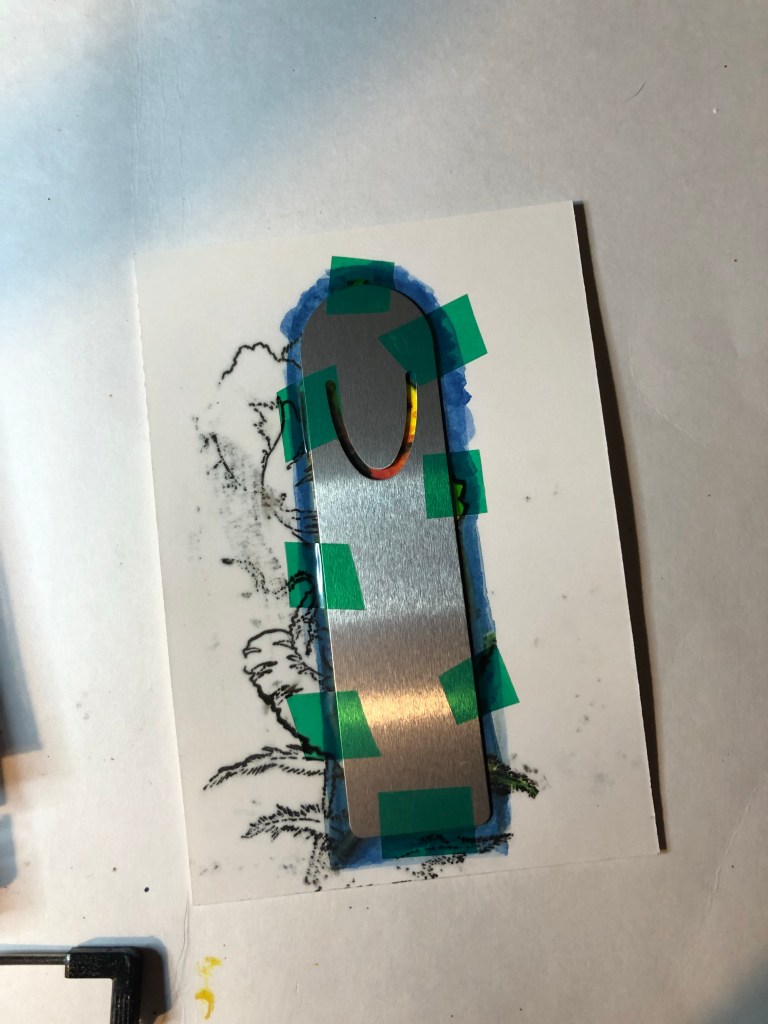
Ink looks dull BEFORE sublimation is complete.
I traced the outline of the bookmark “blank” with a regular pencil onto plain copy paper and then stamped image using Black Artesprix ink and then colored in using Artesprix Colored Markers especially formulated for sublimation.
What is sublimation, you ask?
Sublimation DefinitionWhen heat is applied to your colored image, the pigments turn to gas and transfer to your sublimation blank.Place blank onto the colored image with coated side (if not coated on both sides) kissing colored image. Secure with heat tape (don’t skimp on this step)
I then cut 2 pieces of special protective paper / parchment and created a “sandwich” with the colored image taped to blank facing up and a second piece of parchment on the bottom. This helps contain any ink that escapes during the process. Having the paper face up allows the heat to hit the back of the image and transfer to the blank underneath.
I used a mat from Artesprix to protect my surface and pressed my heat press firmly on top of the “sandwich.” I purchased a no name brand from Amazon for under $80 and have been very pleased. I pre-heated my press to 390 degrees and pressed for 90 seconds. I decided to continue to press another 90 seconds and after a significant cool-down period, the results were stunning!
I used the same image and stamped on Hammermill 110 lb cardstock. I colored up with my Copic Markers. I stamped the image on Gina K masking paper and fussy cut. I placed the mask on top if my image to protect it. I ink blended using a palm ink blender, Annie’s blue inks over the sun ray stencil from Stamp Anniething.
Orange Mat- 5 1/2 in x 4 1/4 in
Yellow Mat – 5 1/4 in x 4 in
White (stamp image on this piece) 4 3/4 in x 3 1/2 in – pop up and center on yellow with foam tape
I love how a simple bookmark elevated my card into a gift!
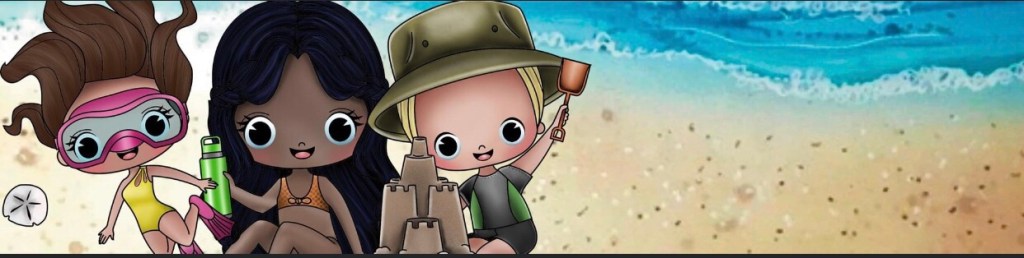
Annie likes to keep us guessing!! Tease Alert!And just like that, you all are now WOKE!!! Enjoy!
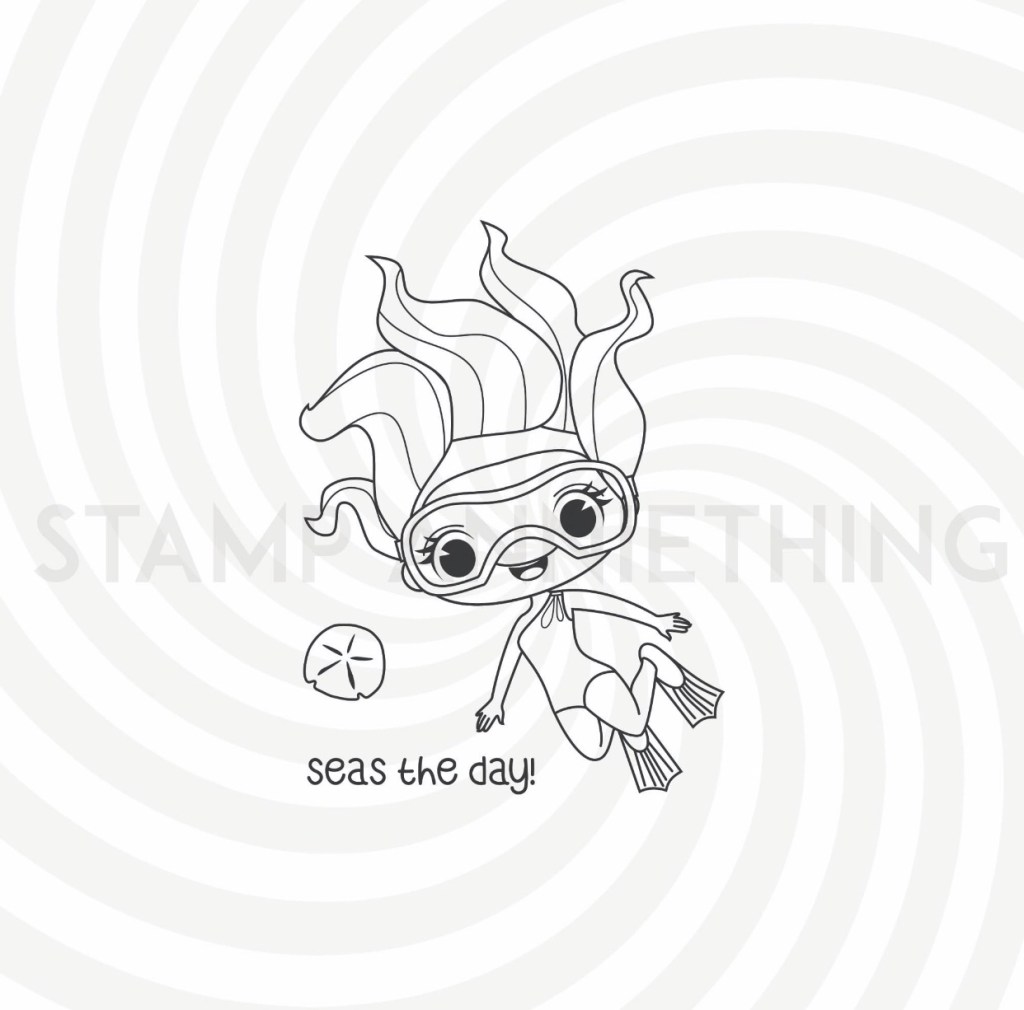
Day #1 CHELSEA – SEAS THE DAY
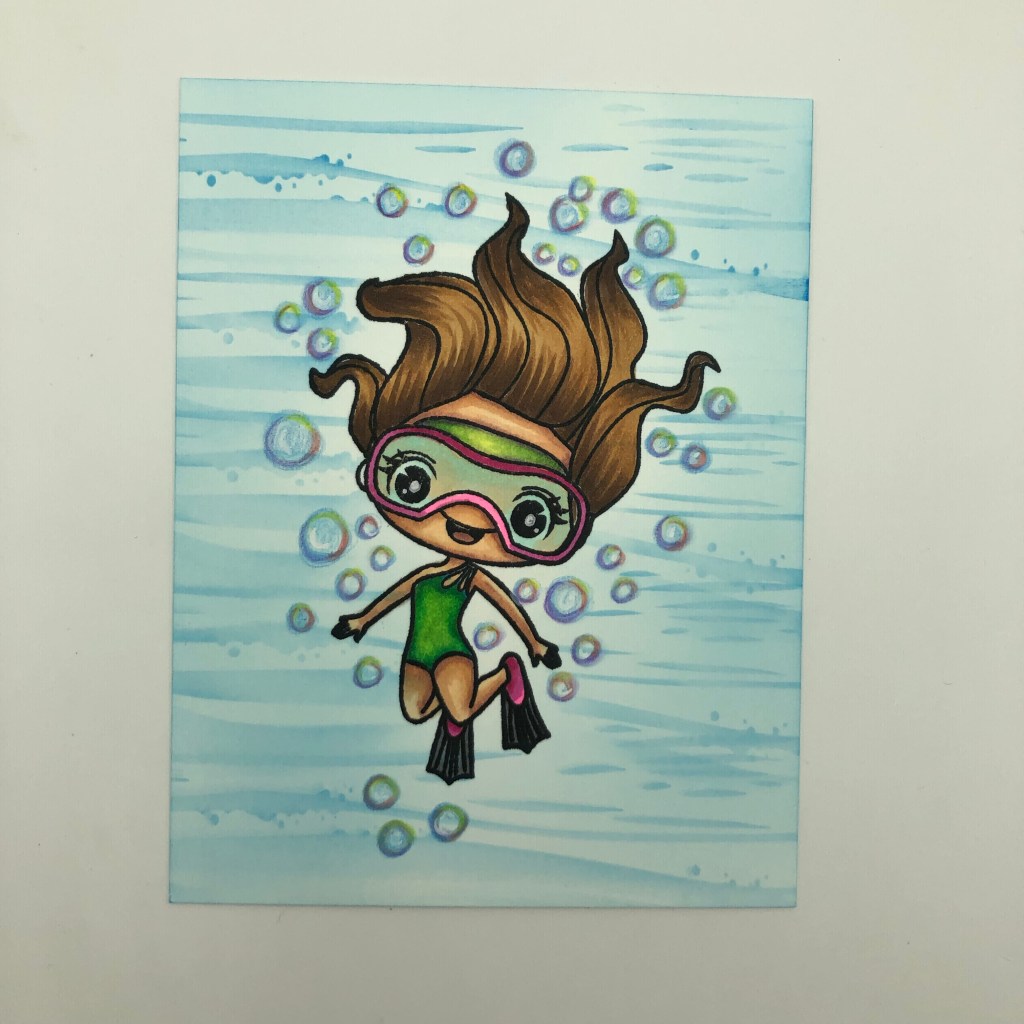
Mini Slimline Card Project #1Chelsea Seas The Day StampChelsea – Coordinating Outline Die
Copic Marker Blends
Hair – E89, E59, E34, E57
Skin – E04, E11, E21, E00, E000
Swimsuit – G09, YG07, YG01
Goggles – G09, YG07, YG01 and RV17, FRV1, RV00
Flippers – RV17, FRV1 and RV00
Prismacolor Pencils
White Gel Pen
Glossy Accents
White Embossing Powder
Shaker Basics 2
Open Mat Circle Die
Waves Builder Dies
Shaker Bits
Slimline Cards & Envelopes
Beach Builder Stencil
Glitter Cardstock
I stamped the image, colored with my Copic markers and then stamped on masking paper to create mask to protect coloring. I cut close to the line to ensure as little white around image, but very easy to fill bin with Stamp Anniething mini ink blending brushes! Used Beach Builder Stencil to create underwater scene and drew bubbles with Prismacolir pencils, used Gamsol to smooth with blending stump and used white gel pen for highlights.
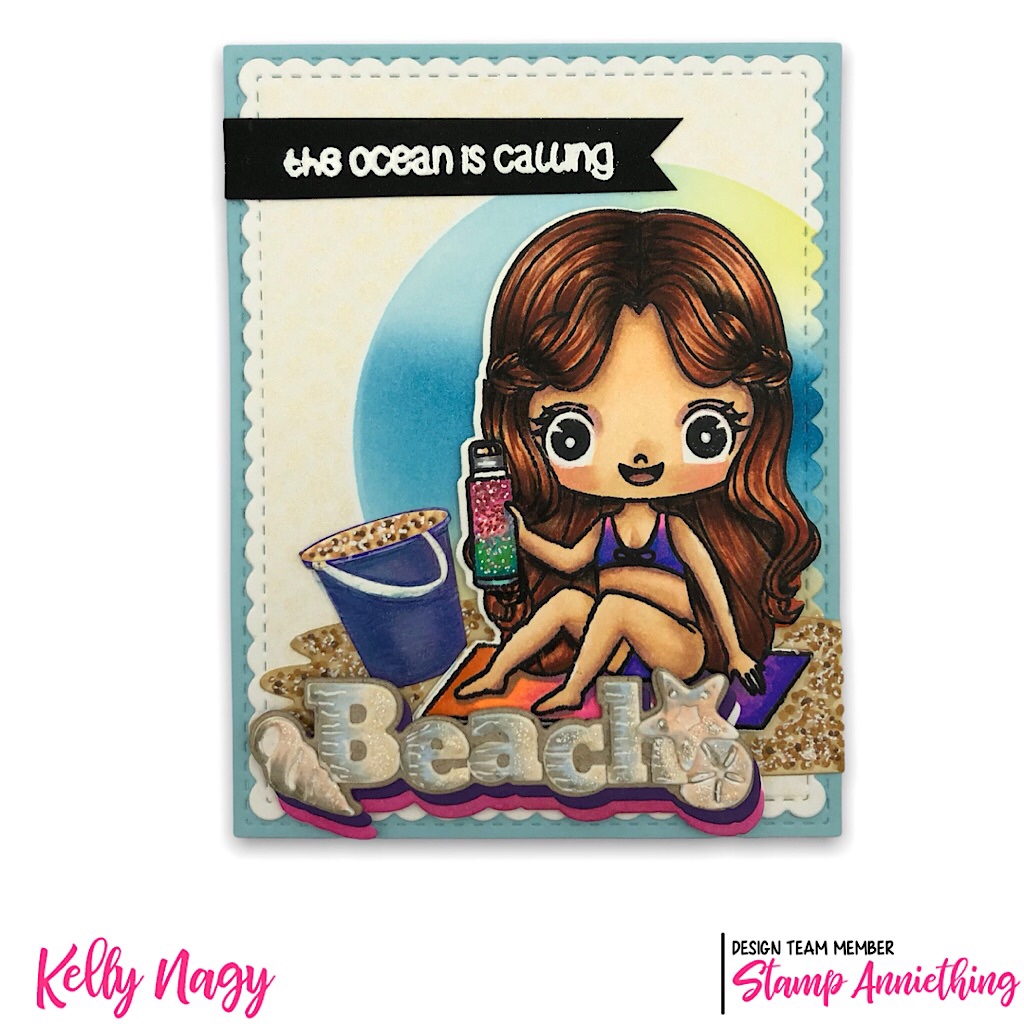
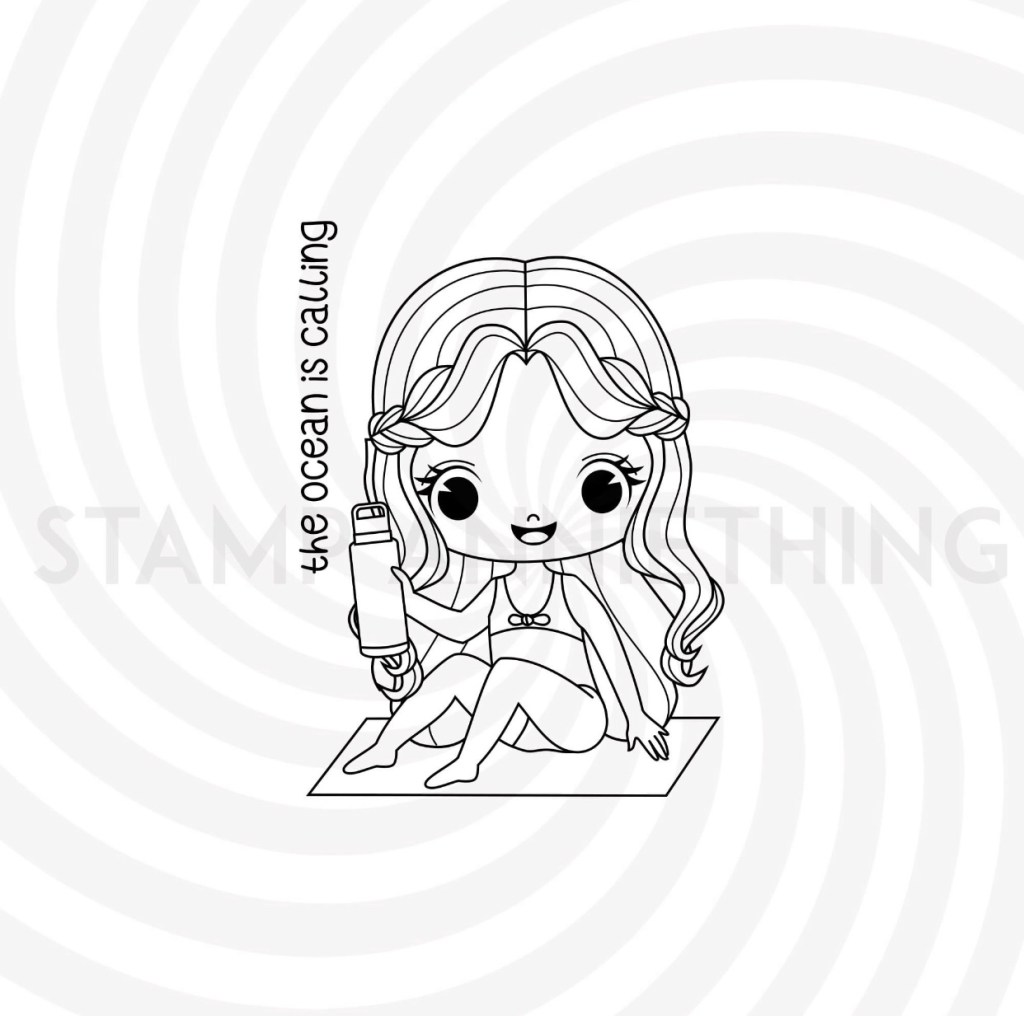
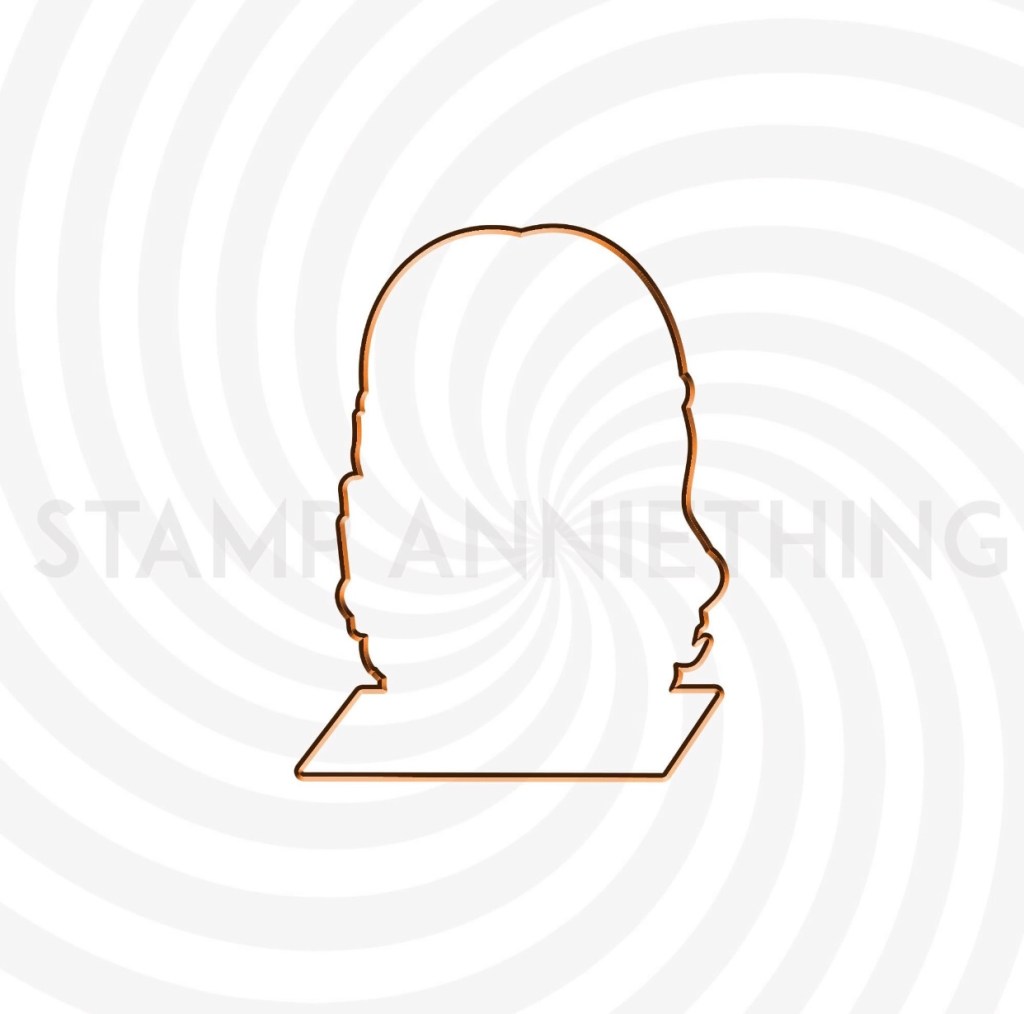
Day #2 – Dany – The Ocean Is Calling
Sneak Peek Project – Day #2Dany – The Ocean Is Calling StampDany – Coordinating Outline DiePoppy StencilClose Up of Color Spritz Iridescent Ink Spray through POPPY stencil. See how using a stippling technique with small dots over ink blending to create sand texture and the illusion if a sparkle powder-coat water bottle.Close Up of background panel after mask was lifted, reflecting the beautiful iridescent tone on tone, shimmering visual texture achieved with the Color Spritz and Poppy Stencil.Beach Builder DiesBeach Word Die
Water Bottle -G14, G07, G17 and R20, R24, R29 and R39 – dotted with Spica Pens Red and White Gel Pen
Beach Diecut – Shadow Layer – Cut out of chipboard and letters and shell elements cut out in white. Copic blend is E01, B41, B60 and N4 coating half with clear glitter Stickles
Sentiment heat embossed in white on black cardstock
Ink Blends
Sand – Birch & Pecan Ink Cubes
Circle – Clear Skies, Azure and Aspen Gold
Spray Color Spritz over Poppy Stencil after masking circle, following ink blending water, sky and sun behind Dany.
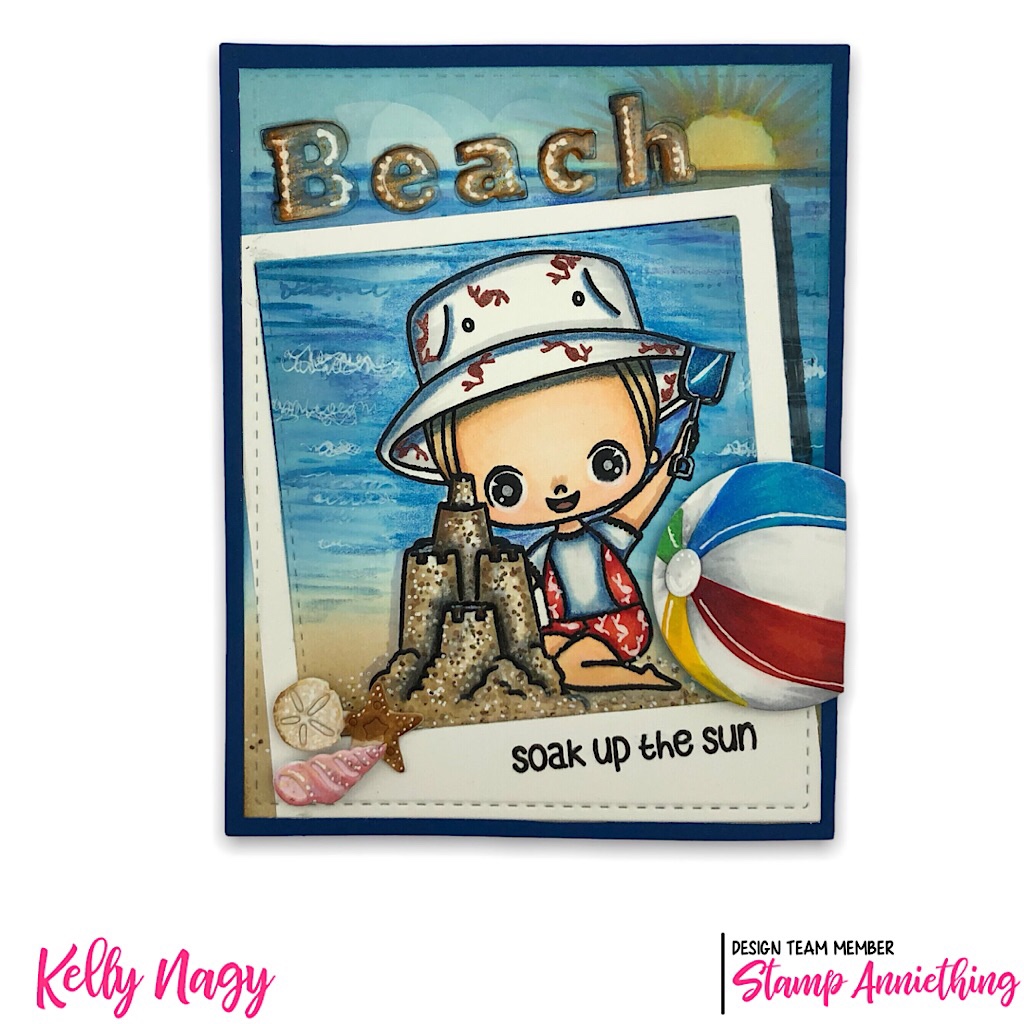
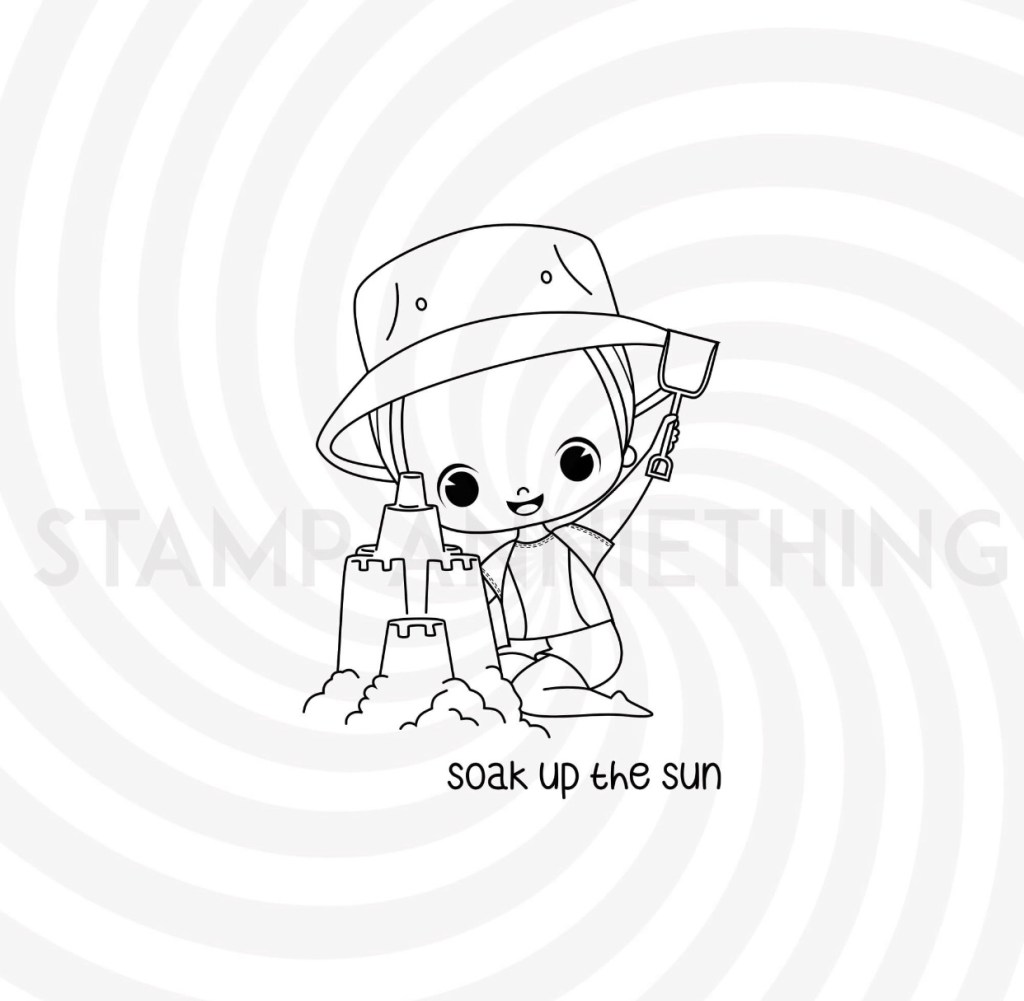
Day #3 – Billy – Soak Up The Sun
Billy – Soak Up The Sun card project #3 Sneak PeekBilly – Soak Up The Sun StampBilly – Coordinating Outline Die
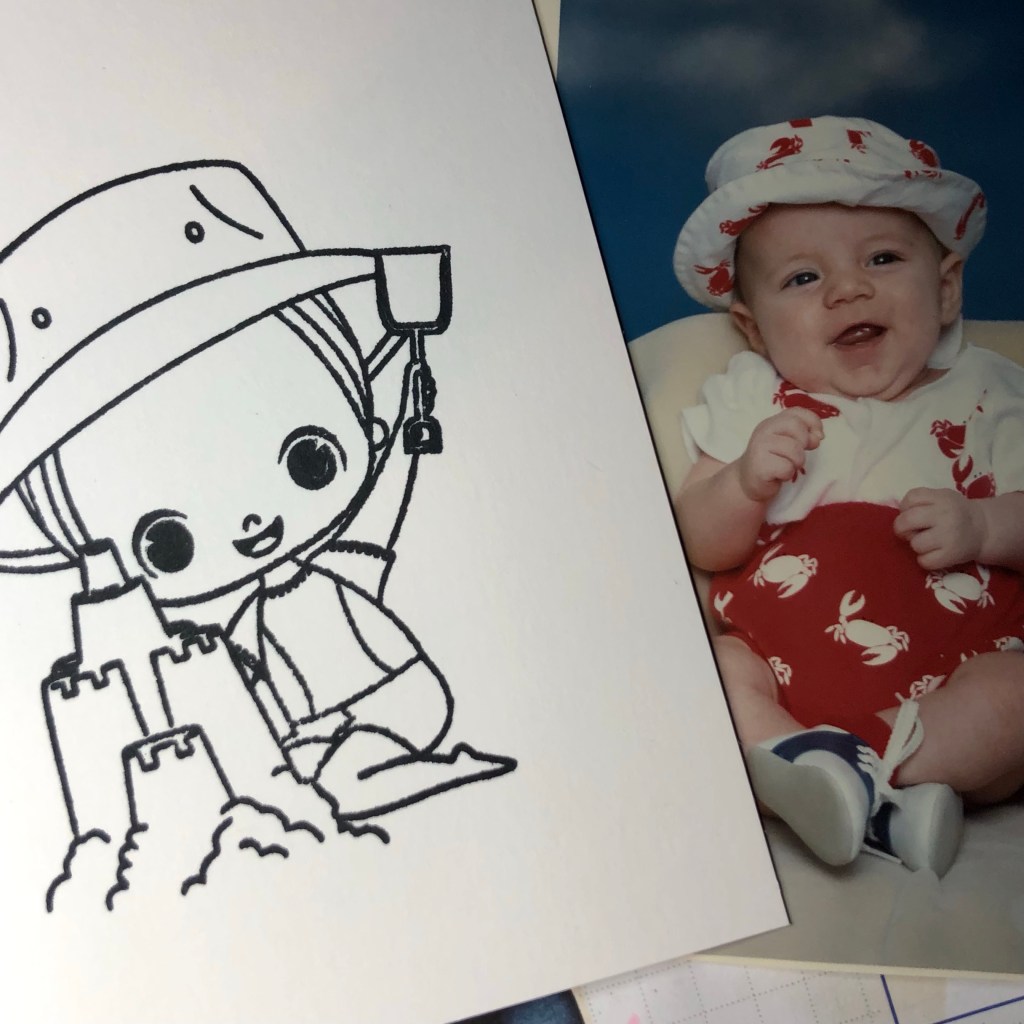
My Inspiration, Our Son Brendan, as a baby
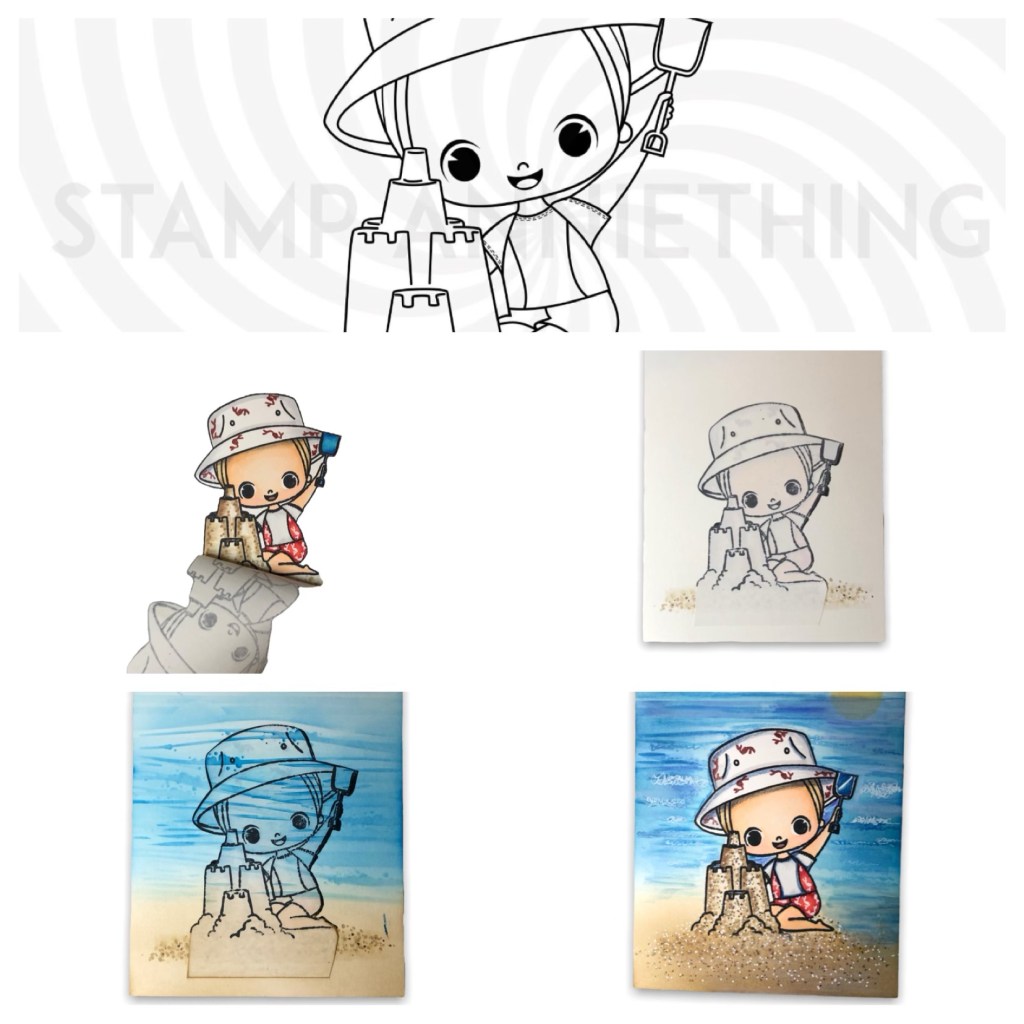
Inspiration is ALL around you! All you have to do is look!Stamp Image, color and mask, then use BEACH BUILDER stencil to create your scene. It is magical pulling off the mask!
Copic Blends
Hair – Y28, Y23 and Y21
Sand – ink blend with BIRCH and PECAN. Use Copic Markers in dotting pattern using E31, E35, E42, and E47, white gel pen
Ball – Blues FB2, FBG2, B21 , Reds R20, R24, R29, Yellows Y13, Y15 and Y17 and Green G07, G14 and G17
Conch – YR00, R11
Sand Dollar – E42 and E34
Starfish – YR21, YR24 and YR27
Bathing Suit – R20, R24, R29 – draw crabs w/ white gel pen