
This card was created with the Scrappy Boy Stamp Set entitled, “Pretty Little Things,” which is inspired by the Nutcracker Suite. This is the interactive part of the card and you can wind up the little girl in the middle, as she is suspended on a piece of clear thread, and when you close the card it will stay put until the card is re-opened and the little image will twirl around-and-around, as any good ballerina would.

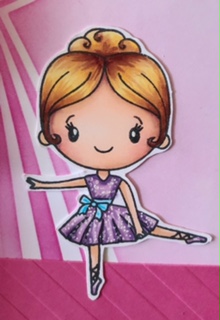
The card will fit into an A2 size envelope, when folded flat. I only used one image from the stamp set on the inside of the card and the way the image is drawn, you can customize her hair to make her look like your favorite dancer. It was so much fun to put this card together.
For the background, I used a curtain stencil on white cardstock using Shocking Pink dye-based ink from Stamp Anniething. The stencil was one I had in my stash from Stamp Anniething, as well, but doesn’t appear to be available as an individual purchase, so it may have been one that came in a Grab-n-Go box.
The white card base is cut 8 1/2 x 5 1/2 and scored at 4 1/2. I took a piece of Watermelon Fusion (FSJ / Spellbinders) cut 8 x 5 and scored that piece of paper at 4 and then 2 inches from each edge. You’ll want to use a bone folder to make a crisp crease on the 3 different score lines. You will want to choose a die that you have in your stash to cut out a window for your featured dancer to be able to twirl inside. I used a 3 inch stitched circle from my stash. I centered the die over the score line and used by Big Shot to cut the circle out of the Watermelon Fusion paper that I scored.
To help add additional interest, I took one of my simple embossing folders (diagonal stripes) and cut 2 pieces 5 1/4 x 2 1/2. I embossed those in my BigShot. I also cut a piece of silver mirror card a 3 1/4 square and folded it in half. You will tuck this in, after the card is assembled, behind where the twirling ballerina is housed, so you will have a mirror image as she spins.
You will now need 2 pieces of white card cut 4 x 2 1/4 and ink blend using a stencil to create a side curtain, in whatever direction you desire. These panels will be placed on either side of your featured dancer. You will also need a white piece of cardstock, cut 5/14 x 4, ink-blend the curtain. You will now link up this panel to the longer Watermelon Fusion piece of cardstock that you previously cut the 3-inch circle in. You will need to use washi tape to hold the same die so that it will line up properly when assembled.
I used my gel press to create a mirror image of one ballerina, so that I could sandwich a clear string (you can use white string and color it with your alcohol ink to match whatever your background color is). You will need to have the image glued together, front to back, so you need to have a mirror image. I know there are special stamps that allow you to do a mirror image, but I don’t own onw, so I improvised with my Gel Press.
Skin – E04, E11, E21, E00, R20 and E000
Hair – E15, Y11, Y32, Y38 and E29
Dress – V01, V12, V15 & V17
Bow – B1, B4 & B6
I used a white Gelly Roll pen to add little dots for extra interest.

Skin – E59, E57, E15, E33, R32 and E31
Hair – T9, T7, V17 and Fine Liner Black Pen
Dress – RV10, RV13, RV14 & RV 17

The is the image, with a mirror image, so I colored the 2 the same, so when the image twirls around, you won’t see much of a difference, and it will look like one contiguous image.
SKIN – E04, E11, E21, E00, R20 & E000
HAIR – E89, E59, E34 & E57
DRESS – RV10, RV13, RV14 & RV17
BOW – B01, B04 and B06
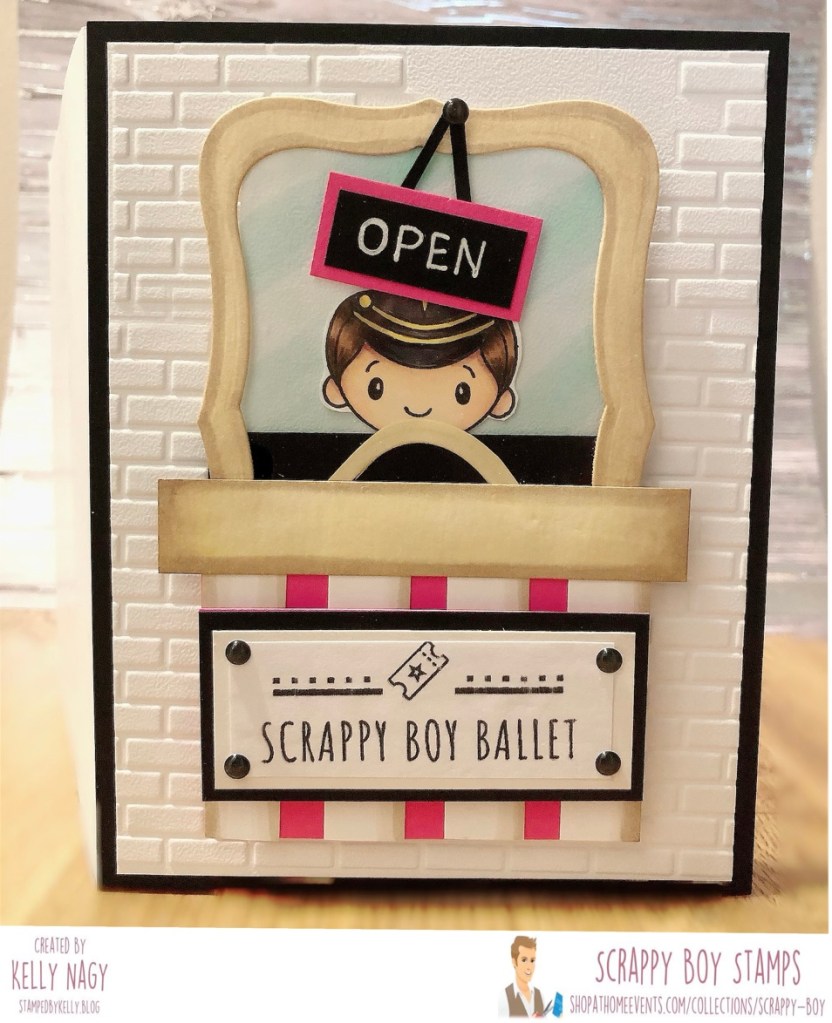
This is the front of the card. It was created with a theater box office ticket counter in mind. I cut a piece of black cardstock 5 1/2 x 4 1/4. That will form the card base. I then took a piece of white cardstock and cut it 5 1/4 x 4. I used an embossing folder with a “brick wall” pattern embossed the piece of white card. I glued this to the black cardstock, leaving a 1/8 inch border all around.
To make the bottom part of the ticket booth, I used a piece of my Watermelon fusion scraps in the size of 2 1/2 x 2 3/4. I cut strips from some of my white card scraps 1/2 inch x 2 3/4 inches (4 strips). I used a E11 and E13 on each edge of the white card stock strips to create shadows. I glued the strips to the pink cardstock to form the base. I then used a frame die to create the top piece. The little guy in the ticket booth is just a portion of the tin soldier from the stamp set. You can use your imagination and go wild at this point. Just have fun.

I am still new at blogging and will be making sure that I take pictures each step of the way going forward, so it will be easier to follow the instructions. If you have questions, please message me and I’ll be happy to help you.
The Scrappy Boy Ballet was printed out on my printer. I used an app to create a business card logo and printed it matted on black paper and used some enamel dots in a coordinating color to accent each corner. The piece is then placed using dimensional foam tape to give it some additional interest. I also used a piece of acetate to create the window that the little tin soldier is selling his tickets out of. You would use the same technique to create a shaker card, but without dimension or shaker bits.
Thanks for stopping by!

