Hey crafty friends…..
Are you ready to add some bubbly fun to your card-making game? The Soda-Lightful Stamp Set from Pajama Crafter Stamps is here to quench your creative thirst! This delightful set is perfect for crafting cheerful cards for any celebration or simply to let someone know you’re thinking of them.
What’s Inside the Soda-Lightful Stamp Set?
This charming set features a variety of fun sentiments in whimsical fonts that will make your cards pop! From birthday wishes to heartfelt notes, these sentiments are versatile enough to suit any occasion.
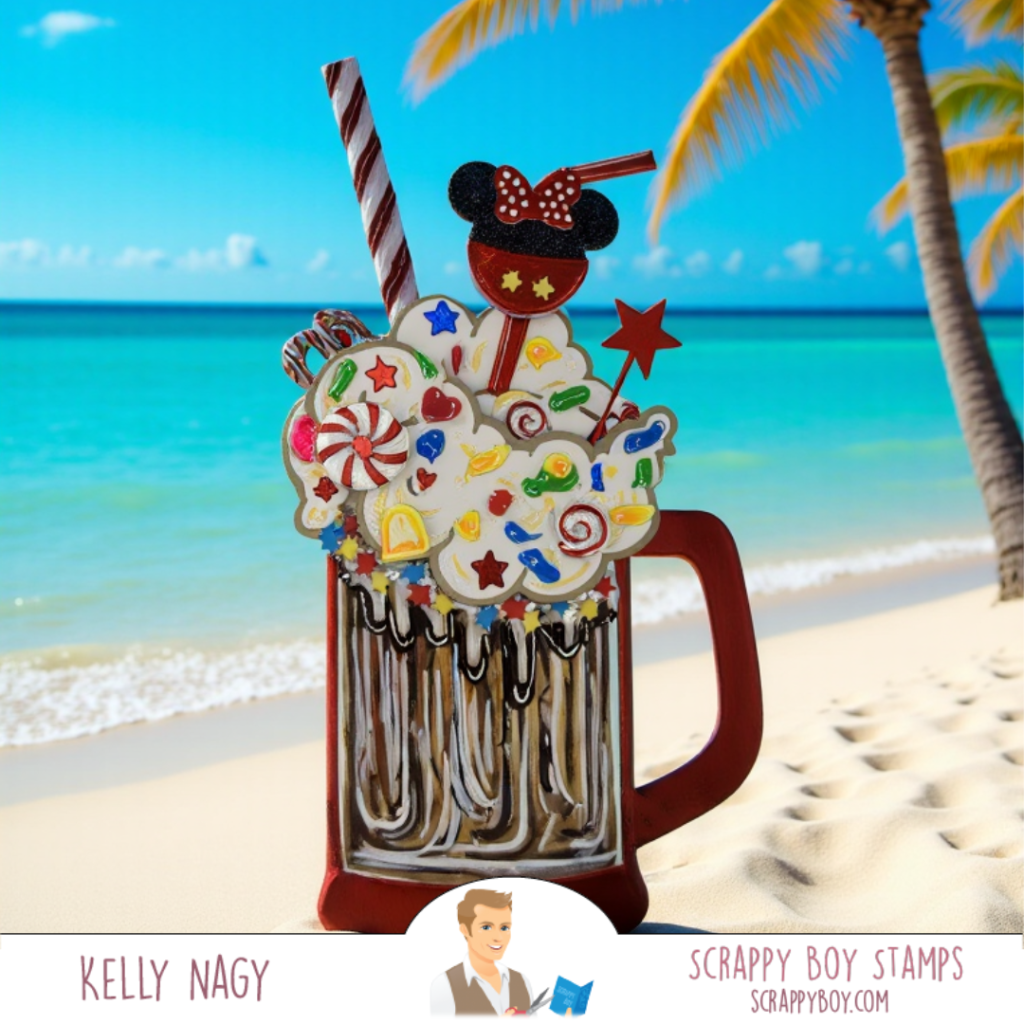
One of the most exciting elements of this stamp set is the cute soda can image. You can customize it with your favorite beverage, whether it’s cola, root beer, or a refreshing fruit soda! This personalization adds a unique touch to each card, making them truly one-of-a-kind.
Creating Your Card
To get started, gather your favorite cardstock, ink pads, and coloring tools. Here’s a quick guide to creating a fabulous card using the Soda-Lightful Stamp Set:
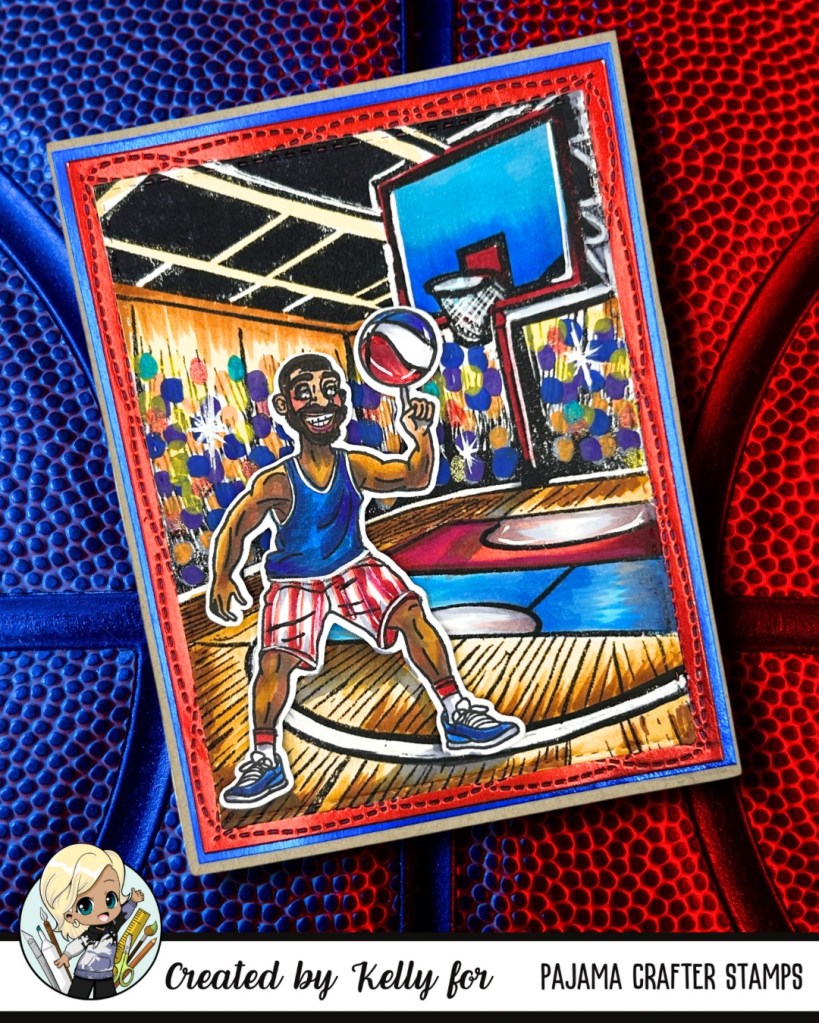
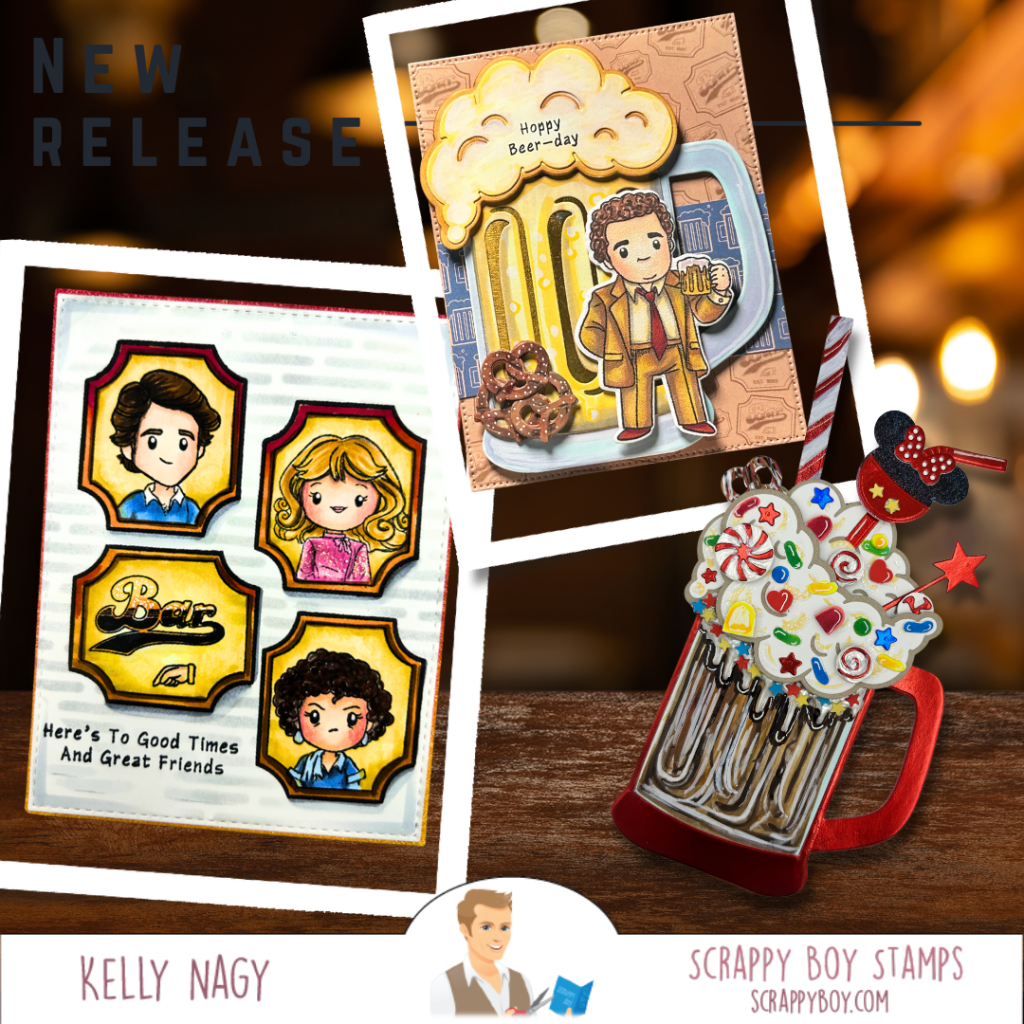
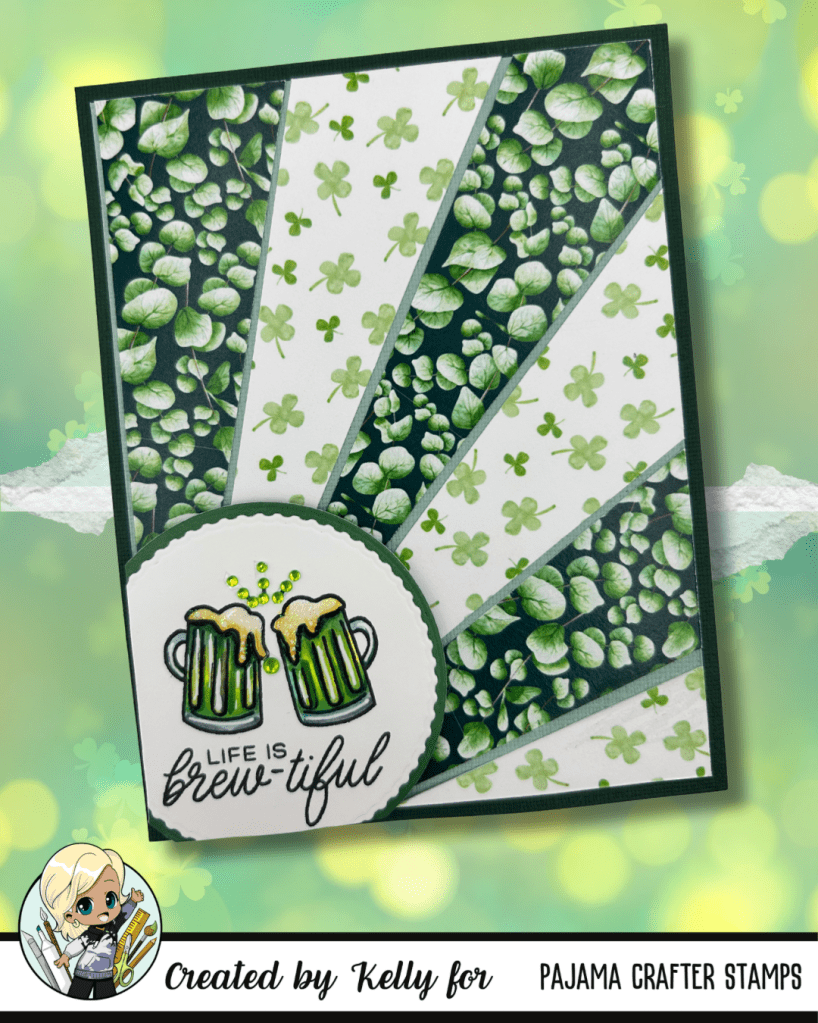
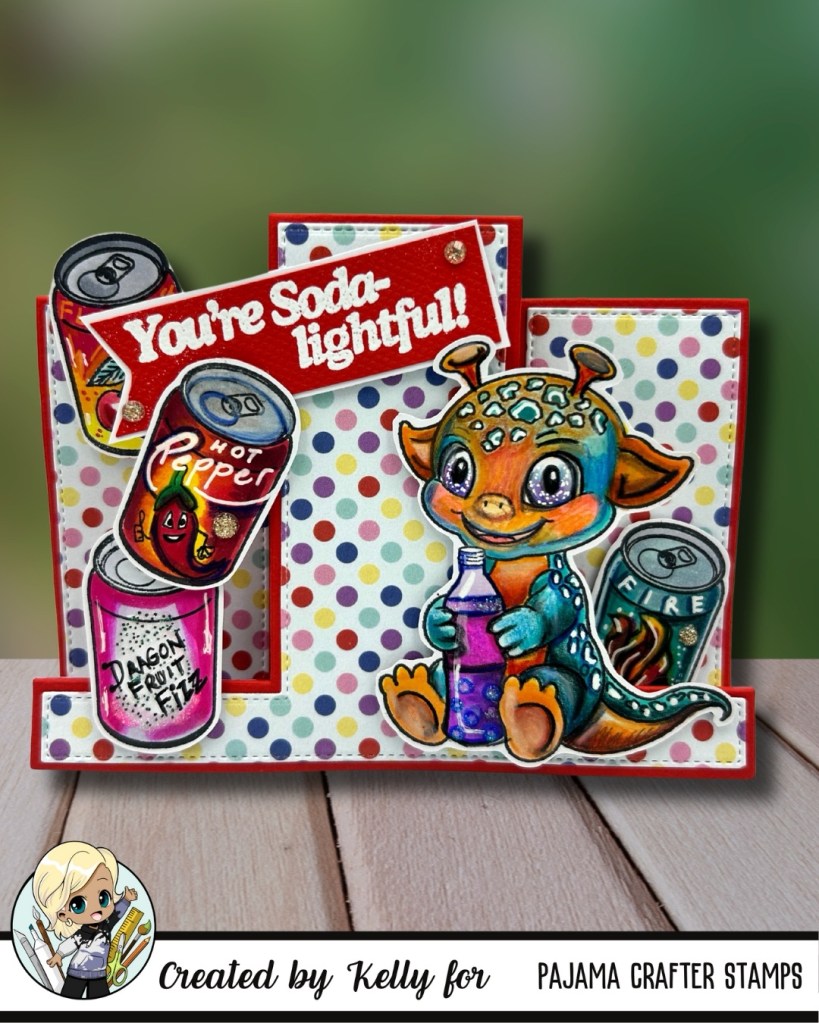
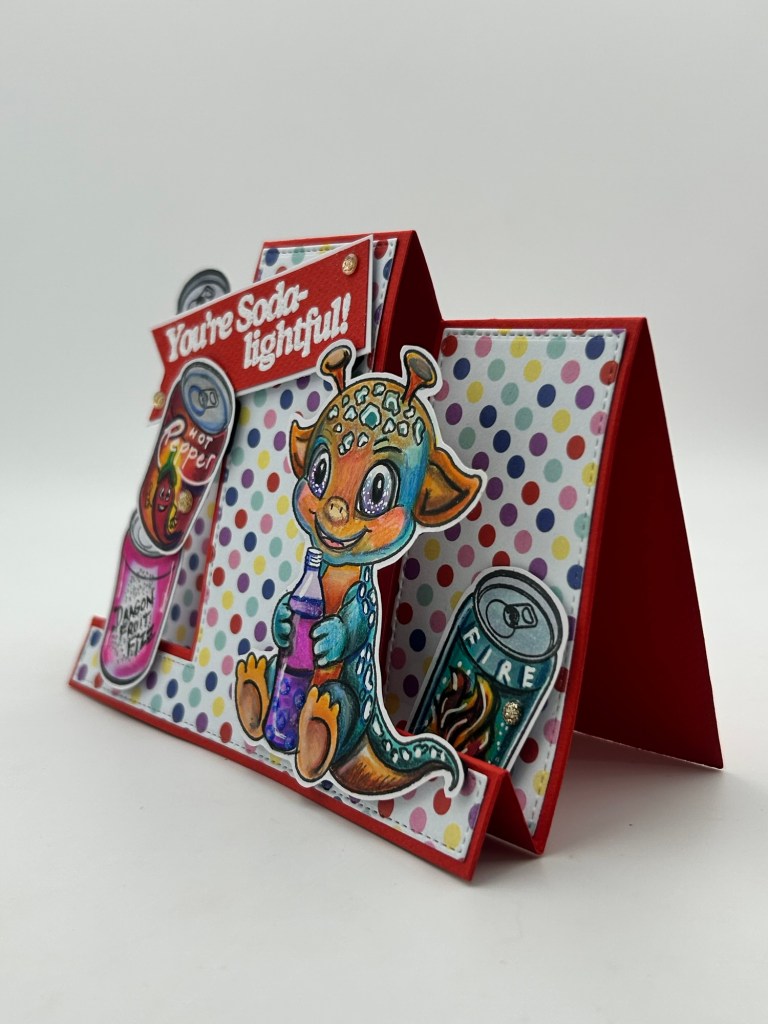
- Select Your Base: I chose a red solid card stock. I cut it using the A2 TRIO FOLD CARD DIE fromScrappy Boy Stamps.  I took coordinating patterned paper with multi-colored dots to and used the die to create the layers to provide interest.
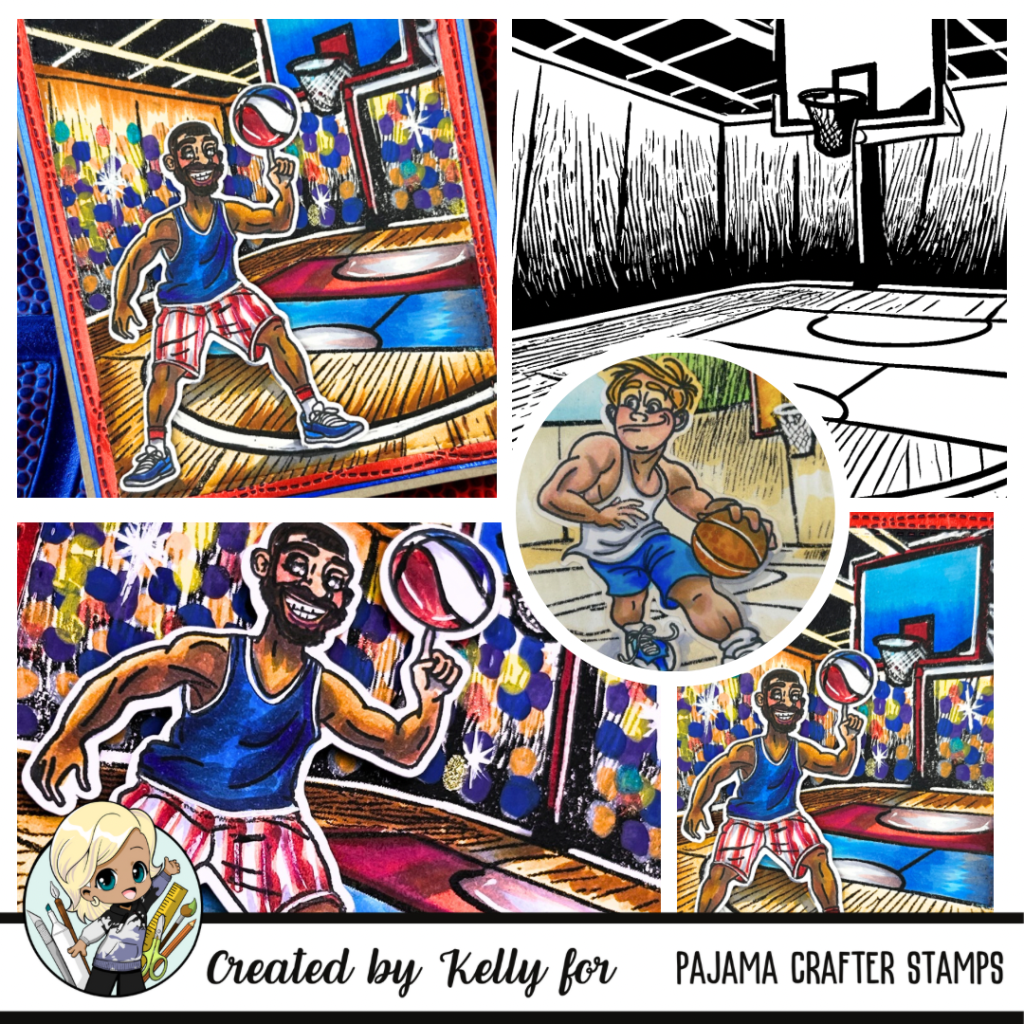
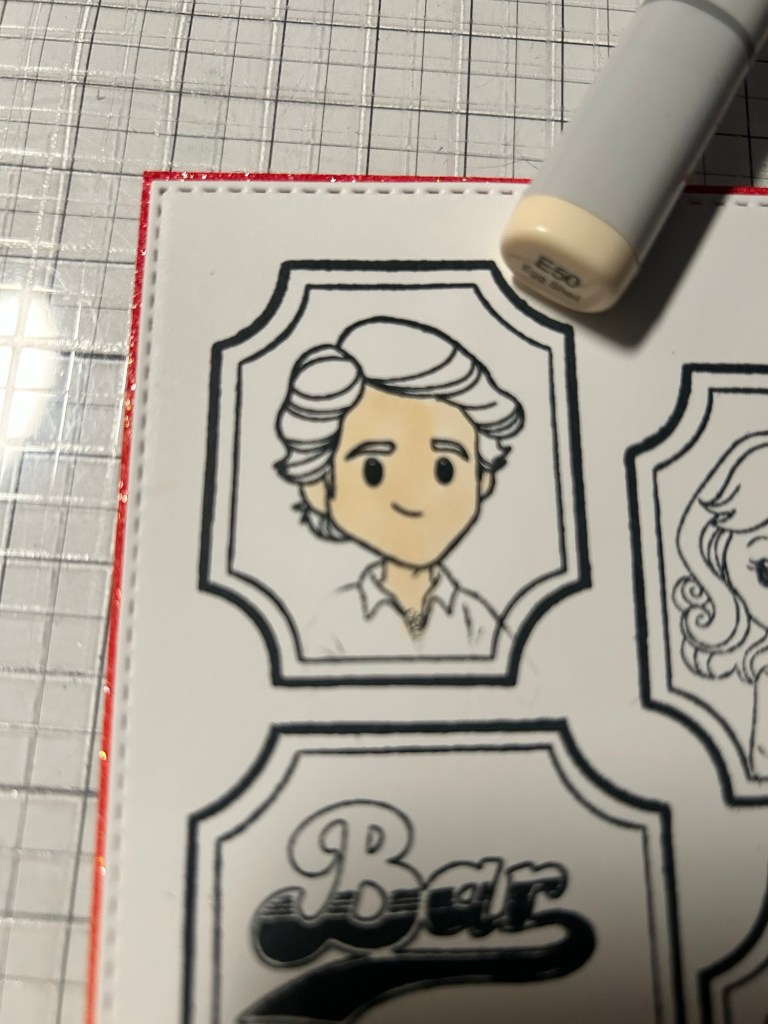
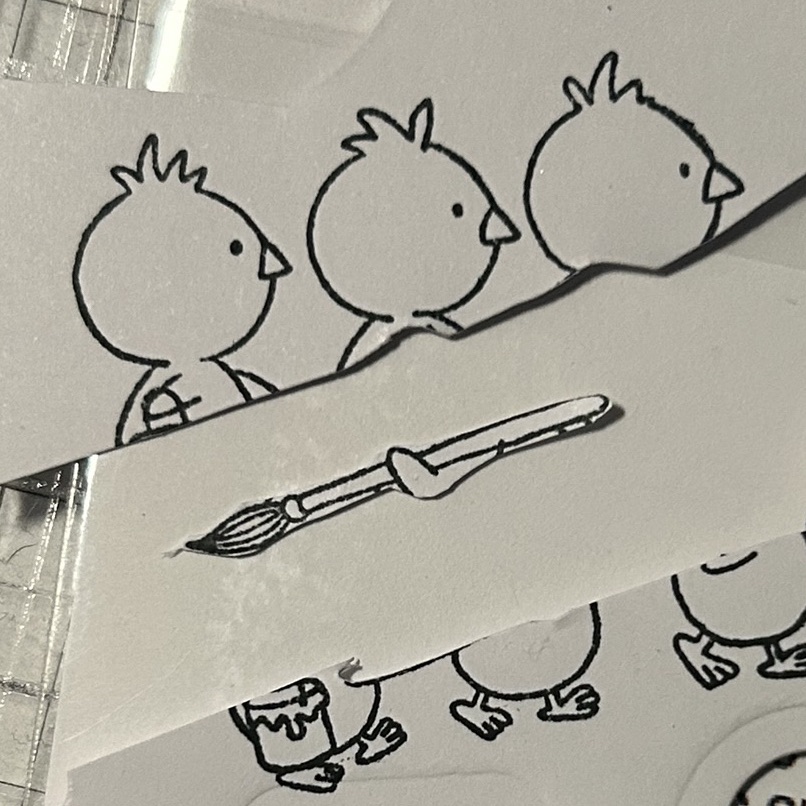
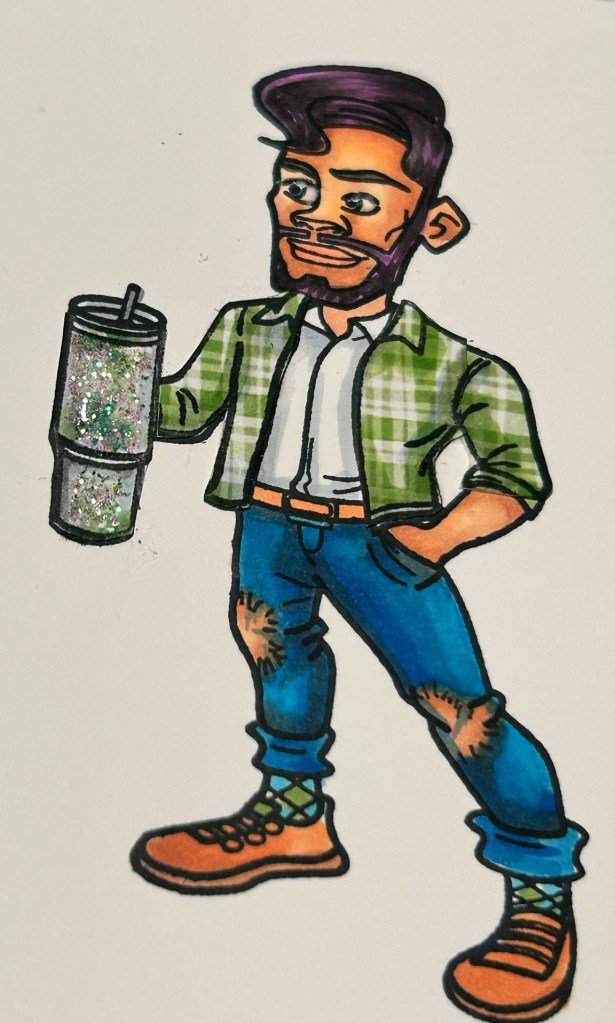
- Stamp & Color Your Images: I stamped the images and customized the cans to represent what a dragon would drink.
- Add Sentiment: Pick a fun sentiment from the set that fits the occasion and stamp it onto the card. I used the BANNER DIES from PCS to cut out the sentiment. The paper I heat embossed in white ink and embossing powder was the scrap used from my base cut.
- Assemble Your Card: Adhere the dragon, soda cans and sentiment to your card base.
- Finish Off: Don’t forget to add a personal message on the back to make it even more special!
Why You’ll Love Pajama Crafter Stamps
Pajama Crafter Stamps offers unique and whimsical products that will inspire your creativity and make card-making joyful. Their high-quality stamps provide crisp impressions every time, ensuring your cards look polished and professional.
Whether you’re crafting for a birthday, a thinking-of-you note, or just for fun, the Soda-Lightful Stamp Set is a fantastic addition to your crafting arsenal. Bring joy to your friends and loved ones with personalized, heartfelt creations that celebrate life’s sweet moments.
So grab your Soda-Lightful Stamp Set today and let the celebration begin! You won’t regret adding this bubbly set to your collection!
Click here to see Pajama Crafter Stamps
Happy crafting! 🚀✨