
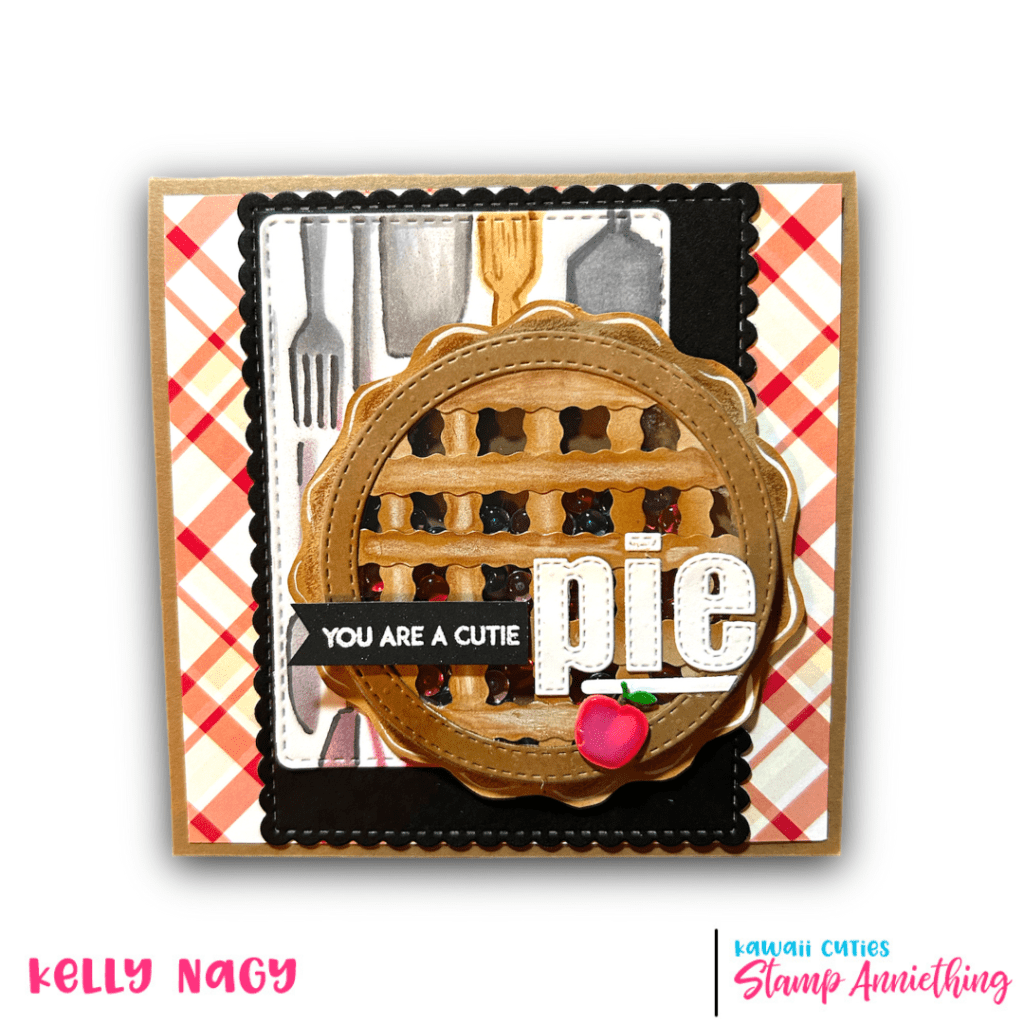
I am following up after my LIVE held on Tuesday, 3/14, International Pi Day, where I started to share how to get creative and make something fun and unique to honor the day! And what better and CALORIE FREE way to celebrate Pi Day, than by creating a pie shaker element using the Circle Shaker Basics 1 set from Stamp Anniething?
A pre-recorded video will be shared on the Stamp Anniething Stampers Facebook page shortly which will provide additional details and elaborate more on how to create this shaker element and two 5.5 inch square cards. My initial LIVE was cut short due to a family emergency and appreciate everyone’s concern. We are all good now!
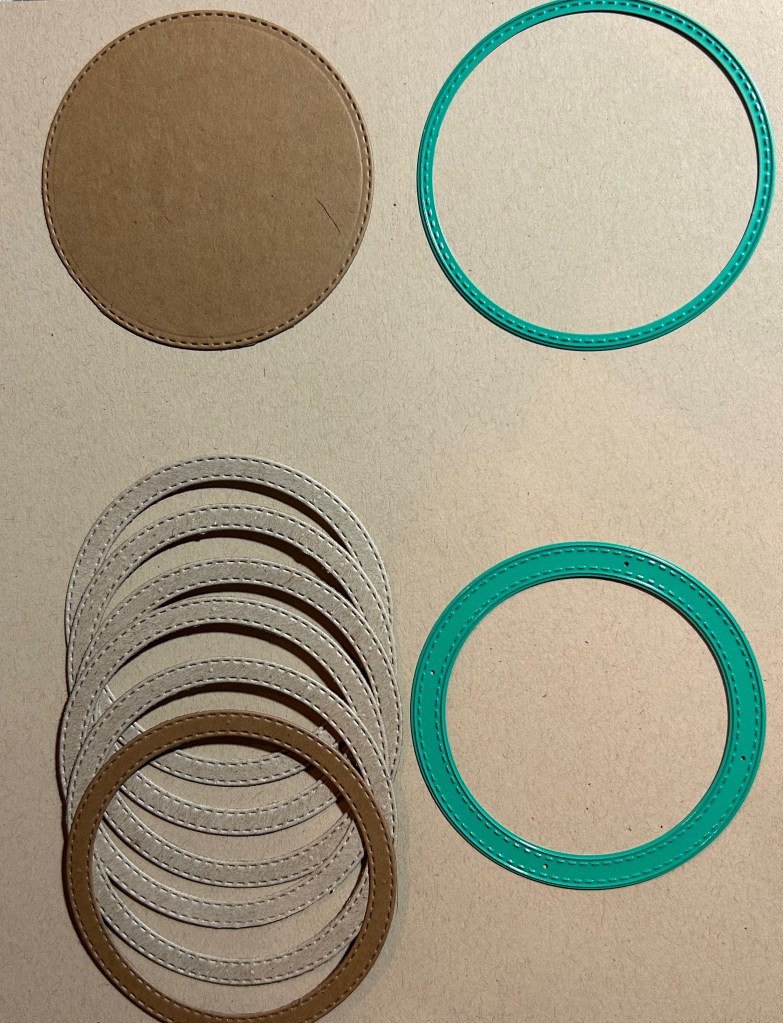
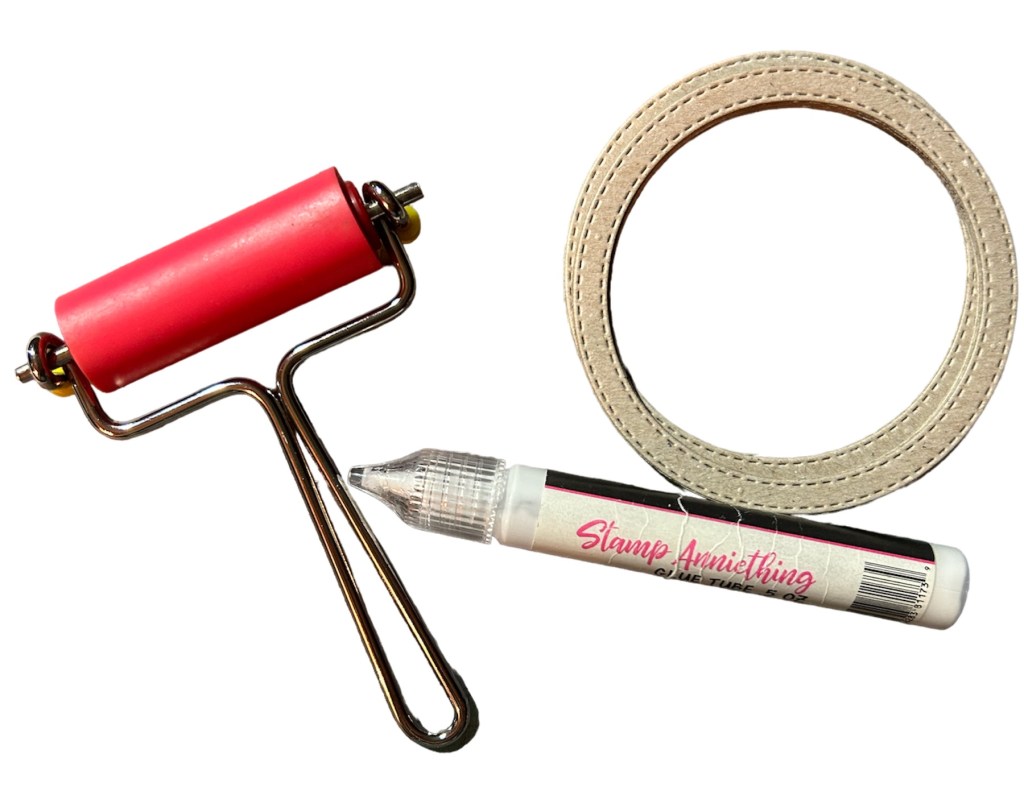
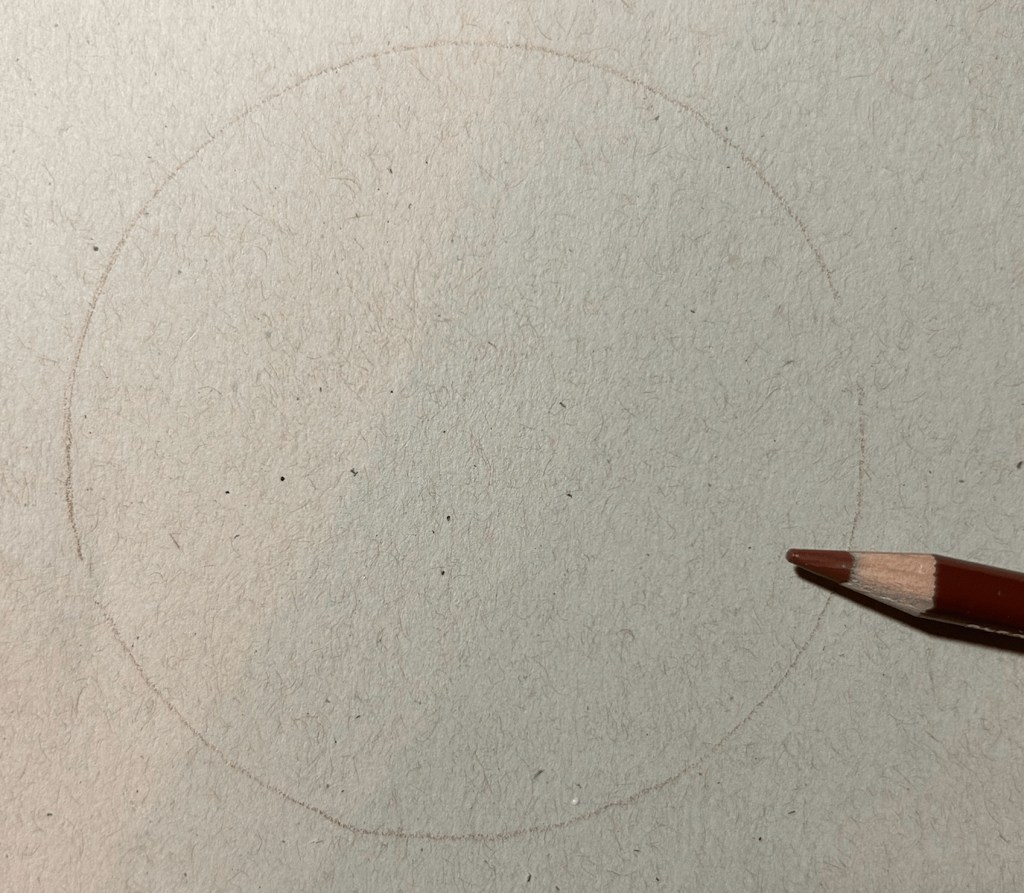
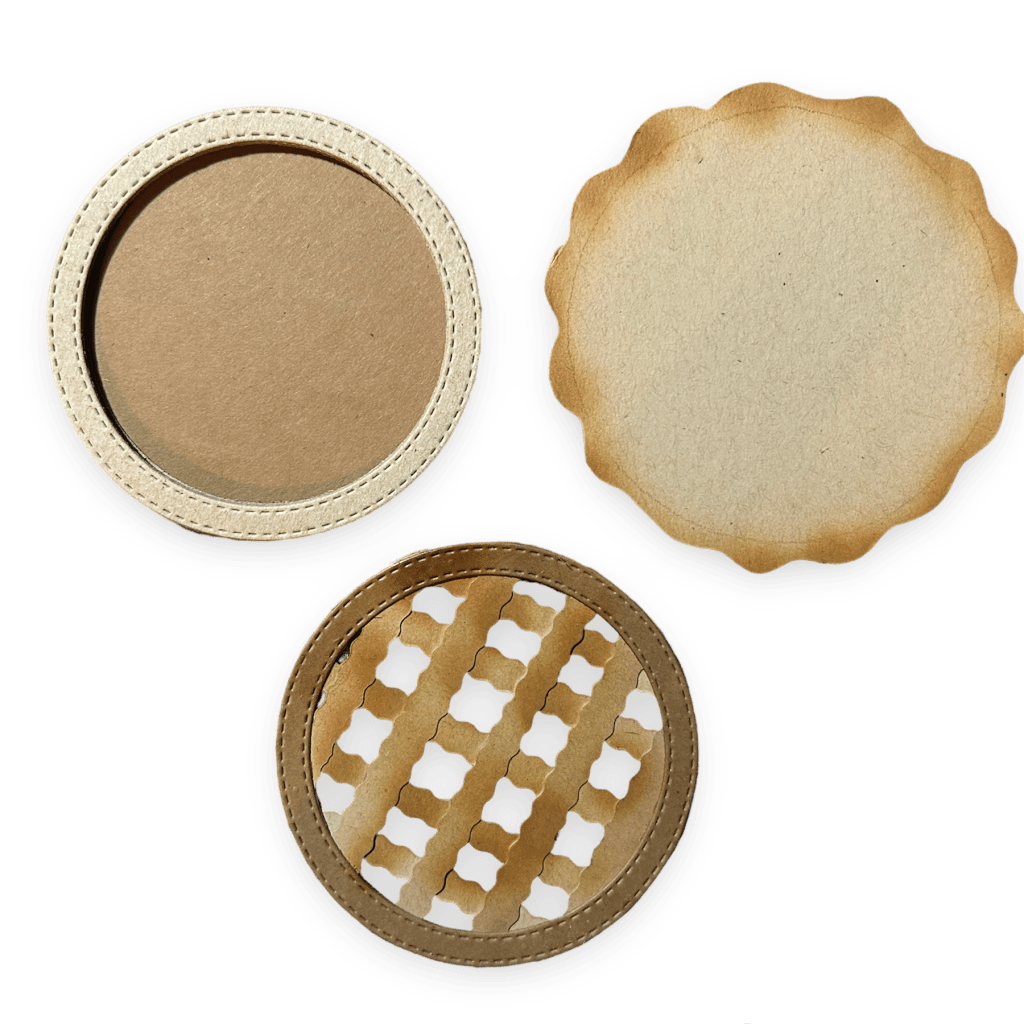
To get started, you’ll need the Circle Shaker Basics 1 set, some cardstock in your desired color, chipboard, acetate sheet, shaker bits and liquid adhesive. Begin by die-cutting 5 circles using the circle “frame” die from the set – one from cardstock and the others from chipboard. Make sure when gluing together, they match up in size.

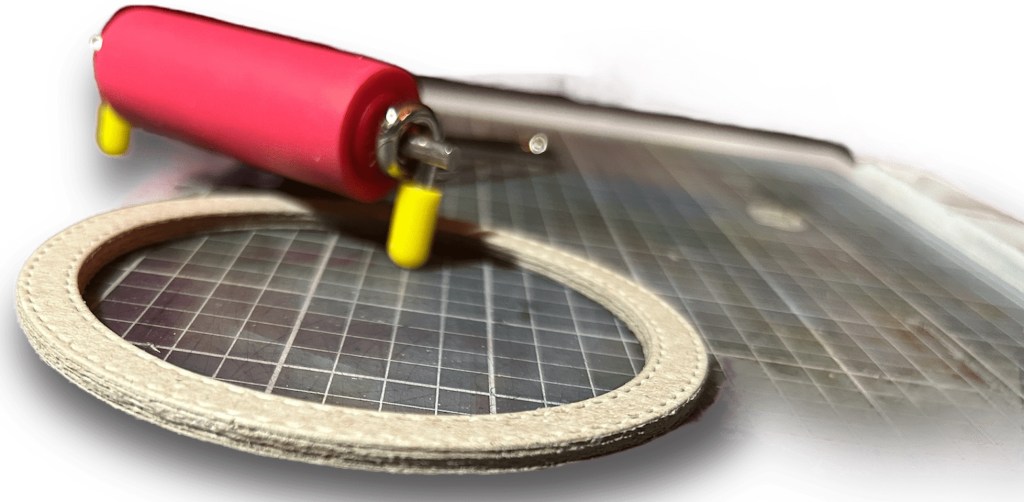
Next, layer of each die-cut with the liquid adhesive and use brayer or your fingers to make sure the layers are stacked evenly and ensure there is no air or separation between layers to prevent your shaker bits from escaping.
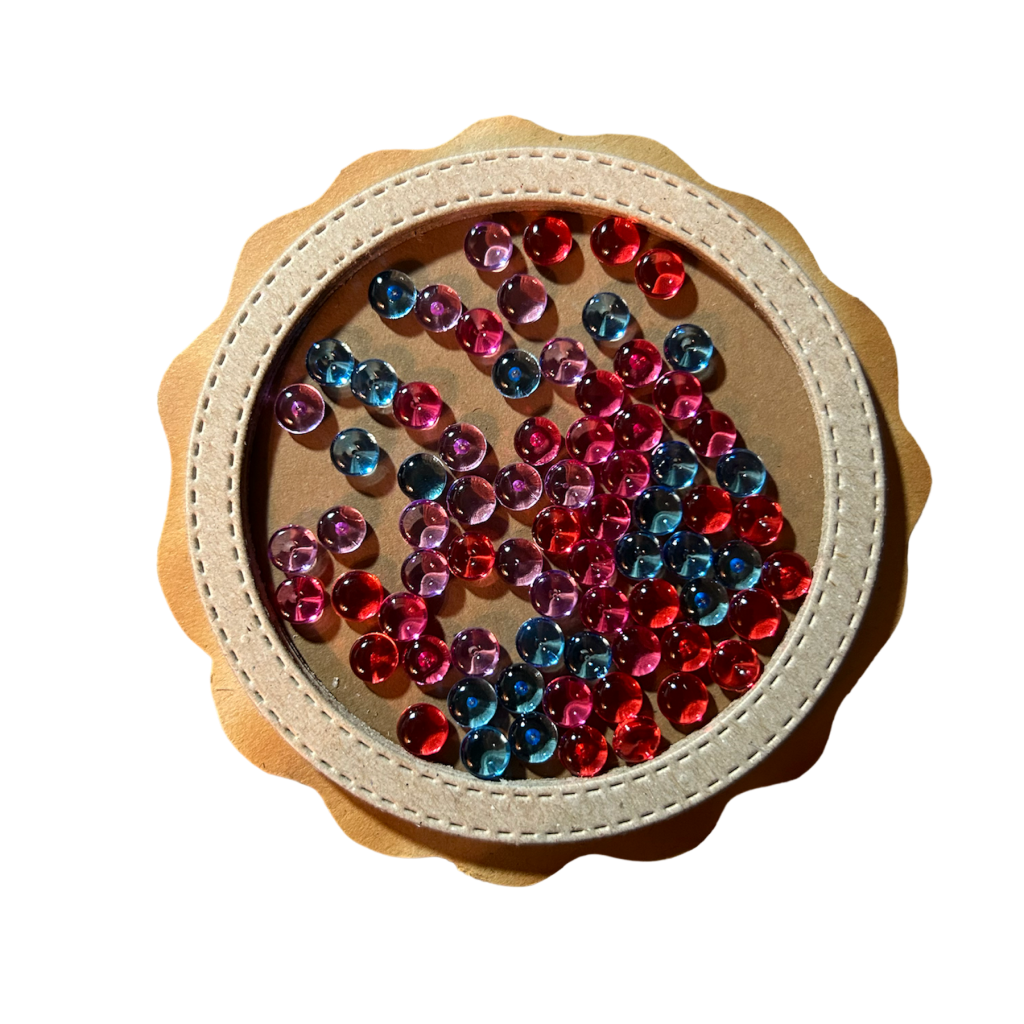
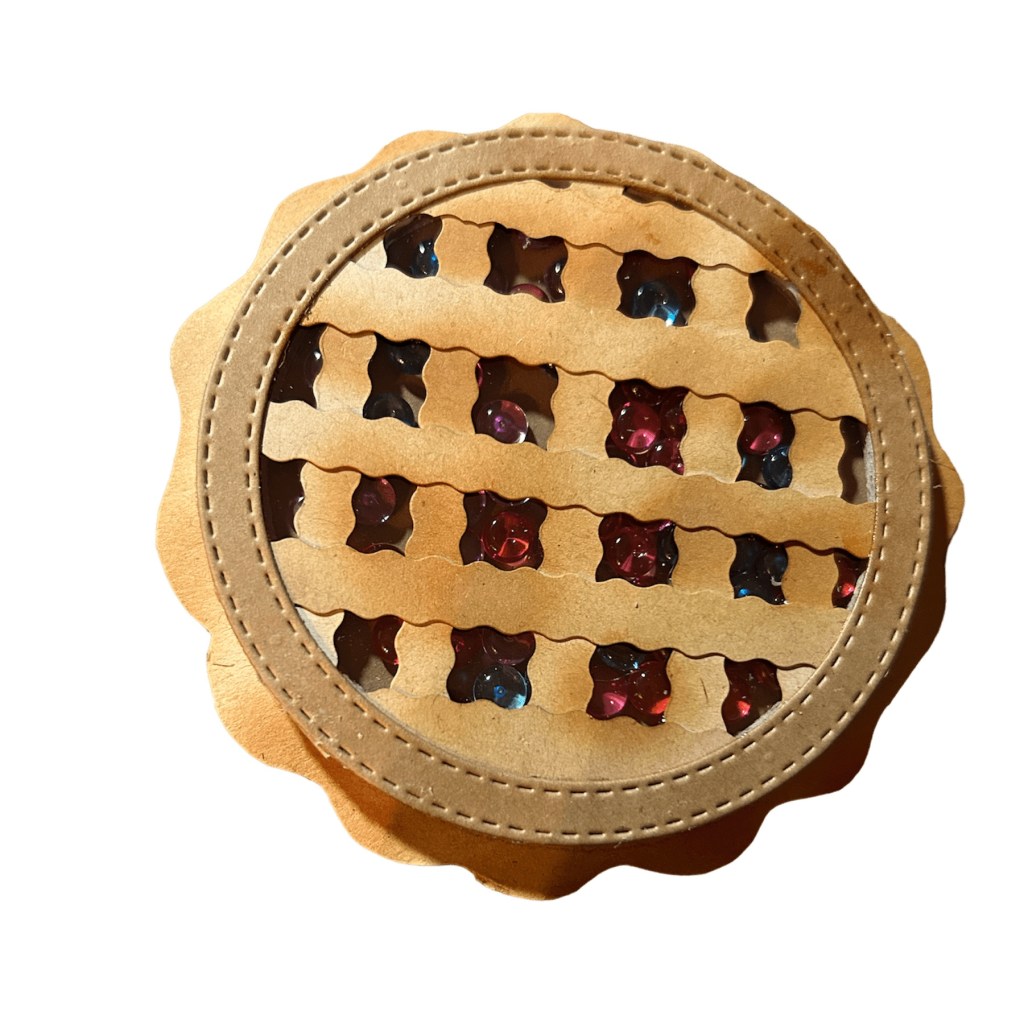
Now, add the shaker bits-on top of the cardstock circle in the well you created, as desired – you can add whatever you want to create interest (sequins, clay shaker bits, etc). I used jelly dots. You can use one color or simply mix a variety of colors for a more random look, as I have done here. Once you’re happy with how the shaker filling are arranged, carefully glue the cardstock circle onto the top on the acetate circle to seal.
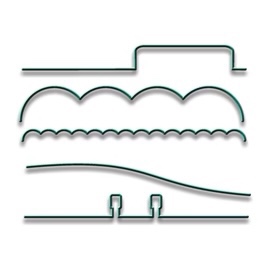
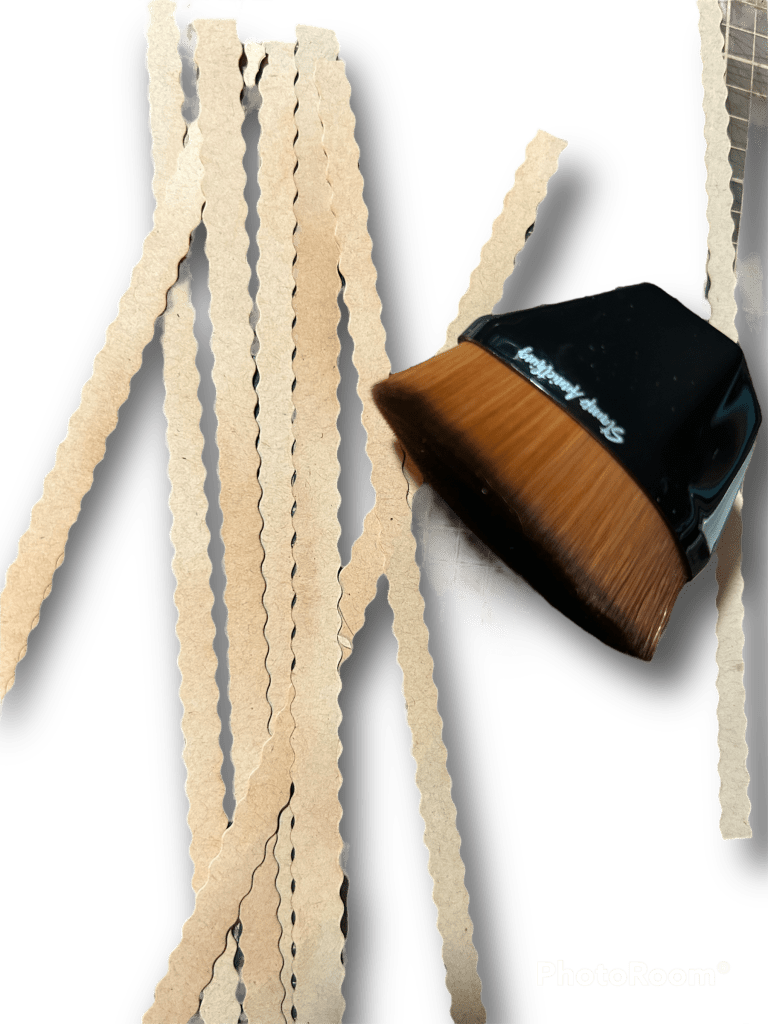
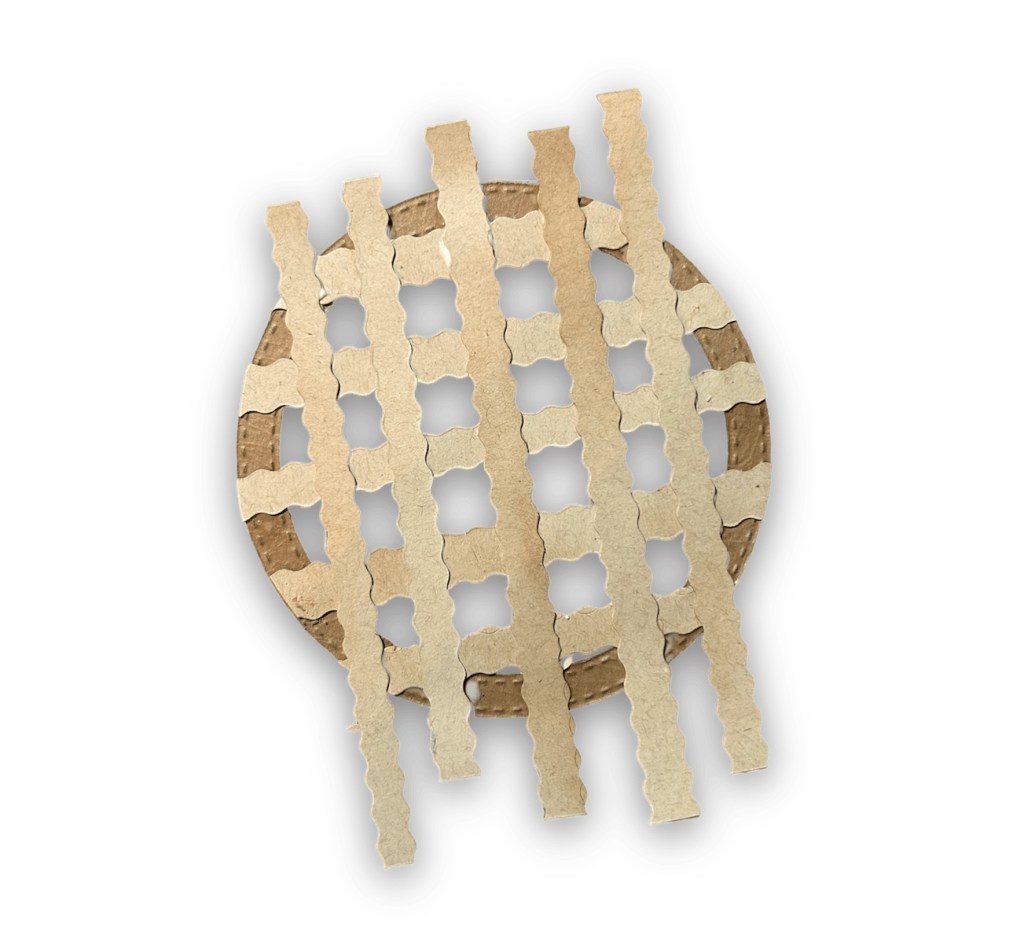
Finally, you can add some touches to make it look like a pie – for example, you can cut small strips of card stock in 1/4 in strips either with decorative scissors or your paper trimmer. Consider ink blending the edges to create a visual effect of being browned in the oven. Other options for a decorative edge could be to use the edger dies from Stamp Anniething to make it look more like rippled pastry to form the lattice crust.
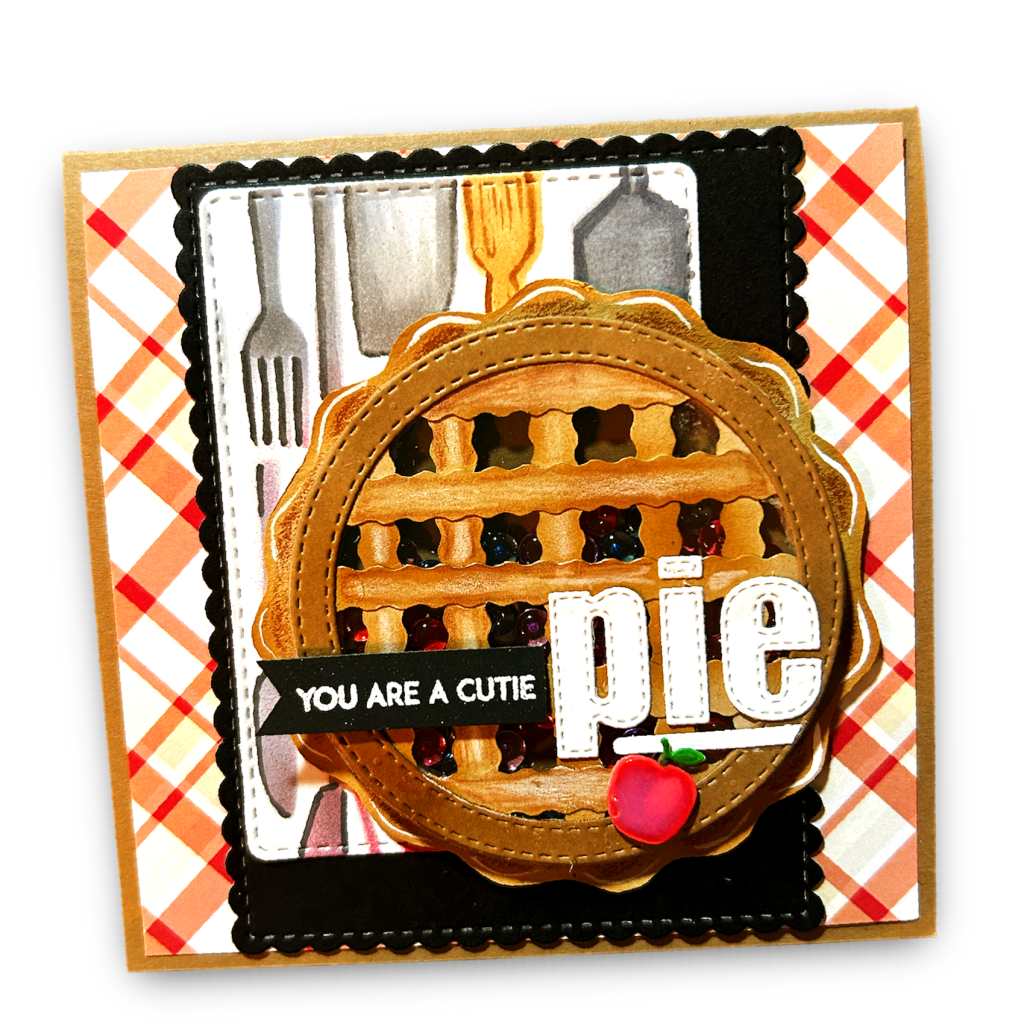
And voila – you now have a pie shaker element that you can use to decorate cards, scrapbook pages, or even as a fun little trinket to give away as a gift, attached to a tag, memordex card or mini recipe album! The possibilities are endless, and the best part is that you can customize it to fit your personal style and preference.
So why not get your creative juices flowing and make your own pie shaker element to not just celebrate International Pi Day, but stretch your current die stash and use your supplies in a new, unique and fun ways!?!

Happy crafting!
If you haven’t heard it yet today, YOU ARE INCREDIBLE and you matter! Happy Crafting! Please follow, like, subscribe and share
