
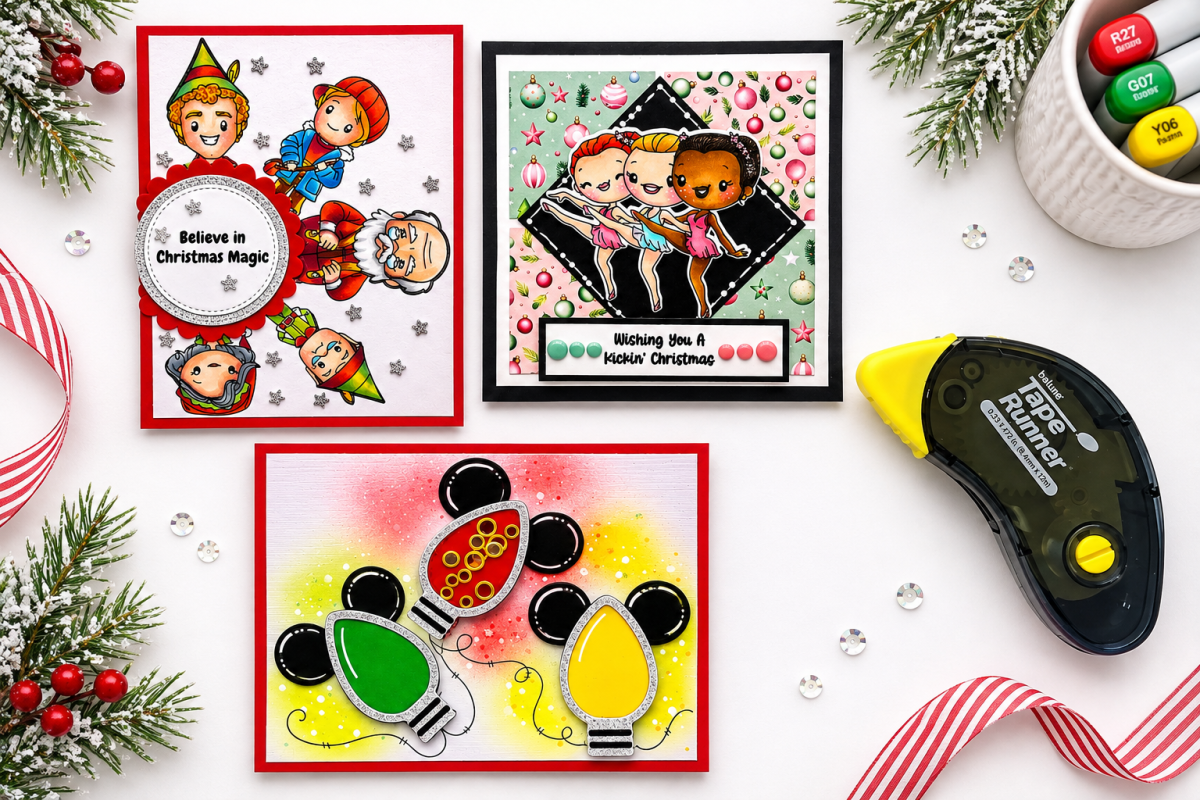
Christmas crafting is officially underway! Today I’m sharing three festive cards featuring products from the Scrappy Boy Stamps October 2026 release!
From whimsical Christmas characters and high-kicking dancers to colorful mouse-inspired shaker bulbs, each project brings a little something different to the holiday crafting table!
🎅 Project 1: Believe in Christmas Magic!
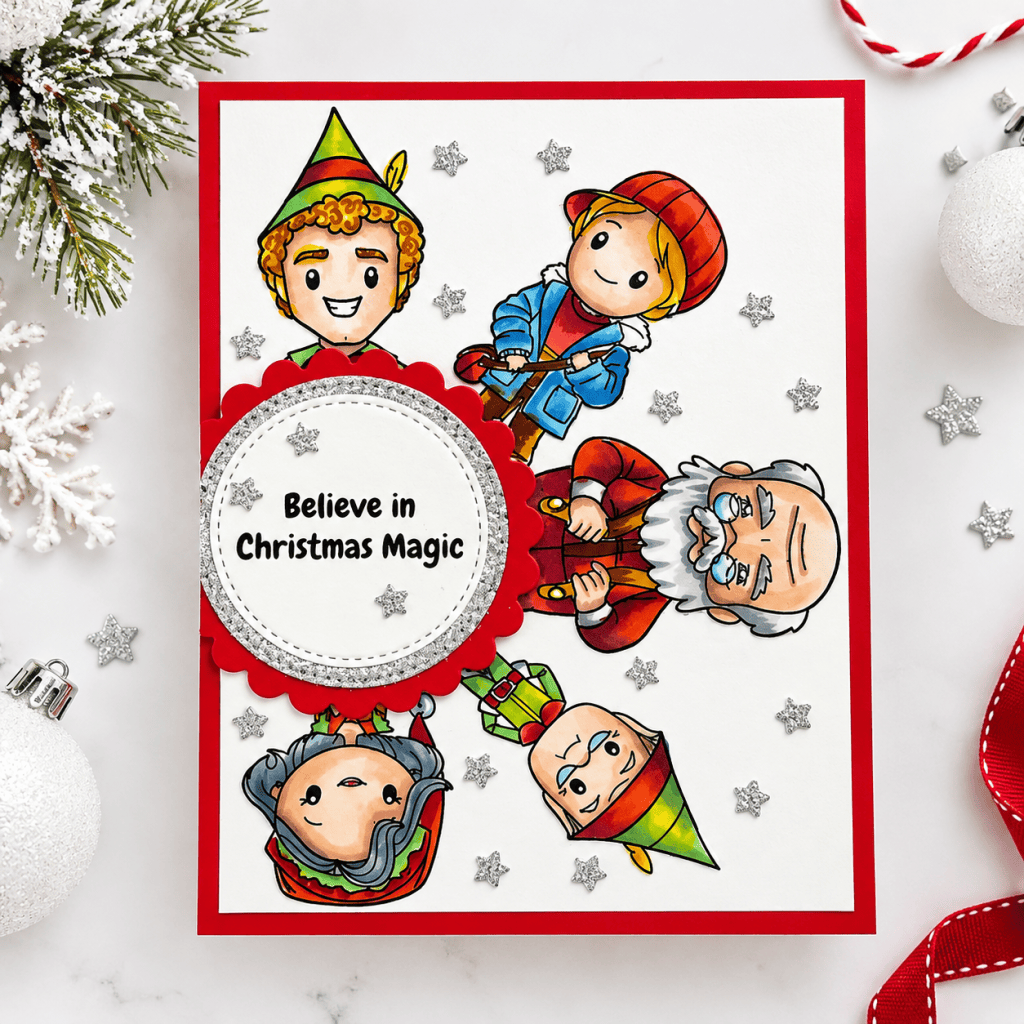
My first card features the adorable Son of a Nutcracker Stamp Set!
I colored these fun characters with Copic markers and arranged them around a layered scalloped sentiment circle. A red card base, silver glitter cardstock, and tiny sparkling stars bring everything together.
Copic Marker Colors
- Skin: E000, E00, E11, E21, R20
- Blonde Hair: Y11, Y21, YR23
- Brown Hair: E31, E33, E35
- Red Clothing: R24, R27, R29
- Green Clothing: YG03, YG17, G07
- Blue Jacket: B21, B24, B26
- Brown Accessories: E33, E35, E37
- Gray Hair: C1, C3, C5
💃 Project 2: Wishing You a Kickin’ Christmas!
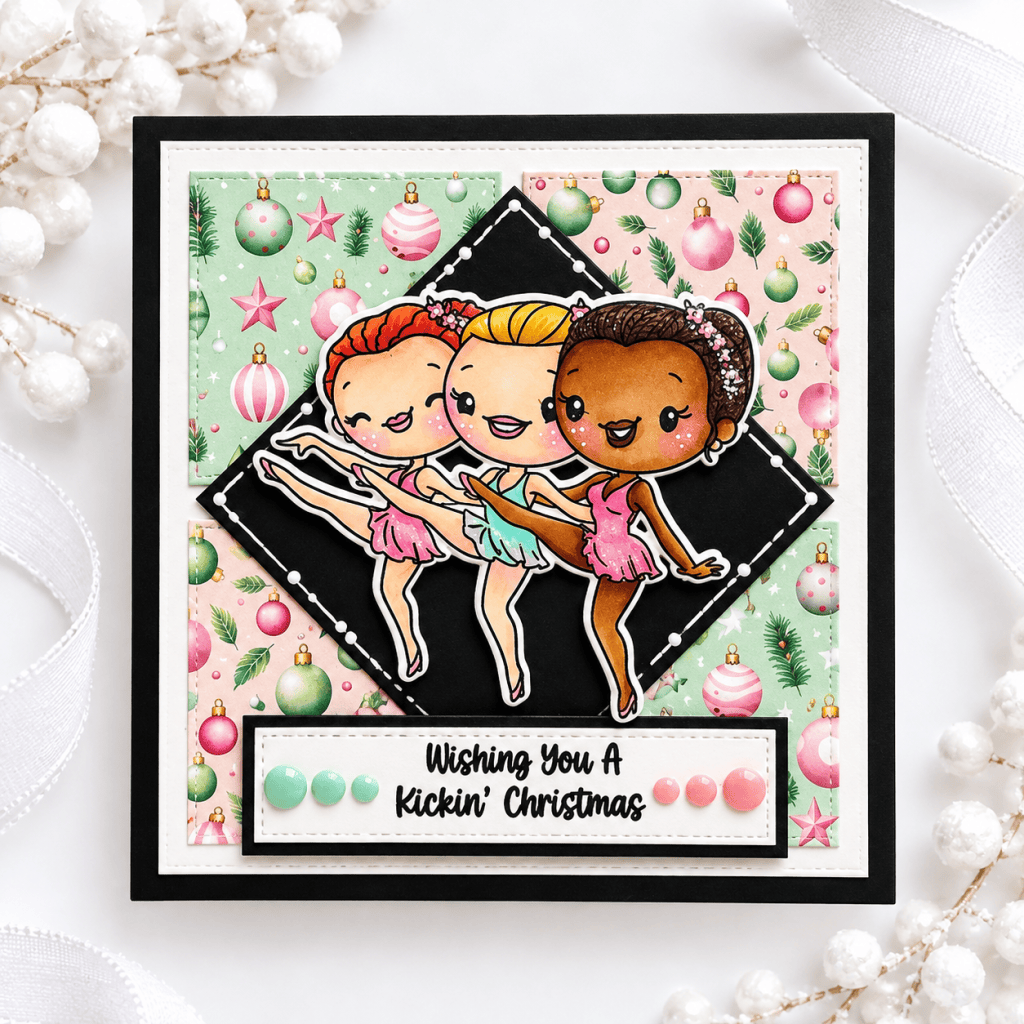
These adorable dancers from the Holiday High Kicks Stamp Set are ready to steal the show!
I paired my Copic-colored dancers with festive patterned papers, a bold black diamond background, and a few coordinating enamel dots. The playful layout gives this Christmas card plenty of personality!
Copic Marker Color
- Light Skin: E000, E00, E11, R20
- Medium Skin: E21, E23, E25
- Deep Skin: E33, E35, E37, E39
- Red Hair: YR14, YR18, E08
- Blonde Hair: Y11, Y21, Y26
- Dark Hair: E47, E49
- Pink Outfits: RV11, RV13, RV14
- Aqua Outfits: BG10, BG13, BG15
- Cheeks: R20, RV10
🎄 Project 3: Mouse-Inspired Christmas Shaker Bulbs!
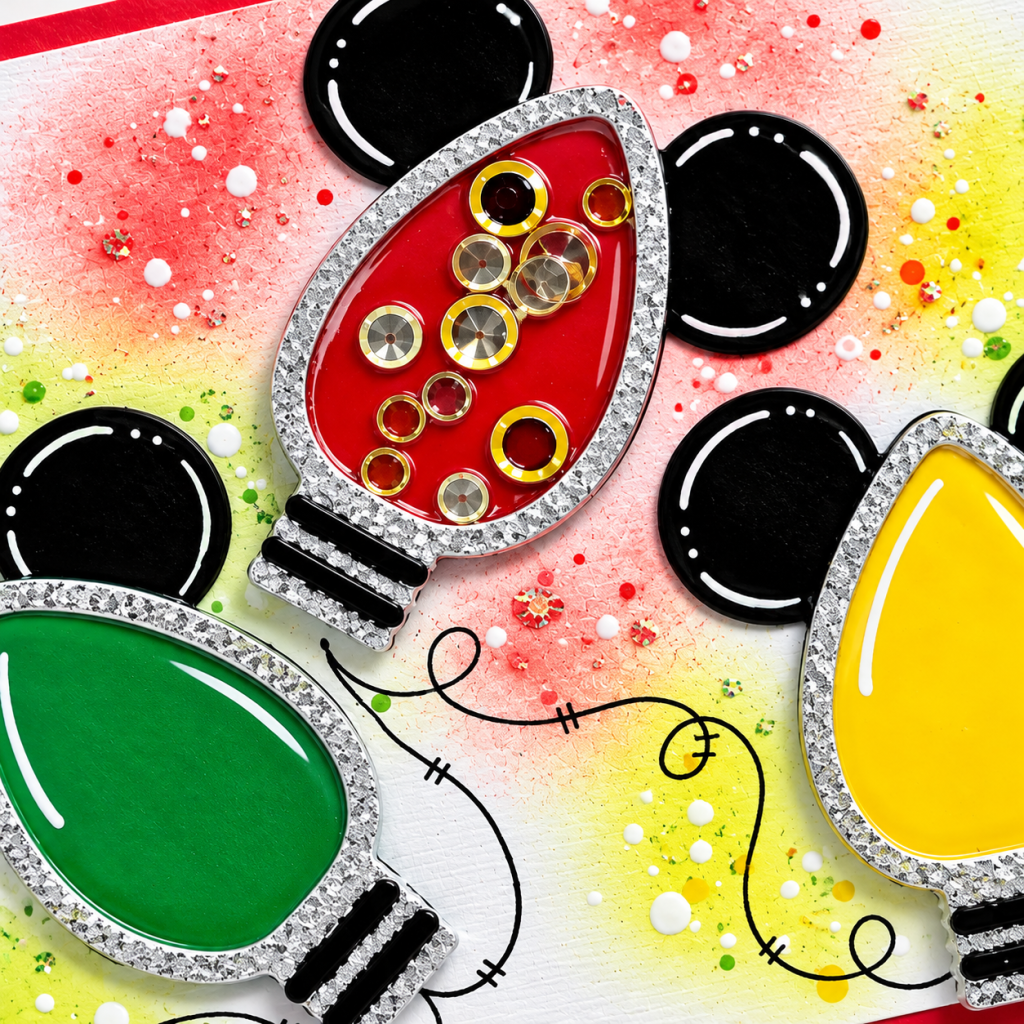
Sometimes Christmas cards just need a little extra sparkle!
For my third project, I used the Mouse Shaker Bulb Dies to create three colorful Christmas lights, including a fun shaker filled with gold sequins!
I created a soft, colorful airbrushed background, added silver glitter cardstock for the bulb outlines, and finished everything with white gel pen highlights and playful hand-drawn light cords.
Copic Marker Color
This project primarily features die-cut cardstock rather than Copic-colored images. If you’d like to recreate the look using markers, try:
- Red: R24, R27, R29
- Green: G03, G05, G07
- Yellow: Y06, Y08, Y17
- Gray Shading: C1, C3
- White Highlights: White gel pen
✂️ A Few Favorite Finishing Touches
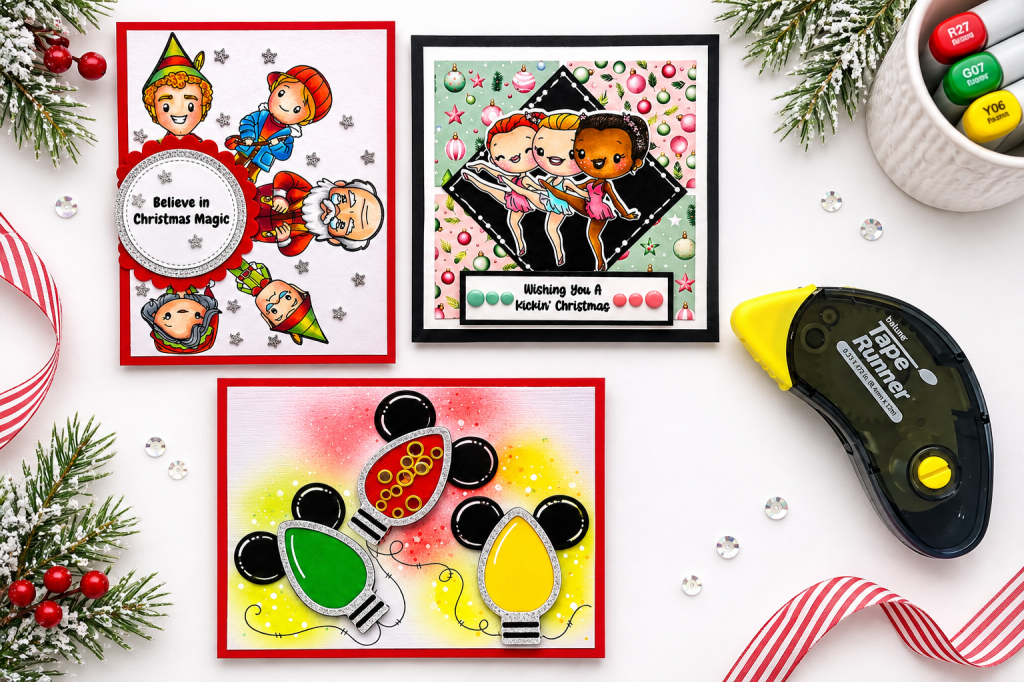
Across these three projects, I had fun mixing some of my favorite cardmaking techniques:
- Copic marker coloring and blending
- Layered cardstock and patterned papers
- Silver glitter accents from embossed silver glitter cardstock from my stash.
- Airbrushed backgrounds
- White gel pen highlights
- Shaker elements and dimensional die cuts
- All put together with Taperunner.com dry adhesive
Each little detail adds personality and makes handmade Christmas cards extra special!
❤️ Which One Is Your Favorite?
Three different designs, three different looks, and lots of Christmas inspiration!
I hope these projects inspire you to pull out your stamps, dies, and favorite coloring supplies and start creating some holiday magic of your own.
🛍️ Shop Scrappy Boy Stamps: https://scrappyboy.com/
Thanks so much for stopping by and spending a little crafty time with me!
Happy Crafting!
Kelly ❤️
Share this:


