
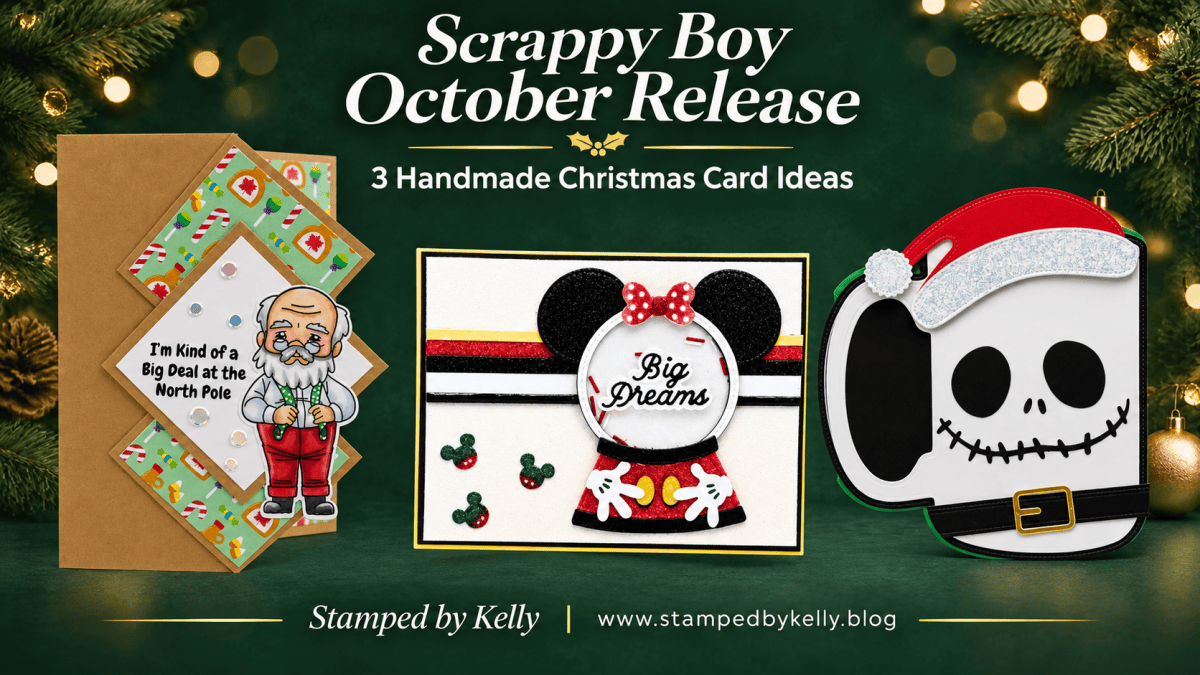
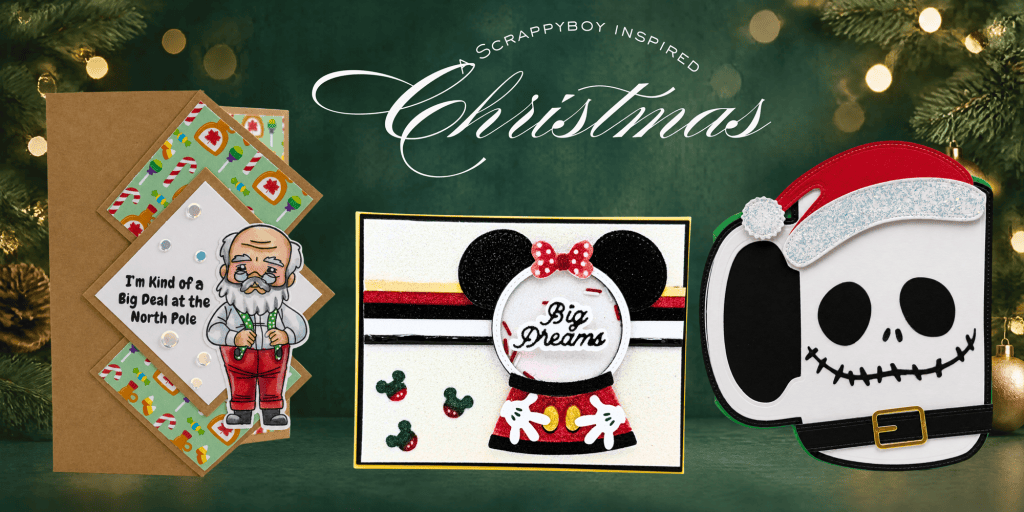
Christmas cheer, a spooky twist, and a little snowglobe magic! These three projects from the Scrappy Boy Stamps October release show how much fun you can have coloring, layering, and mixing your dies.
A Big Deal at the North Pole 🎅
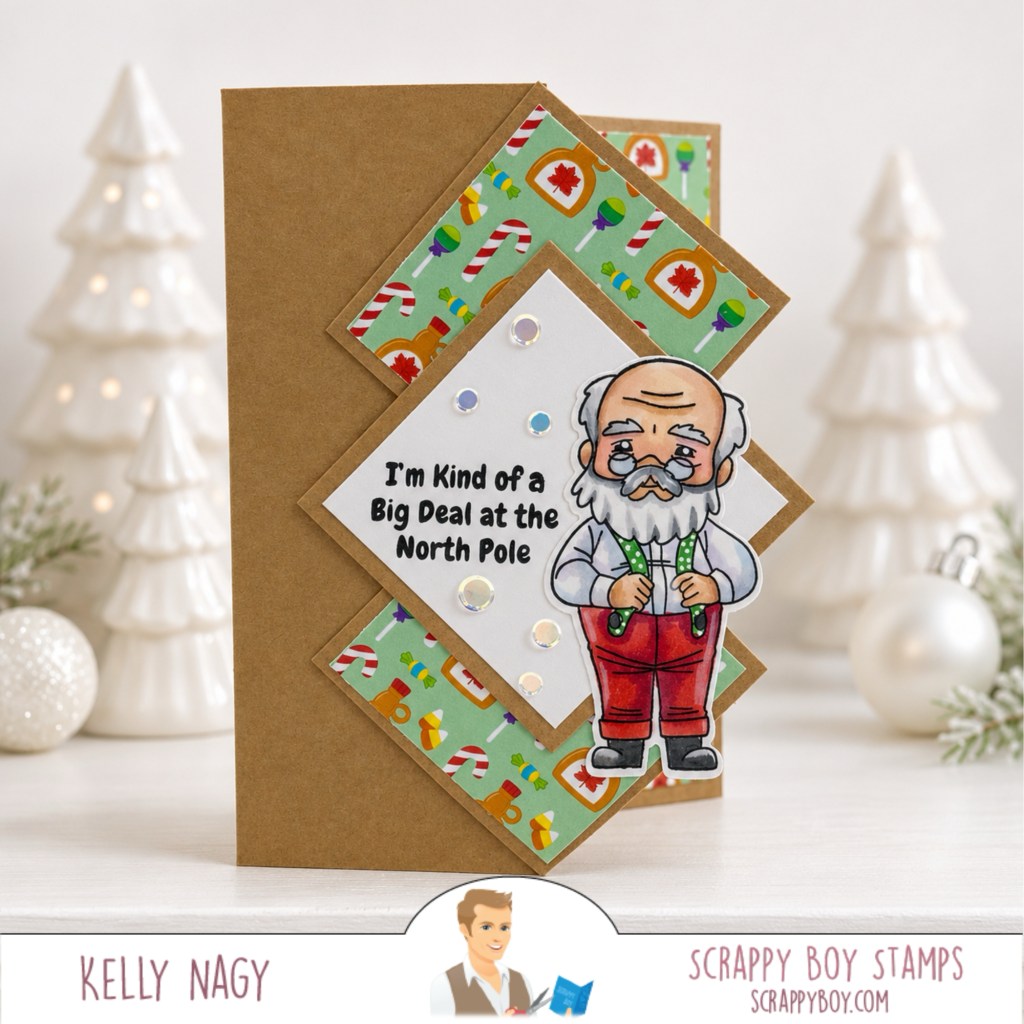
I paired this sassy Santa from the Son of A Nutcracker Stamp Set with coordinating paper from the release, arranging the patterned layers at angles for a playful finish.
To achieve this look, use these Copic blends:
- Skin: E000, E00, E11; R20 for rosy cheeks
- Beard and hair: C00, C1, C3
- Red pants: R35, R37, R59
- Green suspenders: YG03, YG17, YG67
- White shirt: C00, C1, C3
- Shoes: C5, C7, C9
Leave some white showing in the beard and shirt to keep them bright, then add a few white gel pen highlights!
A Mug Full of Mischief ☕💀
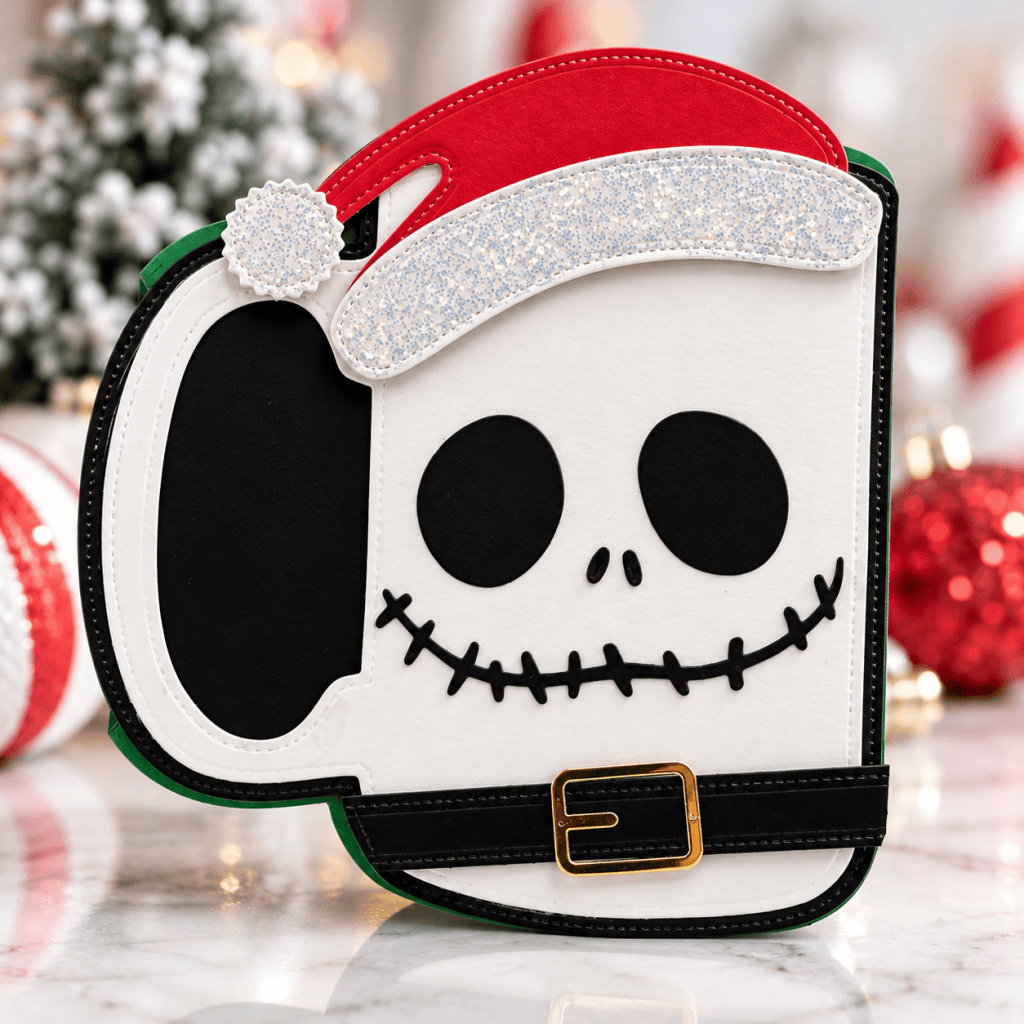
Think outside the backpack! I paired the Sleighing It Skeleton Backpack Add-On with the World’s Best Coffee Mug Die Set for a festive skeleton mug. A Santa hat, sparkly trim, and belt bring everything together. It’s such an easy way to stretch your stash and give your dies a different look!
Big Dreams in a Little Snowglobe ✨
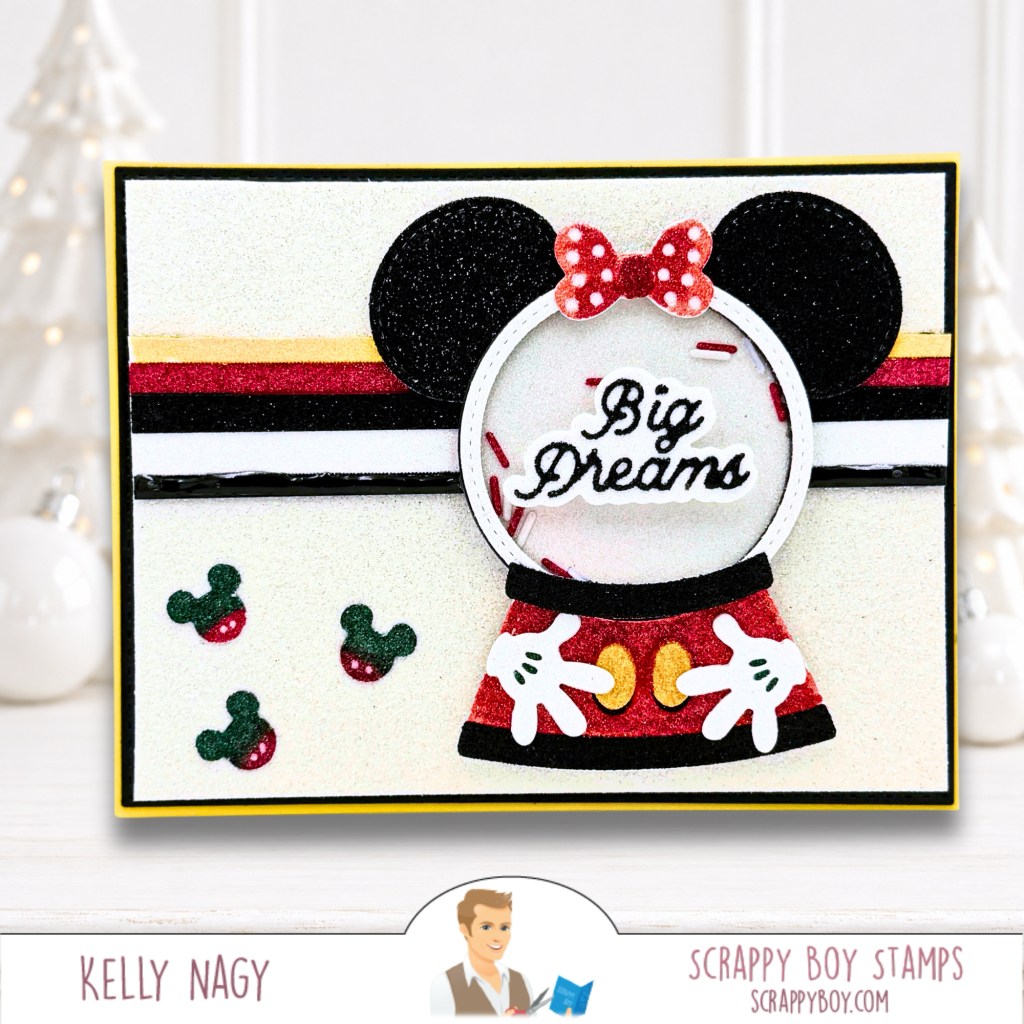
This snowglobe came together with solid cardstock—just cut, layer, and glue! Bold colors and sweet details make it shine without any coloring.

For assembly, I used TapeRunner for my dry adhesive and Bearly Art glue for my wet adhesive—a handy combination for larger layers and tiny details.
Shop & Save 💕
Shop the October release at ScrappyBoy.com.
Need adhesive? Use KELLY10 at TapeRunner.com for 10% off your cart!
Find more crafty inspiration at StampedByKelly.blog, and follow @StampedByKelly.
Happy crafting!
Kelly
Share this:


