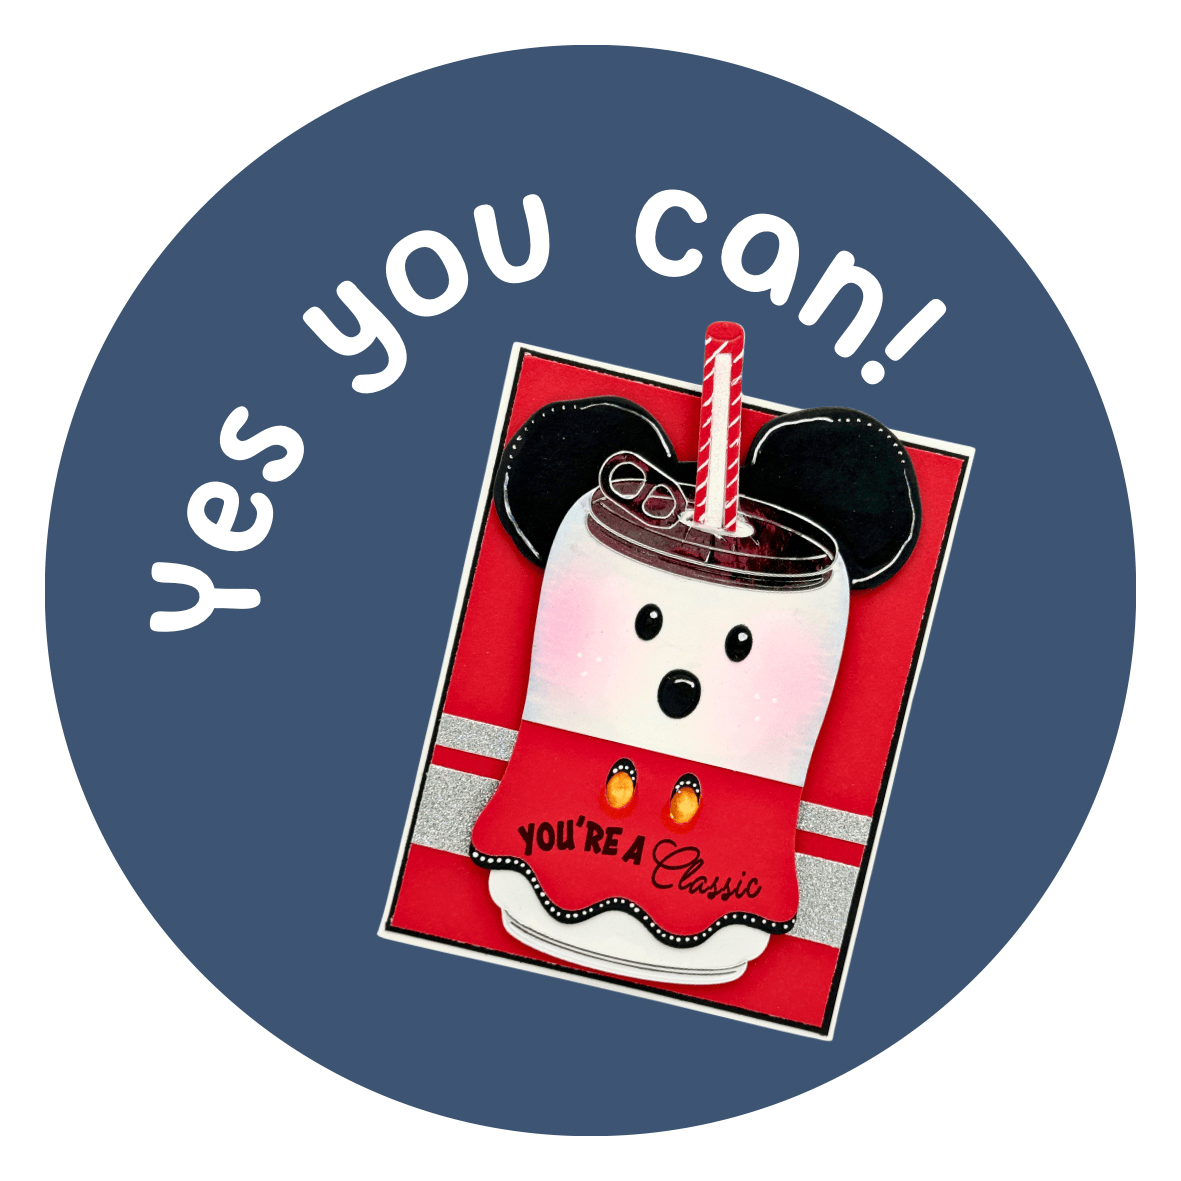
A Little Wonky, A Little Disney Magic, and a Whole Lot of Crafty Fun!
Hello, crafty friends! 💕
I’m back with another creative adventure, and this week I’m celebrating my 118th submission to Craft Roulette! Can you believe it?
One of my favorite things about Craft Roulette is how four completely random parameters can take you in a direction you might never have considered. This week was no exception!
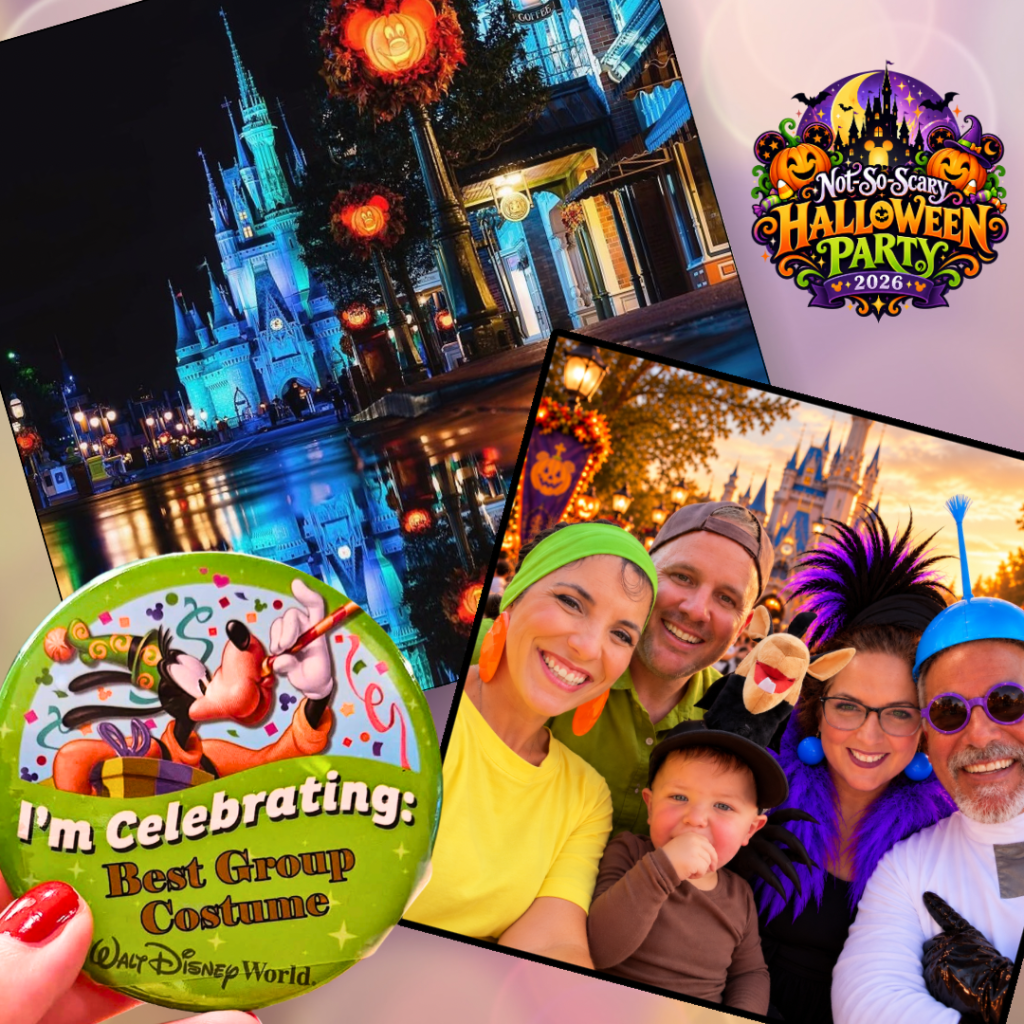
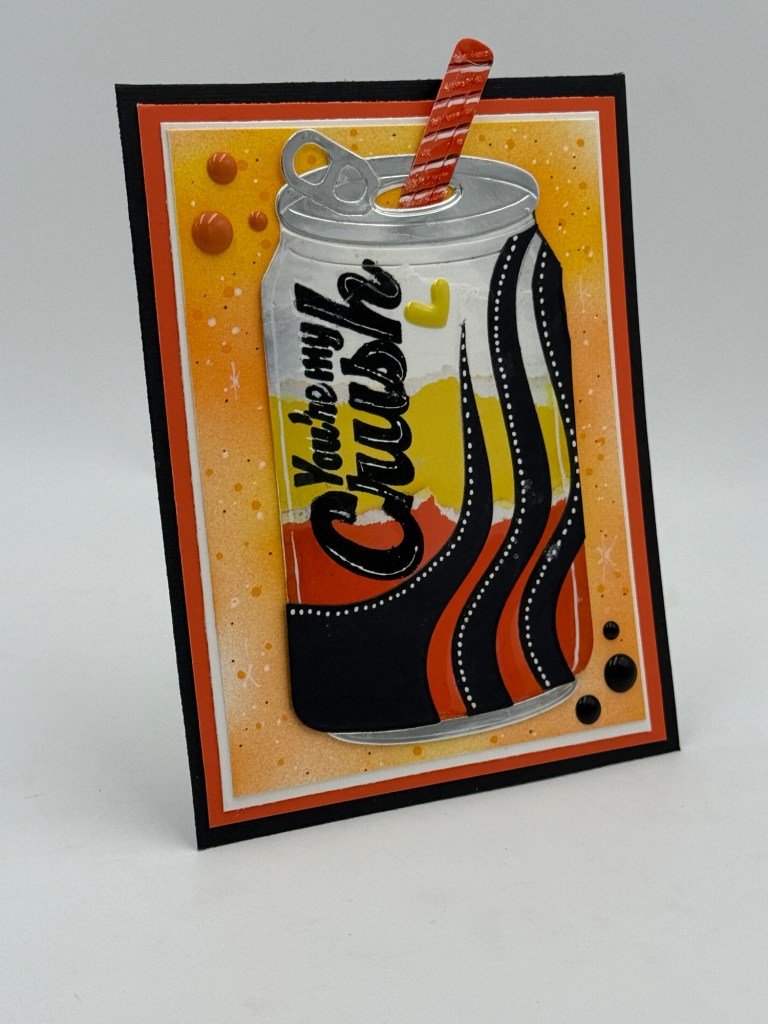
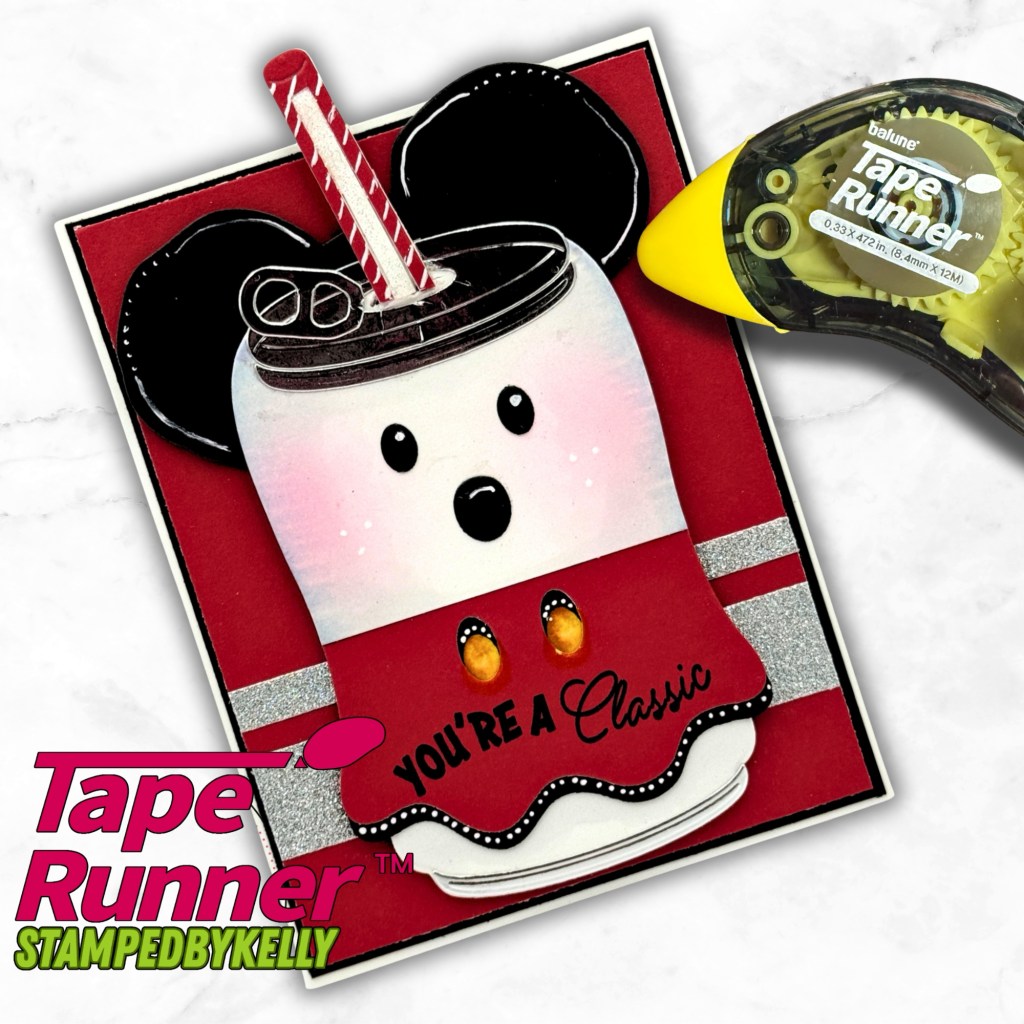
I reached for The Sassy Club Stamps Cola Pop Stamp Set and the Sassy Club Stamps Soda Can Die, then after a visit to Mickey’s Not So Scary Halloween Party, was inspired to create this fun modification that combines a classic color palette, a little wonky personality, and a secret place to write a special message.
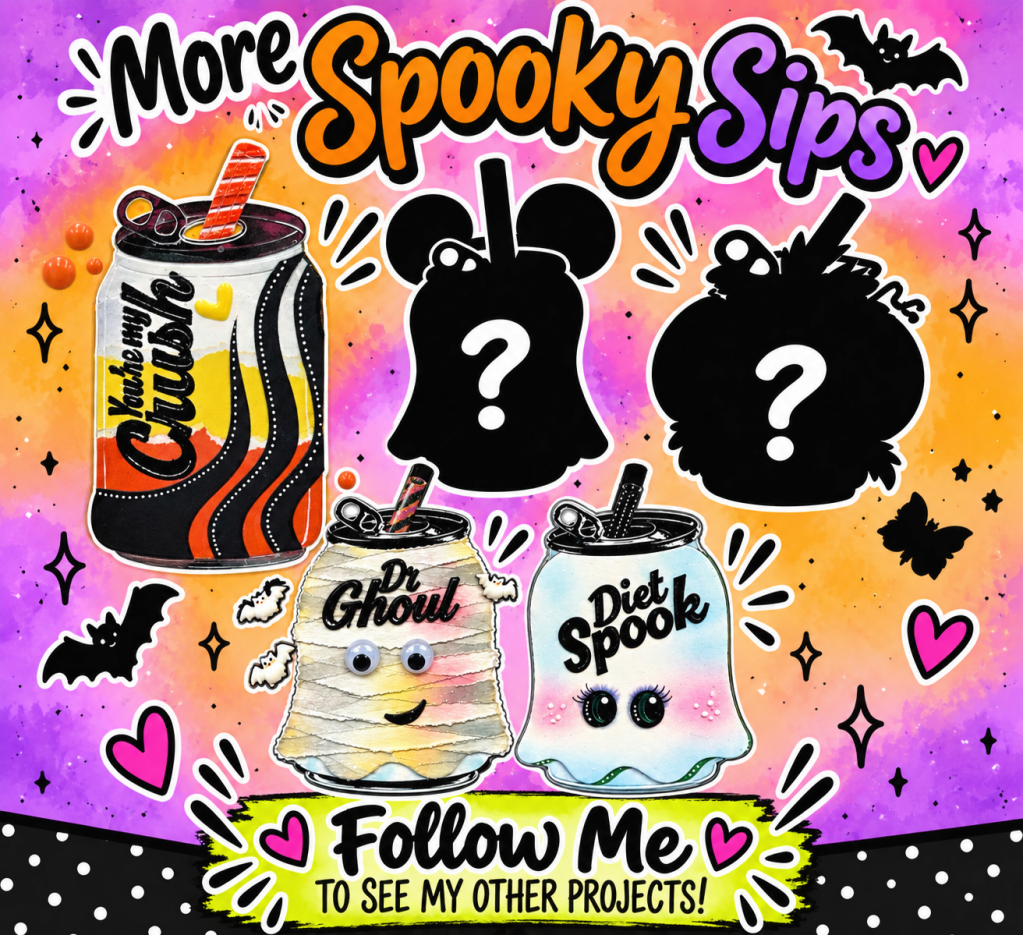
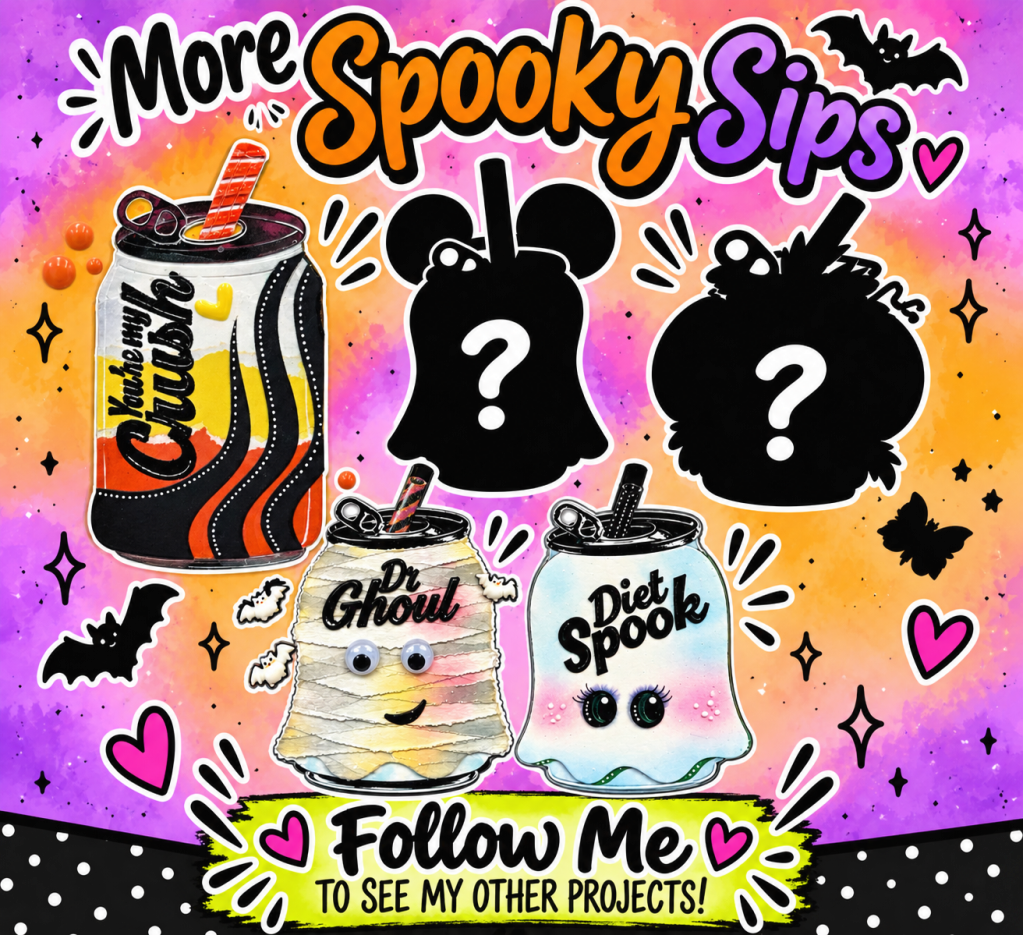
And yes, this little cutie is another addition to my More Spooky Sips collection! Follow me on Facebook at Stampedbykelly.
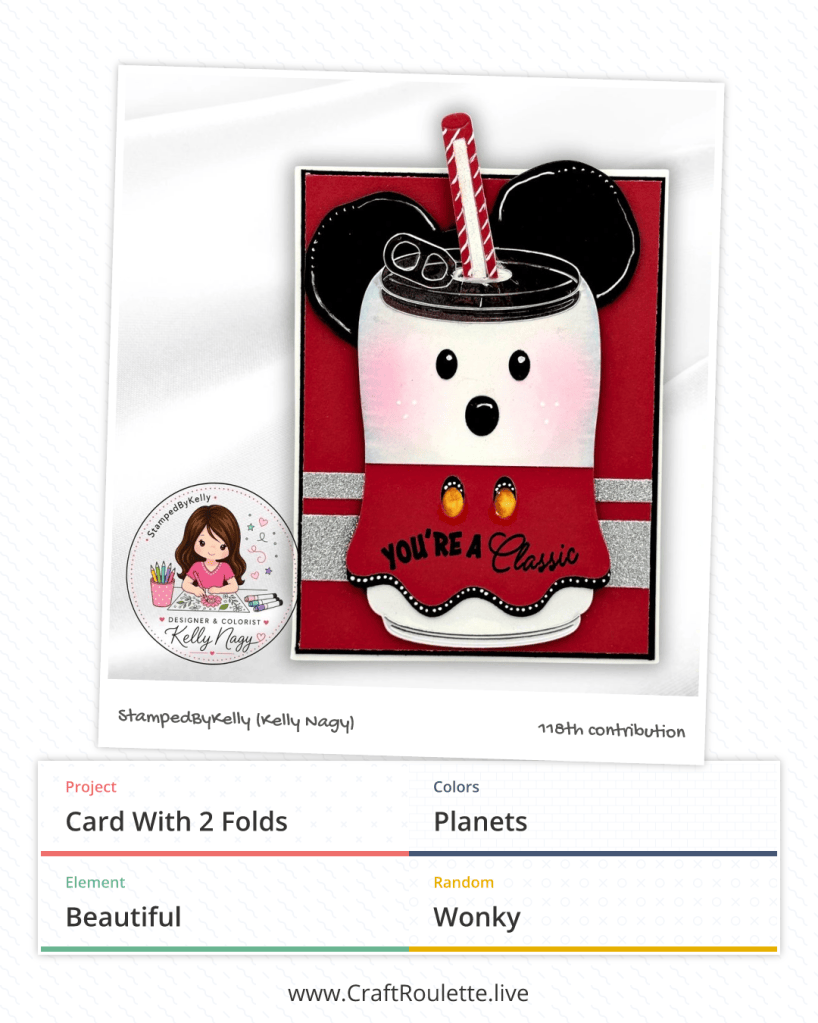
🎰 This Week’s Craft Roulette Parameters
- Project: Card with 2 Folds
- Colors: Planets
- Element: Beautiful
- Random: Wonky
Let’s see how I brought all four parameters together!
🪐 Planetary Colors — A Little Creative Interpretation!
When the wheel landed on Planets, I immediately started thinking about the beautiful colors found throughout our solar system.
Rather than trying to represent every planet, I focused on a few planetary color inspirations that would complement my mouse-inspired design.
My deep red cardstock reminds me of Mars, the Red Planet, while the soft pink and creamy white blending on my soda can brings to mind the beautiful cloud colors associated with Venus. I incorporated black accents for the darkness of space and sparkling silver elements inspired by the metallic and icy appearances we often associate with celestial landscapes.
Of course, I couldn’t resist adding those cheerful yellow buttons for a little extra sunshine!
I love how a color parameter can be interpreted creatively while still maintaining the overall personality of a project.
🐭 You’re a Classic!
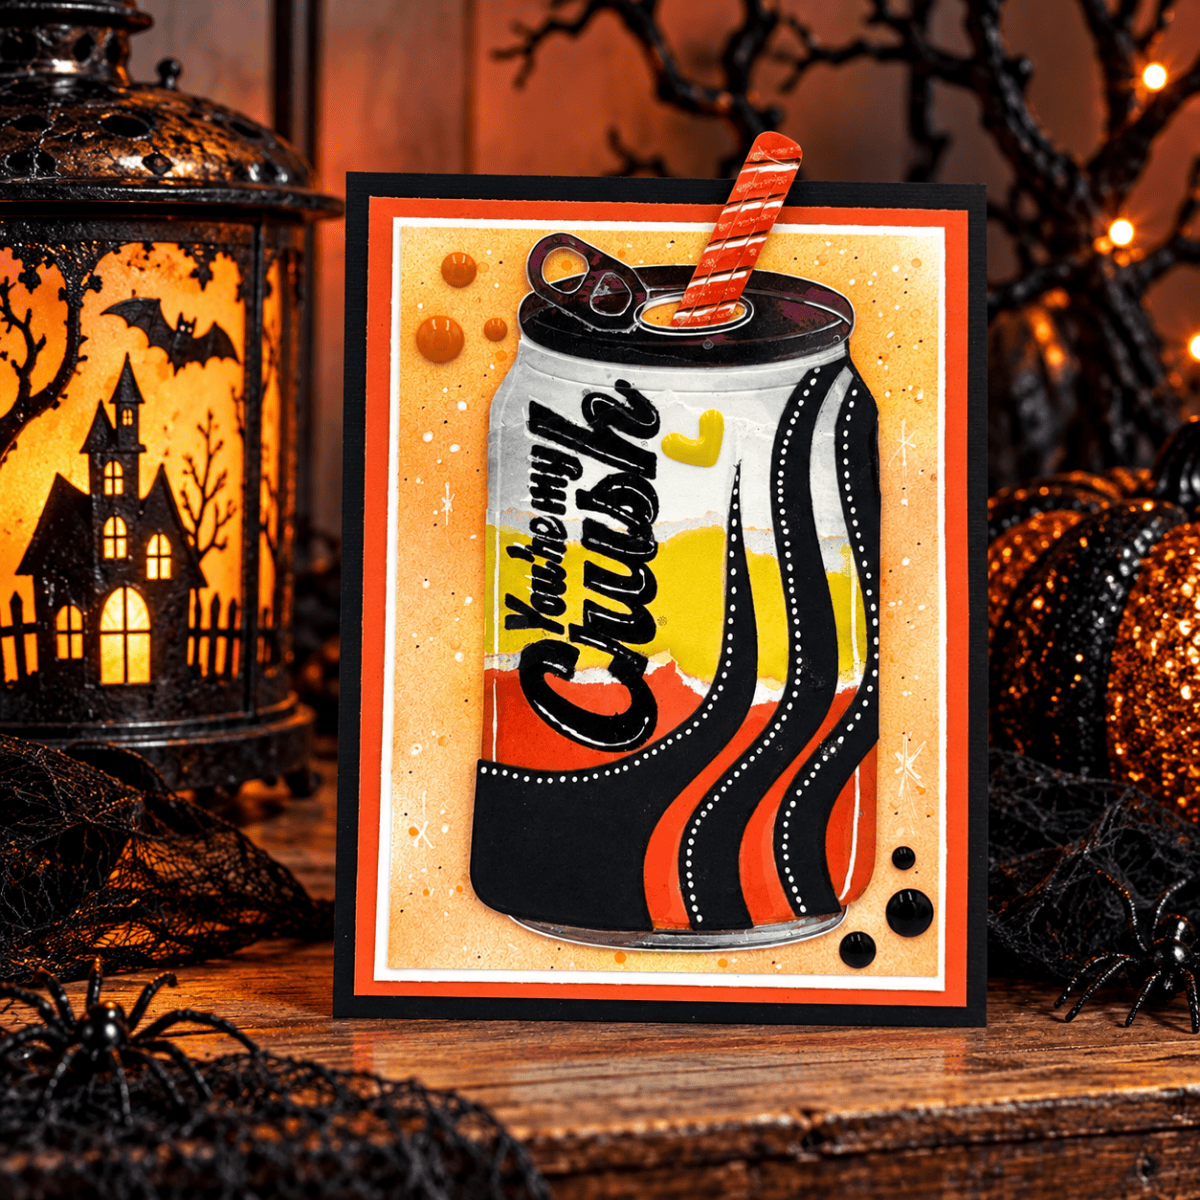
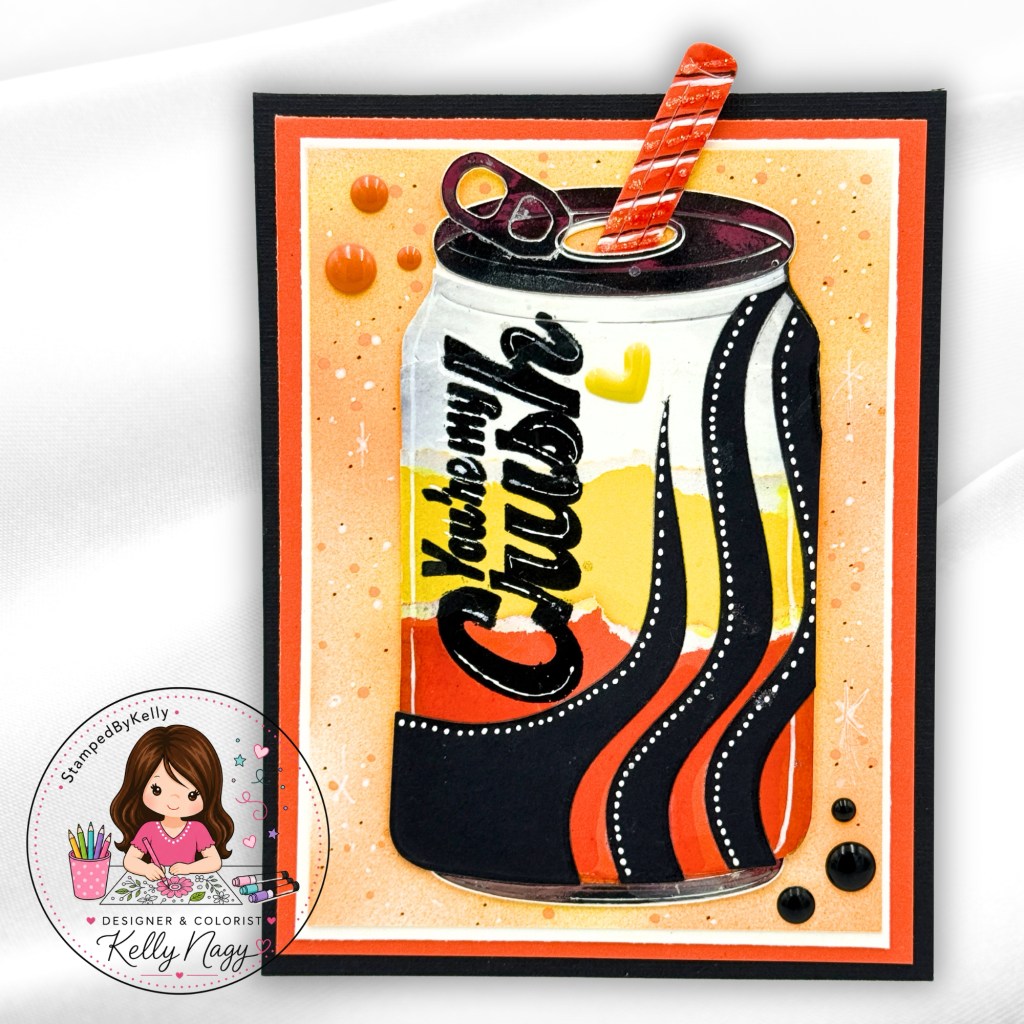
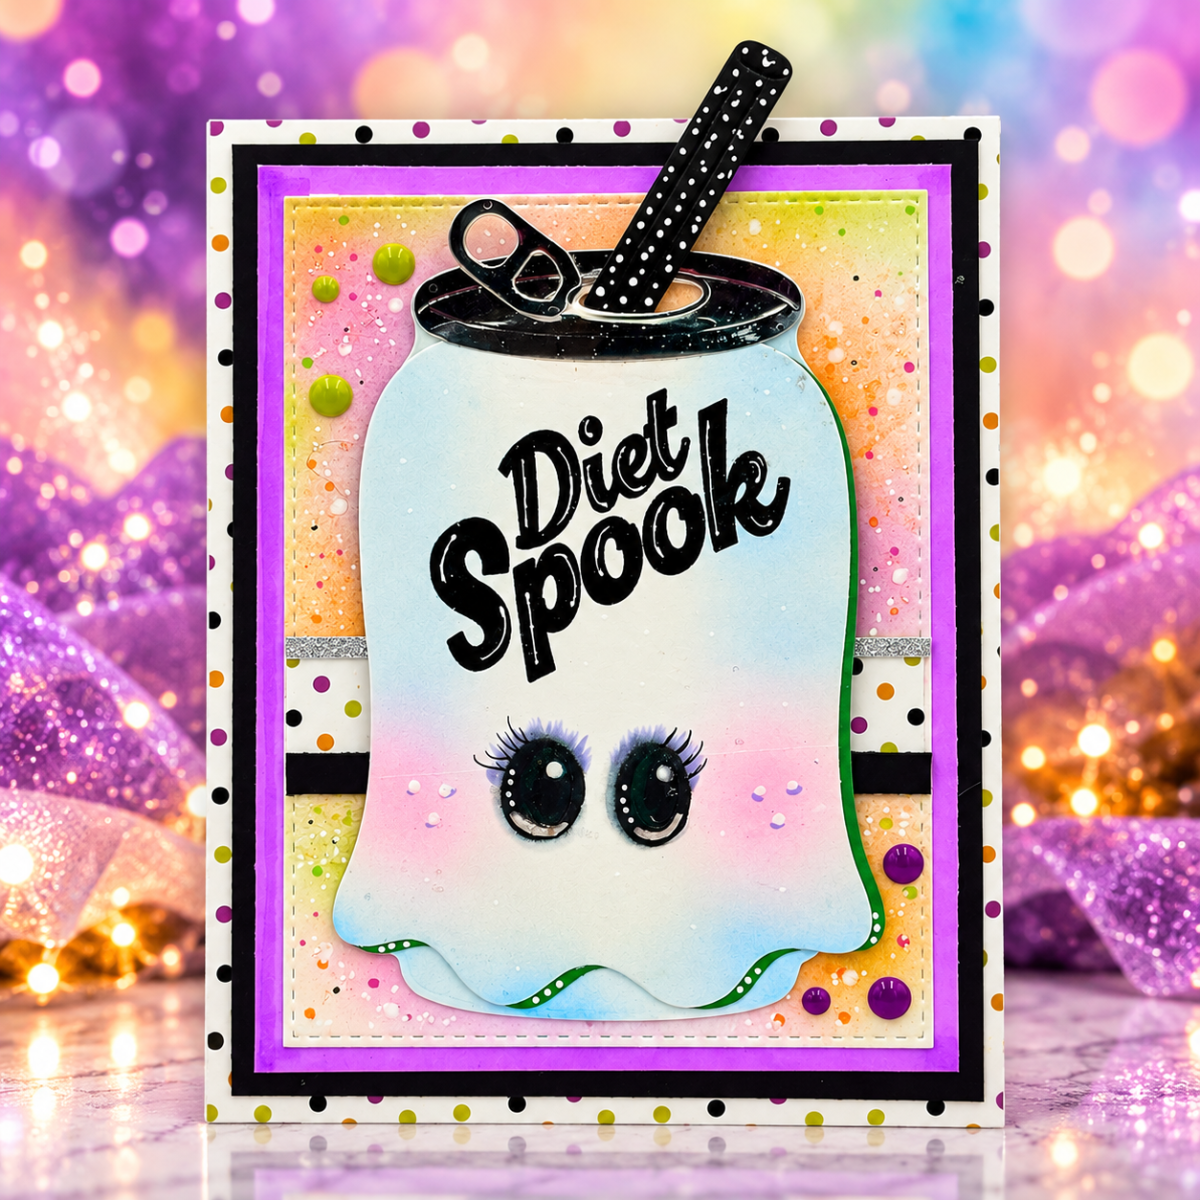
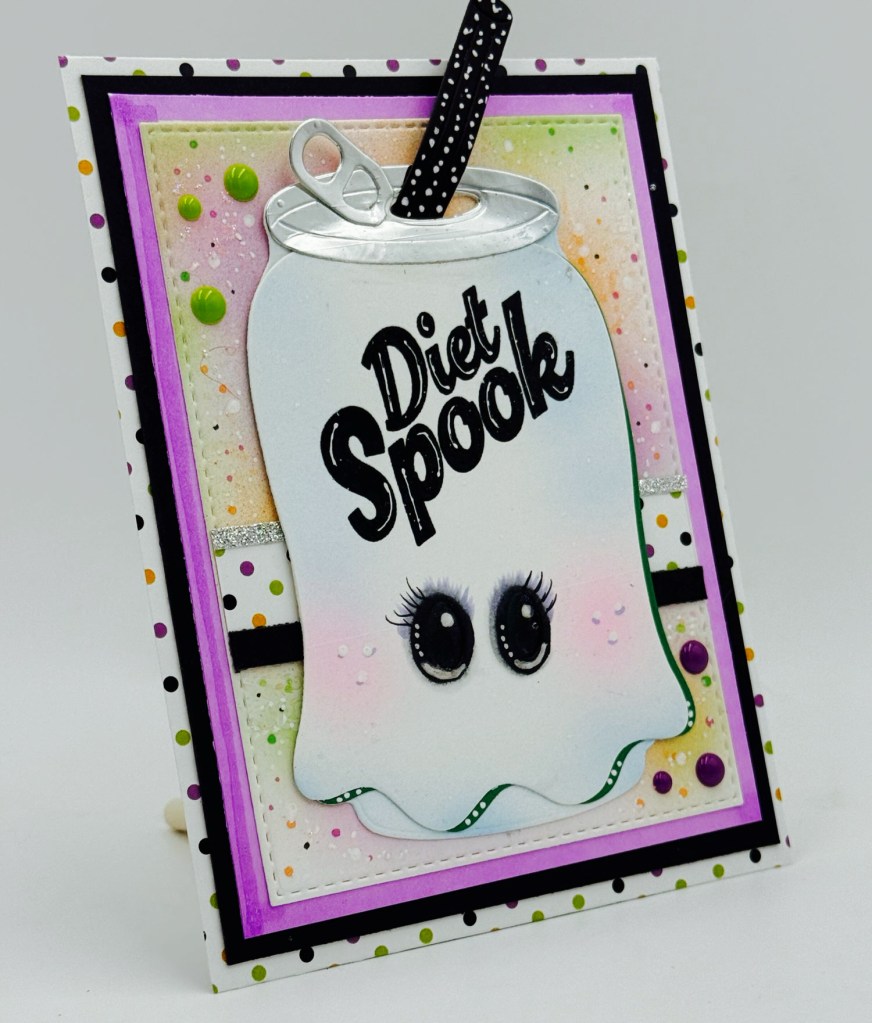
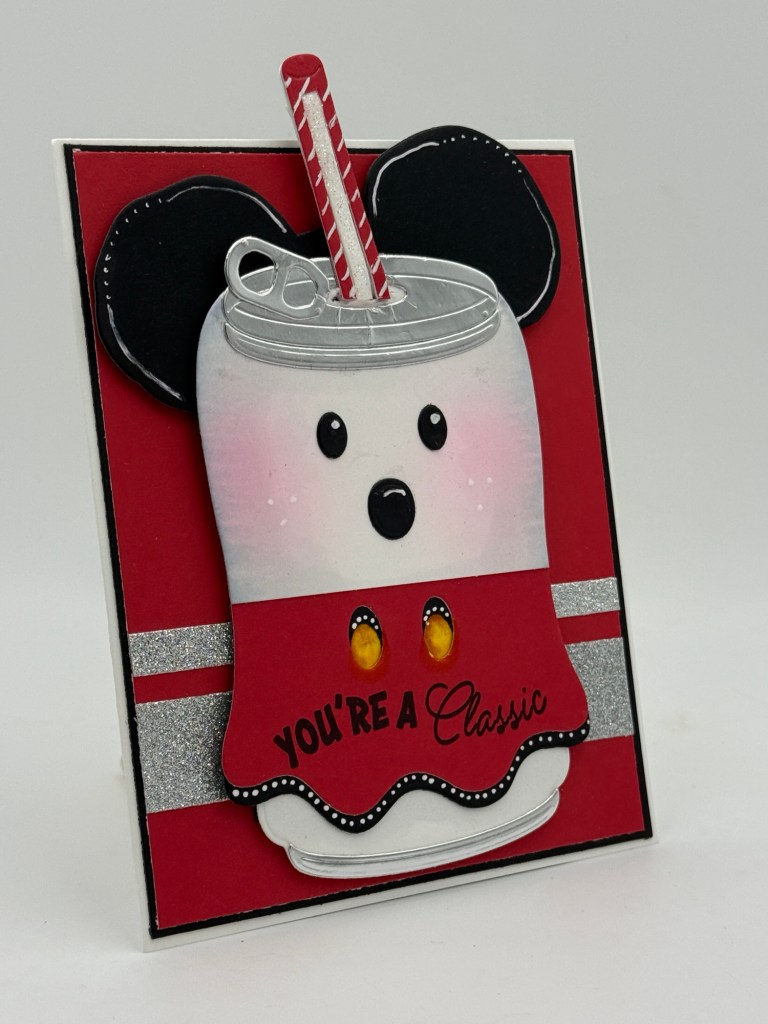
For my main focal point, I used The Sassy Club Stamps Cola Pop Stamp Set along with the Sassy Club Stamps Soda Can Die to create this adorable classic mouse-inspired character.
The black mouse ears, rosy cheeks, striped straw, and bright yellow buttons immediately give this little can its personality!
The sentiment “YOU’RE A Classic” seemed especially fitting. After all, some things just never go out of style!
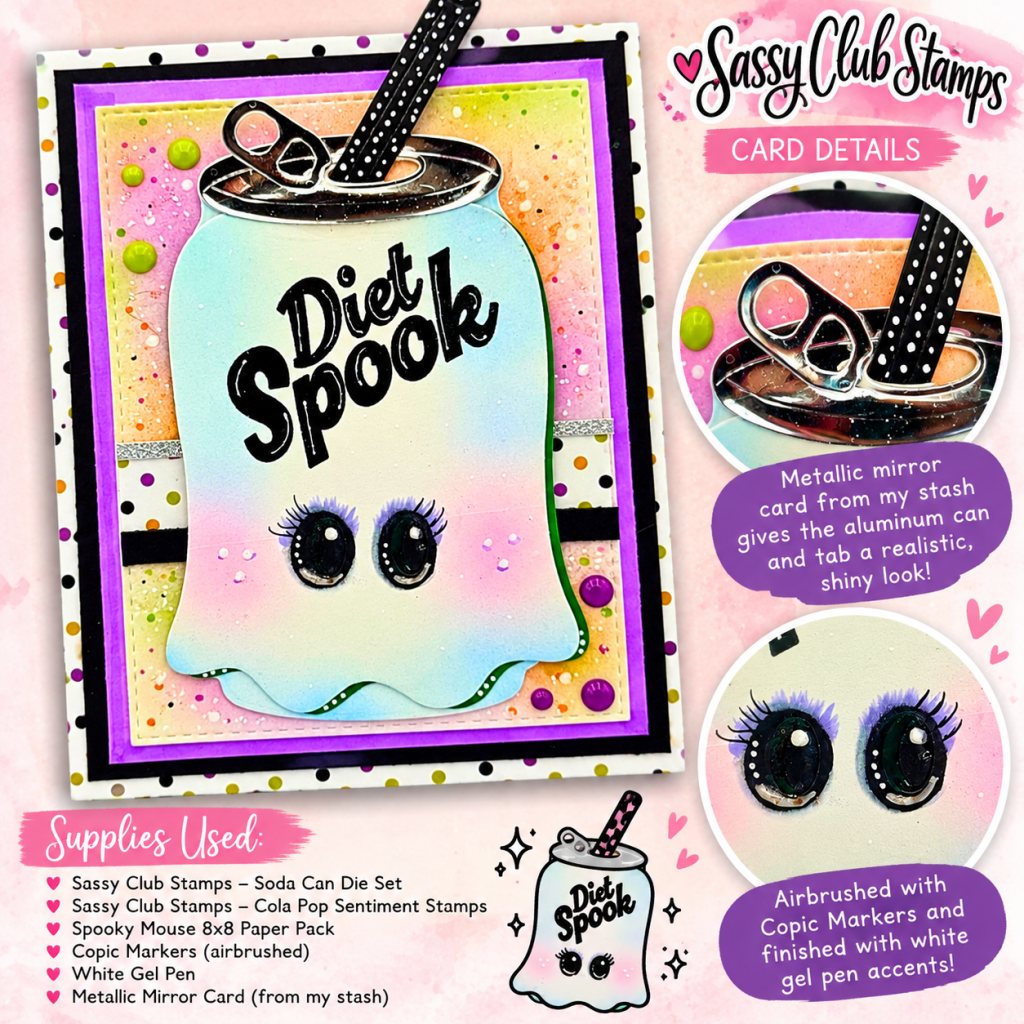
I also added a shiny metallic can lid and pull tab, along with little white gel pen highlights and dotted details.
Behind my character, I layered red cardstock over a thin black mat and added horizontal strips of silver glitter cardstock for just the right amount of sparkle.
✂️ Two Folds — With a Little Creative Paper Engineering!
Now, this is where I had some fun interpreting the Card with 2 Folds parameter!
My first fold is the traditional fold used to create my A2-size card base. This gives me the familiar greeting card format that opens to reveal the inside.
My decorated card front sits on top of that folded A2 card base.
But I wasn’t finished there! This is a photo dramatization of my “second” fold.
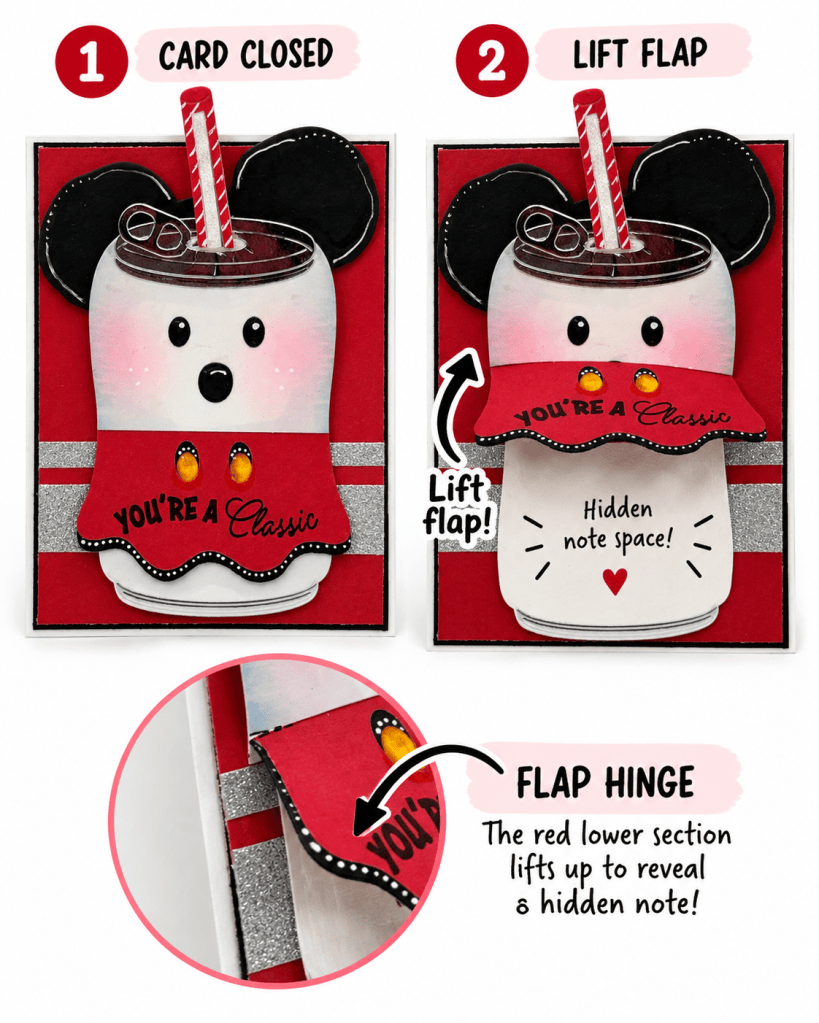
For my second fold, I created a scored hinge on the red lower portion of my soda can character.
That scored line allows the red section to fold upward like a little flap, revealing a hidden space underneath where a personal message can be written!
So technically, my second fold isn’t another fold in the actual card base. Instead, it’s a functional scored fold incorporated into the decorative element attached to the card front.
And I’m counting it! 😄
I love how it adds a fun interactive surprise without changing the overall appearance of the card.
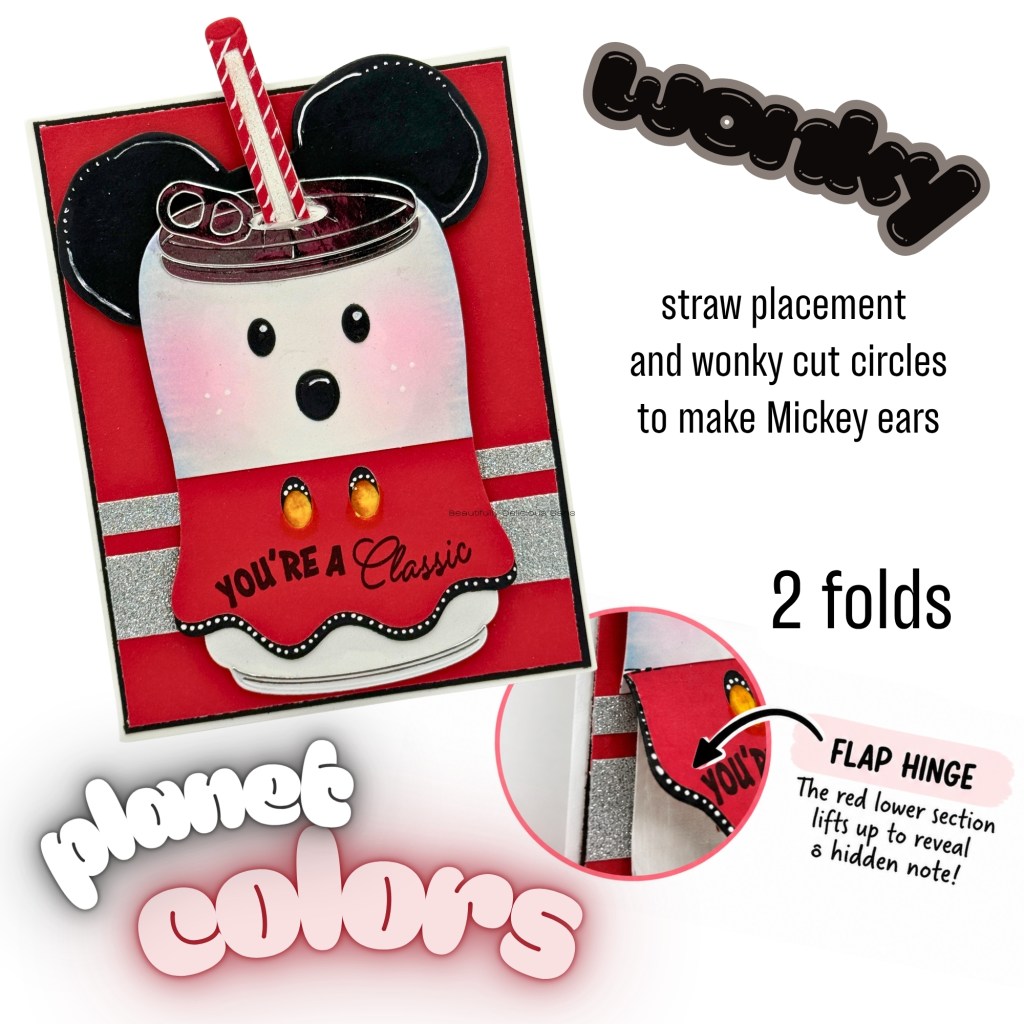
A little note tucked behind that adorable character makes the card even more personal. After all, part of the joy of handmade cards is giving someone a reason to smile!
🤪 Wonky Is Wonderful!
The Wonky parameter was another opportunity to have some fun!
Instead of using perfectly symmetrical die-cut circles, I cut my black mouse ears by hand, allowing them to have slightly uneven, wonky shapes.
I also placed the striped straw at an angle rather than straight up and down.
These little imperfections give the character personality and remind me that handmade doesn’t have to mean perfectly measured or perfectly symmetrical.
Sometimes wonky is exactly what makes something wonderful!
✨ The Beautiful Little Details
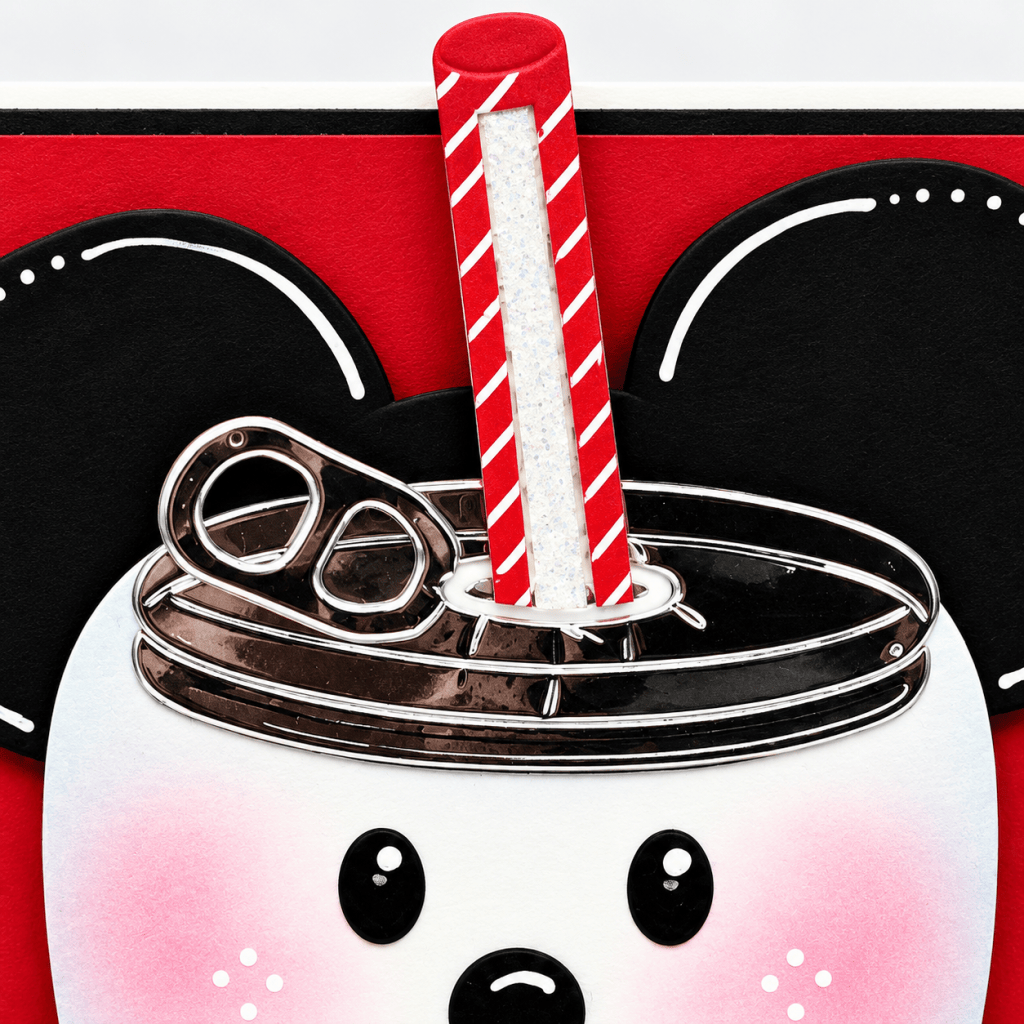
For the Beautiful parameter, I focused on all those little finishing touches that make a handmade card feel special.
From the softly blended rosy cheeks and the silver metallic lid to the glittery horizontal accents and tiny white gel pen dots, each detail adds a little charm.
I especially love the contrast between the bold red cardstock and the shimmer of the silver accents.
It’s amazing how a few small details can bring an entire character to life!
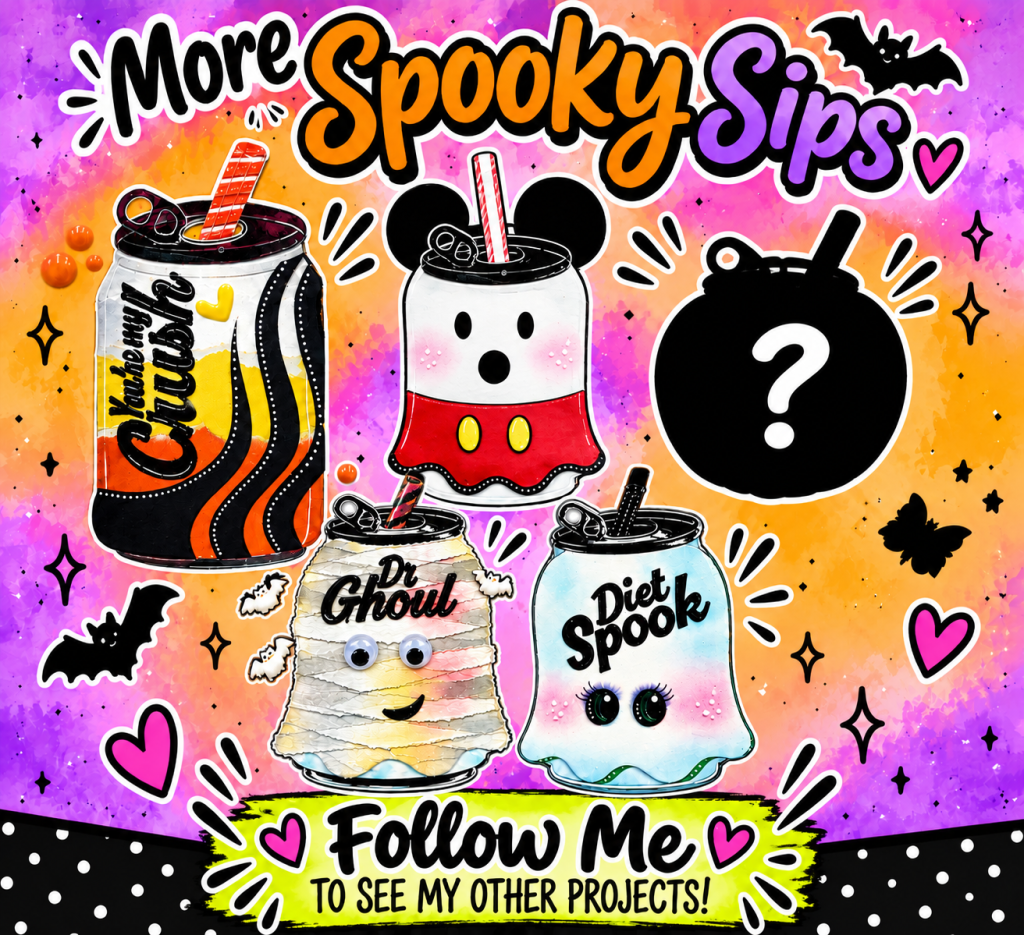
🥤 More Spooky Sips with The Sassy Club!
This little mouse-inspired soda can is another addition to my More Spooky Sips series featuring The Sassy Club Stamps Cola Pop Stamp Set and the Sassy Club Stamps Soda Can Die.
I’ve been having so much fun transforming the same basic soda can shape into different personalities!
Each new creation reminds me how versatile our crafting supplies can be when we start looking beyond their original purpose.
And there’s still another spooky sip waiting to be revealed!
💕 118 Submissions and Still Having Fun!
After 118 Craft Roulette submissions, I still get excited to see what those spinning wheels will challenge us to create next!
Some weeks the parameters come together easily. Other weeks they require a little imagination, a little experimenting, and maybe even a few creative interpretations.
But that’s the fun of it!
Whether you’re an experienced cardmaker or someone who has never picked up a stamp or die-cutting machine, I hope my projects encourage you to give something creative a try.
You don’t need to be an artist to enjoy creating. Sometimes all you need is paper, a few favorite supplies, and a crafty friend to inspire you along the way.
Thank you for stopping by and sharing a little craft therapy with paper with me today!
Until next time, keep crafting, keep smiling, and never be afraid to get a little wonky!
Happy crafting! 💗
Kelly
StampedbyKelly
🛍️ Supplies Used
- The Sassy Club Stamps — Cola Pop Stamp Set
- The Sassy Club Stamps — Soda Can Die
- Classic red, black, and white cardstock
- Metallic silver cardstock
- Silver glitter cardstock
- Blending inks for rosy cheeks
- White gel pen
- Scoring tool for the interactive flap
- Adhesive and foam tape
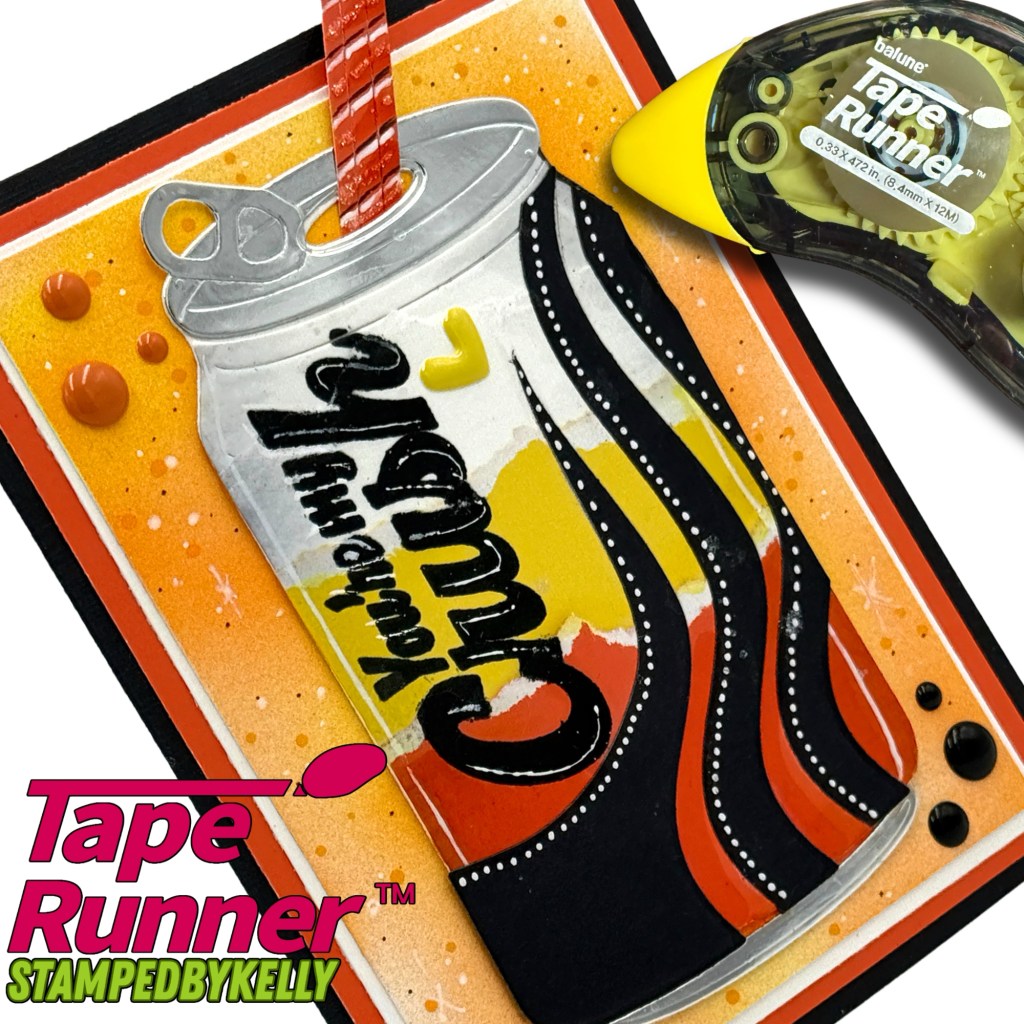
- Dry adhesive — handheld tape runner
🌸 Follow Along for More Crafty Inspiration!
Blog: http://www.stampedbykelly.blog
Instagram: @stampedbykelly
YouTube: @stamped_by_kellyb
Craft Roulette: http://www.CraftRoulette.live