Welcome friends! Today I’m excited to share my latest project for the Pajama Crafter Stamps Adventure Awaits Inspiration Hop! This special hop is filled with creative projects inspired by courage, patriotism, service, and unforgettable journeys.
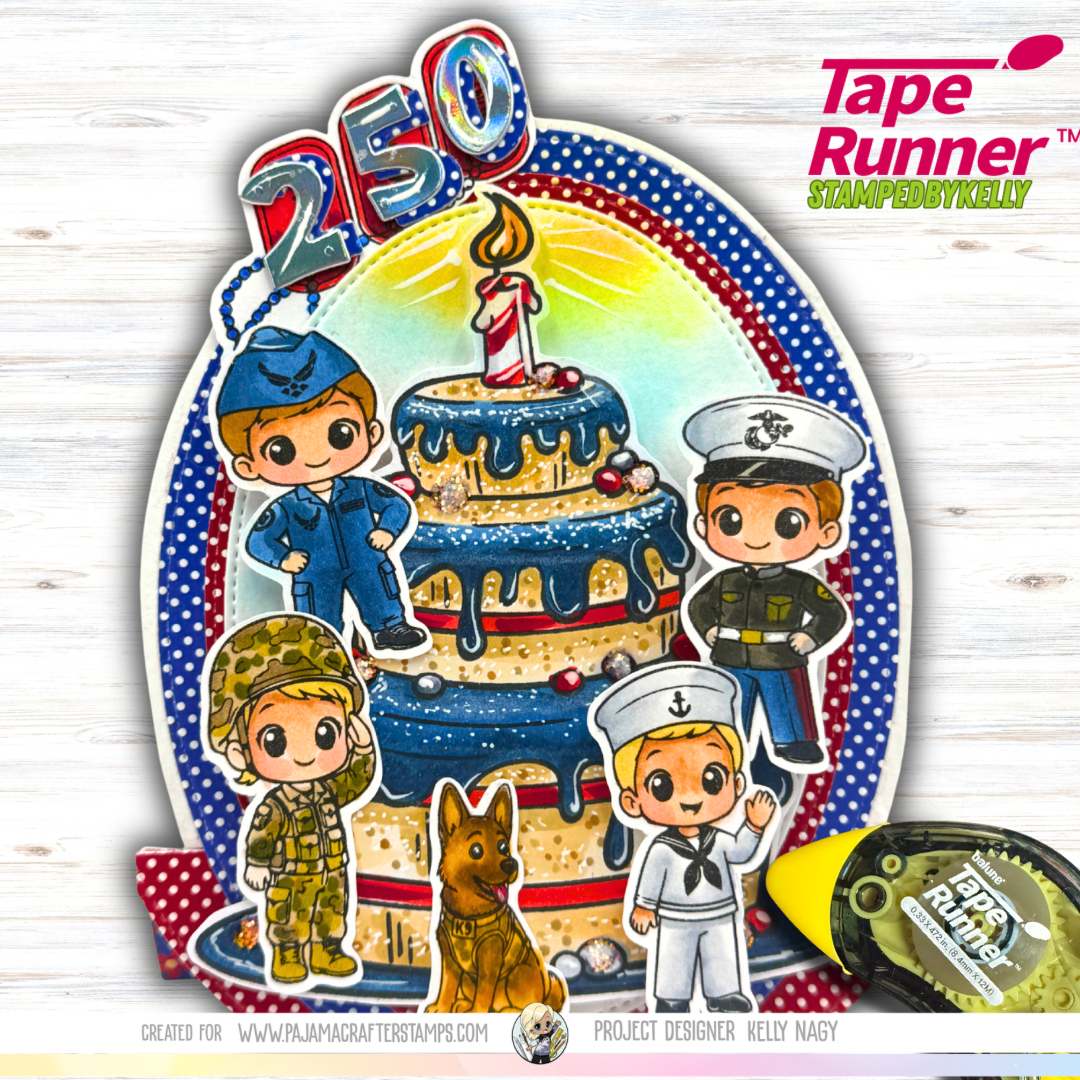
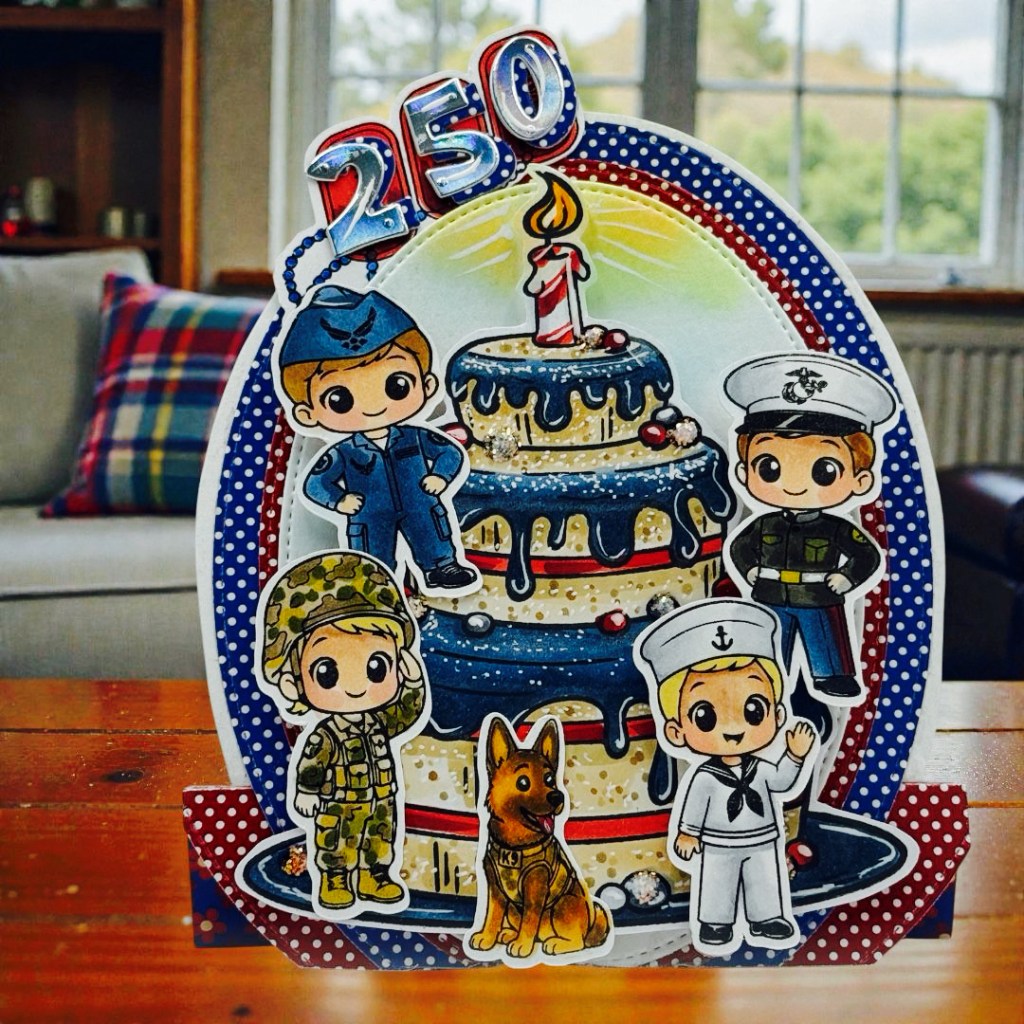
For my project, I wanted to celebrate a very special milestone—America’s 250th Birthday in 2026! I created a dimensional easel card featuring a festive red, white, and blue birthday cake surrounded by adorable service members representing the various branches of the military. A loyal K9 companion adds the perfect finishing touch to this tribute to those who serve.
🇺🇸 Join the Instagram Hop!
The Adventure Awaits Inspiration Hop is officially underway over on Instagram! Be sure to hop along with the Pajama Crafter Stamps Design Team for inspiration featuring themes of:
- Adventure
- Military and patriotic projects
- Heroic journeys
- Nautical fun
- Courage and strength
- Legendary tales and imaginative scenes

There are so many incredible projects to discover, and you won’t want to miss all the creativity!
Follow me on Instagram: @StampedByKelly
✨ About My Card
This easel card was designed to honor both our nation’s 250th anniversary and the men and women who serve. I combined bright patriotic colors, playful characters, and lots of sparkle to create a keepsake card that can be displayed and enjoyed long after the celebration.
The layered design creates wonderful dimension while the large “250” topper makes the occasion the star of the show.
❤️ Products Used
🇺🇸 New Release Product
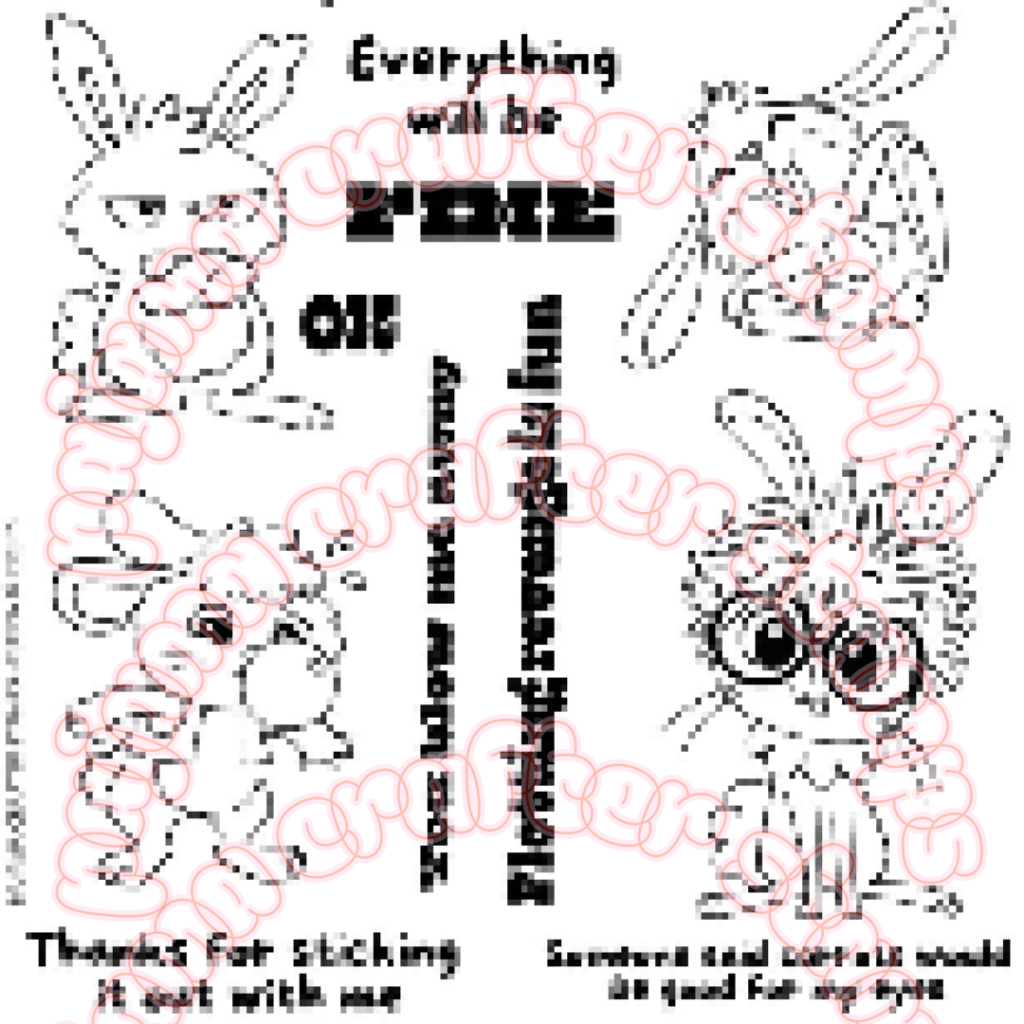
❤️ Freedom Isn’t Free Stamp Set
🤍 Coordinating Products
🤍 Forever 29 Cake Stamp Set
💙 Vintage Americana 6×6 Patterned Paper Pack
❤️ Holographic Specialty Cardstock
🤍 Die-cutting machine
💙 Copic markers
❤️ White gel pen accents
🤍 Glitter embellishments and gems
🎨 Copic Marker Colors
Skin
- E000
- E00
- E11
- R20
Hair
- Y21
- Y26
- E35
Navy Blue
- B24
- B26
- B29
Red
- R24
- R27
- R59
Gold
- Y21
- Y26
- Y28
Gray/White Accents
- C1
- C3
- C5
🇺🇸 A Card with Meaning
As we look ahead to celebrating America’s 250th birthday, I wanted this card to reflect gratitude and appreciation for the brave men and women who protect our freedoms. The combination of the NEW Freedom Isn’t Free Stamp Set with the versatile Forever 29 Cake Stamp Set made it easy to create a festive patriotic celebration with a meaningful message.
Thank you so much for stopping by! I hope this project inspires you to create something meaningful and to join us for the Pajama Crafter Stamps Adventure Awaits Inspiration Hop.
Happy crafting!
💕 Kelly
Shop the Products
If you’d like to recreate this project, you can find these products and so much more using my affiliate link:
Click here to see the whole release!
(Affiliate links are used at no additional cost to you. They simply help support my crafty adventures and are always appreciated!)
Supplies Used
🇺🇸 Freedom Isn’t Free Stamp Set (NEW!)
🇺🇸 Forever 29 Cake Stamp Set
🇺🇸 Vintage Americana 6×6 Patterned Paper Pack
🇺🇸 Holographic Specialty Cardstock
🇺🇸 Copic Markers
🇺🇸 White Gel Pen
🇺🇸 Glitter Embellishments and Gems