

Hey crafty friends!
I’ve been busy working on some fun card projects using the December 2025 release from Scrappy Boy Stamps, and trust me, there’s something for everyone in this collection! 🎉💖 From “Noble Traditions” to “Little Orphans” and “Shabubu,” you’re going to adore this release! My tape runner dry adhesive made putting together these cards simple and clean. No sticky fingers!
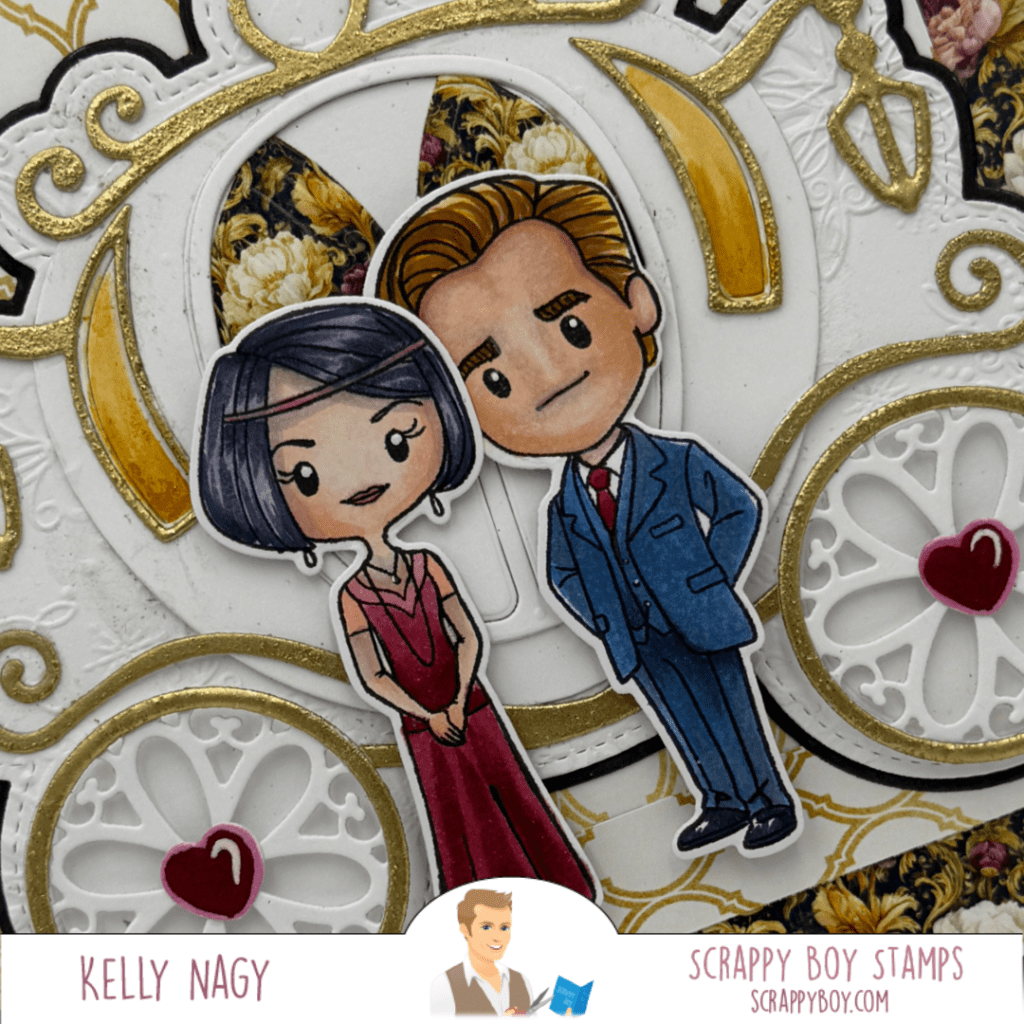
1️⃣ Noble Traditions Card
In my first project, I created an elegant square design featuring images from the Noble Traditions release, paired with the stunning Fairytale Carriage Mini Album Die Set. To elevate the look, I used the coordinating paper pack and sprinkled some gold embossing powder for that extra touch of glitz! 👑✨

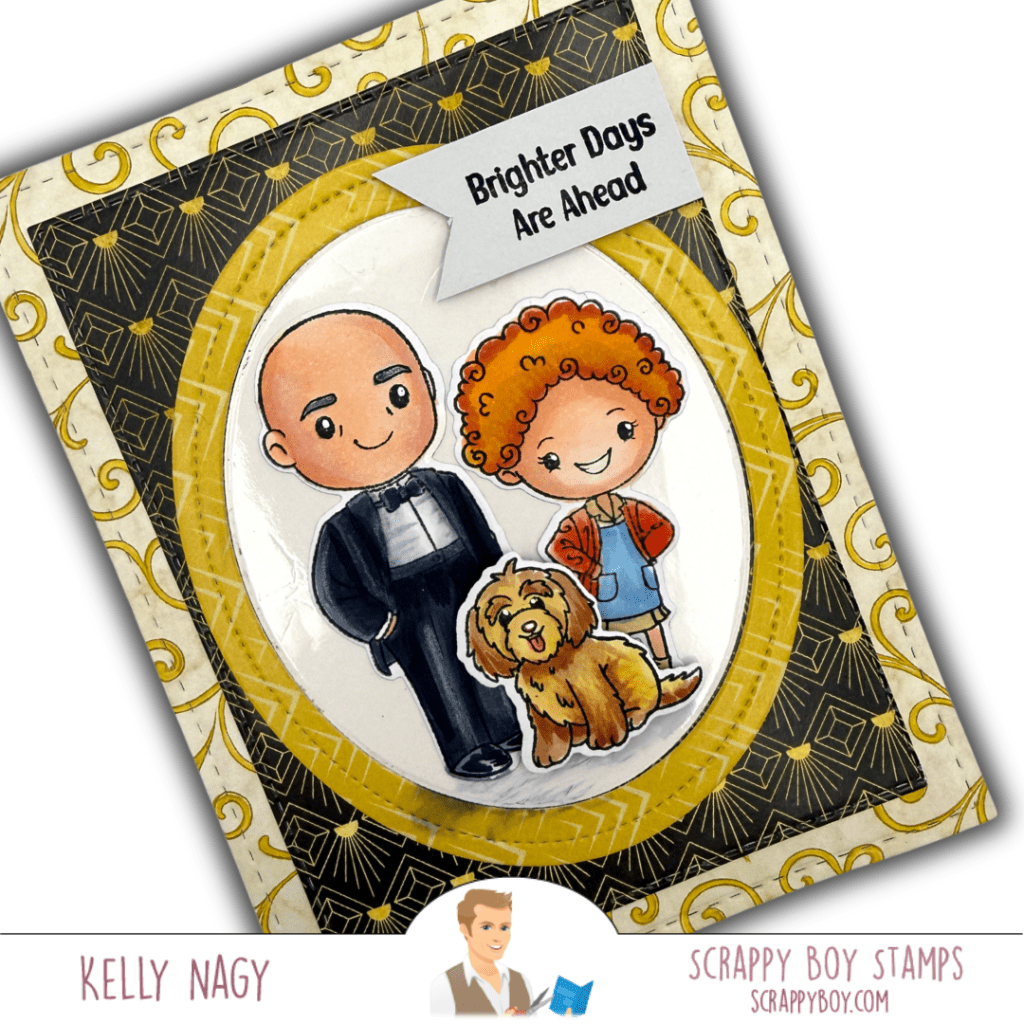
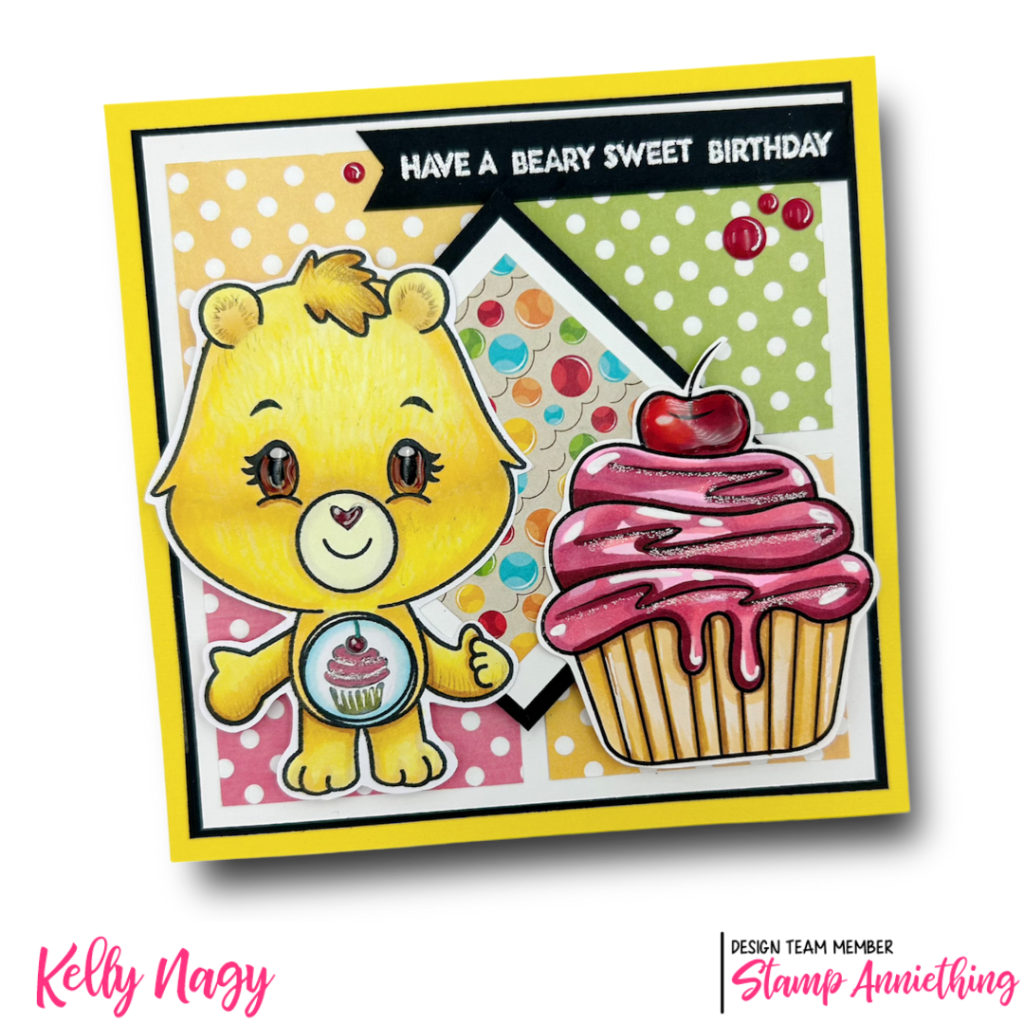
2️⃣ Little Orphan Card
For my second project, I made an A2 size card using the adorable Little Orphan set. I paired it with the coordinating paper pack, using both my Stitched Rectangles and Stitched Ovals. After stamping the images, I brought them to life with my trusty Copics! 🖌️💖
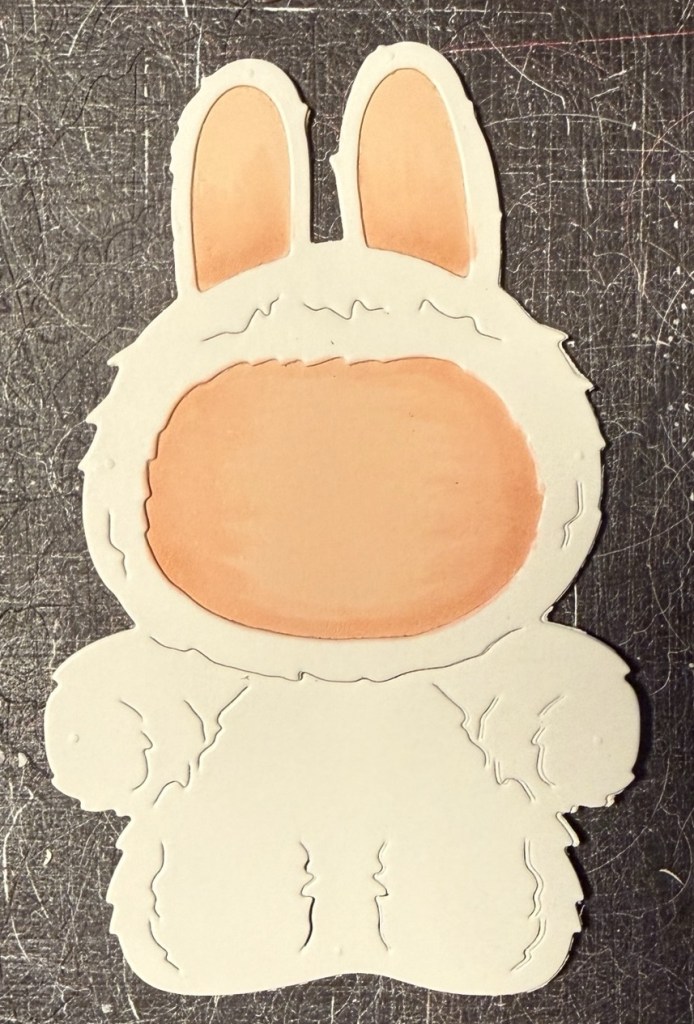
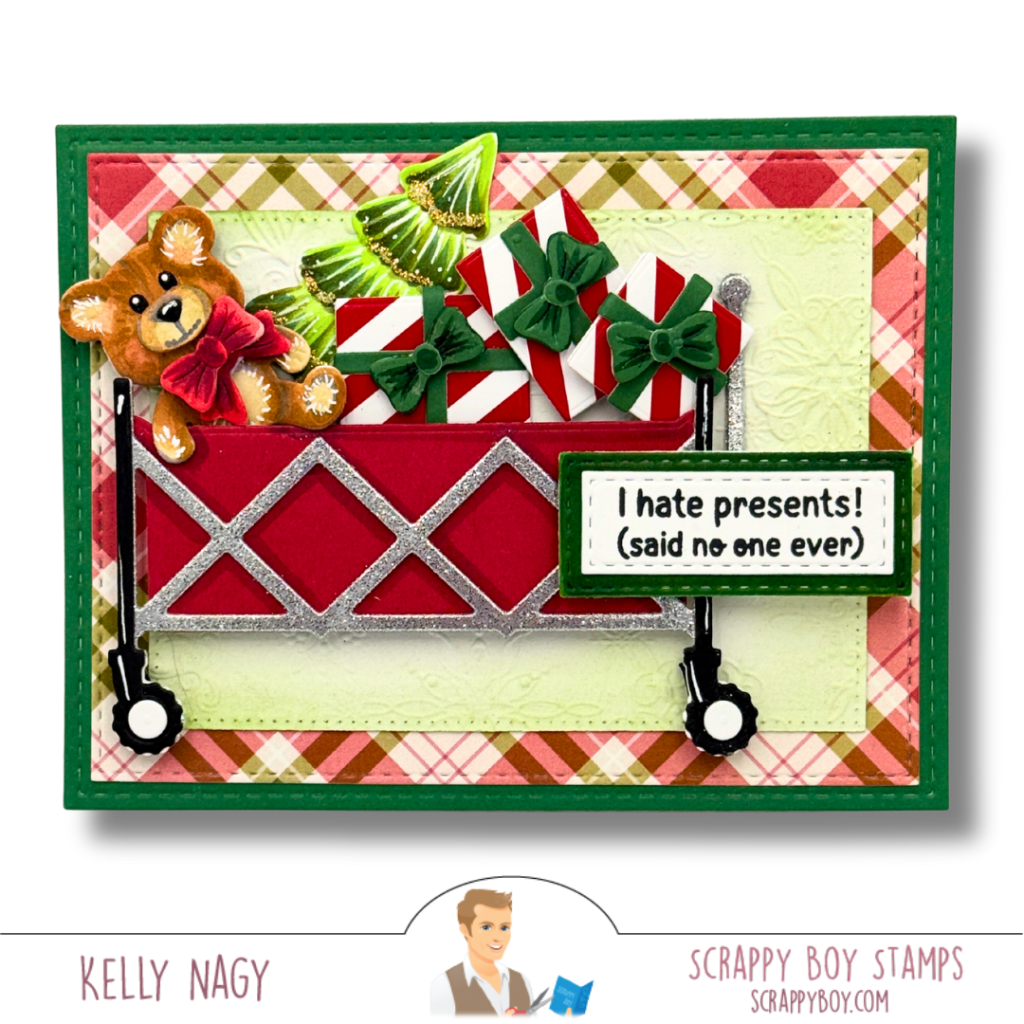
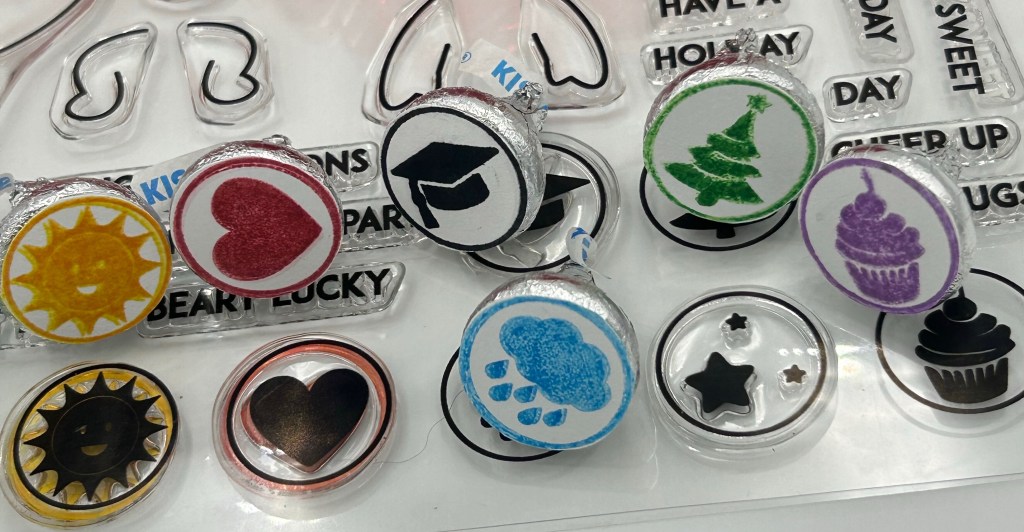
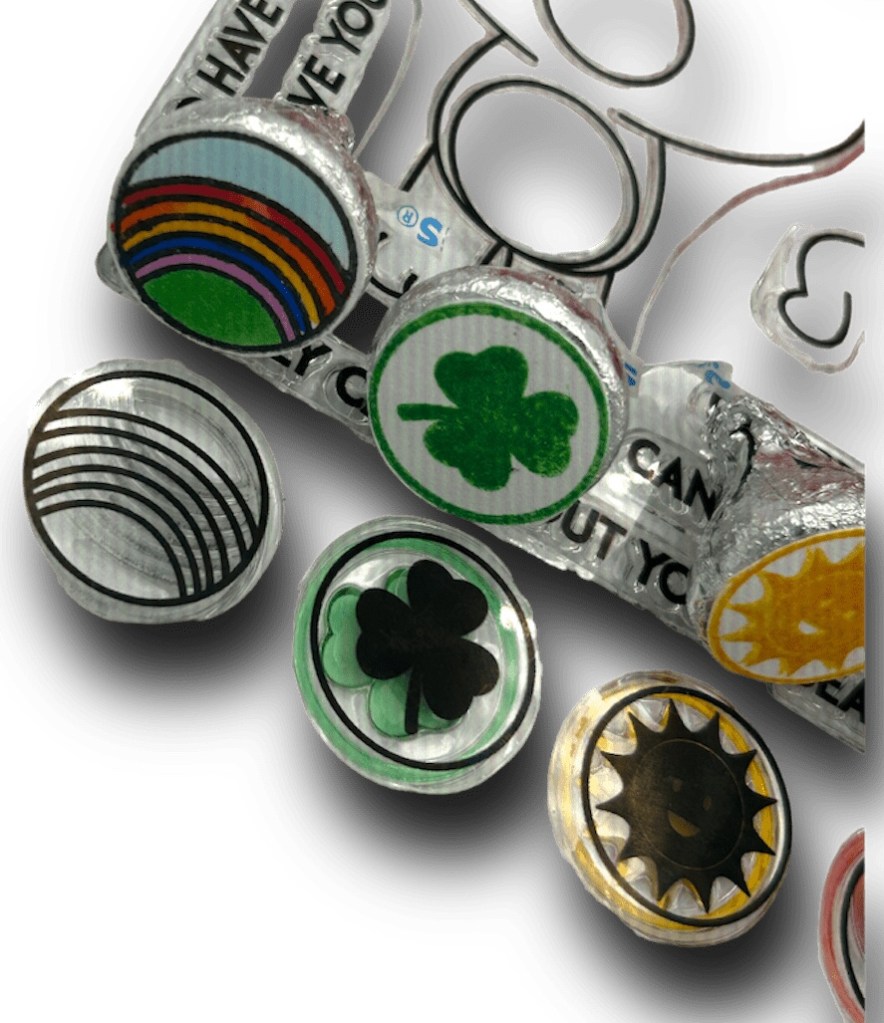
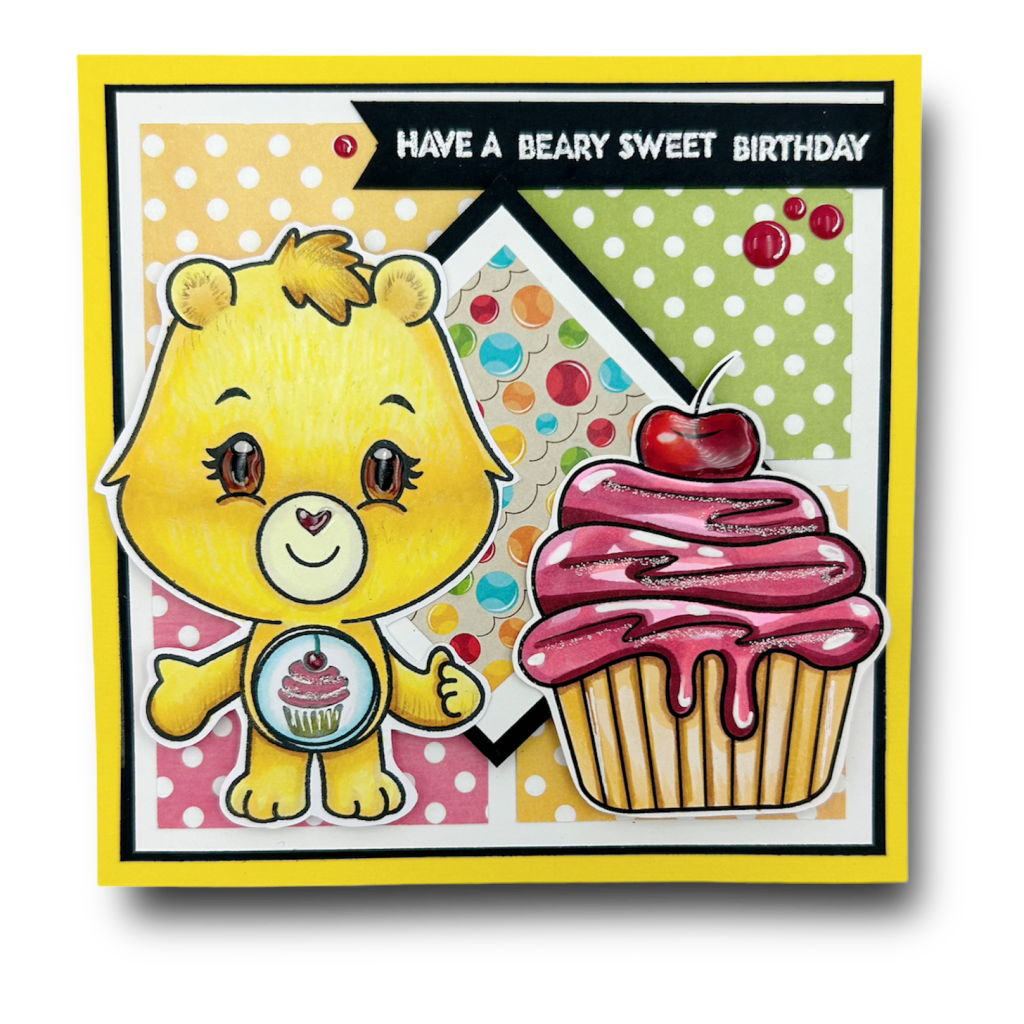
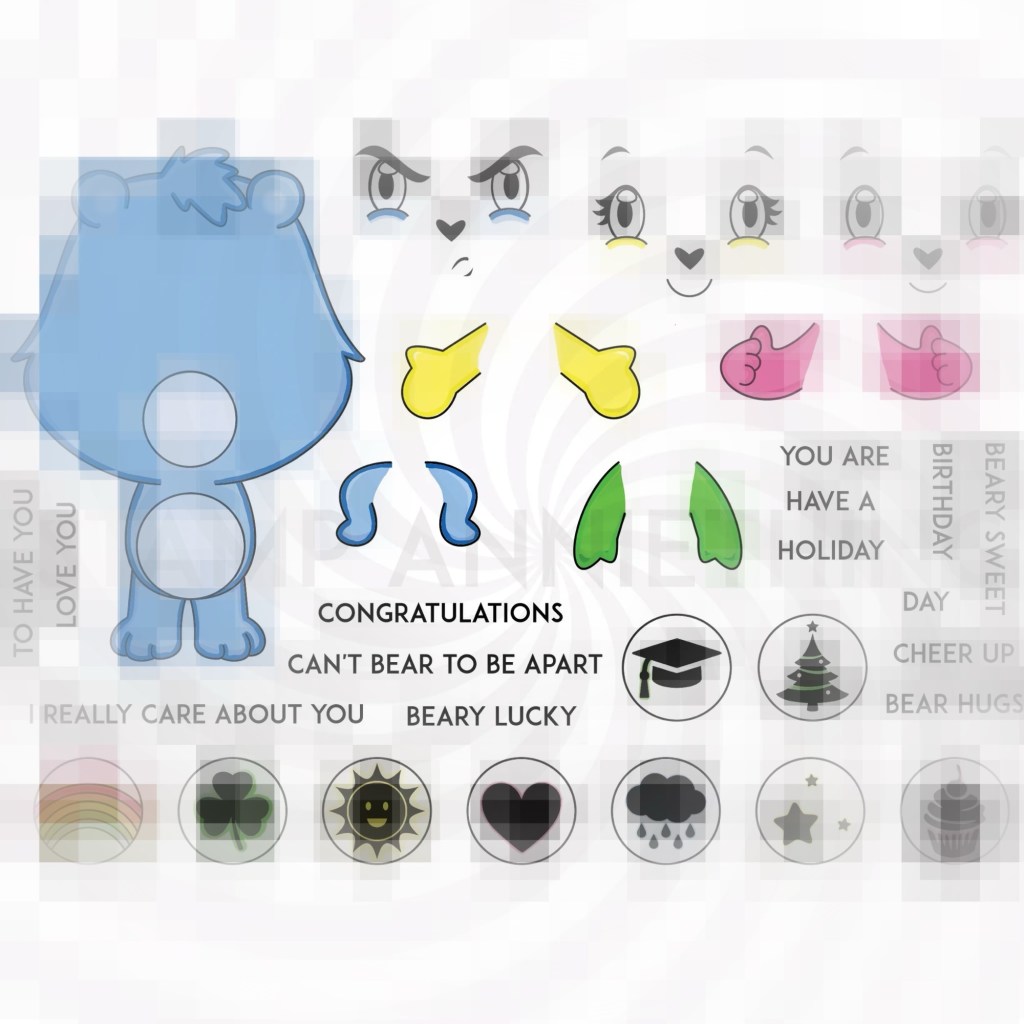
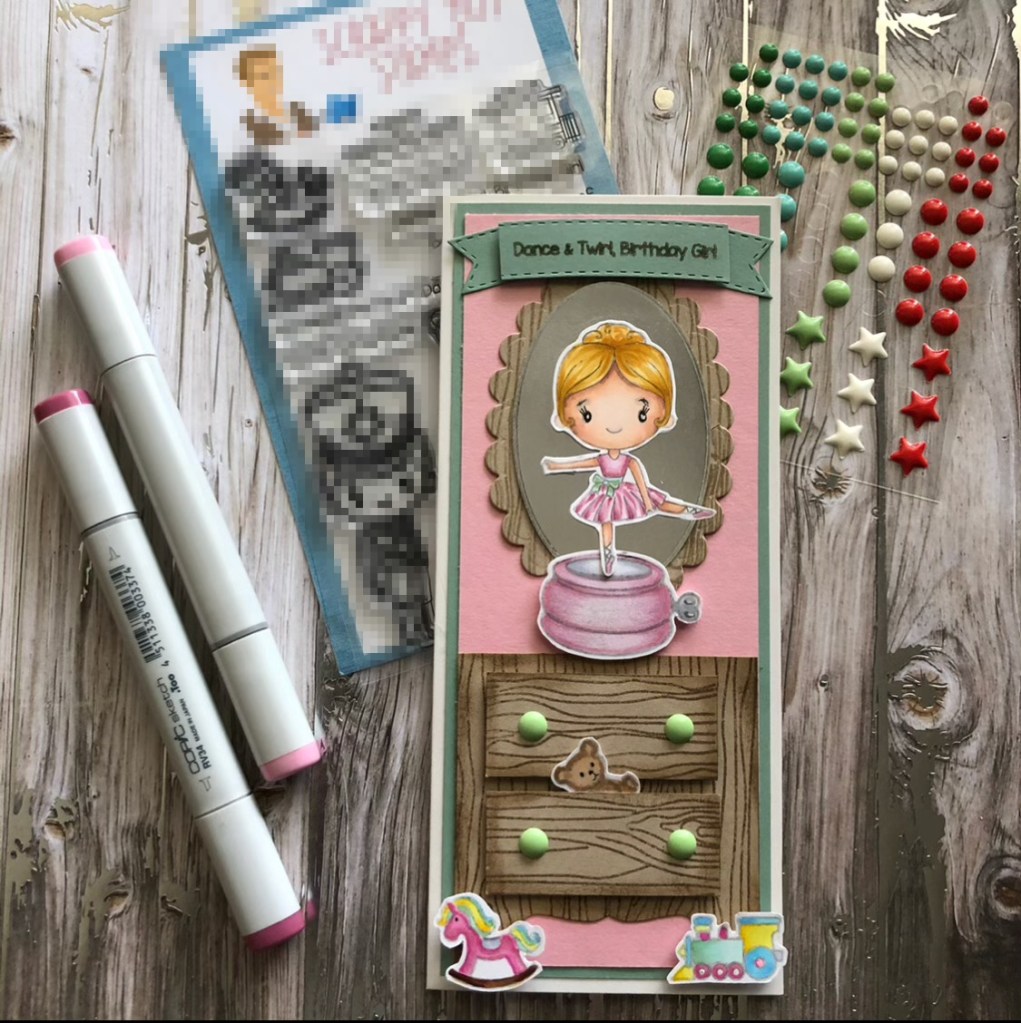
3️⃣ Shabubu Shaped Card
Finally, I crafted a super fun Shabubu shaped card using fur-patterned paper that resembles real plush! I cut it with a die and paired it with a cute teddy bear from a previous release called the Craft Wagon Add On Die Set. This is the base of my Shabubu! Now the fun begins!!
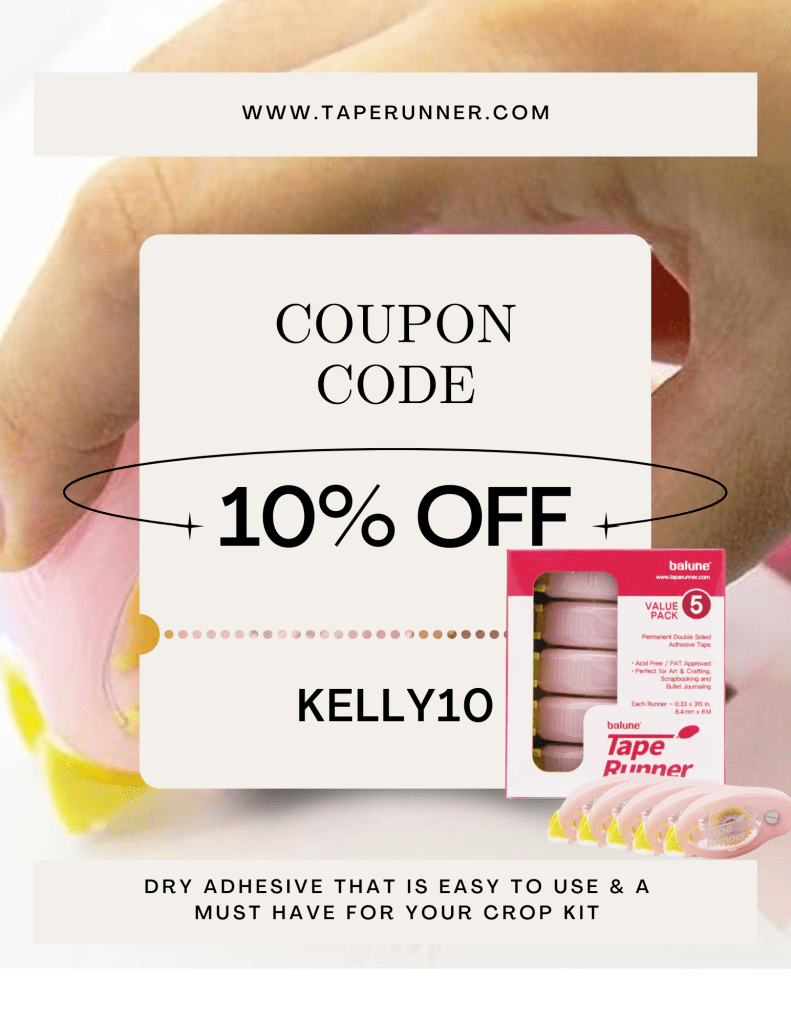
It’s all about personalizing and adding elements to create those cozy vibes! 🐻💕 I used my Tape Runner to put the pieces together. You can get 10% off your cart using promo code: KELLY10

📝 Don’t forget to follow me on social media @stampedbykelly, or check out my crafting Facebook page, Crafty Chaos and Creativity!
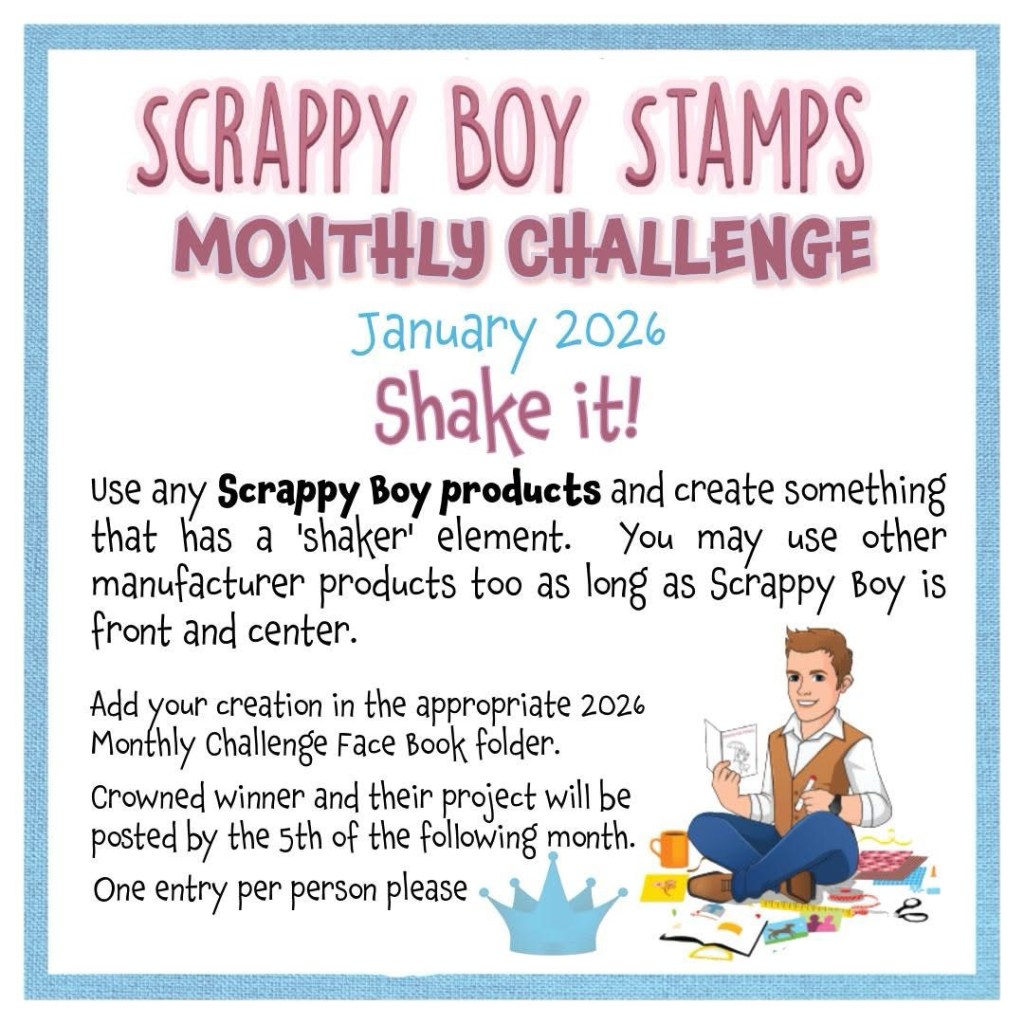
Let’s spread some crafting joy! Did you know that Scrappy Boy sponsors monthly challenges. Here is your opportunity to play along!🌈💌


