

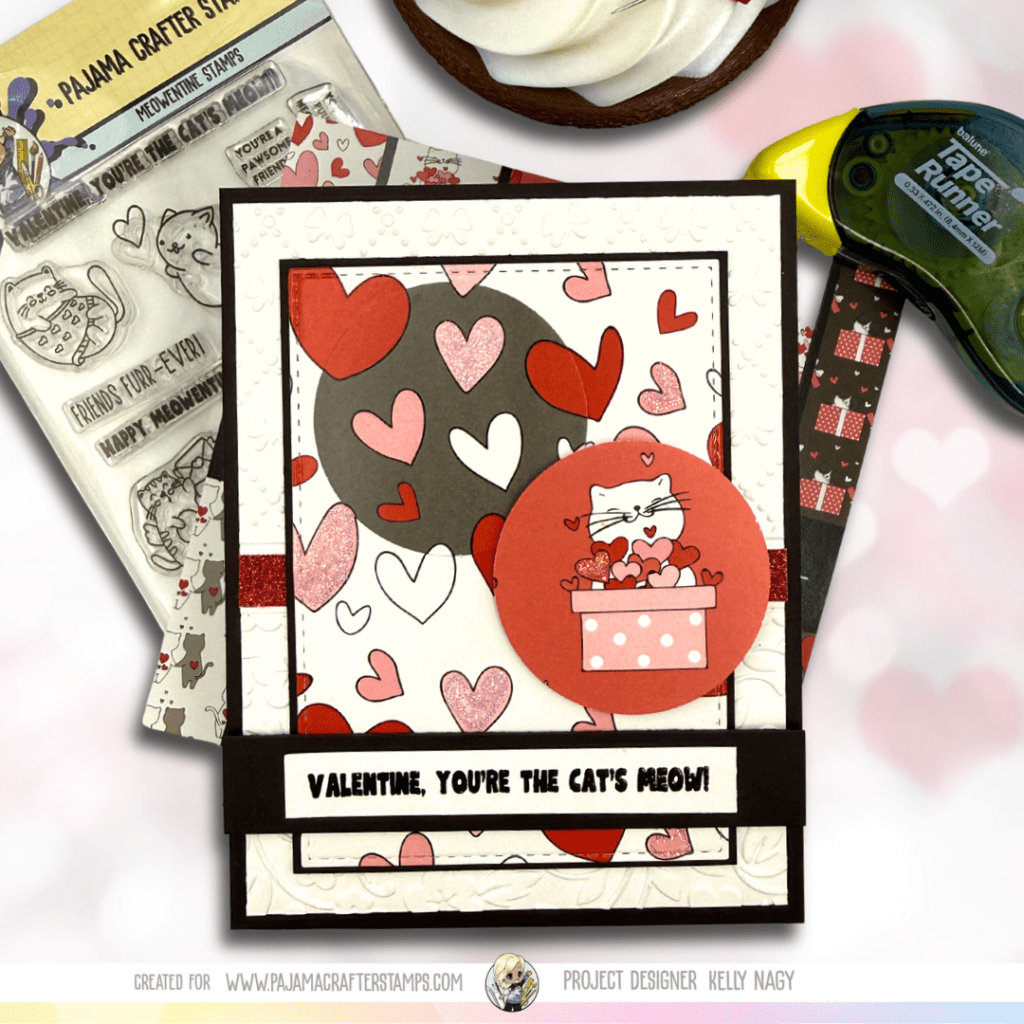
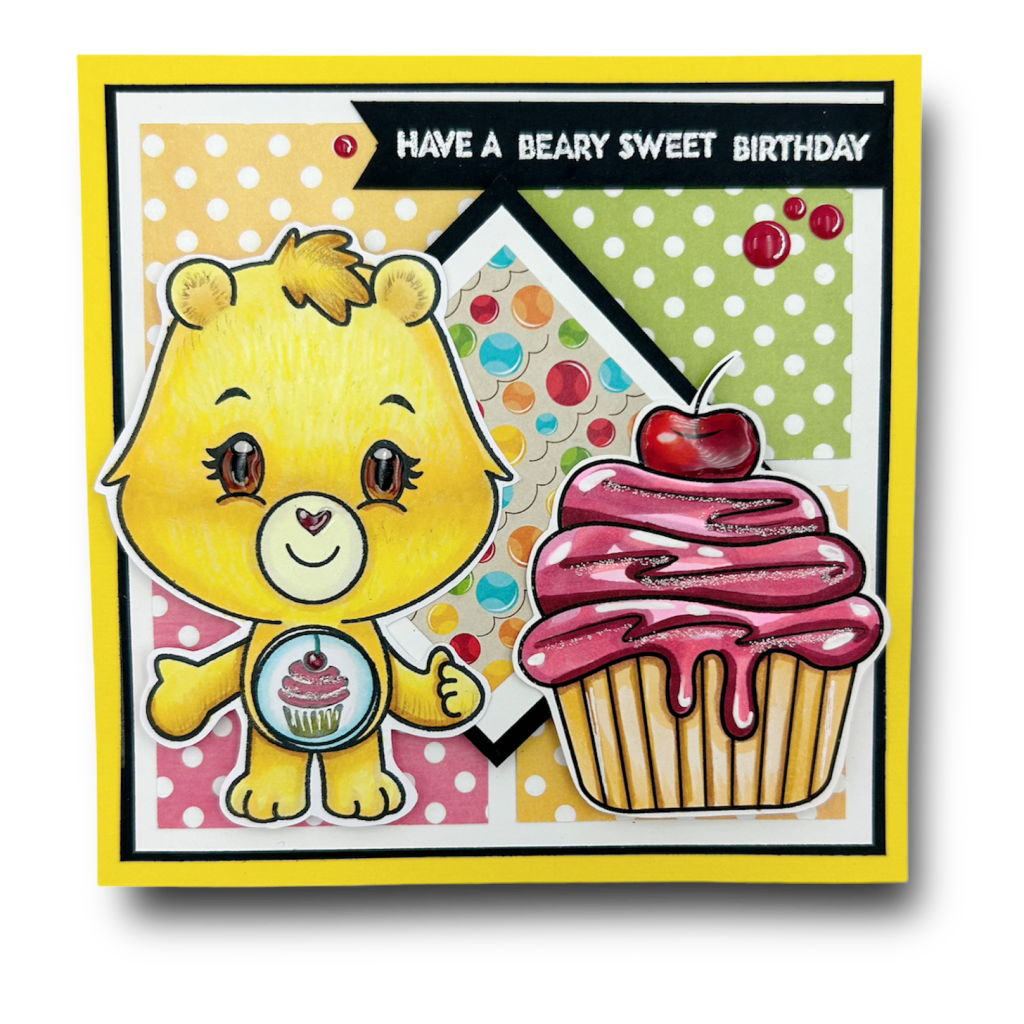
Hey there, crafty friends! 🌟 I’m excited to share a special card-making journey I recently embarked on, showcasing the products from Pajama Crafter Stamps. I created a heartwarming Valentine using the delightful Meowentine Stamps and some festive feline and heart filled patterned paper that truly brought my vision to life.

Crafting Details
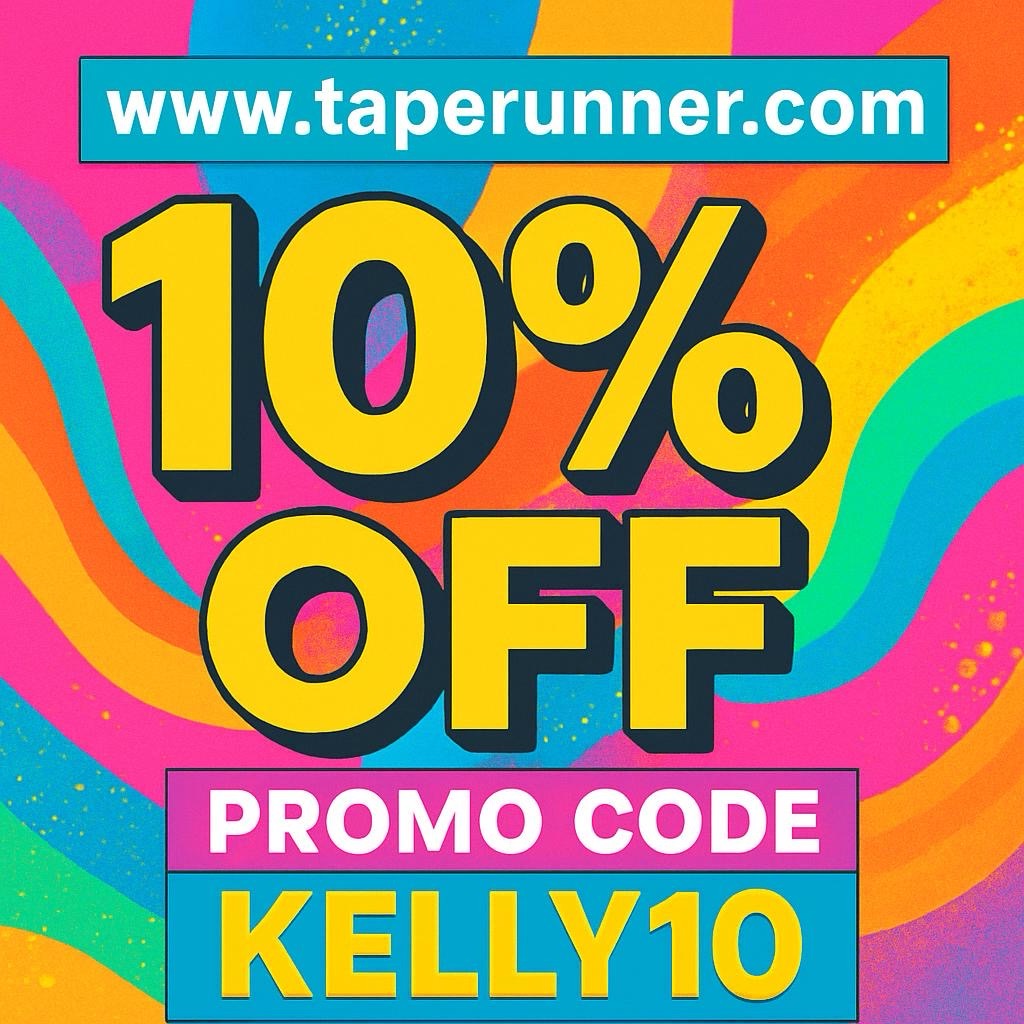
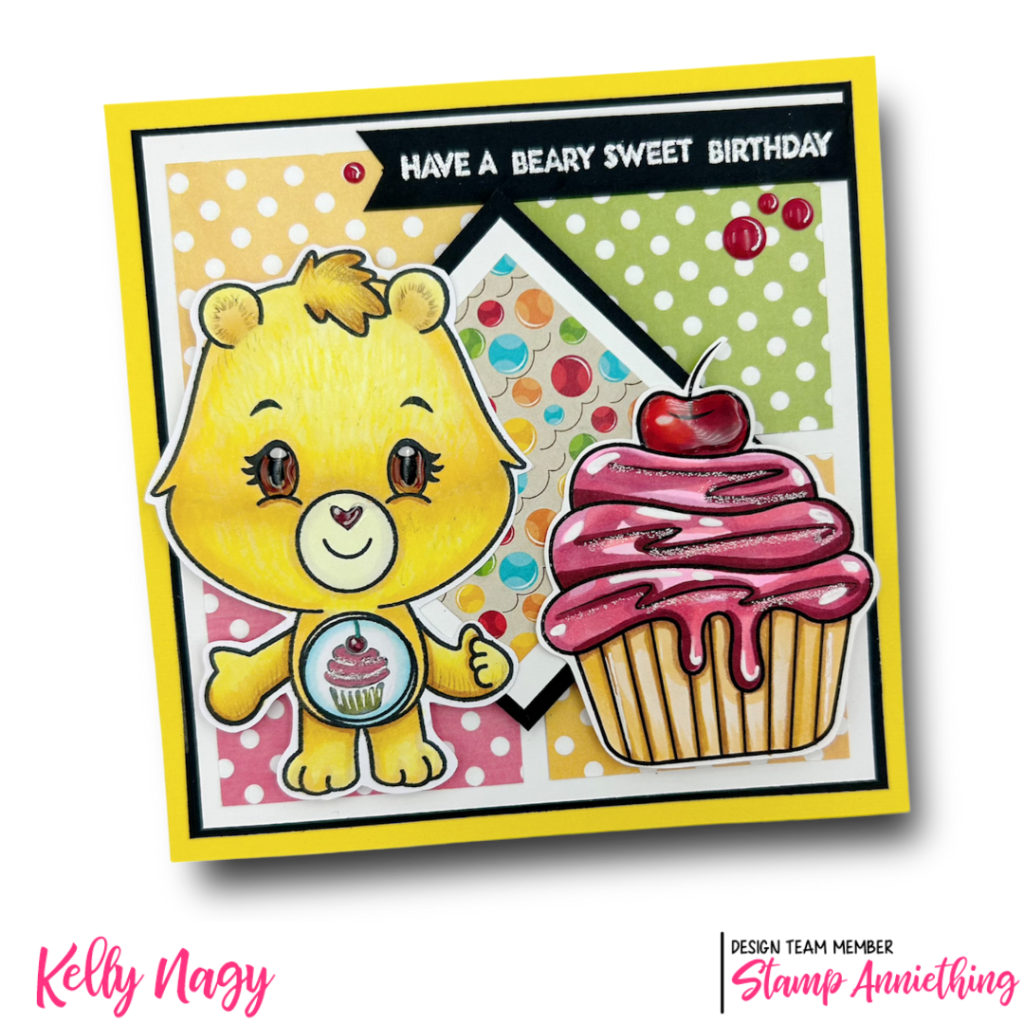
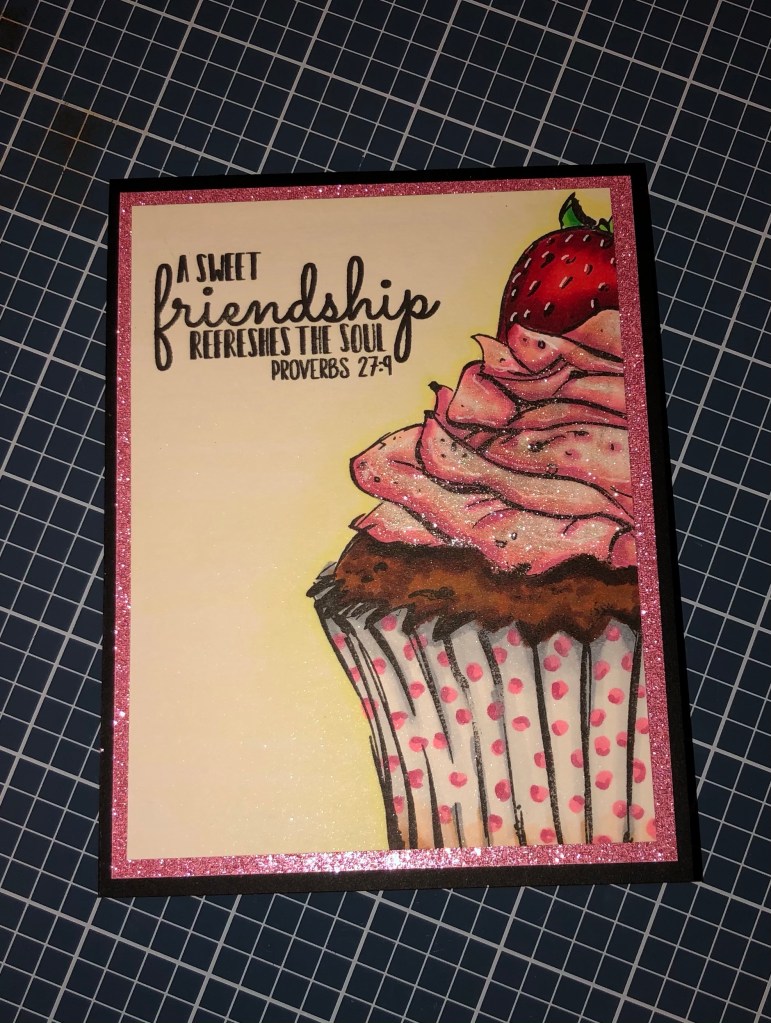
I had a blast layering cardstock and matting it with Coal cardstock to give my card some extra flair. To add that special sparkle, I incorporated Stickles and used an embossing folder for texture. The assembly was easy with my favorite liquid glue and the fantastic Tape Runner from http://www.taperunner.com (https://www.taperunner.com). If you decide to grab one, don’t forget to use promo code KELLY10 for 10% off your entire cart!
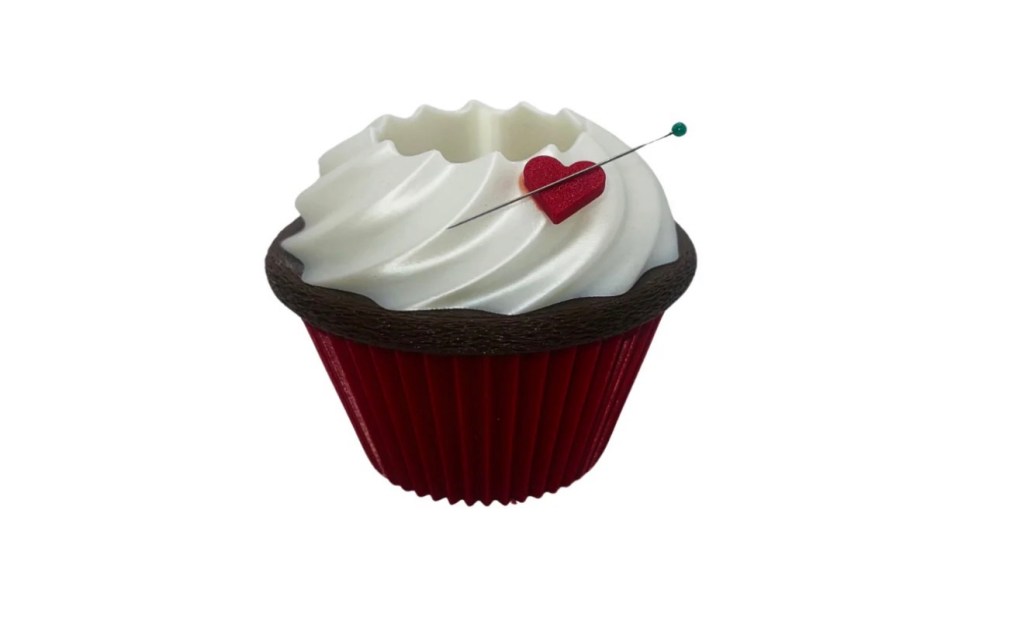
A Cute Touch of Inspiration
To make my crafting space even more enjoyable, I added an adorable cupcake glue holder. It’s both functional and fun, making it a perfect gift for any crafter in your life! Plus, it offers all the sweetness without the calories! 🧁💖
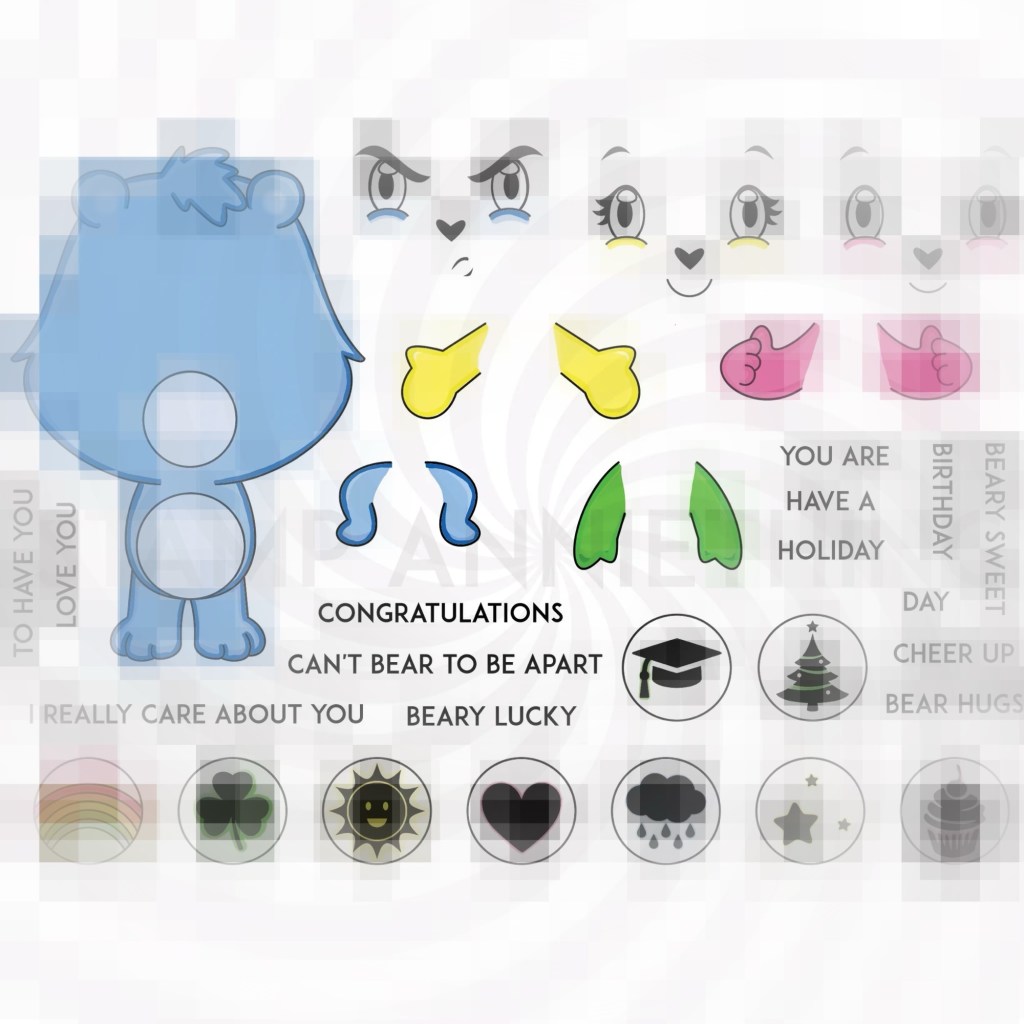
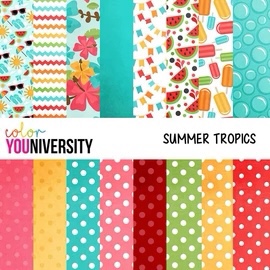
For everything you need, including the Meowentine Stamps, patterned papers, and cute desktop accessories, be sure to check out my affiliate link: Pajama Crafter Stamps (https://pajamacrafterstamps.com/STAMPEDBYKELLYBLOG).
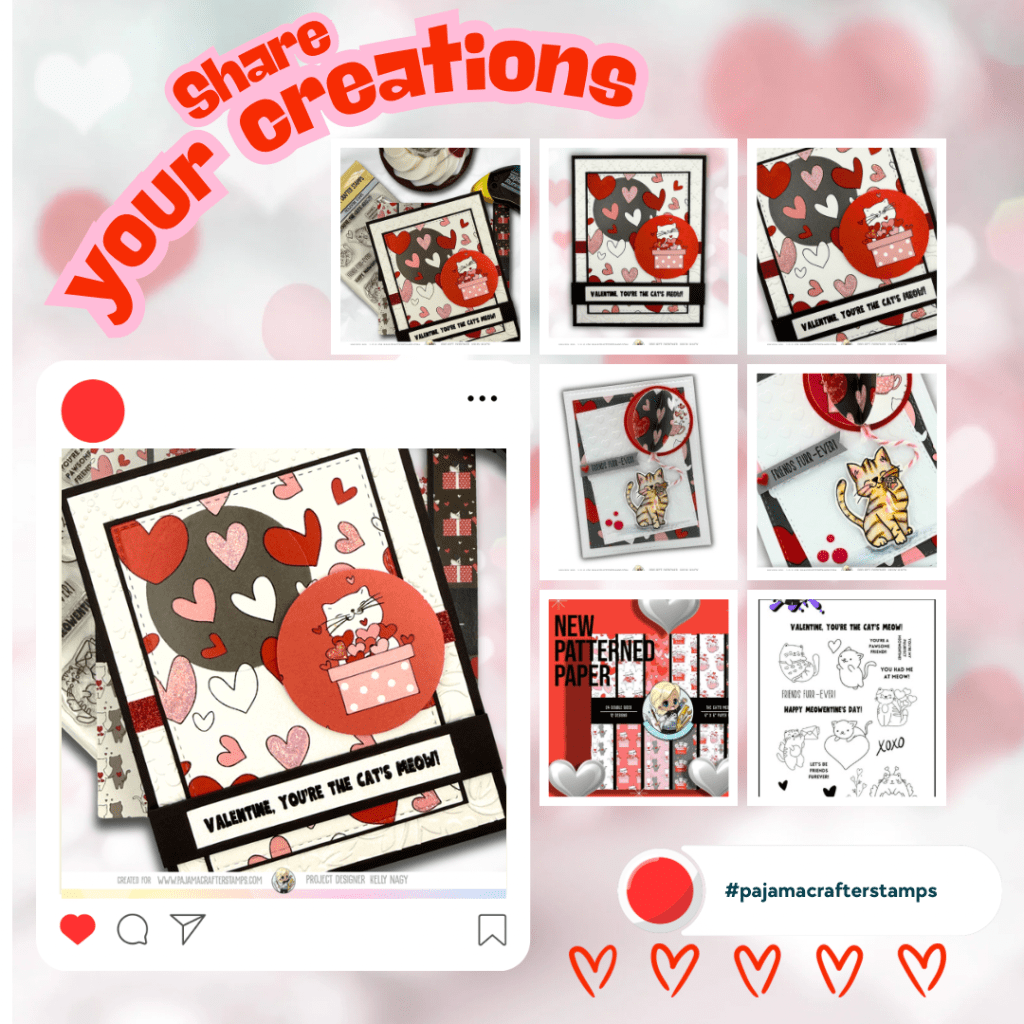
Join the Crafting Journey
I genuinely believe in the joy of crafting and how it connects us all. I’d love to see your interpretations of this project, so please share your creations! Together, we can inspire each other and foster a wonderful crafting community.
Happy crafting, friends! Your support means the world to me! 💌
With love,
StampedbyKelly


