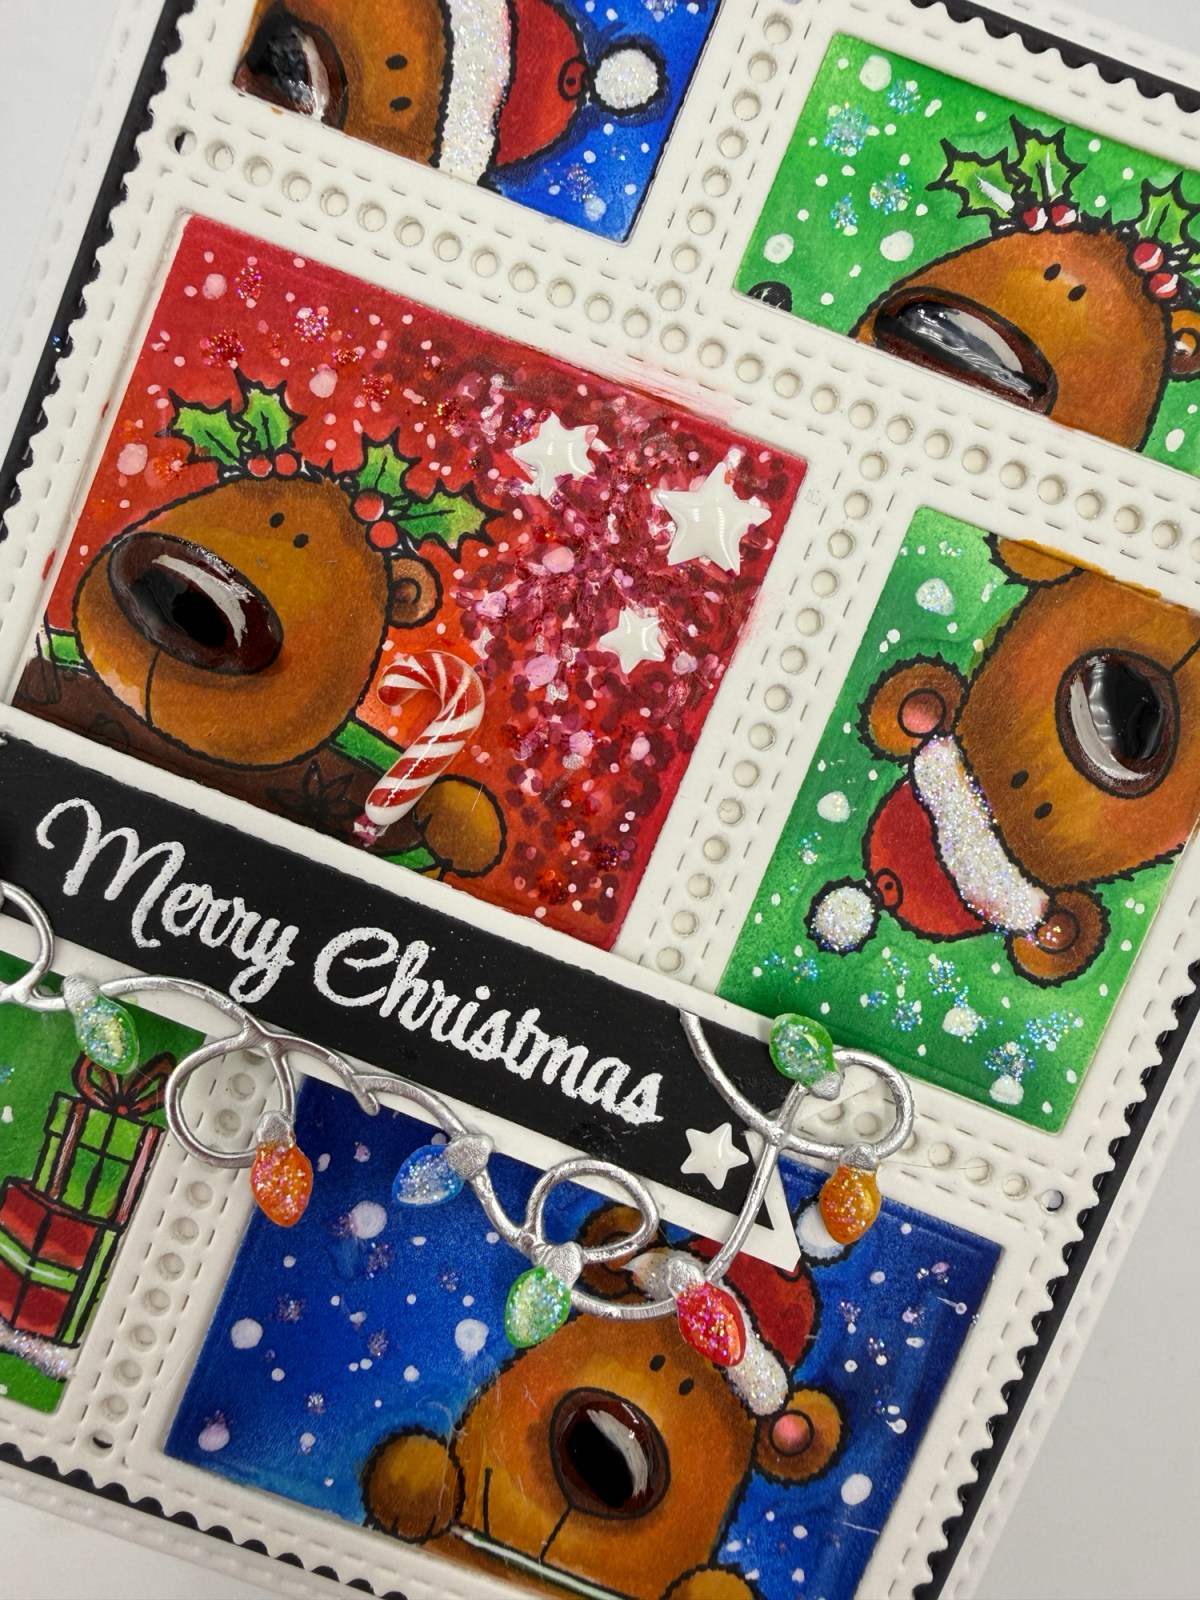
Cheers to Christmas: A Whimsical Postage Stamp Card 🎄🐻

Create a whimsical A2 Christmas card with the Cheers to the Season stamp set, simple masking, Copic airbrushing, and bold red, green, and blue backgrounds. Learn how to make playful postage-stamp scenes, color coordinating bear images, and add festive sparkle to your handmade holiday cards.

Sometimes the most fun cards begin with looking at your stamps in a new way! For this A2 Christmas card, I created a whimsical postage-stamp design with Waffle Flower’s Postage Die paired with the adorable Cheers to the Season stamp set, simple masking, and my Copic Airbrush System.

The Cheers to the Season stamp set is available from Pajama Crafter Stamps. Although I am no longer on their design team, they are a favored small business that offers whimsical stamps and coordinating products, including fun tools that can double as decor in your craft room. Be sure to check them out, and tell them Kelly sent you!
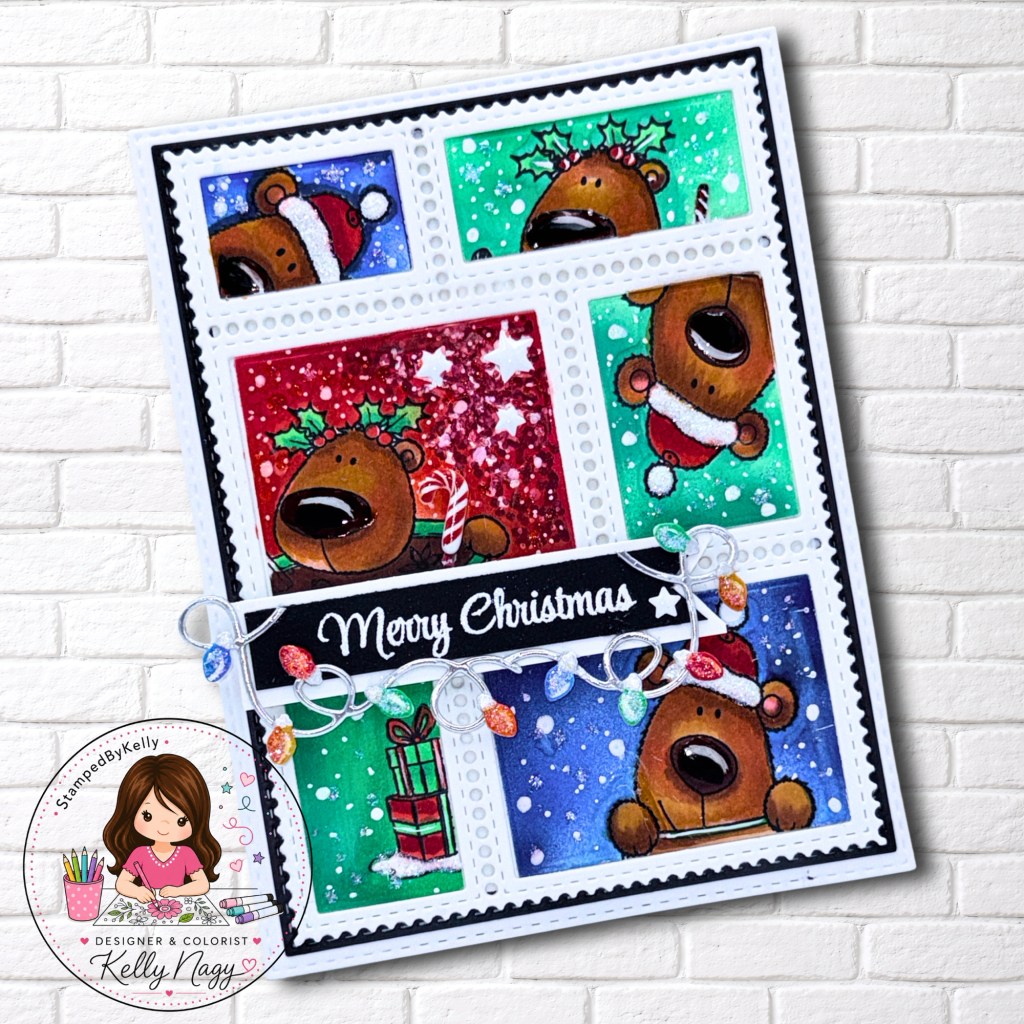
Finished Card Front

Creating the Postage Collage

The fun postage-style layout for this A2 card was created using the Waffle Flower Postage Collage Die. I love how the six connected postage areas create little spaces for each stamped scene while still coming together as one cohesive design. The die is currently listed as pre-order/backordered on Waffle Flower’s website. I am not an affiliate—I’m simply sharing the link for your convenience in case you’d like to check it out for yourself. (waffleflower.com)

Shop the Postage Collage Die:
Waffle Flower Postage Collage Die

Creating the Postage Scenes

I stamped the bears throughout the postage openings without worrying about perfect placement. Some peek in from the sides, turn sideways, or extend beyond the edges, giving each little scene its own personality.

Using the same stamp set in several different ways keeps the card playful and cohesive.
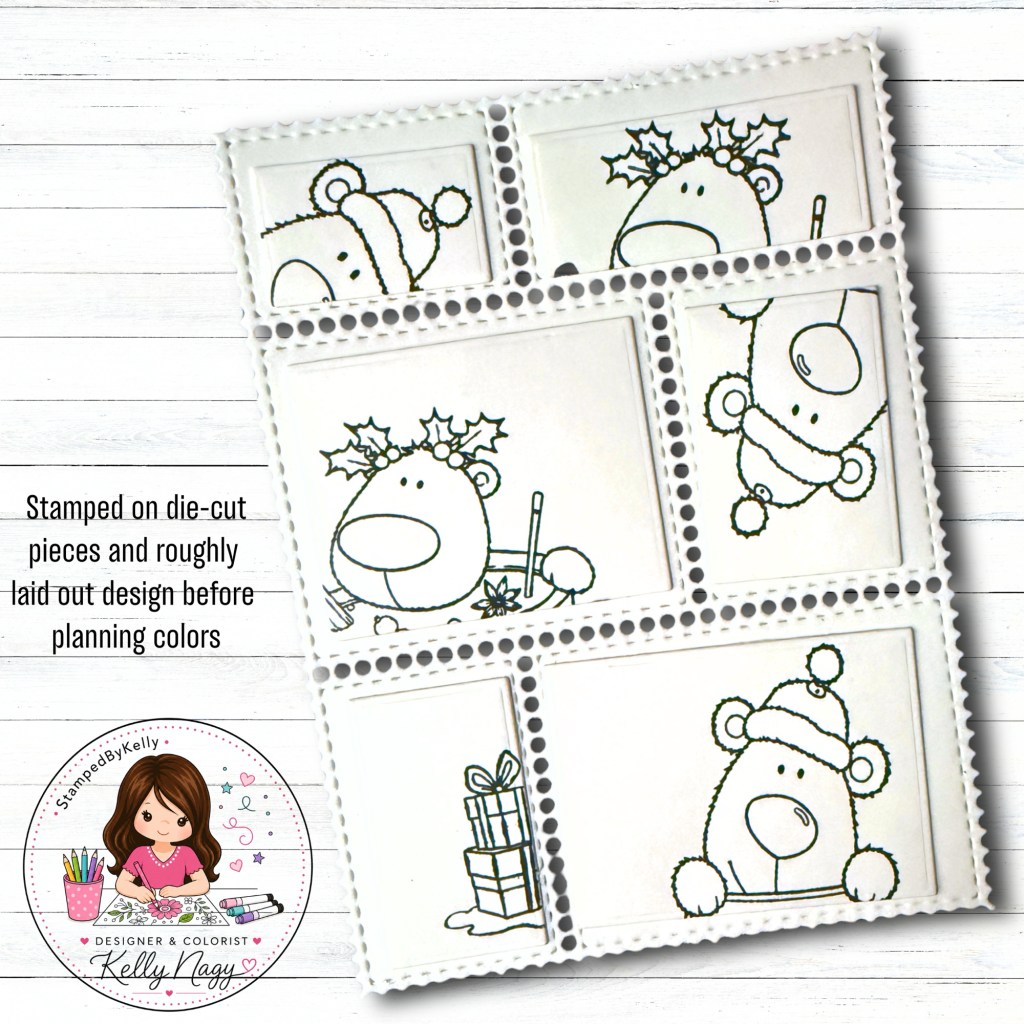
Masking and Airbrushing

To protect the stamped bears, I created simple masks with Post-it notes. Then I used my Copic Airbrush System to fill the openings with a bold Christmas palette of vibrant red, green, and blue.

The airbrush made it easy to build saturated backgrounds while keeping the images clean.
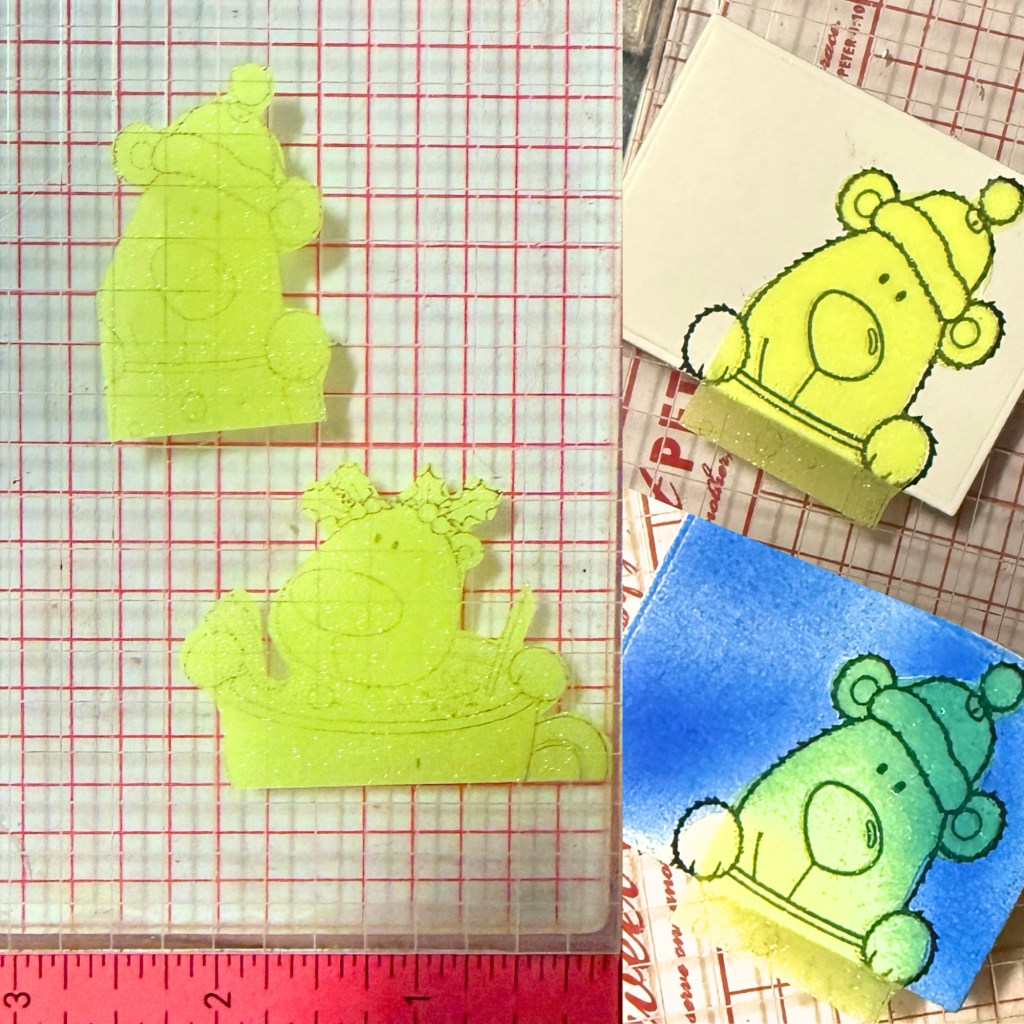
Mask your stamped images with Post-it Notes

Copic Airbrush Color Combinations

For the bold backgrounds, I used my Copic Airbrush System and layered a combination of colors rather than relying on a single marker. For the red backgrounds, I used R08, R27 and R46; for the green backgrounds, I used G03, G05 and YG09; and for the blue backgrounds, I combined B02 with fluorescent FB and FBG. Layering two or more colors within each color family gave the backgrounds more depth and variation while still keeping that bright, whimsical Christmas feel. I love how the airbrush allows the colors to blend softly without competing with the stamped images!
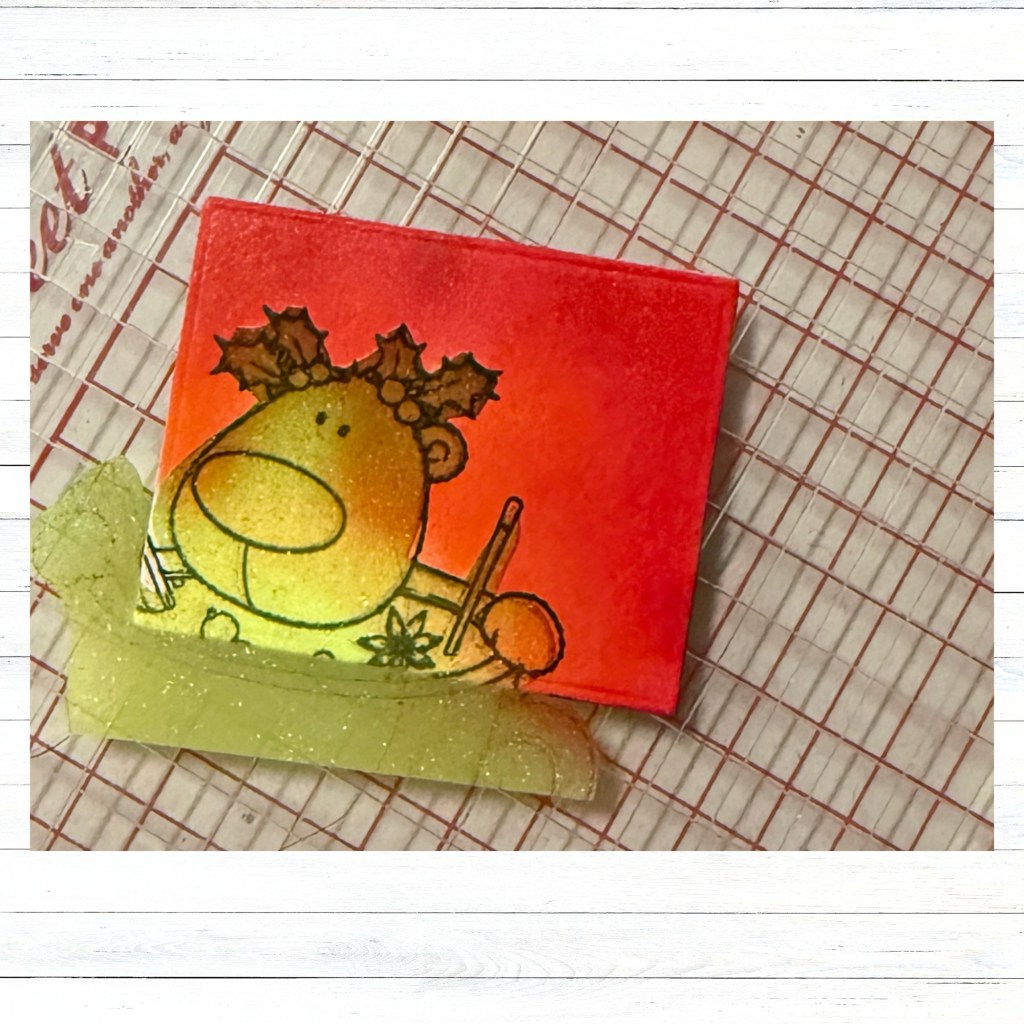
Post it note blocks ink overspray & allows for crisp white paper to finalize your coloring of images

❤️ Vibrant Red
💚 Bright Green
💙 Bold Blue

Keeping the Bears Simple

Because the backgrounds are so colorful, I kept all of the bears in the same warm brown color palette. This creates continuity and keeps their coloring from competing with the bold airbrushed backgrounds.
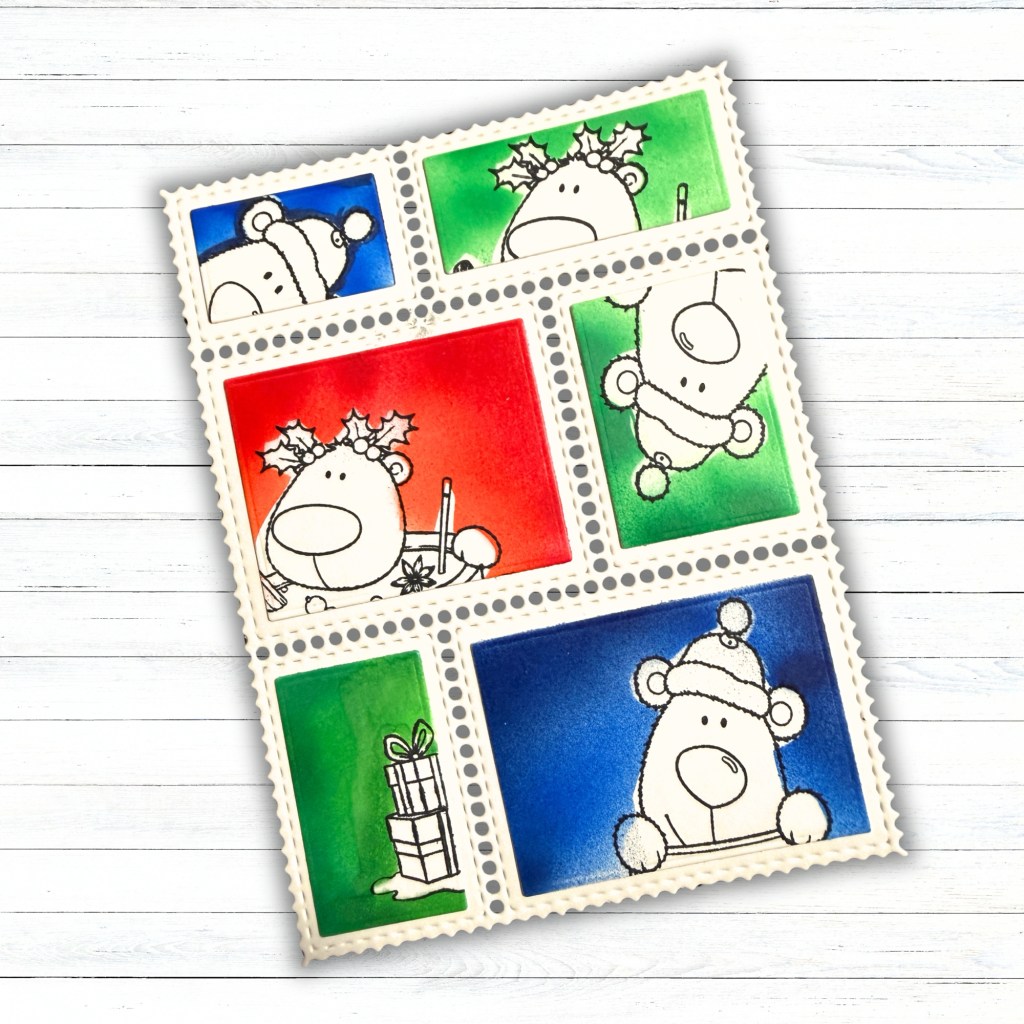
Copic Colors for the Images

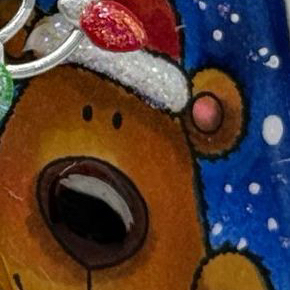
To keep the colorful backgrounds as the star of the show, I kept my stamped images fairly simple and consistent. For the bears, I used E31, E33, E35, E37 and E29, creating warm brown tones with deeper shades for contrast and dimension. I also went ahead and took my YR23 marker over the browns on my bears to add some warmth and blend out the layers. For the festive details, I pulled from R27 and R29 for the reds, YG03, YG17, G05 and G07 for the greens, and E49 and 100 for the deepest shadows and details. Keeping the bears within the same color family helped unify all of the little postage-stamp scenes without competing with those vibrant airbrushed backgrounds.

I finished the bears’ noses with 3D GALAXY GLASS for a little extra dimension and shine. I also pulled out my WHITE GEL PEN and added dots for snow on the background. I adds texture, interest and a festive, snowy feel!
Assembling the Card

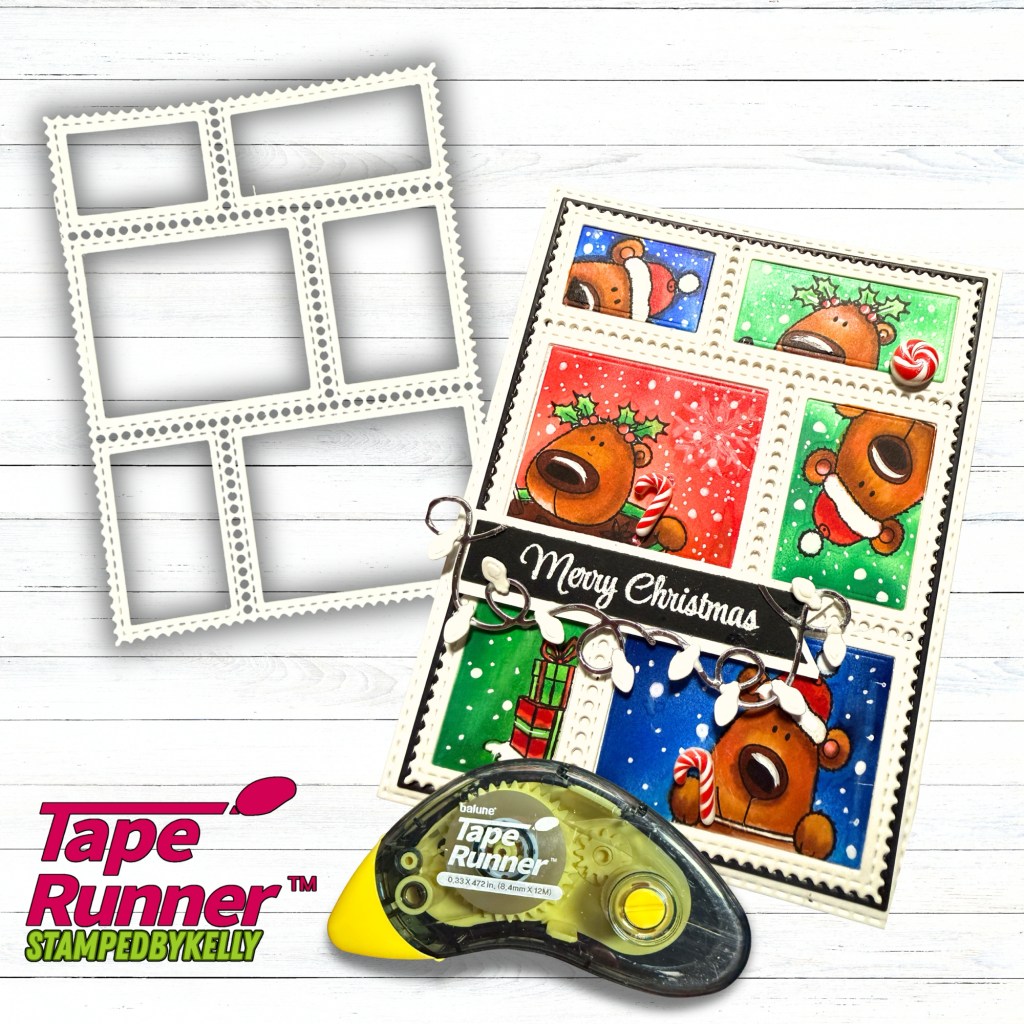
Once everything was colored, I assembled the layers with my TapeRunner Dry Adhesive. If you wish to purchase from there and receive 10% off everything in your cart, you can use promo code KELLY10 at check out.

Living in Florida means HUMIDITY! ☀️🌴 Whenever possible, I avoid adding extra moisture to my cardstock. A tape runner adhesive provides a clean, strong bond without the wet adhesive that can contribute to warping—especially on cardstock that has already been colored and airbrushed.
Finishing Touches ✨

I added the bold black “Merry Christmas” sentiment across the center, then finished the card with colorful Christmas lights, snowy splatters, sparkle, and shine. I colored the bulbs in coordinating colors and added some Stickles Glitter Glaze for some festive glitz!

Love the lights? They are from my Scrappy Boy Stamps‘ stash and I’m not sure if they’re available on their website any longer. There are plenty of other options to add bling or a festive element. All you have to do is think outside of the box and use what you have already.

I love how the finished design feels like a collection of tiny Christmas snapshots!
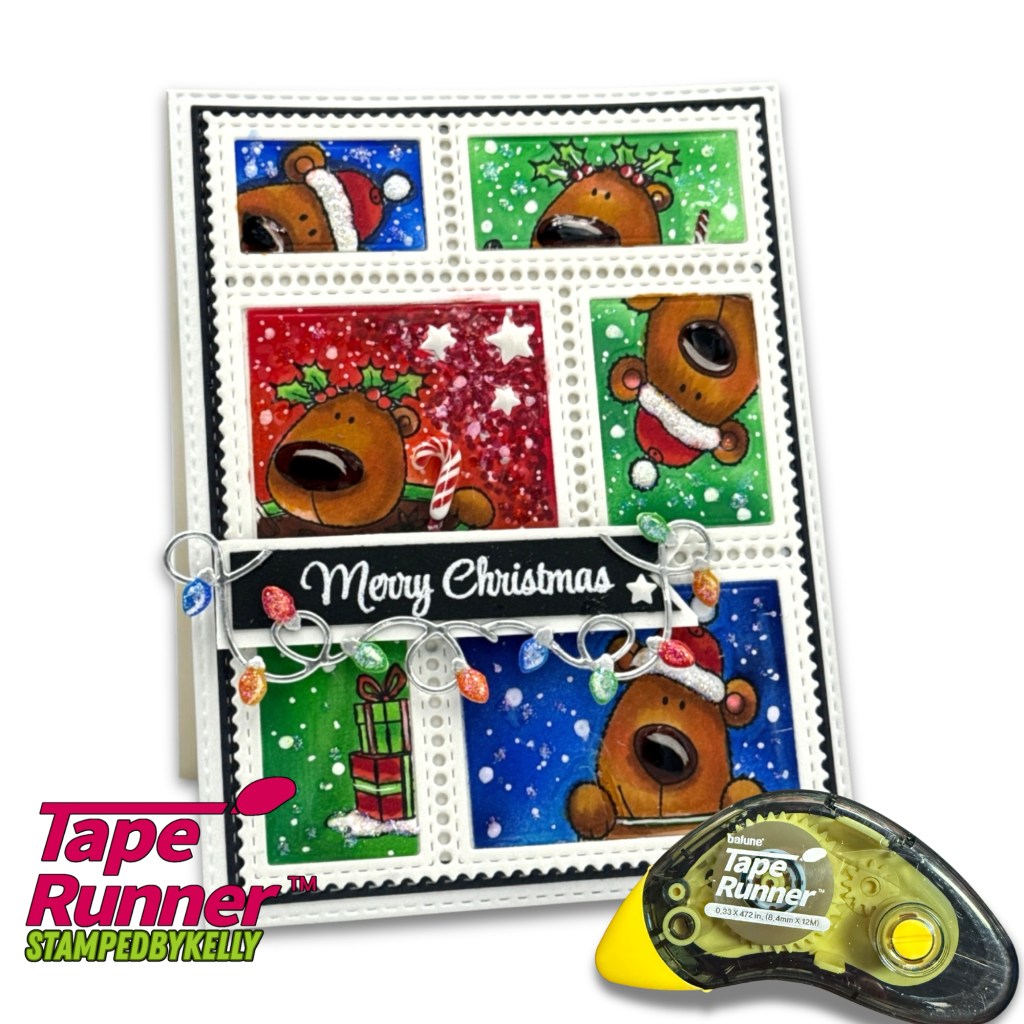
Remember, you don’t have to use a stamp exactly as you see it. Turn it sideways. Let it peek into a window. Mask it. Crop it. Airbrush around it. Finding new ways to use the stamps you already have is part of the fun!

I hope this inspires you to grab some Post-it notes, your favorite stamps, and your Copic markers to create something uniquely yours.

I can’t wait to see what you make! ❤️💚💙

Happy crafting!
Kelly | Stamped by Kelly
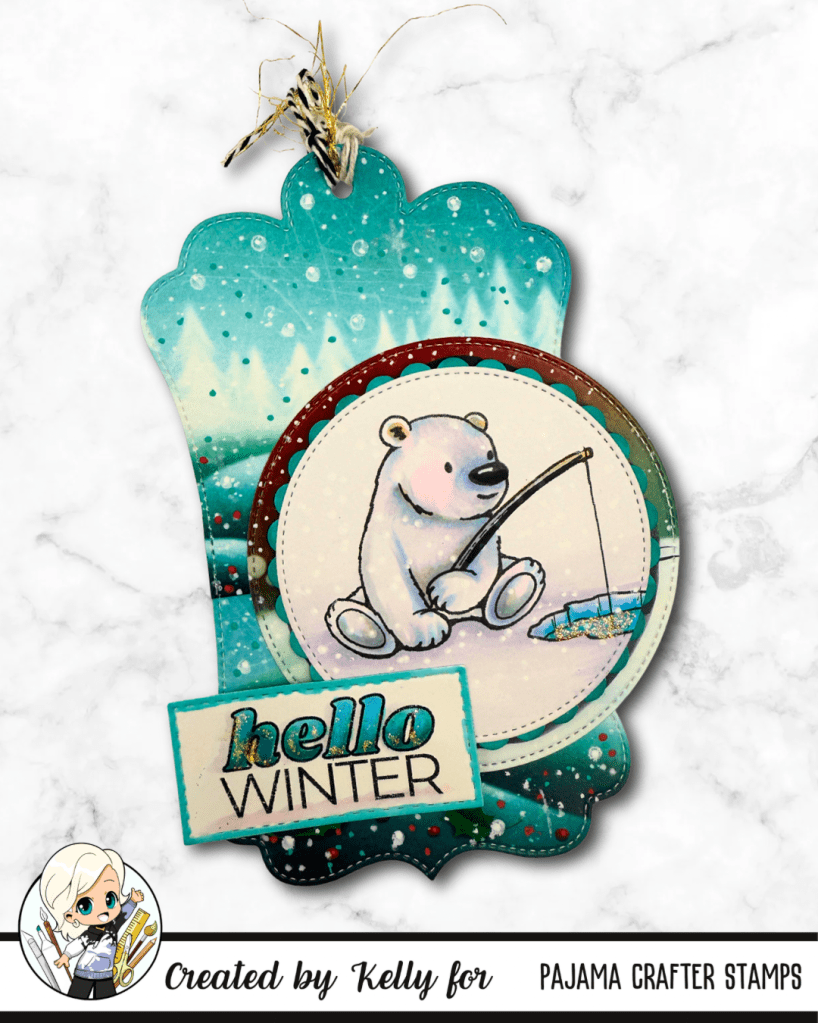
Create with Polar Pals: Crafty Tag Inspiration!

Featuring Polar Pals Stamp Set from PCS

Hello, crafty friends! 🌟

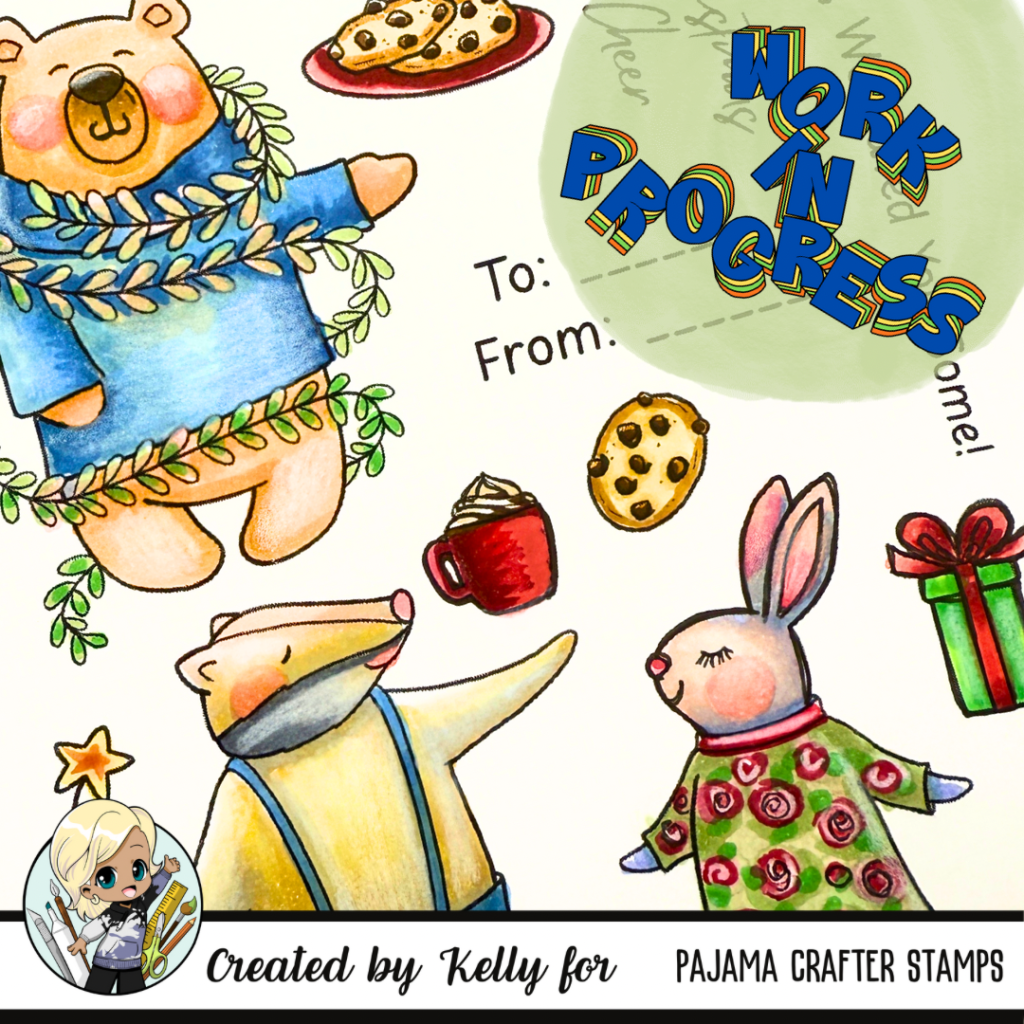
I’m excited to share a fun project featuring one of the newly released stamps from Pajama Crafter Stamps called Polar Pals! This adorable stamp set is perfect for the cozy holiday season, and I’ve paired it with some dies from my stash to create a layered tag that adds a special touch to any gift. 🎁✨

This layered tag isn’t just a pretty addition to gifts; you can also think outside the box! Here are a few more creative ways to use tags:

  • Elements on a Scrapbook Page: Incorporate your tags as decorative elements on your scrapbook pages. They make great titles or embellishments!
  • Christmas Tree Ornaments: Use your tags as ornaments for your Christmas tree, adding a personal and handmade touch to your holiday decor.
  • Banners & Garlands: Create a beautiful banner with tags strung together to celebrate special occasions or to decorate your craft space.
  • Bulletin Board Décor: Jazz up your bulletin boards with themed tags that can be changed out seasonally to keep things fresh.

There’s so much to do with tags, and I hope this project inspires you to get crafty!

And if you’re interested, there’s a fantastic hop going on right now, where you can participate for a chance to earn a prize! The magic all starts at Pajama Crafter Stamps’ Instagram page.

Be sure to check out the latest releases at Pajama Crafter Stamps; I promise you won’t be disappointed.

Featuring Woodland Christmas Eve Stamps from PCS

If you love the projects I create and appreciate my inspiration, I’d be overjoyed if you could click on my affiliate link below. It does not cost you anything extra but lets Joy and her family know that you’re enjoying my work: Pajama Crafter Stamps Affiliate Link (https://pajamacrafterstamps.com/STAMPEDBYKELLYBLOG).

Also, to see my completed projects using these colored up images from the previous WORK IN PROGRESS post, please follow me on Social Media @StampedbyKelly

Thank you so much, and I hope you all have a wonderful weekend filled with joy and creativity! 💖

Happy Crafting!

Buzzing with Creativity: A Card Featuring the “Bruno Bee Keeper” Stamp Set 🌼🐝

Hello, fellow crafters! 💖

Featuring Bruno Bee Keeper & The Bees Knees Paper Pad

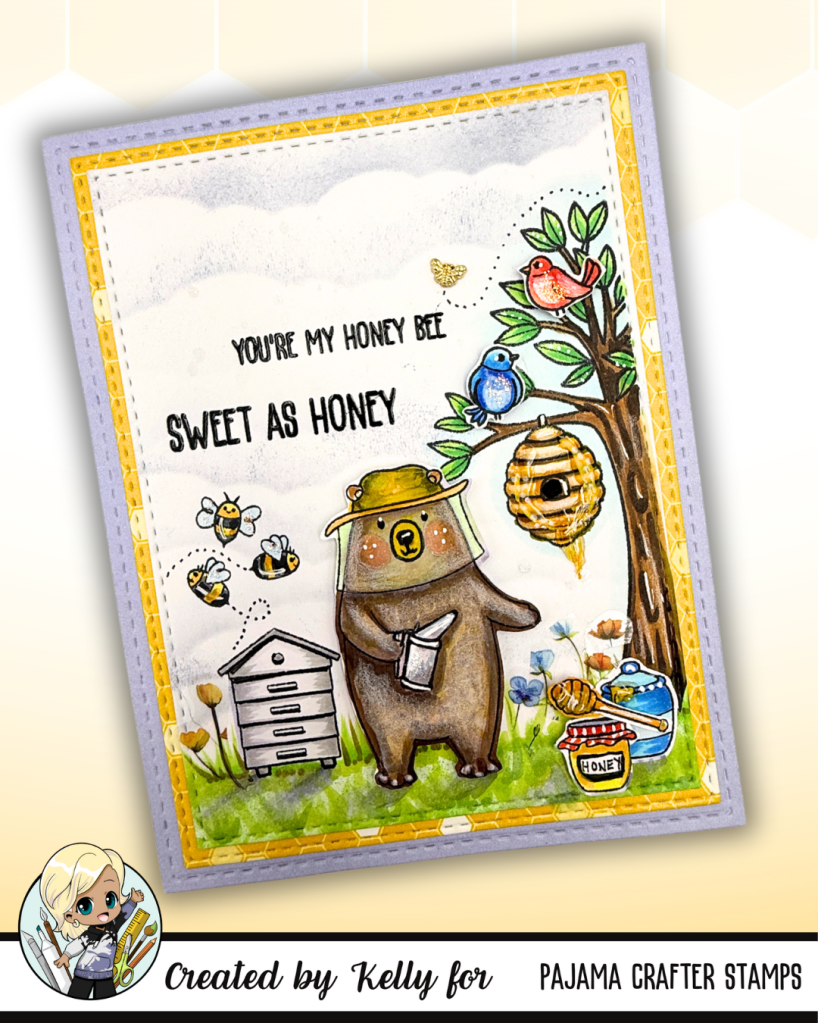
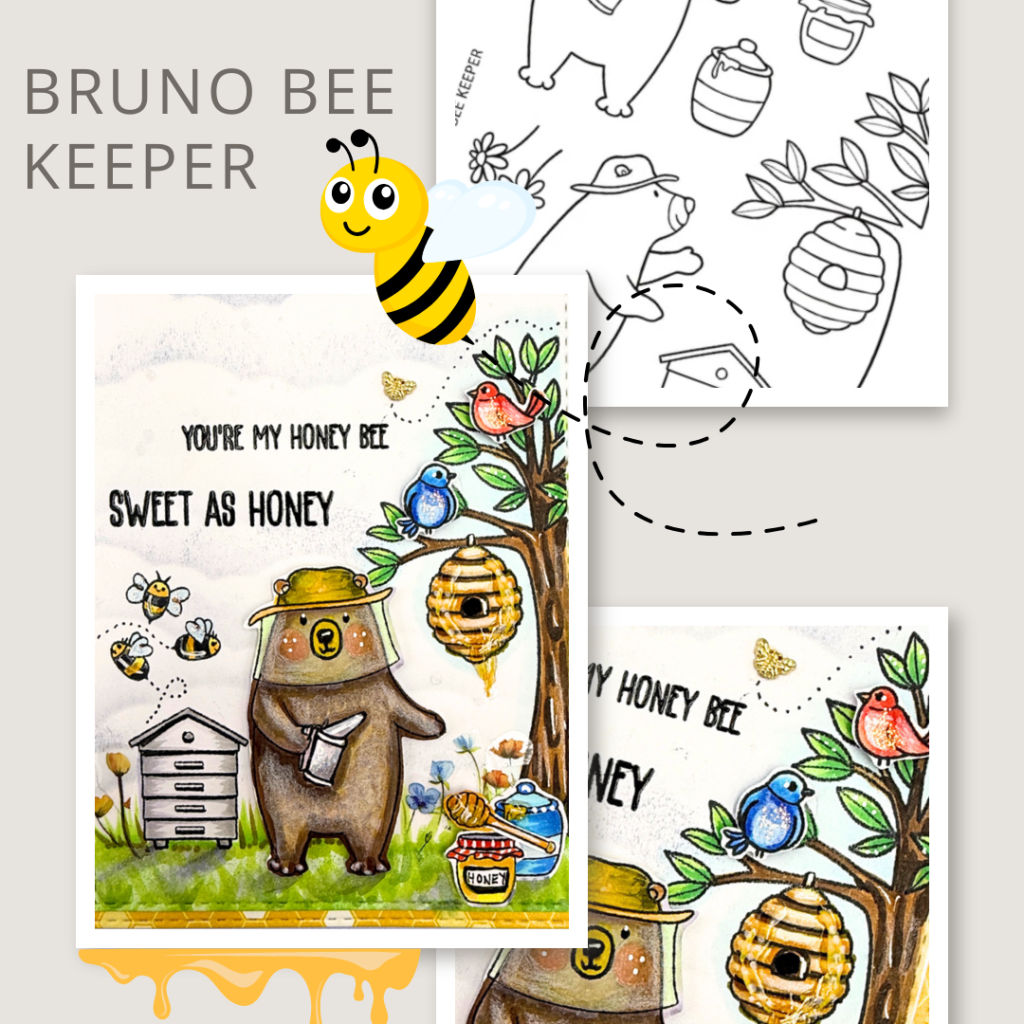
I am absolutely buzzing with excitement to share my latest creation with you all—a vibrant A2 sized card using the adorable “Bruno Bee Keeper” stamp set! This set is simply a delight, packed with charming bears, lovely flowers, and a host of other fun elements that bring a sweet touch to any project.

Card Details:
For this card, I chose a sunny yellow honeycomb paper from the coordinating 6×6 pattern paper pack. It’s just as cute as it sounds, featuring 24 double-sided sheets that include the most delightful bee and honeycomb designs! 🐻🍯

The stamp set includes various images, such as:

  • Cute bears 🐻
  • Flowers 🌸
  • Birds 🐥
  • Bees 🐝
  • A bee house 🏠
  • A tree with a beehive 🌳🍯

I added some sparkle to the bee’s wings using Stickles and created a soft cloud background with a stencil. For extra shine, I used Crystal Effects Glaze on the honey drips from the jar and the hive. The result is a card that truly shines, just like honey! ✨

Sweet Sentiments:
The “Bruno Bee Keeper” set also includes lovely sentiments like “Bee Brave” and “You’re My Honeybee,” which add a personal touch to every card. 💖 These messages are perfect for showing support and affection to friends and loved ones.

Join the Buzz!
Your support means the world to me! 💕 Please take a moment to like or comment if you enjoy what you see—it really helps me know that my designs resonate with fellow crafters and friends.

If you’re looking for cute and unique craft supplies, definitely check out http://www.pajamacraftersstamps.com (http://www.pajamacraftersstamps.com) for their amazing offerings!

It would be SWEET as HONEY if you would follow me on social media @stampedbykelly

Happy crafting!


Don’t forget to share your thoughts and tag me in your creations using the “Bruno Bee Keeper” stamp set! Let’s spread the joy of crafting together! 🐝✨

Build A Caring Bear….Kisses??!!

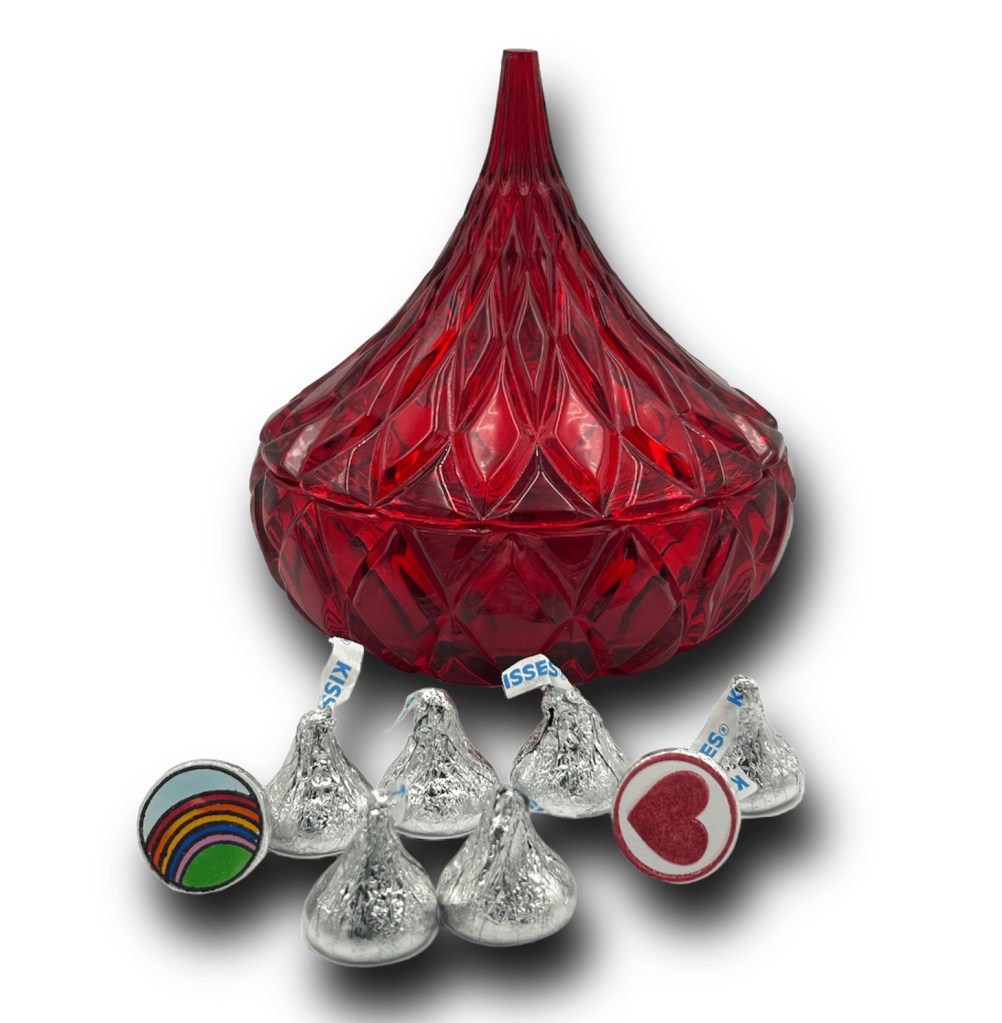
Belly Badges from set fit perfectly to bottom of all standard size Hershey’s Kisses.

The Build a Caring Bear set will certainly be a great addition to any paper crafter’s stash. This is a versatile set that is great for cards, planners, scrapbook pages and even party decor and favors!!!

The belly badge goes in the middle of the bear’s tummy, but these badges are also the perfect size to adorn the bottom of a Hershey’s Kiss!

If you’re looking for a fun and unique way to personalize your treats inside your treat bags, look no further than the soon to be restocked BUILD A CARING BEAR set from Stamp Anniething. These fun images can be stamped in all black, stamped with your favorite color and are the perfect size to decorate the bottom of a Hershey’s Kiss, and with a wide variety of themed emblems in the set, you can customize each treat to fit your holiday, event or celebration.

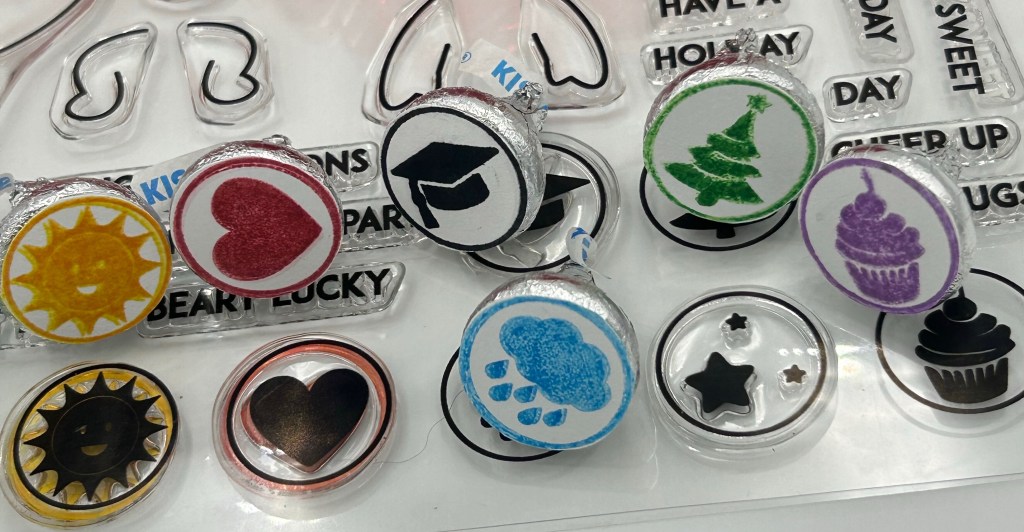
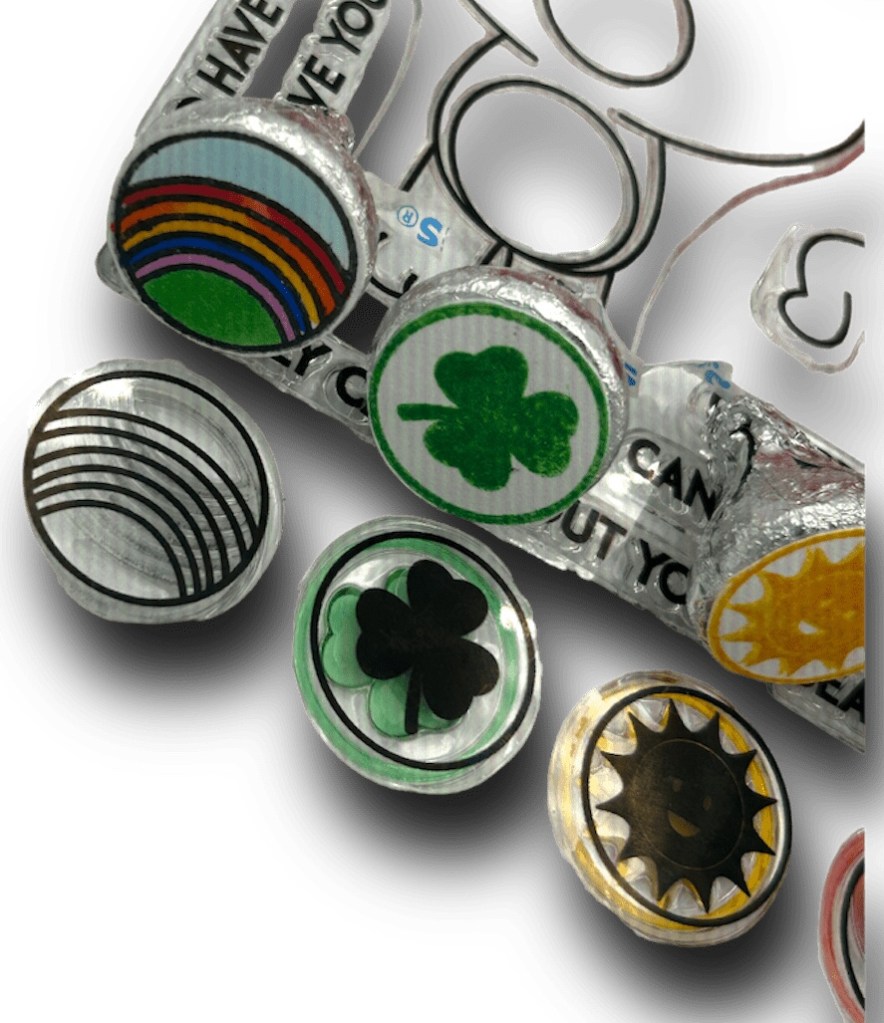
Circle size stamps can be easily fussy cut out or use a small circle die or punch

Build a Caring Bear belly badge stamps have a variety of different emblems to match the themes of your party or event. Here are just a few ideas:

  • Sunshine – Get Well, Be Happy, Don’t worry
  • Heart – Love, wedding (emboss in gold or silver), Anniversary, Valentines
  • Clover – St. Patricks Day, sending luck
  • Graduation Hat – Graduation of any kind
  • Stormy Clouds- Wedding Shower, Bridal Shower, Baby Shower
  • Cupcake – Birthday
  • Tree – Christmas
  • Star – Job Well Done, Memorial Day, Patriotic

Once you’ve chosen your badges, it’s as simple as attaching them to the bottom of each Hershey’s Kiss using a dab of frosting or melted chocolate. You can also adhere using double-sided tear/paper tape. Not only do these badges add a colorful and fun touch to your treat bags, but they also make each treat feel more personalized and thoughtful.

So the next time you’re planning a party or event, consider adding Build a Caring Bear belly badges to your list of decorations. With their colorful designs and customizable options, they’re sure to be a hit with guests of all ages! Happy Crafting!

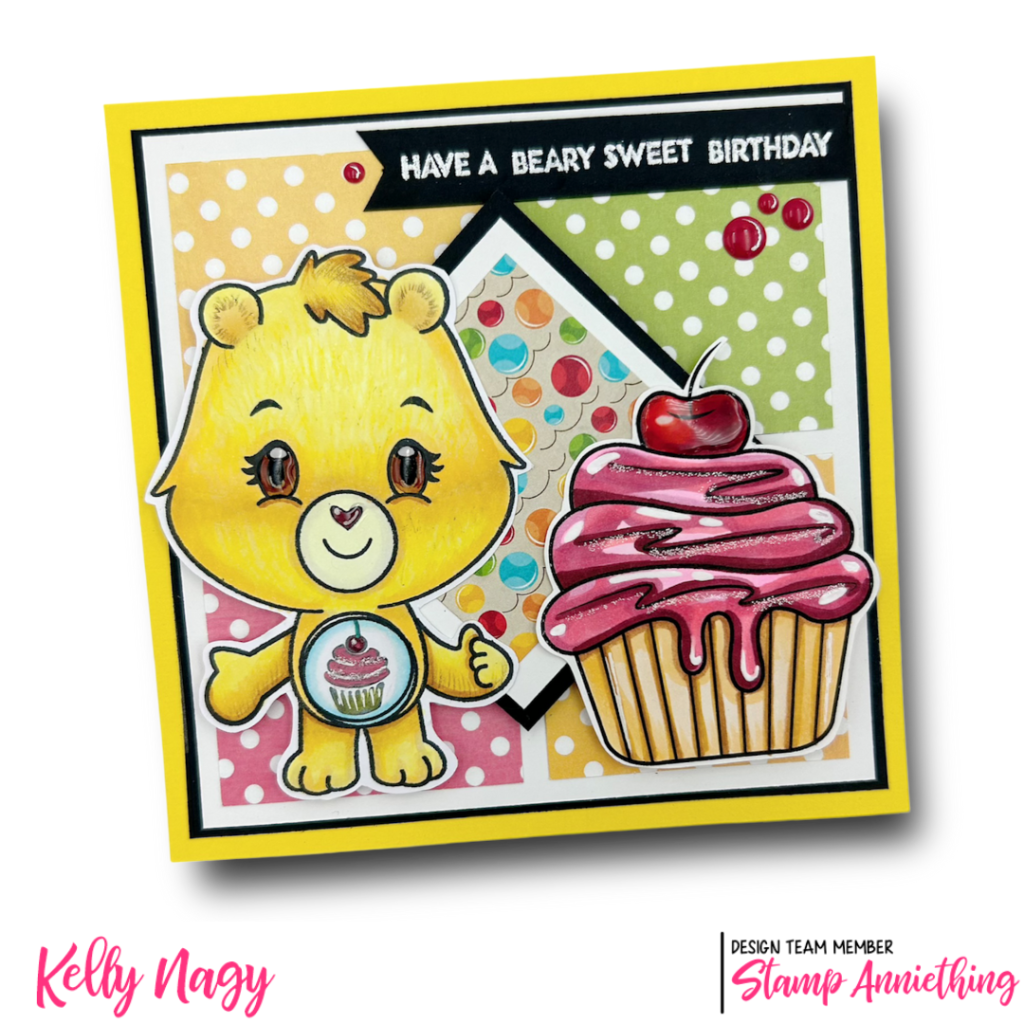
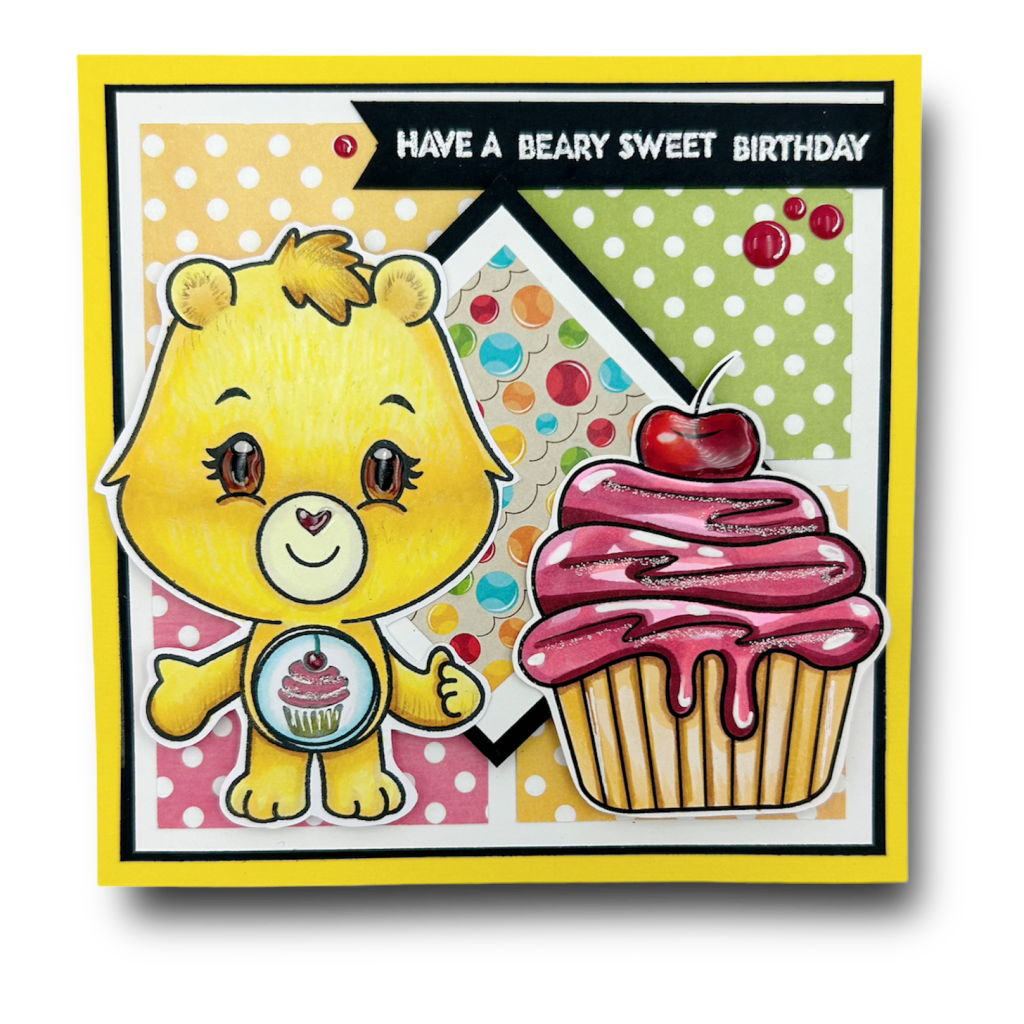
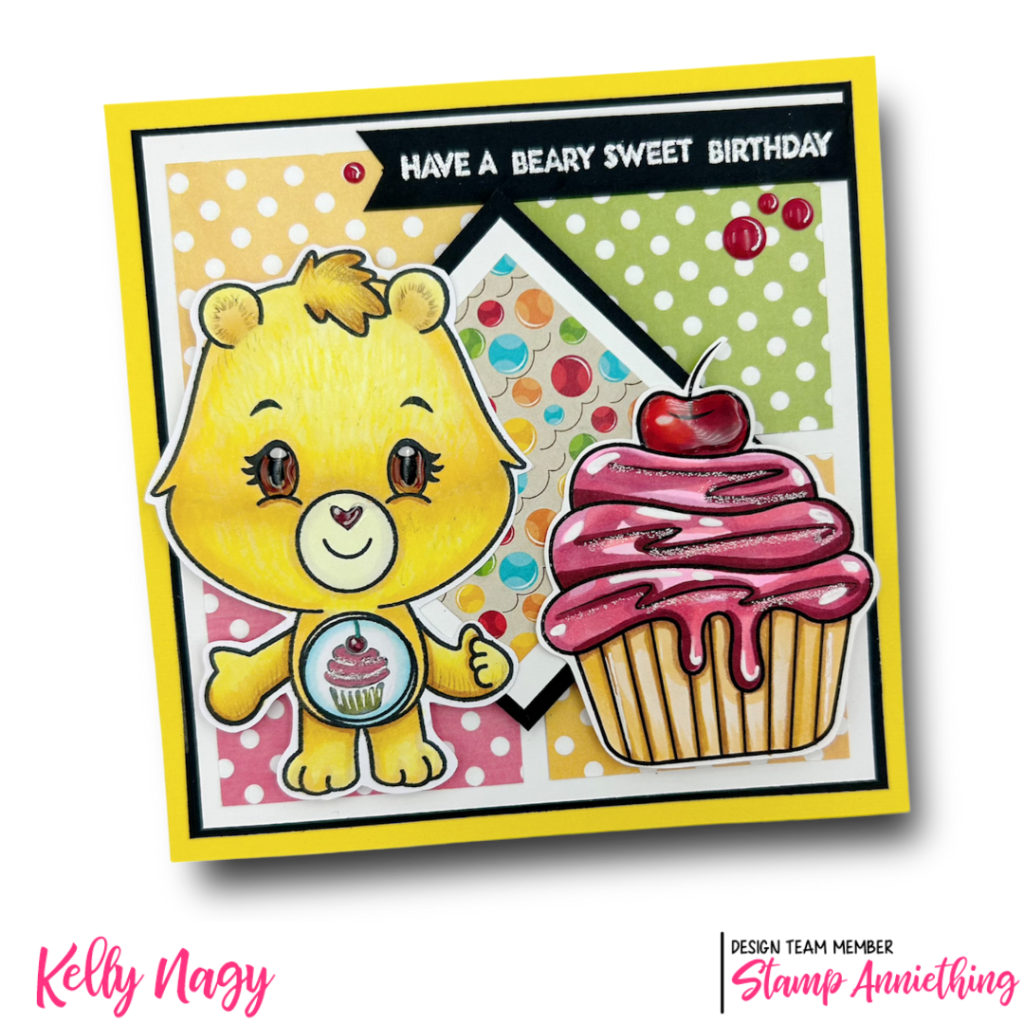
Have A Beary Sweet Birthday featuring Stamp Anniething

Card features Build A Caring Bear
Limited Edition Set by Stamp Anniething

The art of gift-giving isn’t just about what’s inside the box. Adding a personal touch to your greeting card can make all the difference, especially when it’s for someone very special. That’s why I’m excited to share with you this really cute new set from Stamp Anniething that can be customized for any occasion and recipient.

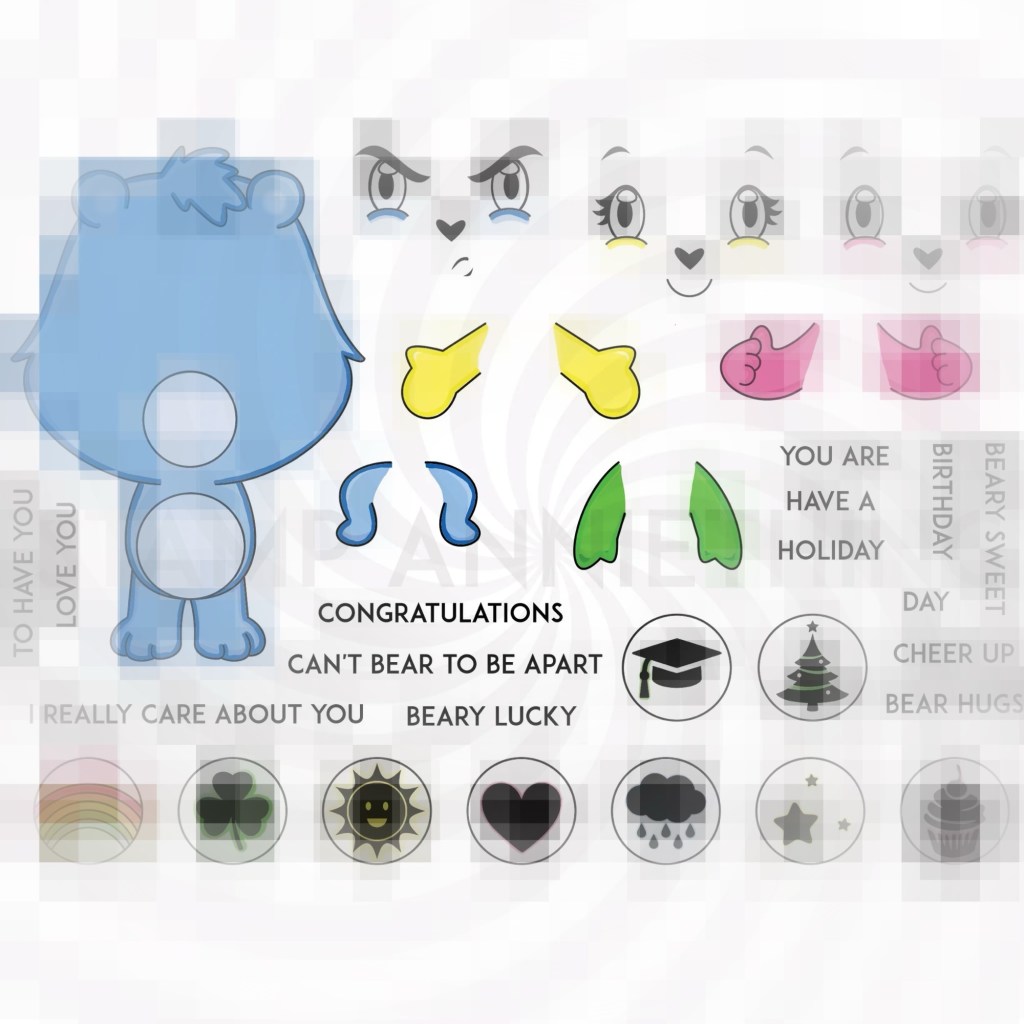
Image is DISTORTED on purpose to prevent theft

I created a birthday card using the Build A Caring Bear set, as well as patterned paper from the SUMMER TROPICS pack as a background. So, let’s dive in and see how to make this versatile square card.

The first thing you’ll need is a 5 1/4 in square card base. This size will provide enough space to showcase your creativity while still being efficient enough to mail. Next, you’re going to create your characters using the Build A Caring Bear set. The great thing about this set is that you can mix and match the different elements like faces, arms and belly tag to create your unique bear. I decided to go with a Happy Cupcake Bear because I wanted to create a festive and colorful birthday card.

Once I BUILT my bear, I started creating a fun birthday scene. To do this, I downloaded a free digital image that coordinated with the image on my bear’s belly. It’s easy to do and it provides a great way to add a personal touch to your card. I went with a cupcake!

Free Digital Image – unknown source, so sorry

I wanted to create texture on the card, so I used patterned paper from the SUMMER TROPICS pack to make the background. The bright colors and versatile patterns are perfect for a celebration and it compliments the bear image well. I cut a total of four (4) two-and-a-quarter inch squares and a 2 1/2 inch square in white and a 2 3/4 inch square in black to frame and then place in center on the diagonal using double-sided foam tape. I had a small square scrap I added from the Pets Grab & Go Box (no longer available), that I added to the center of the square.

6×6 paper pack – 24 pages

Finally, I added a sentiment to the top right of the card, wishing the recipient a BEARY sweet birthday. It’s simple, but heartfelt, and it ties everything together nicely. Added some Enamel Dots from Stamp Anniething to repeat the pops of color in a triangular pattern, to draw your rye from the sentiment to the cherry on the cupcake and back to the sentiment again.

Build A Caring Bear Birthday Card

In conclusion, with little effort, anyone can make a sweet, personalized birthday card using the Build A Caring Bear set and Summer Tropics patterned paper. You can change the occasion, color scheme or even switch out the face, belly badge and arm positions to create a unique design tailored to whomever you’re giving it to. It’s a thoughtful gesture that shows you care, and the recipient will surely appreciate the time and effort put into it. Happy creating!