Celebrating Memorial Day with Creativity: A Versatile Spin on the Mad Hatter Card Die Set

As we celebrate Memorial Day, I’m excited to showcase two unique card projects that highlight the versatility of the Mad Hatter card die set from Scrappy Boy Stamps. While this die was originally designed for whimsical, themed projects inspired by the tale of the “Mad Hatter”, I decided to take a different approach and customize it for today’s patriotic holiday.

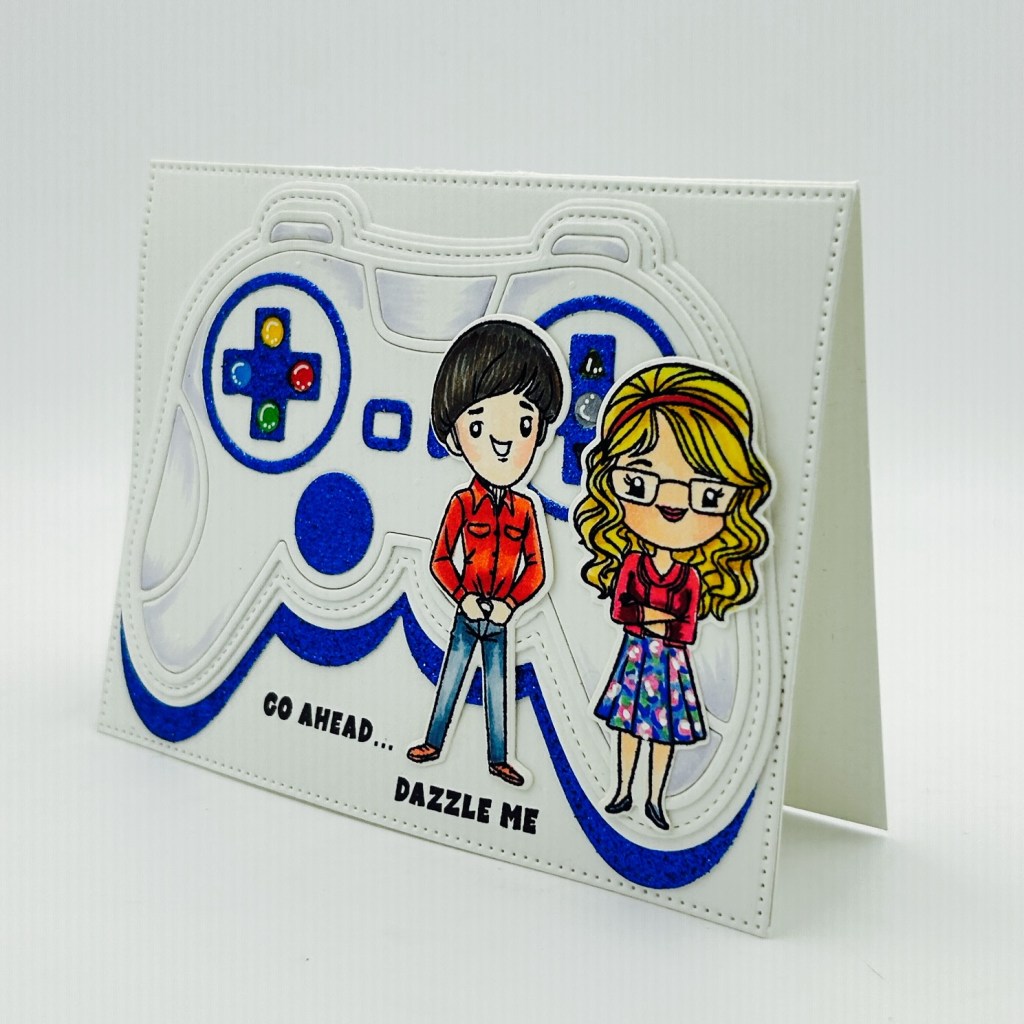
Project 1: Patriotic Themed Card

A mash up between Scrappy Boy & Pajama Crafter Stamps


For my first project, I focused on a vibrant red, white, and blue palette to create a heartfelt card honoring our fallen heroes. By changing up the colors and incorporating relevant embellishments, I transformed the Mad Hatter die into something truly special for this occasion. The combination of thoughtful design and color allowed me to create a meaningful tribute that resonates with the spirit of Memorial Day.

Project 2: Celebrating Birthdays with Pinup Girls

Scrappy Boy Old meets New Release


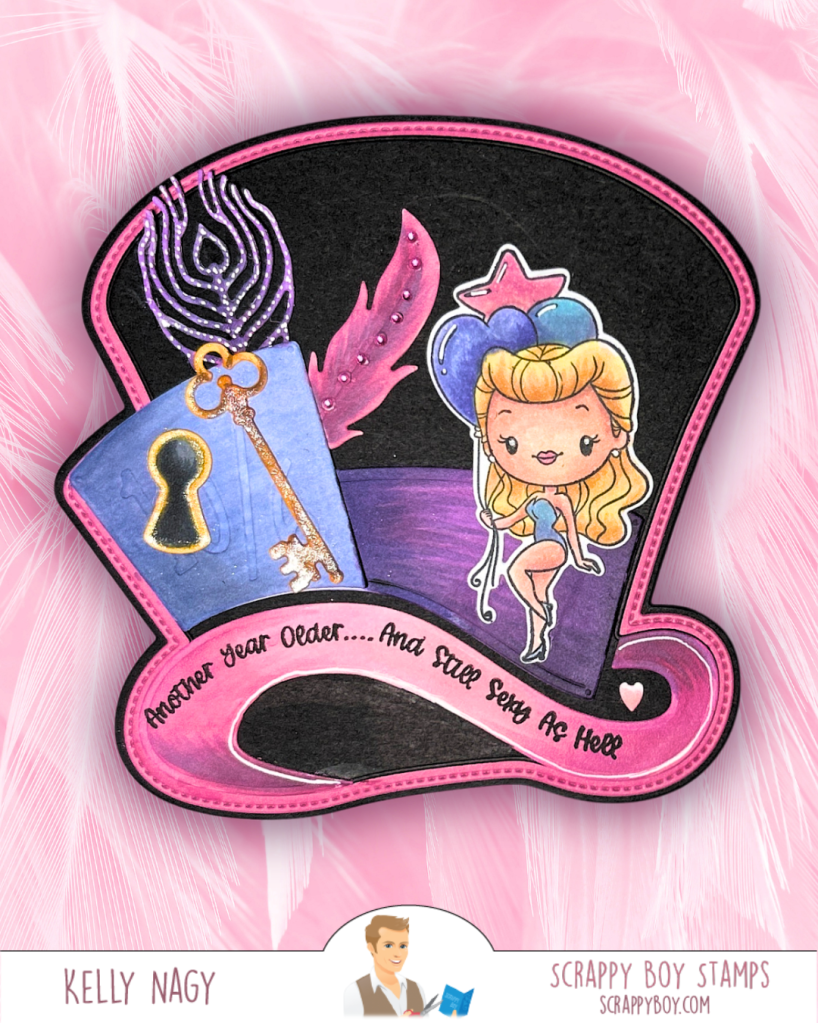
In contrast, my second project features the same Mad Hatter die set, but this time paired with the brand-new Pinup Girls Birthday set that was released earlier this week. By simply adjusting the colors and the sentiment, I was able to create a fun and festive birthday card! This demonstrates just how adaptable these products can be, allowing for endless creative possibilities.

The beauty of crafting lies in the ability to innovate and personalize your projects. With a little imagination, you can repurpose any die set to fit a specific occasion or theme, proving that your creativity is your only limitation.

I hope my projects inspire you to think outside the box and explore new ways to utilize your crafting supplies!

Happy crafting, and enjoy the rest of your Memorial Day!

MemorialDay #ScrappyBoy #CardMaking #VersatileCrafting #CreativeInspiration #pajamacrafterstamps

Go Ahead…..Dazzle Me

Featuring Scrappy Boy Products

Quick Steps to Create a Game Controller Shaped Card, Mini Album or Scrapbook Page Element

Crafting your own game controller themed card is simple and fun! Here’s a quick guide to get you started:

Materials Needed:

  • Heavy white cardstock
  • Copic markers
  • Colored pencils
  • White gel pen
  • Metallic blue cardstock and scrap colored cardstock for small elements
  • Stickles
  • Game Controller Mini Album and Card Die
  • Memento Tuxedo Black Ink
  • Math, History & Science Stamp & Die Set
  • Stamp Positioner or block for stamping clear stamps
  • A2 sized card base, although you can make this a truly shaped card by cutting the folded card base with the largest game controller outline die.
Featuring products from Scrappy Boy Stamps

Steps:

  1. Cut the Elements: Use the Game Controller die to cut out the main card shape from heavy white cardstock. Cut additional accent pieces from metallic blue and mirrored colored cardstock for the buttons for added flair.
  2. Color and Detail: Use Copic markers and colored pencils to color the card. Add details with the white gel pen for highlights and interest.
    • Shadows on controller: BV31, BV34, BV00
    • Dark Hair: T7, T5, T3
    • Fair Skin: E04, E11, E21, E00, E000, R20
    • Jeans: B00, B21, B34, B37
    • Guy’s Red Shirt: R21, R27, R59
    • Guys Shoe: YR27
    • Blonde Hair: YR20, YR23, Y26, E15
    • Gal’s Red Top: R83, R85, R89
    • Skirt: FBG2, FB2, B00, G07, G14, RV19
    • Shadows: BV23
  3. Layer and Assemble: Layer the main card on top of the larger stitched die cut from metallic blue cardstock and offset to give added shadow and fun dimension. Attach the accent pieces strategically to enhance the design (see image & also placement marked by embossed impressions from die)
  4. Personalize: Use stamped sentiments or handwrite a message inside to make it special for the recipient.
  5. Finishing Touches: Ensure everything is securely glued, and your card is ready to dazzle!

Enjoy your crafting adventure and let your creativity shine!✨