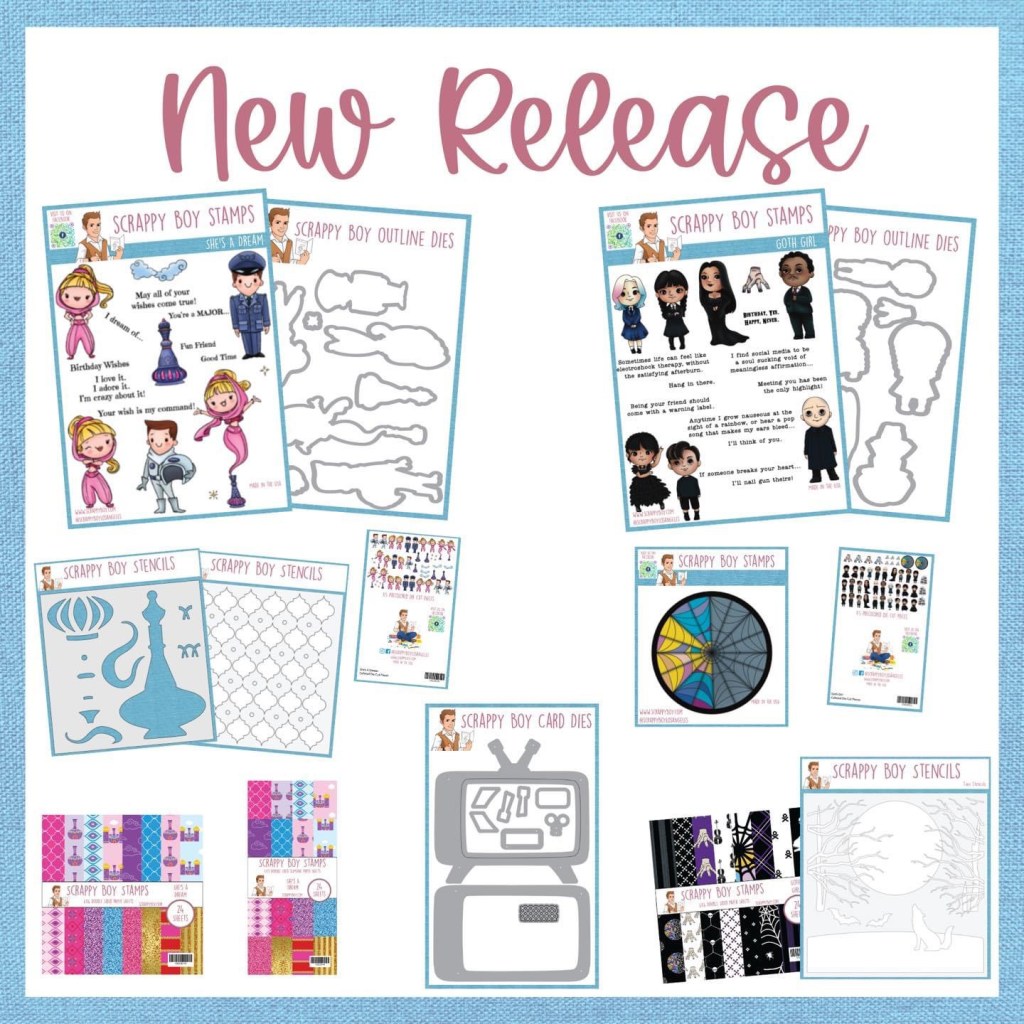
Attention stamping and paper-crafting enthusiasts! Scrappy Boy Stamps has just released their much-anticipated March release, and it is now available for purchase on their website, http://www.scrappyboy.com. This month’s release features an array of adorable and whimsical stamps and coordinating products, perfect for adding a touch of charm and whimsy to your paper crafts.
Let’s take a look at some of the highlights of this month’s release:
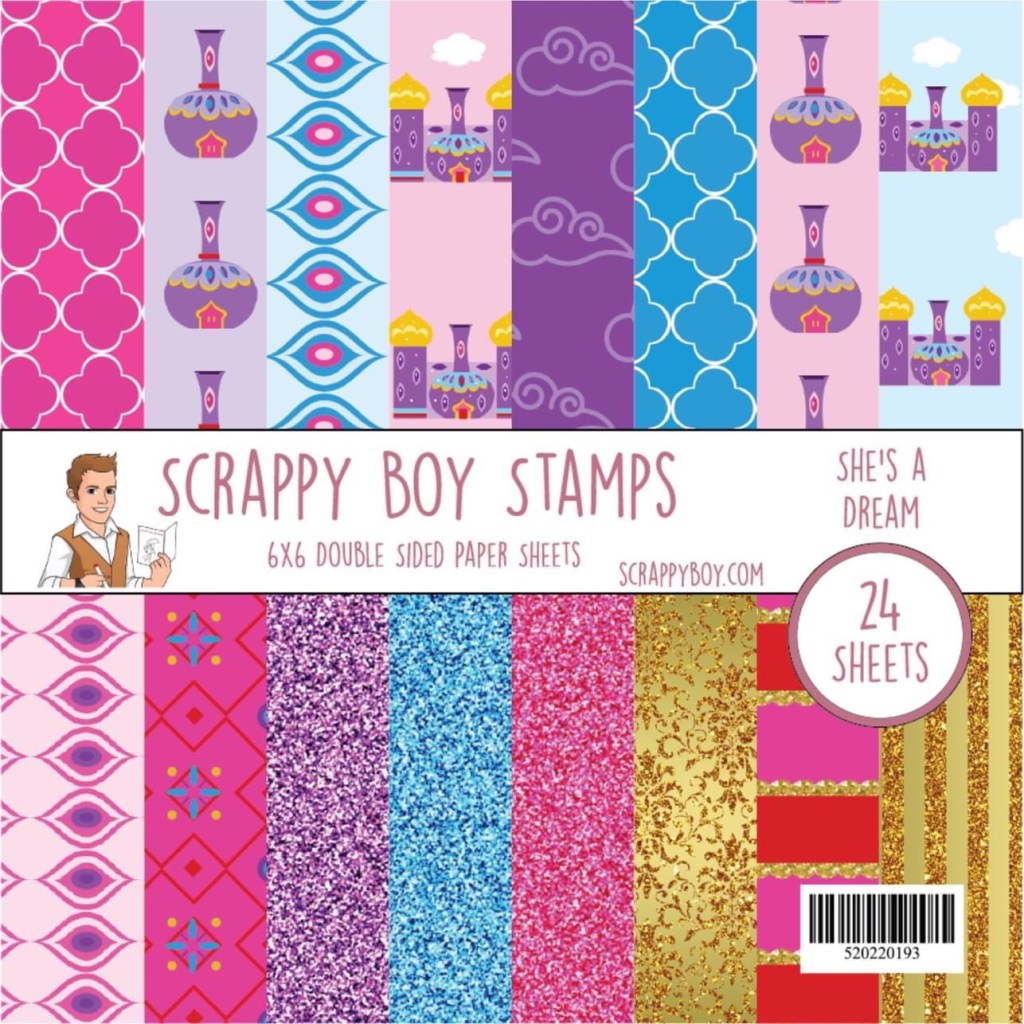
✨✨SHE’S A DREAM ✨✨
💖She’s A Dream 6×8 Stamp Set & Dies
She’s A Dream 6×8 Stamp Set
💜She’s A Dream 6×6 & 4×9 Paper Packs
She’s A Dream 6×6 & 4×9 Paper Packs
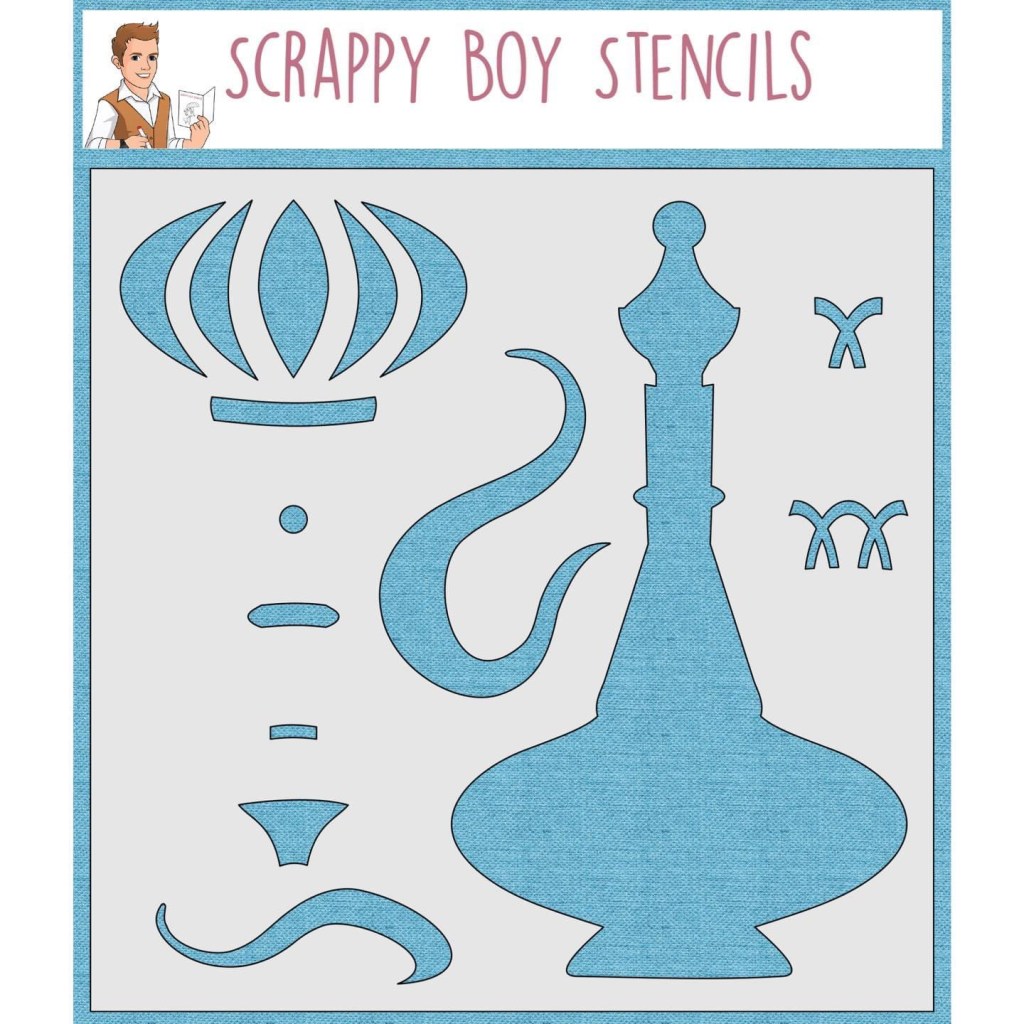
💖She’s A Dream Bottle builder Stencil
She’s A Dream Bottle builder Stencil
💜She’s A Dream Background Stencil
She’s A Dream Background Stencil
💖She’s A Dream Colored Die Cut Pieces
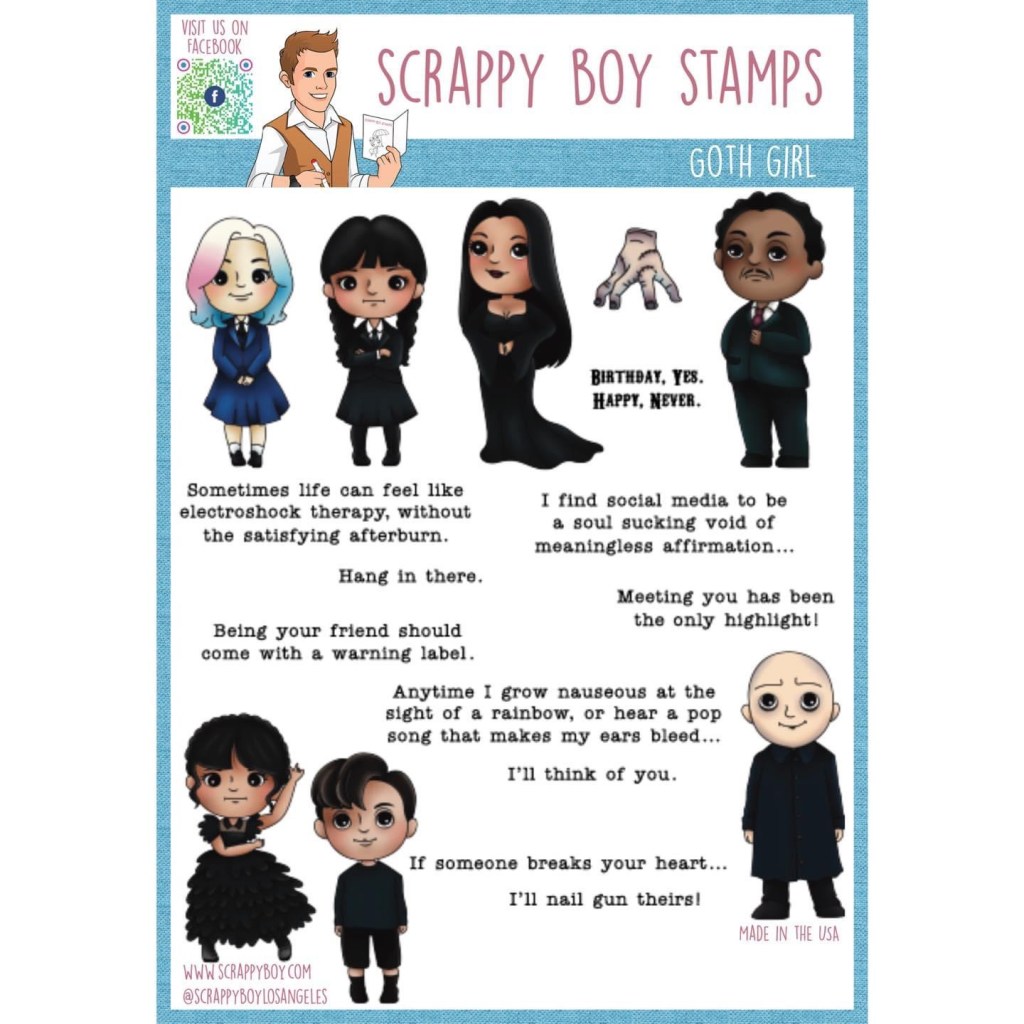
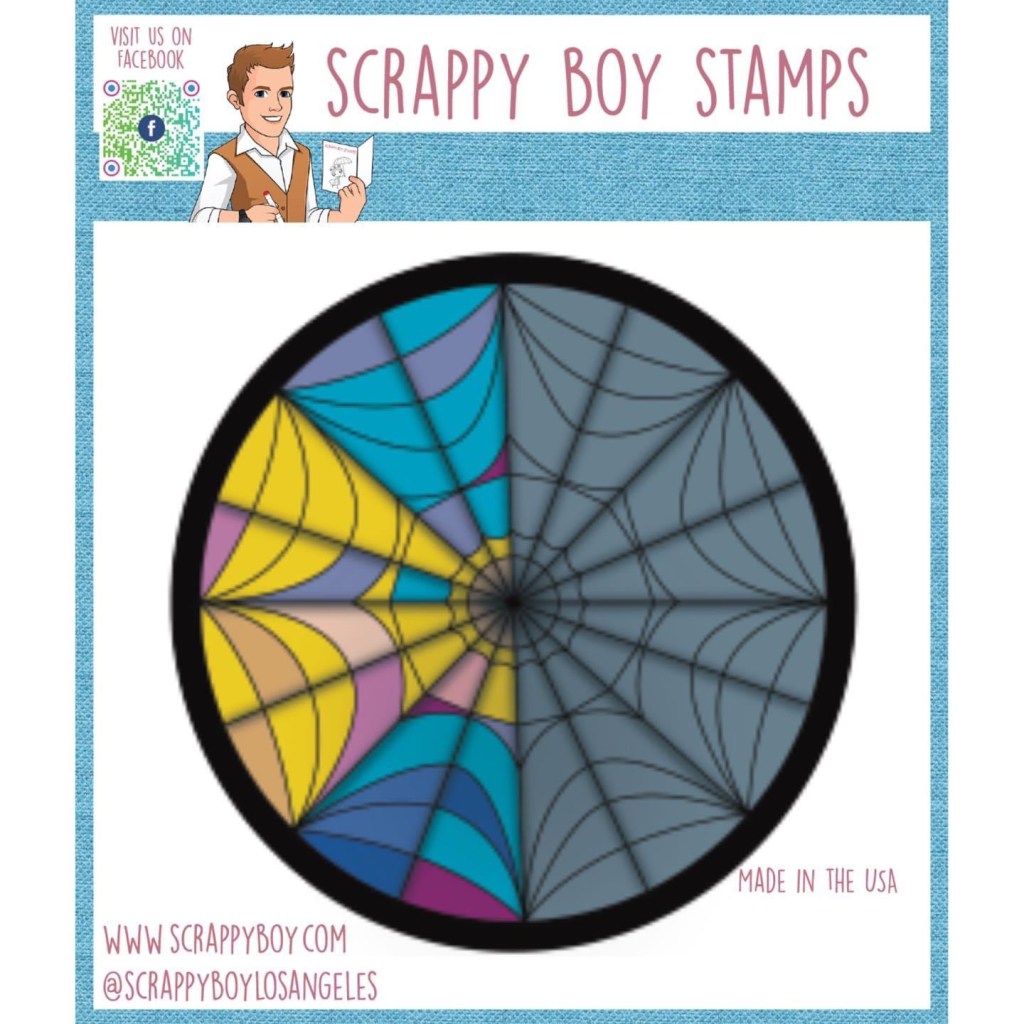
🕷️🕷️CUTE GIRLS GOTH GIRL🕷️🕷️
🖤Goth Girl 6×8 Stamp Set & Dies
Goth Girl 6×8 Stamp Set
🖤Goth Girl Window 4×4 Stamp set (no die)
Goth Girl Window 4×4 Stamp set
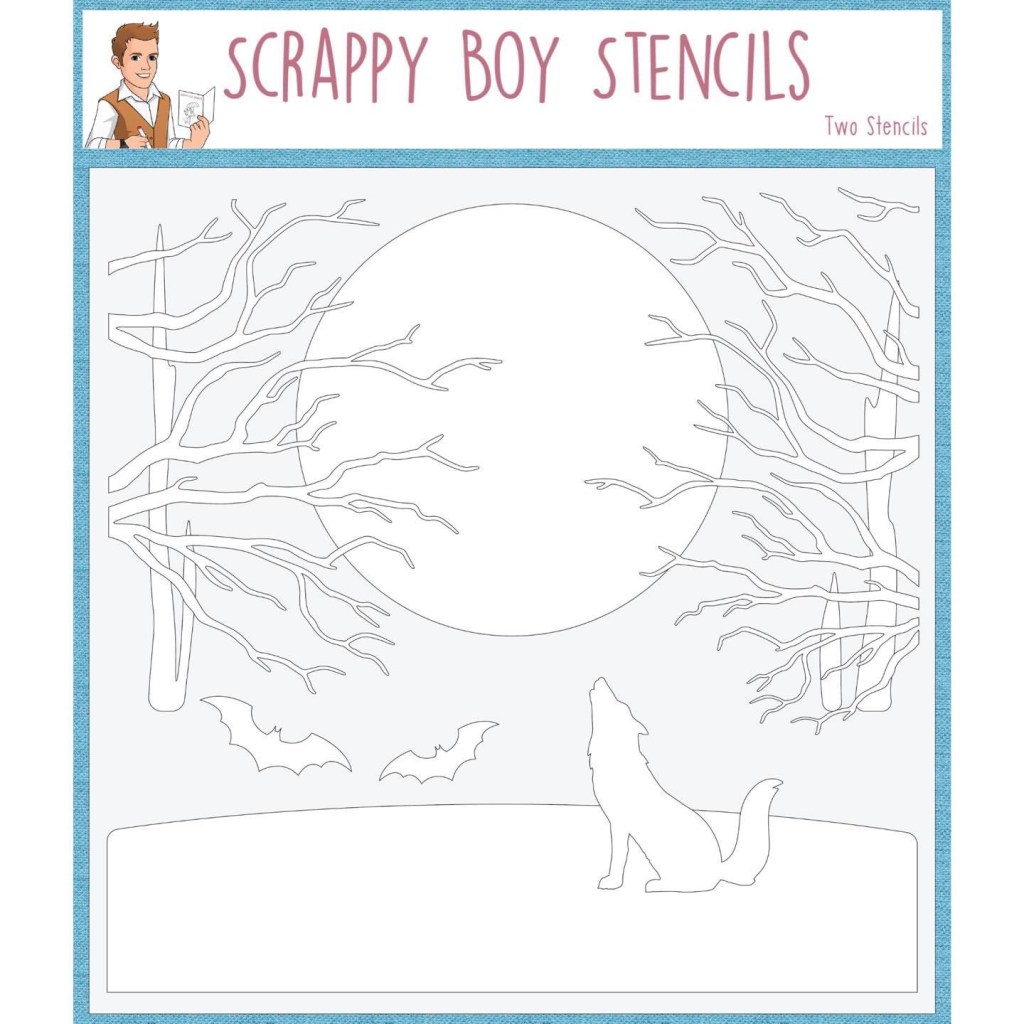
🖤Goth Girl Layered Background Stencil
Goth Girl Layered Background Stencil
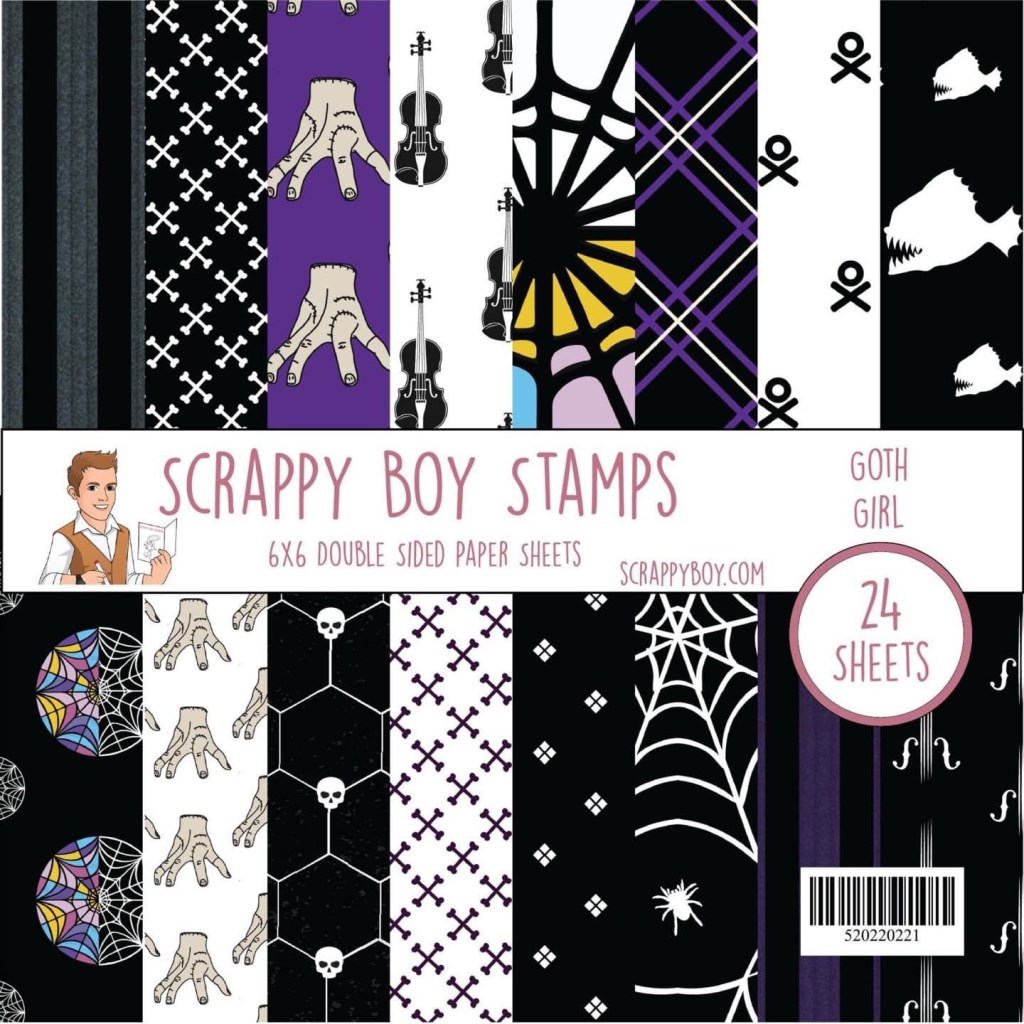
🖤Goth Girl 6×6 Paper Pack
Goth Girl 6×6 Paper Pack
🖤Goth Girl Colored Die Cut Pieces
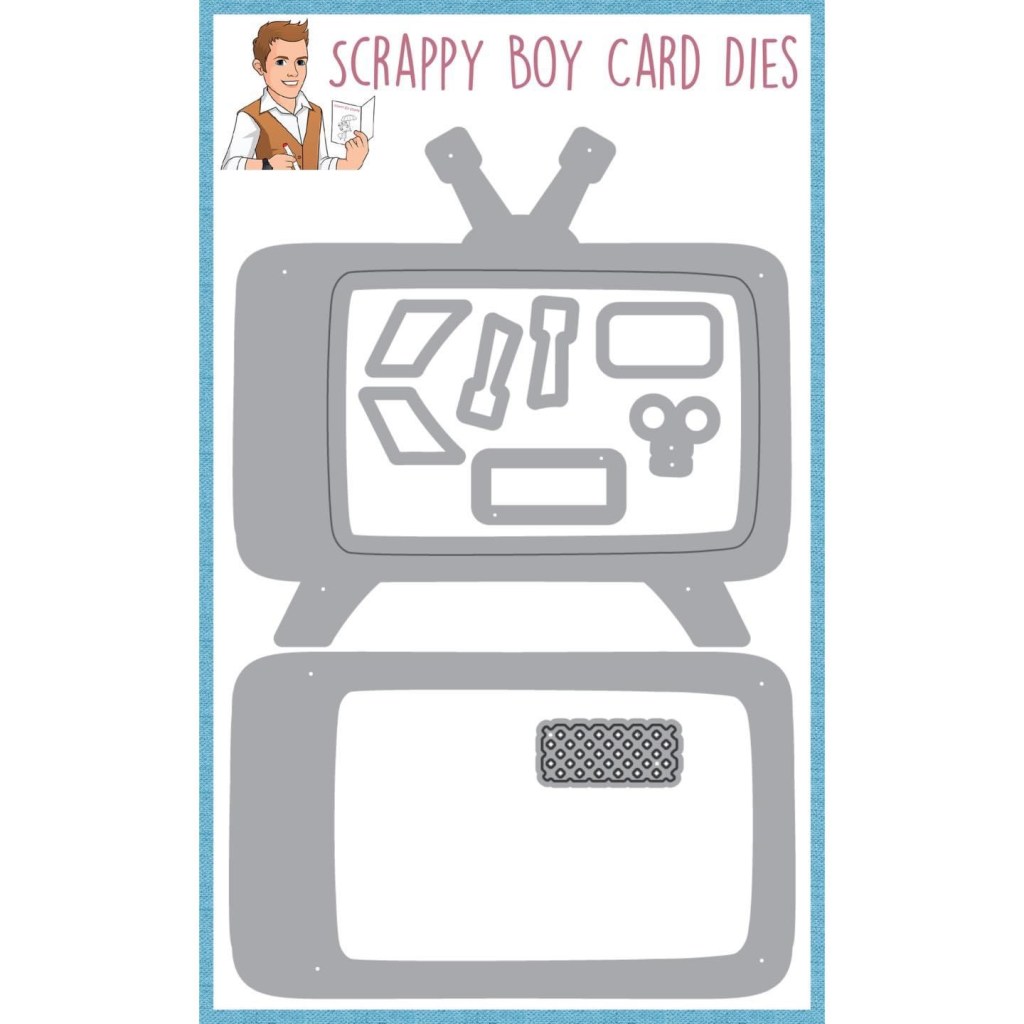
📺TV SHAKER DIE📺
These are the coordinated products included in this month’s release. Each stamp is made from high-quality photopolymer, ensuring crisp and clean images every time. Plus, they are easy to store and organize thanks to their slim design.
In addition to their stamps, Scrappy Boy Stamps also offers a variety of other crafting supplies, including dies, stencils, and pre-colored die-cut pieces. Plus, with free shipping on orders over $100, it’s the perfect time to stock up on all your crafting essentials.
So what are you waiting for? Head over to http://www.scrappyboy.com now to check out their March release and all the other wonderful products they have to offer. After that, all that’s left is to START CREATING!!
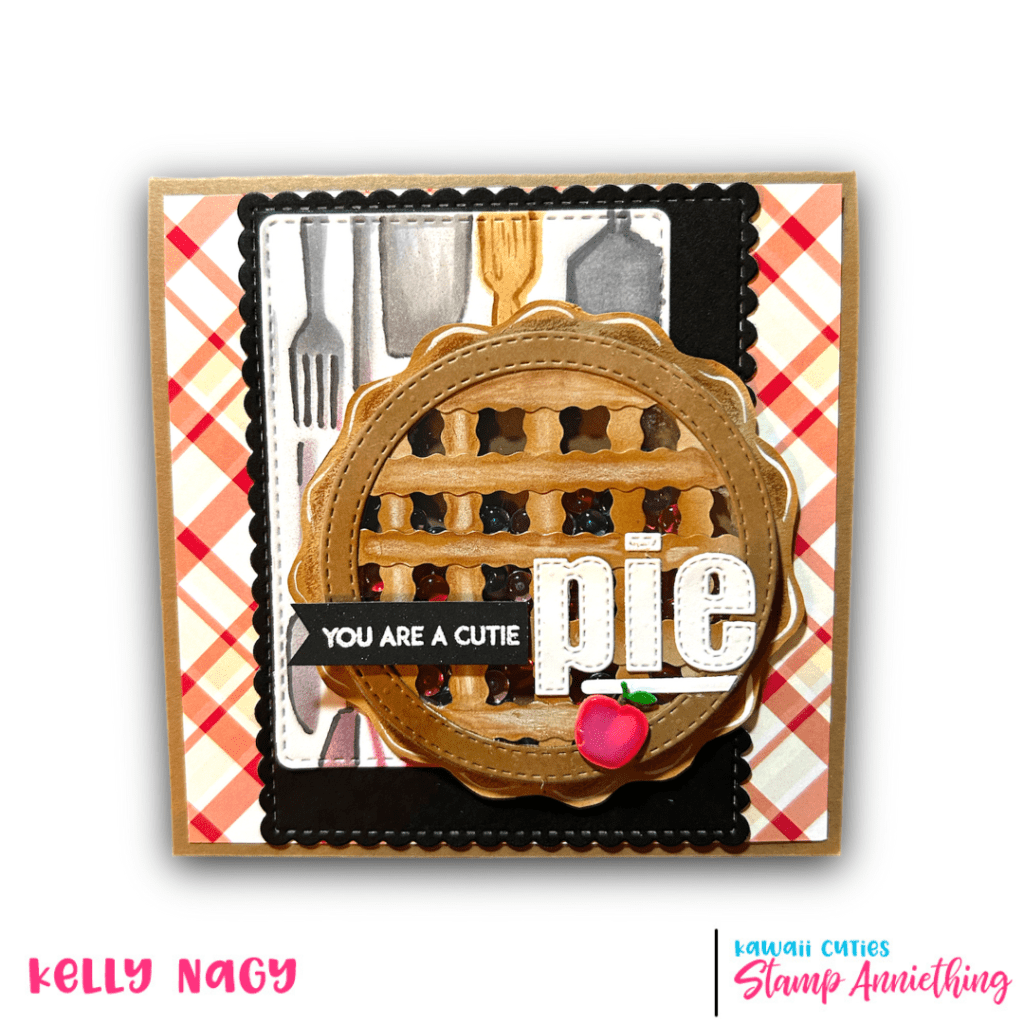
I am following up after my LIVE held on Tuesday, 3/14, International Pi Day, where I started to share how to get creative and make something fun and unique to honor the day! And what better and CALORIE FREE way to celebrate Pi Day, than by creating a pie shaker element using the Circle Shaker Basics 1 set from Stamp Anniething?
A pre-recorded video will be shared on the Stamp Anniething Stampers Facebook page shortly which will provide additional details and elaborate more on how to create this shaker element and two 5.5 inch square cards. My initial LIVE was cut short due to a family emergency and appreciate everyone’s concern. We are all good now!
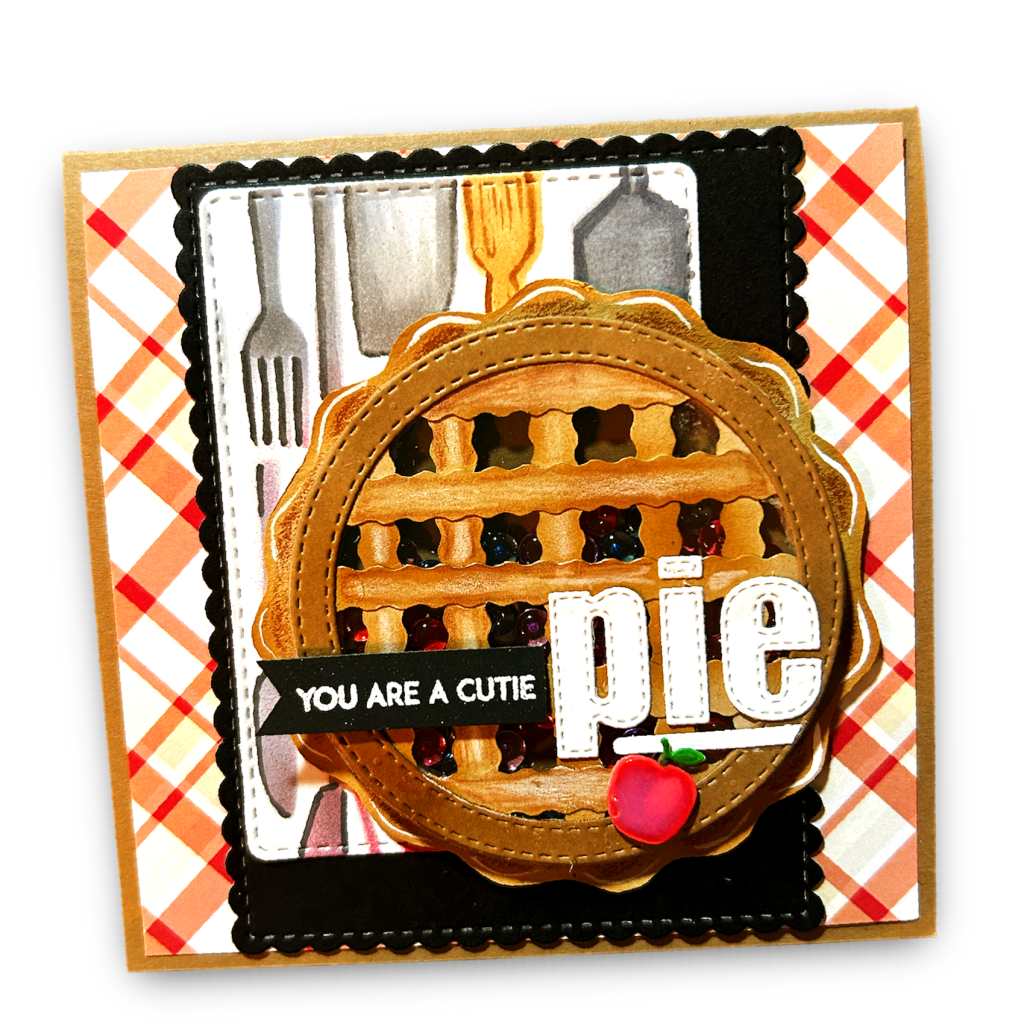
Card using Pie Shaker Element
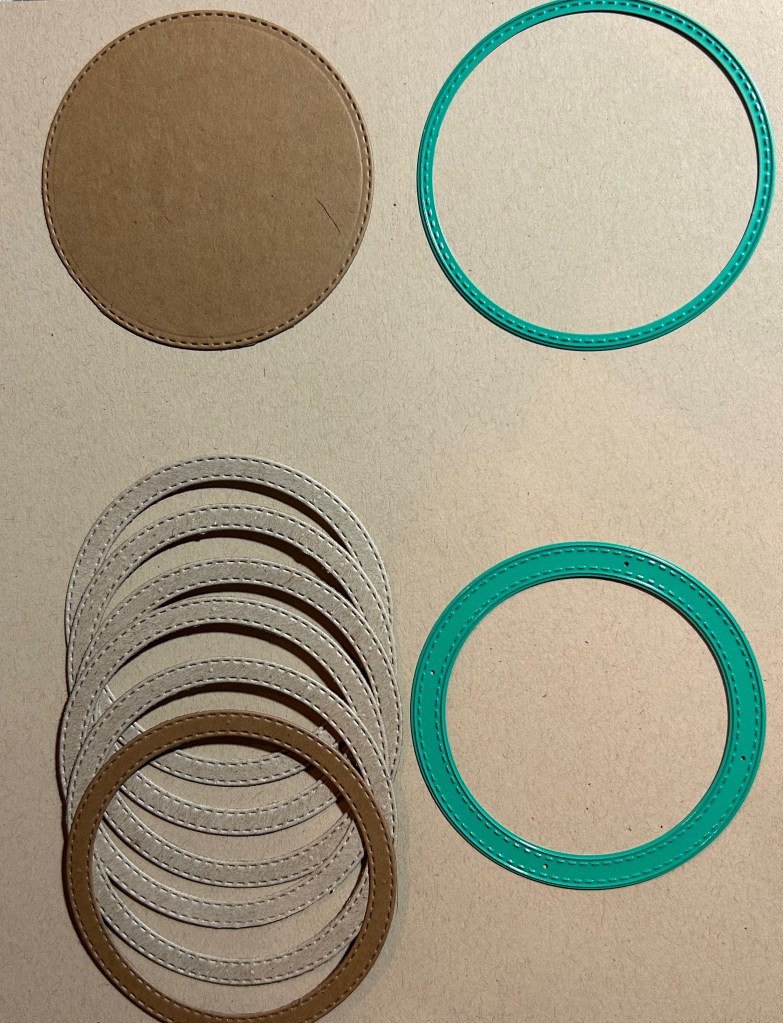
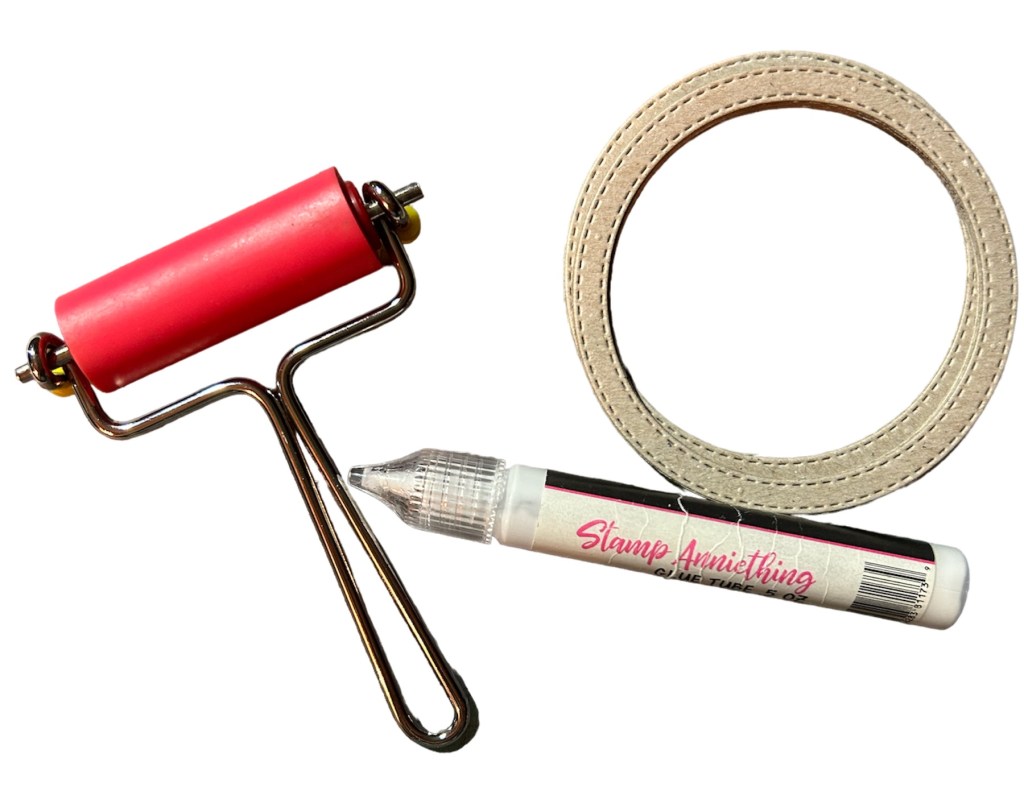
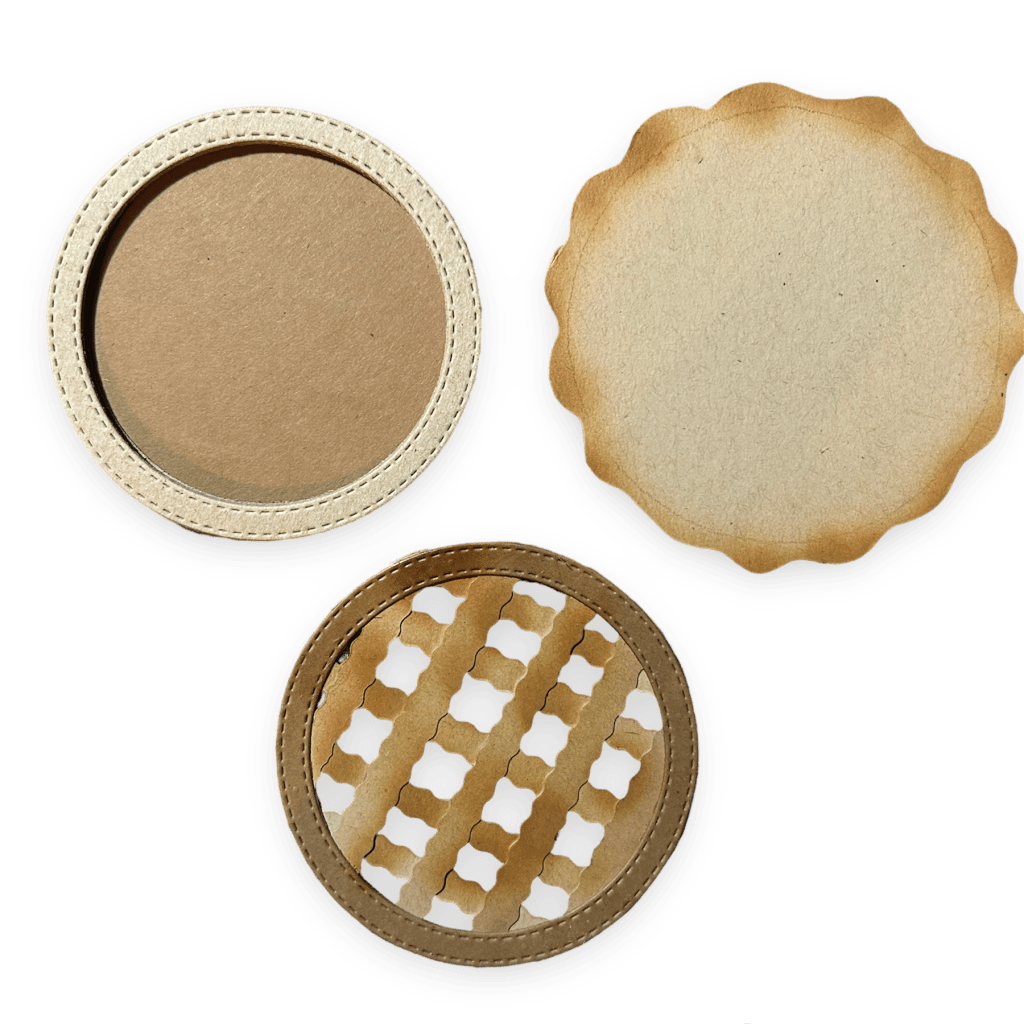
To get started, you’ll need the Circle Shaker Basics 1 set, some cardstock in your desired color, chipboard, acetate sheet, shaker bits and liquid adhesive. Begin by die-cutting 5 circles using the circle “frame” die from the set – one from cardstock and the others from chipboard. Make sure when gluing together, they match up in size.
Shaker Basics 1 from Stamp Anniething 5 chipboard & 1 card-stock – image shows which dies to use to cut. Keep negative pieces for a future project. Cut acetate sheet with the single die at the top. Later, we will use this to seal your pie and create barrier to hold shaker bits in.
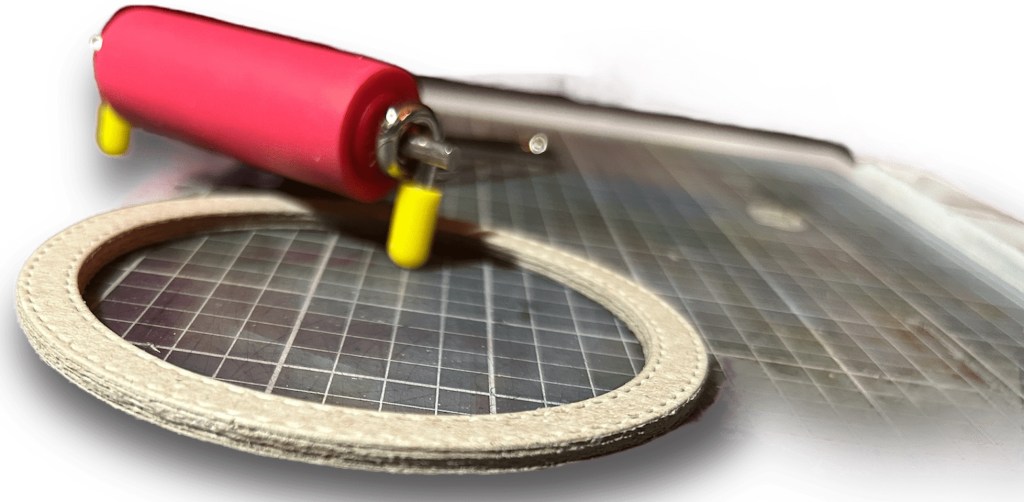
Next, layer of each die-cut with the liquid adhesive and use brayer or your fingers to make sure the layers are stacked evenly and ensure there is no air or separation between layers to prevent your shaker bits from escaping.
Running brayer over each layer helps create a strong seal, keeping shaker fill where it belongs.
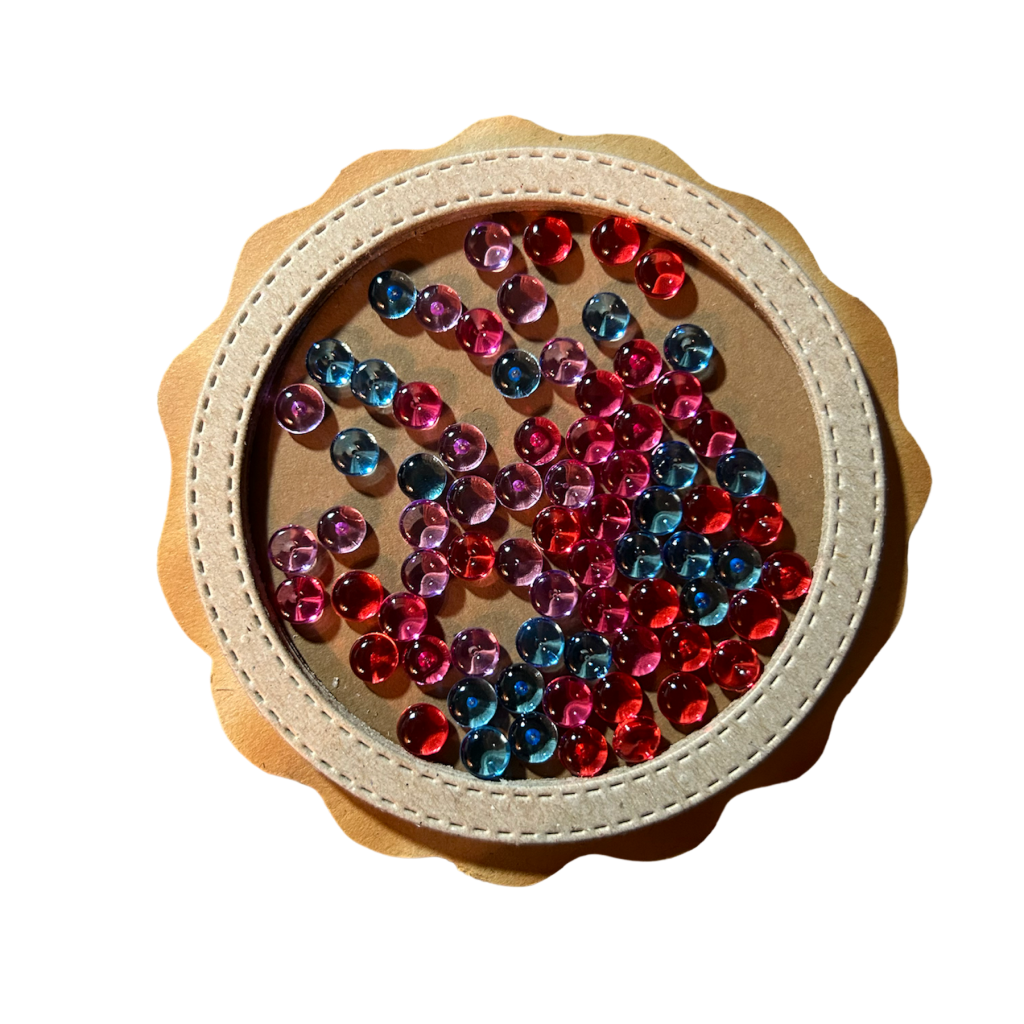
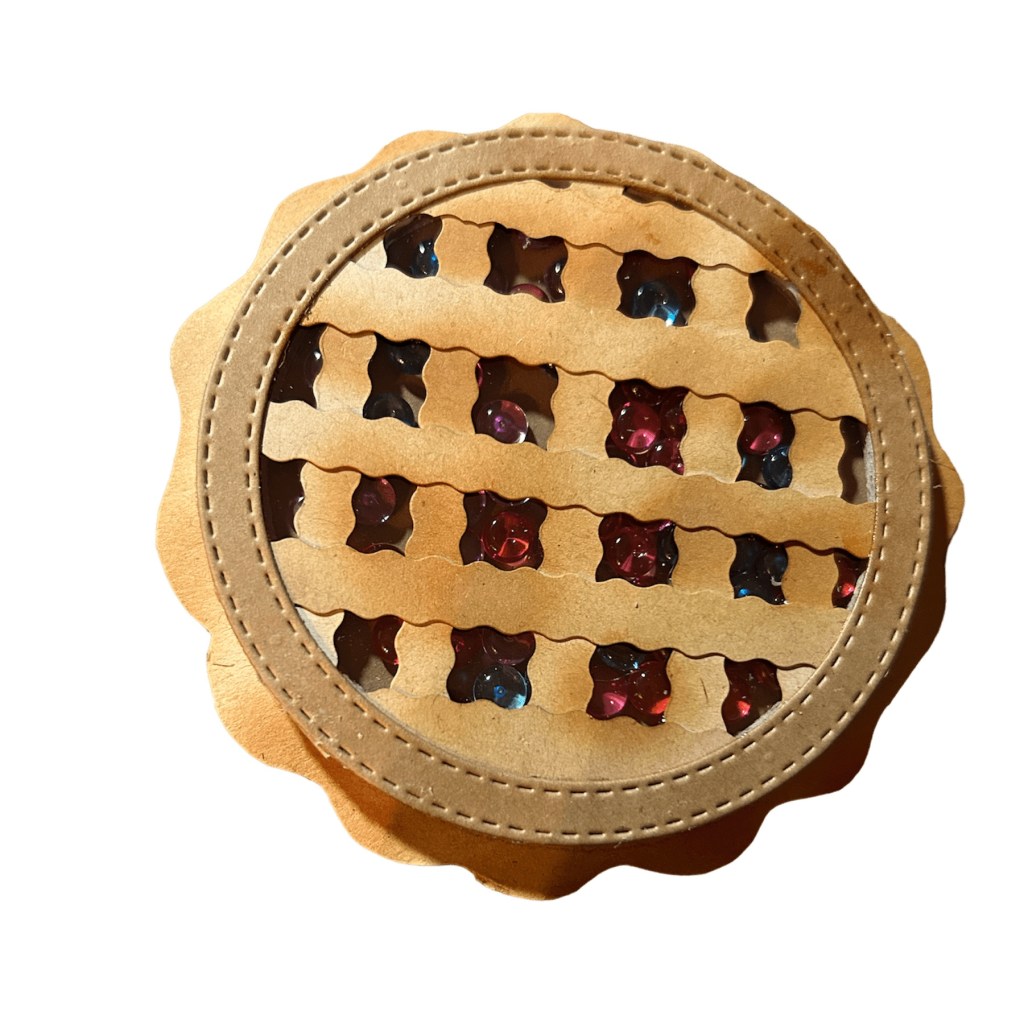
Now, add the shaker bits-on top of the cardstock circle in the well you created, as desired – you can add whatever you want to create interest (sequins, clay shaker bits, etc). I used jelly dots. You can use one color or simply mix a variety of colors for a more random look, as I have done here. Once you’re happy with how the shaker filling are arranged, carefully glue the cardstock circle onto the top on the acetate circle to seal.
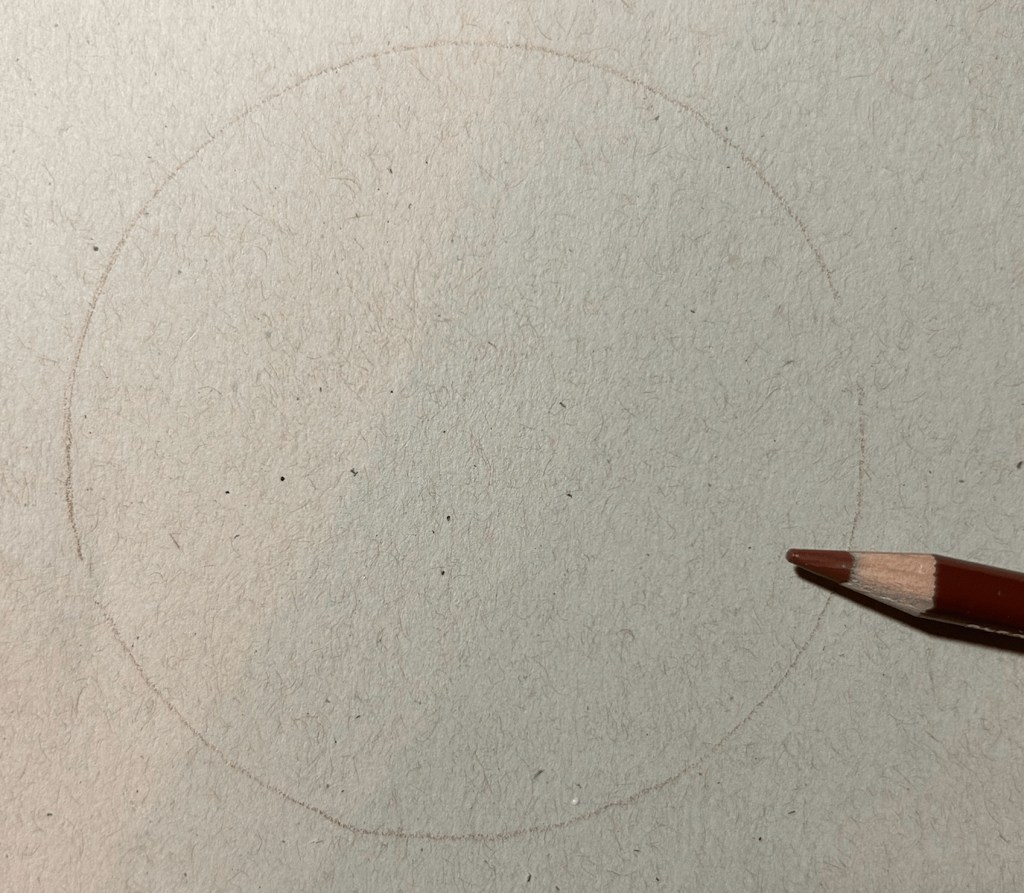
See the depth created by layering chipboard versus using foam tape.To create wavy pie crust edge, trace circle onto coordinating card stock. Then cut with scissors a curvy edge about 1/2 inch wider than the initial line drawn. Ink blend edges to look like it browned in oven and finish with white gel pen for added interest.This photo shows the different pieces that will be glued together to create pieFill well with shaker bits after gluing down to free-handed circle you traced and fussy cut to create the wavy outside of the pie crust edge. This seals one side of your pie element. Place something heavy to ensure good adhesion.
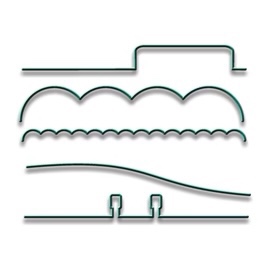
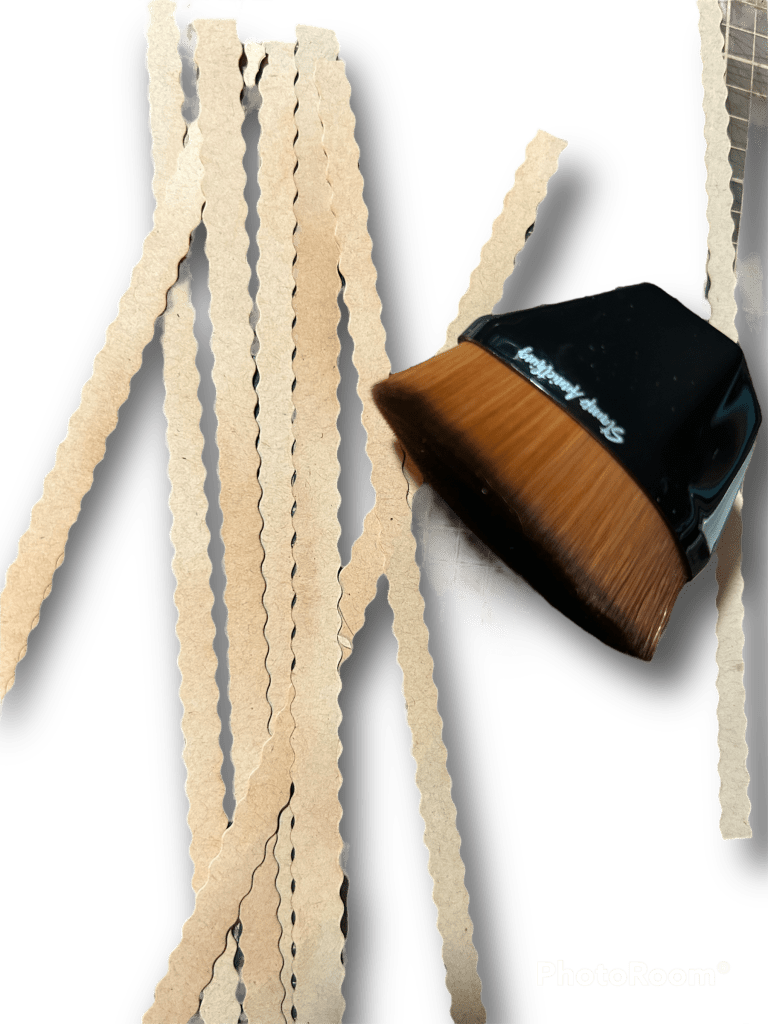
Finally, you can add some touches to make it look like a pie – for example, you can cut small strips of card stock in 1/4 in strips either with decorative scissors or your paper trimmer. Consider ink blending the edges to create a visual effect of being browned in the oven. Other options for a decorative edge could be to use the edger dies from Stamp Anniething to make it look more like rippled pastry to form the lattice crust.
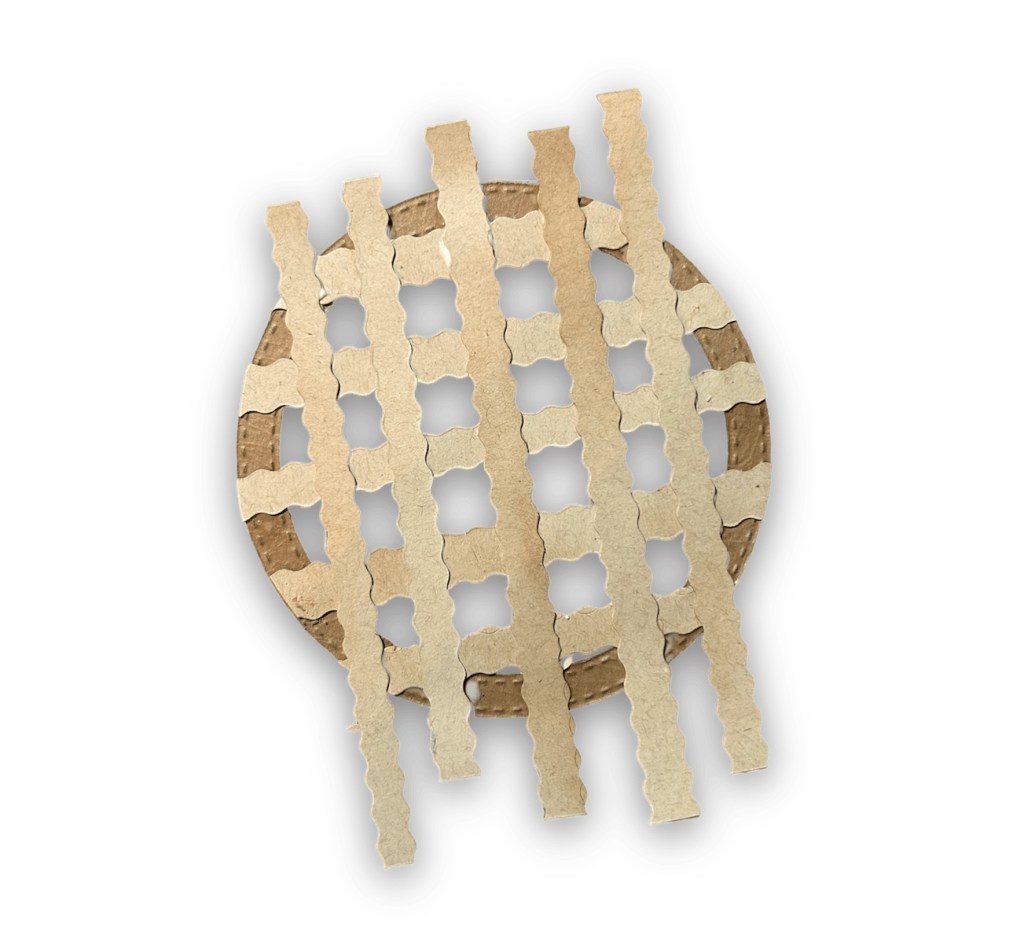
Edger dies/see smaller scalloped aboveInk blend your strips and glue down in s lattice design snd then cut off any edges that hang over.Layer strips and glue down to single frame to create pie top.
And voila – you now have a pie shaker element that you can use to decorate cards, scrapbook pages, or even as a fun little trinket to give away as a gift, attached to a tag, memordex card or mini recipe album! The possibilities are endless, and the best part is that you can customize it to fit your personal style and preference.
Finished pie element
So why not get your creative juices flowing and make your own pie shaker element to not just celebrate International Pi Day, but stretch your current die stash and use your supplies in a new, unique and fun ways!?!
Example of 5.5 inch square card paired up with a chibi
Happy crafting!
Final Card Project using pie element without chibi
If you haven’t heard it yet today, YOU ARE INCREDIBLE and you matter! Happy Crafting! Please follow, like, subscribe and share
Hello, all you paper crafting enthusiasts out there!
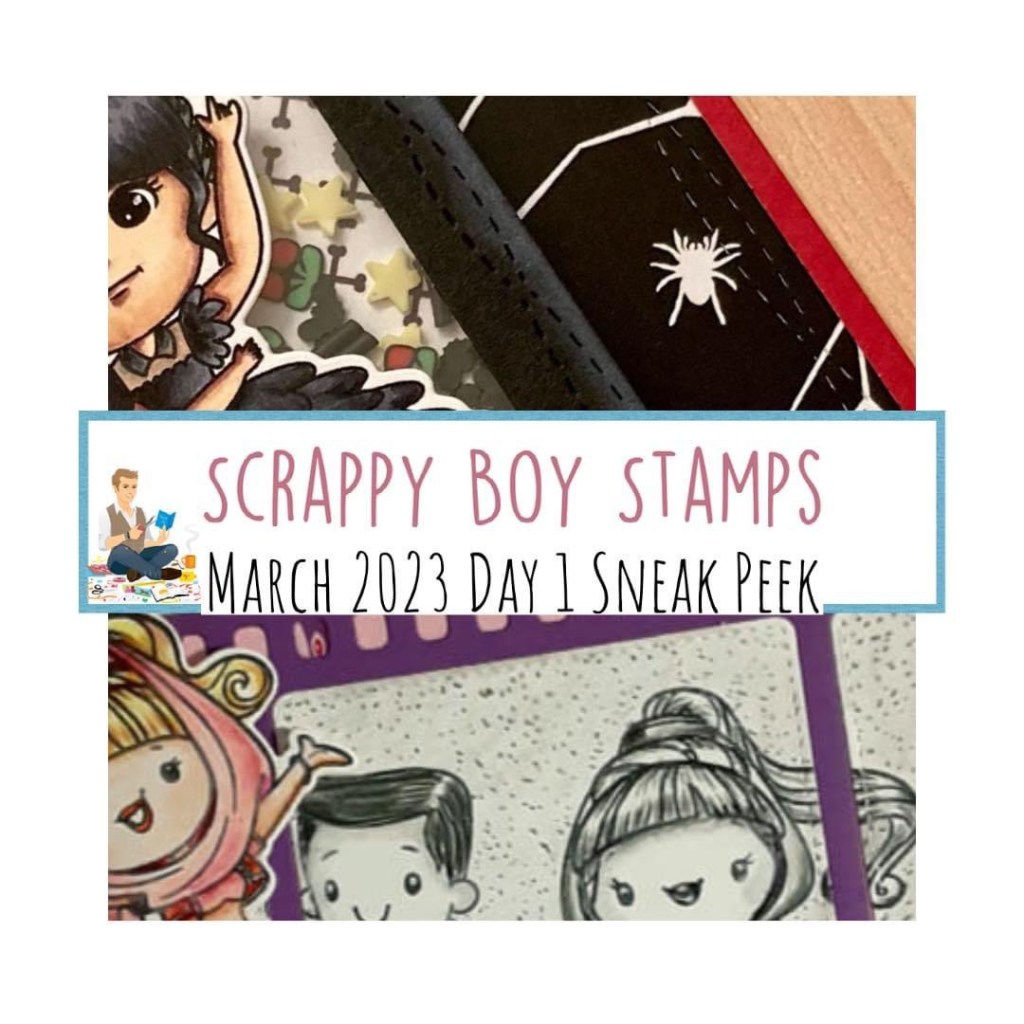
I am excited to announce that the March 2023 Scrappy Boy release is just around the corner, and wanted to give you a sneak peek into what you can expect on the first day of this exciting release.
First on our list is a set of brand new patterned papers in both 6×6 and slimline, each one featuring bright and bold designs that are perfect for adding a pop of color to your projects. All of Scrappy Boy patterned papers are printed on high-quality card stock and are sure to make your projects stand out! The paper is so lush and vibrant, and you can feel the quality in the weight and look of each piece of the double-sided pages.
Next up, there will be coordinating stencils and pre-colored die-cuts that will help you to create stunning layouts and cards in minutes. The die-cut embellishments feature all the cute images, colored up, cut and ready to add a touch of personality to your scrapbook pages, cards, planners and other projects you are working on. The stencils can pull a background together in just minutes and are great for both beginners and experts alike!
And last but not least, there will be a new set of stamp and coordinating outline die sets featuring the fun and quirky cute girls’ line for adding a playful touch to your projects and of course the main Scrappy Boy Stamp Release that will hopefully make all your wishes and dreams come true!!! These stamps and dies are made from high-quality materials and will give you endless hours of crafting fun.
Of course, these are just a few of the exciting products that are in store for you during the March 2023 Scrappy Boy release. I can’t wait to share more sneak peeks with you in the coming days, so be sure to stay tuned and get ready to be inspired!
Thank you for choosing Scrappy Boy, and happy crafting!
If you have been inspired in some way, please consider liking and subscribing, so you don’t miss a thing. If you have not heard it yet today, you are INCREDIBLE and you matter!!
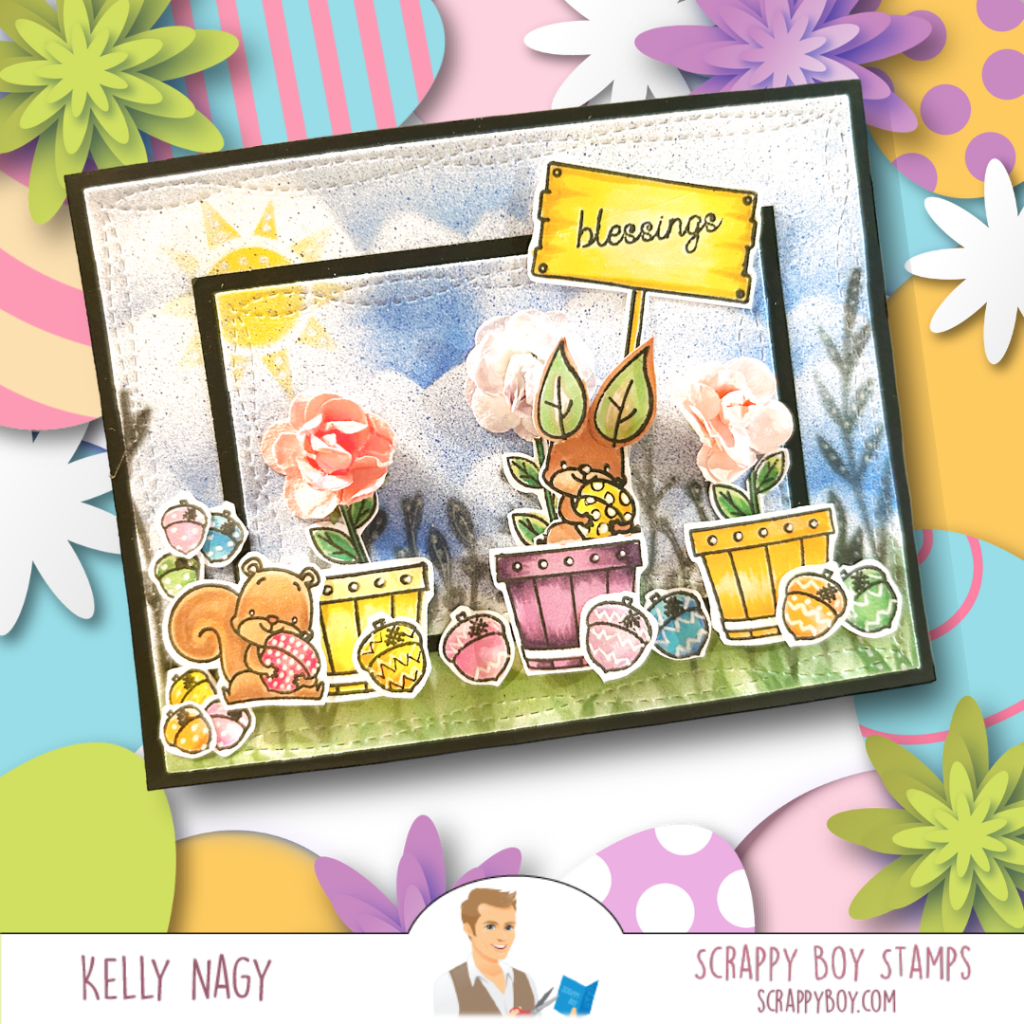
When it comes to card making, versatility is key. One of the best ways to get the most out of your stamp sets is to think outside the box and use them in ways they weren’t originally intended. In this blog post, we’ll explore how to create unique and unexpected cards using versatile stamp sets. The example I am sharing uses an older Scrappy Boy Stamps set called Happy Fall Y’All to create a whimsical Easter card.
Use stamps and dies in ways they were not originally intended.
Firstly, it’s important to look at the individual elements of your stamp set and consider how you can use them in different contexts. For example, a set featuring leaves, pumpkins and acorns might seem perfect for autumn-themed cards, but what if you used those same elements to create a spring or Easter card? You could use the leaves to create a wreath, the acorns as Easter eggs or the pumpkins as flowers.
Secondly, don’t be afraid to experiment with different color schemes. Just because a stamp set is traditionally associated with one season or holiday, it doesn’t mean you have to stick to those same colors. For an Easter card using a fall stamp set, you could use pastel shades of pink, blue and yellow to create a beautiful and unexpected color palette.
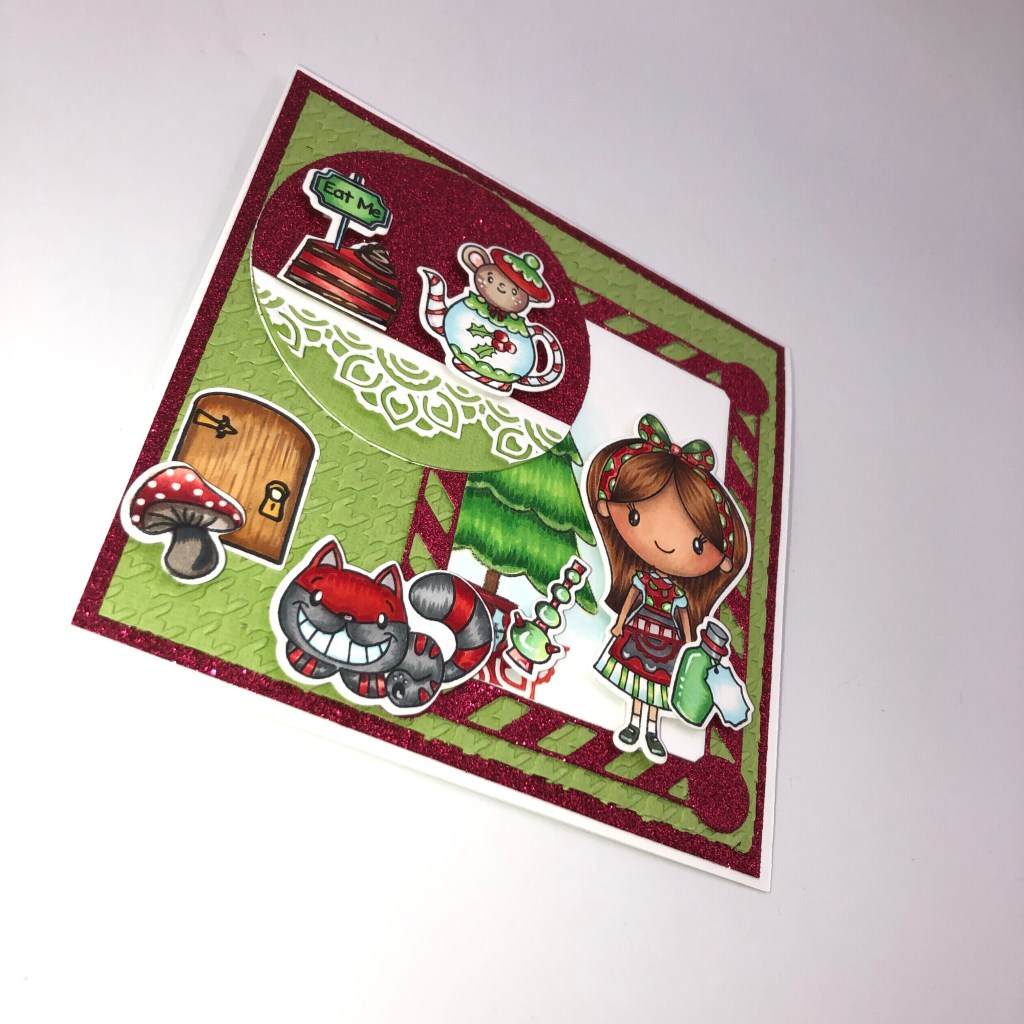
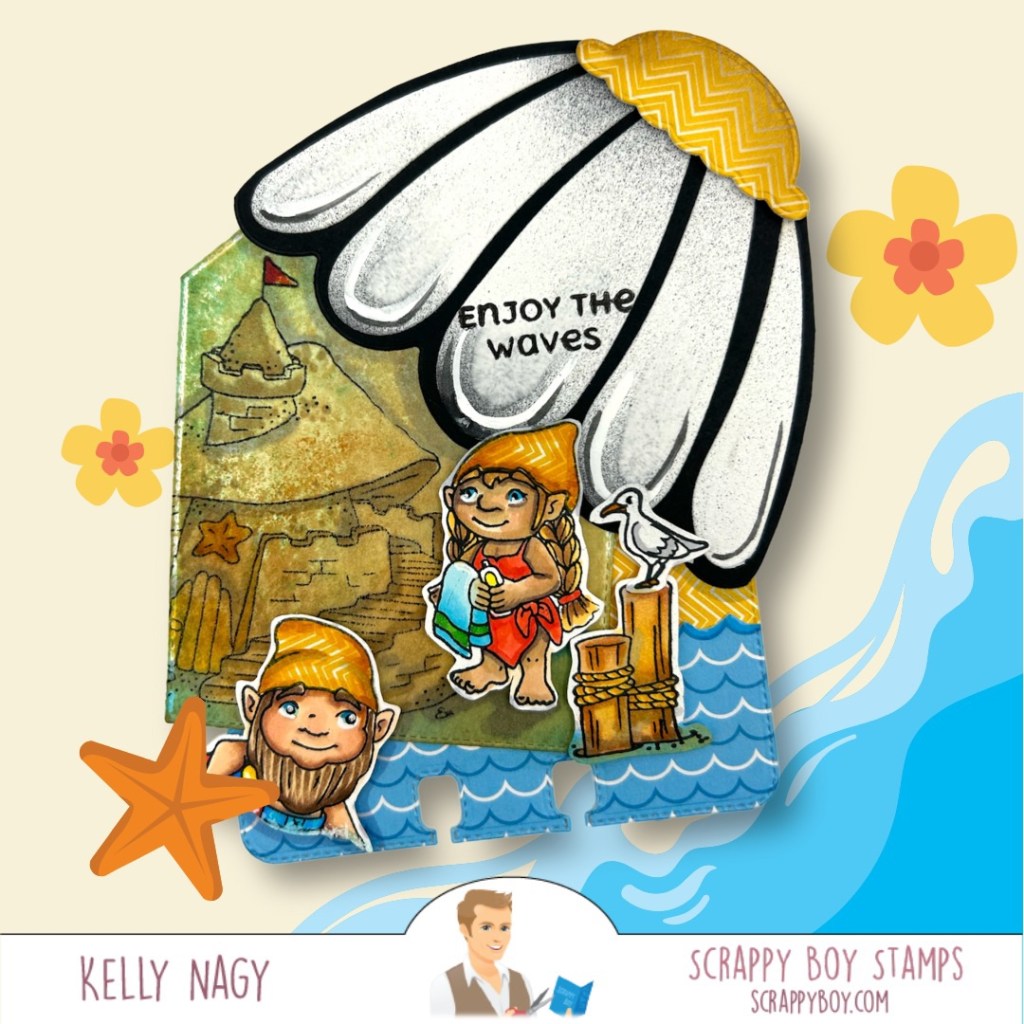
Another way to think outside the box is to combine multiple stamp sets to create a completely unique card. For example, you could combine elements from a beach set like Summer With My Gnomies with a Christmas themed set and transport those Gnomes straight to the North Pole! You can also change things up by selecting a Christmas color palette and transforming from traditional to fantastical, as with this spin on “Alice in a Winter Wonderland.”
Or Alice in a Winter Wonderland
Finally, it’s important to remember that creativity knows no bounds. Don’t be afraid to experiment with different techniques and materials, such as embossing, die-cutting or watercoloring, to take your cards to the next level. With a bit of imagination and a versatile stamp set, the possibilities are endless.
So next time you are looking for inspiration for a card, think outside the box and consider using a versatile stamp set in unexpected ways. Who knows what kind of unique and beautiful cards you’ll create!
Are you tired of having piles of scraps left over from your crafting projects? Do you wish there was a way to make use of these scraps without having to throw them away? Look no further than Scrappyboy Stamps and his FABULOUS line of Memorydex Dies!
Memorydex Dies are a fantastic tool for any crafter looking to make the most of their scraps. Available in a variety of shapes and sizes, these dies are perfect for not only memorydex cards, but for creating unique and personalized elements to add to cards, scrapbook pages, and more. Scrappy Boy’s Memory elements add-on dies are great to use up your cardstock left over bits! Simply pour your scraps onto the dies and run them through your die-cutting machine to create perfectly shaped pieces that can be used in a variety of ways.
One great way to use Memorydex Dies is to create custom background elements for your projects. Layer scraps cut with different dies to add texture and interest to your design. You can also use the dies to create embellishments, such as flowers or stars, to adorn your projects.
Another fun way to use Memorydex Dies is to create your own custom embellishments. Cut scraps into unique shapes and sizes, then layer them together to create one-of-a-kind embellishments that match your project perfectly. For example, use a heart-shaped die to cut scraps in shades of pink and red, then layer them together to create a custom heart embellishment for a Valentine’s Day card.
Fashioned a flower umbrella for my gnome scene using leftovers from the DRESS stand-alone die and pie topper.
Finally, Memorydex Dies are a great way to use up your scraps while creating a cohesive project. Choose a few colors or patterns that coordinate well together, then use the dies to cut scraps in these designs. You’ll be left with a bundle of perfectly coordinated pieces that you can use to make a truly unique project.
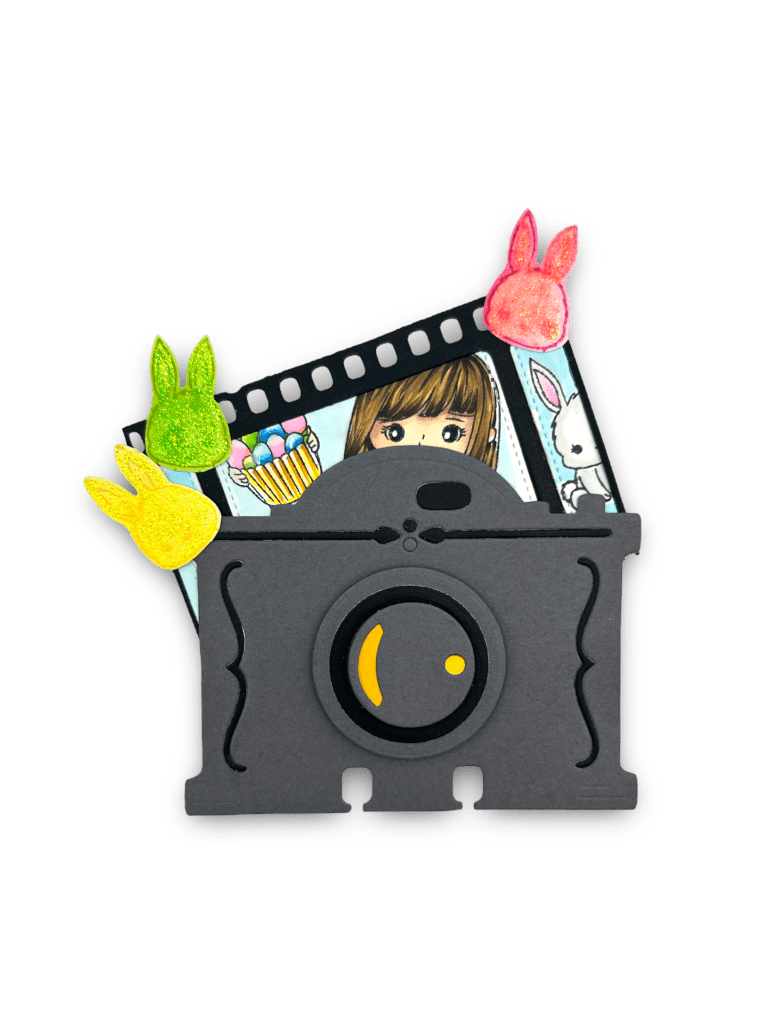
Simple stamp surgery created PEEPS perfect for my Easter Dex card. I also had a scrap filmstrip and stamped image colored up where an accidental BLOB kept me from using her on a regular card front. No Waste Here!!!
In conclusion, if you’re looking for a way to use up your crafting scraps, look no further than Scrappyboy Stamps’ Memorydex Dies. Not only will you be reducing your waste, but you’ll also be creating unique and personalized projects that will truly stand out. So go ahead and dig through your pile of scraps – you never know what creative possibilities lie within!
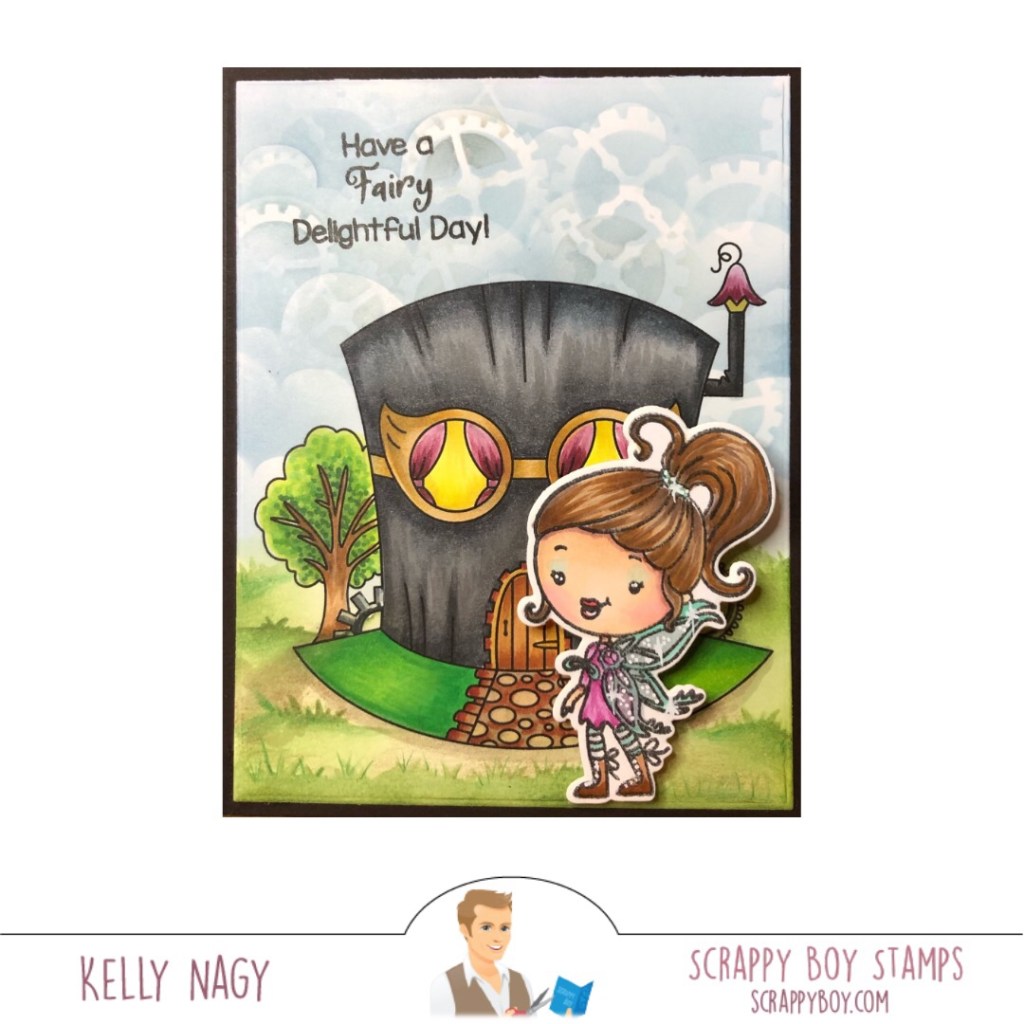
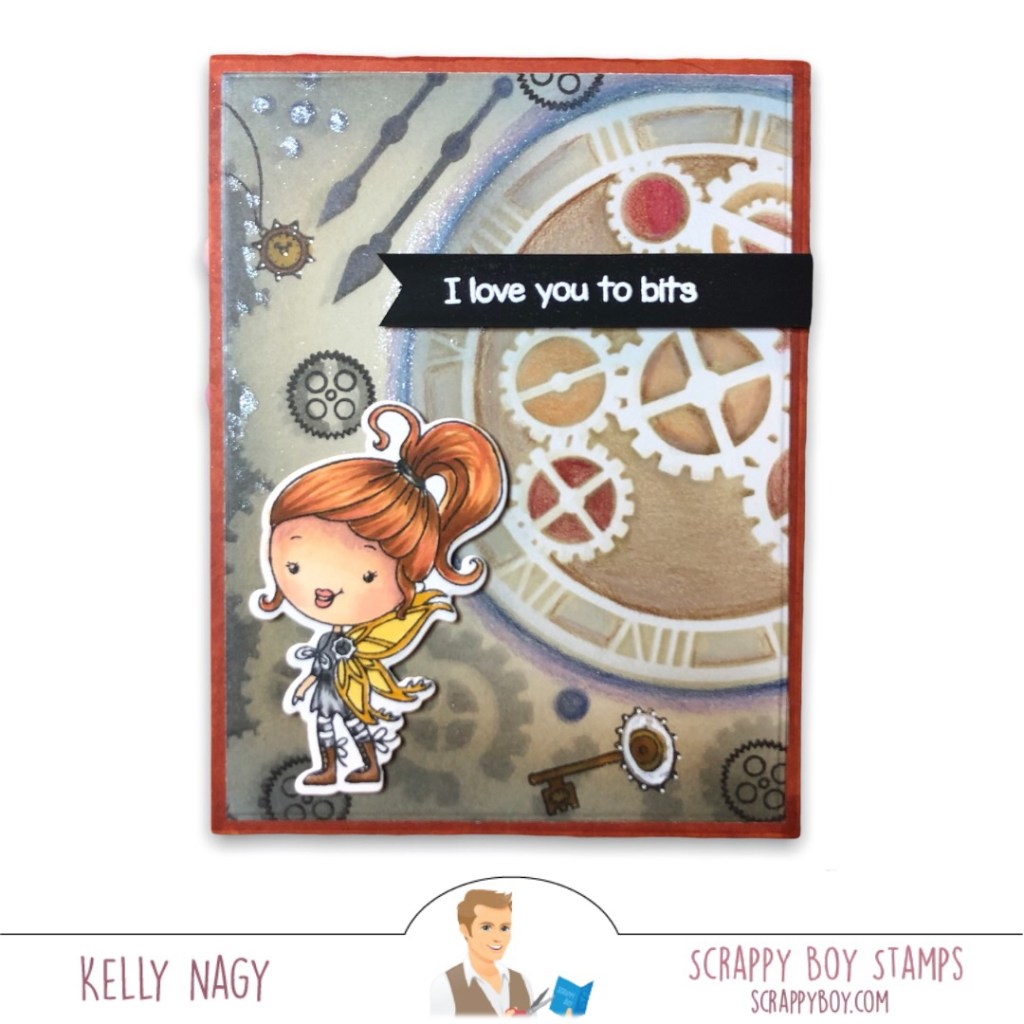
I used the Steampunk Watch 6×6 stencil to create some cloud shapes to fit my Steampunk scene using a light blue and light gray ink and ink blending brushes. I used a grass stencil from my stash to add some grass towards the bottom of my card front. I downloaded and printed the fairy house and colored it up with Copic markers. I then fussy-cut it out.
Copic Colors used to color all images are below:
Hair, Tree Trunk, Pathway, Door- E88, E59, E34, E57
Skin- E04, E11, E21, E00, E000
Blush – R20
Main House (top hat), Gear & Pipe – T9, T7, T5, T3, 0
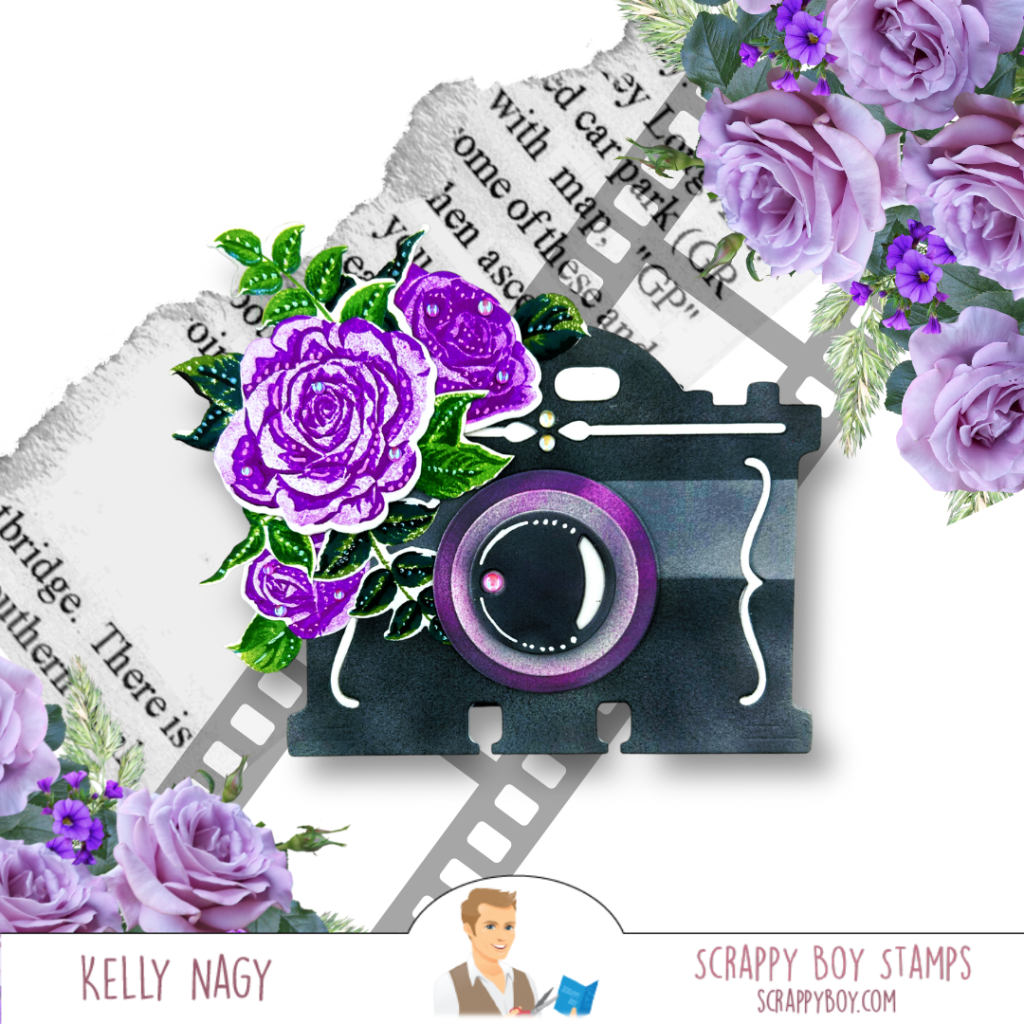
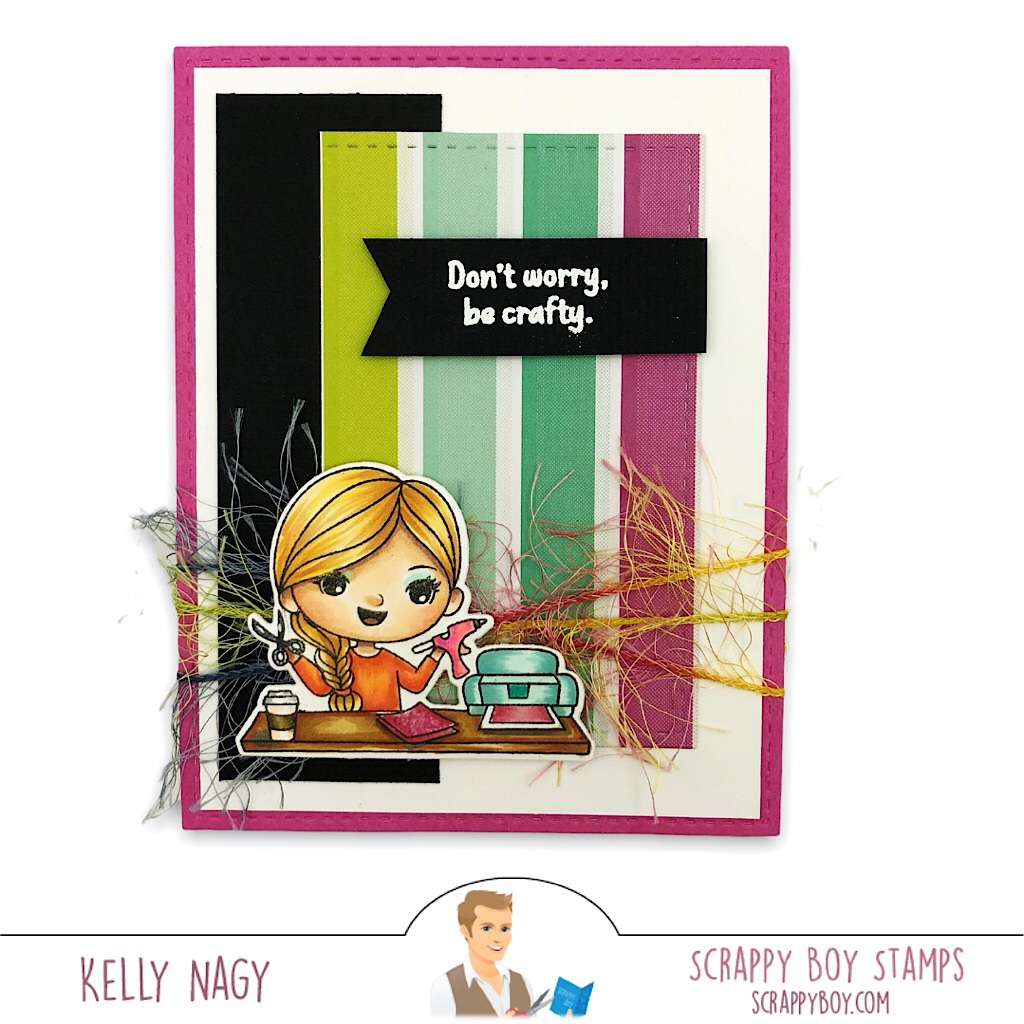
I created this card by pairing an image from June’s Cute Girls’ release – Crafting with a base I made using several scraps from cards I had made during the week.
This set is a MUST HAVE for card makers and crafters! Super cute images with elements crafters use on a daily basis! You can make tags to sell your various craft items or make cards to share the love with your crafty friends! No matter what crafty hobby you dabble in or whatever “maker” you are, Sean’s got you covered with this set!
Copic Combos used:
Hair – Y28, Y23, YR24 and Y21
Eye Shadow – BG01, BG000
Skin – YR01, YR000, YR0000 and R02
Orange Shirt – YR00, YR12, YR16, YR18
Pink Glue Gun & Paper – RV10,RV13, RV14, RV17
Diecut Machine – BG15, BG01 and BG72
Desktop – E23, E25 and E57
Scissors -C3
Coffee Cup – E30, E31, E25
I added coordinating fibers to add interest behind the image and a simple white heat embossed sentiment on black card stock to complete this Cute Girls card.
Image from Steampunk Fairies Set New June 2022 Release
Rust Card Stock Cut 5.5 x 4.25
White Card Stock Cut 5.25 x 4
Black Card Stock Scrap for sentiment
White Cardstock/Hammermill for Copic Coloring -3×5 in
Take 5.25 x 4 in white piece of card stock and ink blend over Steampunk Stencil (coordinating with this release)
Use Prismacolor pencils and gamsol, as well as white gel pen, for added detail and depth.
After stamping image onto the 3×5 piece of Hammermill or other alcohol friendly paper, with Momento Black ink and heat-set, I colored with Copic markers.
Featuring Products from Stamp Anniething & Artesprix
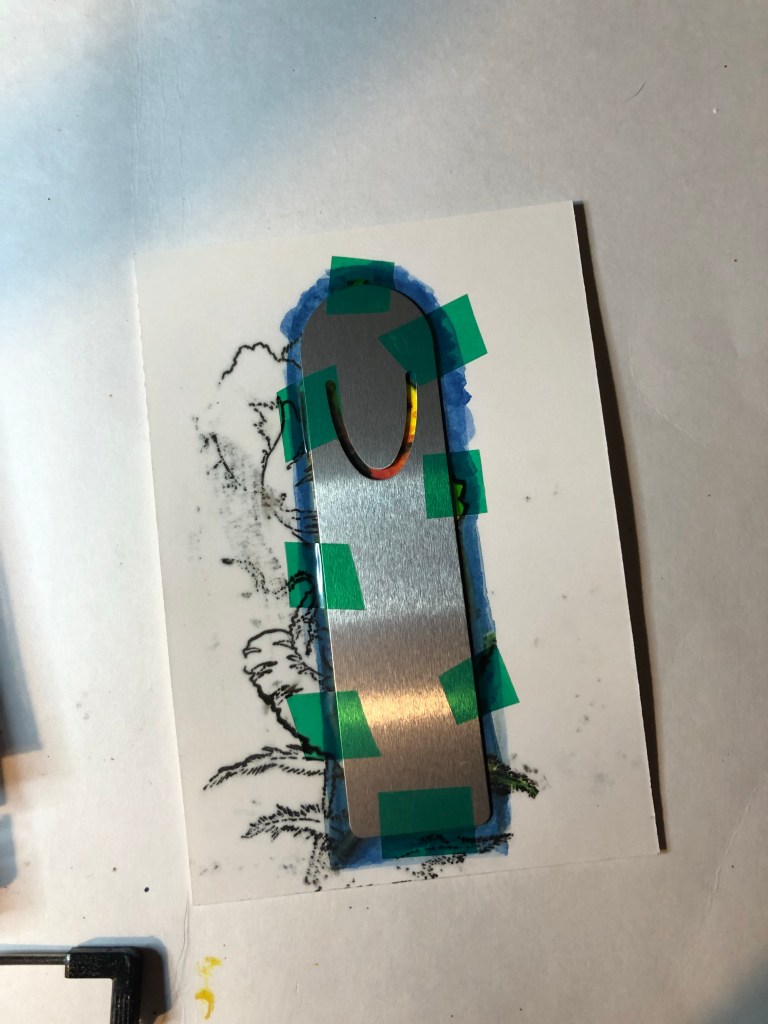
I am sharing a card and bookmark combo featuring The Poppy stamp set from Annie’s Garden at Stamp Anniething and sublimation inks and bookmark blanks from Artesprix.
Ink looks dull BEFORE sublimation is complete.
I traced the outline of the bookmark “blank” with a regular pencil onto plain copy paper and then stamped image using Black Artesprix ink and then colored in using Artesprix Colored Markers especially formulated for sublimation.
What is sublimation, you ask?
Sublimation DefinitionWhen heat is applied to your colored image, the pigments turn to gas and transfer to your sublimation blank.Place blank onto the colored image with coated side (if not coated on both sides) kissing colored image. Secure with heat tape (don’t skimp on this step)
I then cut 2 pieces of special protective paper / parchment and created a “sandwich” with the colored image taped to blank facing up and a second piece of parchment on the bottom. This helps contain any ink that escapes during the process. Having the paper face up allows the heat to hit the back of the image and transfer to the blank underneath.
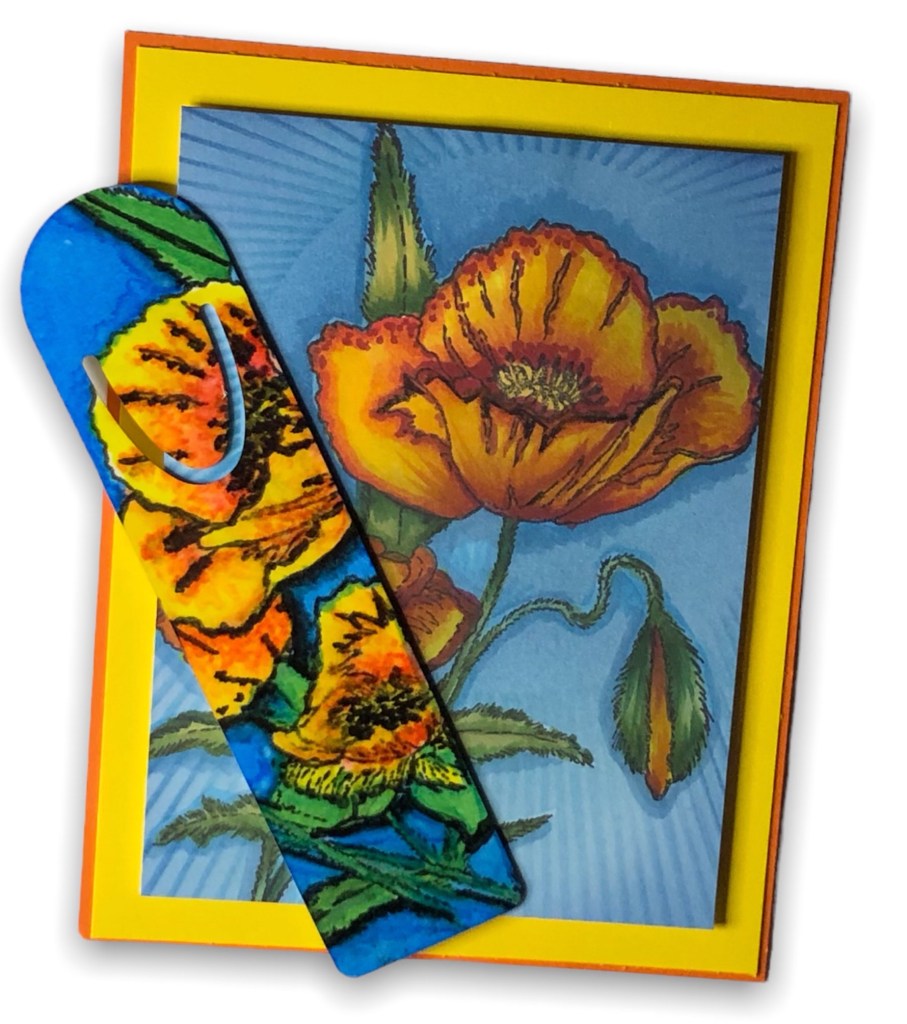
I used a mat from Artesprix to protect my surface and pressed my heat press firmly on top of the “sandwich.” I purchased a no name brand from Amazon for under $80 and have been very pleased. I pre-heated my press to 390 degrees and pressed for 90 seconds. I decided to continue to press another 90 seconds and after a significant cool-down period, the results were stunning!
I used the same image and stamped on Hammermill 110 lb cardstock. I colored up with my Copic Markers. I stamped the image on Gina K masking paper and fussy cut. I placed the mask on top if my image to protect it. I ink blended using a palm ink blender, Annie’s blue inks over the sun ray stencil from Stamp Anniething.
Orange Mat- 5 1/2 in x 4 1/4 in
Yellow Mat – 5 1/4 in x 4 in
White (stamp image on this piece) 4 3/4 in x 3 1/2 in – pop up and center on yellow with foam tape
I love how a simple bookmark elevated my card into a gift!
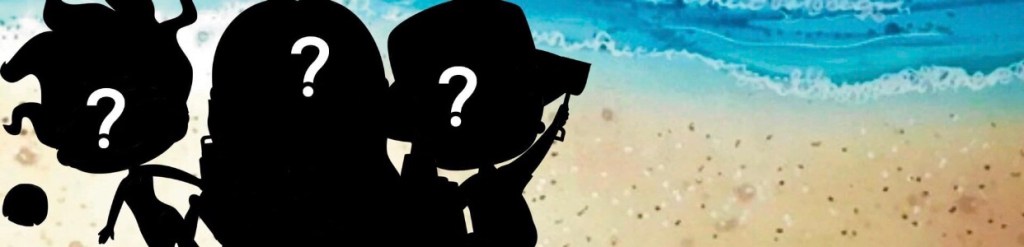
Annie likes to keep us guessing!! Tease Alert!And just like that, you all are now WOKE!!! Enjoy!
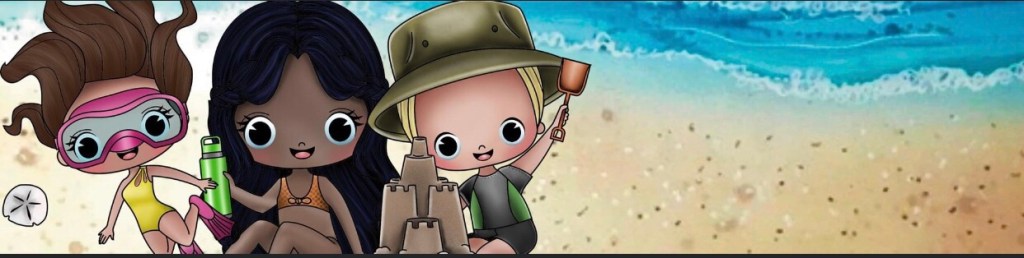
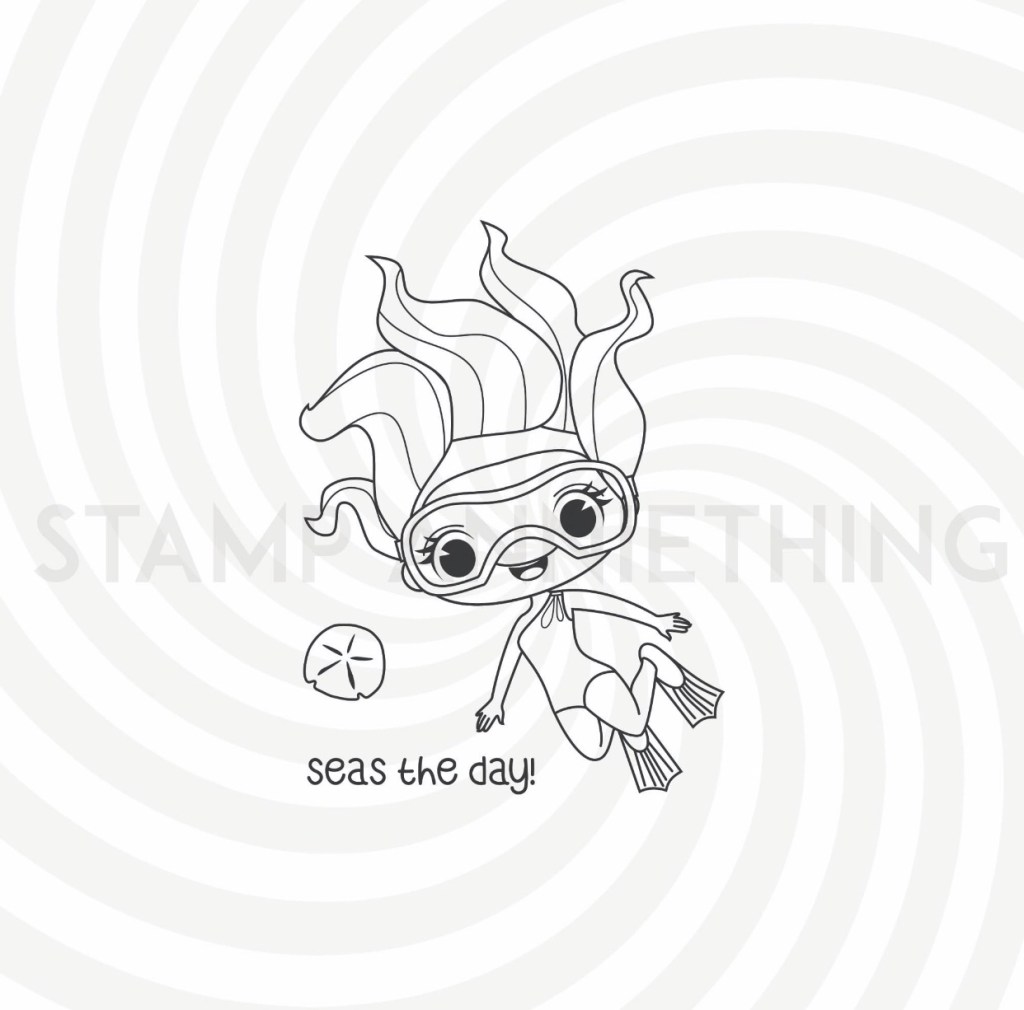
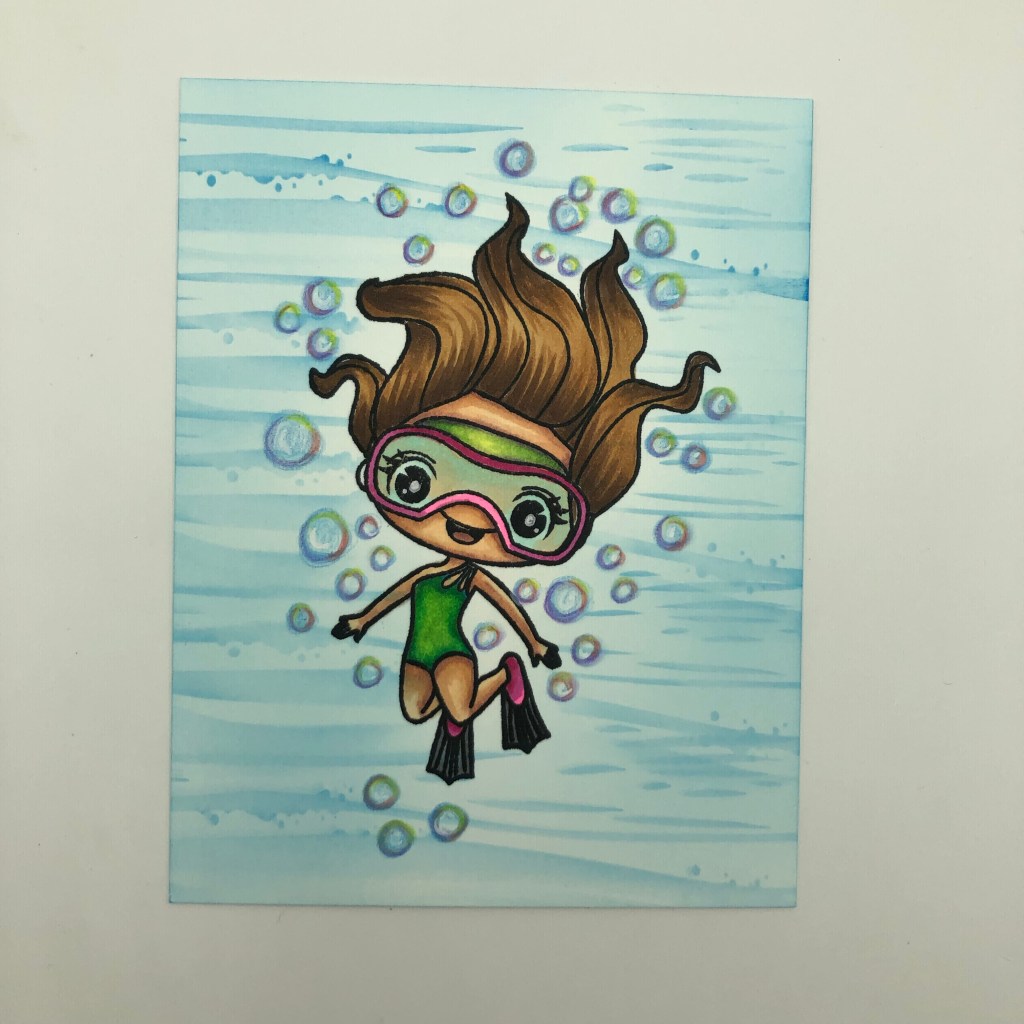
Day #1 CHELSEA – SEAS THE DAY
Mini Slimline Card Project #1Chelsea Seas The Day StampChelsea – Coordinating Outline Die
Copic Marker Blends
Hair – E89, E59, E34, E57
Skin – E04, E11, E21, E00, E000
Swimsuit – G09, YG07, YG01
Goggles – G09, YG07, YG01 and RV17, FRV1, RV00
Flippers – RV17, FRV1 and RV00
Prismacolor Pencils
White Gel Pen
Glossy Accents
White Embossing Powder
Shaker Basics 2
Open Mat Circle Die
Waves Builder Dies
Shaker Bits
Slimline Cards & Envelopes
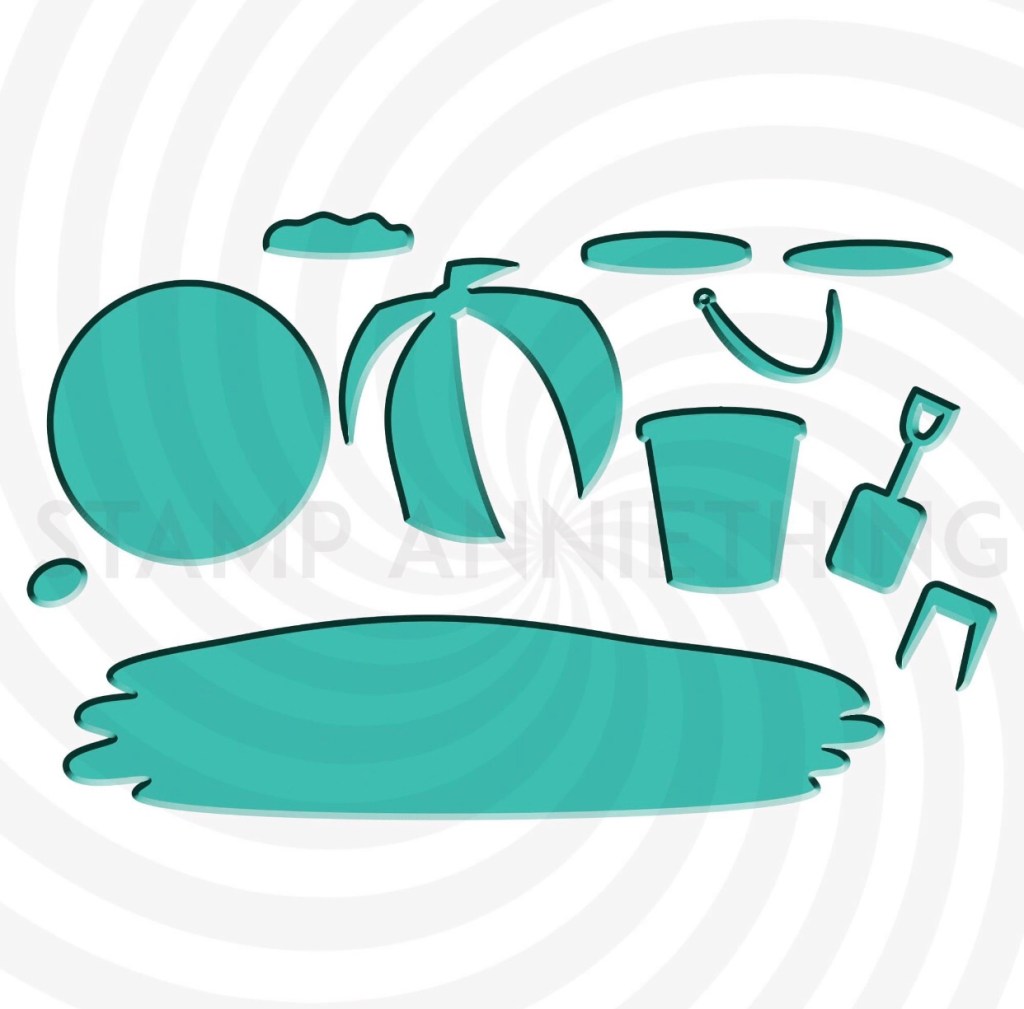
Beach Builder Stencil
Glitter Cardstock
I stamped the image, colored with my Copic markers and then stamped on masking paper to create mask to protect coloring. I cut close to the line to ensure as little white around image, but very easy to fill bin with Stamp Anniething mini ink blending brushes! Used Beach Builder Stencil to create underwater scene and drew bubbles with Prismacolir pencils, used Gamsol to smooth with blending stump and used white gel pen for highlights.
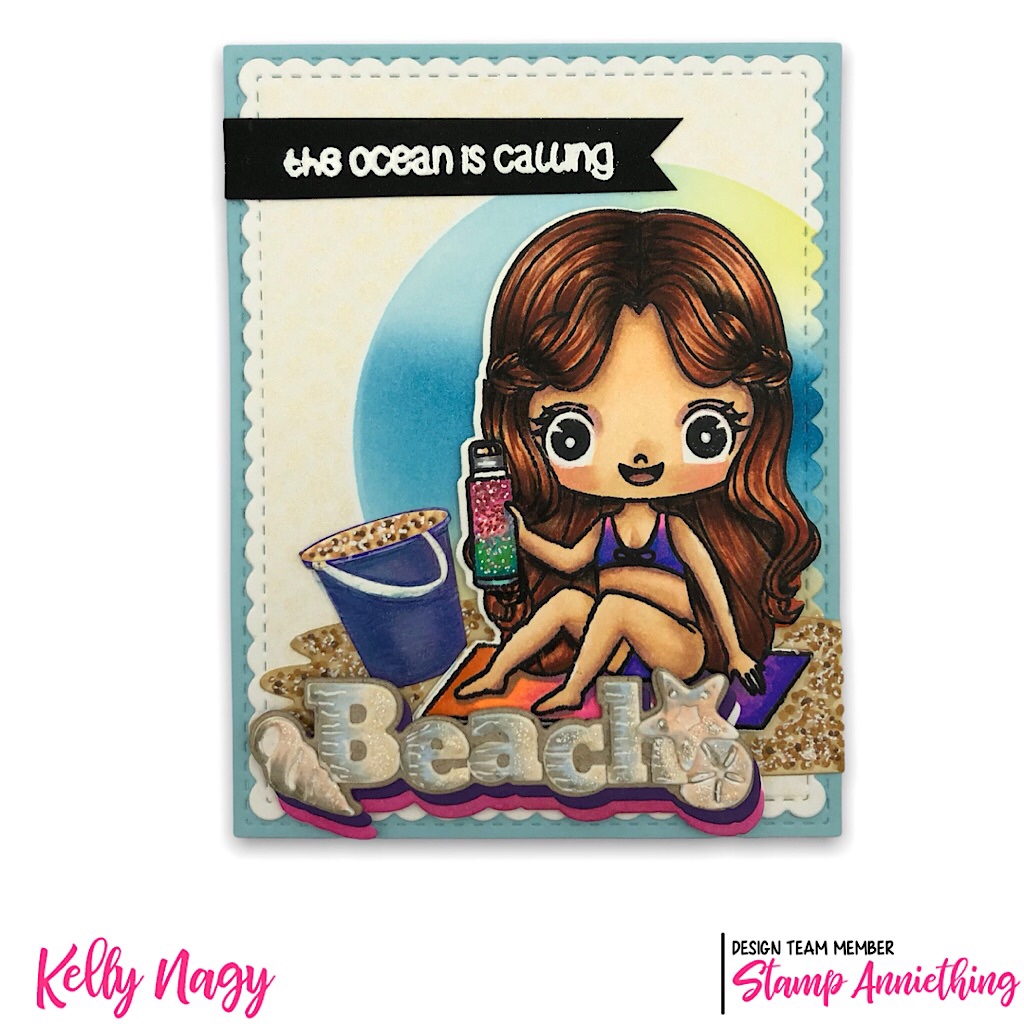
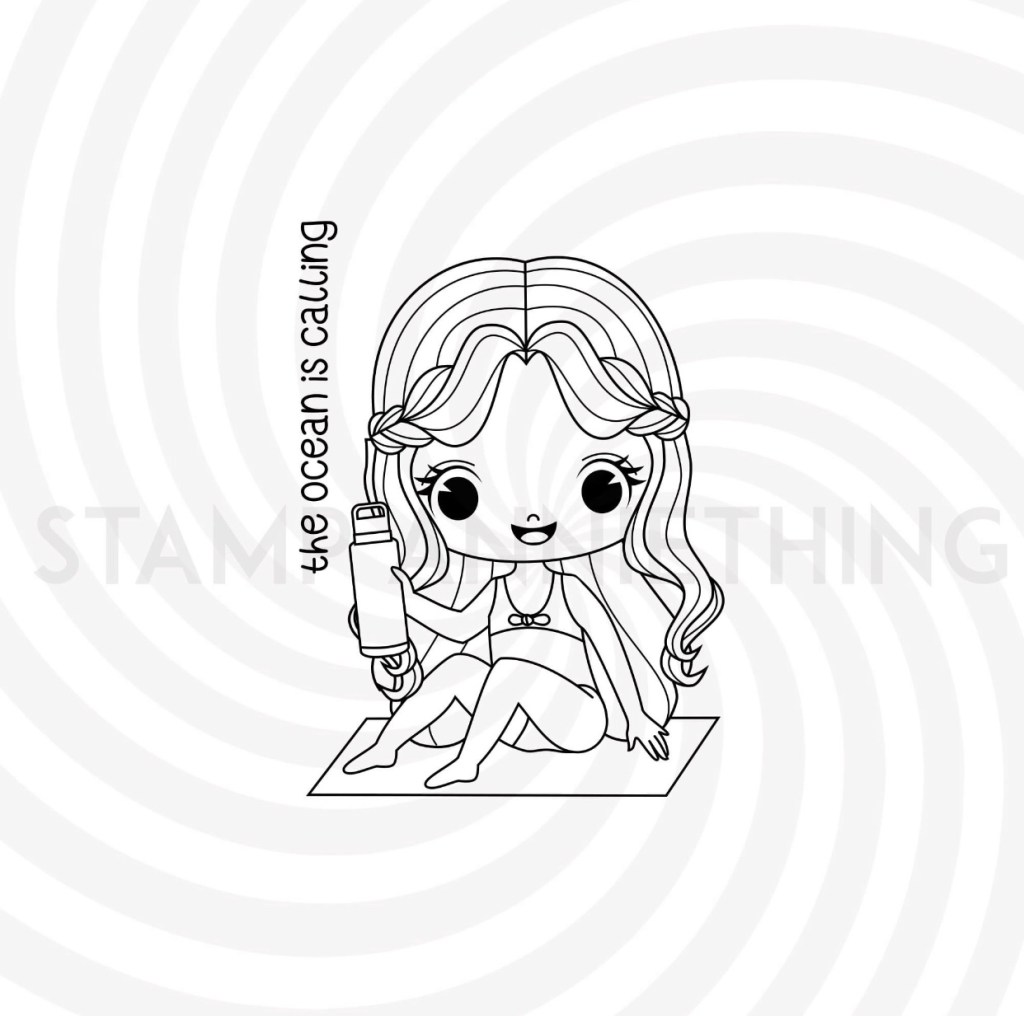
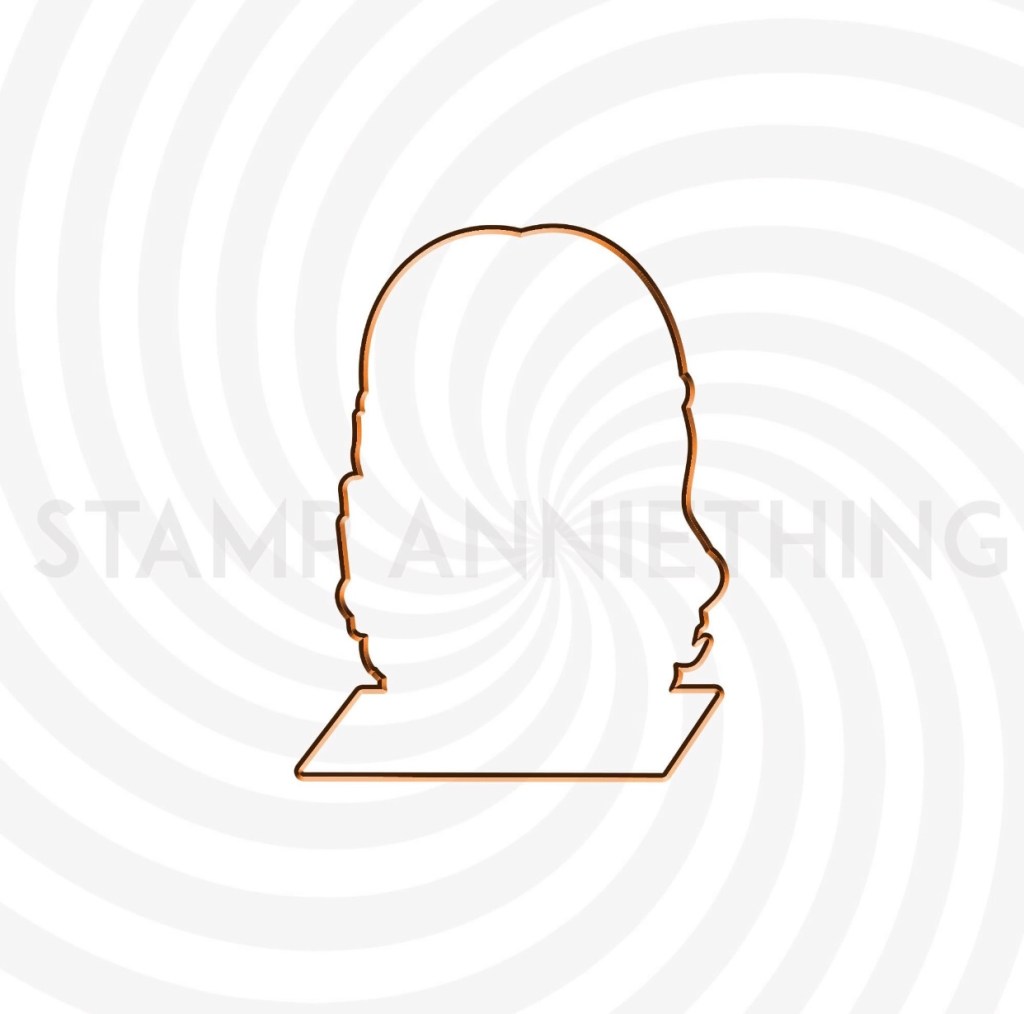
Day #2 – Dany – The Ocean Is Calling
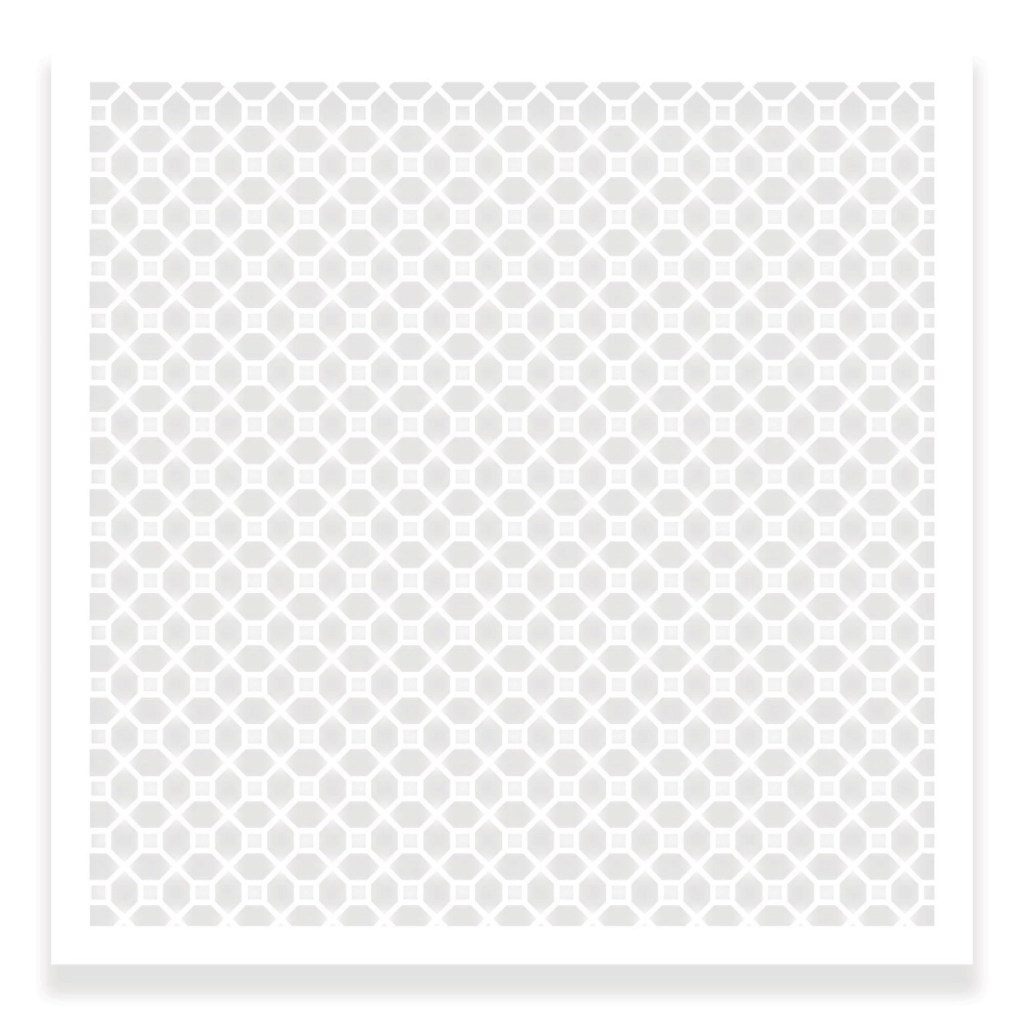
Sneak Peek Project – Day #2Dany – The Ocean Is Calling StampDany – Coordinating Outline DiePoppy StencilClose Up of Color Spritz Iridescent Ink Spray through POPPY stencil. See how using a stippling technique with small dots over ink blending to create sand texture and the illusion if a sparkle powder-coat water bottle.Close Up of background panel after mask was lifted, reflecting the beautiful iridescent tone on tone, shimmering visual texture achieved with the Color Spritz and Poppy Stencil.Beach Builder DiesBeach Word Die
Water Bottle -G14, G07, G17 and R20, R24, R29 and R39 – dotted with Spica Pens Red and White Gel Pen
Beach Diecut – Shadow Layer – Cut out of chipboard and letters and shell elements cut out in white. Copic blend is E01, B41, B60 and N4 coating half with clear glitter Stickles
Sentiment heat embossed in white on black cardstock
Ink Blends
Sand – Birch & Pecan Ink Cubes
Circle – Clear Skies, Azure and Aspen Gold
Spray Color Spritz over Poppy Stencil after masking circle, following ink blending water, sky and sun behind Dany.
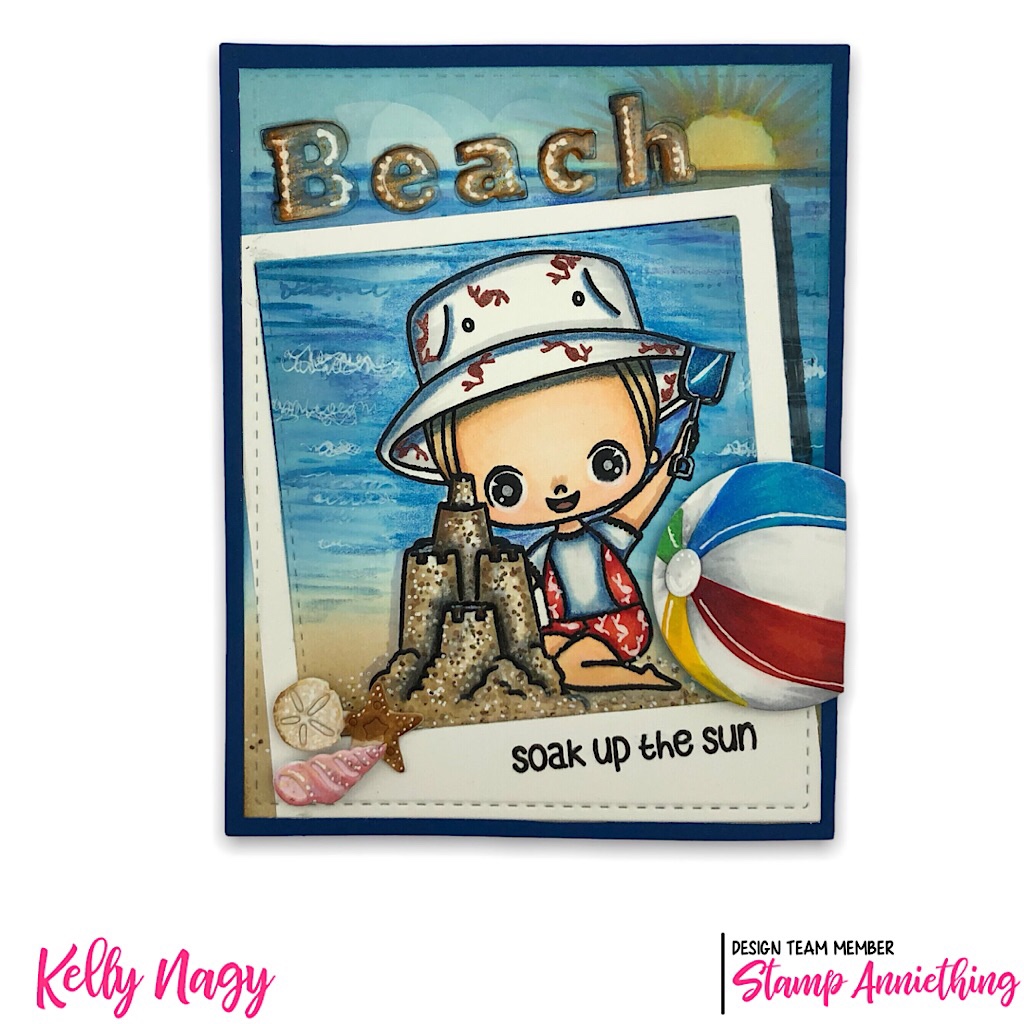
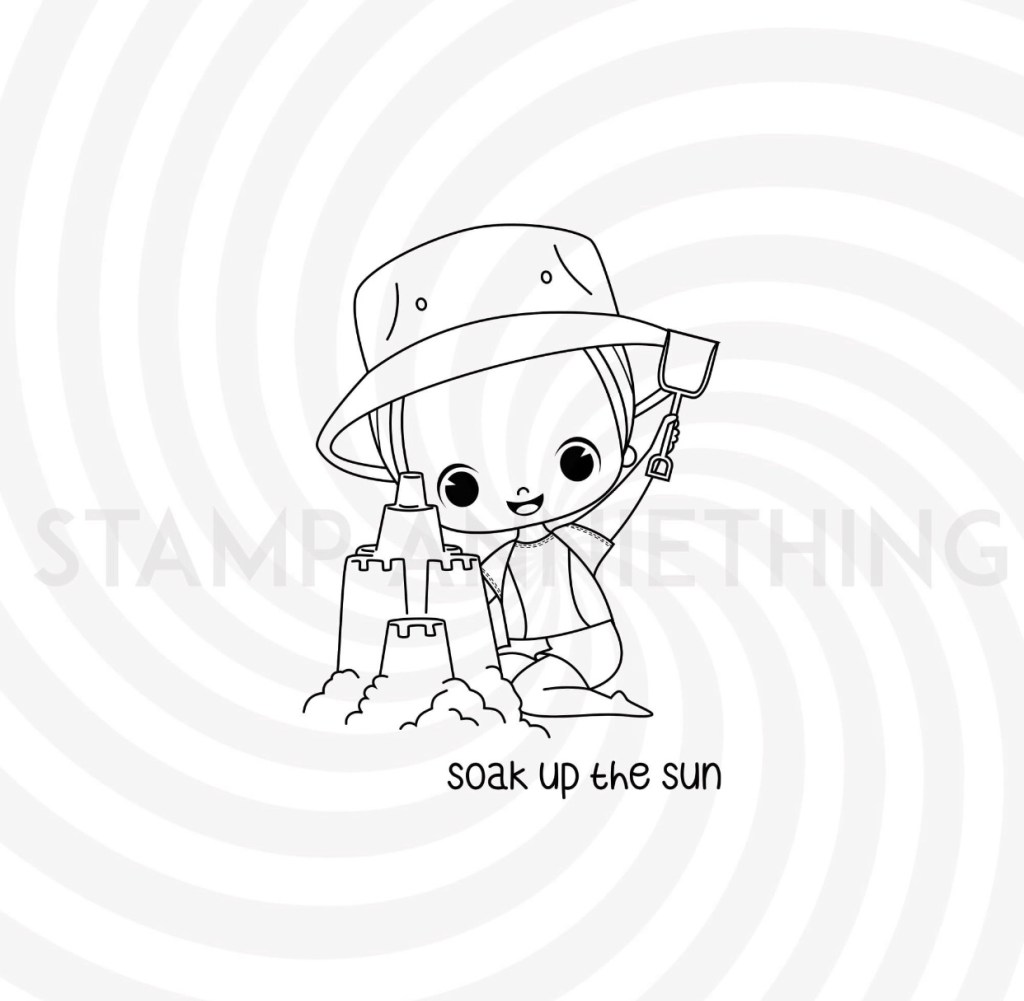
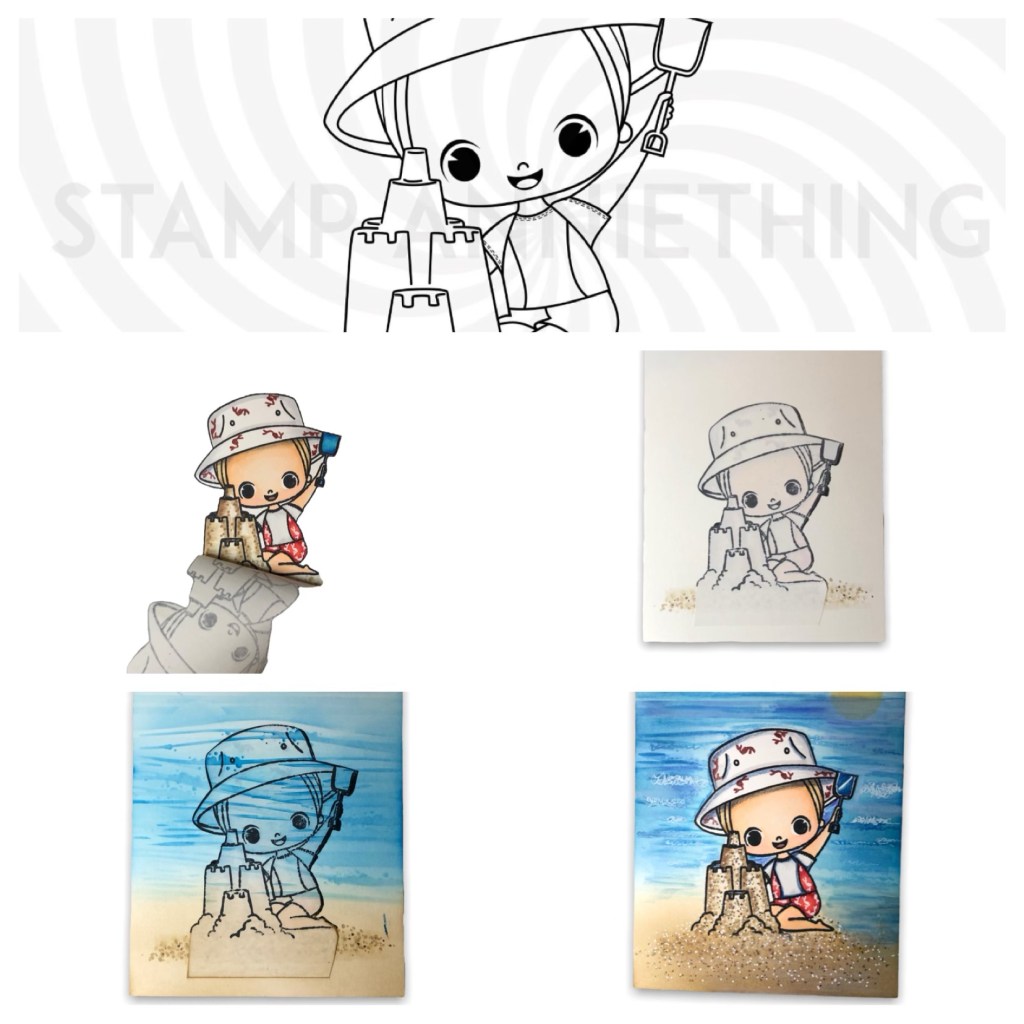
Day #3 – Billy – Soak Up The Sun
Billy – Soak Up The Sun card project #3 Sneak PeekBilly – Soak Up The Sun StampBilly – Coordinating Outline Die
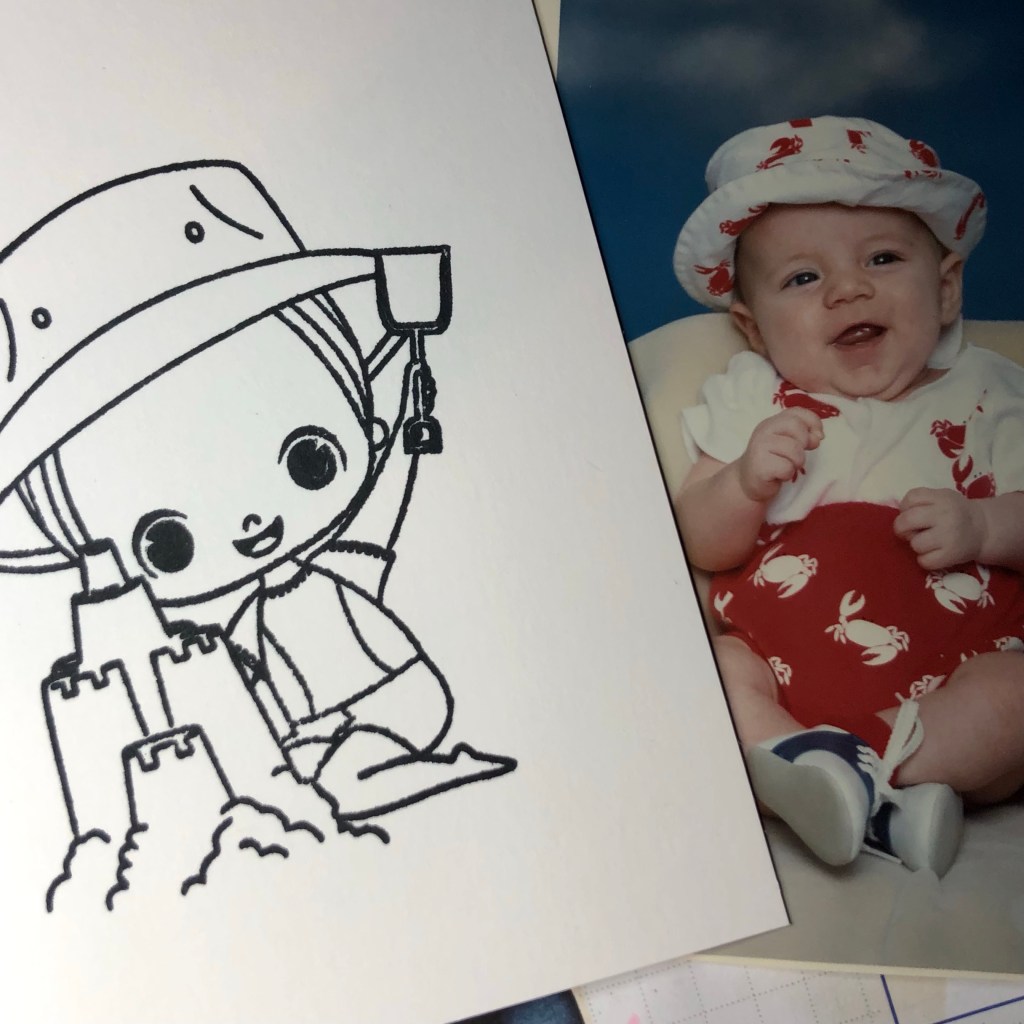
My Inspiration, Our Son Brendan, as a baby
Inspiration is ALL around you! All you have to do is look!Stamp Image, color and mask, then use BEACH BUILDER stencil to create your scene. It is magical pulling off the mask!
Copic Blends
Hair – Y28, Y23 and Y21
Sand – ink blend with BIRCH and PECAN. Use Copic Markers in dotting pattern using E31, E35, E42, and E47, white gel pen
Ball – Blues FB2, FBG2, B21 , Reds R20, R24, R29, Yellows Y13, Y15 and Y17 and Green G07, G14 and G17
Conch – YR00, R11
Sand Dollar – E42 and E34
Starfish – YR21, YR24 and YR27
Bathing Suit – R20, R24, R29 – draw crabs w/ white gel pen