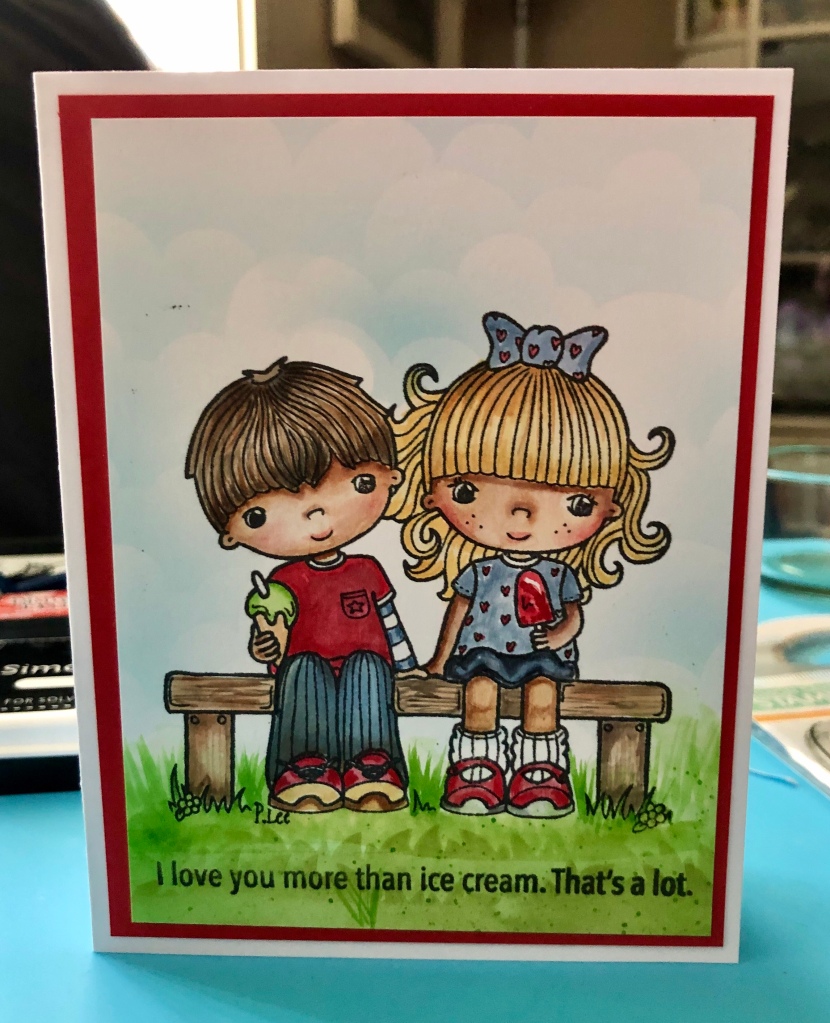
The Chimney Sweep
I used Scrappy Boy Stamps’ set called Practically Perfect (pictured here) to make this slimline style card.

I used a letter-size (8.5 x 11) sheet of Banana Cream card stock from FSJ/Spellbinders to create my card base. You can modify the size to your preference. I then cut a card front that was a quarter of an inch on all sides smaller than the base in Hammermill 100 lb white card stock. I used 2 StampAnniething stencils and dye-based ink to ink blend my background, which included a citycape with the tops of the city buildings being the bottom third of the card.
On the top half, I made a night sky. I used a circle die to create a mask and then placed the sun ray stencil over top of the mask to ink blend to create additional interest. I removed my circle mask, which left clean paper. I used a light yellow to ink blend the circle to create the glowing moon.
I used 2 characters ftom the set: The Chimney Sweep and the girl with the open umbrella. I stamped both images on a piece of Hammermill White 100 lb card stock. I used my Copic 100 marker to color in the girl with the umbrella, as I wanted to make her look like she was in the shadows. You can use a black Sharpie, too. Color in everything to create a silouette.
Next, I colored up the Chimney Sweep.
- Skin- E04,E11, E21, E00, R20 and E000
- Hair – E89, E59,E34 and E57
- Clothes & Hat – B000,B21, B23 & B26 (dirty them up using various T-family markers)
- I used the T-family to create soot on his face.
I used some scrap black card stock and stamped the sentiment using Versamark ink and Brutus Monroe Alabaster White embossing powder to heat emboss the sentiment.
Lastly, I assembled the card. Hope you enjoy.
Night at the Ballet Card
This card was created with the Scrappy Boy Stamp Set entitled, “Pretty Little Things,” which is inspired by the Nutcracker Suite. This is the interactive part of the card and you can wind up the little girl in the middle, as she is suspended on a piece of clear thread, and when you close the card it will stay put until the card is re-opened and the little image will twirl around-and-around, as any good ballerina would.
The card will fit into an A2 size envelope, when folded flat. I only used one image from the stamp set on the inside of the card and the way the image is drawn, you can customize her hair to make her look like your favorite dancer. It was so much fun to put this card together.
For the background, I used a curtain stencil on white cardstock using Shocking Pink dye-based ink from Stamp Anniething. The stencil was one I had in my stash from Stamp Anniething, as well, but doesn’t appear to be available as an individual purchase, so it may have been one that came in a Grab-n-Go box.
The white card base is cut 8 1/2 x 5 1/2 and scored at 4 1/2. I took a piece of Watermelon Fusion (FSJ / Spellbinders) cut 8 x 5 and scored that piece of paper at 4 and then 2 inches from each edge. You’ll want to use a bone folder to make a crisp crease on the 3 different score lines. You will want to choose a die that you have in your stash to cut out a window for your featured dancer to be able to twirl inside. I used a 3 inch stitched circle from my stash. I centered the die over the score line and used by Big Shot to cut the circle out of the Watermelon Fusion paper that I scored.
To help add additional interest, I took one of my simple embossing folders (diagonal stripes) and cut 2 pieces 5 1/4 x 2 1/2. I embossed those in my BigShot. I also cut a piece of silver mirror card a 3 1/4 square and folded it in half. You will tuck this in, after the card is assembled, behind where the twirling ballerina is housed, so you will have a mirror image as she spins.
You will now need 2 pieces of white card cut 4 x 2 1/4 and ink blend using a stencil to create a side curtain, in whatever direction you desire. These panels will be placed on either side of your featured dancer. You will also need a white piece of cardstock, cut 5/14 x 4, ink-blend the curtain. You will now link up this panel to the longer Watermelon Fusion piece of cardstock that you previously cut the 3-inch circle in. You will need to use washi tape to hold the same die so that it will line up properly when assembled.
I used my gel press to create a mirror image of one ballerina, so that I could sandwich a clear string (you can use white string and color it with your alcohol ink to match whatever your background color is). You will need to have the image glued together, front to back, so you need to have a mirror image. I know there are special stamps that allow you to do a mirror image, but I don’t own onw, so I improvised with my Gel Press.

Skin – E04, E11, E21, E00, R20 and E000
Hair – E15, Y11, Y32, Y38 and E29
Dress – V01, V12, V15 & V17
Bow – B1, B4 & B6
I used a white Gelly Roll pen to add little dots for extra interest.

Skin – E59, E57, E15, E33, R32 and E31
Hair – T9, T7, V17 and Fine Liner Black Pen
Dress – RV10, RV13, RV14 & RV 17

The is the image, with a mirror image, so I colored the 2 the same, so when the image twirls around, you won’t see much of a difference, and it will look like one contiguous image.
SKIN – E04, E11, E21, E00, R20 & E000
HAIR – E89, E59, E34 & E57
DRESS – RV10, RV13, RV14 & RV17
BOW – B01, B04 and B06

This is the front of the card. It was created with a theater box office ticket counter in mind. I cut a piece of black cardstock 5 1/2 x 4 1/4. That will form the card base. I then took a piece of white cardstock and cut it 5 1/4 x 4. I used an embossing folder with a “brick wall” pattern embossed the piece of white card. I glued this to the black cardstock, leaving a 1/8 inch border all around.
To make the bottom part of the ticket booth, I used a piece of my Watermelon fusion scraps in the size of 2 1/2 x 2 3/4. I cut strips from some of my white card scraps 1/2 inch x 2 3/4 inches (4 strips). I used a E11 and E13 on each edge of the white card stock strips to create shadows. I glued the strips to the pink cardstock to form the base. I then used a frame die to create the top piece. The little guy in the ticket booth is just a portion of the tin soldier from the stamp set. You can use your imagination and go wild at this point. Just have fun.

I am still new at blogging and will be making sure that I take pictures each step of the way going forward, so it will be easier to follow the instructions. If you have questions, please message me and I’ll be happy to help you.
The Scrappy Boy Ballet was printed out on my printer. I used an app to create a business card logo and printed it matted on black paper and used some enamel dots in a coordinating color to accent each corner. The piece is then placed using dimensional foam tape to give it some additional interest. I also used a piece of acetate to create the window that the little tin soldier is selling his tickets out of. You would use the same technique to create a shaker card, but without dimension or shaker bits.
Thanks for stopping by!
You’re Sweet Card
One of my favorite things to do when I get a new stamp set is look at all of the elements and think about what I could do with the images DIFFERENTLY than what they were originally intended. The Pretty Little Things set from Scrappy Boy Stamps has so many fun elements…….like the cute little teddy bear, the toy train set and the rocking horse.
I decided to challenge myself and make a card using only one element from this stamp set, the teddy bear. This teddy bear can be used in so many ways, like as kid’s best friend, in my first SBS card post, safely tucked into his dresser drawer or like one of my all time favorite crafting candies, gummy bears!
When you have smaller elements from a set that you would like to feature on a card, I have found one of my favorite ways to do this is by using a stamp positioner and a wreath-builder stencil like one from Gina K Designs.

Place the stencil in your favorite stamp positioner.
I started by cutting a piece of white Sweet Sentiment Paper 4 inches by 4 inches square. I placed the wreath-builder stencil securely in the corner of the stamp positioner, then placed the 4×4 square piece of paper in the stencil opening and lined up my bear stamp on the paper and picked up the stamp with the positioner. I inked up the bear with Simon Says Stamp Intense Black Ink and stamped the bear in my Tim Holtz Stamp Positioning Tool. I then rotated my 4 x 4 inches square piece of paper, continuing to re-ink and stamp my image until I had stamped the bear in a complete circle to form a wreath. I wanted to make an all occasion card and came across one in my craft supply arsenal that said, “You’re Sweet” and used my stamp positioner to carefully center the sentiment in the middle of the gummy bear wreath. This sentiment is from an older Paper Smooches set called “Giddy Gumdrop.”
Then, I colored up my images using rainbow colors from my Copic collection as follows:
- Dark Pink: RV02, RV09, RV14
- Light Pink: R85, R81, R83
- Orange: YR02, YR16, YR18
- Yellow: Y02Y08, Y19
- Light Green: G00, G14, G24, G43
- Dark Green: G07, G14, G24
- Blue: B00, B60, BG05
- Violet:BV00, B63,V000, V15
When I colored the bears, I tried to leave the nose/snout part of the bear lighter, so that it gave more dimension. I thought that the dimensional bear would have their nose sticking out some and catching the light reflecting off of it, so that part of the bear was lighter, as well as the center of his tummy. I then wanted to give my bears a little sparkle and use a Wink of Stella Clear Pen to apply a little glittery shimmer to them. I finished the bears by applying Hero Arts Lacquer Pen to apply the crystal clear glaze over the bears and allowed to dry completely.
To complete my card, I double-matted my colored 4×4 piece with the bears using some white glitter cardstock, some FSJ/Spellbinders lemongrass cardstock. I then created the main card base out of the same lemongrass cardstock forming a 7.5 in x 7.5 in square base. I then cut another piece of FSJ/Spellbinders watermelon fusion cardstock 7.25 x 7.25 inches square. I then rummaged through my massive collection of patterned paper to select a plaid pattern that coordinated with the colors of my bears. This was cut down to 7×7 inches square and assembled all the various layers to finally form my finished card.
I did go back and forth wondering if I should add some spatter or some sequins, but I loved these bears so much and wanted them to leave it simple and clean…..and let them stand out on their very own. Do any of you struggle with knowing when to stop or letting your image stand out on their own by “embracing the white space?” Leave your response below…I’d love to know!
Thanks for stopping by and don’t forget to get crafty!
Scrappy Boy Stamps April Release: Pretty Little Things
I am so excited to be a new Design Team Member for Scrappy Boy Stamps, a new and very whimsical line by my friend Sean Covert. The newest release from April 2021 is entitled, ” Pretty Little Things.” This stamp set gets its inspiration from the ballet, The Nutcracker Suite. While this ballet may be typically associated with more of a Christmas Theme, the different elements Sean has included in his set lend themselves to a variety of different occasions.
I chose to use the ballerina and some of the smaller toy images in this set to create this little girl’s bedroom dresser scene for a birthday card. I also utilized one of the background stamps from Keep it Simple’s Hello Adventure Bundle, the 4×6 woodgrain background stamp, which Sean presented in the fall on the Stamp and Scrapbook Expo channel.

To make this modified slimline card, I stamped the ballerina, music box, teddy bear, rocking horse and train on Hammermill 100 lb. cover cardstock with Ink on 3 fadeout ink and used Copic markers to do some no-line coloring. In the future, I am going to make sure I keep track of all the colors I use and will include them in future posts; however, you can use any combination of colors that suits your fancy. This set is amazing and I can’t wait to see everyone’s creations.
The dresser is a simple 3×3 inch square that I cut out of kraft-colored cardstock and stamped with the woodgrain background stamp from Keep it Simple. I then cut two smaller rectangles to form the drawers and popped them up with dimensional foam tape after ink blending the edges to give extra dimension. I then used some of my enamel dots in a coordinating color to serve as “knobs” on the drawers. To make the bottom of the dresser look a little fancy and give the furniture a nice set of legs, I used a label punch that I centered in the middle and cropped out some of the cardstock forming the bottom of the dresser.
To make the mirror above the dresser, I used an oval die and scallop oval die from my stash. The oval was cut out of mirror card and the scallop oval was out of coordinating cardstock to tie everything together. If you don’t have oval dies, you can simply cut out a rectangle, too. Use what you have and get creative.
For the sentiment, I used another sentiment strip banner die from my stash after embossing using Versafine pigment ink and clear embossing powder for a finished look. With smaller sentiments, I love the clarity that Versafine ink provides.
Thank you for stopping by and don’t forget to get crafty!!!
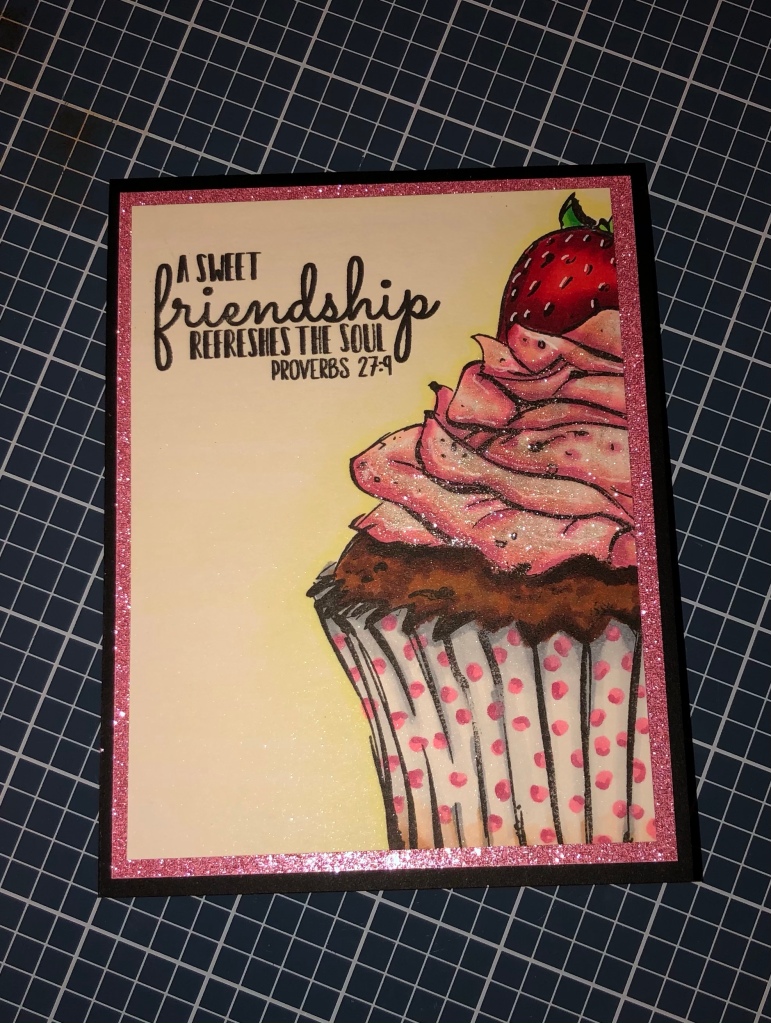
Sweet Friendship Card
Intentionally put aside some time this weekend to do some crafting. Used the Colorado Craft Company stamp set , “Sweet Friend – Cupcake.” This was such a fun image to color and due to its substantial size, can be cut in half to make two separate A2 sized cards.

Distress Ink Painting

Spellbinders Sale
You have to celebrate when your son becomes a stamp!


So super excited to see the March 2020 release of Stamp Anniething’s Card Club Kit tomorrow. Was thrilled to see this featured on Stamp Anniething’s page today!!!
Bitmoji Stamp Sticker
Check out this cute Bitmoji rubber stamp sticker. It was introduced for Valentine’s Day, but LOVE is always around us! Have an awesome day!


