Unleashing Creativity: The Magic of Die Cuts with Scrappy Boy Stamps 🎉✂️

Hello, crafty friends! This week, I’m excited to share some unique card creations that showcase the power and versatility of die cuts, using fabulous products from Scrappy Boy Stamps. While I usually gravitate towards stamping and coloring with alcohol markers, stepping out of my comfort zone with die cuts opened up a whole new world of creativity. Let’s dive into the details of my three fun projects.

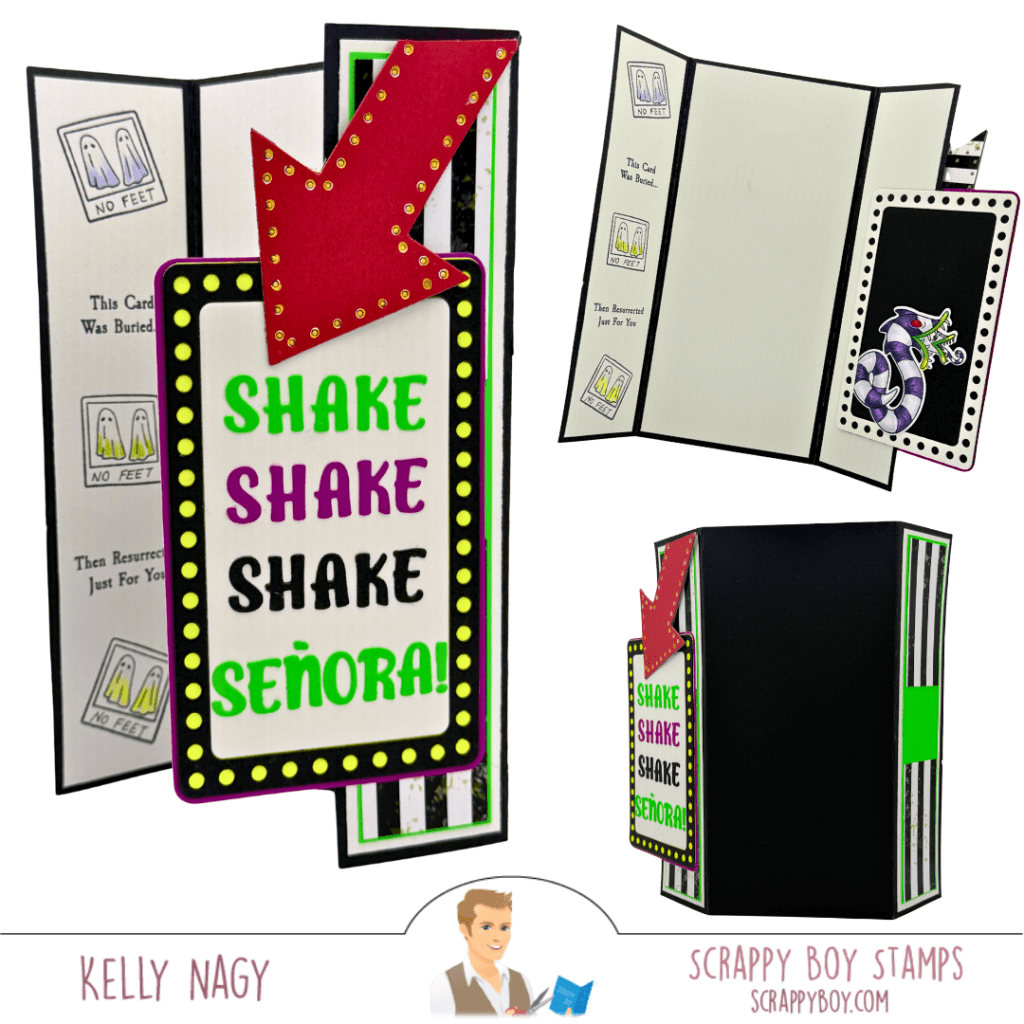
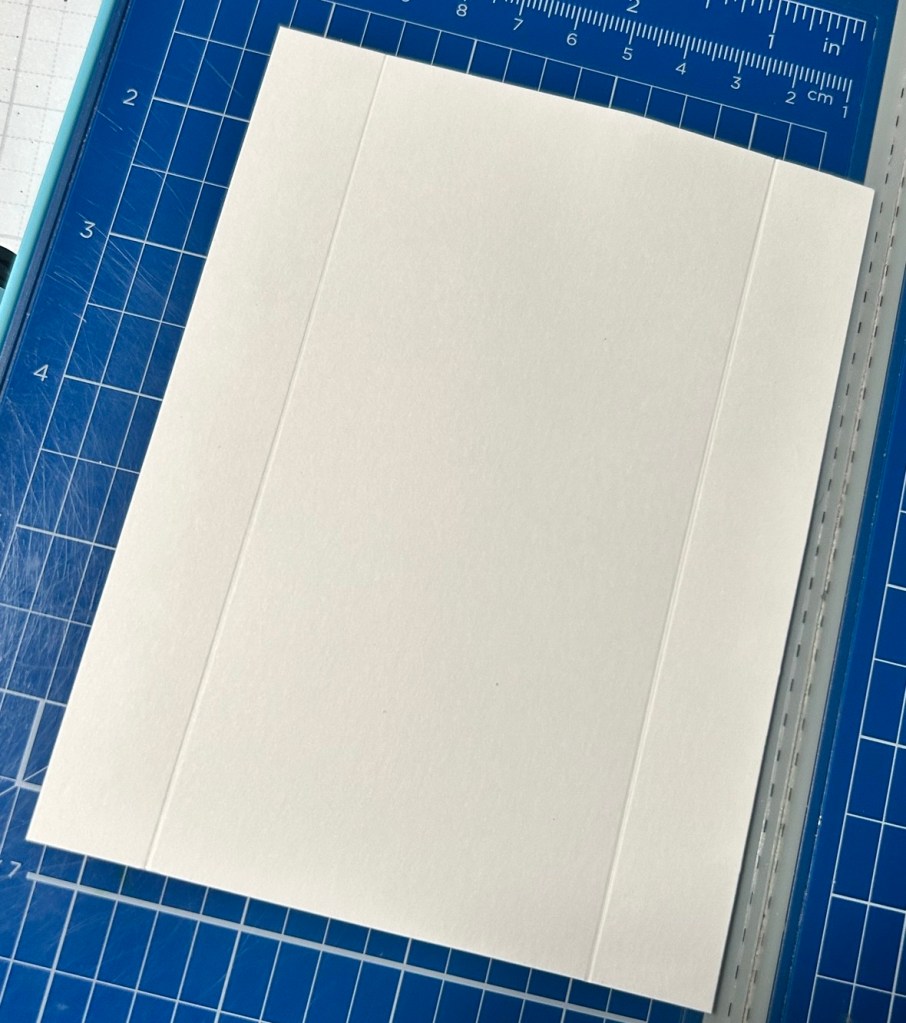
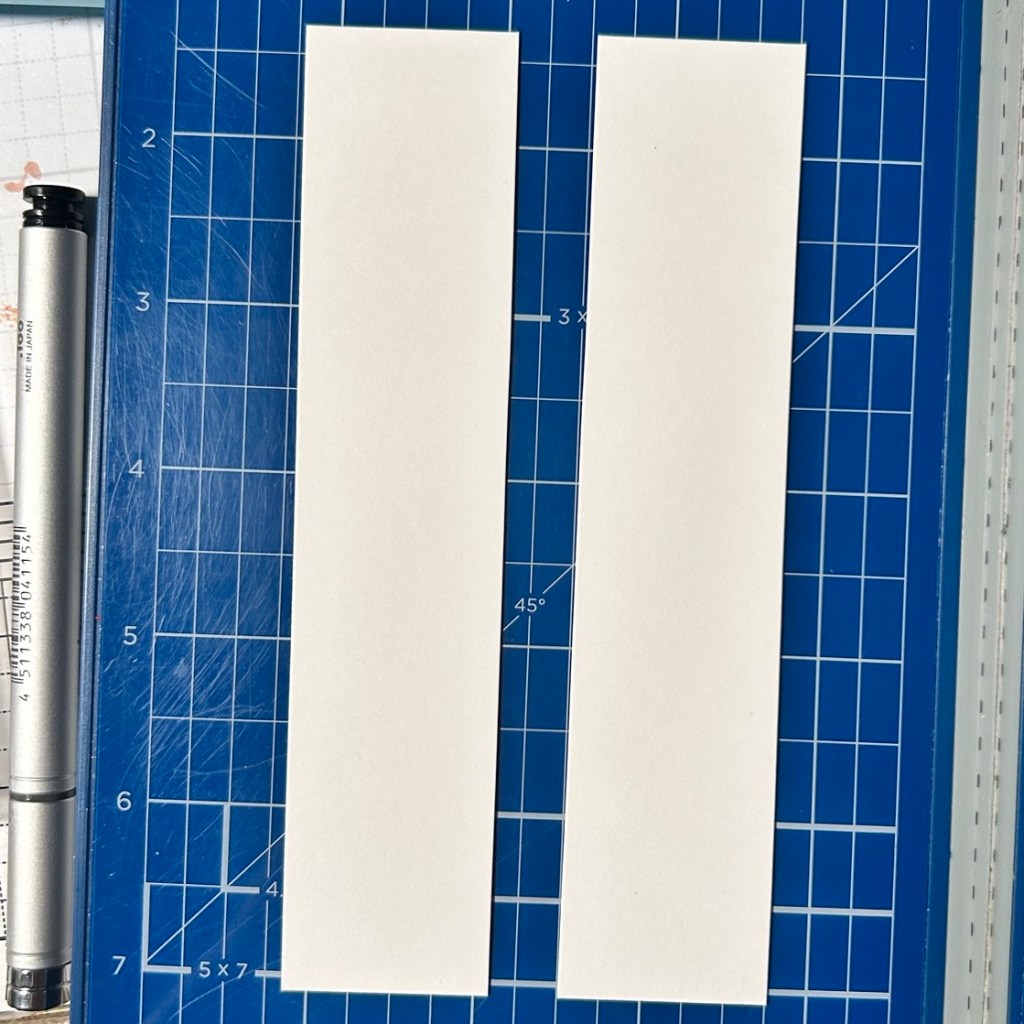
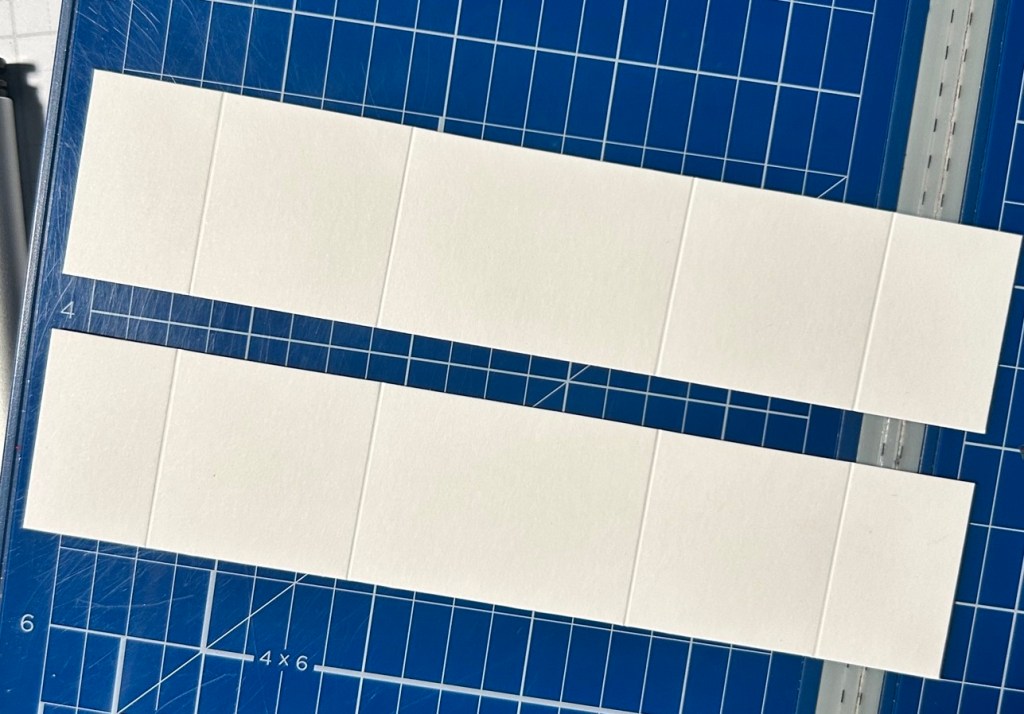
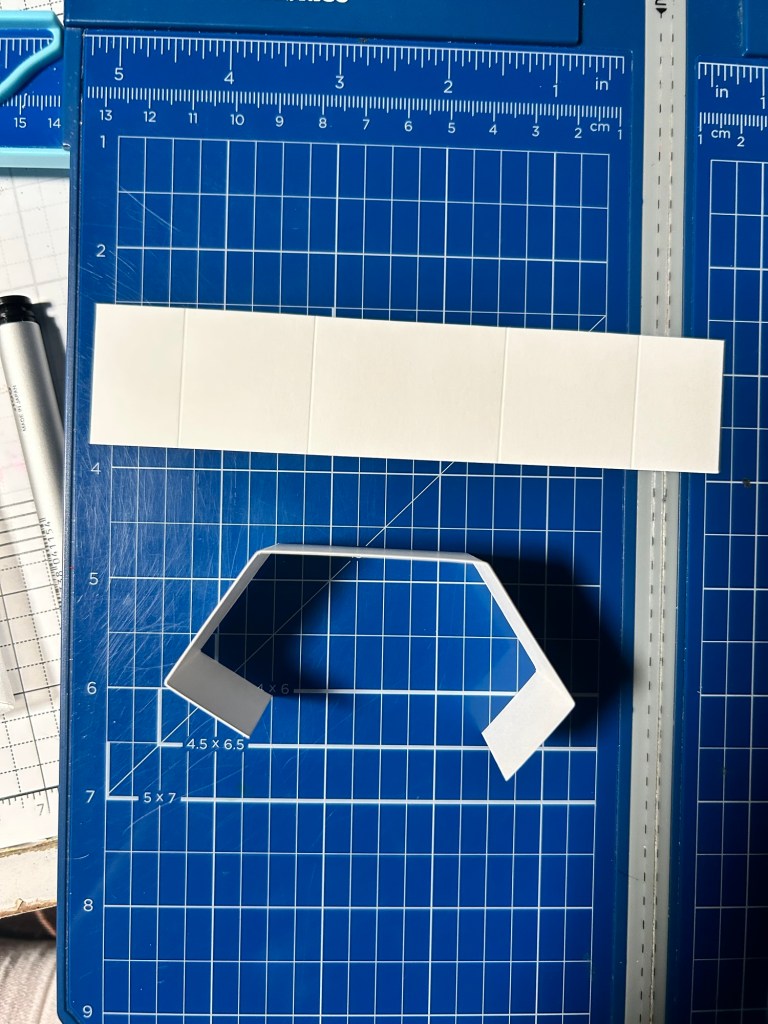
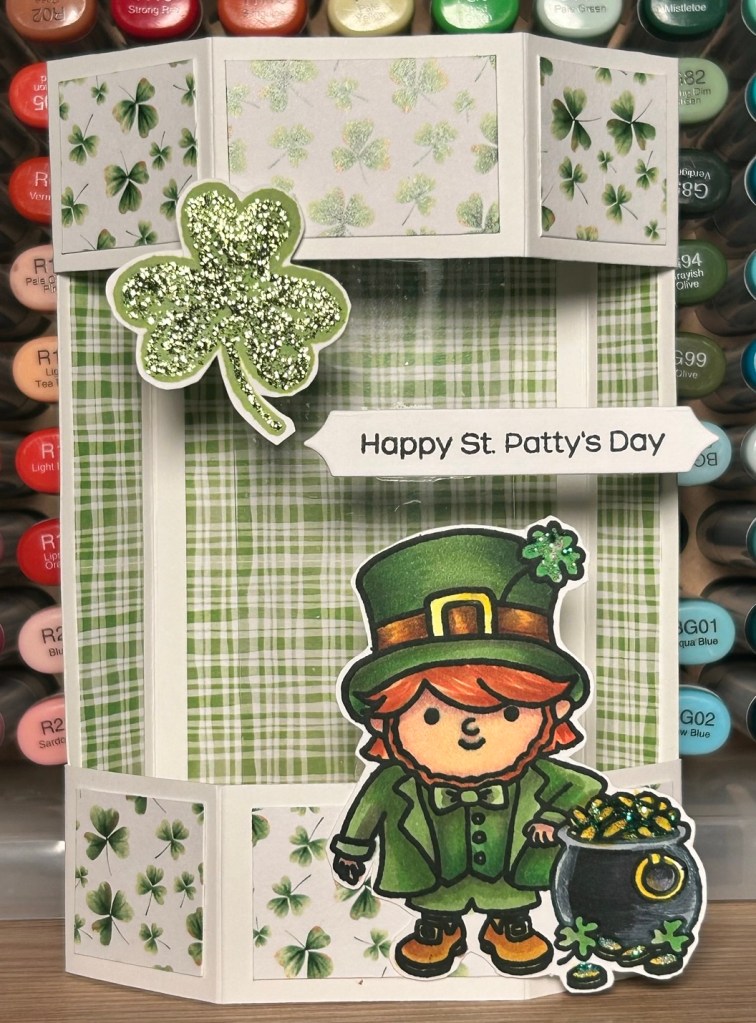
First up, we have a fun-fold marquee die cut card that instantly captures attention. Imagine saying anything you want using the Scrappy Boy Alphabet Dies framed within a dazzling marquee structure! The die cut serves as a stunning focal point, drawing the viewer in with its playful whimsy. To bring the card to life, I used bright colors and a custom sentiment as a nod to a fun scene from the film.

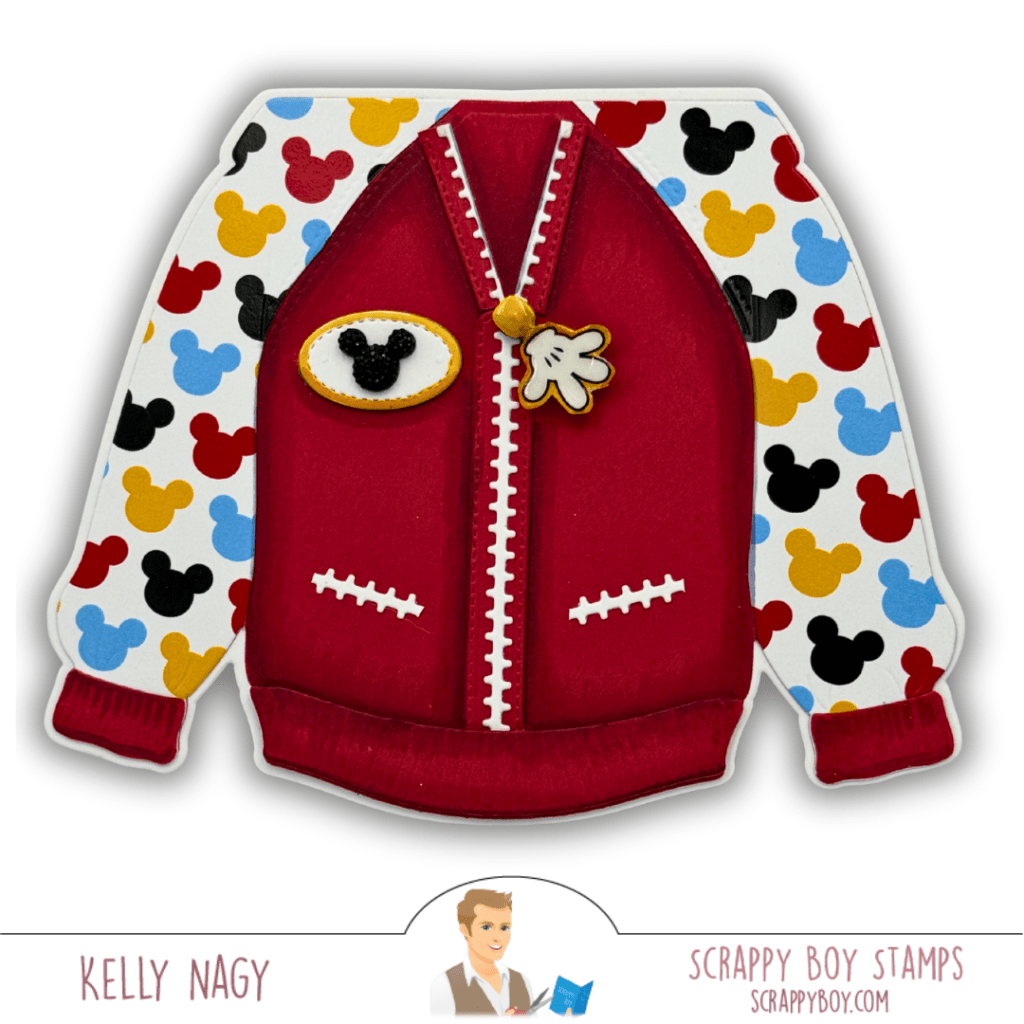
Next is a card that is a bit of a twist on traditional design—the previously released hoodie mini album card die cut transformed into a funky zipper jacket! 😍 To create this playful piece, I combined the hoodie die cut with the zipper from the backpack die set. The result? A fabulous jacket paired with the adorable amusement park pattern papers that give it a fun, themed flair. The details of the zipper add an element of surprise and creativity that’s bound to leave an impression. Plus, I couldn’t resist adding the cute mouse hand zipper pull for that extra touch of amusement park charm.

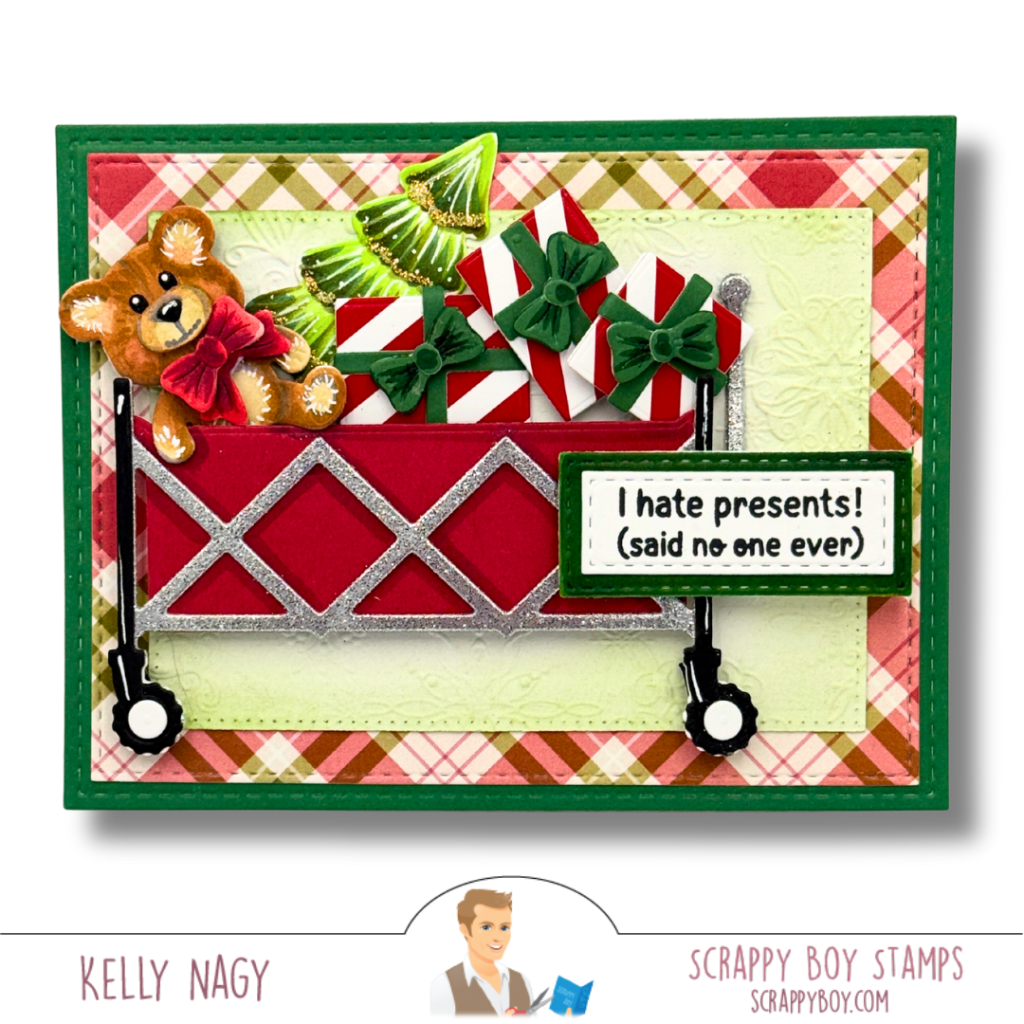
Last but not least, I crafted a delightful cart die cut card, brimming with holiday spirit! 🌟 This cart can be filled with anything your heart desires, but I chose to fill it with whimsical Christmas packages and a charming themed bear plush. I ised my alcohol markers to give the bear die additional personality. To achieve a festive look, I added a red ribbon on the bear’s neck, perfectly complementing the vibrant colors on the patterned paper. I even tucked in a Christmas tree die cut to enhance the holiday feel. The Christmas tree is taken from a previously released Cute Girls Stamp Set called Cute Girl Christmas Toys. These die cuts offer endless possibilities, allowing you to personalize cards for any occasion—birthdays, holidays, or just to spread some cheer!

Tips for Using Die Cuts Creatively:

  • Layering and Combinations: Don’t hesitate to mix and match different die cuts and Scrappy Boy sets to create something entirely new. My zipper jacket was a collaboration of different die sets that resulted in a unique design.
  • Play with Patterns: Use themed patterned papers like I did with the amusement park collection. They add depth and character to your card projects, making them stand out.
  • Think Outside the Box: Die cuts don’t have to be used as-is. Let your imagination run wild, and consider how you can modify or adapt them to fit your creative vision.

Final Thoughts

Die cuts are an incredible way to elevate your card-making game. With products from Scrappy Boy Stamps, the sky truly is the limit! Whether you’re crafting a fun movie scene or a festive holiday cart, using die cuts creatively can bring your stunning visions to life.

I can’t wait to see what you create using die cuts! Share your masterpieces and tag me—let’s inspire each other in this wonderful crafting journey! Happy crafting! 🎨💖✋

Labor Day Sale at Pajama Crafters Stamps!

Hello, crafty friends!

I’m excited to share that Pajama Crafters Stamps is hosting a fantastic Labor Day sale that you won’t want to miss! As a proud supporter of this military family-owned small business, I want to highlight some of the cards made with their amazing products.

Celebrate with Crafty Creativity!

During this Labor Day sale, you can grab some of your favorite crafting goodies from Pajama Crafters Stamps. Whether you’re looking for cute stamps, beautiful paper, or inspiration for your card-making projects, they have it all! From whimsical designs to versatile sentiments, Pajama Crafters has something for every crafter.

My Favorite Cards

What better way to share Pajama Crafter Stamps’ products than share cards I have made using them….,,

Special Offer Just for You! with no code needed and get an extra 15% off your purchase nu clicking on the following link to visit the Pajama Crafters Stamps website: https://pajamacrafterstamps.com/STAMPEDBYKELLYBLOG

Shop between now through 11:59 pm on Monday, September 1st to enjoy a special discount 15% discount – no code needed! Just fill your cart with your favorite crafting supplies and watch the savings add up.

Your support for this incredible small business makes a huge difference. Thank you for being part of our crafting community!

Happy crafting and enjoy the sale!

Stay creative,
Kelly Nagy

http://www.stampedbykelly.com


🌈🍀 Happy Valentine’s Day and Cheers to Crafting! 🍀🌈

A2 Fun Fold Stadium Card featuring Pajama Crafter Stamps

While we celebrate love today, over at Pajama Crafter Stamps, we’re kicking off March Madness!

Hop along for chance to win 2 sets from release!

🎉 That means it’s time to gear up for everything from exciting sports events to St. Patrick’s Day shenanigans—and yes, if those Stanley-style cups are your thing, we’ve got you covered!

Introducing the Project: Lucky Leprechaun Fun Fold Card! 🌟

Folds & Mails Flat – A2 size card

Today, I’m thrilled to share a whimsical St. Patrick’s Day card that features a fun fold technique. This A2-sized card lays flat for easy mailing but transforms into a stunning 3D display that beautifully showcases adorable patterned papers and festive images all in one delightful project! It stands majestically on a desk or shelf, ready to spread cheer and admiration.

Here’s What You’ll Need:

  • A selection of vibrant patterned papers that evoke the spirit of St. Patrick’s Day from the Emerald Isle 6×6 Paper Pad.
  • The cheerful Leprechaun, three-leaf clover and Happy St. Patty’s Day sentiment stamps are from the You’re My Pot of Gold stamp set.
  • Paper Trimmer, liquid adhesive, Heavy Weight white cardstock, Acetate, foam/dimensional foam popdots/tape, bone folder, scoring board, favorite coloring medium and black ink.

Crafting Details:
I’ll guide you through the fun fold technique that makes this card truly special! These folds add depth and dimension to your design, making it a fantastic way to display cute patterns and playful images. Each layer tells a story, embodying the excitement of both St. Patrick’s Day and the upcoming March festivities!

Start with your standard A2 panel- 5.5 in x 4.25 in

Next, using a scoring board or your paper trimmer with a score blade and take your panel in portrait and score 3/4 in from the left and right longer sides of the panel.

Scored down the side at 3/4 inch
Panel Scored at 3/4 inch on both sides
Cut 2 strips white cardstock at 1 1/4 inch x 5 3/4 in
Score BOTH strips using scoring board or paper trimmer at 3/4 in, 2 in, 3 3/4 in, and then at 5 in.

Scored each at: 3/4 in, 2 in, 3 3/4 in and 5 in

Then using your bone folder, mountain fold each

mountain fold each scored line
Here is what we have created as your base without embellishing or glue

As you craft, enjoy the process of layering papers and arranging your stamped images. Every cut and stamp will bring you one step closer to creating a unique piece that captures the essence of celebration.

Now we need to cut patterned papers & embellish

Green Plaid Paper: 2 thin strips cut 3/4 in wide by 5 1/2 inch long, glued to the inside of the A2 panel in those 2 flaps you scored on each side. Cut another larger panel of green plaid 2 3/8 x 5 1/2 inch. See photo above for placement.

Clover Patterned Paper: Cut 1 strip at 1 inch x 4 inches and another, 1 inch x 3 inches. I cut the 4 inch x 1 inch into 4 separate 1 inch pieces, which are the 4 clover squares below. I cut tge 3 inch piece x 1 in half, leaving two separate 1 x 1.5 inch pieces, which are placed in the middle of the 2 squares. The picture below should give you a good idea of placement.

All the cut pieces cut and shown where to place when decorating your stadium card.
The back of project. Cut 2 strips of patterned paper in clover 3/4 in wide by 5 1/2 inches. These will be glued last to cover the seams along the side edges after you glue the top stadium strip and bottom stadium strip.

Cut a piece of clear acetate 1 3/8 inch x 4 inches. This will be placed strategically tucked inside the center panel, once the card base is assembled and decorated. You’ll want to use glue dots or foam tape sparingly to embellish the acetate, being careful of not having foam tape or glue overlap causing some areas to stick together that we want to pop out freely.

Final Touch:

Stamp leprechaun image with Memento black ink and color with Copic Markers (or stamp and color with YOUR favorite medium)

Copic Color Combos:

E05, E11, E00, E000, R20

G24, G46, YG03

Y00, Y02

E07, E37, E35, E33

C7, C5,C3


Complete your card with the adorable Leprechaun and a spirited sentiment that embraces the fun of the season. I used Seafoam Stickles (glitter glue) to add extra shine and interest to my shamrock and coins. This isn’t just a regular greeting card; it’s a joyful art piece perfect for anyone who loves a little luck in their life!

So grab your supplies and dive into this crafty adventure as we celebrate Valentine’s Day while eagerly preparing for the vibrant energies of March Madness!

To see the awesome products and fun release, visit https://shareasale.com/r.cfm?b=1737668&u=1886305&m=108254&urllink=&afftrack=

Happy crafting, and may all your creations shine with joy and good fortune! 🍀💚

PajamaCrafterStamps #ValentinesDay #MarchMadness #StPatricksDay #FunFoldCard #StampedbyKelly