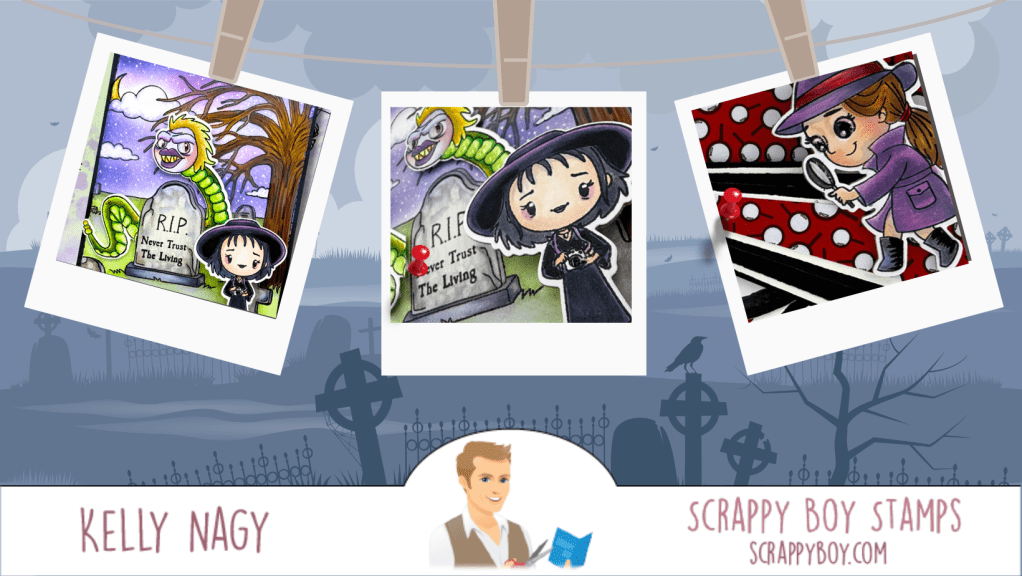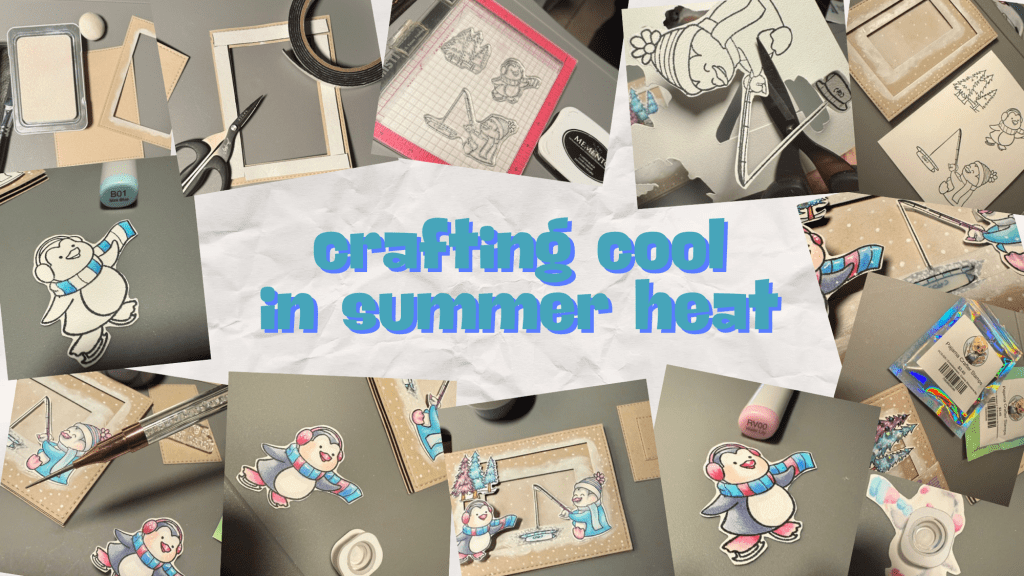
Hello, fellow crafters! 🌼✨ Today, I want to share 3 card projects with you, all of which brought me so much joy and a sense of calm while creating. Crafting is such a wonderful way to relieve stress and express your creativity, and I hope my projects can encourage you to create your own.
Project 1: The New Yorkers Stamp Set 🌇
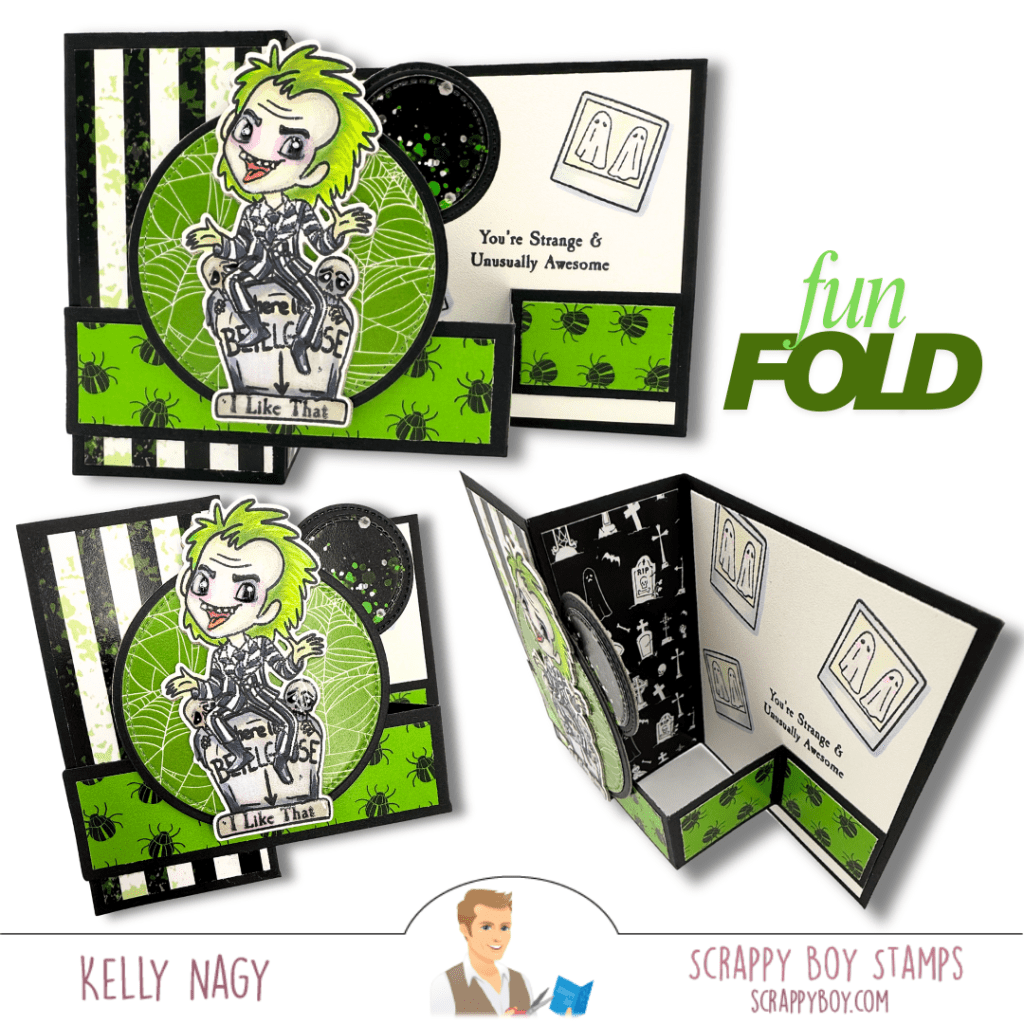
For my first project, I played with the New Yorkers stamp set along with the coordinating outline dies and some lovely pattern paper that adds character to my design.
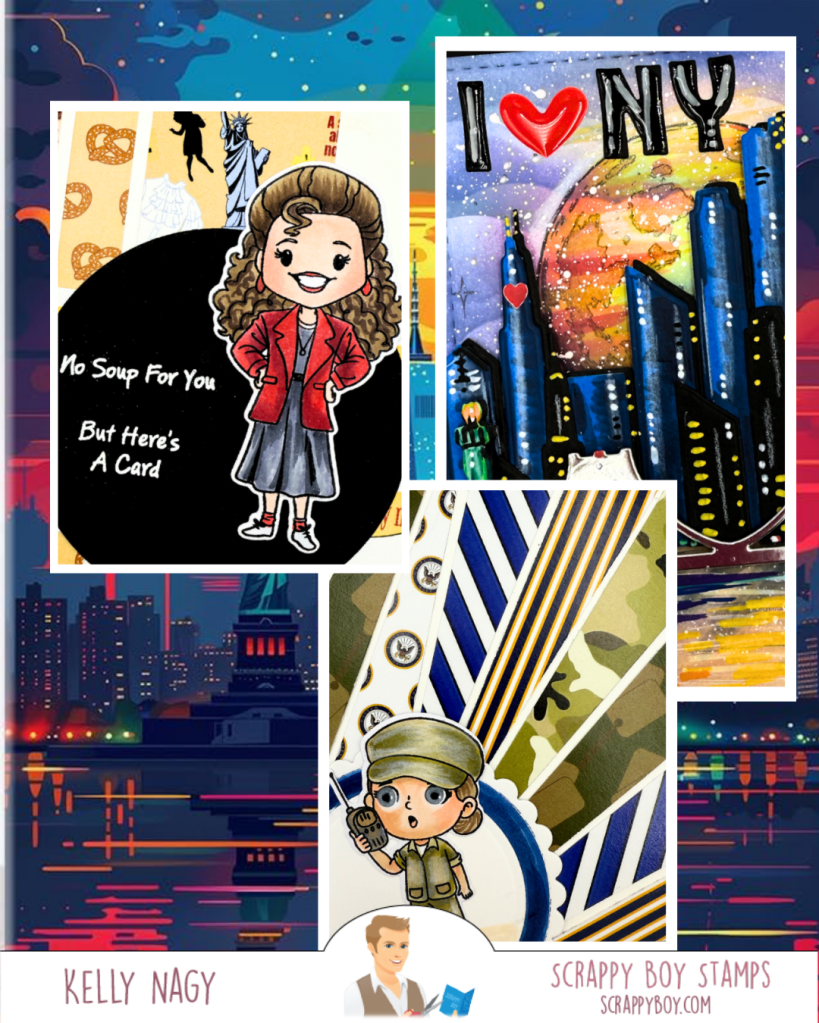
My next project is a celebration of New York. Adding details with white gel pen and variety of Sharpies Acrylic Paint Brush Pens to give them depth and texture. It was a real joy to capture the essence of New York City, and I love how the colors came together.
My goal was to showcase the iconic skyline and capture the city’s spirit while reminding myself how versatile these products can be.

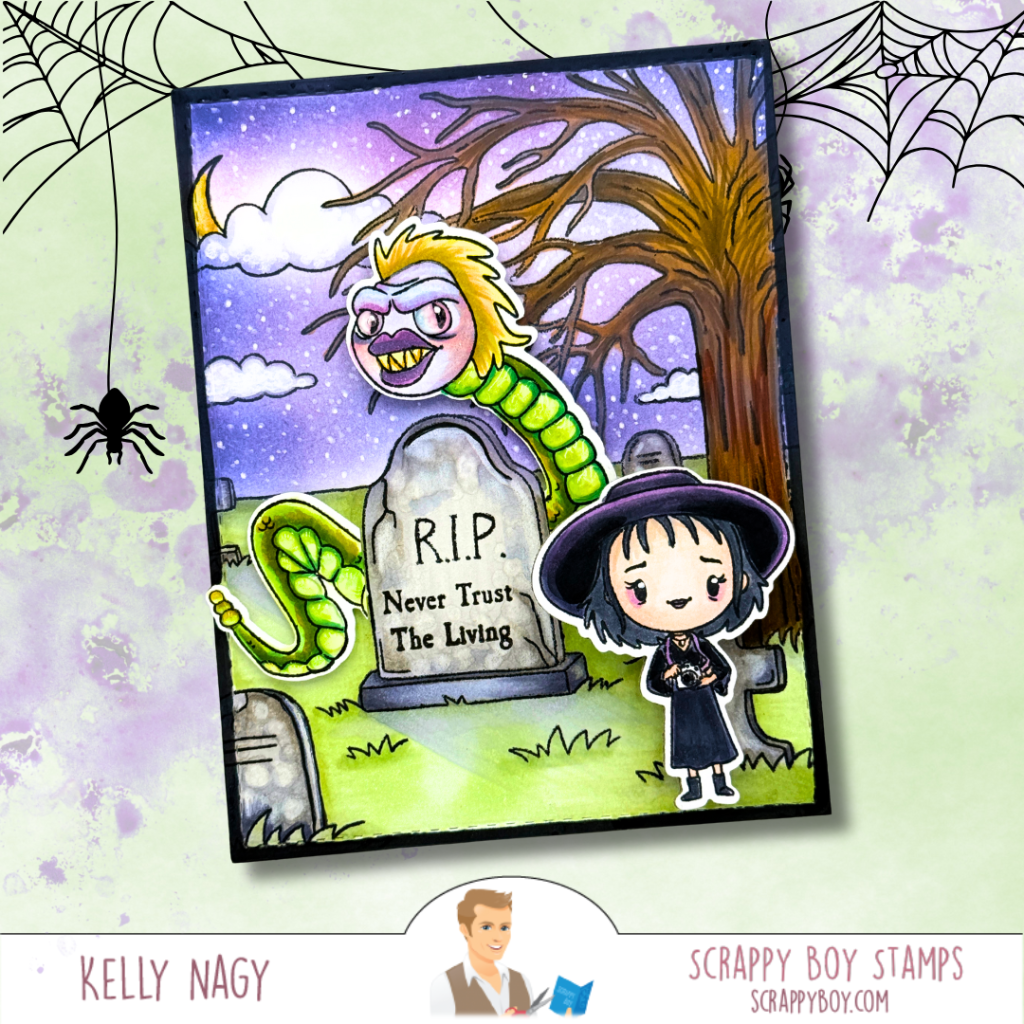
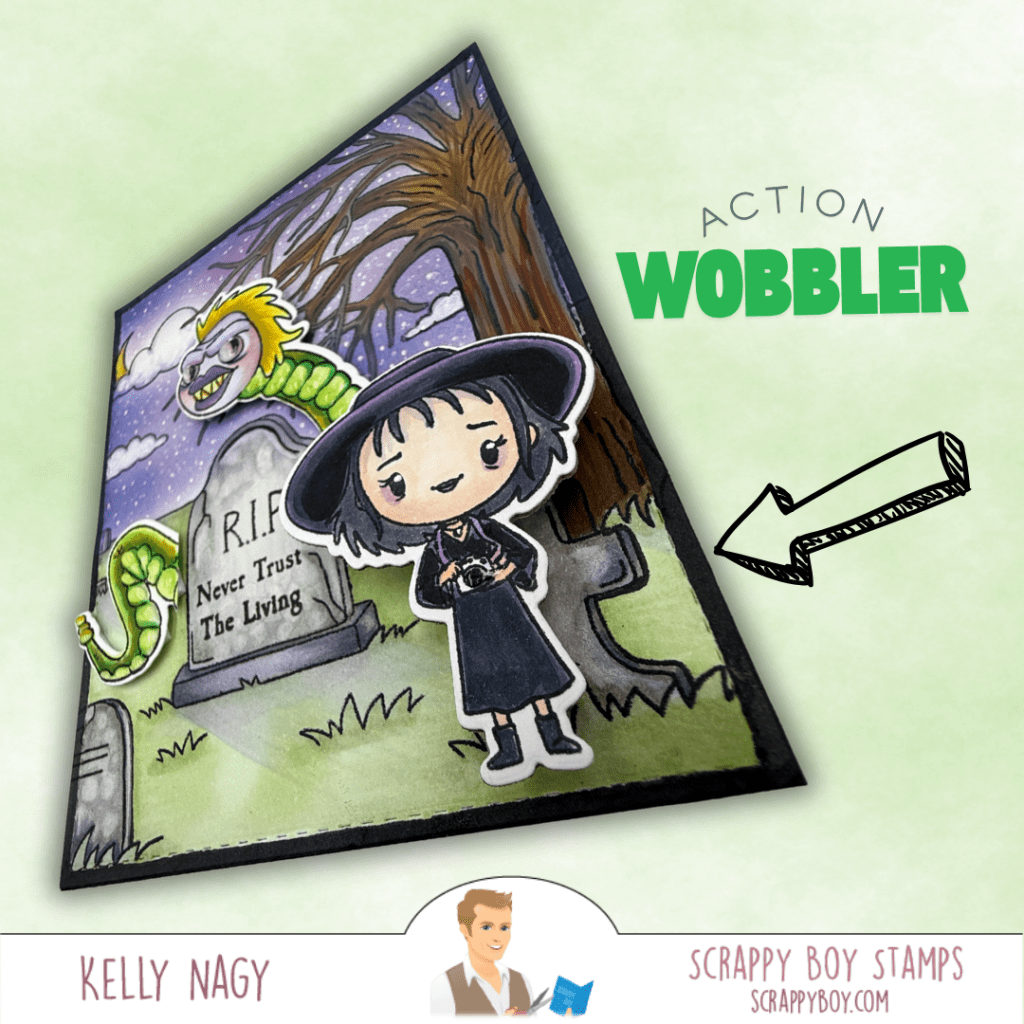
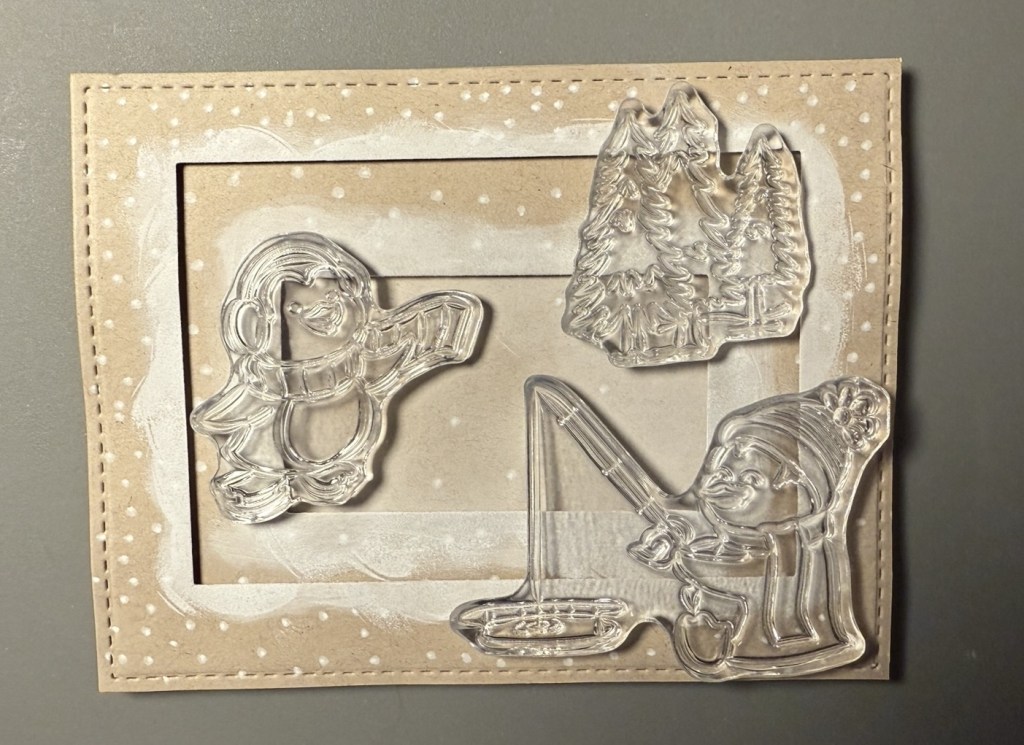
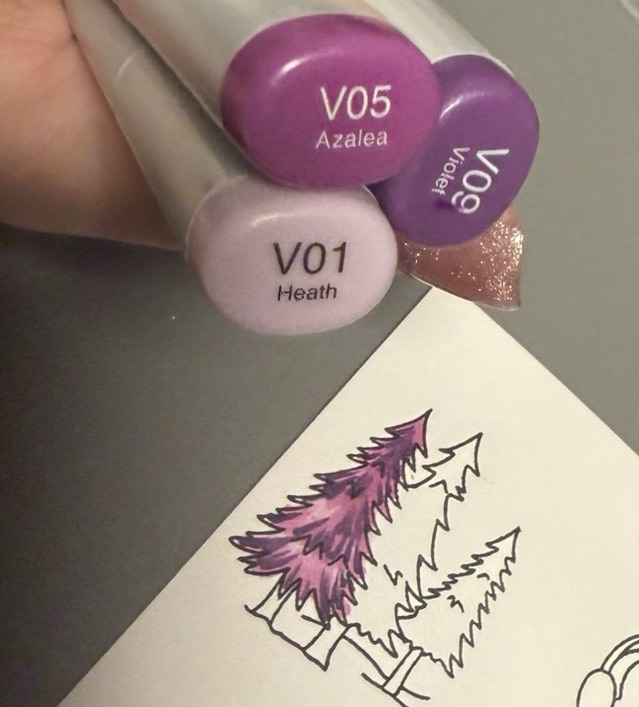
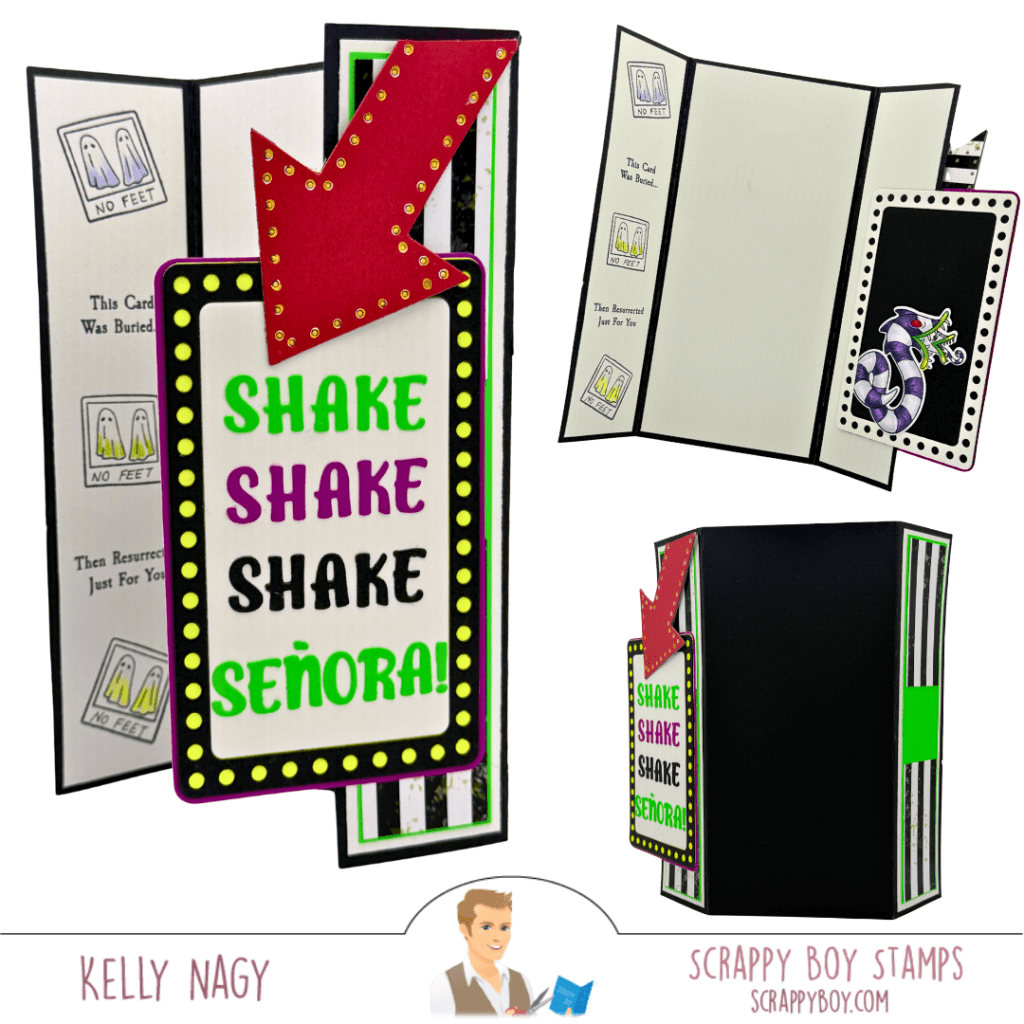
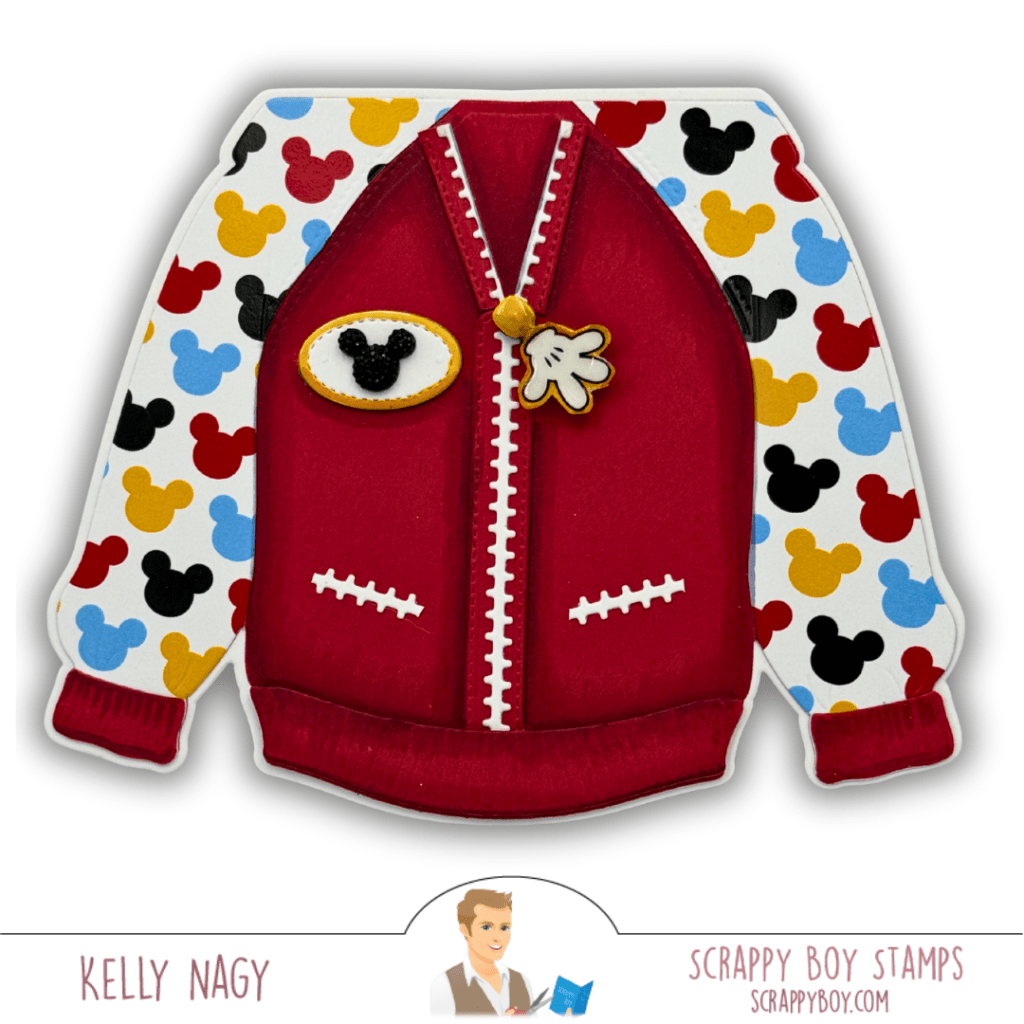
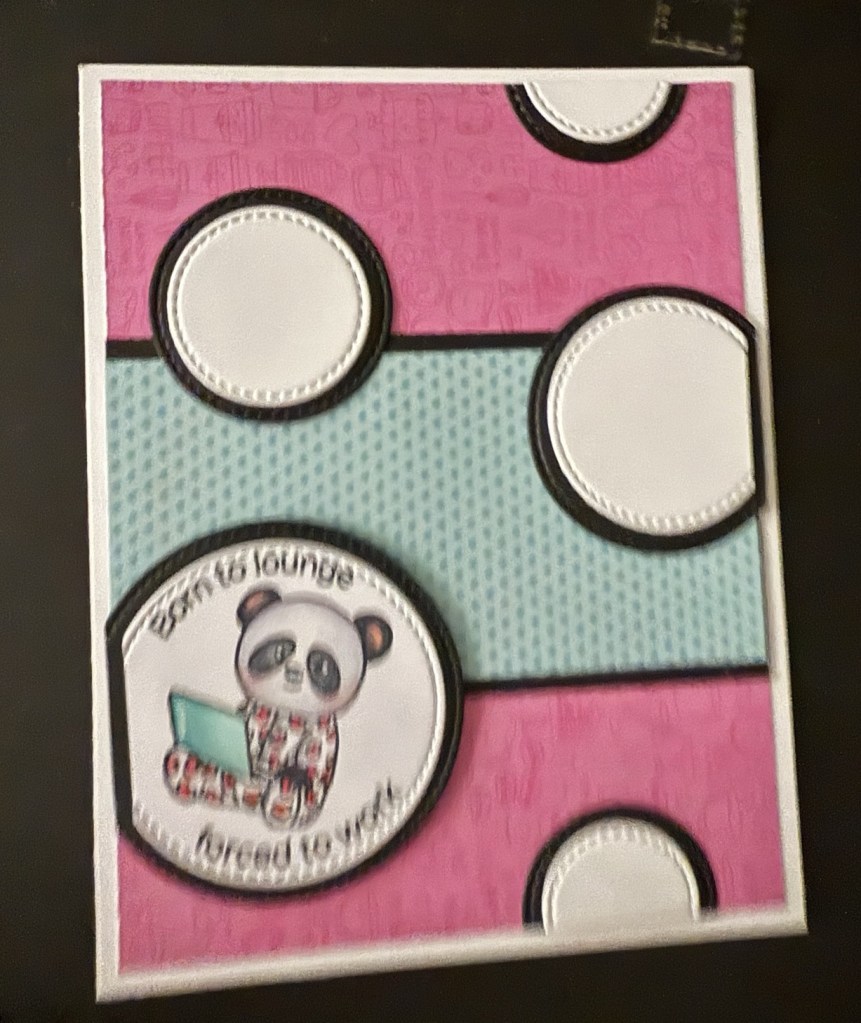
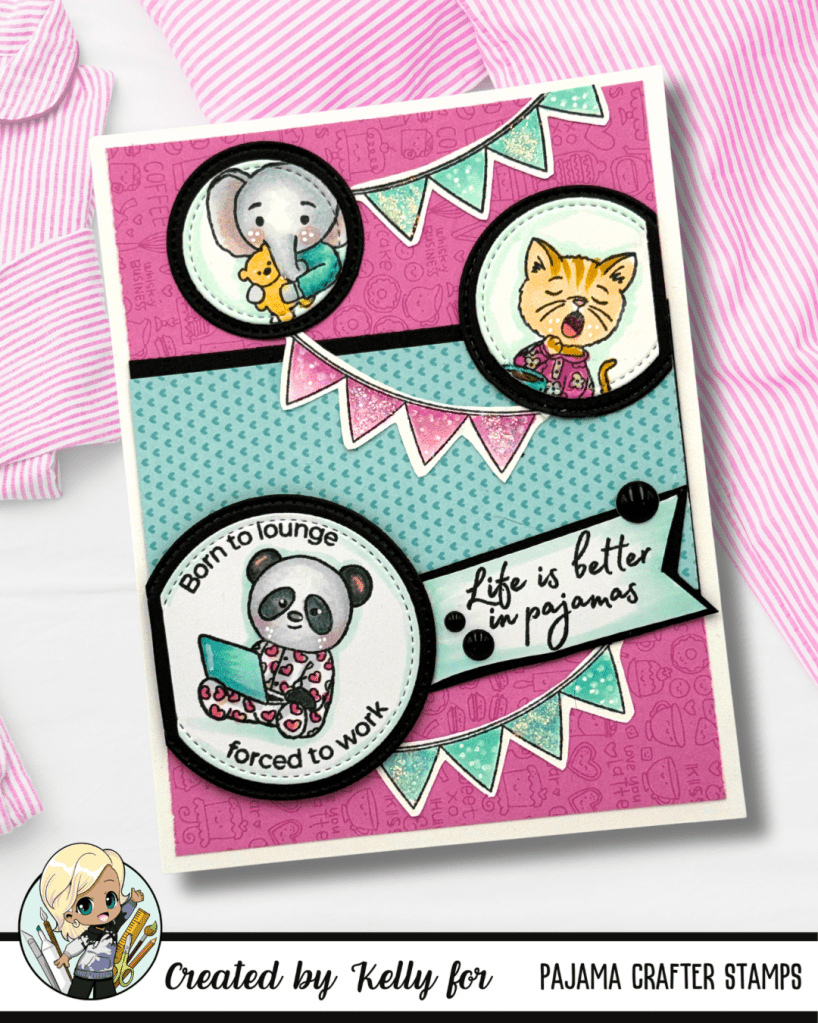
Project 2: Sneak Peek – Different Techniques with the Same Set 👀 Of you love The Mouse, consider following me @stampedbykelly on Social Media.
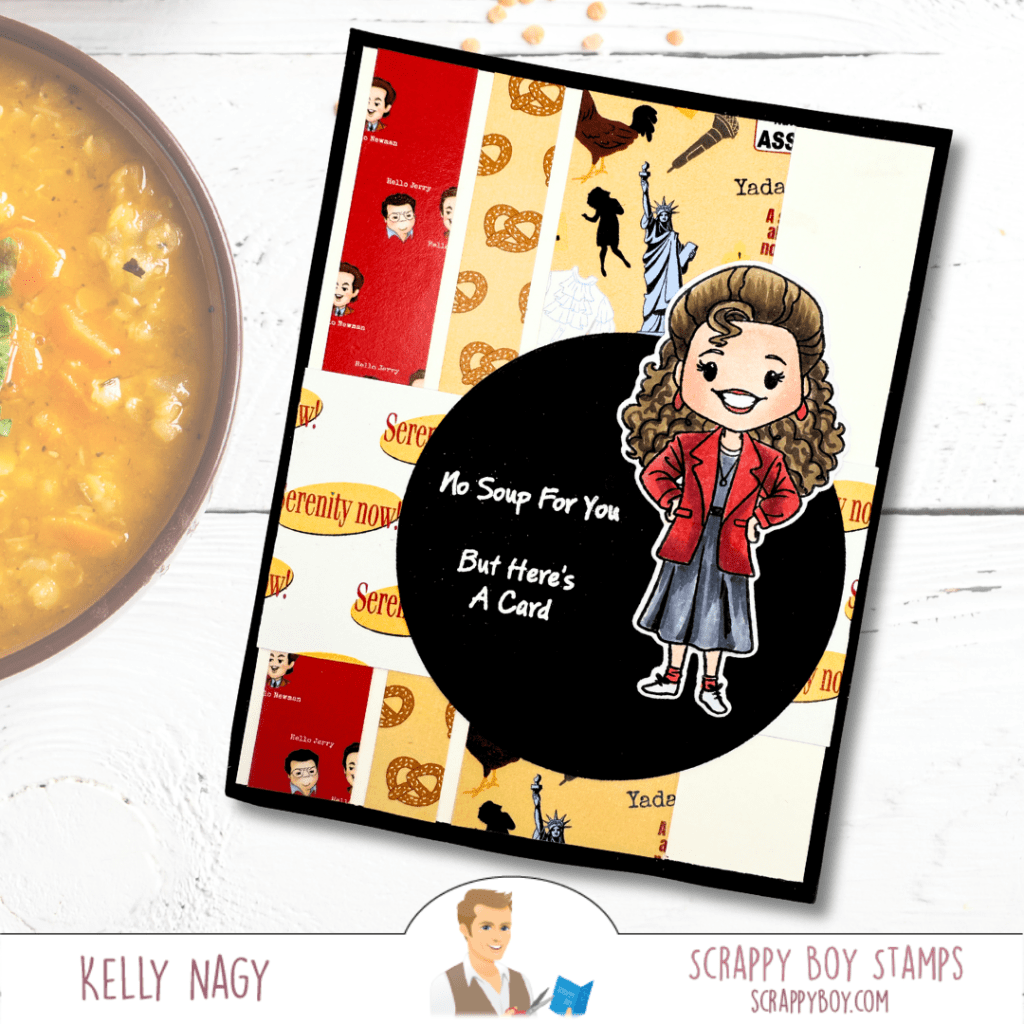
I’m excited to share a little sneak peek of my second project, which also features the New York Die Set. This time, I took a different approach with my techniques, and I was surprised at how refreshing felt to experiment while using the same set. It’s amazing how changing colors and methods can lead to such different outcomes! I look forward to sharing the full project in the coming week and I hope it encourages you to look at your supplies in a new light.
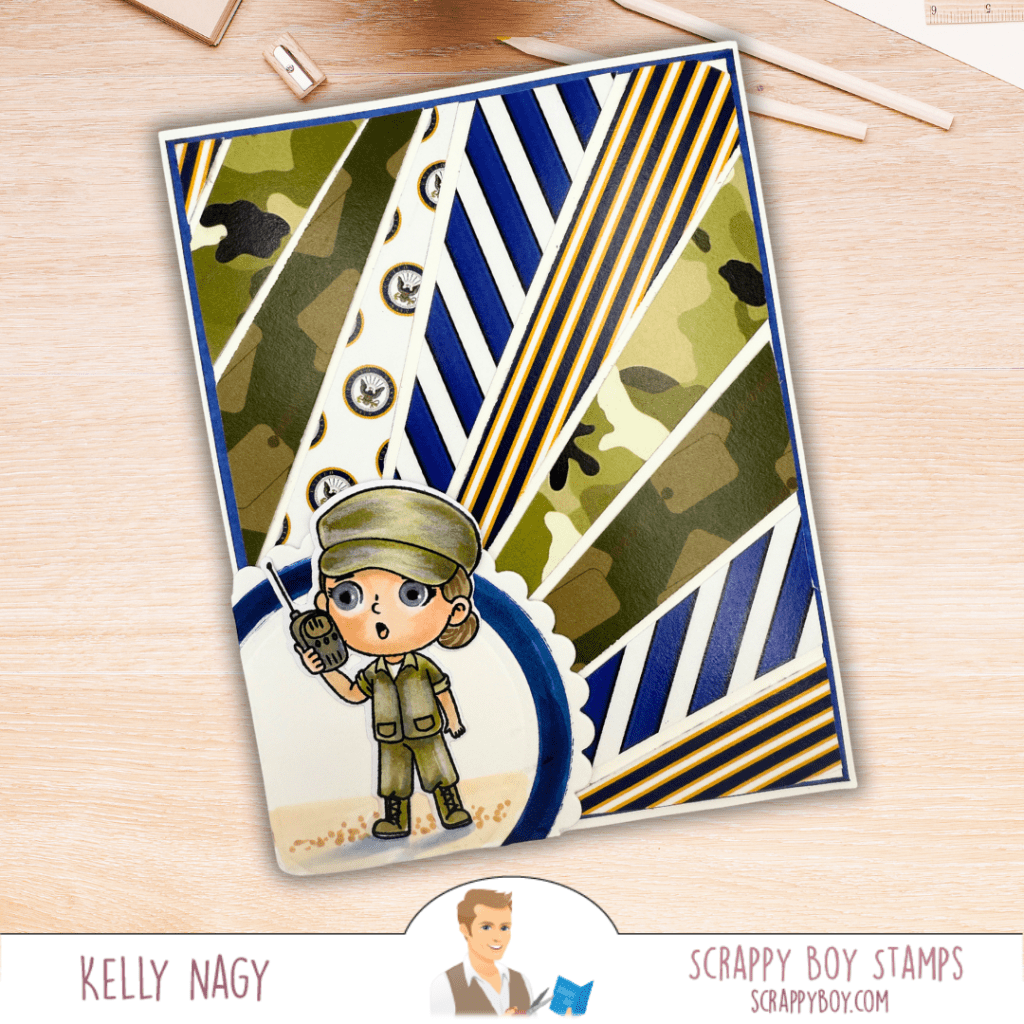
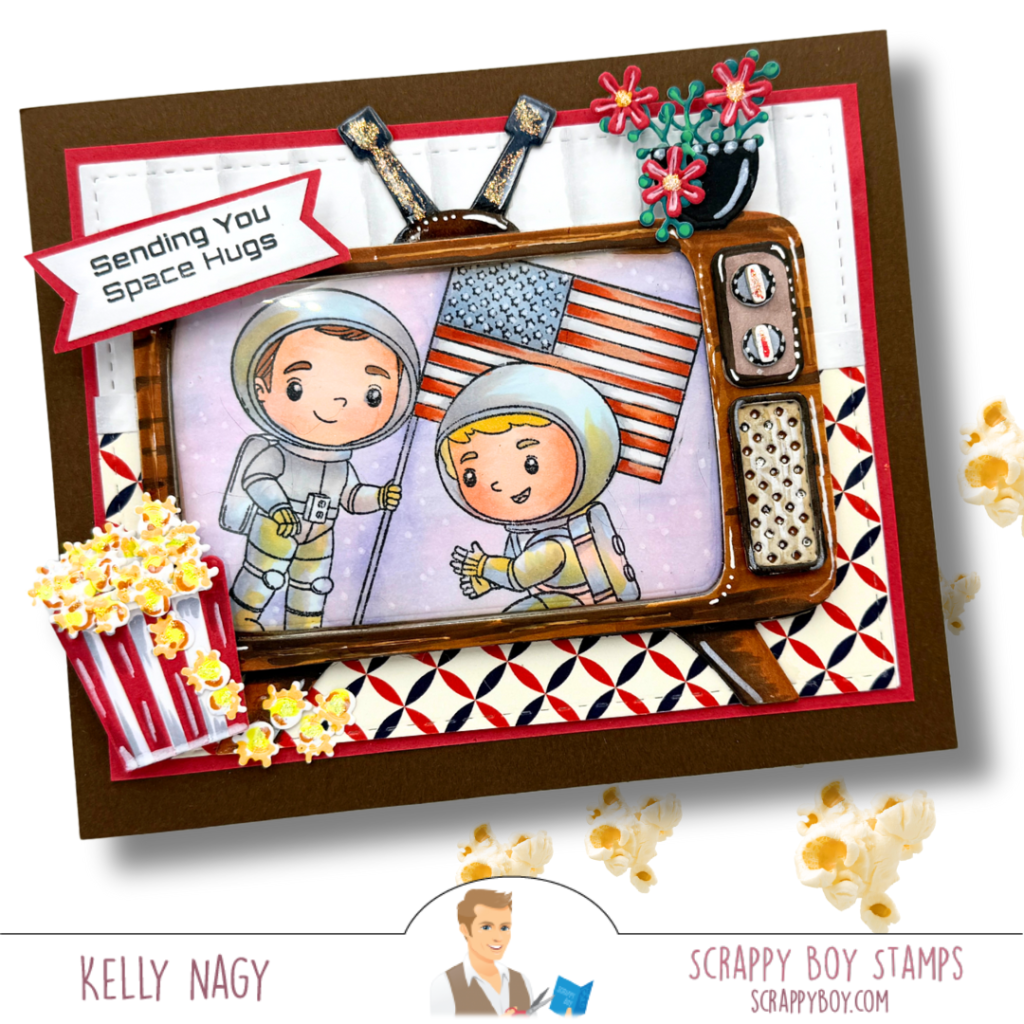
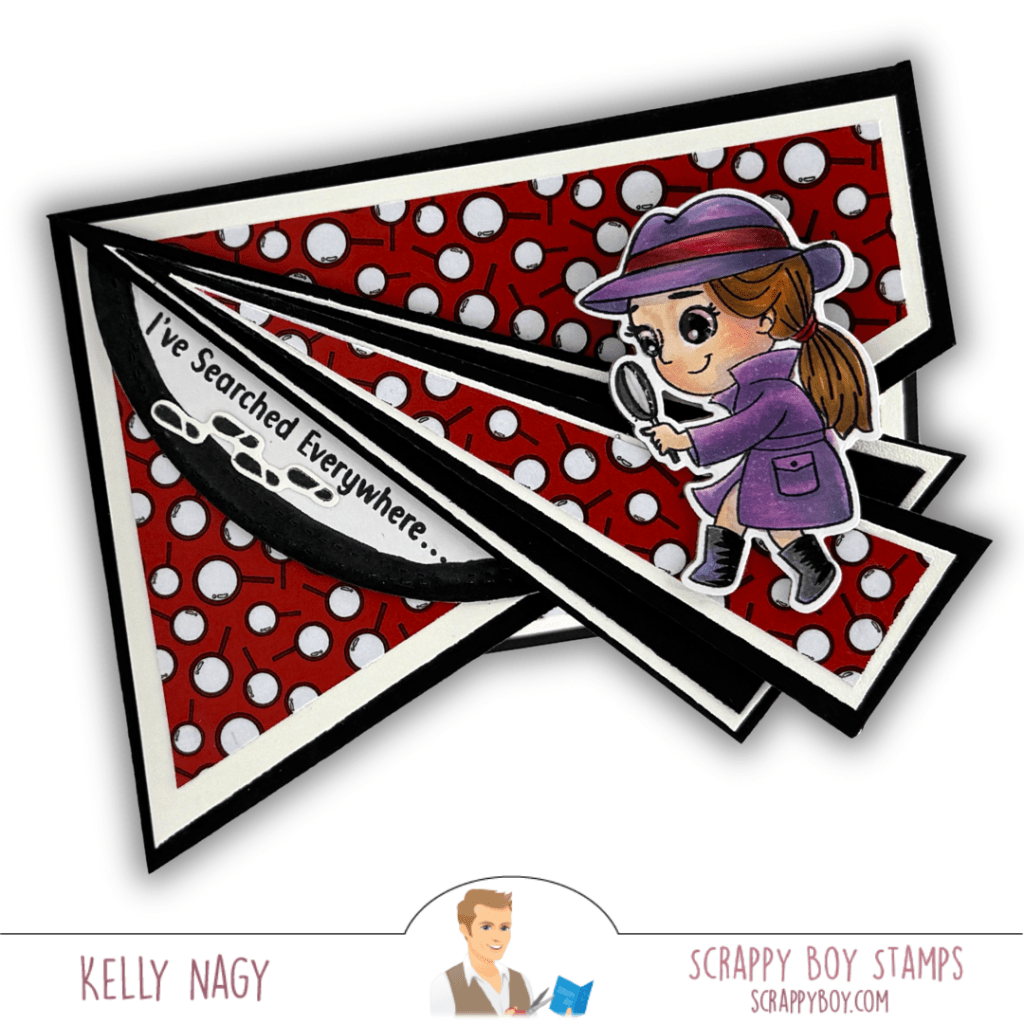
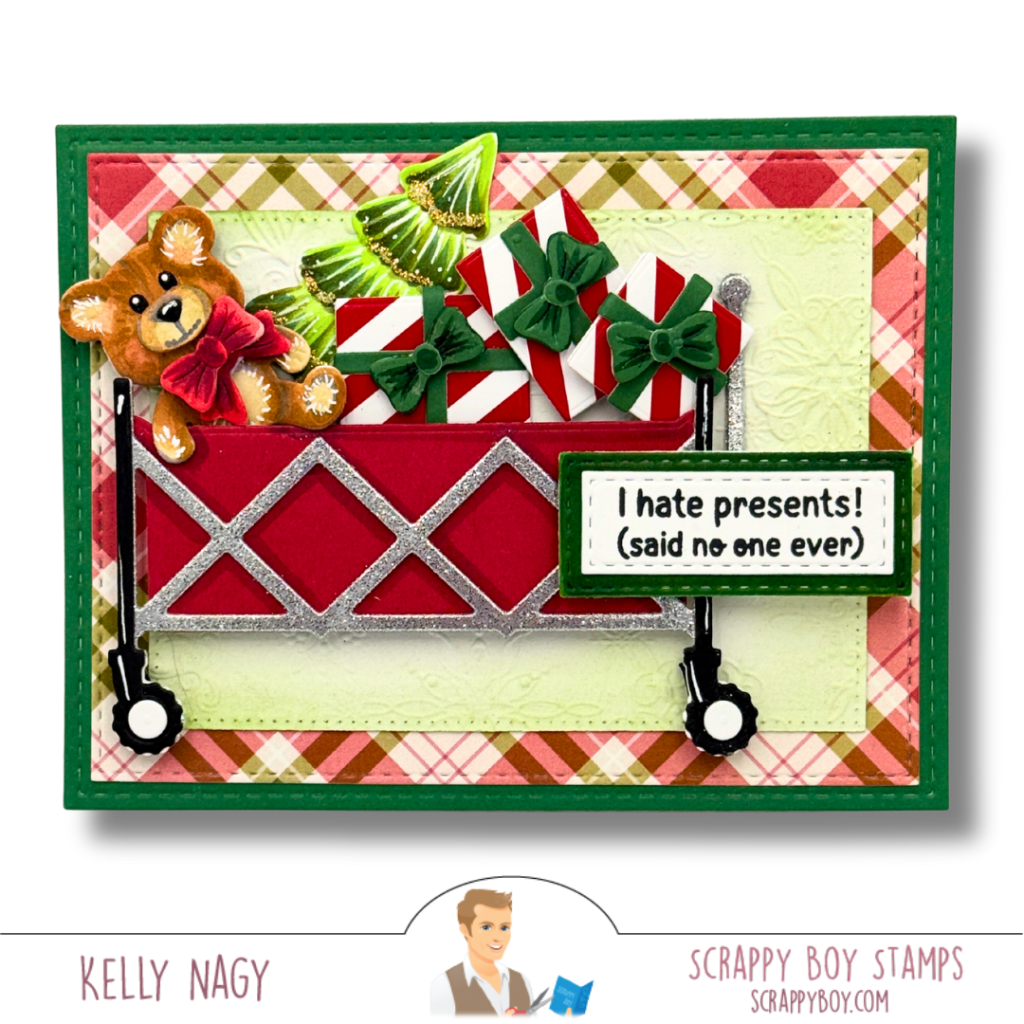
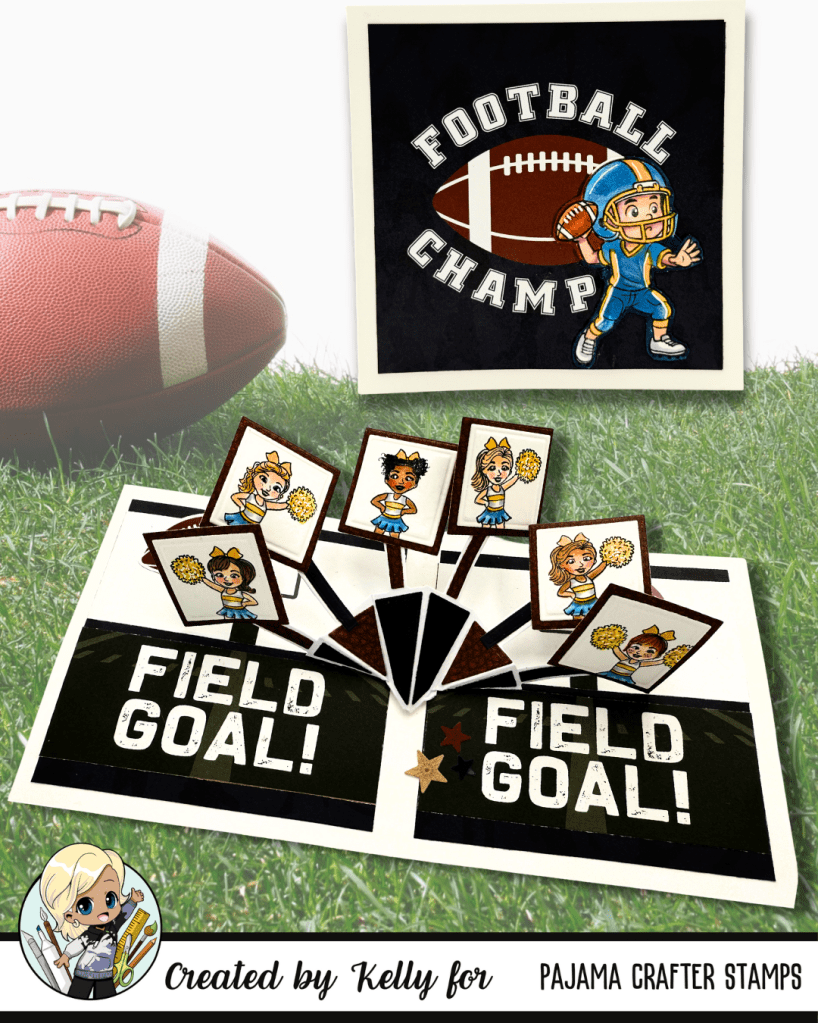
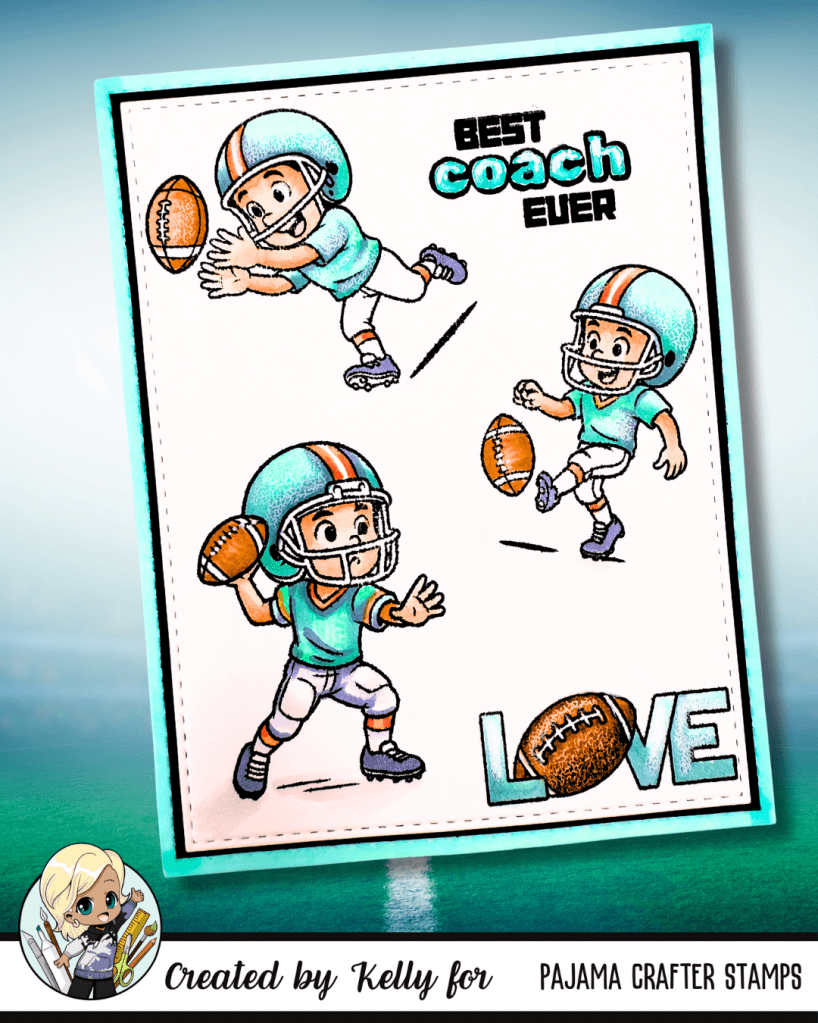
Project 3: Cute Kids Military Set 🎖️
Lastly, I want to introduce you to the adorable Cute Kids Military stamp set from Scrappy Boy. Honoring those who protect our freedoms, this sweet set showcases charming designs in the Cute Kids’ style representing different branches of the military. It truly warms my heart! ❤️
I enjoyed using the coordinating pattern papers that reflect patriotism and complement the playful illustrations. The sentiments in this set are heartfelt, and I hope they inspire others to create cards that celebrate our heroes in a meaningful way.

Conclusion 🎉
Crafting is not just about creating—it’s about the journey and the joy it brings to our lives. I hope my projects inspire you to use what you have, explore new techniques, and look at products differently than they were originally intended. Remember, it’s completely okay to be yourself in your craft, and there’s no right or wrong way to create. Happy crafting, friends! ✂️🌟