🍂 Fall Wreath w/ Truck Die Sets This card features a beautifully layered wreath paired with a charming truck die. I also pulled in some cut elements from the DOME SHAKER DIE. Finish using a fall themed sentiment from your stash. It’s the perfect way to welcome the cozy vibes of fall!
🎬 Hollywood Vixen For all the movie lovers out there, this design captures one of the favorites of the silver screen! With vibrant colors and elegant details from a variety of diecuts including the RODEO DRIVE SHOP SCENE.
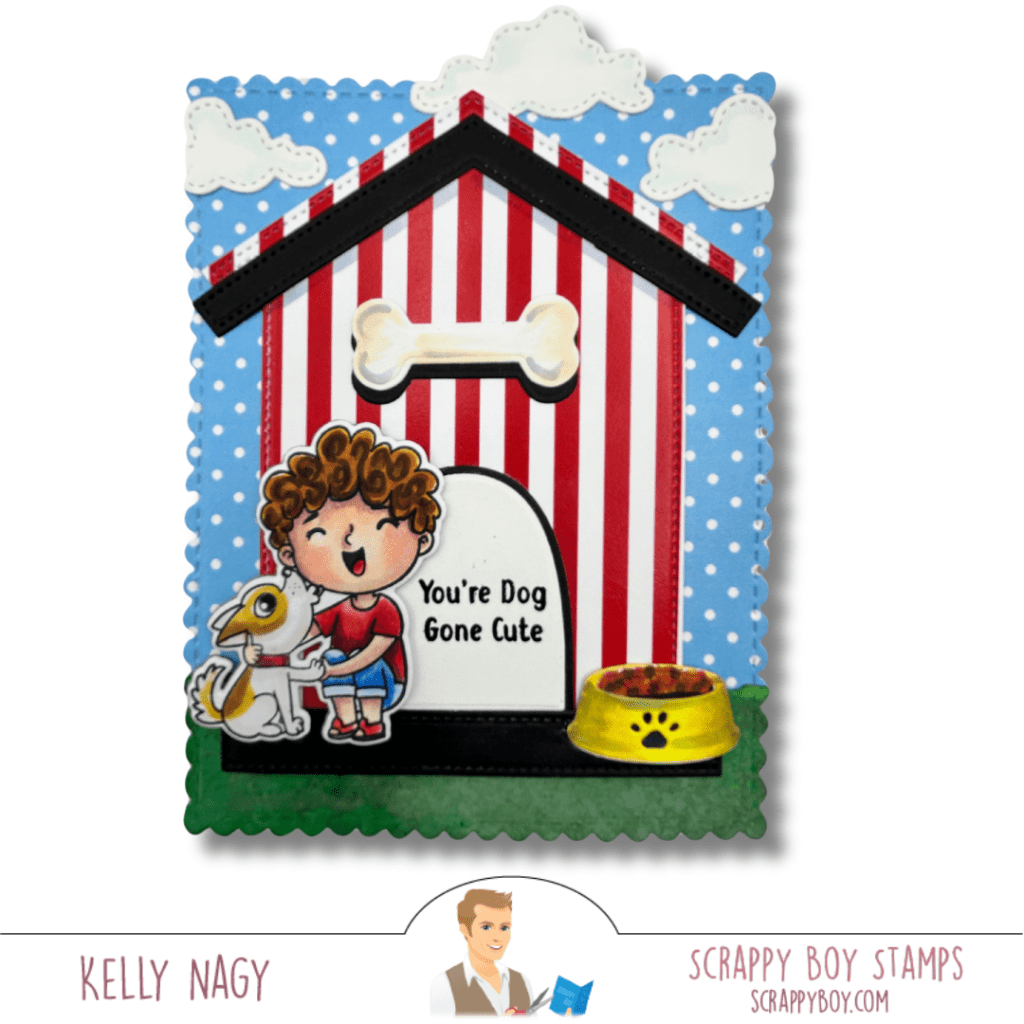
🐶 Cute Kids Dog Lovers These adorable pups are customizable to reflect your furry friends! This card is playful and perfect for any dog lover in your life. I used the fun new DOG HOUSE GIFT CARD A2 DIESET to create a design element that is a fun focal point to show off the stamped and colored images.
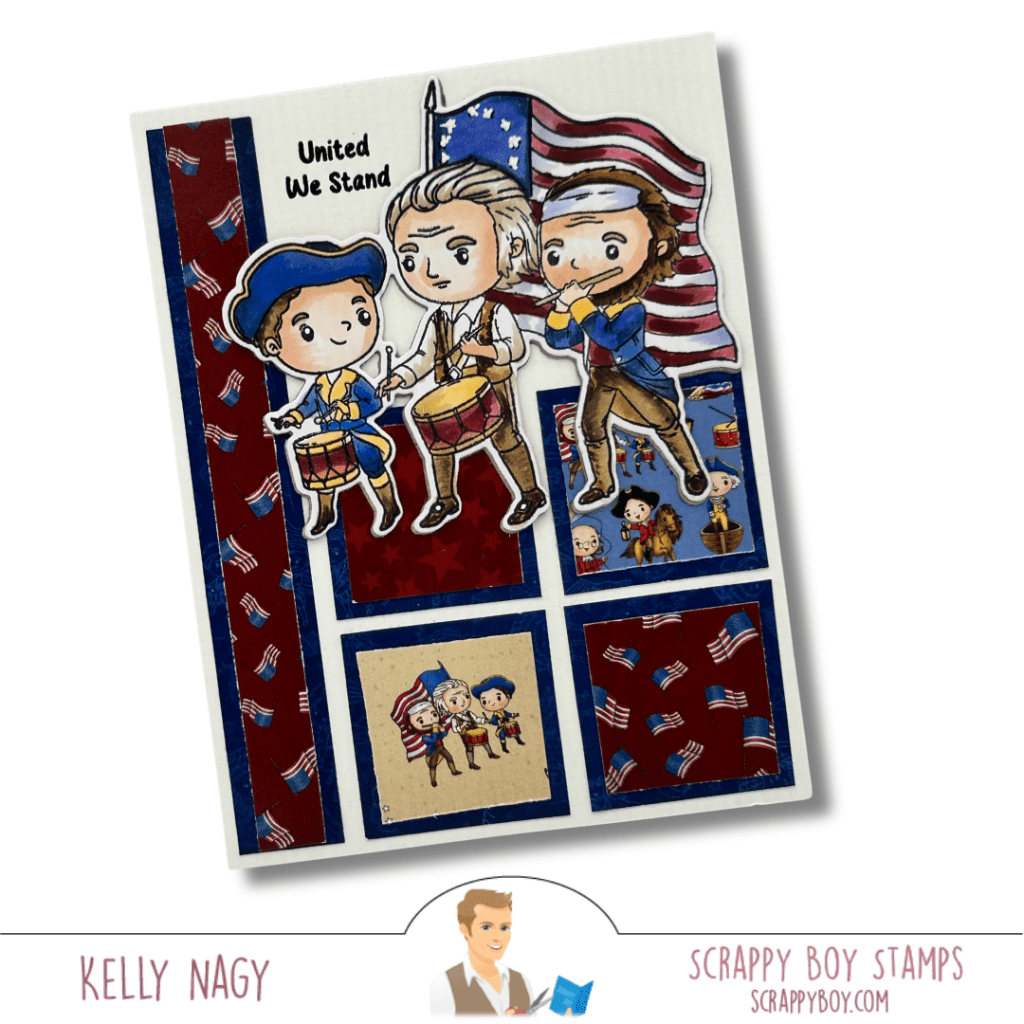
🇺🇸 Spirit of 1776 Celebrate the 4th of July with this festive set! It’s vibrant and full of fun elements that really bring out the spirit of independence. The coordinating patterned paper pulls everything together!
As we celebrate Memorial Day, I’m excited to showcase two unique card projects that highlight the versatility of the Mad Hatter card die set from Scrappy Boy Stamps. While this die was originally designed for whimsical, themed projects inspired by the tale of the “Mad Hatter”, I decided to take a different approach and customize it for today’s patriotic holiday.
Project 1: Patriotic Themed Card
A mash up between Scrappy Boy & Pajama Crafter Stamps
For my first project, I focused on a vibrant red, white, and blue palette to create a heartfelt card honoring our fallen heroes. By changing up the colors and incorporating relevant embellishments, I transformed the Mad Hatter die into something truly special for this occasion. The combination of thoughtful design and color allowed me to create a meaningful tribute that resonates with the spirit of Memorial Day.
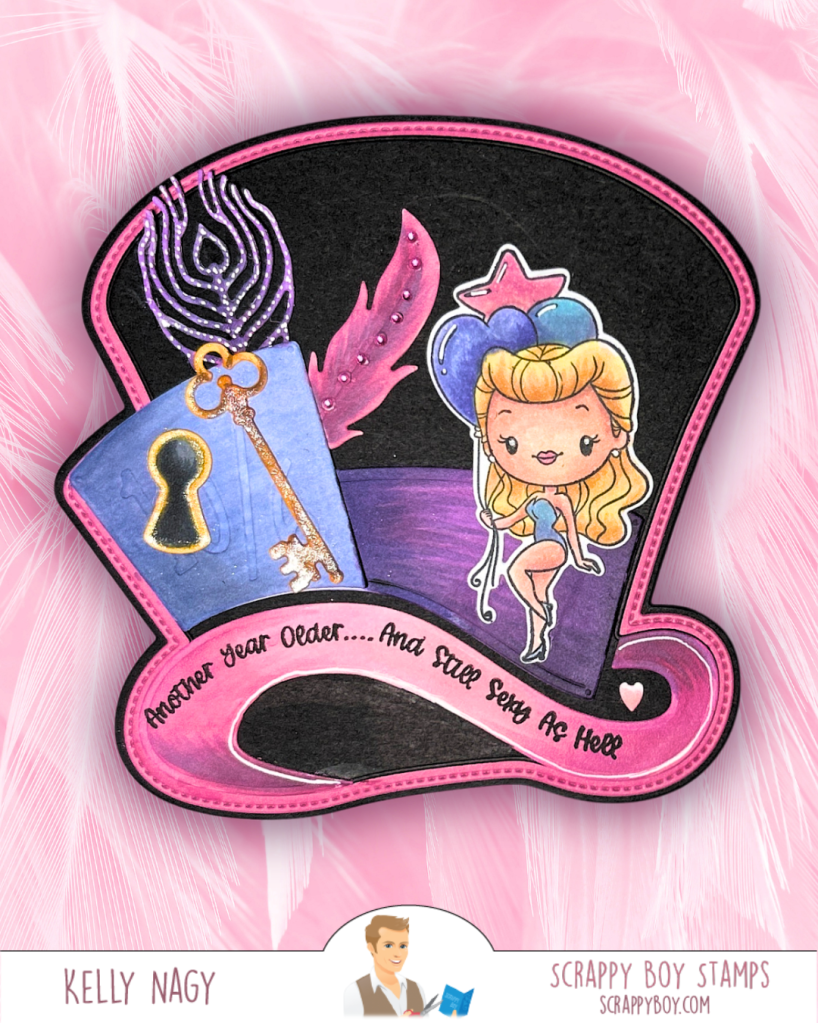
Project 2: Celebrating Birthdays with Pinup Girls
Scrappy Boy Old meets New Release
In contrast, my second project features the same Mad Hatter die set, but this time paired with the brand-new Pinup Girls Birthday set that was released earlier this week. By simply adjusting the colors and the sentiment, I was able to create a fun and festive birthday card! This demonstrates just how adaptable these products can be, allowing for endless creative possibilities.
The beauty of crafting lies in the ability to innovate and personalize your projects. With a little imagination, you can repurpose any die set to fit a specific occasion or theme, proving that your creativity is your only limitation.
I hope my projects inspire you to think outside the box and explore new ways to utilize your crafting supplies!
Happy crafting, and enjoy the rest of your Memorial Day!
Spring has sprung, and so has an exciting new release from Scrappy Boy Stamps! With fresh products hitting the shelves , it’s the perfect time to dive into some creative card-making. This release includes four fabulous lines: We’re Not Alone, Aliens Landed in Roswell, Cute Kids Playground, and a wonderful variety of card making and scrapbooking dies. Let’s check out some creative ideas for three card designs you can create with these new goodies!
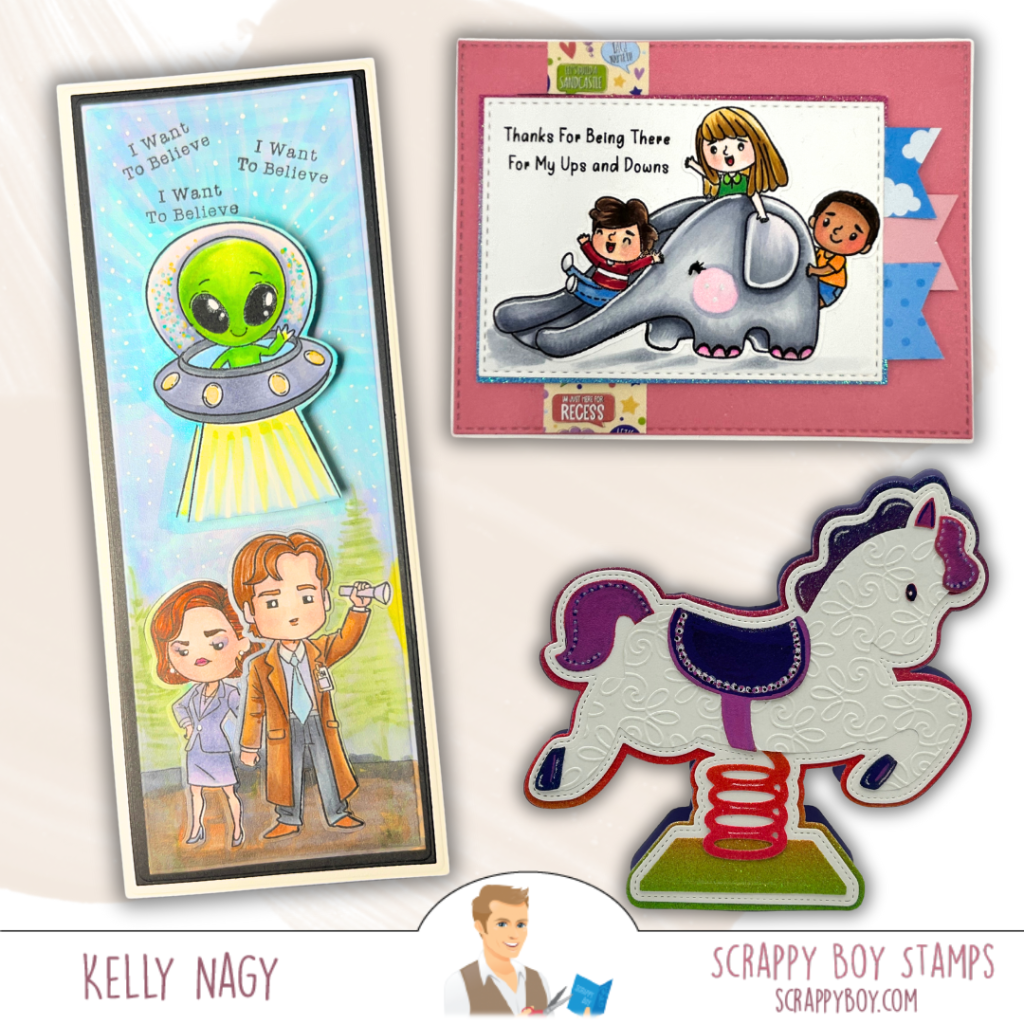
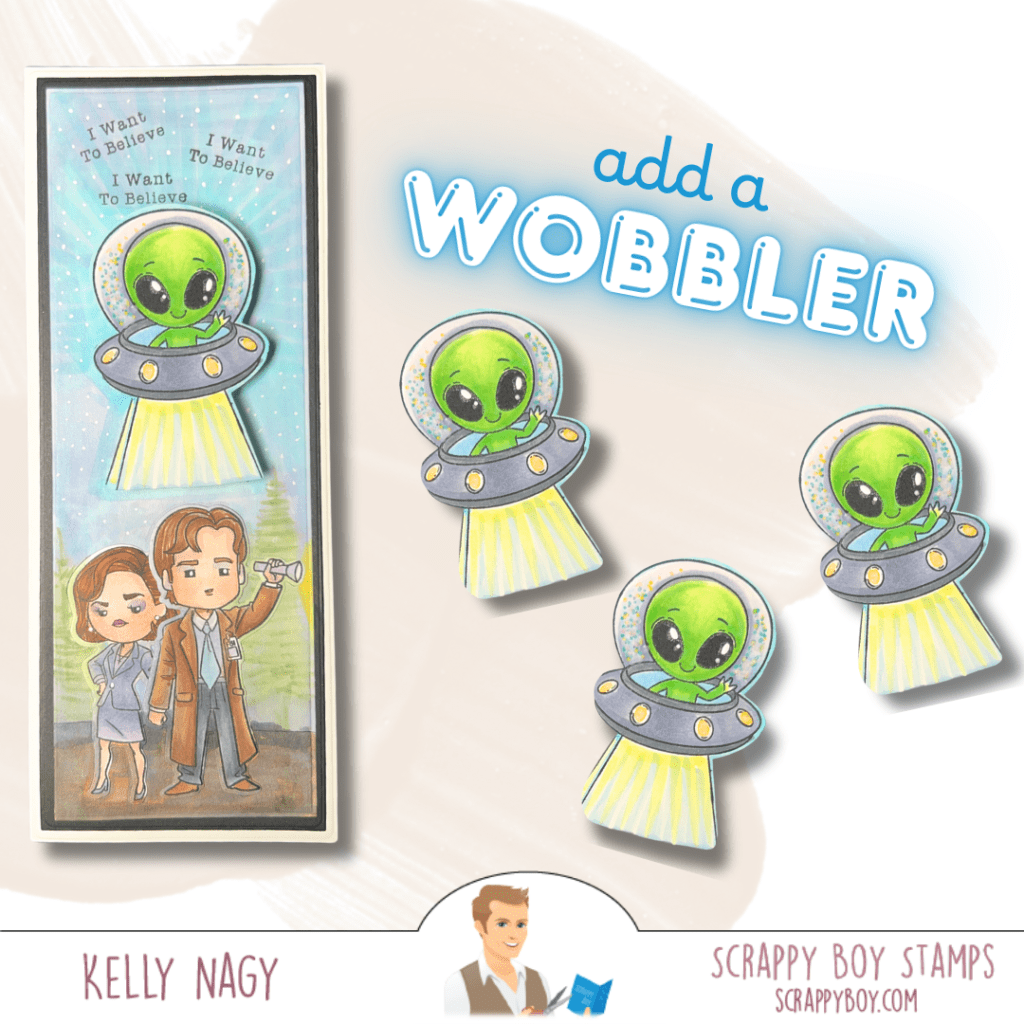
1. I Want To Believe Slimline Card 🚀
I did a mash up of Aliens Landed in Roswell with We’re Not Alone to create a whimsical card showcasing one of the cutest aliens! Start with a dusky/starry night background using vibrant colors, then use the coordinating stamps and dies to bring your alien friend and beloved characters to life. For my card, I added an action wobbler to add movement and interest. Don’t forget to complete your card with a fun sentiment like “I WANT TO BELIEVE” to tie everything together!
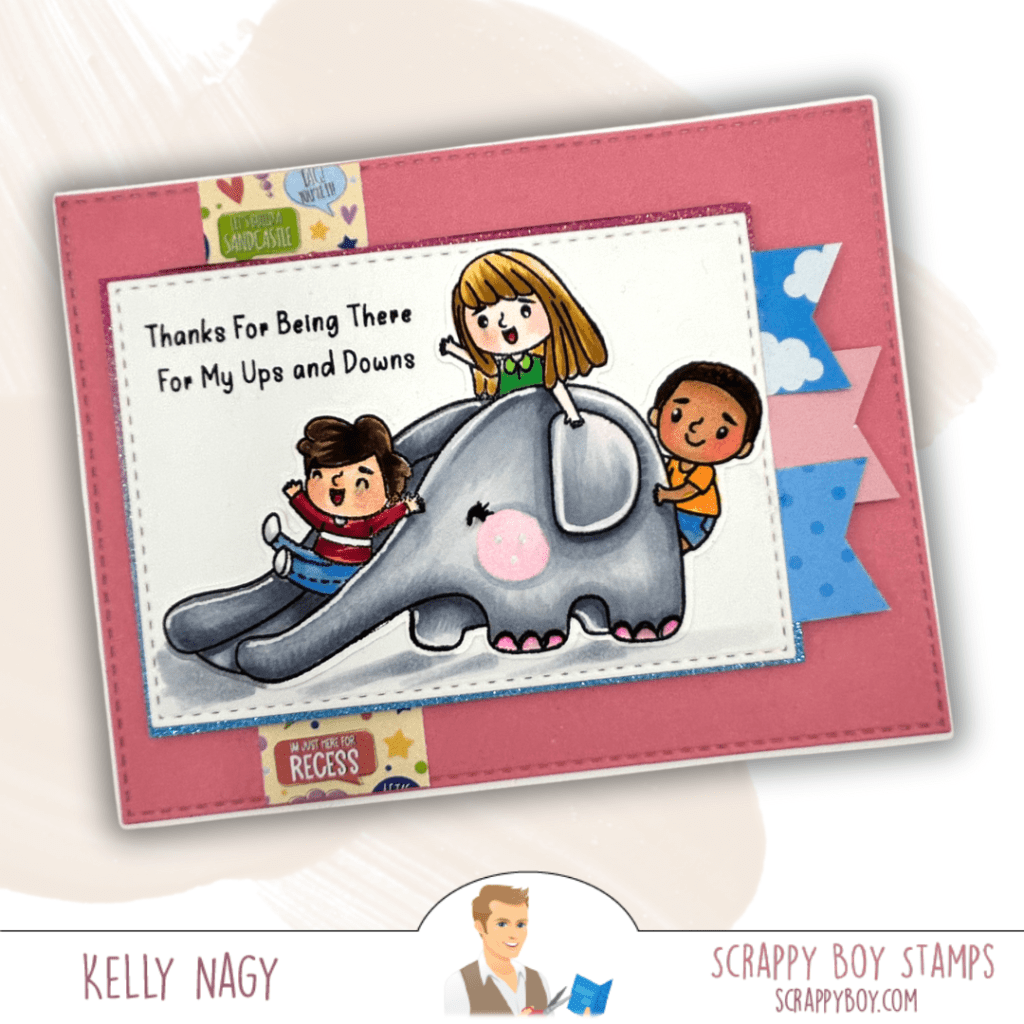
2. Playground Fun Card 🎡
Using the Cute Kids Playground set, I crafted an adorable scene that captures childhood joy. To make your own, use the playground-themed stamps to create a colorful layout of kids playing on swings and slides. My card features a fun elephant slide. I layered several different coordinating patterned papers from the 6×6 paper pack in cheerful colors for that extra pop!
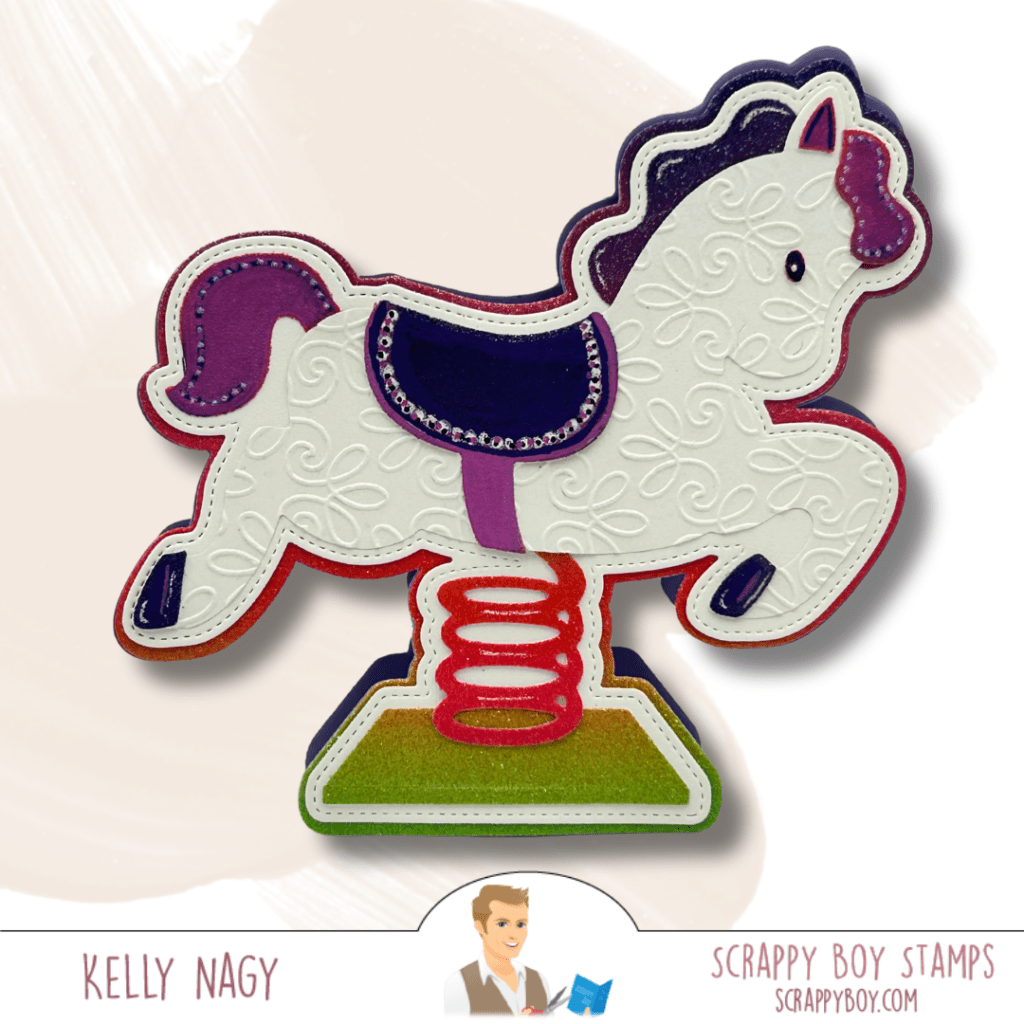
3. Rocking Horse Shaped Card🌌
Using the new Rocking Horse Mini Album Die, I created a shaped card. Use for scrapbook elements OR as it’s intended use, a mini photo album die. I cut all elements in white for ease and then use my Copic markers or Distress Inks to create additional colors. If you look closely, you might see that I ran some elements through my Big Shot die-cutting machine with a fun embossing folder. You can also use up your scraps! Have fun!
Get Crafting! 🖌️
These new releases are sure to inspire and ignite your crafty spirit. Whether you want to create cheeky alien cards or childhood adventures, Scrappy Boy Stamps has you covered. Make sure to grab your favorites before they fly off their shelves!
I’m excited to share my latest handmade cards using images from Scrappy Boy Stamps.
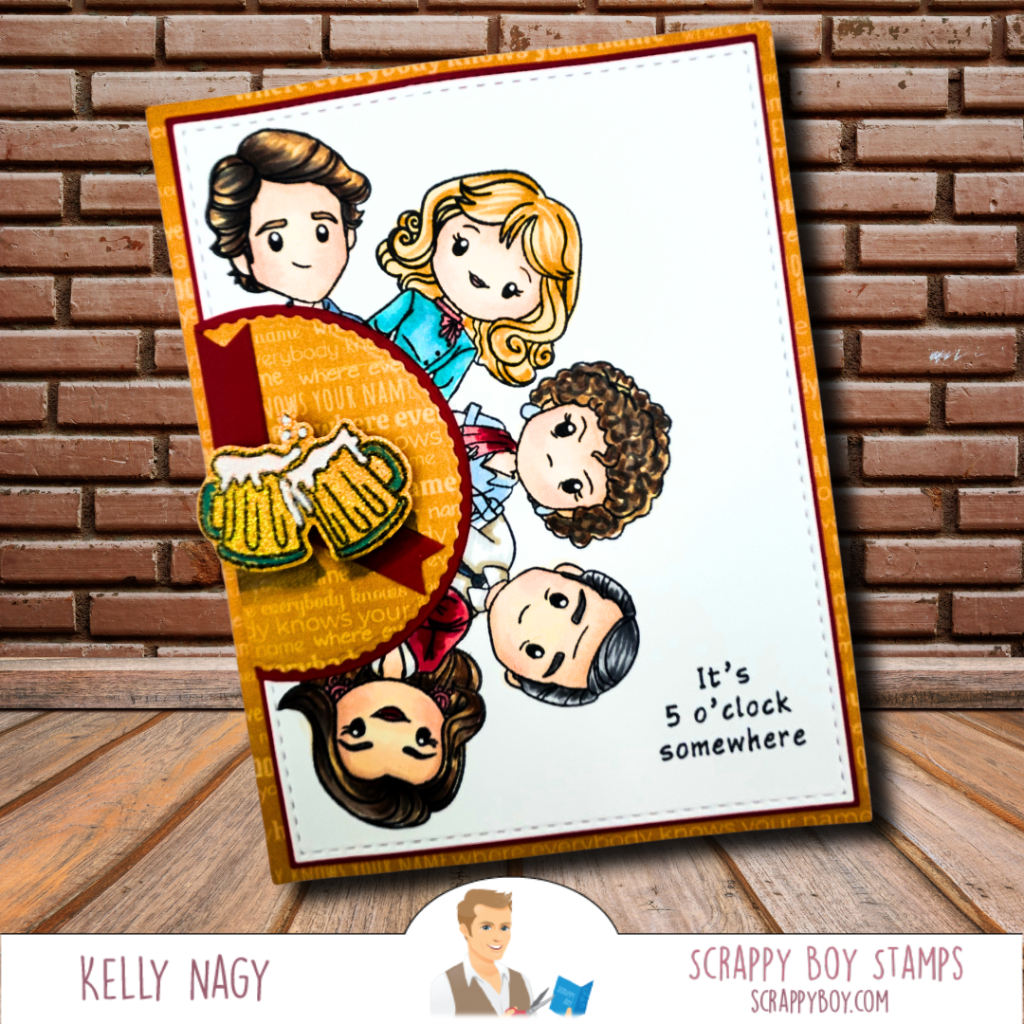
Embracing the white space-using a wreath layout
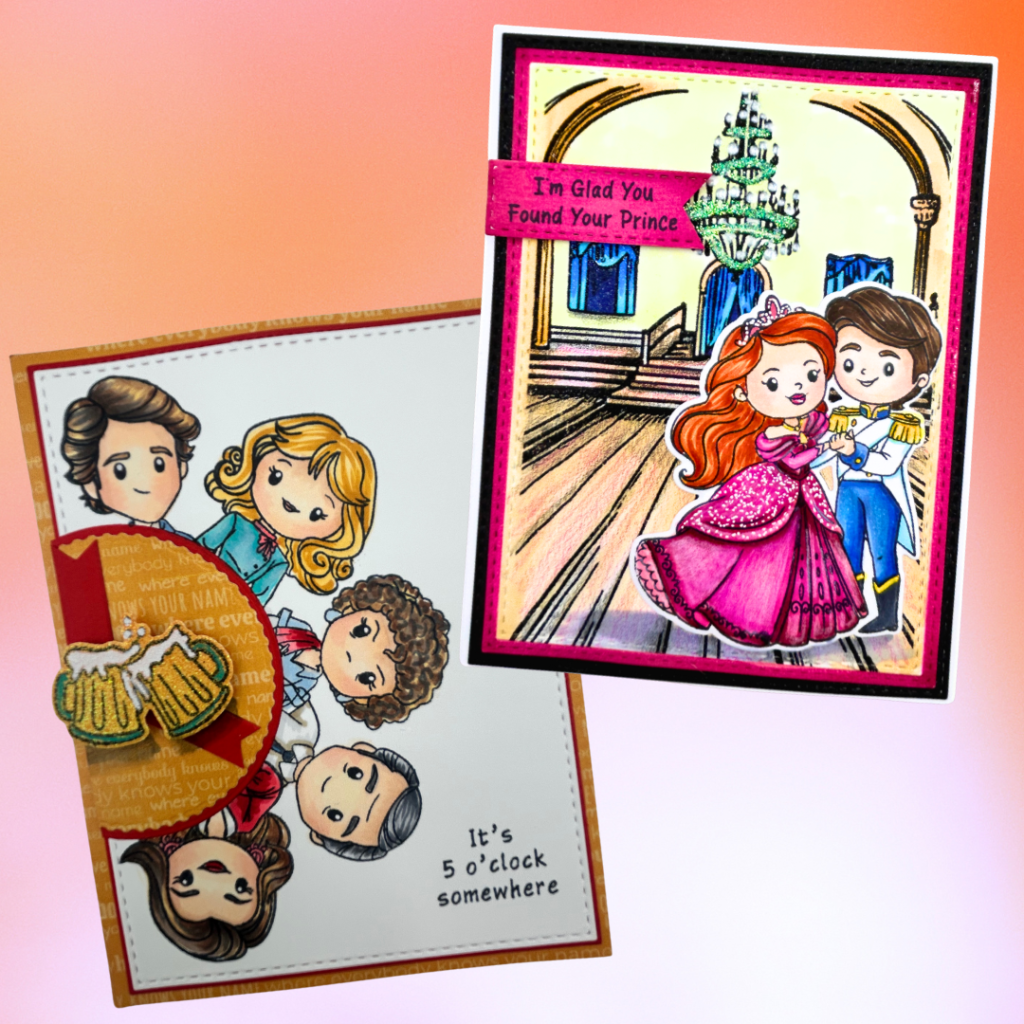
Card 1: The Neighborhood Bar This card features the “The Neighborhood Bar” set from Scrappy Boy’s latest release. I wanted to create a scene that looked like a clock, so I could fit as many characters on the front of an A2 card using my Sizzix Making Tool with Add On Stamp & Spin Tool.
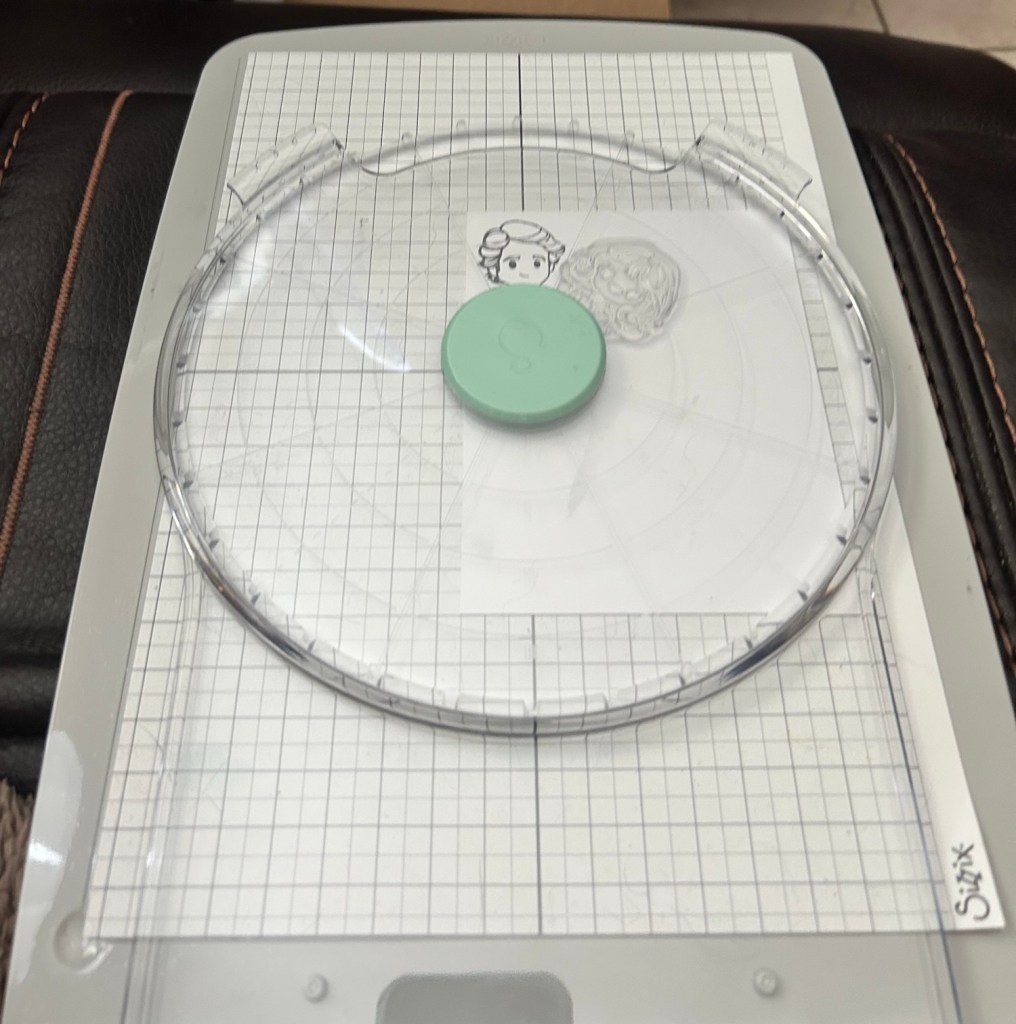
Sizzix Making Tool w/ add on Stamp & Spin
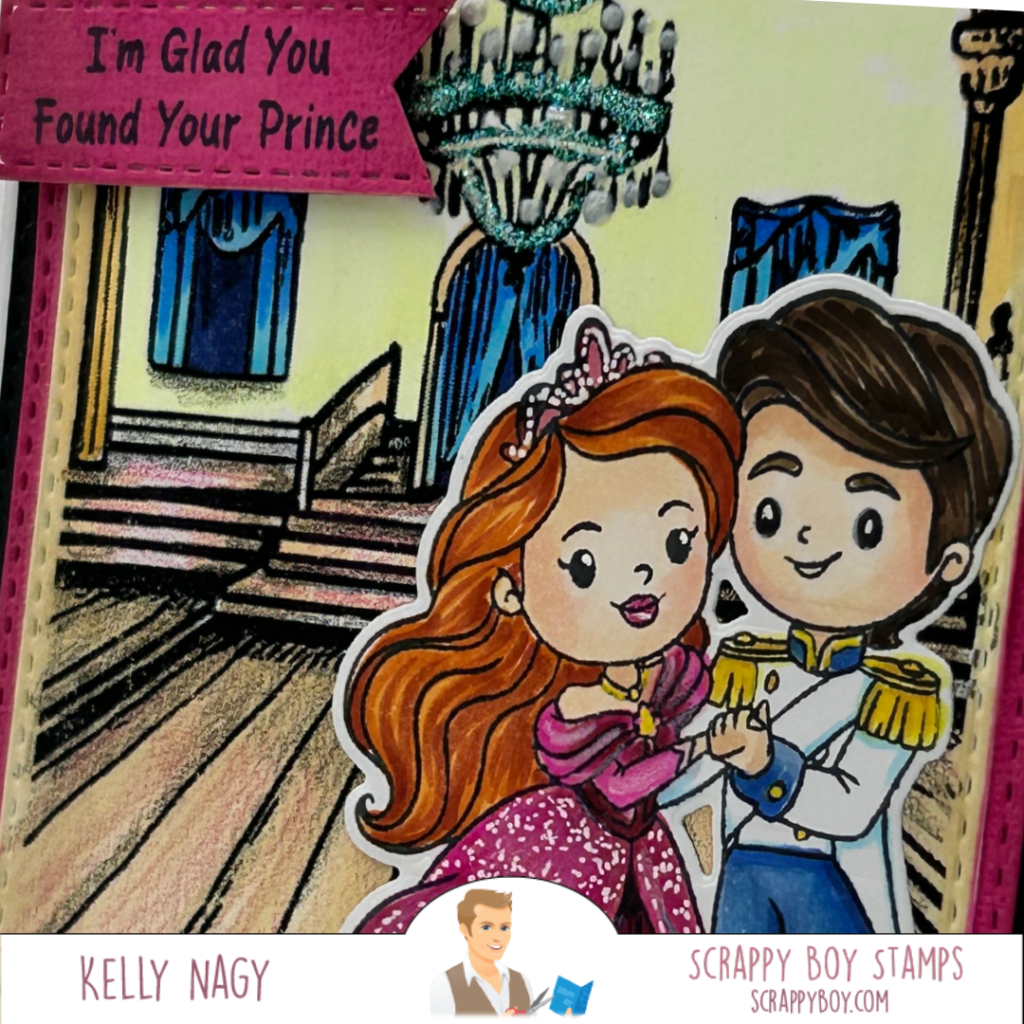
My second card features a prior release called Little Mermaid. I created a background you can download and use for FREE.
Close Up of A2 Cardfront
Card 2: The Little Mermaid This card showcases the “The Little Mermaid” set from a previous release. Please tag me in social media @stampedbykelly so I can see how you used the image in your creations!! Download for FREE here–>
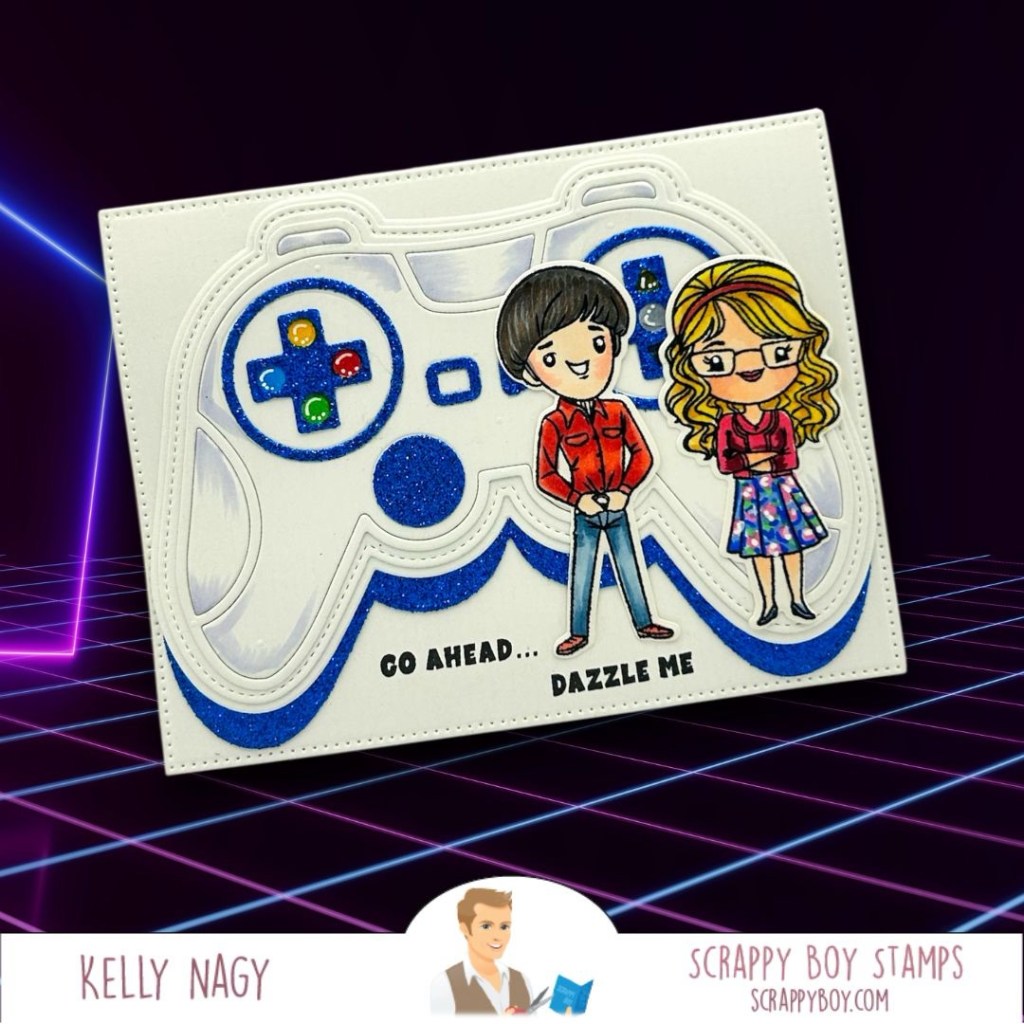
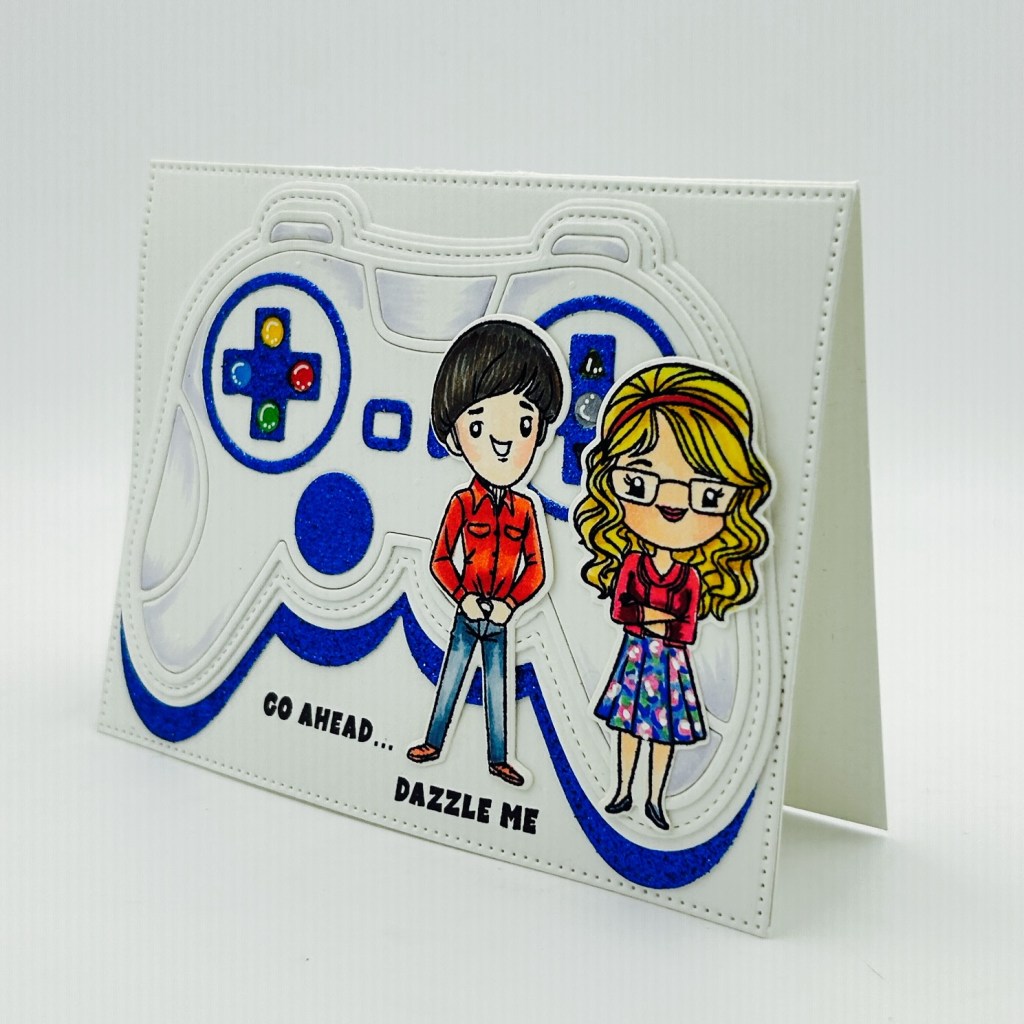
Quick Steps to Create a Game Controller Shaped Card, Mini Album or Scrapbook Page Element
Crafting your own game controller themed card is simple and fun! Here’s a quick guide to get you started:
Materials Needed:
Heavy white cardstock
Copic markers
Colored pencils
White gel pen
Metallic blue cardstock and scrap colored cardstock for small elements
Stickles
Game Controller Mini Album and Card Die
Memento Tuxedo Black Ink
Math, History & Science Stamp & Die Set
Stamp Positioner or block for stamping clear stamps
A2 sized card base, although you can make this a truly shaped card by cutting the folded card base with the largest game controller outline die.
Featuring products from Scrappy Boy Stamps
Steps:
Cut the Elements: Use the Game Controller die to cut out the main card shape from heavy white cardstock. Cut additional accent pieces from metallic blue and mirrored colored cardstock for the buttons for added flair.
Color and Detail: Use Copic markers and colored pencils to color the card. Add details with the white gel pen for highlights and interest.
Shadows on controller: BV31, BV34, BV00
Dark Hair: T7, T5, T3
Fair Skin: E04, E11, E21, E00, E000, R20
Jeans: B00, B21, B34, B37
Guy’s Red Shirt: R21, R27, R59
Guys Shoe: YR27
Blonde Hair: YR20, YR23, Y26, E15
Gal’s Red Top: R83, R85, R89
Skirt: FBG2, FB2, B00, G07, G14, RV19
Shadows: BV23
Layer and Assemble: Layer the main card on top of the larger stitched die cut from metallic blue cardstock and offset to give added shadow and fun dimension. Attach the accent pieces strategically to enhance the design (see image & also placement marked by embossed impressions from die)
Personalize: Use stamped sentiments or handwrite a message inside to make it special for the recipient.
Finishing Touches: Ensure everything is securely glued, and your card is ready to dazzle!
Enjoy your crafting adventure and let your creativity shine!✨
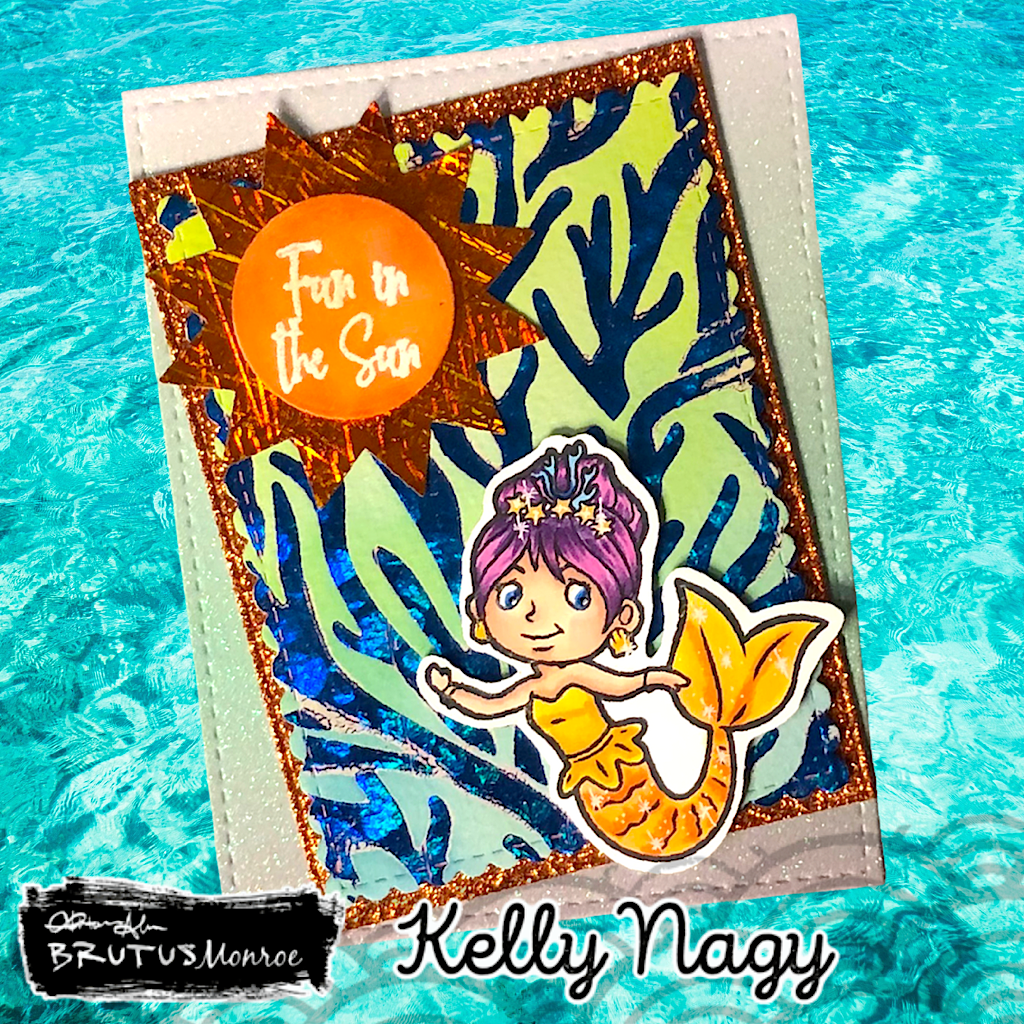
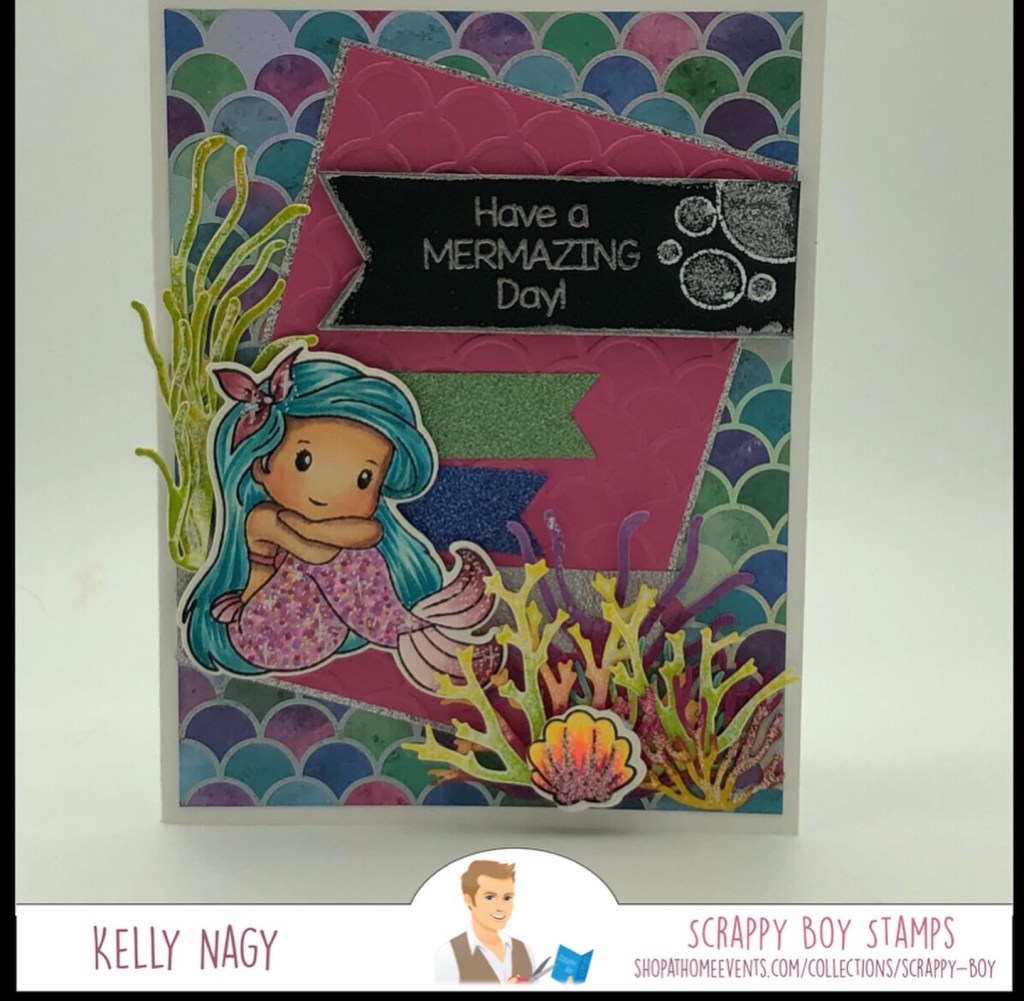
Today is National Mermaid Day and it’s the perfect excuse to break out your crafting stash and get creative. Whether you’re a seasoned crafter or a beginner, there are plenty of ways to celebrate this mystical day with some mermaid-themed cards.
Box card featuring Stamp Anniething
There are so many fun and creative ways to celebrate National Mermaid Day with your crafting stash. Whether you choose to create something practical like one of the cards I have posted, a mermaid tail blanket or something decorative like wall art, the possibilities are endless. So grab your crafting supplies, set your imagination free, and celebrate one of the most enchanted and captivating creatures of the sea!
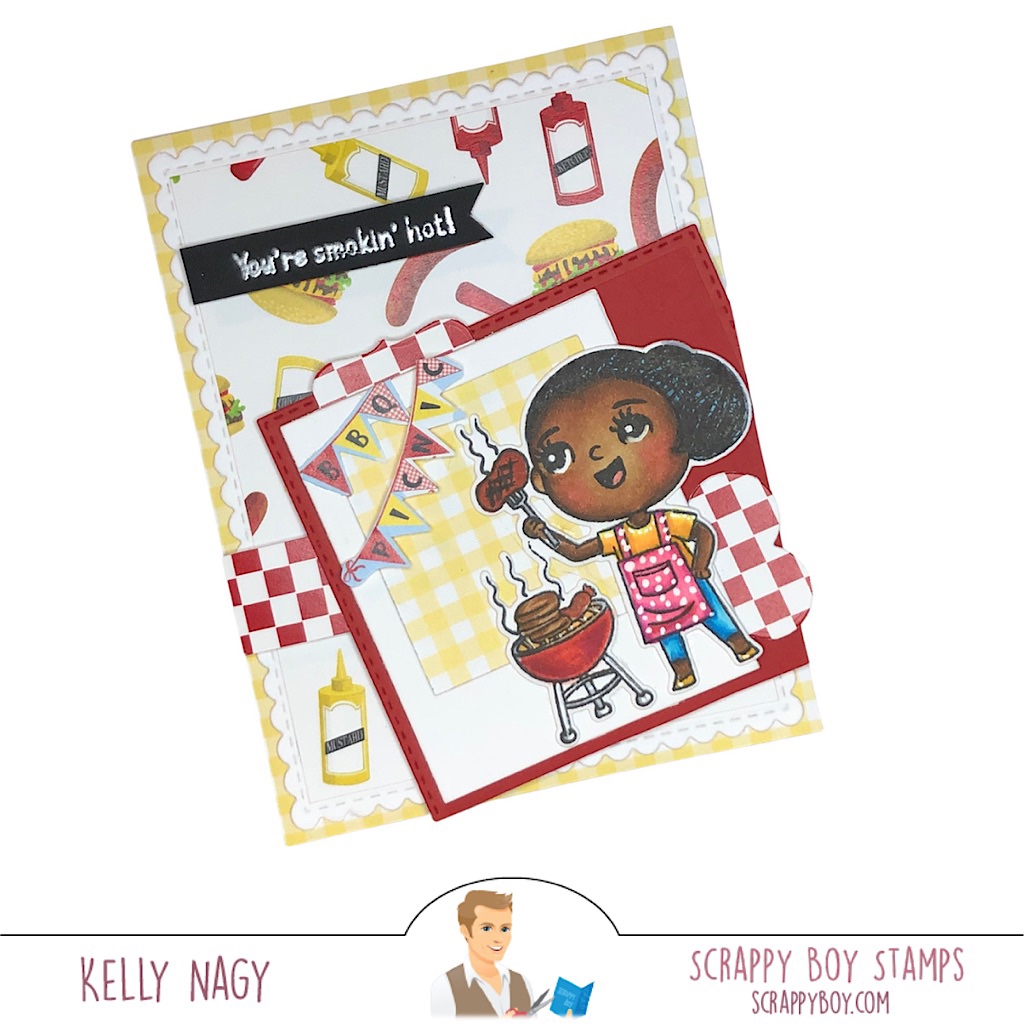
Check your stamps for grilling meat on a stick!!!! Celebrate EVERYTHING!!!!
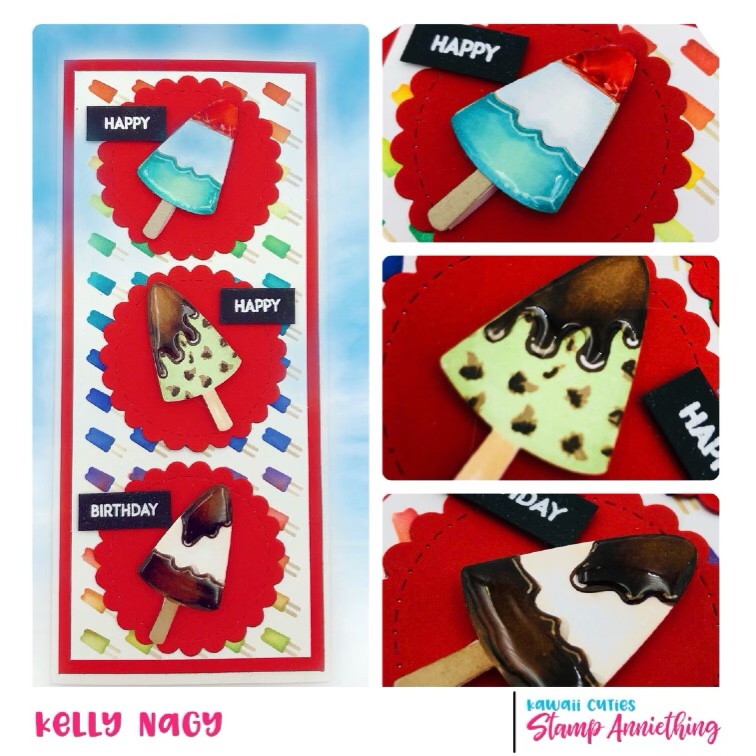
Observed each year on March 28th, National Something on a Stick Day is a food holiday that lets you use your creative talents. Once you get started, the possibilities are endless. Foods that come on a stick are fun and easy to eat.
Check your stash for lollipops – Yum! Yay for food on a stick!
From cool summer treats like the Popsicle to frozen food staples like the corn dog, food on a stick is one of the world’s great inventions. Fresh fruit kabobs and skewers of grilled veggies and meat are both summer favorites.
Street fairs and food trucks have created a variety of recipes made to go on a stick that takes us from breakfast to after-party hunger with flavor combinations that sometimes make us wonder why we haven’t tried that before! Whether it is fresh and healthy or breaded and deep-fried, menu choices are broad and plentiful for National Something on a Stick Day.
Pull out your food stamps and celebrate National Food-On-A-Stick Day doing something creative.
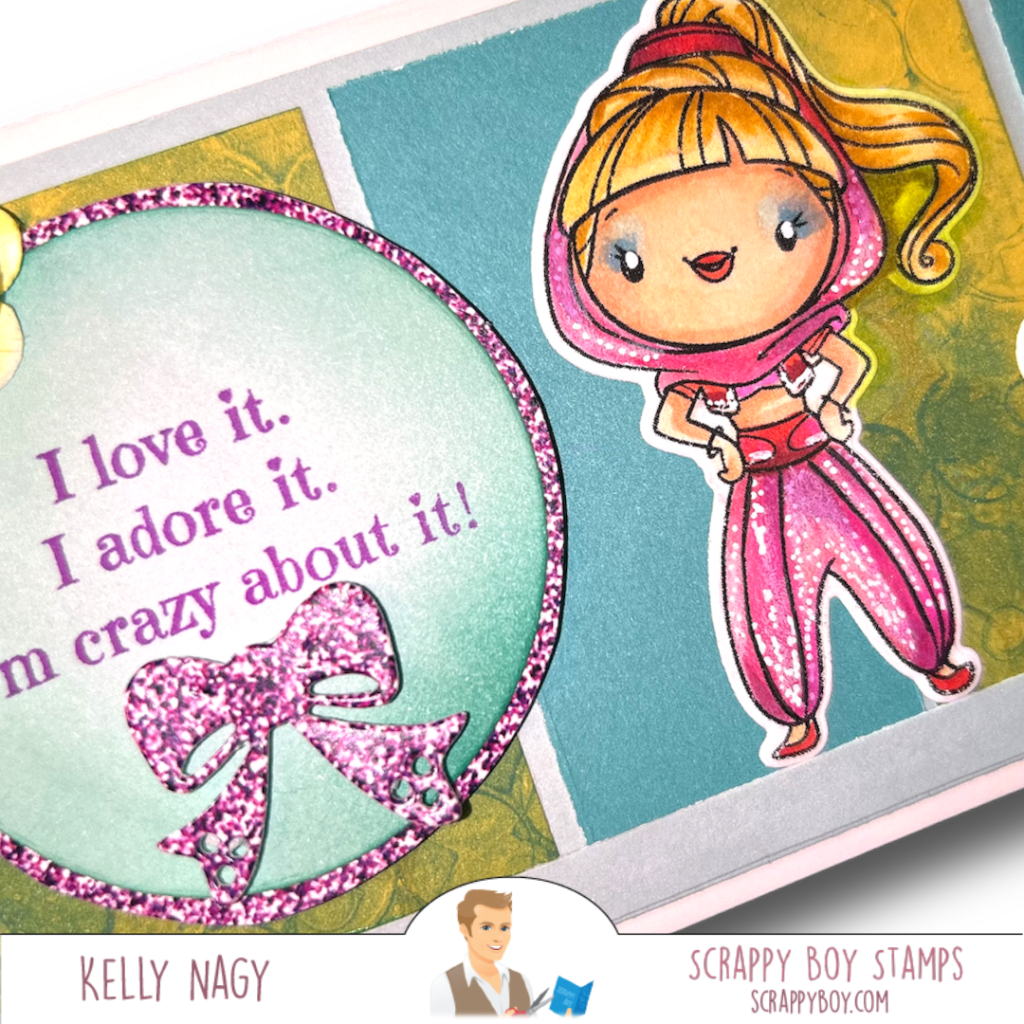
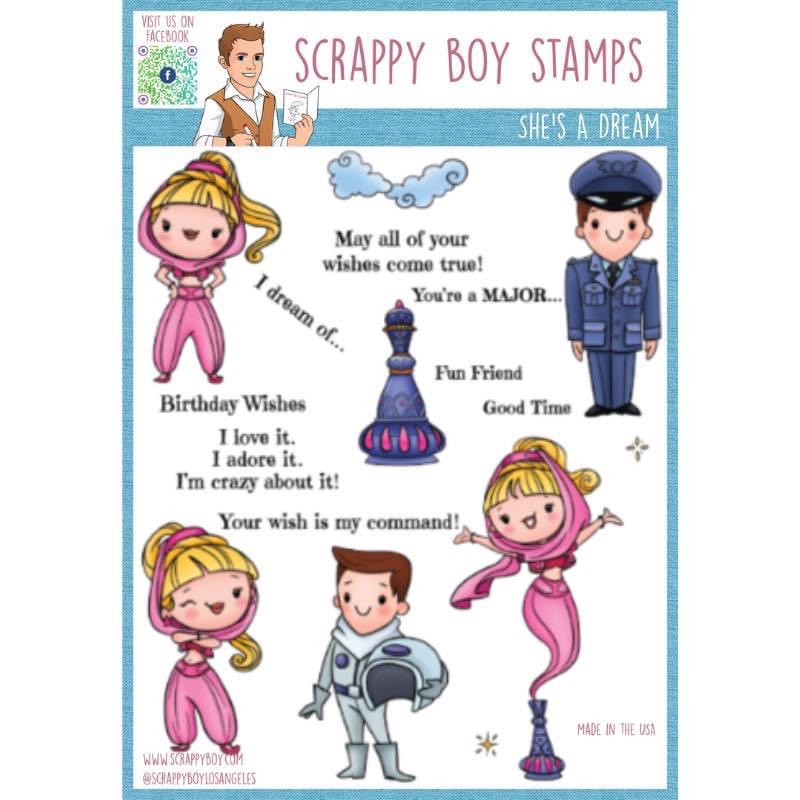
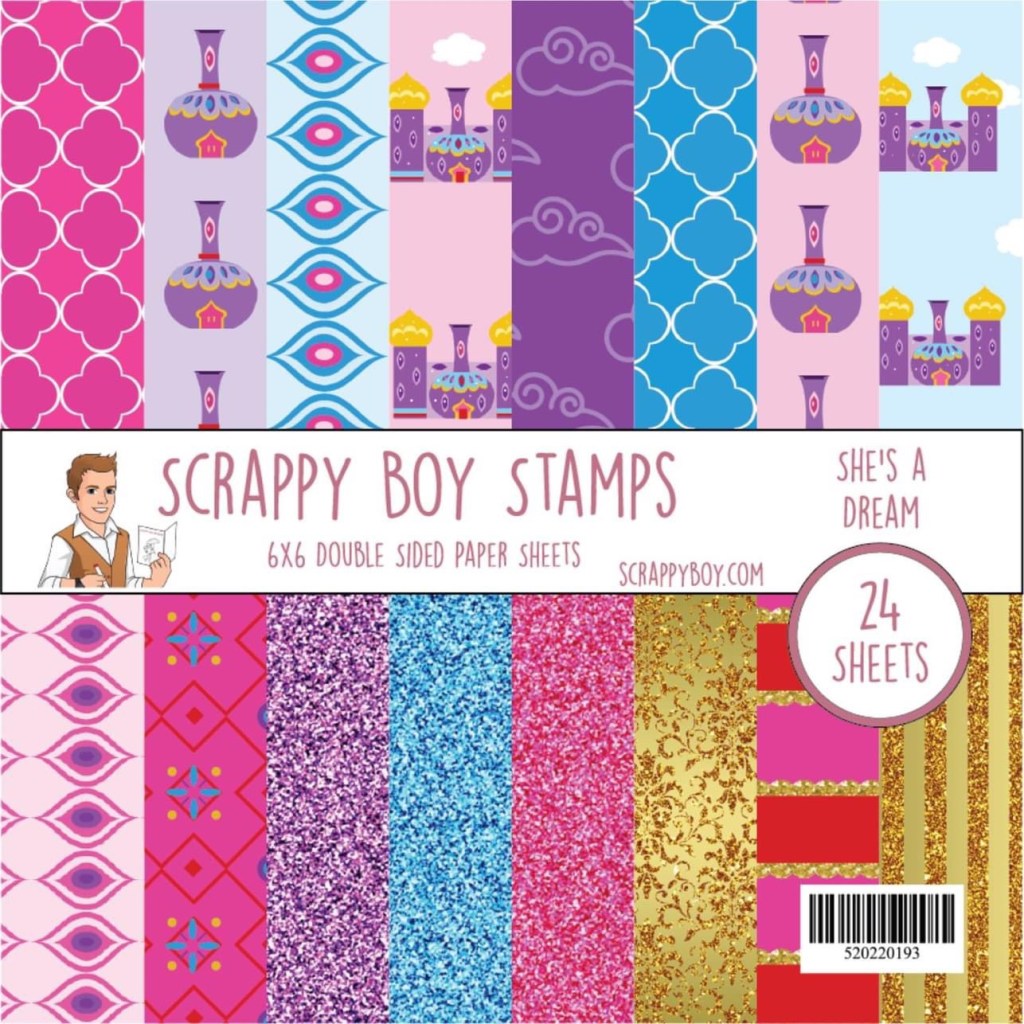
I am excited to introduce my first project using Scrappy Boy Stamps’ March 2023 Release. The new stamp set “She’s A Dream” was inspired by the classic TV show that we all love. This stamp set is a perfect addition to your collection and will surely add some whimsy to your projects.
March 2023 Scrappy Boy Release
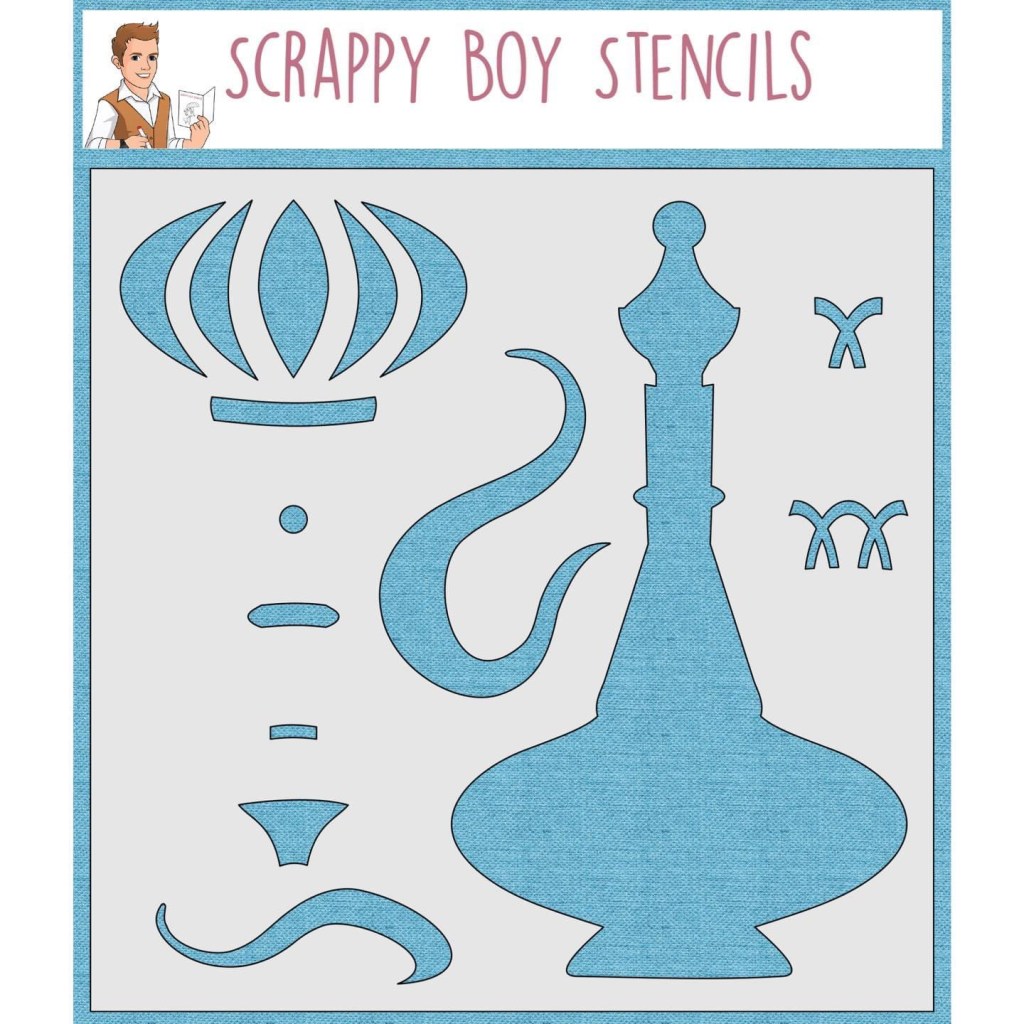
Isn’t this stamp set the cutest? Each stamp in the set has been carefully designed to showcase the magical aura of the classic TV show. The genie is absolutely adorable and brings back memories of a beloved TV character. There is a genie bottle stencil in the release that was designed to add a touch of enchantment to your projects, and another background stencil, which I used with my gel press to create an abstract background, perfect for adding texture and depth to creations.
Released March 2023Released March 2023
You can make a variety of different crafts such as cards, home decor, and scrapbook pages with this stamp set. Pair the colored images with the coordinated paper pack in both 6×6 and slimline.
Overall, the “She’s A Dream” stamp set is a must-have for anyone who loves the classic TV show and wants to add a touch of magic to their projects.
Thank you for joining me in this creative journey, and happy crafting!
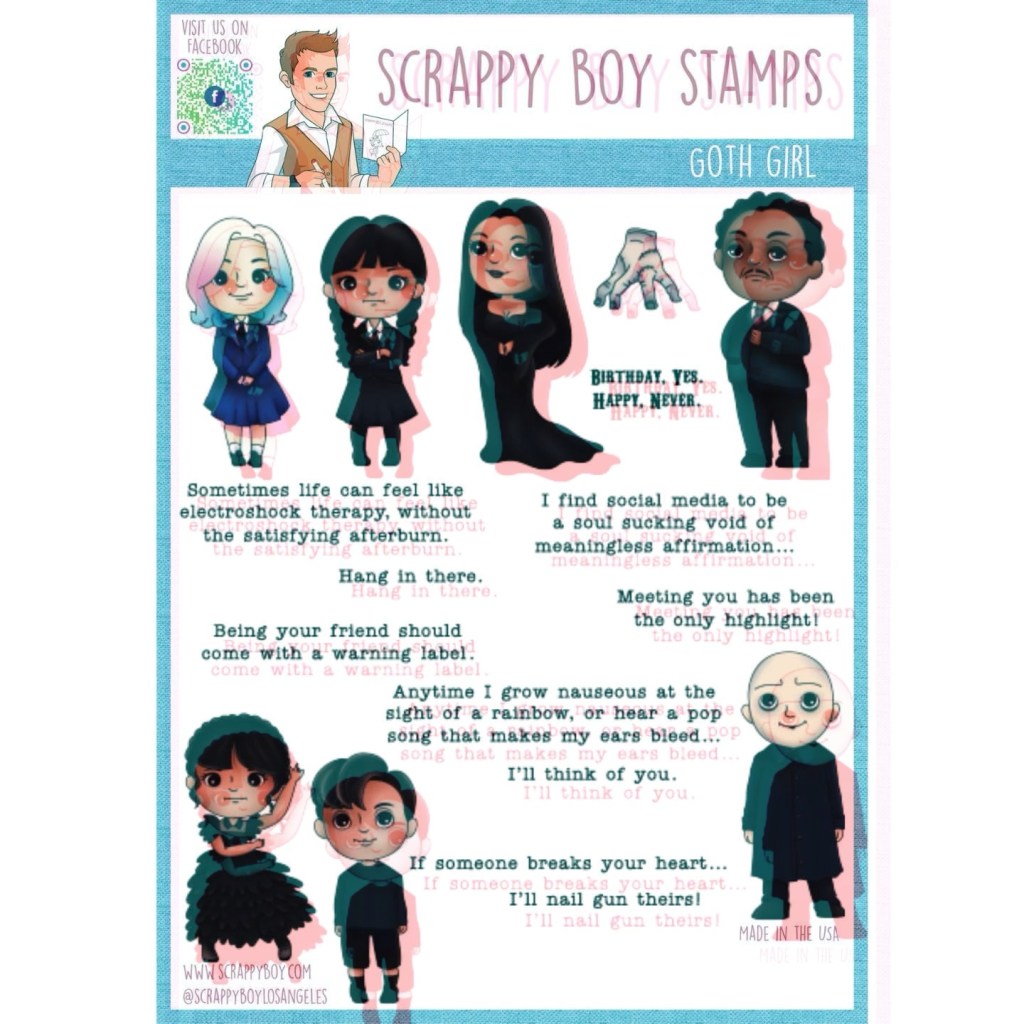
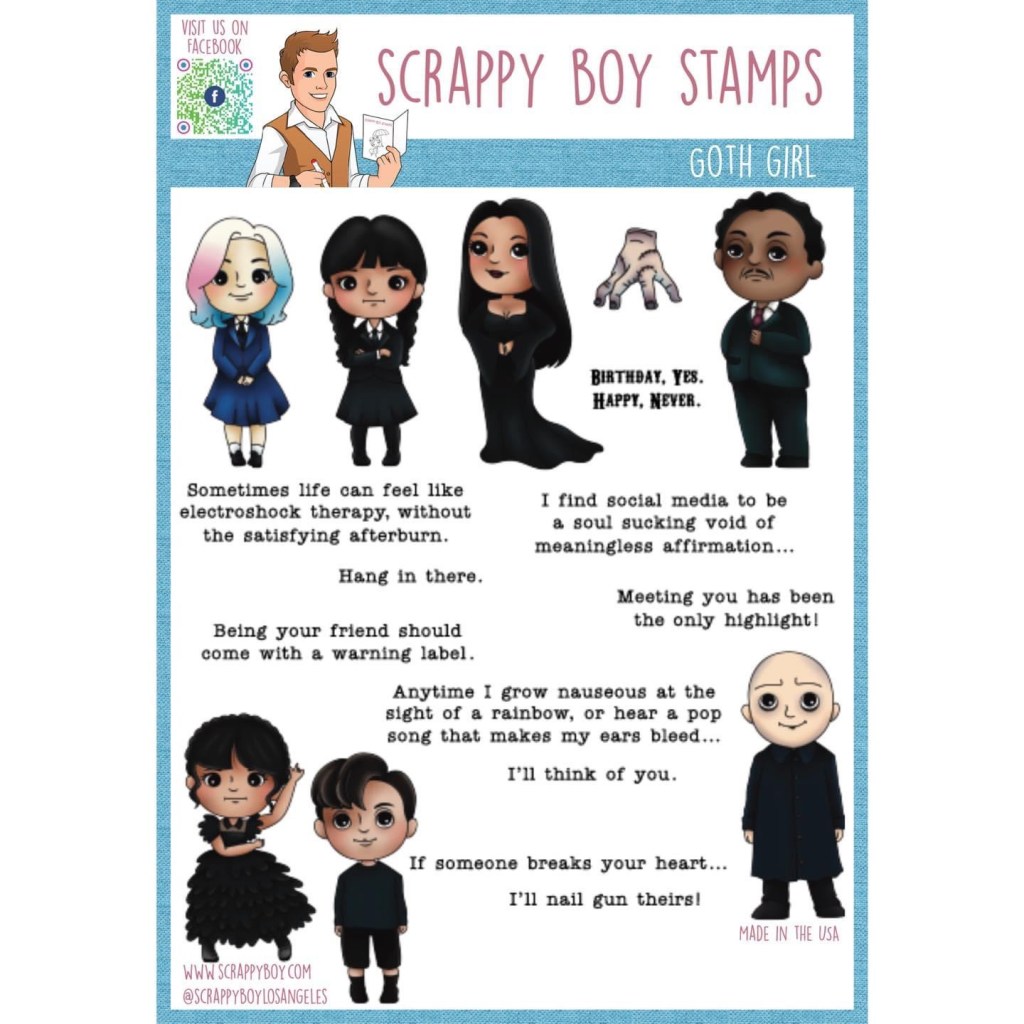
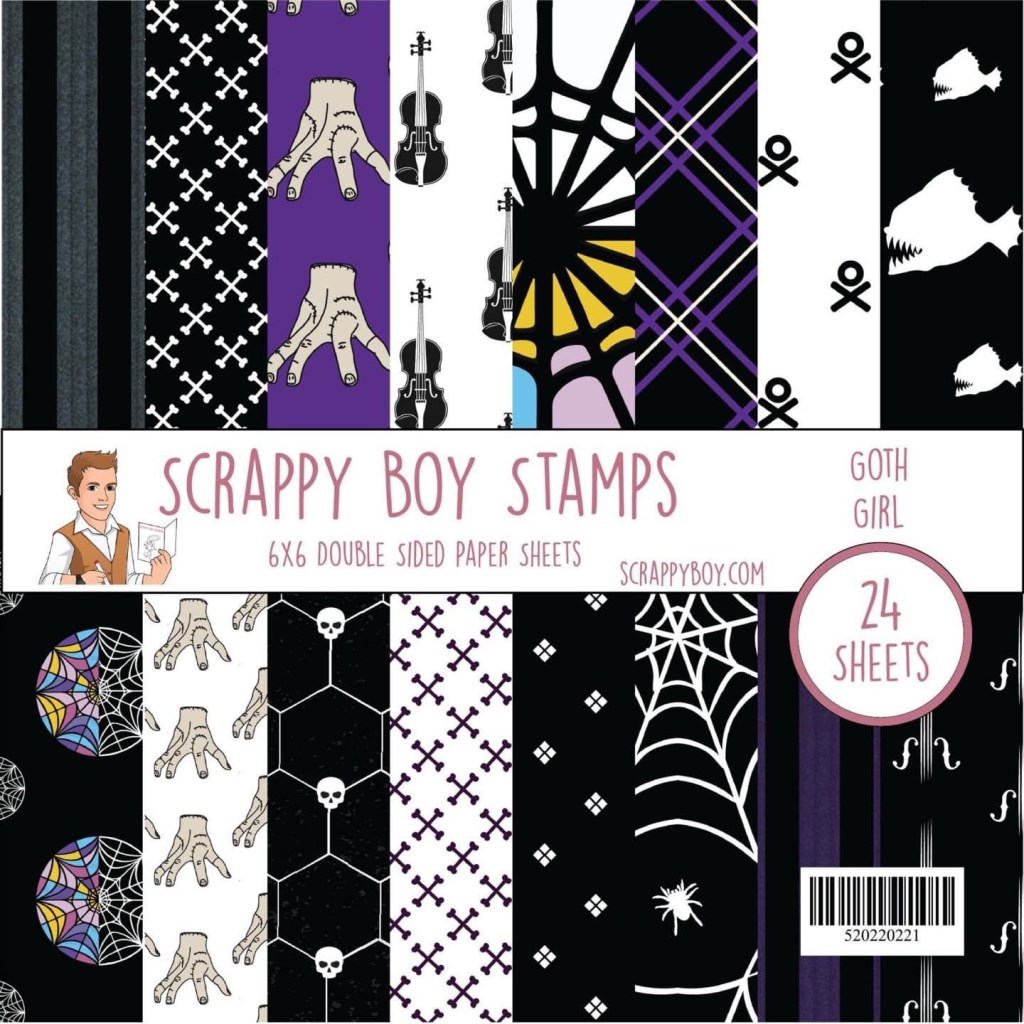
Hey Scrappyboy Fans, have you seen the latest release of the Cute Girls Goth Girl stamp set?! This set is perfect for anyone who loves the darker side of life and wants to add a bit of edge to their paper crafting projects. Inspired by a popular cult classic cartoon turned TV show and dark comedy, this stamp set is the perfect way to pay homage to your favorite anti-hero, while creating a enchanting and unique card.
Image intentionally blurred to prevent digital theft
One theme that we can all relate to is a broken heart. Whether it’s a recent break-up or a lingering heartache, we have all experienced the pain of love lost. This is where the Cute Girls Goth Girl stamp set comes in. With this set, you can create a project that both acknowledges your pain and celebrates your strength. I chose to make a memorydex card. There are several styles of memorydex dies available at Scrappyboy.com. I layered over top of the memorydex card base. I also pulled in some of the coordinating cardstock, too. I stay within a 4 in x 4 in margin so I can use in my carousel style memorydex holder.
Photo blurred to prevent digital theft
To start, choose a dark colored card stock as your base, whether it is a greeting card or a memorydex, as I did here. This can be black, dark purple, or even burgundy. Use the stamp set to create a scene using images from the Cute Girls Goth Girl set and adhere to the center of the memorydex card. I used the older man and woman (couple) and stamped on Hammermill 100# paper with Momento Tuxedo Black Ink and colored up using COPIC markers. For the characters in this set, don’t forget that you can customize their hair, outfits, and accessories to fit whatever scene you want to create. It’s a versatile set and can also be colored up to be bright and glamorous; however, if you are going for a dark theme, don’t forget to accentuate the characters’ eyes with some eyeliner and little dark lipstick to really give your card a gothic vibe.
Now, to address the broken heart theme in my card, I used a sentiment from the set that reads “If someone breaks your heart, I’ll nail gun theirs.” The sentiment perfectly captures the pain of a break-up, while also celebrating the idea of self-care and moving on with the help of loved ones.
Image intentionally blurred to prevent digital theft
Finally, I added some embellishments to the memorydex card to really make it pop and tie things together, by cutting a heart from the Memorydex Essentials Die Set (pictured above) in half and then putting it back together on the dex card. I then added several small silver flat-backed gems on top to emulate nail gun studs. Whatever you choose, make it personal and make it yours. Think outside of the box and mix and match from what you already have in your stash. If you want to purchase coordinating products in this release, there are lots of options.
6×6 paper packBackground Builder StencilWindow Stamp (die not available)
The Cute Girls Goth Girl stamp set and coordinating products in this release are fantastic additions to any paper crafting project. It’s perfect for those who love the darker side of life, and want to add a bit of edge to their projects. Whether you’re mourning a broken heart or just looking to create something unique, this stamp set is perfect for you. So go ahead, embrace your inner goth, and head on over to http://www.Scrappyboy.com and check out all of the amazing products Sean has to offer and start creating!
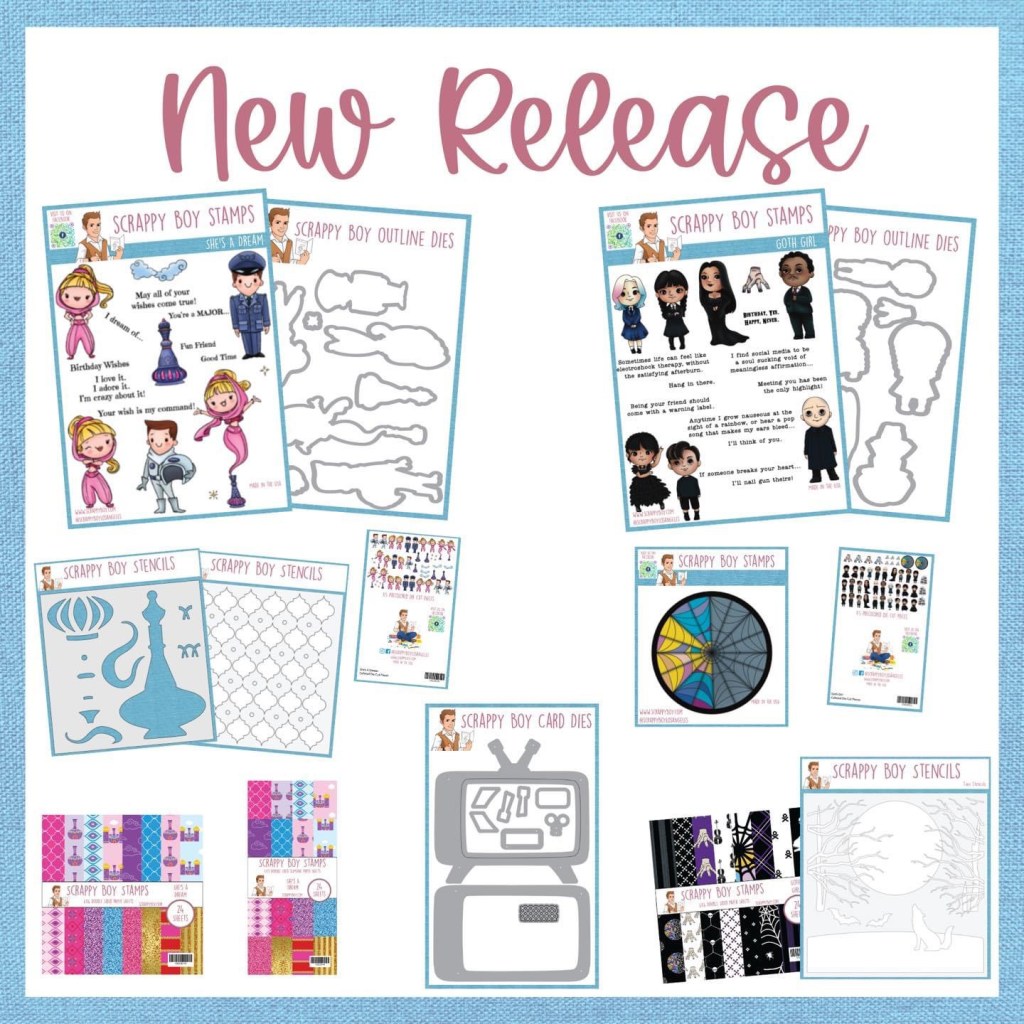
Attention stamping and paper-crafting enthusiasts! Scrappy Boy Stamps has just released their much-anticipated March release, and it is now available for purchase on their website, http://www.scrappyboy.com. This month’s release features an array of adorable and whimsical stamps and coordinating products, perfect for adding a touch of charm and whimsy to your paper crafts.
Let’s take a look at some of the highlights of this month’s release:
✨✨SHE’S A DREAM ✨✨
💖She’s A Dream 6×8 Stamp Set & Dies
She’s A Dream 6×8 Stamp Set
💜She’s A Dream 6×6 & 4×9 Paper Packs
She’s A Dream 6×6 & 4×9 Paper Packs
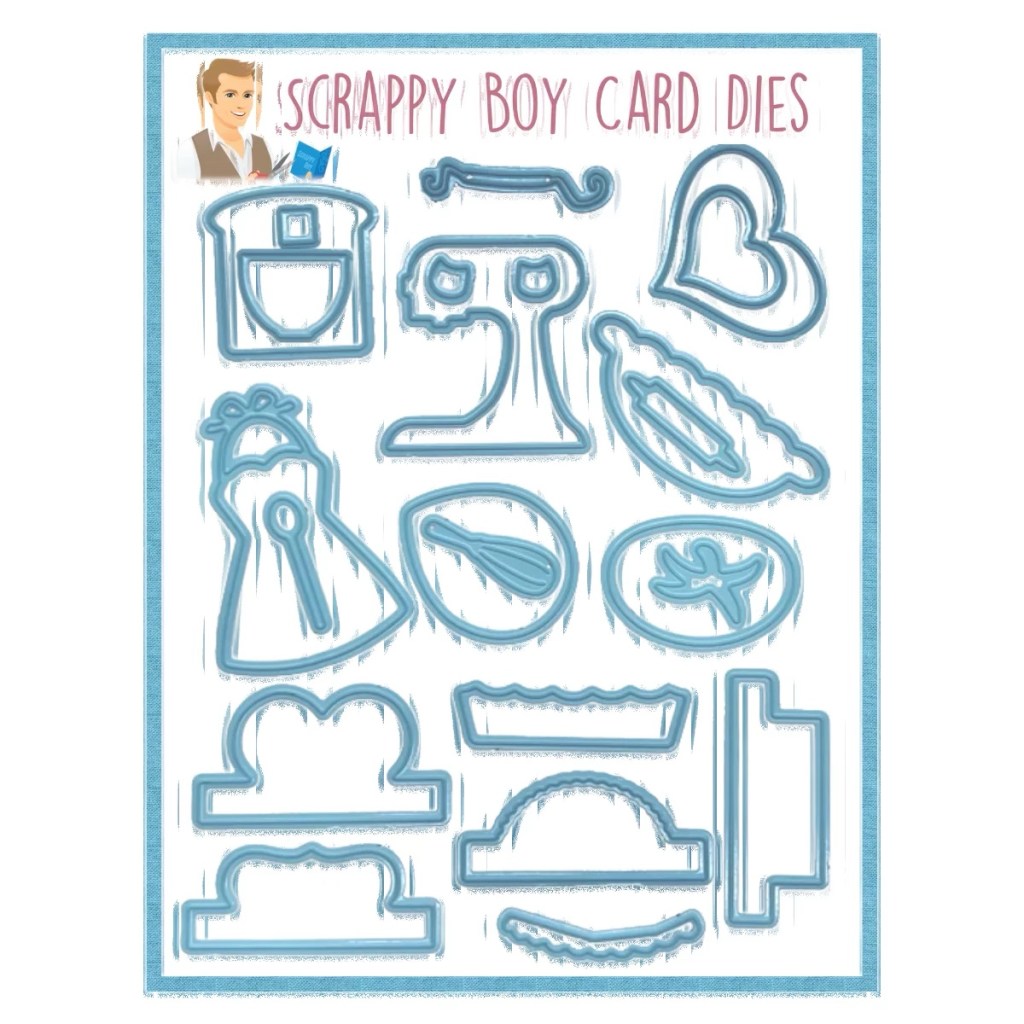
💖She’s A Dream Bottle builder Stencil
She’s A Dream Bottle builder Stencil
💜She’s A Dream Background Stencil
She’s A Dream Background Stencil
💖She’s A Dream Colored Die Cut Pieces
🕷️🕷️CUTE GIRLS GOTH GIRL🕷️🕷️
🖤Goth Girl 6×8 Stamp Set & Dies
Goth Girl 6×8 Stamp Set
🖤Goth Girl Window 4×4 Stamp set (no die)
Goth Girl Window 4×4 Stamp set
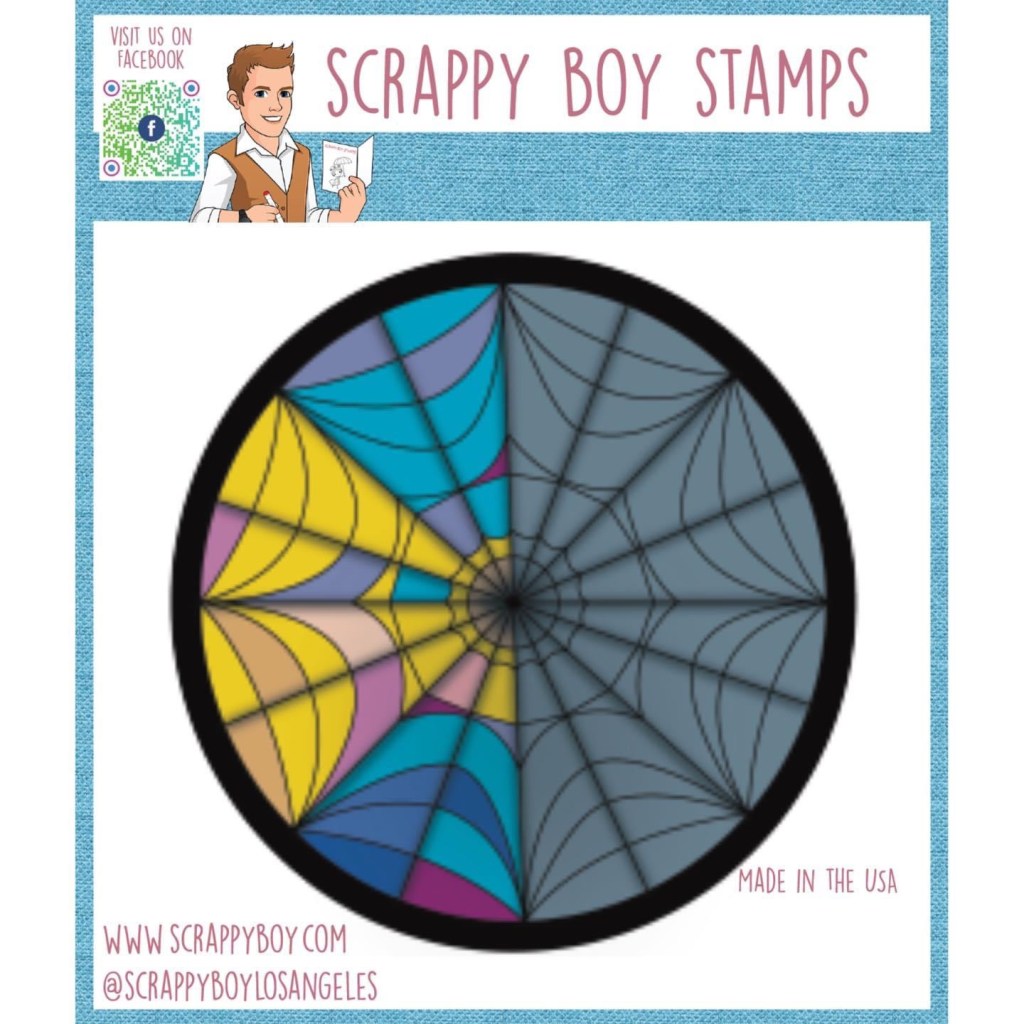
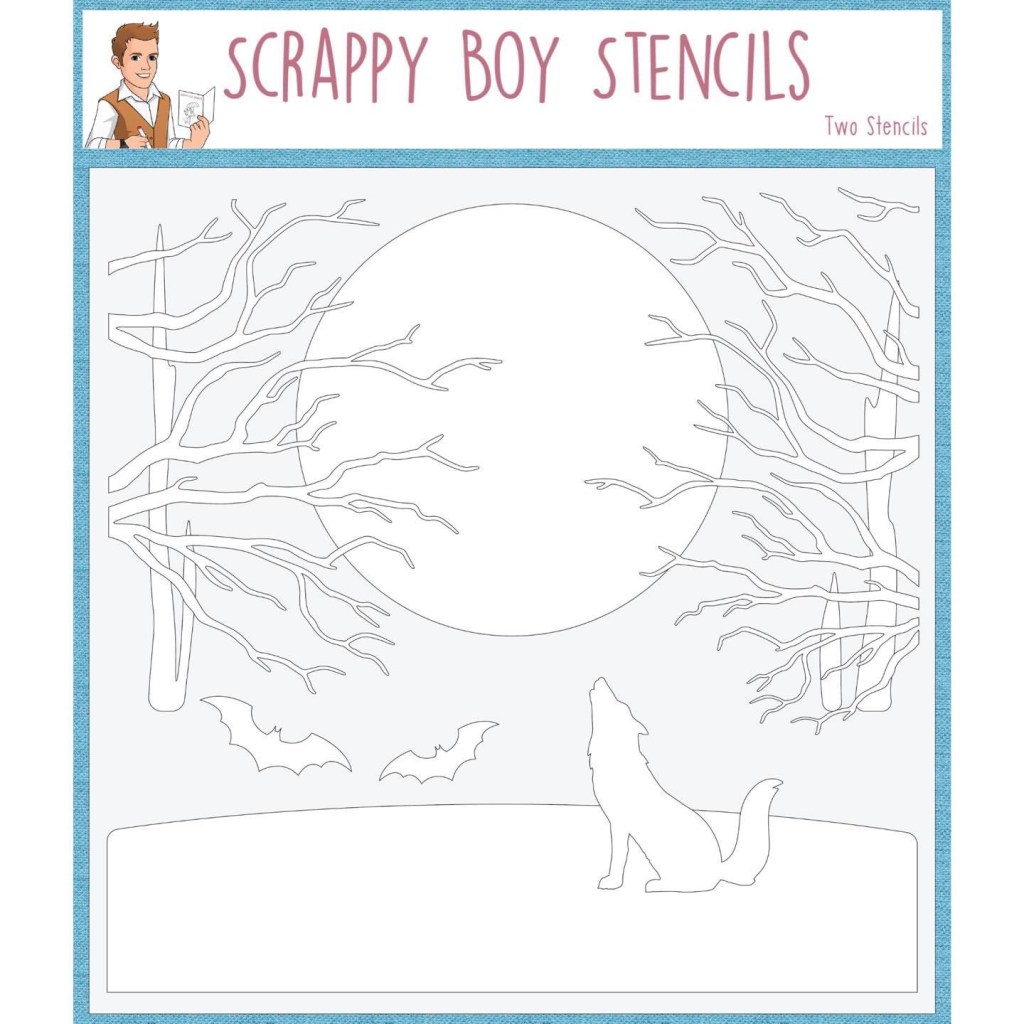
🖤Goth Girl Layered Background Stencil
Goth Girl Layered Background Stencil
🖤Goth Girl 6×6 Paper Pack
Goth Girl 6×6 Paper Pack
🖤Goth Girl Colored Die Cut Pieces
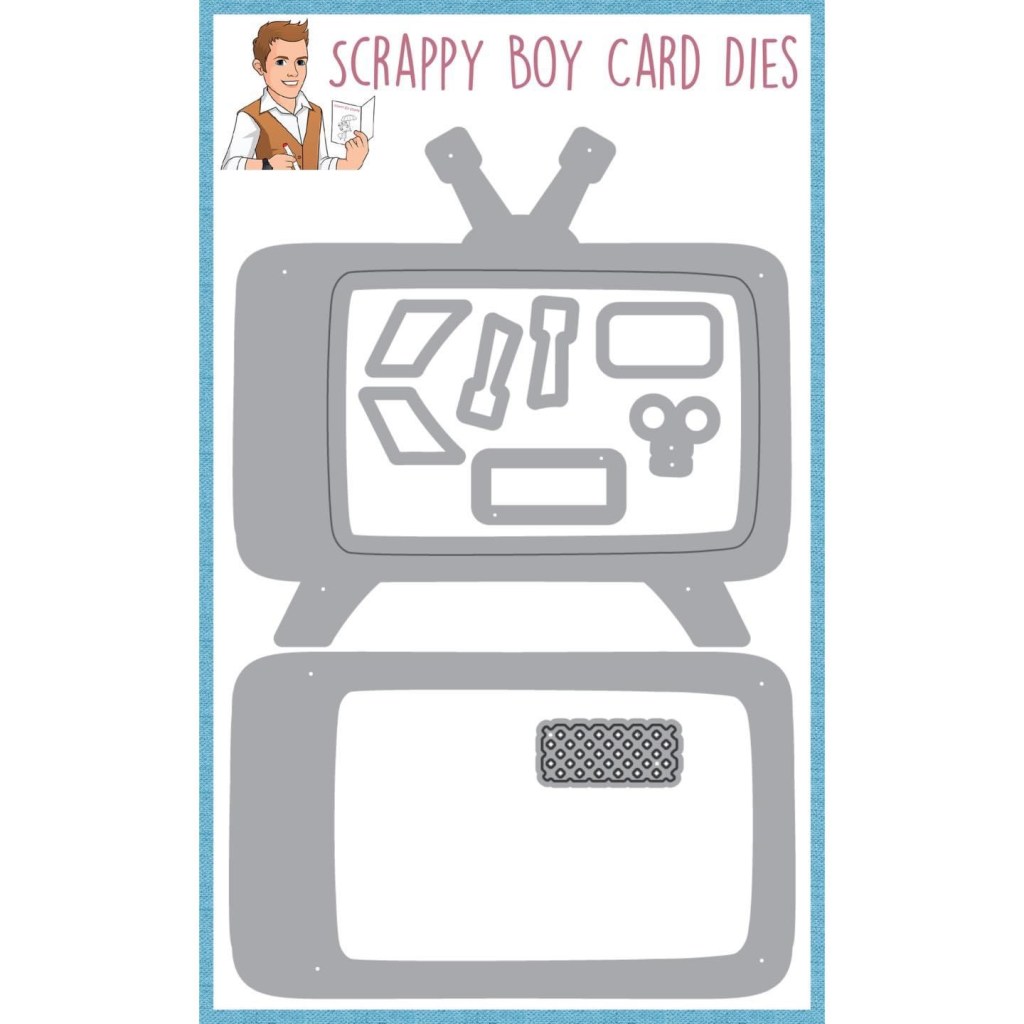
📺TV SHAKER DIE📺
These are the coordinated products included in this month’s release. Each stamp is made from high-quality photopolymer, ensuring crisp and clean images every time. Plus, they are easy to store and organize thanks to their slim design.
In addition to their stamps, Scrappy Boy Stamps also offers a variety of other crafting supplies, including dies, stencils, and pre-colored die-cut pieces. Plus, with free shipping on orders over $100, it’s the perfect time to stock up on all your crafting essentials.
So what are you waiting for? Head over to http://www.scrappyboy.com now to check out their March release and all the other wonderful products they have to offer. After that, all that’s left is to START CREATING!!