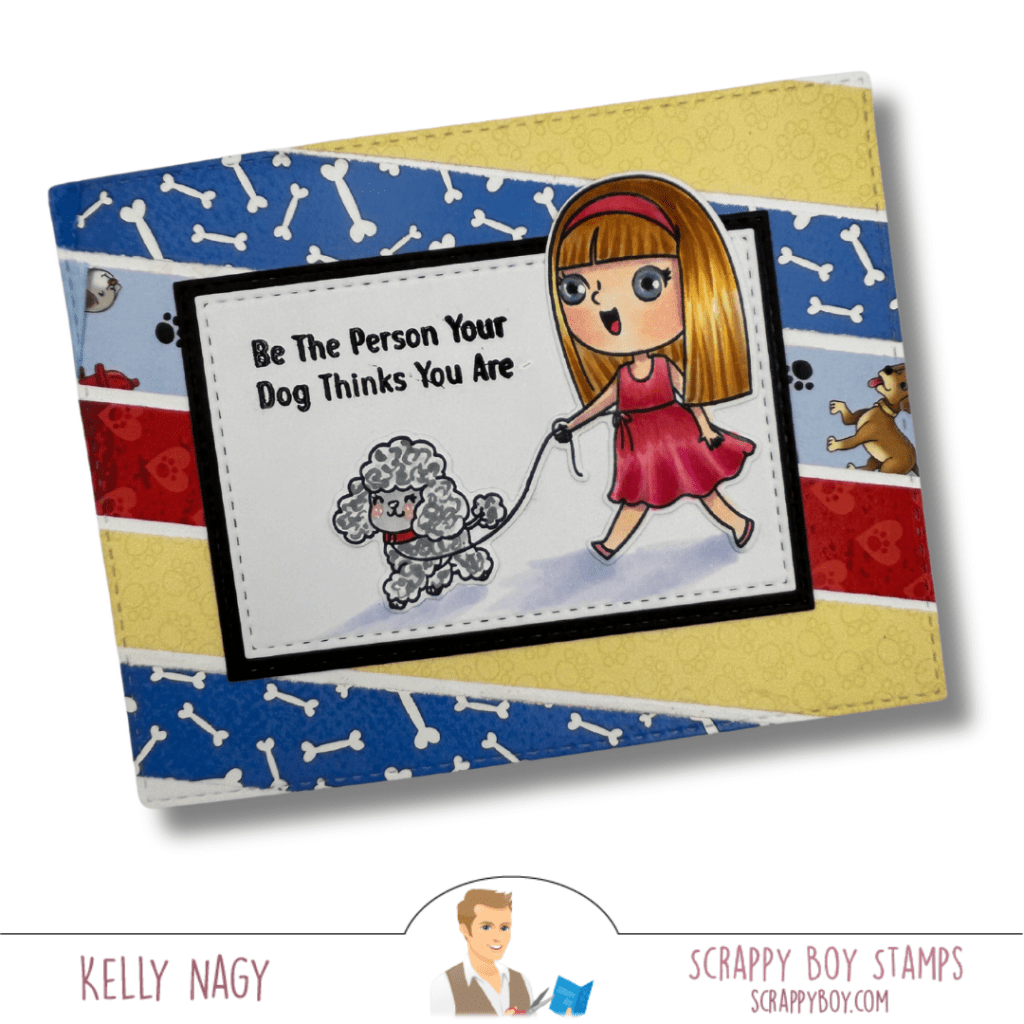
Hello, everyone!
I’m thrilled to share my latest creation as a design team member for Pajama Crafter Stamps! Today marks the kickoff of the “Unstoppable Adventures” Inspiration Hop, running from July 18th to July 22nd! Head over to @pajamacrafterstamps on Instagram for all the details on how you can join in the fun and have a chance to earn goodies from our new release!
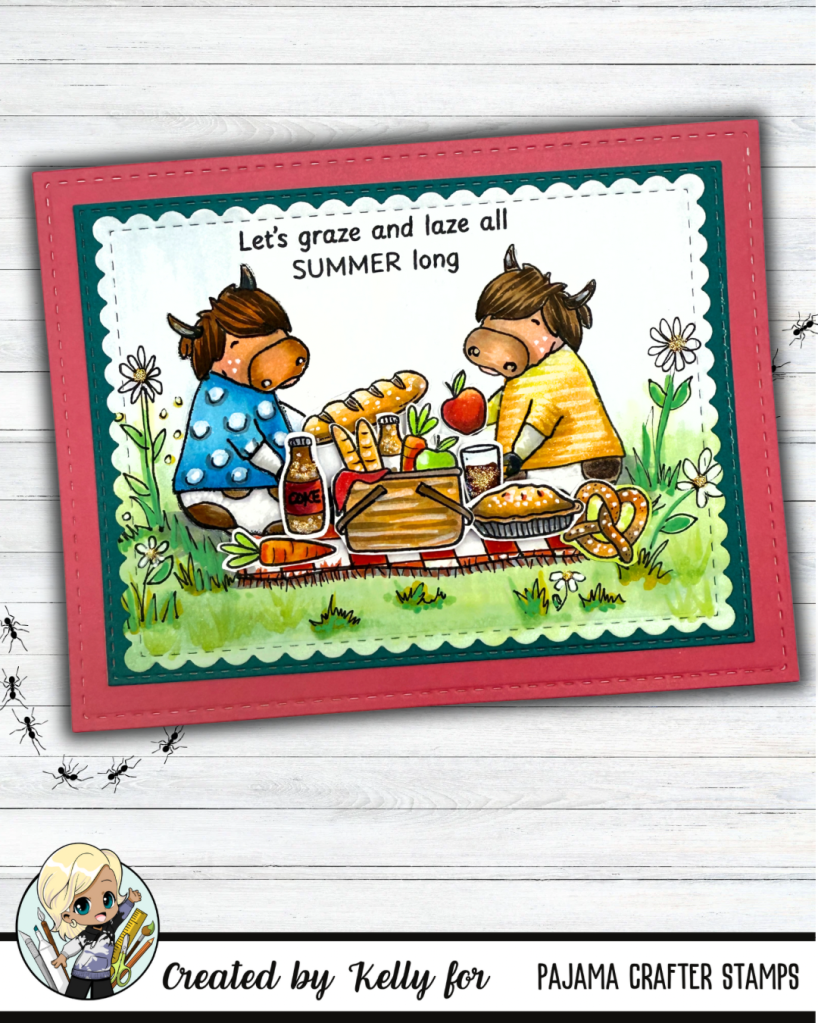
For my card, I used one of the new sets called Chillin’ With The Herd. You can find it here: https://pajamacrafterstamps.com/products/chillin-with-the-herd
This delightful set features the cutest cow and I wanted to showcase 2 cows enjoying a whimsical picnic together.
The Fun Technique
To create this scene, I utilized my Gel Press to make a reverse image of the cow stamp. By stamping the single cow onto the press, I could pull a monoprint that gave me the perfect reverse image to work with. It was both exciting and a bit of a challenge, but once I got it right, I was over the moon with the outcome!
I colored the cow couple with bright, summery hues using my alcohol markers to really make them pop. To bring the picnic vibe to life, I added a picnic blanket and various treats around them, creating a cheerful and inviting layout.

The Final Touches
To finish the card, I decorated the scene with some playful grass and flowers, enhancing the picnic atmosphere even further. I complemented the whole design with a fun sentiment from the stamp set that captures the essence of friendship and summer fun!
I’m incredibly proud of how this card turned out and hope it inspires you to explore your own summer creations with their new release.
Thank you for supporting small businesses like Pajama Crafter Stamps! Your participation means the world to us crafters, and just can’t wait to see what you create!
Happy crafting,
Kelly @stampedbykelly