Unleash Creativity with Scrappy Boy Stamps: April 2025 Release 🌟


Hello, crafty friends! 🎨✨

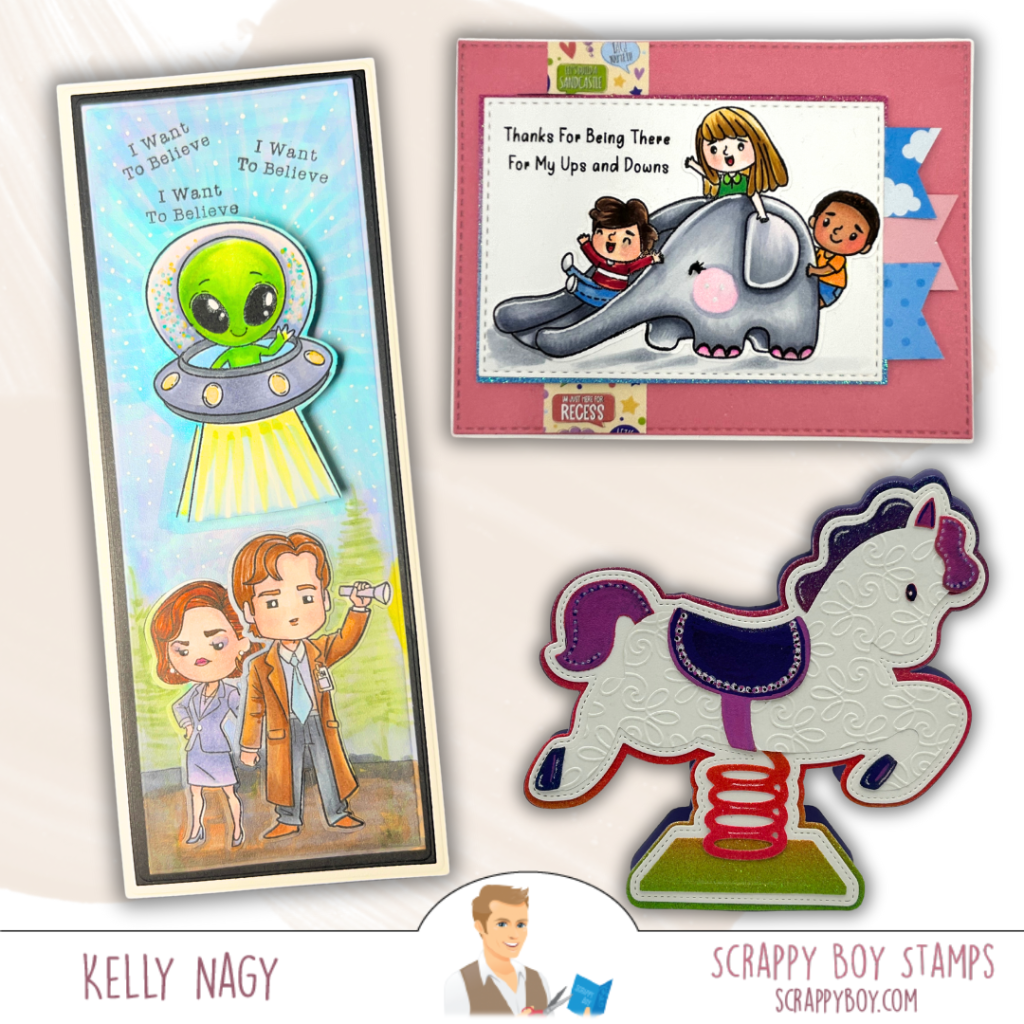
Spring has sprung, and so has an exciting new release from Scrappy Boy Stamps! With fresh products hitting the shelves , it’s the perfect time to dive into some creative card-making. This release includes four fabulous lines: We’re Not Alone, Aliens Landed in Roswell, Cute Kids Playground, and a wonderful variety of card making and scrapbooking dies. Let’s check out some creative ideas for three card designs you can create with these new goodies!
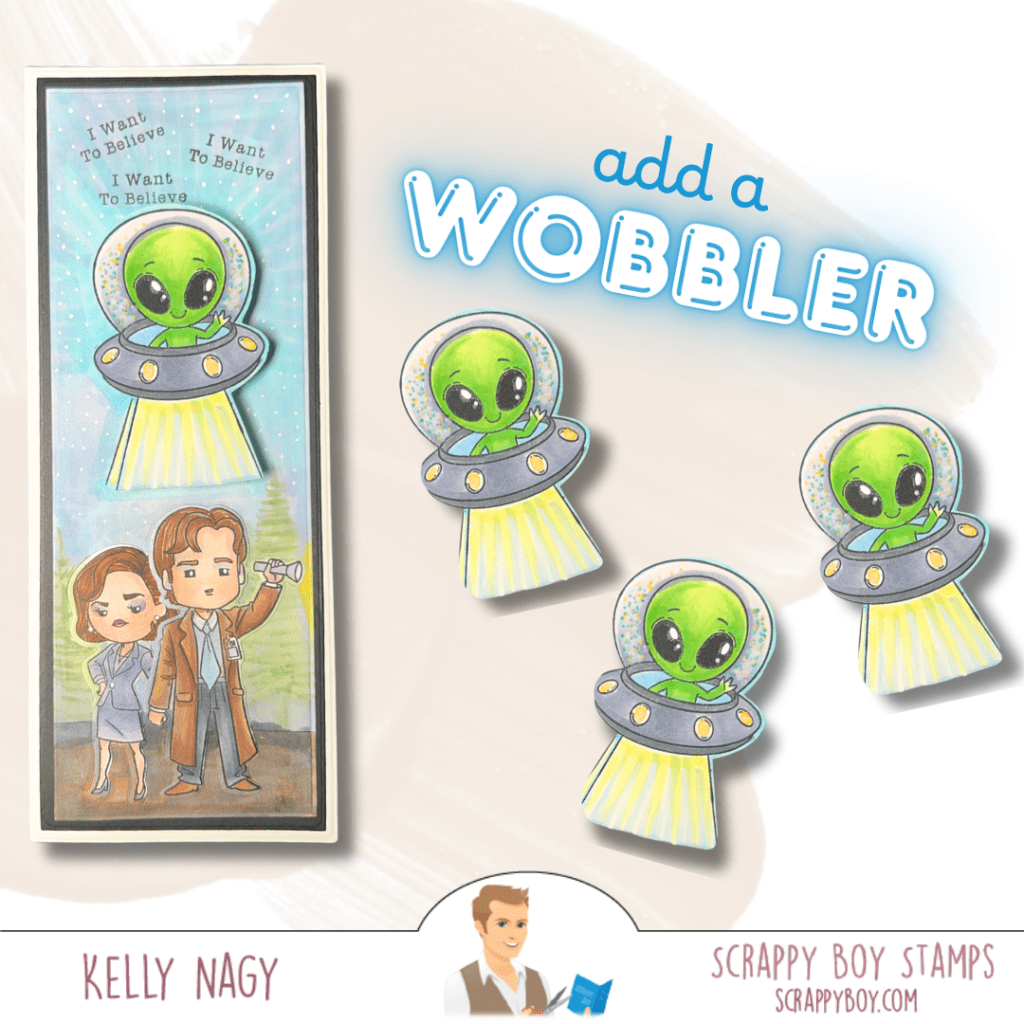
1. I Want To Believe Slimline Card 🚀

I did a mash up of Aliens Landed in Roswell with We’re Not Alone to create a whimsical card showcasing one of the cutest aliens! Start with a dusky/starry night background using vibrant colors, then use the coordinating stamps and dies to bring your alien friend and beloved characters to life. For my card, I added an action wobbler to add movement and interest. Don’t forget to complete your card with a fun sentiment like “I WANT TO BELIEVE” to tie everything together!
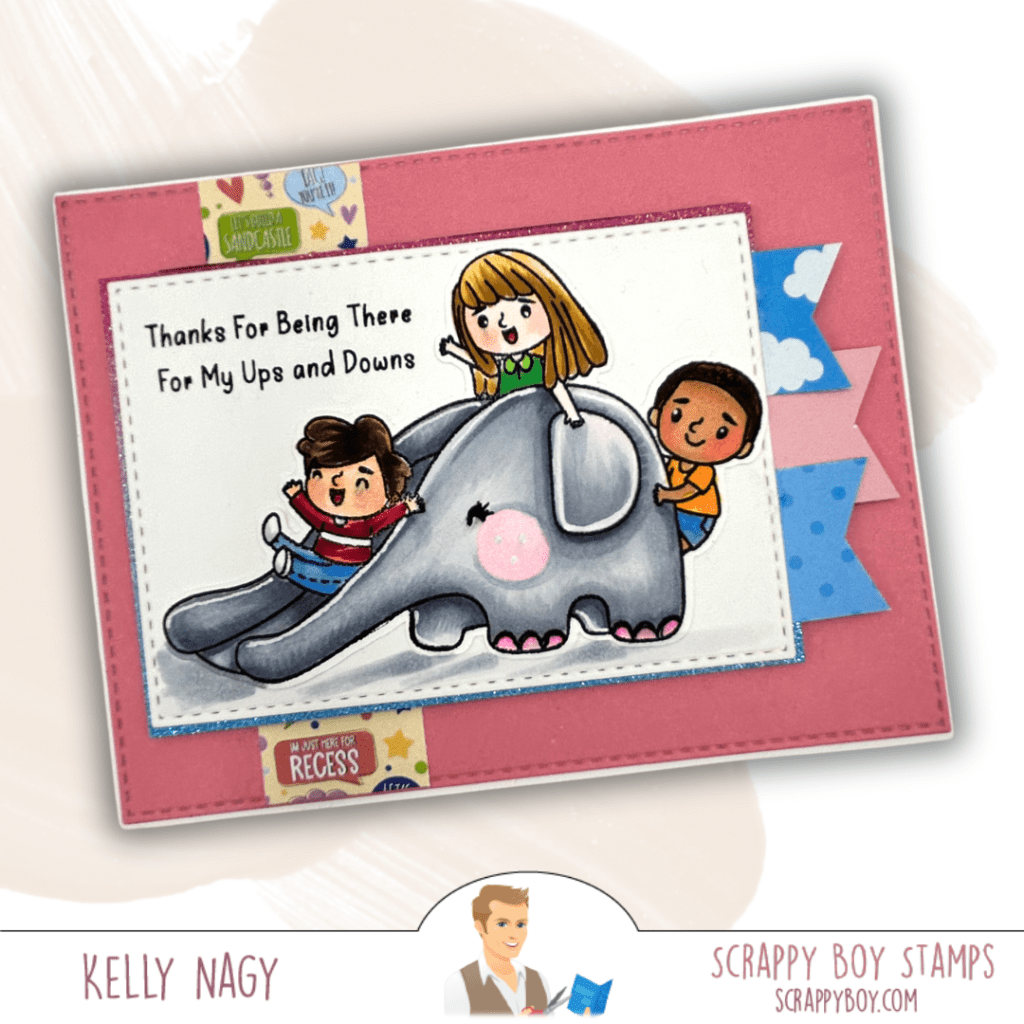
2. Playground Fun Card 🎡

Using the Cute Kids Playground set, I crafted an adorable scene that captures childhood joy. To make your own, use the playground-themed stamps to create a colorful layout of kids playing on swings and slides. My card features a fun elephant slide. I layered several different coordinating patterned papers from the 6×6 paper pack in cheerful colors for that extra pop!
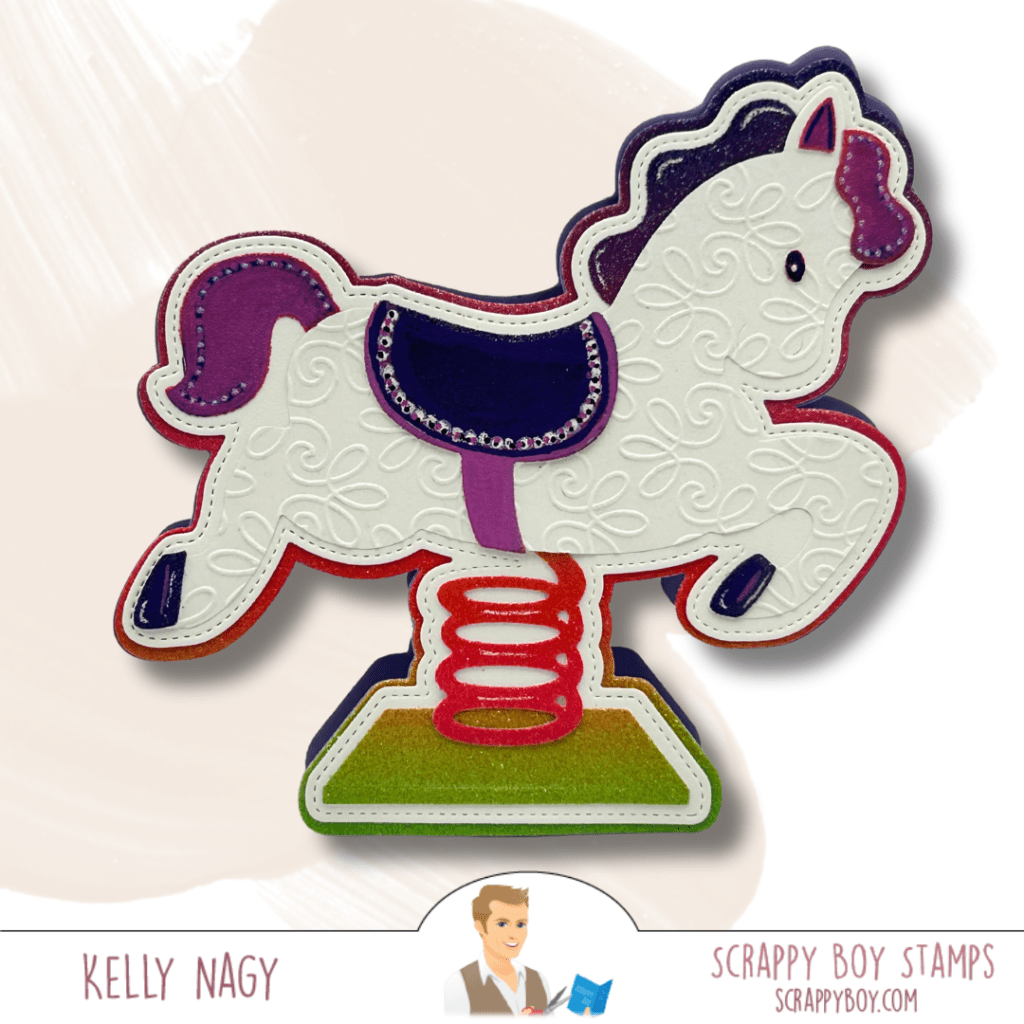
3. Rocking Horse Shaped Card🌌

Using the new Rocking Horse Mini Album Die, I created a shaped card. Use for scrapbook elements OR as it’s intended use, a mini photo album die. I cut all elements in white for ease and then use my Copic markers or Distress Inks to create additional colors. If you look closely, you might see that I ran some elements through my Big Shot die-cutting machine with a fun embossing folder. You can also use up your scraps! Have fun!

Get Crafting! 🖌️

These new releases are sure to inspire and ignite your crafty spirit. Whether you want to create cheeky alien cards or childhood adventures, Scrappy Boy Stamps has you covered. Make sure to grab your favorites before they fly off their shelves!

Happy crafting, and may your creativity soar! ✈️💖
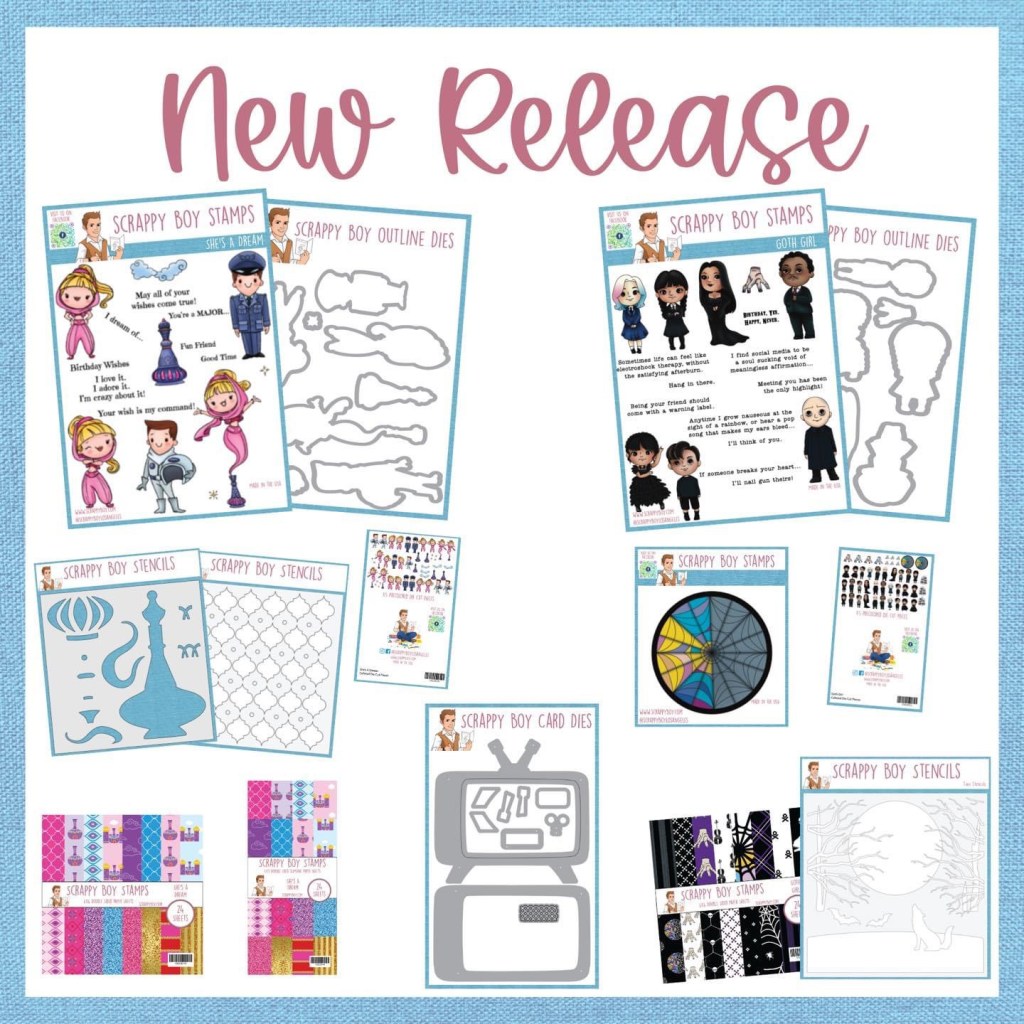

Scrappy Boy Stamps March Release On Sale NOW!!

Attention stamping and paper-crafting enthusiasts! Scrappy Boy Stamps has just released their much-anticipated March release, and it is now available for purchase on their website, http://www.scrappyboy.com. This month’s release features an array of adorable and whimsical stamps and coordinating products, perfect for adding a touch of charm and whimsy to your paper crafts.

Let’s take a look at some of the highlights of this month’s release:

✨✨SHE’S A DREAM ✨✨

💖She’s A Dream 6×8 Stamp Set & Dies

She’s A Dream 6×8 Stamp Set

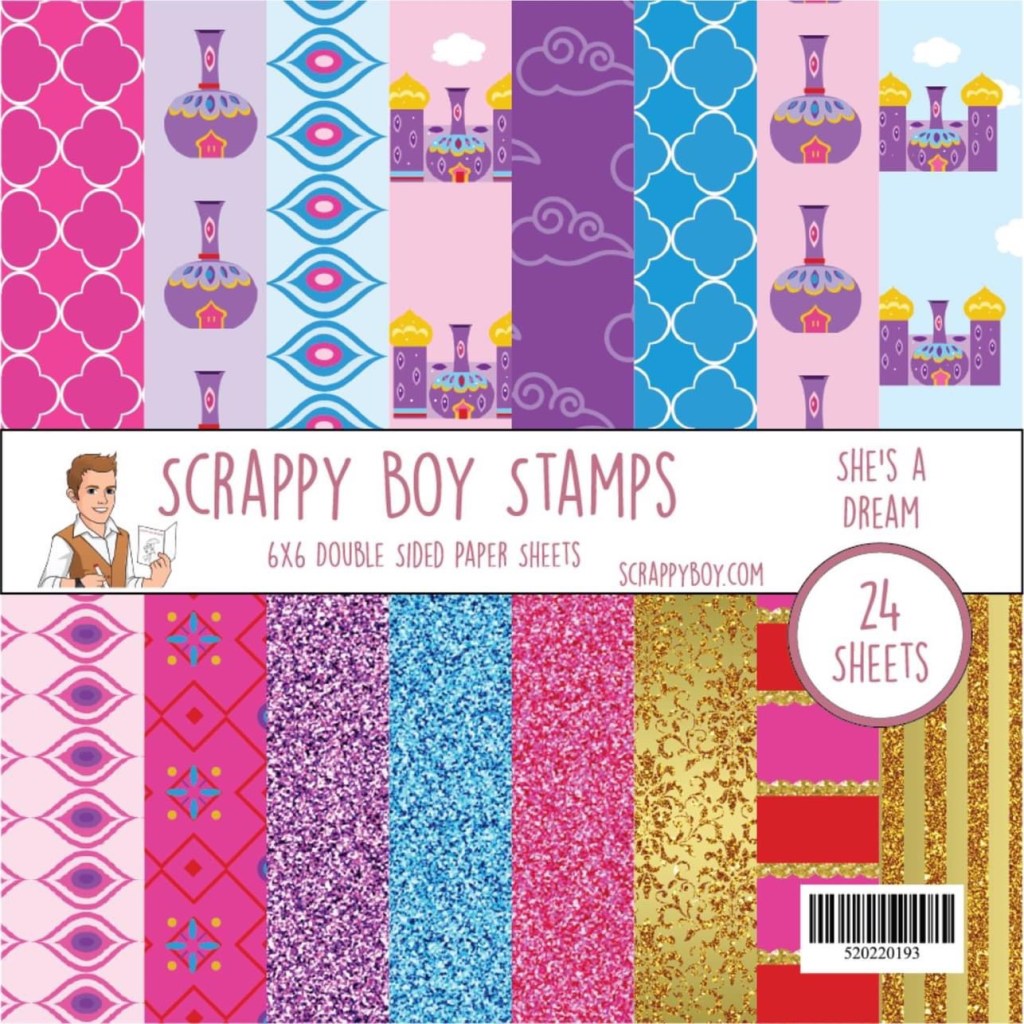
💜She’s A Dream 6×6 & 4×9 Paper Packs

She’s A Dream 6×6 & 4×9 Paper Packs

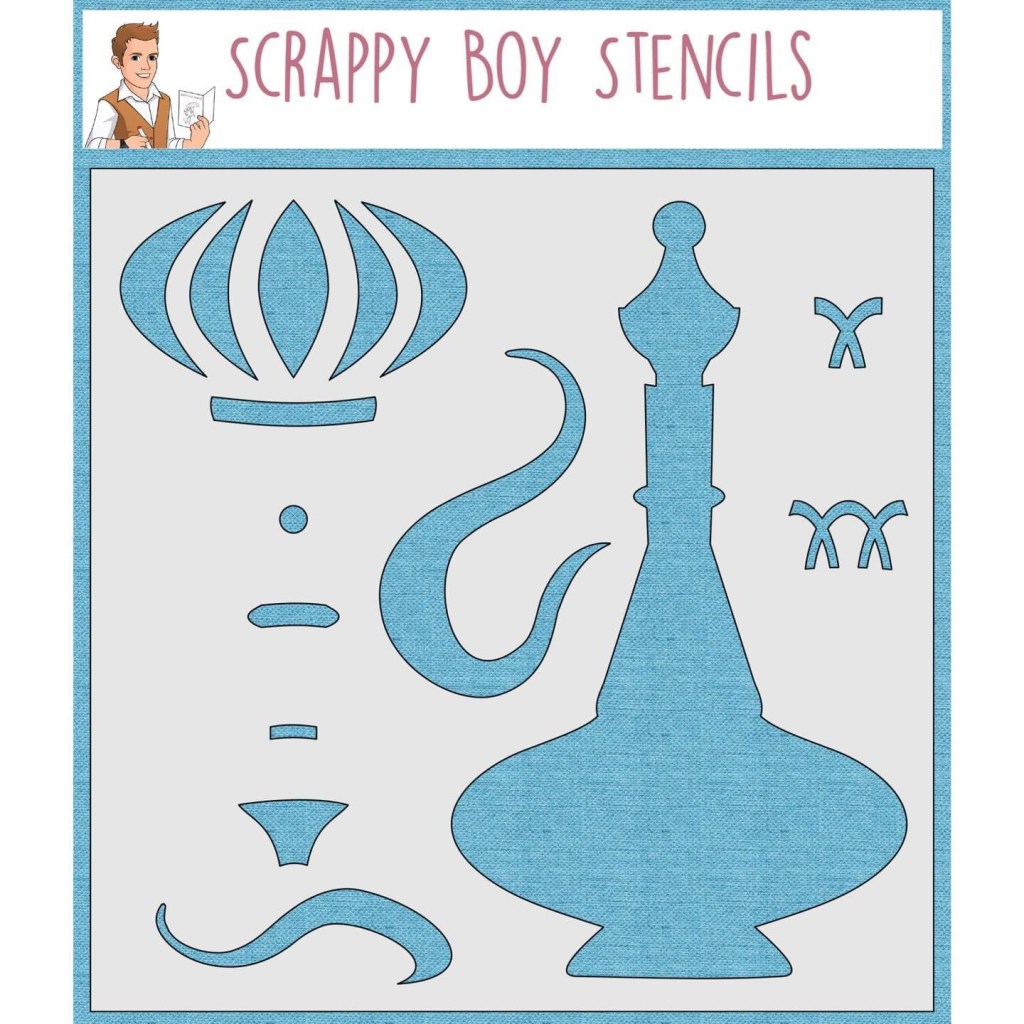
💖She’s A Dream Bottle builder Stencil

She’s A Dream Bottle builder Stencil

💜She’s A Dream Background Stencil

She’s A Dream Background Stencil

💖She’s A Dream Colored Die Cut Pieces

🕷️🕷️CUTE GIRLS GOTH GIRL🕷️🕷️

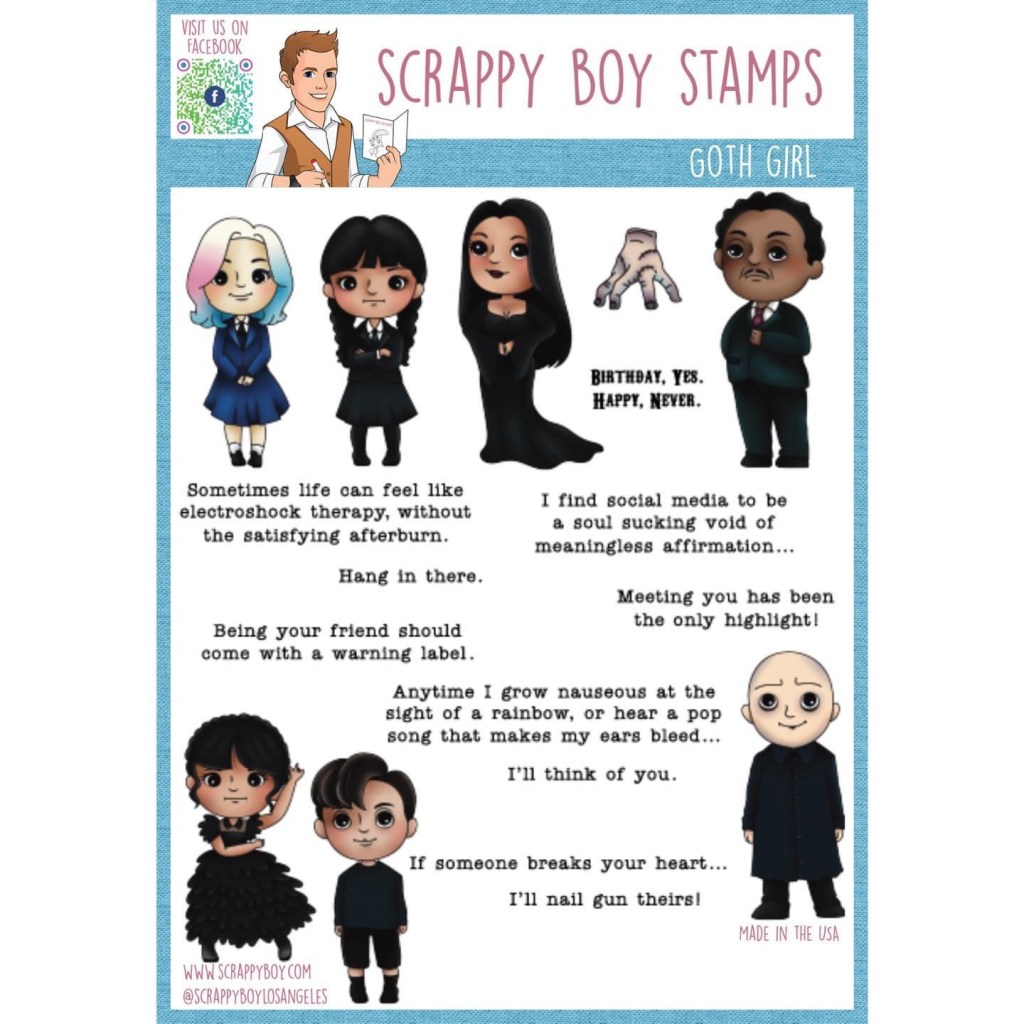
🖤Goth Girl 6×8 Stamp Set & Dies

Goth Girl 6×8 Stamp Set

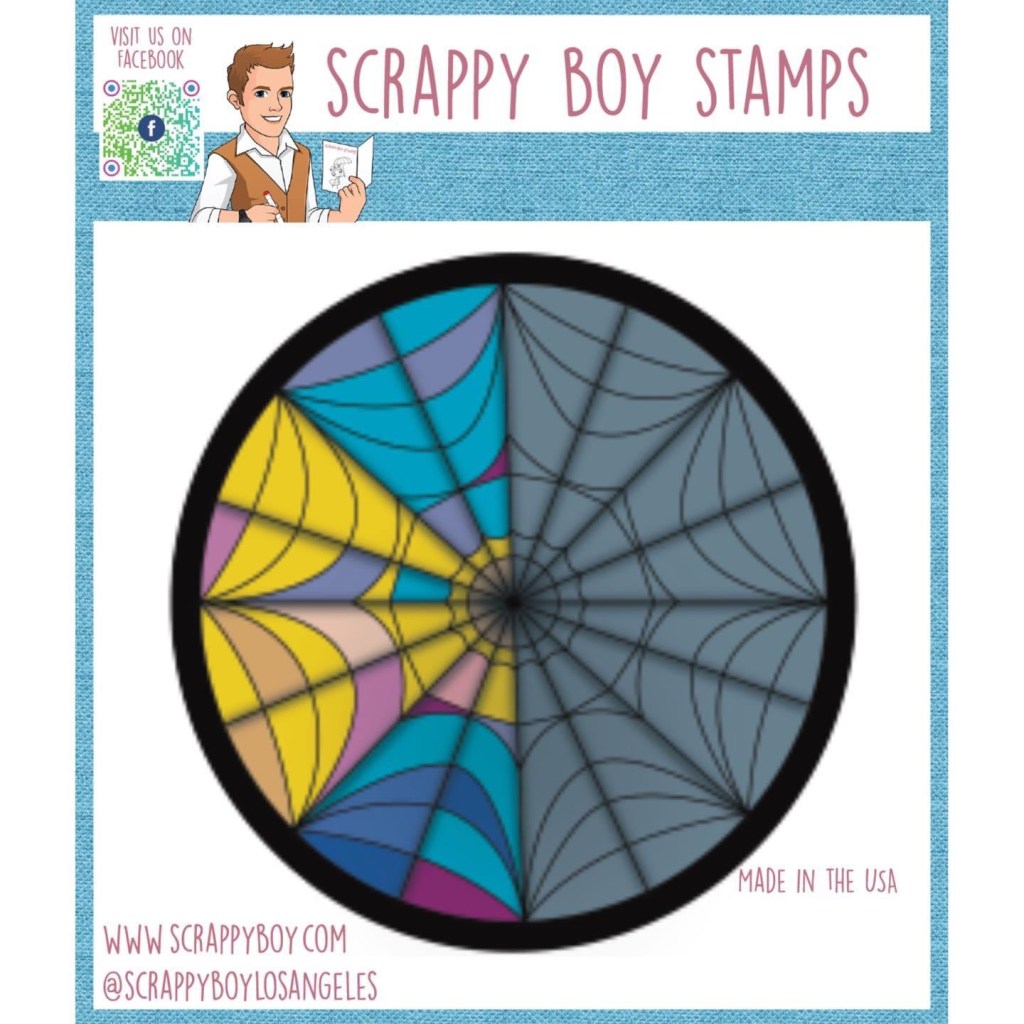
🖤Goth Girl Window 4×4 Stamp set (no die)

Goth Girl Window 4×4 Stamp set

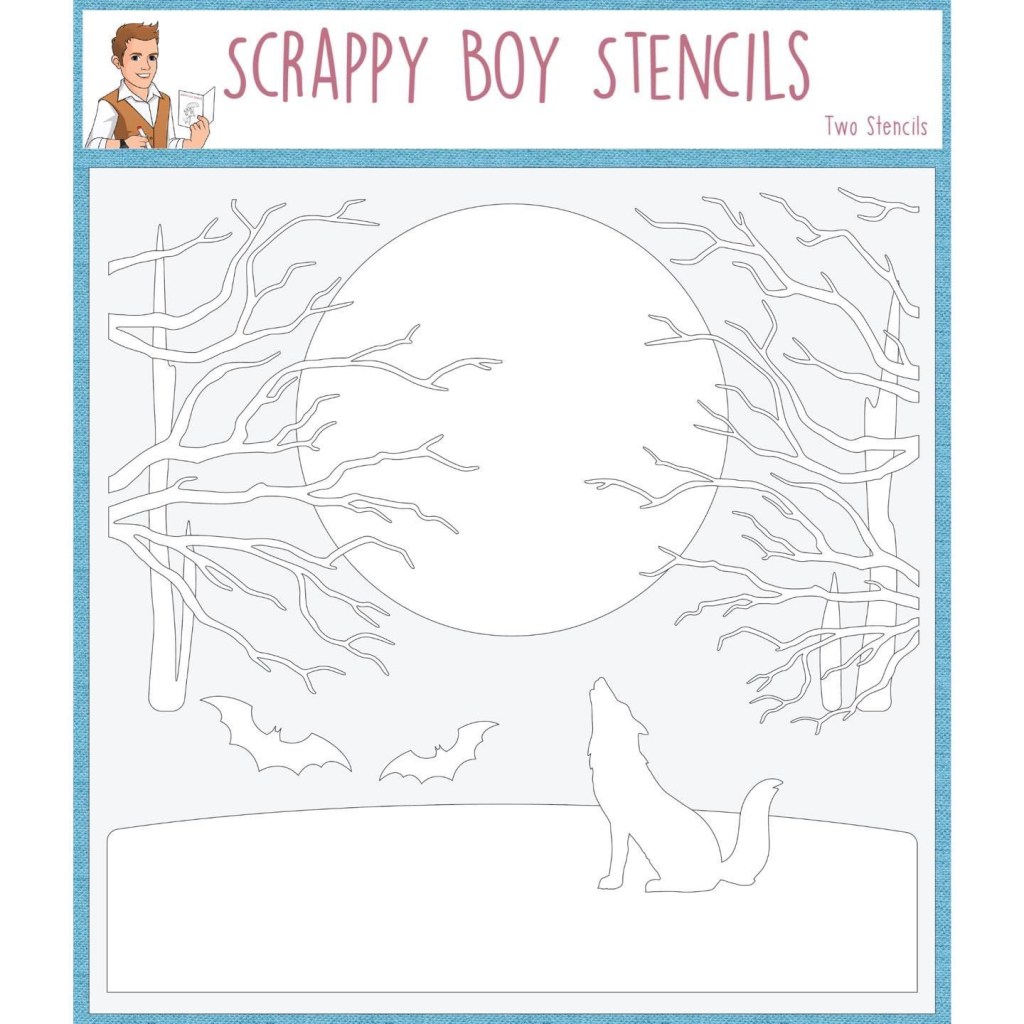
🖤Goth Girl Layered Background Stencil

Goth Girl Layered Background Stencil

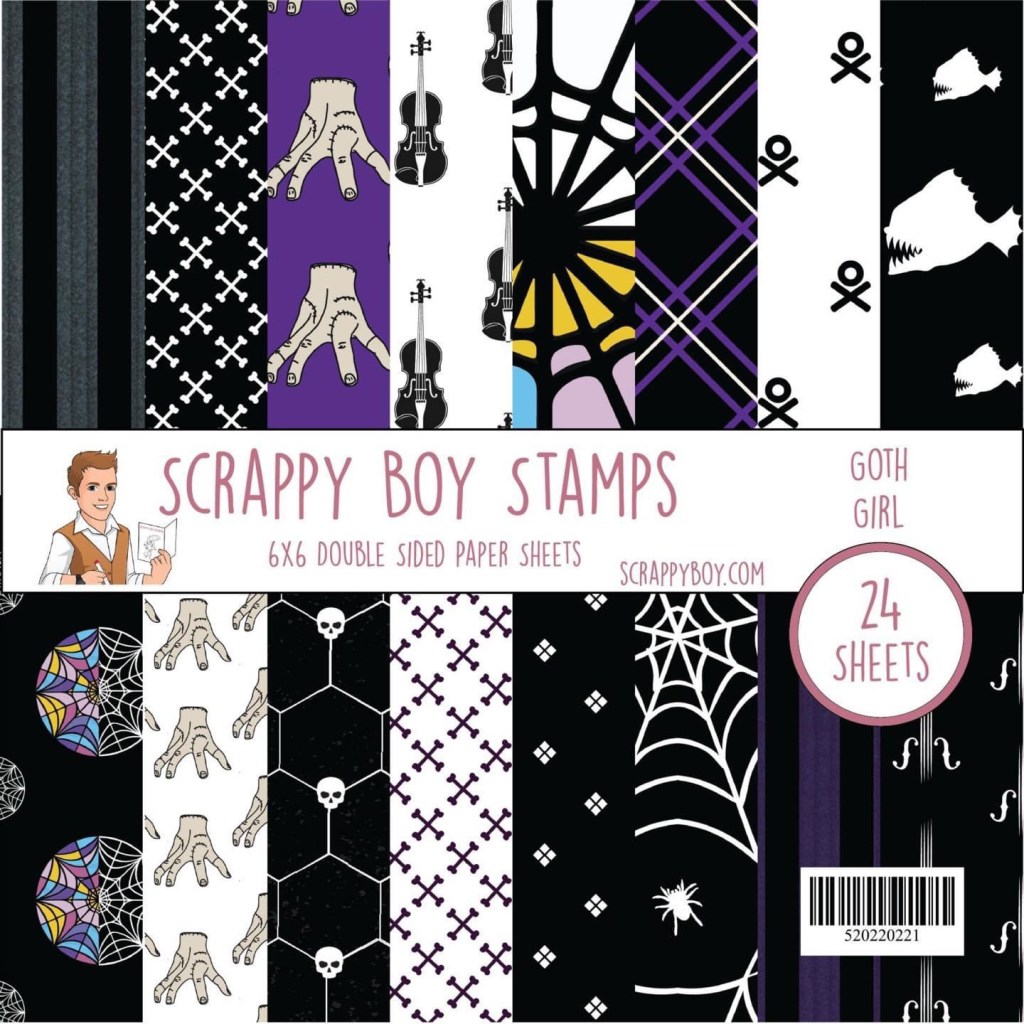
🖤Goth Girl 6×6 Paper Pack

Goth Girl 6×6 Paper Pack

🖤Goth Girl Colored Die Cut Pieces

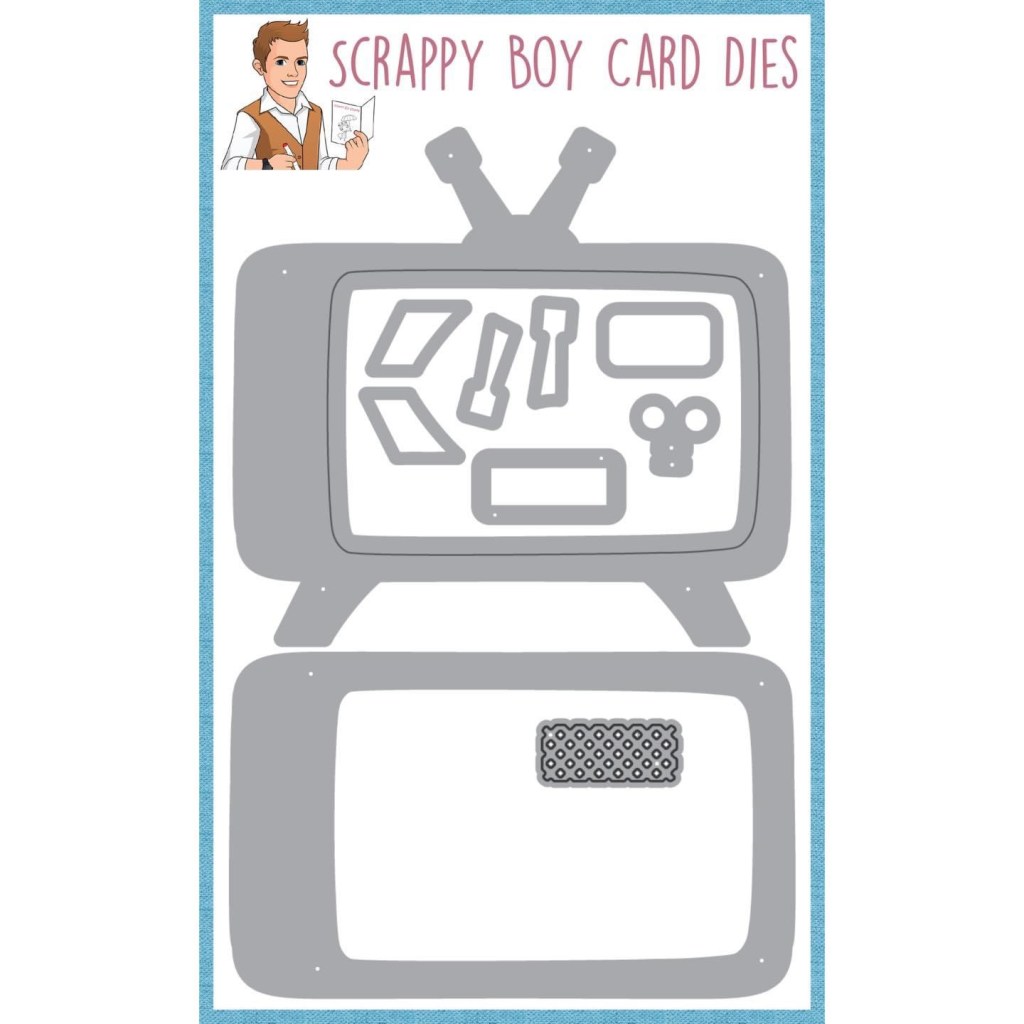
📺TV SHAKER DIE📺

These are the coordinated products included in this month’s release. Each stamp is made from high-quality photopolymer, ensuring crisp and clean images every time. Plus, they are easy to store and organize thanks to their slim design.

In addition to their stamps, Scrappy Boy Stamps also offers a variety of other crafting supplies, including dies, stencils, and pre-colored die-cut pieces. Plus, with free shipping on orders over $100, it’s the perfect time to stock up on all your crafting essentials.

So what are you waiting for? Head over to http://www.scrappyboy.com now to check out their March release and all the other wonderful products they have to offer. After that, all that’s left is to START CREATING!!

Have A Super Birthday Featuring Scrappy Boy Stamps

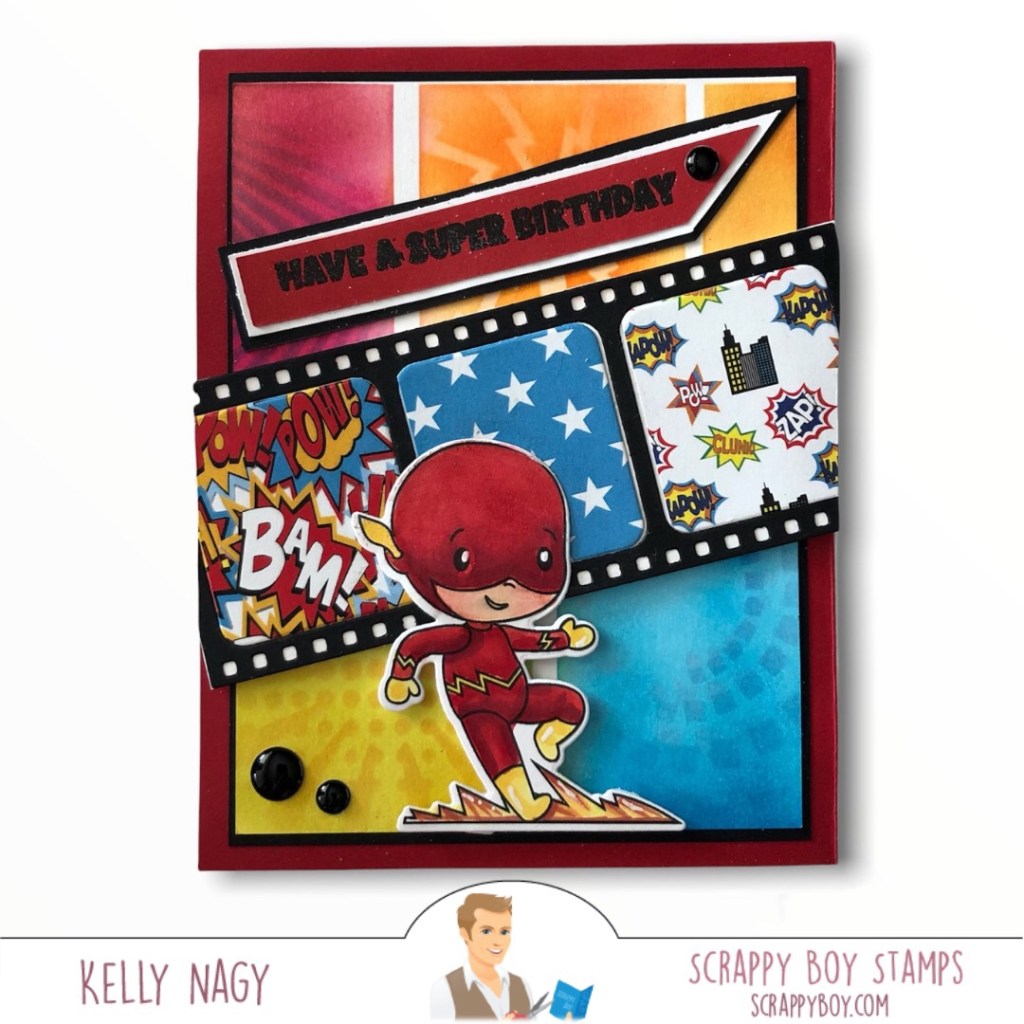
I had so much fun making this card. I wanted it to be colorful, like I remember the comic pages used to be, tucked in between the other black and white pages of the Sunday paper. I wanted there to be lots of angles and layers of tone on tone colors behind my focal point, one of the cutest little super heroes you ever did see in a stamp set from http://www.ScrappyBoy.com.

I was inspired by the divided blocks, white framing, the camera, filmstrip, reds, blues and showing movement on a page.

To make this A2 sized card, I used the following:

  • White Card Base – 4.25 in x 11 in, scored at 5.5 in
  • Red Card Panel – 5.5 in x 4.25 in
  • Black Card Panel- 5.25 in x 4 in
  • White Card Panel – 5 1/8 in x 3 7/8 in
  • Filmstrip diecut in black
  • Various Patterned Paper (use up scraps)
  • Scrap strips in black, red and white for your sentiment

I used Scrappy Boy Stamps’ new slimline comic strip builder frame and ink blended solid blocks of bright colors using distress ink pads in candy apple red, carved pumpkin, squeezed lemonade and peacock feathers on the white card panel. I then ink blended with the same color for a tone on tone with different patterns from a second stencil that Scrappy Boy Stamps released called Half-Tone Dots, as well as another stencil from my stash. The effect you are trying to achieve is movement and interest, so get creative.

I glued the ink-blended panel to the black panel, leaving a small frame around the edge. I then glued the black panel to the red panel and then the double-matted panel onto the card base.

I decorated the front by gluing a filmstrip diecut, after piecing patterned paper from the coordinating 6×6 paper pack called SuperHeros. This was adhered to the card front at an angle with double-stick foam tape for added dimension.

The super hero from the SUPER TEAM set was stamped with Momento Black Ink on Hammermill 110 lb white card stock, colored with Copic markers in the following combinations:

  • Red Suit – R20, R24, R29, R39
  • Yellow – Y13, Y15 and Y17
  • Flesh – E51, E30, E50
  • Cheeks -R20
  • Flames – Yellows and accented with red flicks using combos above.

Sentiment stamped with Black ink on a strip of white card stock treated with an anti-static powder bag in my stamp positioner. I then cleaned the stamp, leaving the strip in the positioner in place and stamped the sentiment over the original black impression with Versamark and then applied clear embossing powder and heat embossed the sentiment with my heat gun. I find that by using the positioner, I don’t have to fight with stray black embossing powder flecks and still gets a bold, shiny, black finish on my embossed images. I matted the sentiment with layers of black and red to tie everything together. I left the edges of the sentiment strip with strong, wonky angles for some playfulness. The card was finished off with embossed candy dots in black.

Thanks so much for visiting and sharing ideas on my crafting journey and supporting small business by also visiting http://www.ScrappyBoy.com.

Happy Crafting!