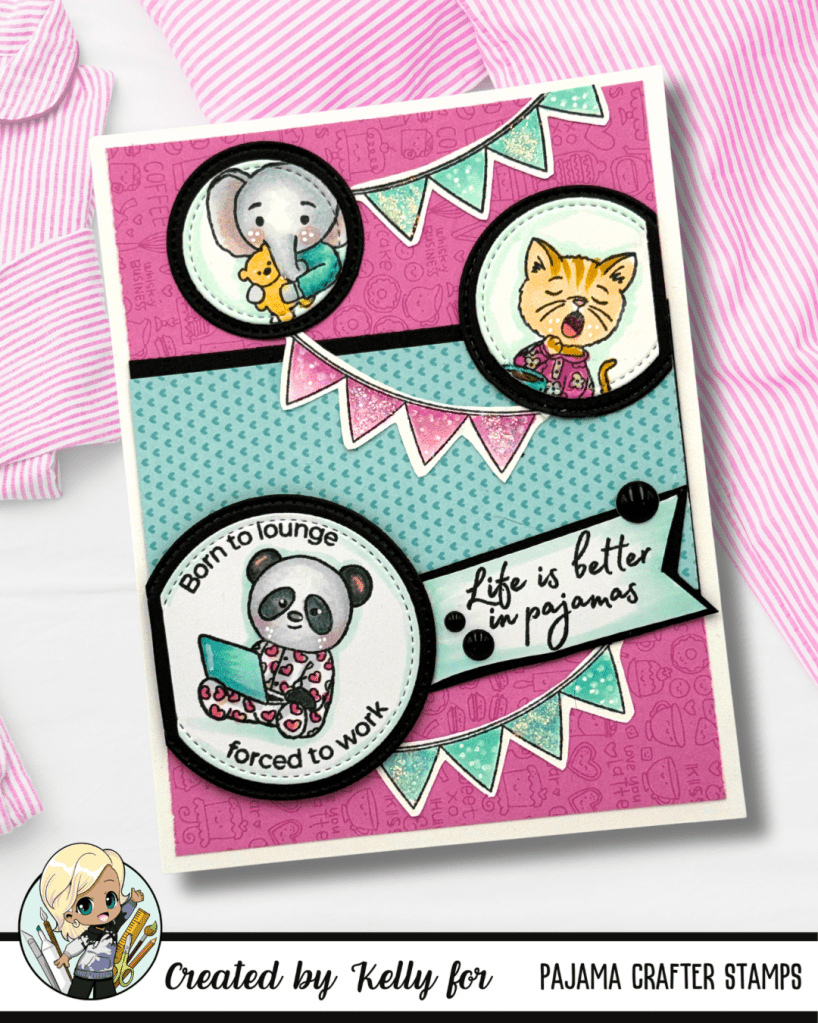
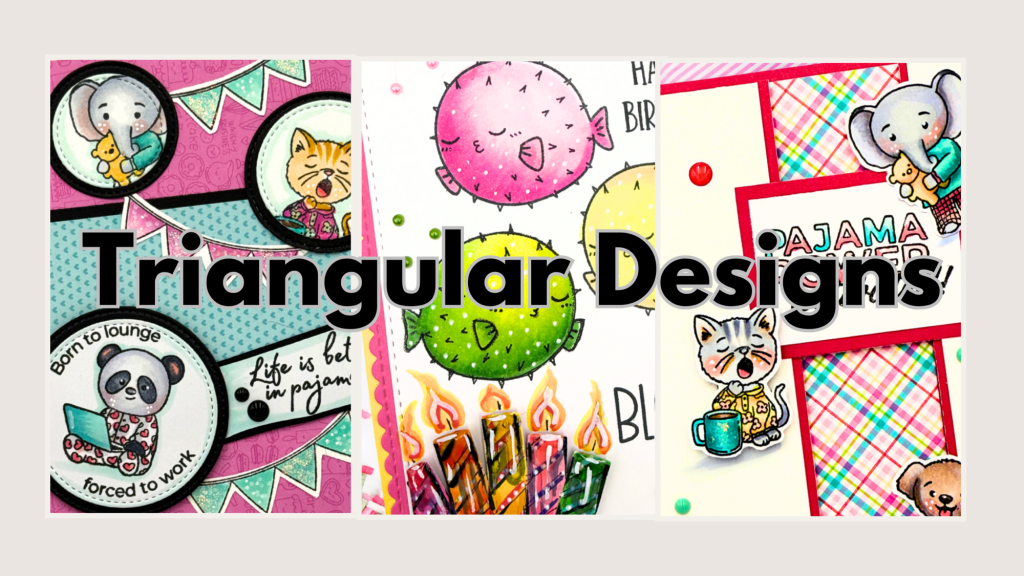
I’m excited to share that Pajama Crafters Stamps is hosting a fantastic Labor Day sale that you won’t want to miss! As a proud supporter of this military family-owned small business, I want to highlight some of the cards made with their amazing products.
Celebrate with Crafty Creativity!
During this Labor Day sale, you can grab some of your favorite crafting goodies from Pajama Crafters Stamps. Whether you’re looking for cute stamps, beautiful paper, or inspiration for your card-making projects, they have it all! From whimsical designs to versatile sentiments, Pajama Crafters has something for every crafter.
My Favorite Cards
What better way to share Pajama Crafter Stamps’ products than share cards I have made using them….,,
Special Offer Just for You! with no code needed and get an extra 15% off your purchase nu clicking on the following link to visit the Pajama Crafters Stamps website: https://pajamacrafterstamps.com/STAMPEDBYKELLYBLOG
Shop between now through 11:59 pm on Monday, September 1st to enjoy a special discount 15% discount – no code needed! Just fill your cart with your favorite crafting supplies and watch the savings add up.
Your support for this incredible small business makes a huge difference. Thank you for being part of our crafting community!
Welcome back, crafty friends! Today, I’m thrilled to share three card projects that not only bring smiles through their vibrant designs but also highlight a fascinating connection: the color palette and design technique I’ve used. By strategically employing a triangular layout, I’ve created eye-catching cards that guide the viewer’s gaze, making for a delightful visual experience.
The Importance of Color
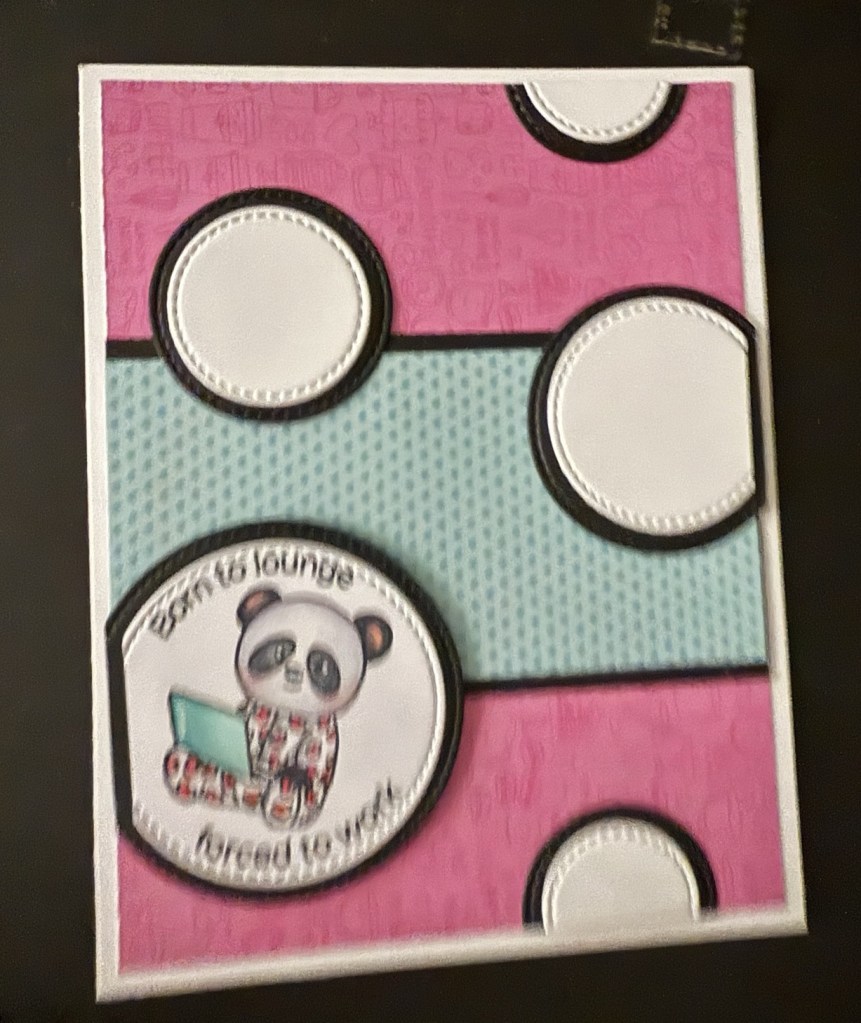
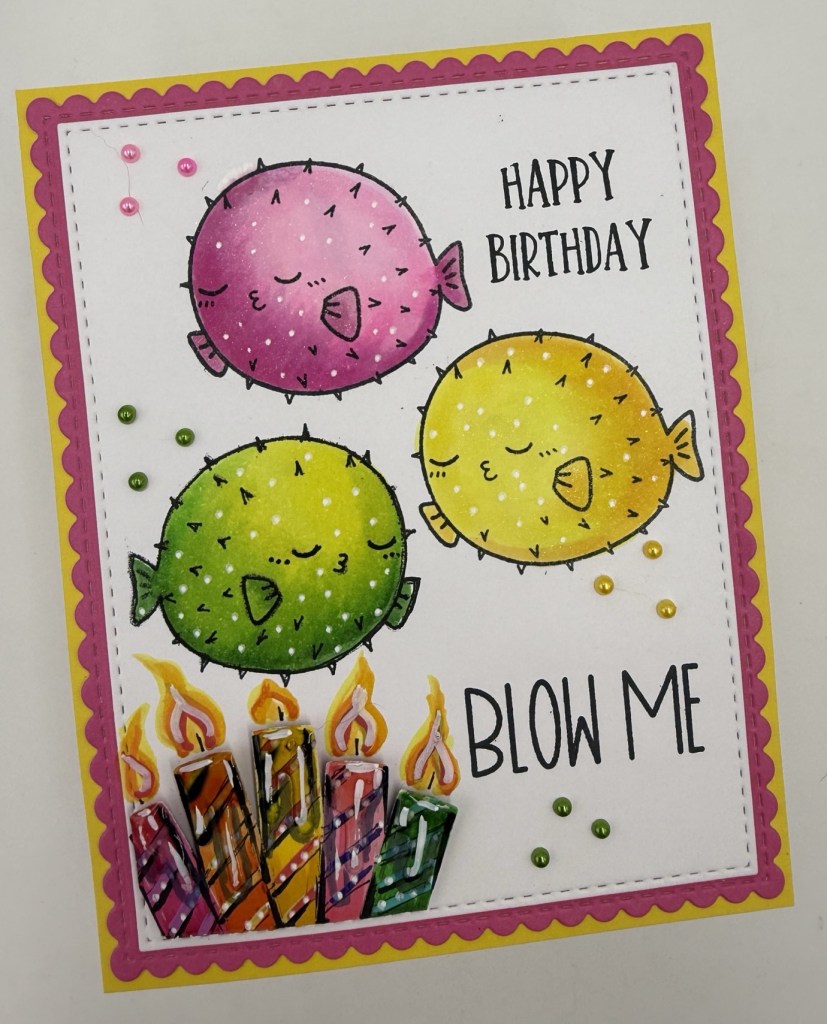
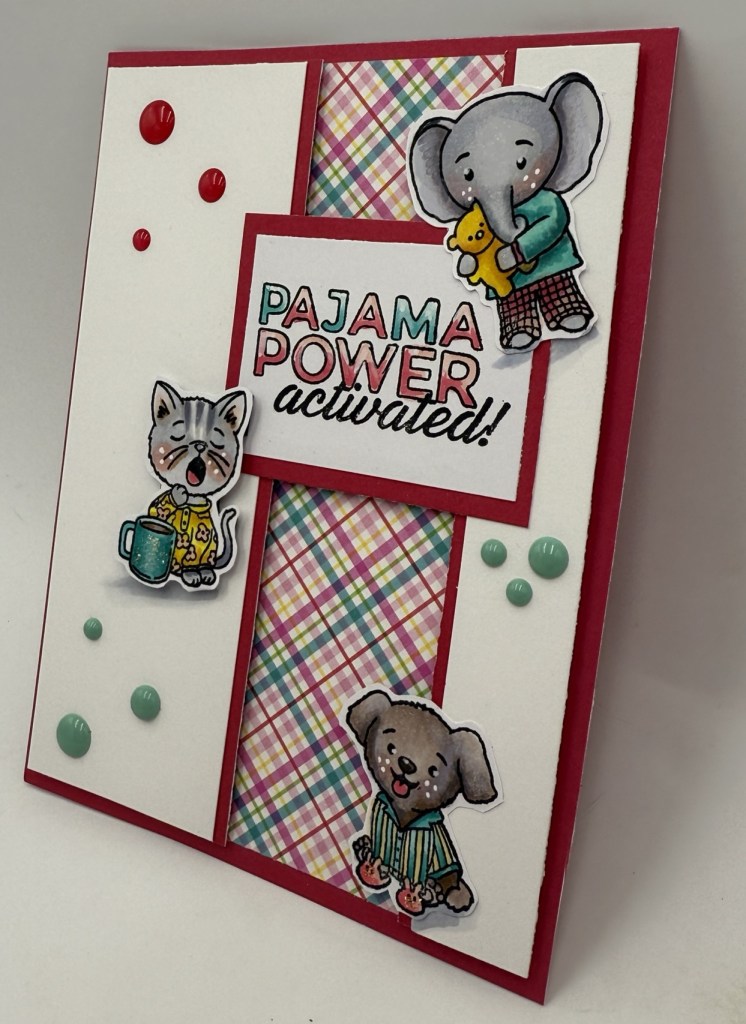
First off, let’s talk about color! For these three cards, I carefully selected a harmonious color palette that complements the Pajama Power Stamp Set and Puffer Stamp Set. 🖌️🎨 Using colors in tandem creates a cohesive look, allowing each element to stand out while still feeling like part of a unified design.
Triangular Design: A Guide for the Eye
One of the most intriguing aspects of my card-making process is my tendency to create designs that draw the viewer’s eye in a triangular motion across the card. 🌟 Why triangles, you ask?
Triangles are naturally pleasing to the eye and provide a sense of stability and balance. By creating a triangular arrangement with your card elements, you’re subtly guiding the viewer’s focus from one point to another across the design. This method proves particularly effective when I include embellishments or smaller images—partnering them in groups of three to enhance visual flow.
Tips for Creating a Triangular Layout
Start With a Focal Point: Begin with a central image or embellishment that catches the eye. This serves as the primary anchor for your design.
Arrange Supporting Elements: Use additional images or embellishments to create a triangular structure around your focal point. Position them so they form a triangle—this can be done vertically, horizontally, or even diagonally, depending on your design.
Consider Size and Shape: Balance is key! When working with smaller images or embellishments, grouping them in threes helps create a visual interest that leads the eye seamlessly around the card.
Add Color Strategically: Use your chosen color palette to unify your elements. Colors should complement and enhance each other, making the card more welcoming and visually appealing.
Bringing It All Together
Without a large focal point dominating the design, assembling your card in this triangular fashion allows for each element to shine while still feeling cohesive. My three card projects today demonstrate how this technique creates a friendly and balanced look that is easy on the eyes.
I hope these tips inspire you to explore triangular designs in your own crafting! Let’s create a world full of joy through beautiful card-making techniques. Happy crafting, everyone! 🌼💖
Join the Conversation! What design techniques do you find yourself drawn to? Share your thoughts and experiences in the comments below!
Scrappy Boy Stamps’ August 2025 Release Inspration
Hello, crafty friends! 🎉
I’m thrilled to share my recent card creations using products from Scrappy Boy Stamps’ August release! Each project showcases a unique theme that I can’t wait for you to see!
featuring TRICKSTER GHOST
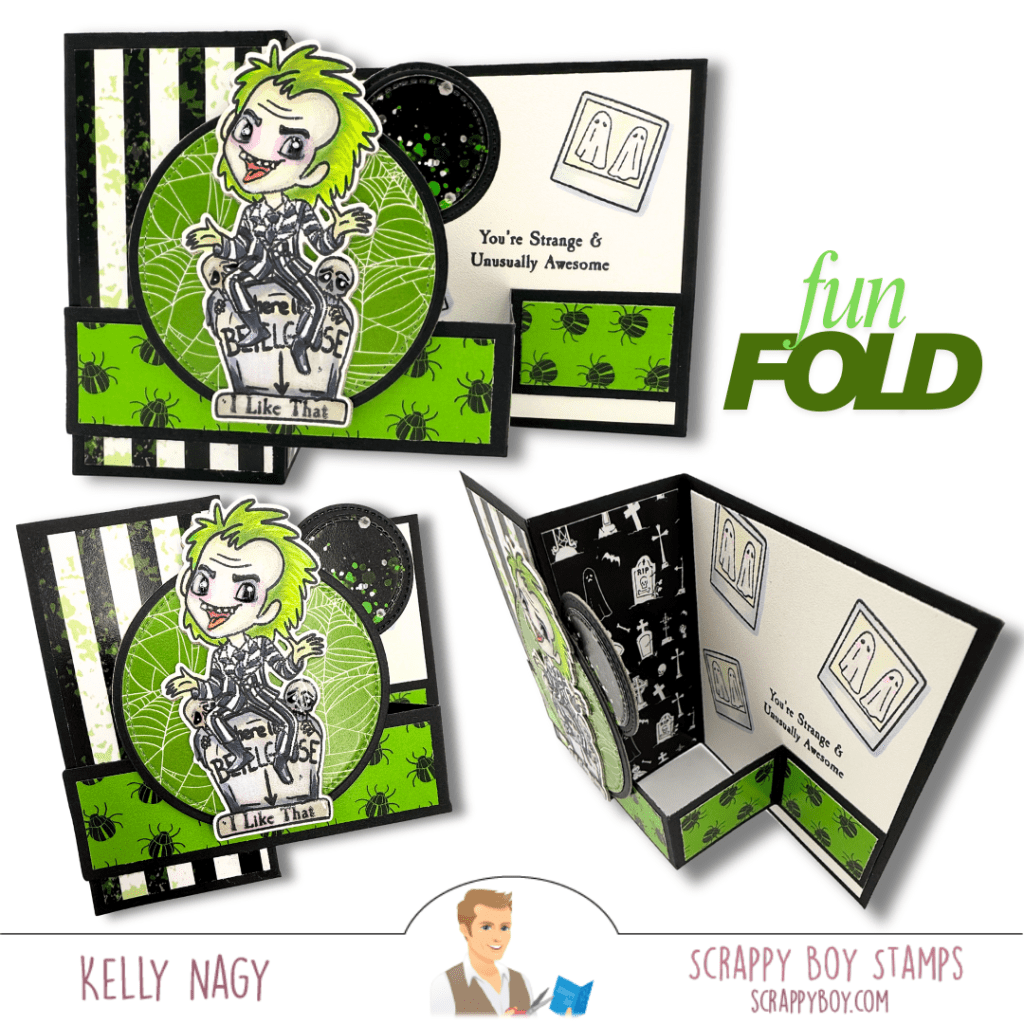
🦇 Fun Fold Card Inspired by a Cult Classic
First up, I created a fun fold card inspired by a quirky underworld couple from a beloved movie. This card is perfect for Halloween lovers! With enchanting pattern papers and a main character that brings a smile, it’s a delightful addition to any Halloween celebration. 👻💀
Creating a Z-fold card in A2 size is simple and fun! Start with a piece of cardstock measuring 4.25” x 11” and score it at 2.75” and 5.5” along the long side. Fold the cardstock in half at the 5.5” score line, creating the first ‘Z’ fold. Then, take the smaller section and fold it back on itself at the 2.75” score line. This will give you a card that opens in a zigzag manner. Decorate each panel as desired, and you’ll have a beautiful Z-fold card perfect for any occasion! Happy crafting!
FEATURING: Cute Kids Detectives
🔍 Crafty Twist on a Favorite Show
Next, I took inspiration from a show I adore, where amateur sleuths navigate mysteries in their fancy apartment building. This time, there’s a twist—my characters are all crafters! 🎨✂️ I’ve customized each character image with specific colors to make them instantly recognizable, and added crafty elements from the “Crafting Tools Die Set Add-On Craft Cart.”
Crafting inspiration can come from the smallest details! By layering cardstock and utilizing elements from your stash, like the crafty elements from the add-on set for the craft cart, you can beautifully tie your design together and add depth. I also love to create custom sentiments using my printer, which I cut out and pop up with dimensional foam tape for added interest. One of my favorite aspects of the Scrappy Boy line is how it mimics the images in the coordinating pattern paper, creating miniature versions that are perfect for fussy cutting. Incorporating these into my scenes brings an extra layer of creativity to my projects!
FEATURING: Magnifying Glass Die
🎡 Whimsical SHAKER Mouse Wand
Lastly, I’m excited to introduce the new standalone Magnifying Glass Die that coordinates with the Cute Kids Detective Set! Instead of a standard magnifying glass, I paired it with fun theme park elements and colorful papers, creating a whimsical SHAKER mouse wand. 🎈🐭 I even made some shaker bits using coordinating cardstock and shaker cover plate dies to add that extra flair! The zipper pull mouse hand die creates a fun “dangle” on the SHAKER wand.
I’m excited to share how I transformed the magnifying glass into a theme park-inspired shaker wand! Many of the elements released are perfectly sized to layer with other items in your stash, so don’t hesitate to mix and match or get creative with die cuts—even using the negative space they leave behind. I love the fun new spin I was able to give the magnifying glass, especially with the addition of a dangle made from a zipper pull mouse hand die on the handle! Inside the shaker, I filled it with confetti and cut pieces from a cover plate die, creating shaker bits that perfectly match my project. How fun is it to elevate your creations this way? Be sure to check out all the fantastic products available at scrappyboy.com!
Your support means the world to me, so don’t forget to follow me on social media @stampedbykelly. 💖
I’m thrilled to announce that Pajama Crafter Stamps has launched their August Release, featuring SIX brand new stamp sets! These designs perfectly blend the excitement of Back to School with the early sparkle of Christmas, making it the ideal time to get crafting! 🌟📚🎄
Whether you’re looking to create cheerful classroom cards or start your holiday projects early, these new sets will surely inspire you! 🎁💌
Join the Instagram Hop for a Chance to Win!
Don’t miss out on the chance to win a $25 store voucher! Here’s how to participate:
Leave a comment and a like at each stop in the hop.
Follow both me and @pajamacrafterstamps on Instagram.
Make sure to enter by August 19 at 11:59 PM EDT, as the winner will be announced on August 20! 🏆
Please note: This hop is in no way sponsored, administered, or associated with Instagram or Facebook. By entering, entrants confirm they are 13+ years of age, release Instagram and Facebook of responsibility, and agree to their terms of use.
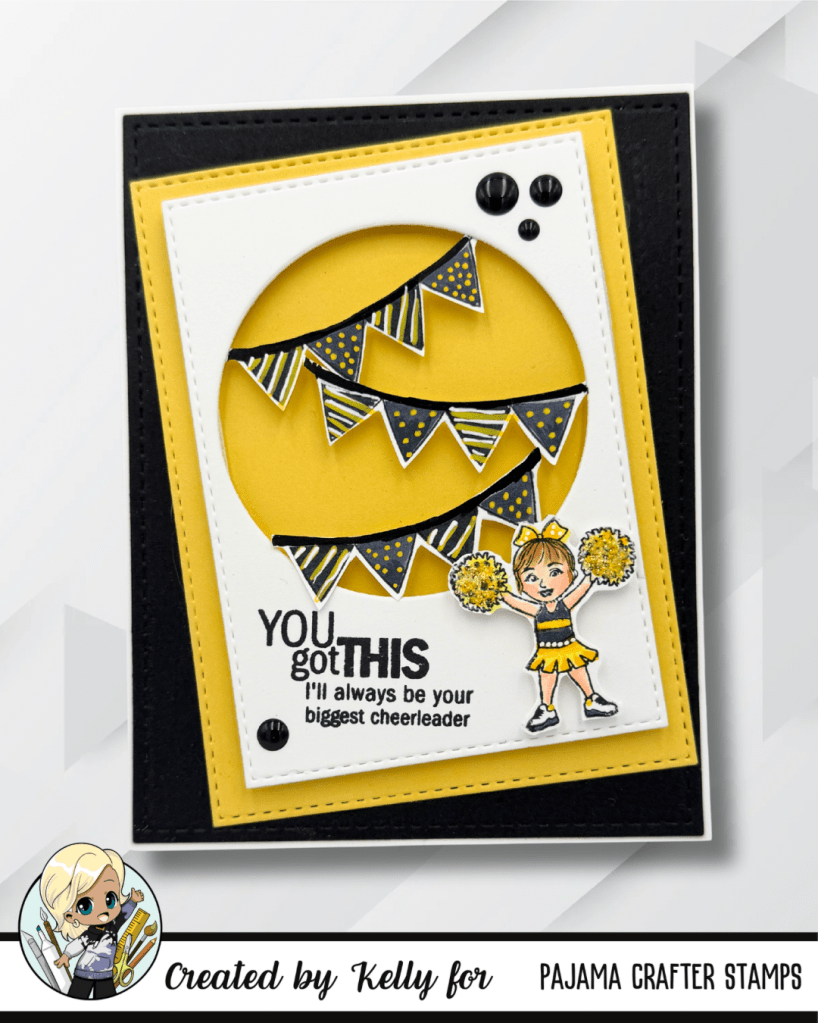
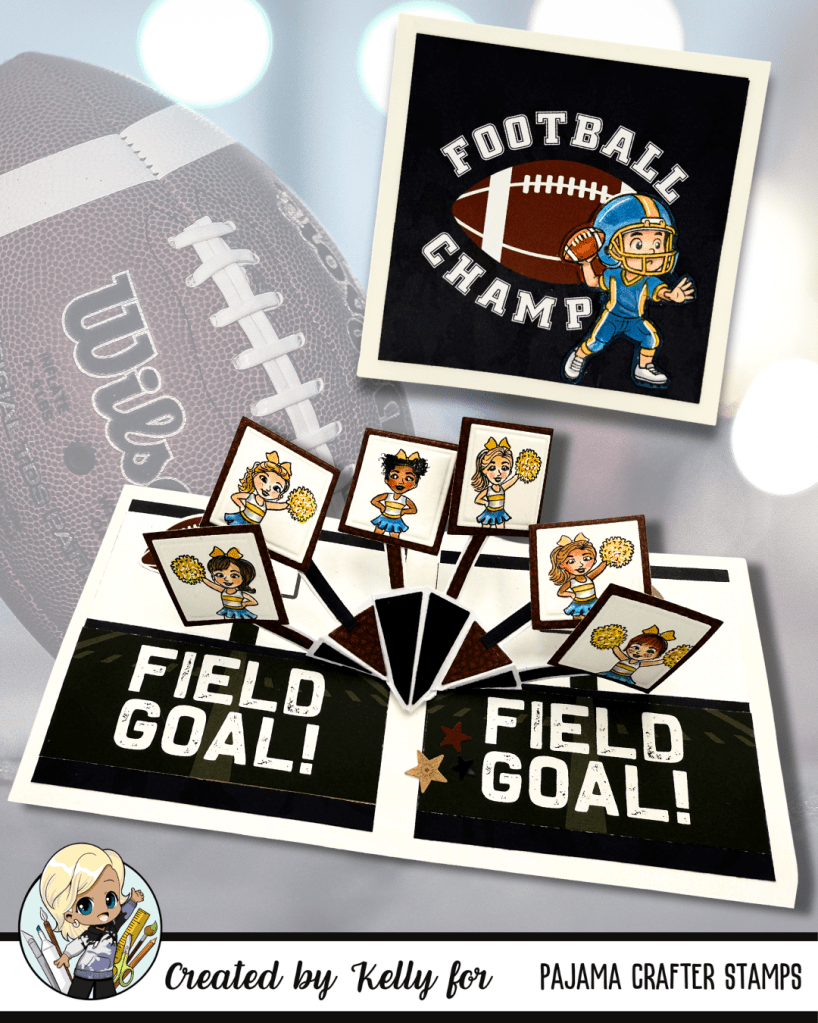
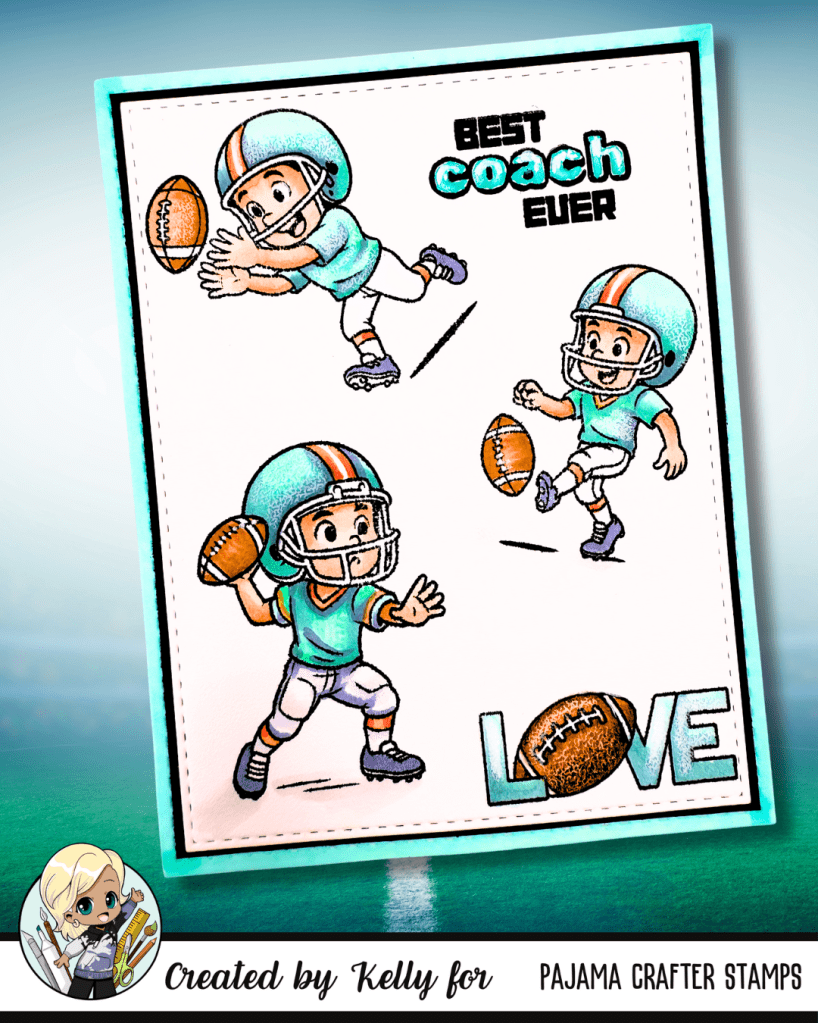
Today, I am sharing 4 projects, using 3 of the 6 newest stamp sets!
Here are the incredible new stamp sets you can explore:
Featuring CHEER YOU UP stampsFeaturing CHEER YOU UP stamp set.Featuring FRIDAY NIGHT LIGHTS stamp setFeaturing RUSTIC CHRISTMAS OWL stamp set
Don’t forget to HOP on the Pajama Crafter Stamps’ Instagram page and flow the directions on each DT’s Instgram, for your chance to win a FABULOUS prize!
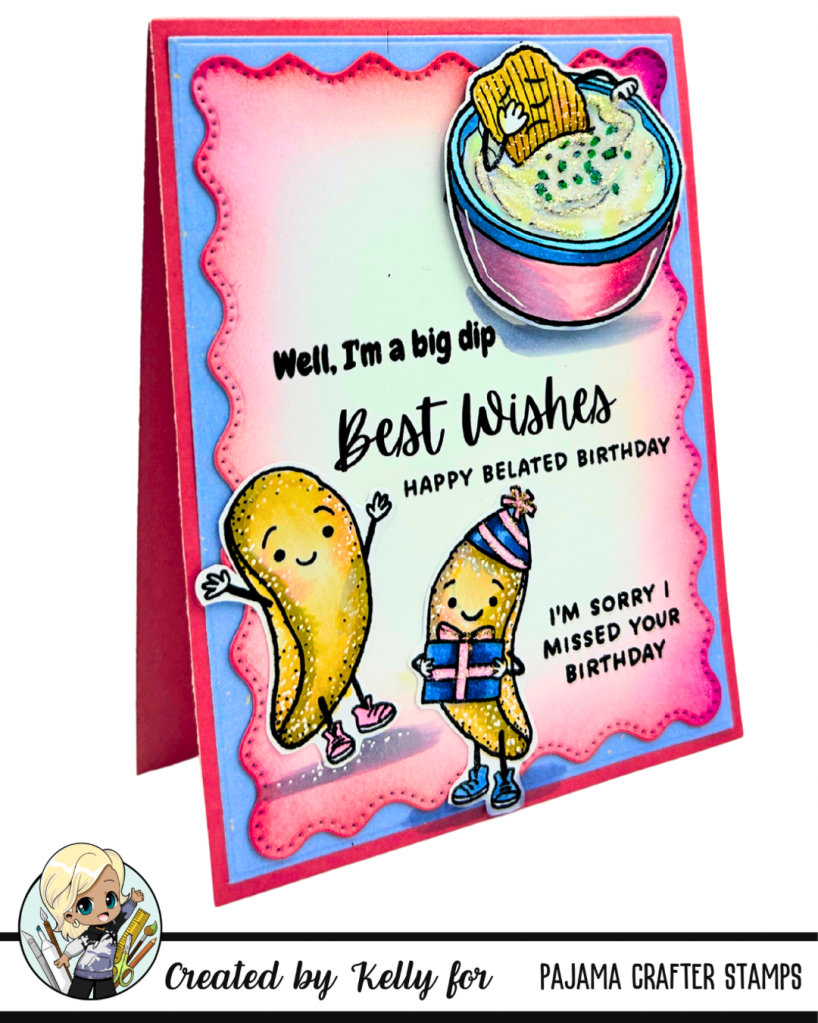
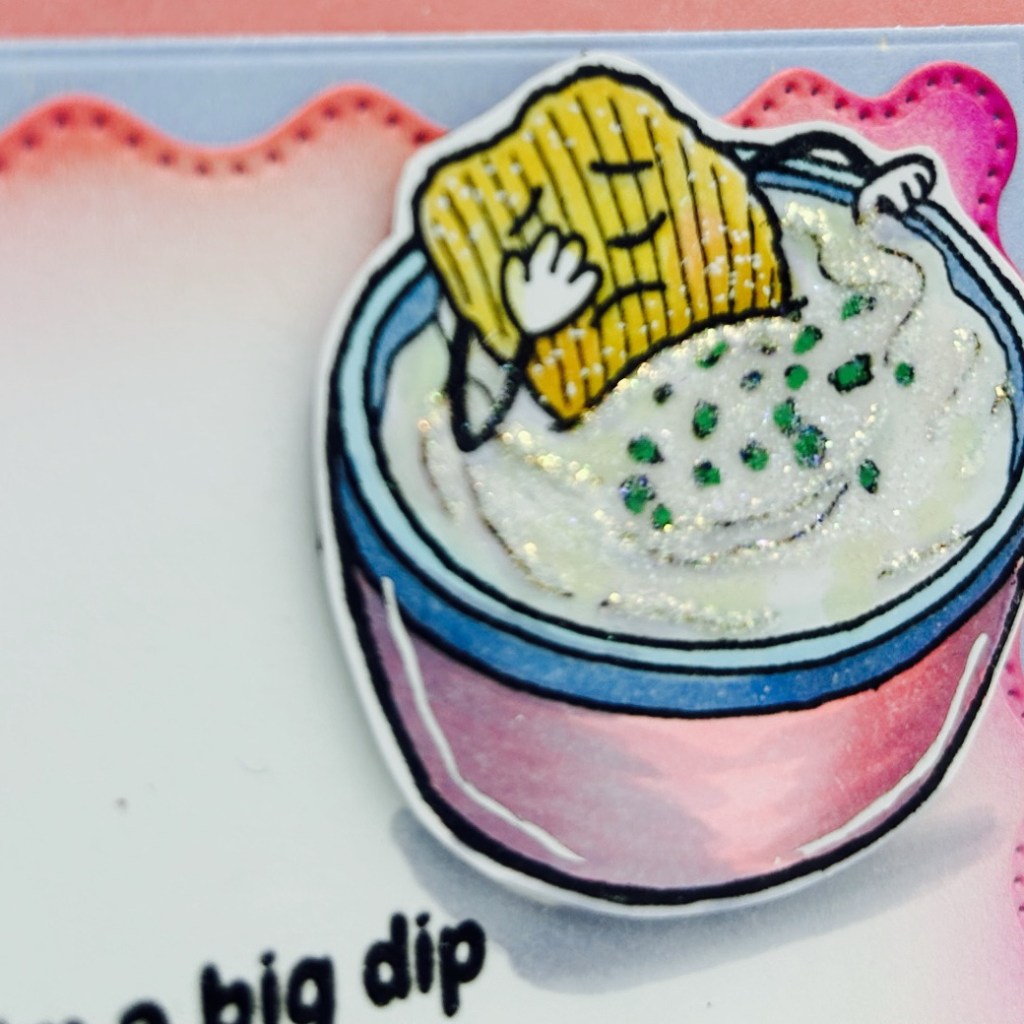
I’m thrilled to share a card I created featuring the adorable CHIP CHIP HOORAY stamp set from Pajama Crafters Stamps! 🦜✨ This set is just perfect for crafting fun and lighthearted cards, and I couldn’t resist using this FUN belated birthday sentiment ! 🎈🎂
Add details like white gel pen, Stickles and Crystal Effects
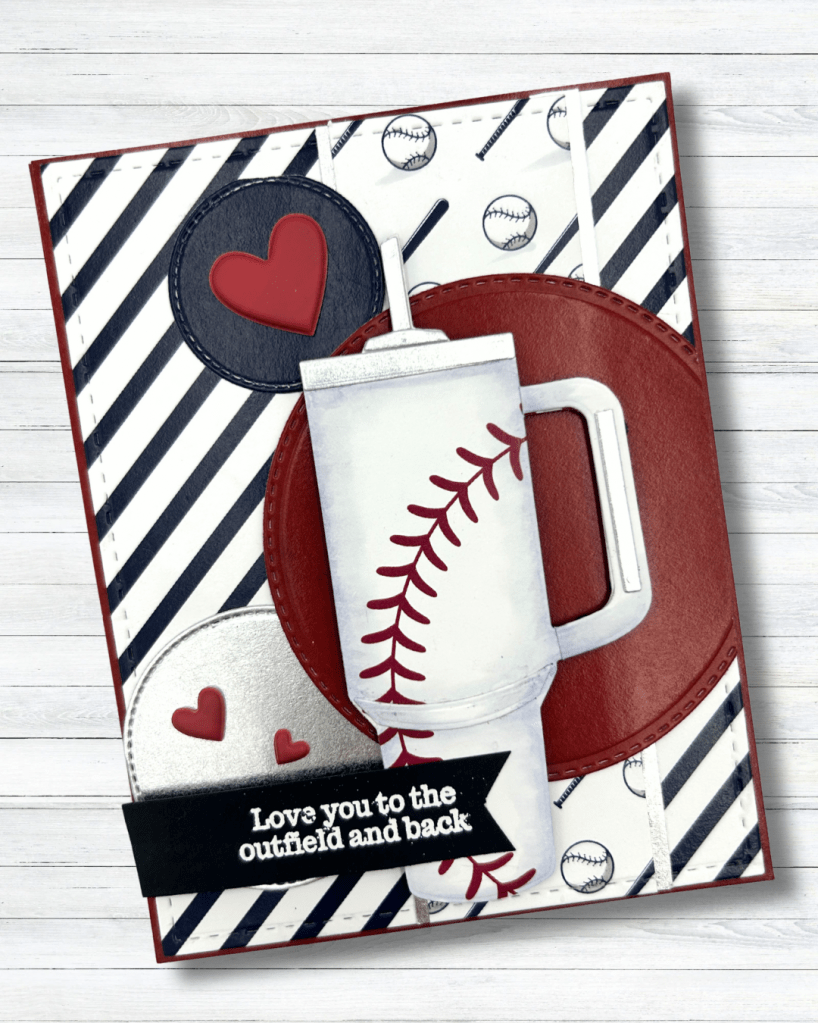
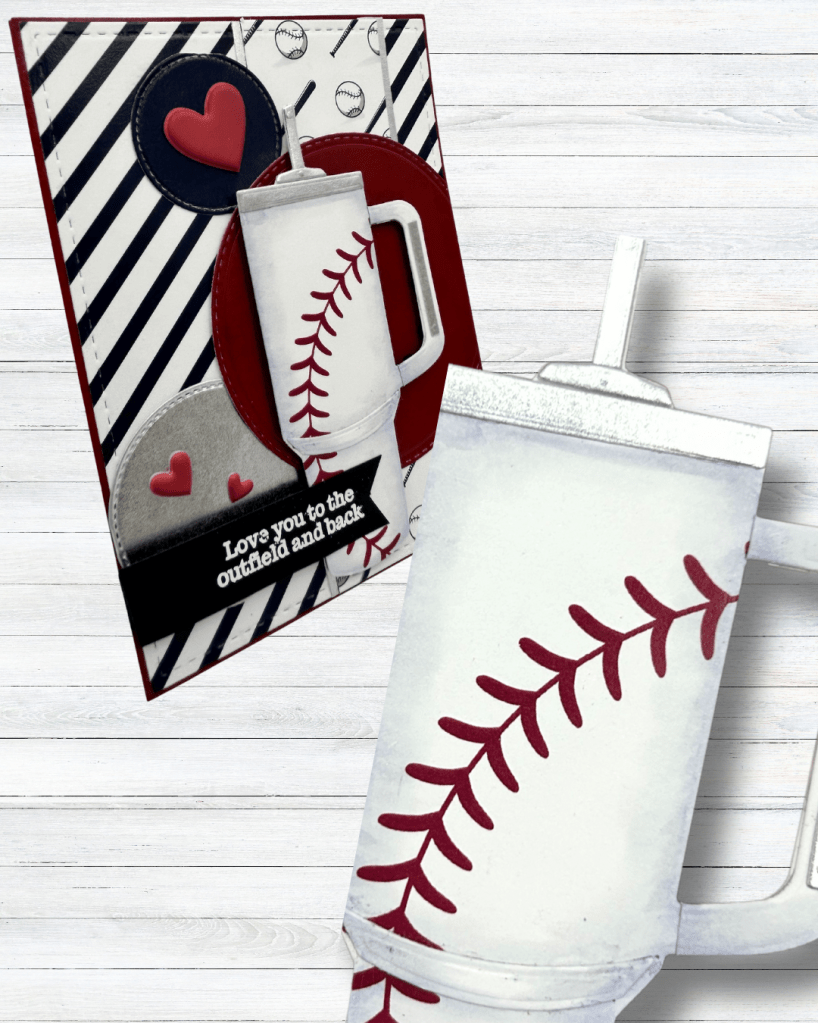
I’m excited to share this A2-sized card project that’s perfect for baseball fans and can be customized for any occasion! Using the fantastic “Adult Sippy Cup” die and the “Let’s Play Ball” 6×6 paper pack from Pajama Crafters Stamps, I was able to whip up a fun and engaging card that truly showcases the versatility of these products.
One of the best aspects of the “Let’s Play Ball” paper pack is its thoughtful design. It features a delightful mix of baseball-themed patterns along with solid reds and blues, as well as stripes on the back. This adds an extra layer of versatility that makes the pack ideal for not only Father’s Day cards but also for upcoming patriotic holidays and a variety of other occasions. The combination of patterns allows for endless creative possibilities!
For this card, I played around with different colors and patterns from the pack to create a unique look. It’s not just a Father’s Day card; it can also serve as a simple “thinking of you” note or a celebration of any baseball-loving person in your life. The “Adult Sippy Cup” die is not only fun but also an essential addition to your crafting stash, allowing you to create custom cards with whatever paper designs you already have on hand.
I invite you to explore how many different papers from the “Let’s Play Ball” pack you can spot in my card! Want to get creative? Don’t hesitate to use your own patterns and colors to make a card that’s uniquely yours.
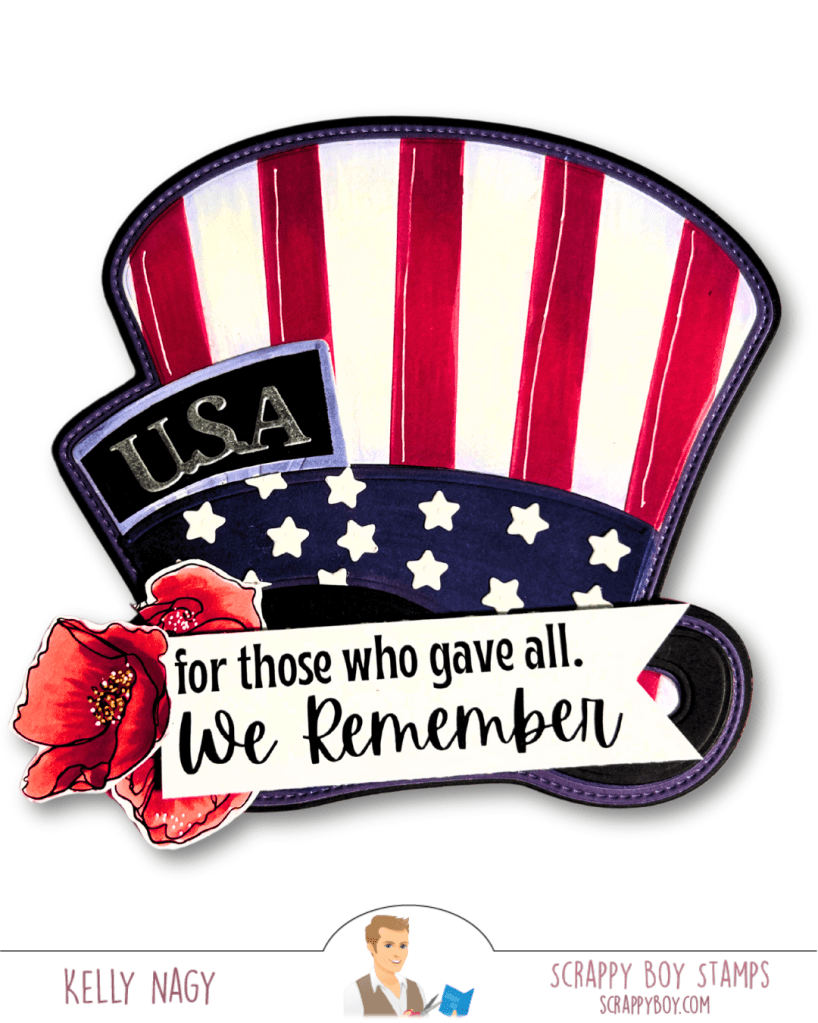
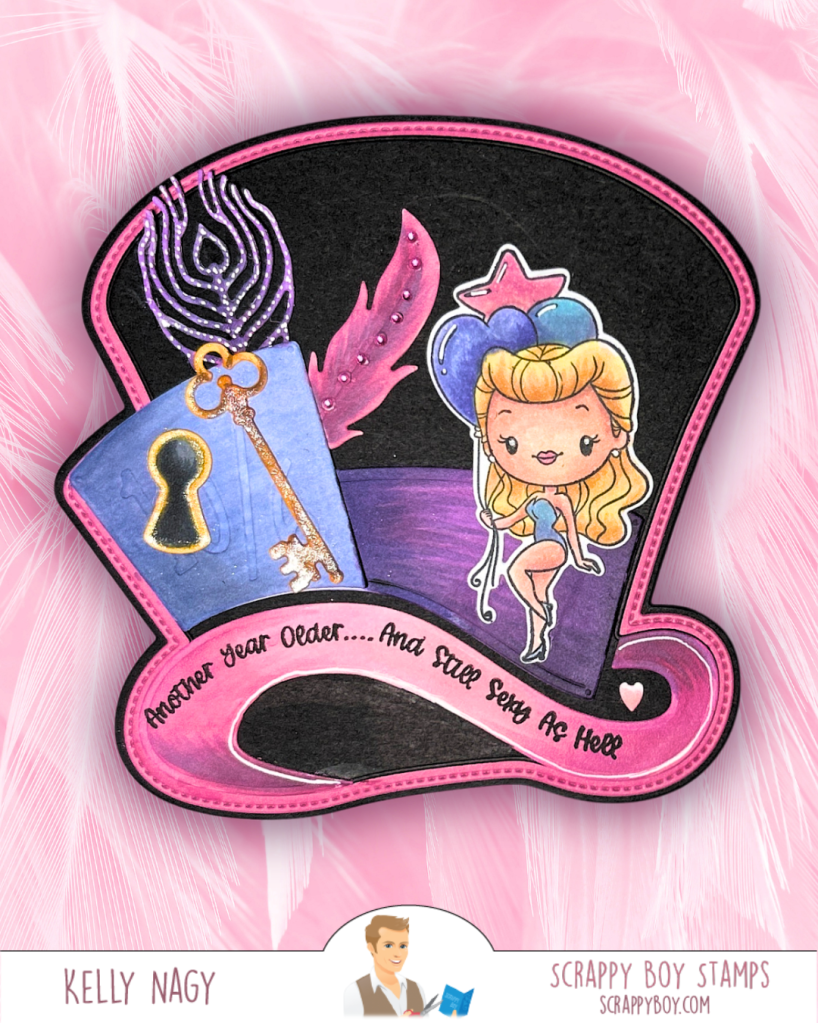
As we celebrate Memorial Day, I’m excited to showcase two unique card projects that highlight the versatility of the Mad Hatter card die set from Scrappy Boy Stamps. While this die was originally designed for whimsical, themed projects inspired by the tale of the “Mad Hatter”, I decided to take a different approach and customize it for today’s patriotic holiday.
Project 1: Patriotic Themed Card
A mash up between Scrappy Boy & Pajama Crafter Stamps
For my first project, I focused on a vibrant red, white, and blue palette to create a heartfelt card honoring our fallen heroes. By changing up the colors and incorporating relevant embellishments, I transformed the Mad Hatter die into something truly special for this occasion. The combination of thoughtful design and color allowed me to create a meaningful tribute that resonates with the spirit of Memorial Day.
Project 2: Celebrating Birthdays with Pinup Girls
Scrappy Boy Old meets New Release
In contrast, my second project features the same Mad Hatter die set, but this time paired with the brand-new Pinup Girls Birthday set that was released earlier this week. By simply adjusting the colors and the sentiment, I was able to create a fun and festive birthday card! This demonstrates just how adaptable these products can be, allowing for endless creative possibilities.
The beauty of crafting lies in the ability to innovate and personalize your projects. With a little imagination, you can repurpose any die set to fit a specific occasion or theme, proving that your creativity is your only limitation.
I hope my projects inspire you to think outside the box and explore new ways to utilize your crafting supplies!
Happy crafting, and enjoy the rest of your Memorial Day!
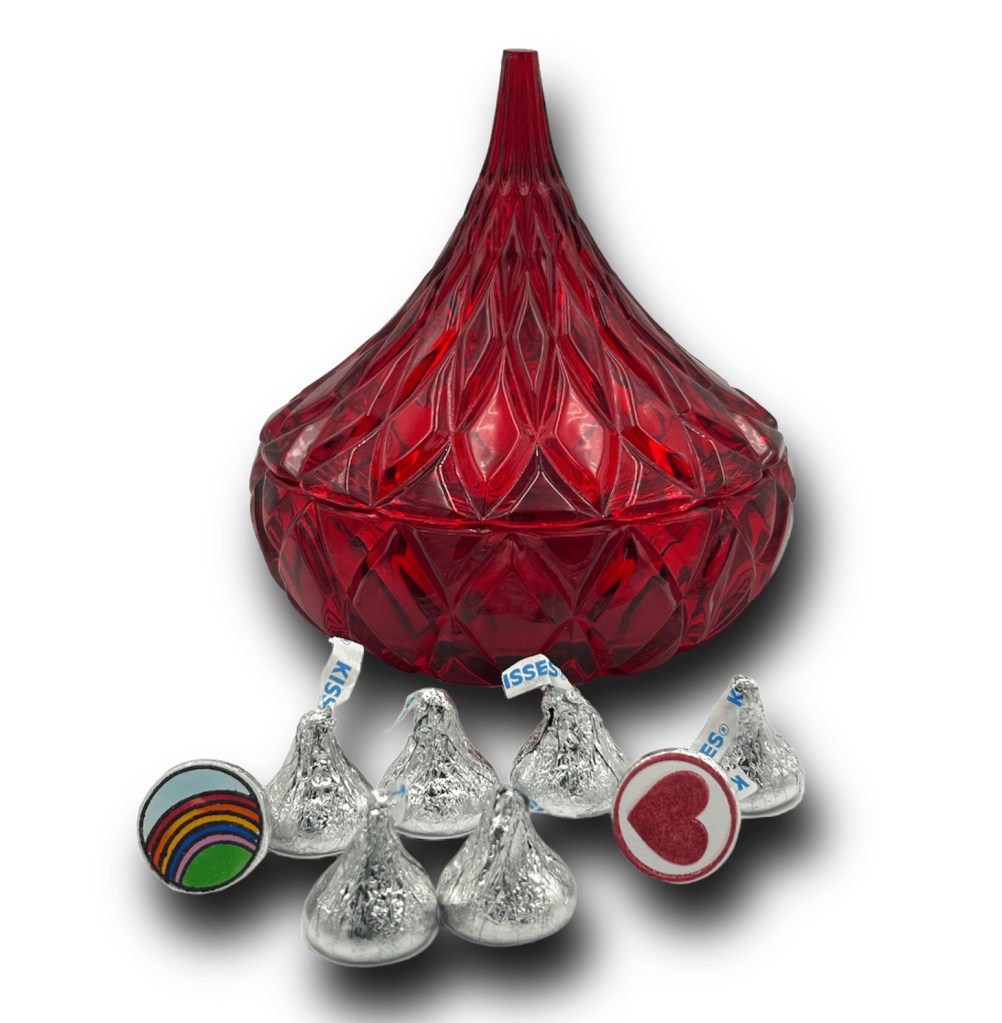
Belly Badges from set fit perfectly to bottom of all standard size Hershey’s Kisses.
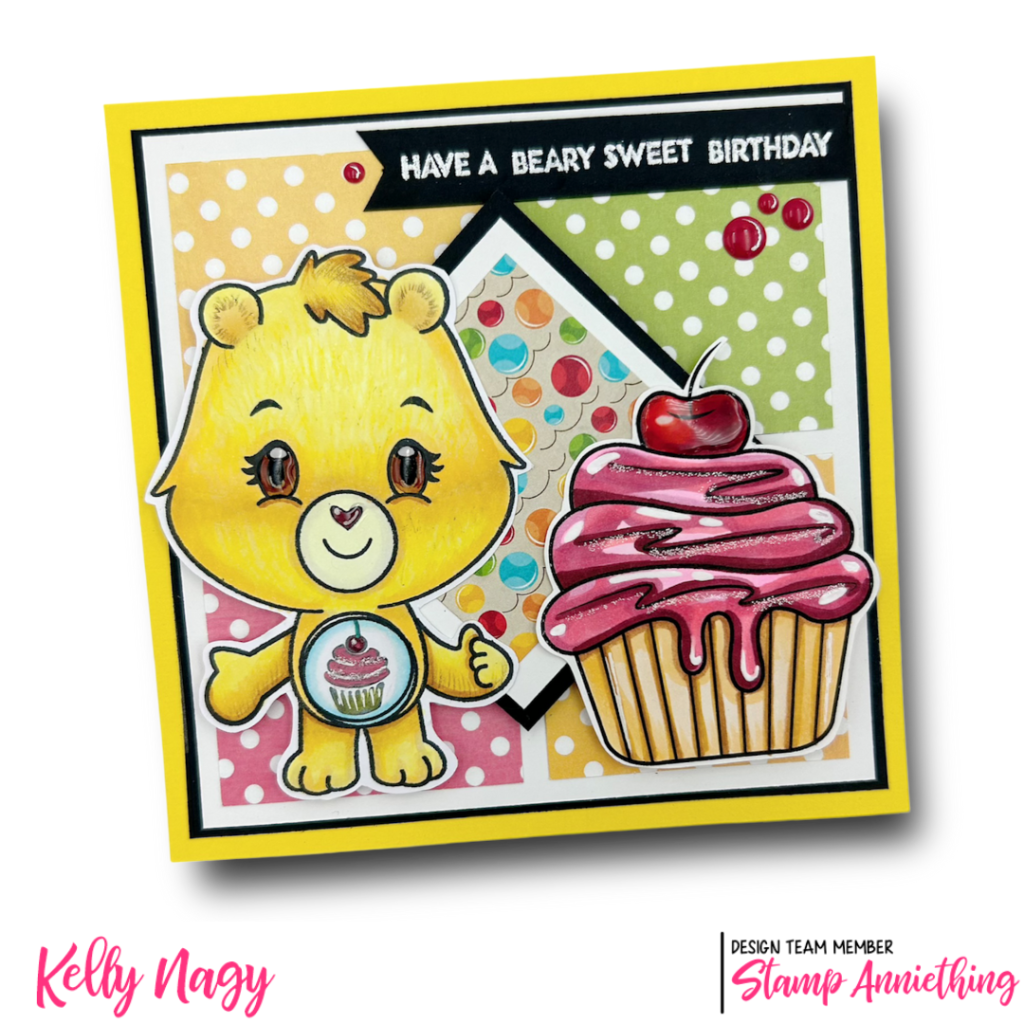
The Build a Caring Bear set will certainly be a great addition to any paper crafter’s stash. This is a versatile set that is great for cards, planners, scrapbook pages and even party decor and favors!!!
The belly badge goes in the middle of the bear’s tummy, but these badges are also the perfect size to adorn the bottom of a Hershey’s Kiss!
If you’re looking for a fun and unique way to personalize your treats inside your treat bags, look no further than the soon to be restocked BUILD A CARING BEAR set from Stamp Anniething. These fun images can be stamped in all black, stamped with your favorite color and are the perfect size to decorate the bottom of a Hershey’s Kiss, and with a wide variety of themed emblems in the set, you can customize each treat to fit your holiday, event or celebration.
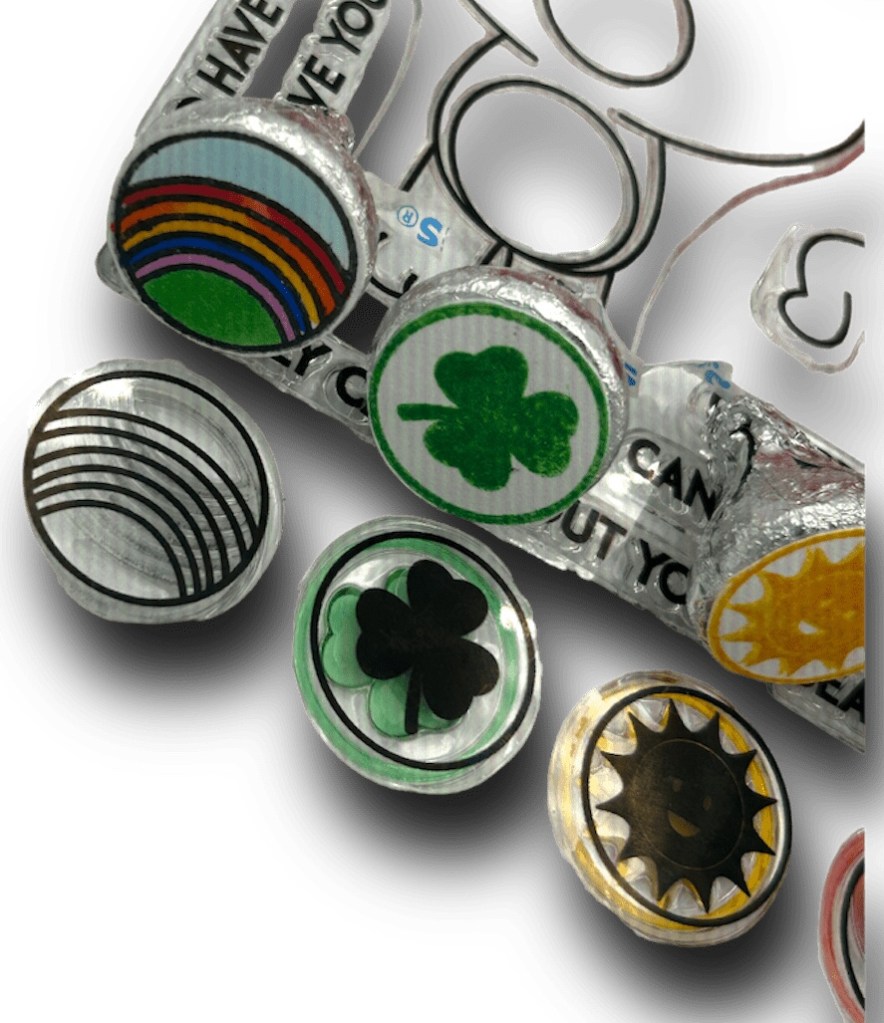
Circle size stamps can be easily fussy cut out or use a small circle die or punch
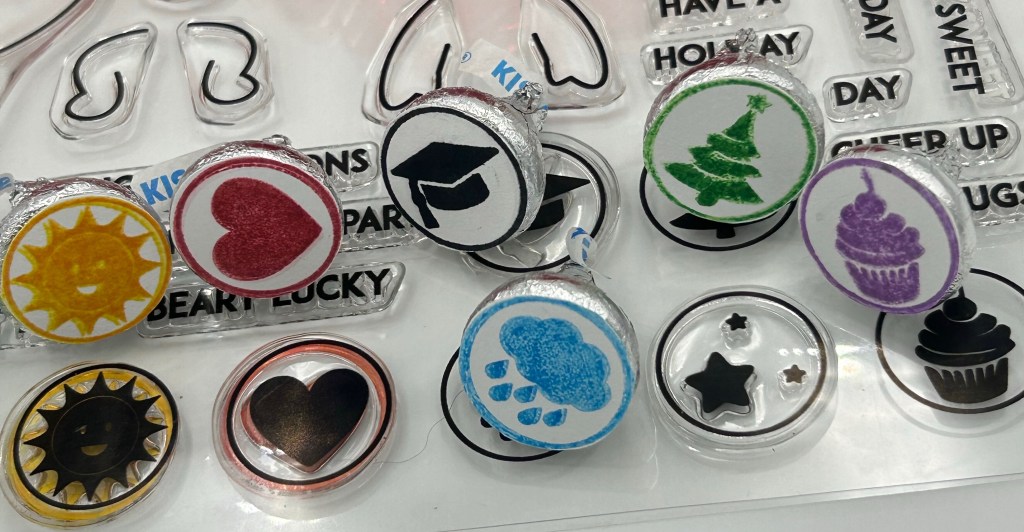
Build a Caring Bear belly badge stamps have a variety of different emblems to match the themes of your party or event. Here are just a few ideas:
Sunshine – Get Well, Be Happy, Don’t worry
Heart – Love, wedding (emboss in gold or silver), Anniversary, Valentines
Once you’ve chosen your badges, it’s as simple as attaching them to the bottom of each Hershey’s Kiss using a dab of frosting or melted chocolate. You can also adhere using double-sided tear/paper tape. Not only do these badges add a colorful and fun touch to your treat bags, but they also make each treat feel more personalized and thoughtful.
So the next time you’re planning a party or event, consider adding Build a Caring Bear belly badges to your list of decorations. With their colorful designs and customizable options, they’re sure to be a hit with guests of all ages! Happy Crafting!