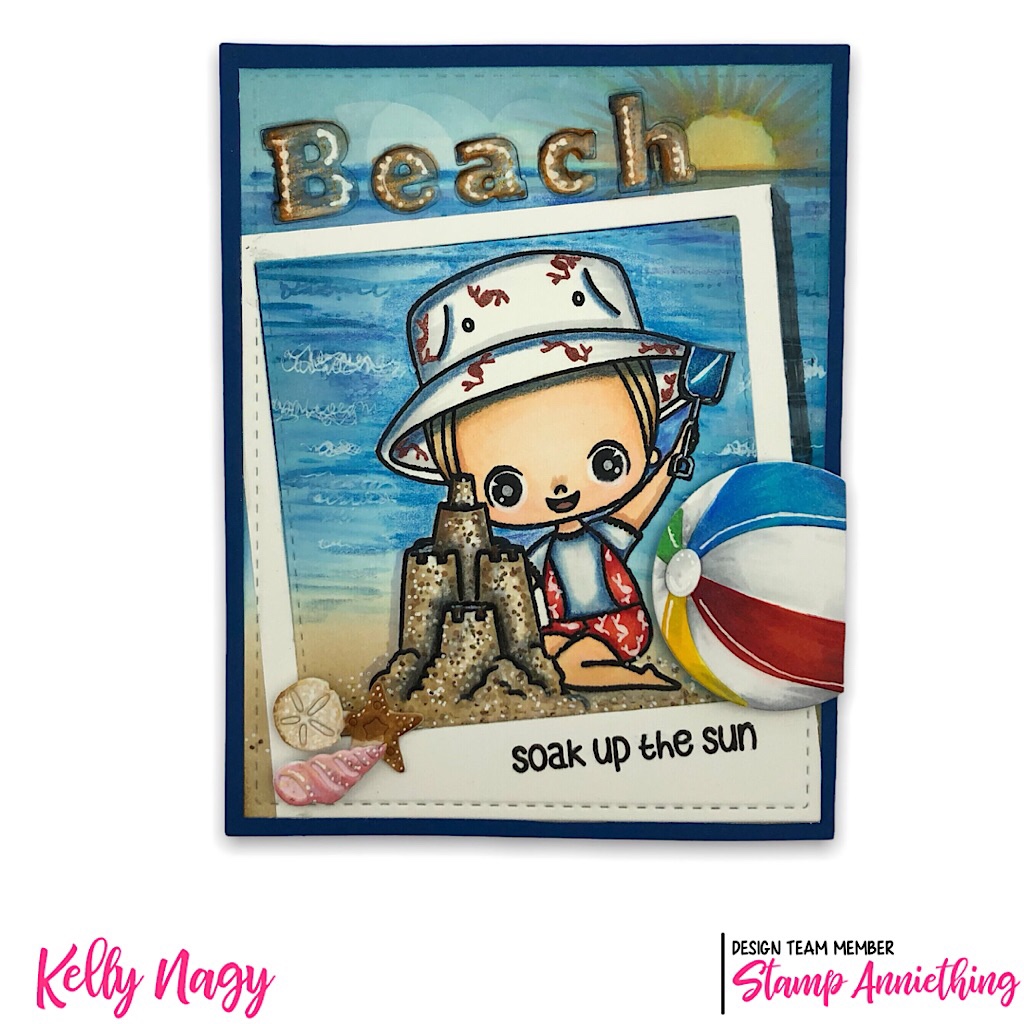
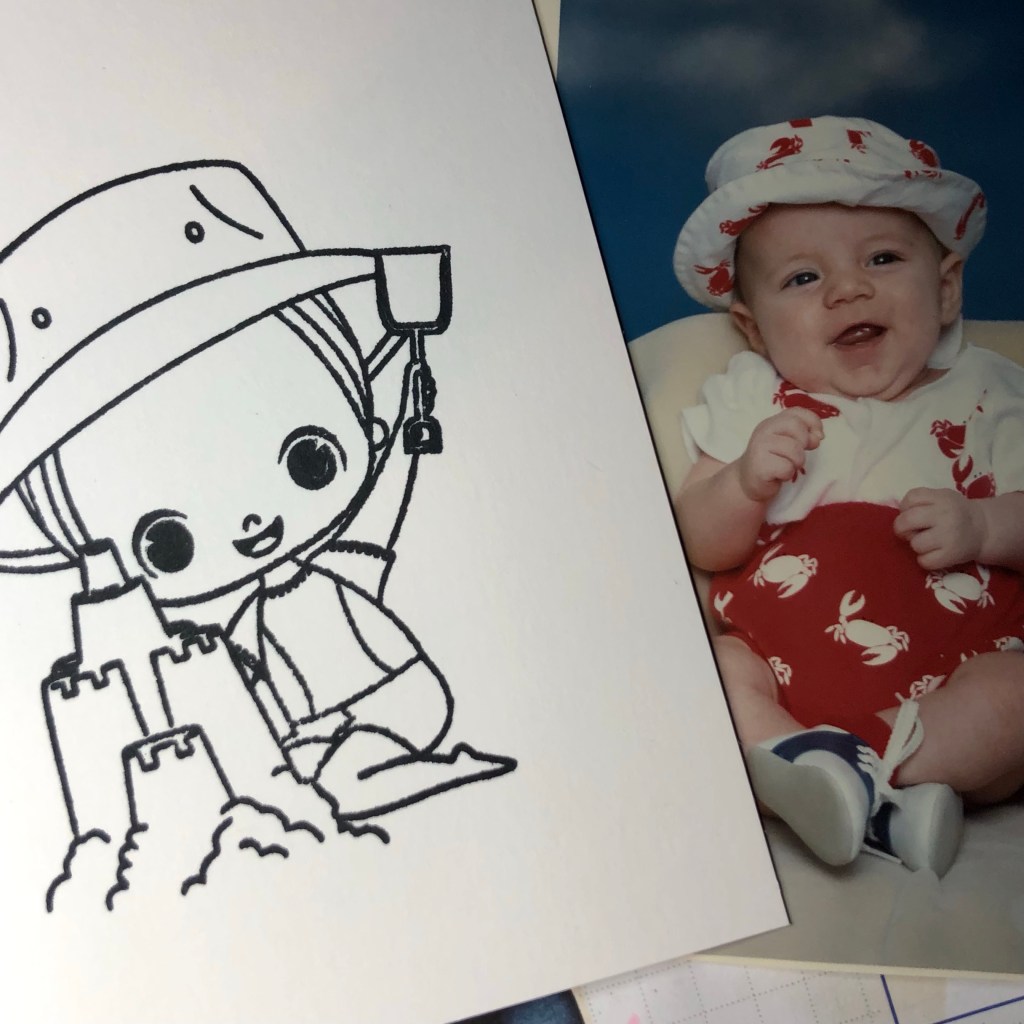
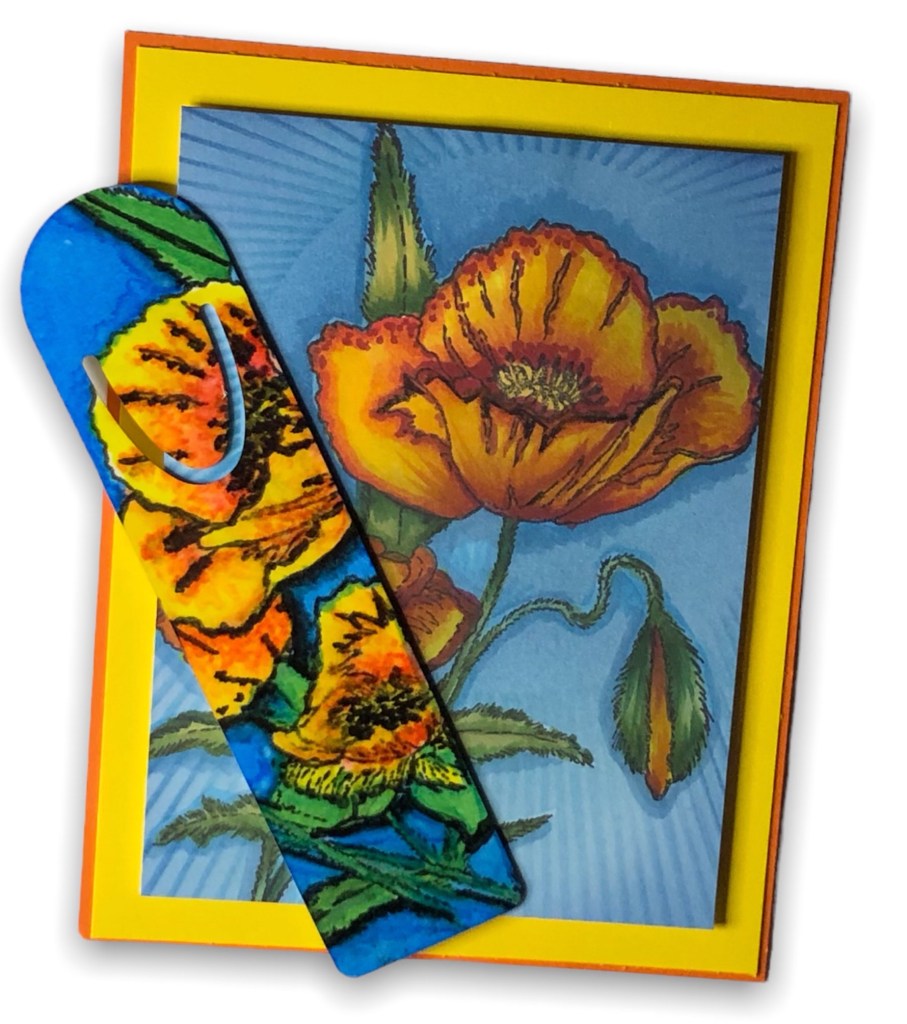
I am sharing a card and bookmark combo featuring The Poppy stamp set from Annie’s Garden at Stamp Anniething and sublimation inks and bookmark blanks from Artesprix.

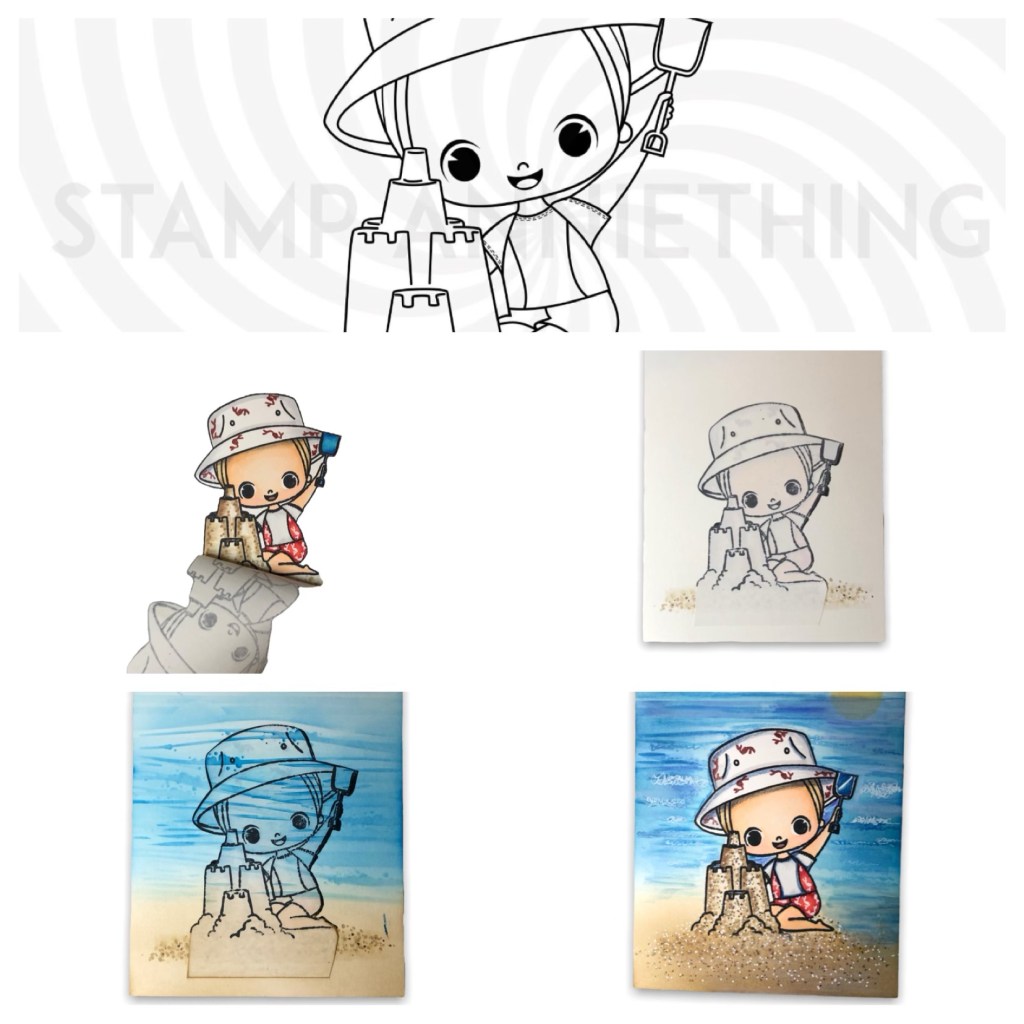
I traced the outline of the bookmark “blank” with a regular pencil onto plain copy paper and then stamped image using Black Artesprix ink and then colored in using Artesprix Colored Markers especially formulated for sublimation.
What is sublimation, you ask?


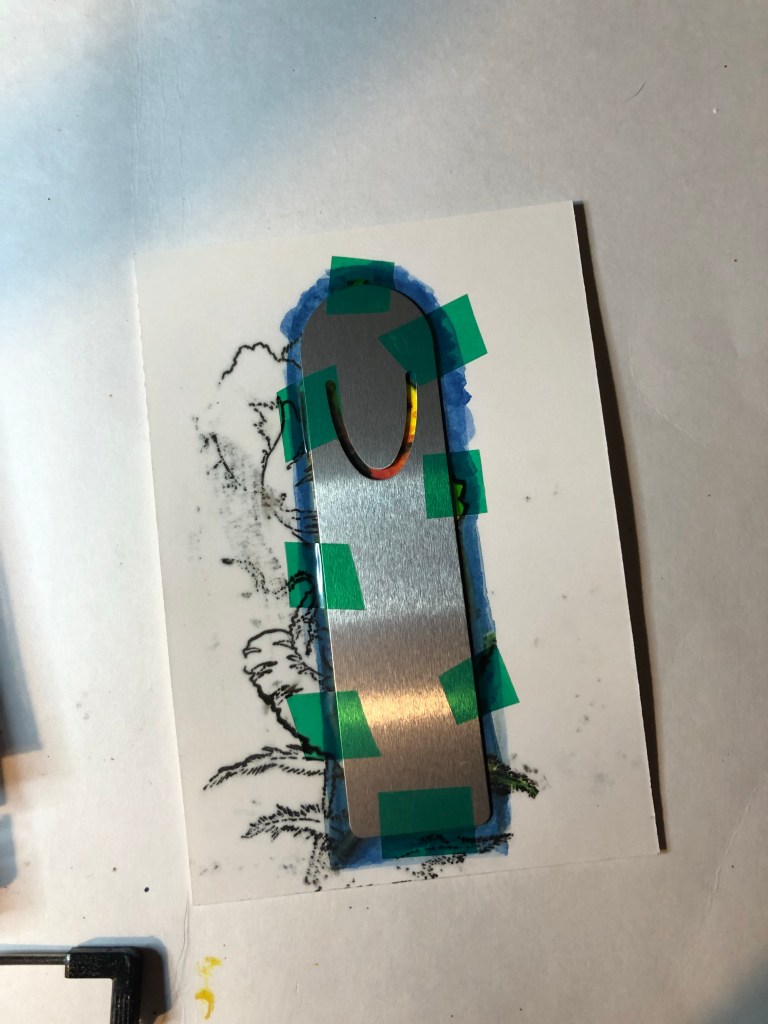
I then cut 2 pieces of special protective paper / parchment and created a “sandwich” with the colored image taped to blank facing up and a second piece of parchment on the bottom. This helps contain any ink that escapes during the process. Having the paper face up allows the heat to hit the back of the image and transfer to the blank underneath.
I used a mat from Artesprix to protect my surface and pressed my heat press firmly on top of the “sandwich.” I purchased a no name brand from Amazon for under $80 and have been very pleased. I pre-heated my press to 390 degrees and pressed for 90 seconds. I decided to continue to press another 90 seconds and after a significant cool-down period, the results were stunning!
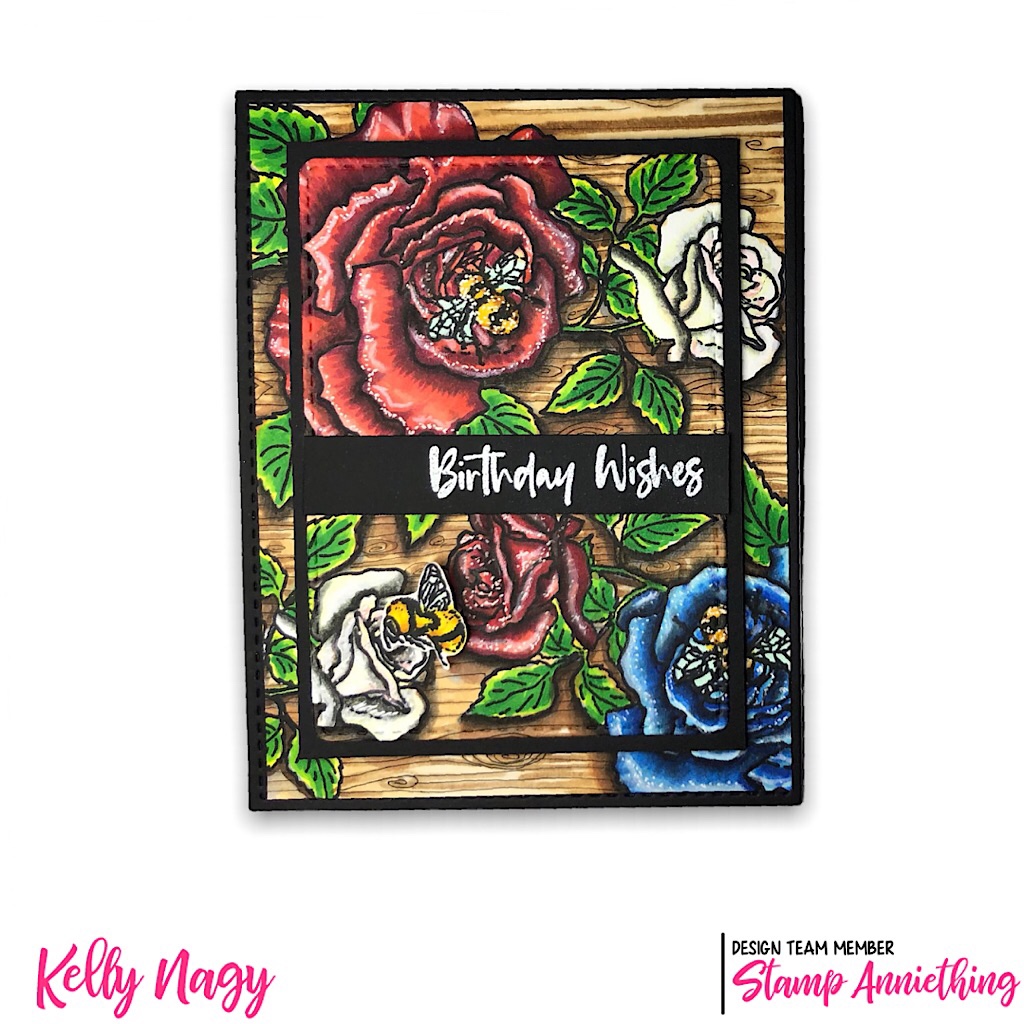
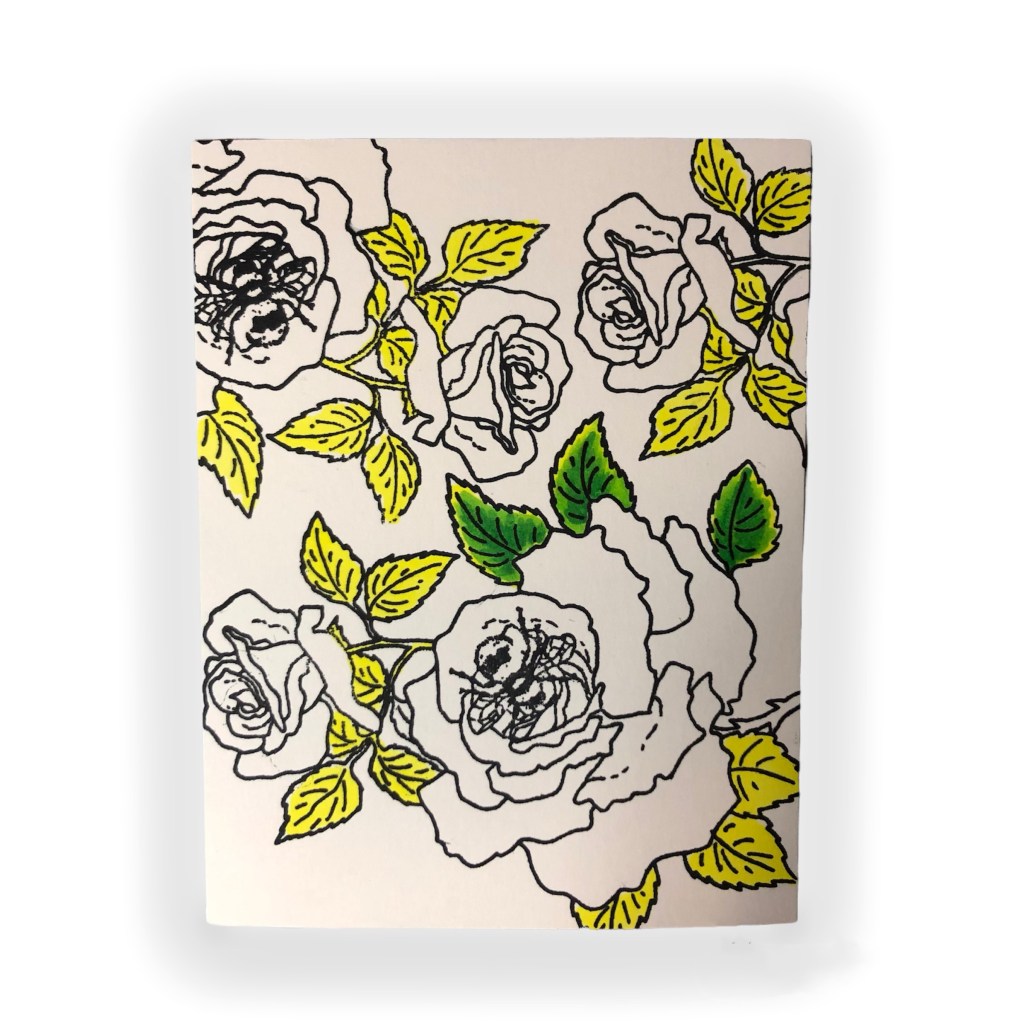
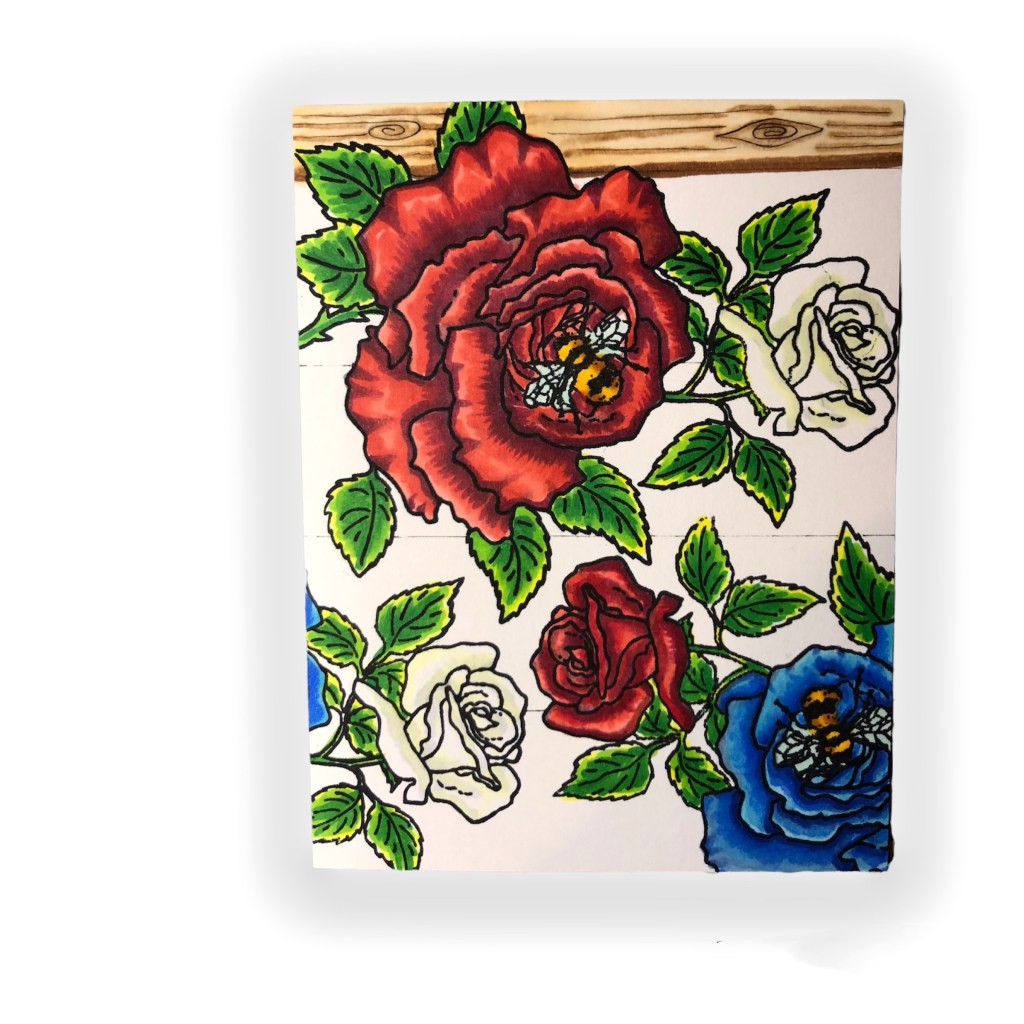
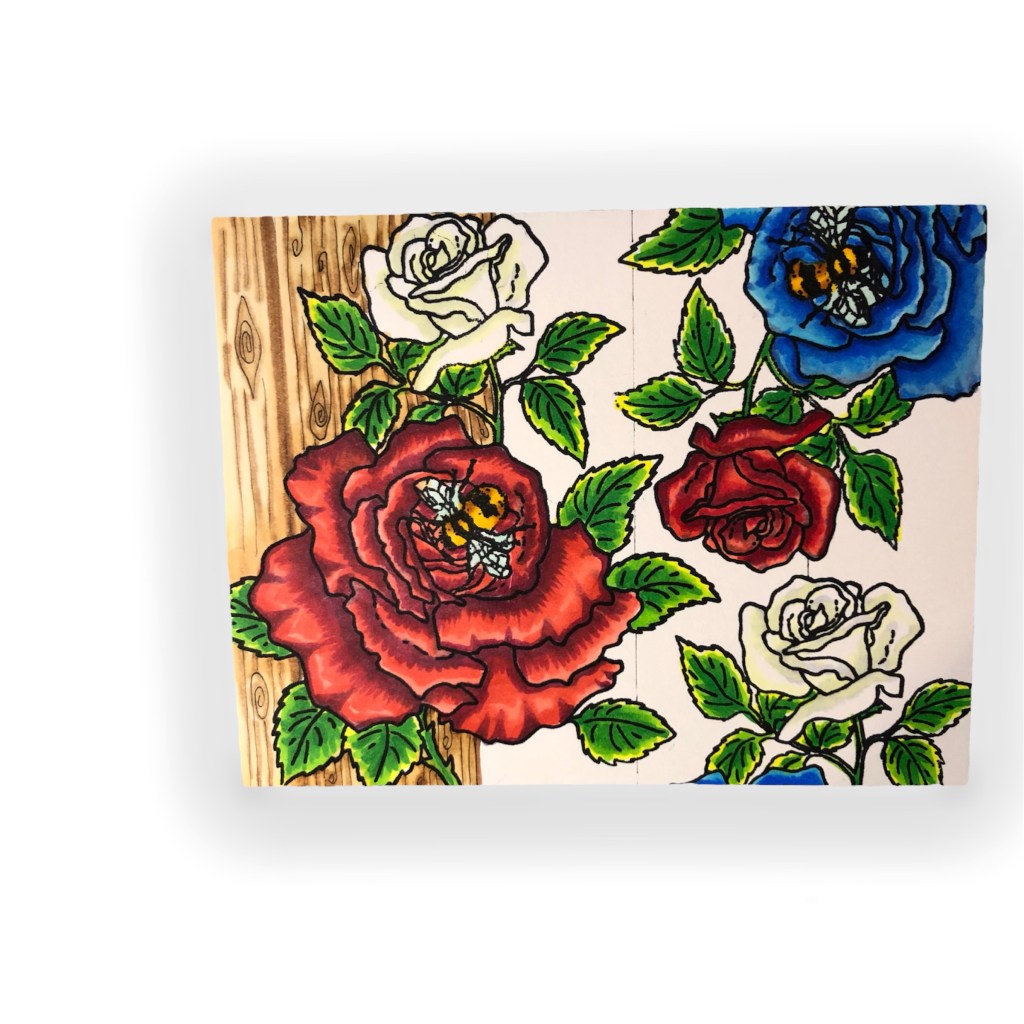
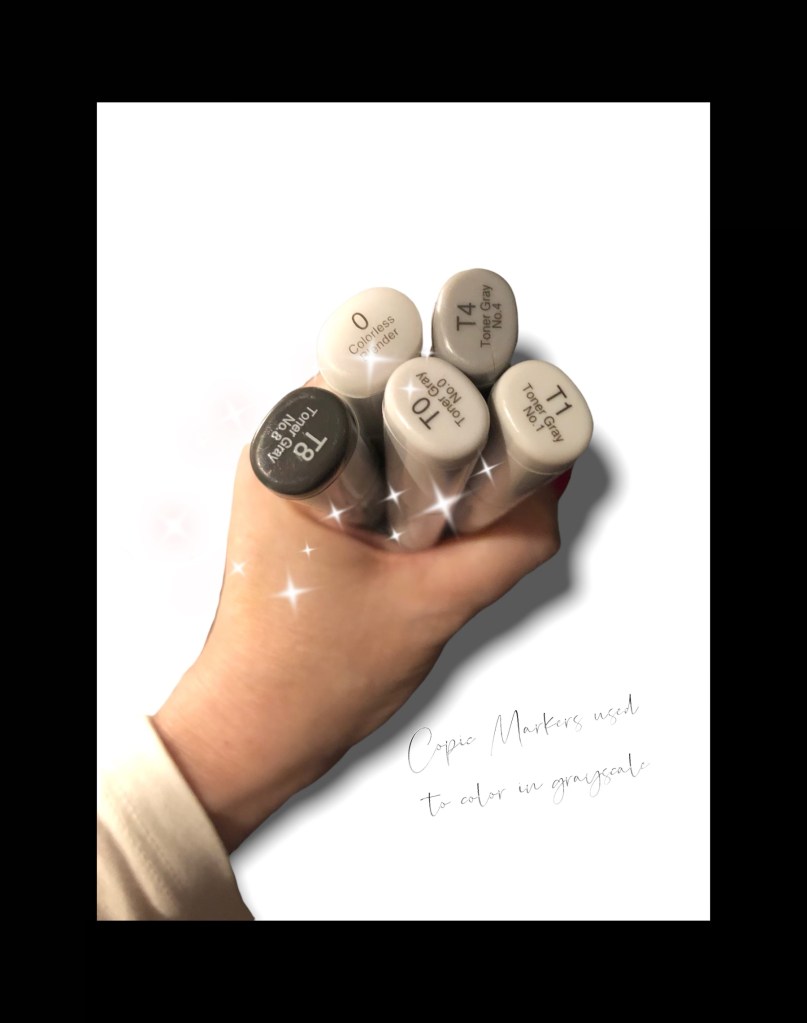
I used the same image and stamped on Hammermill 110 lb cardstock. I colored up with my Copic Markers. I stamped the image on Gina K masking paper and fussy cut. I placed the mask on top if my image to protect it. I ink blended using a palm ink blender, Annie’s blue inks over the sun ray stencil from Stamp Anniething.
- Orange Mat- 5 1/2 in x 4 1/4 in
- Yellow Mat – 5 1/4 in x 4 in
- White (stamp image on this piece) 4 3/4 in x 3 1/2 in – pop up and center on yellow with foam tape
Copic Color Combos for Card
- Leaves / Green- G99, G94, G82 and Y00
- Flowers / Yellow – Y18, Y11, YR23, Y21
- Flowers / Orange – R 14, YR04, YR15, YR02
- Sky & Azure Stamp Anniething Ink Cubes- ink blended with Sun-ray stencil