There’s something about stepping into a new season of life that invites reflection… and if I’m being honest—sometimes a little sarcasm too 😅
Lately, I’ve been navigating all the “joys” that come with menopause, and instead of resisting it, I decided to lean ALL the way in… creatively, of course.
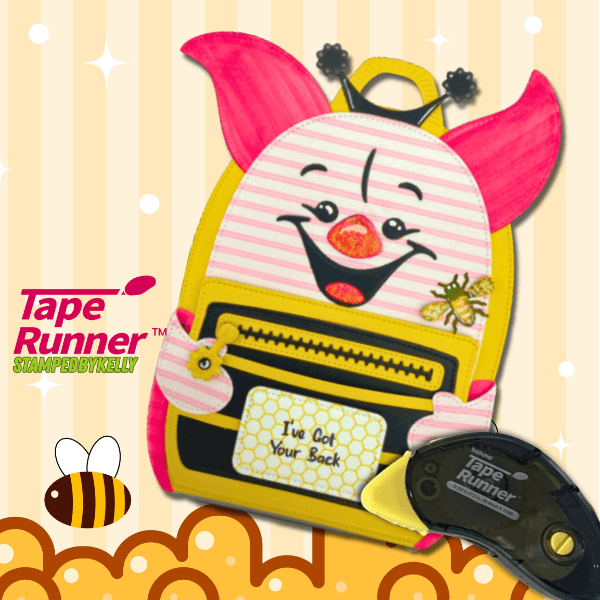
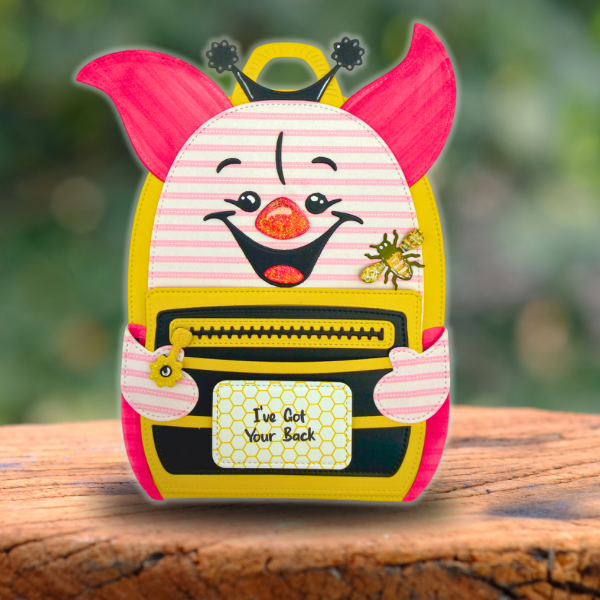
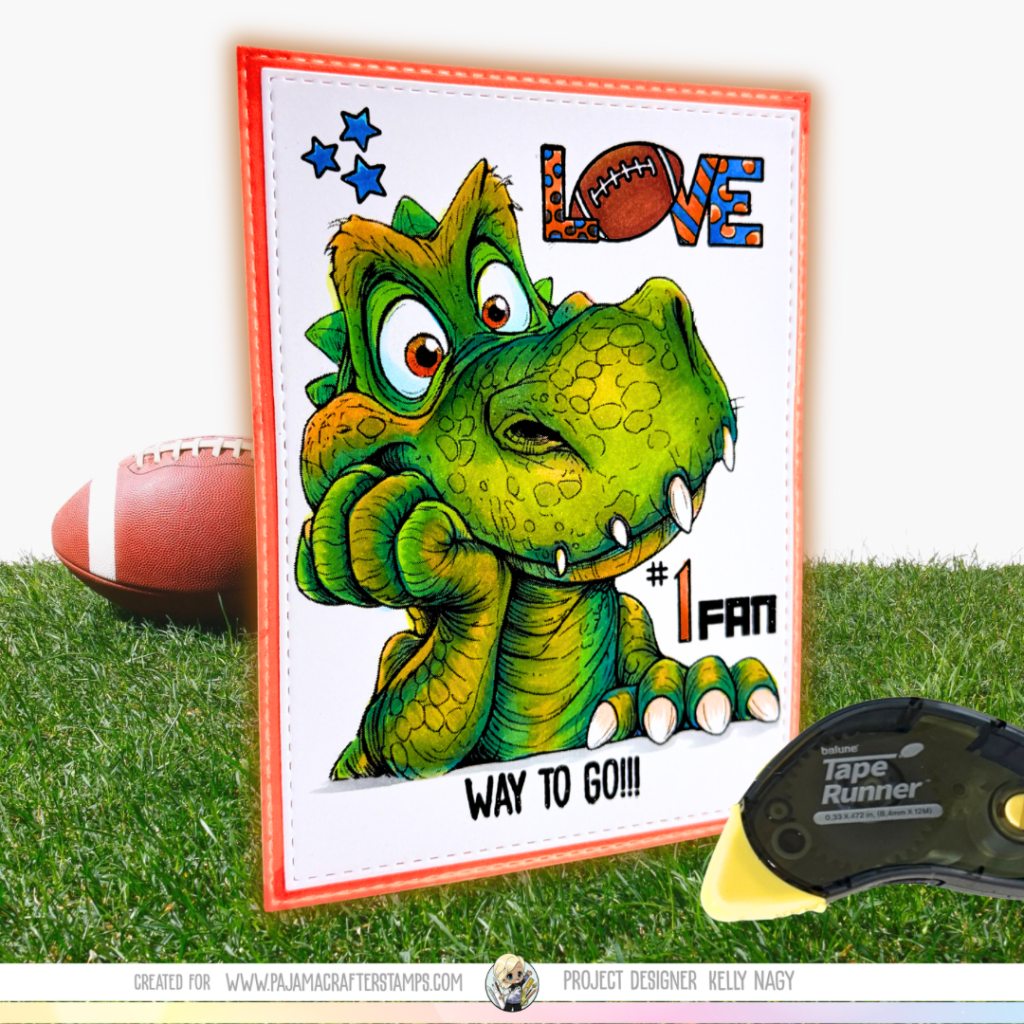
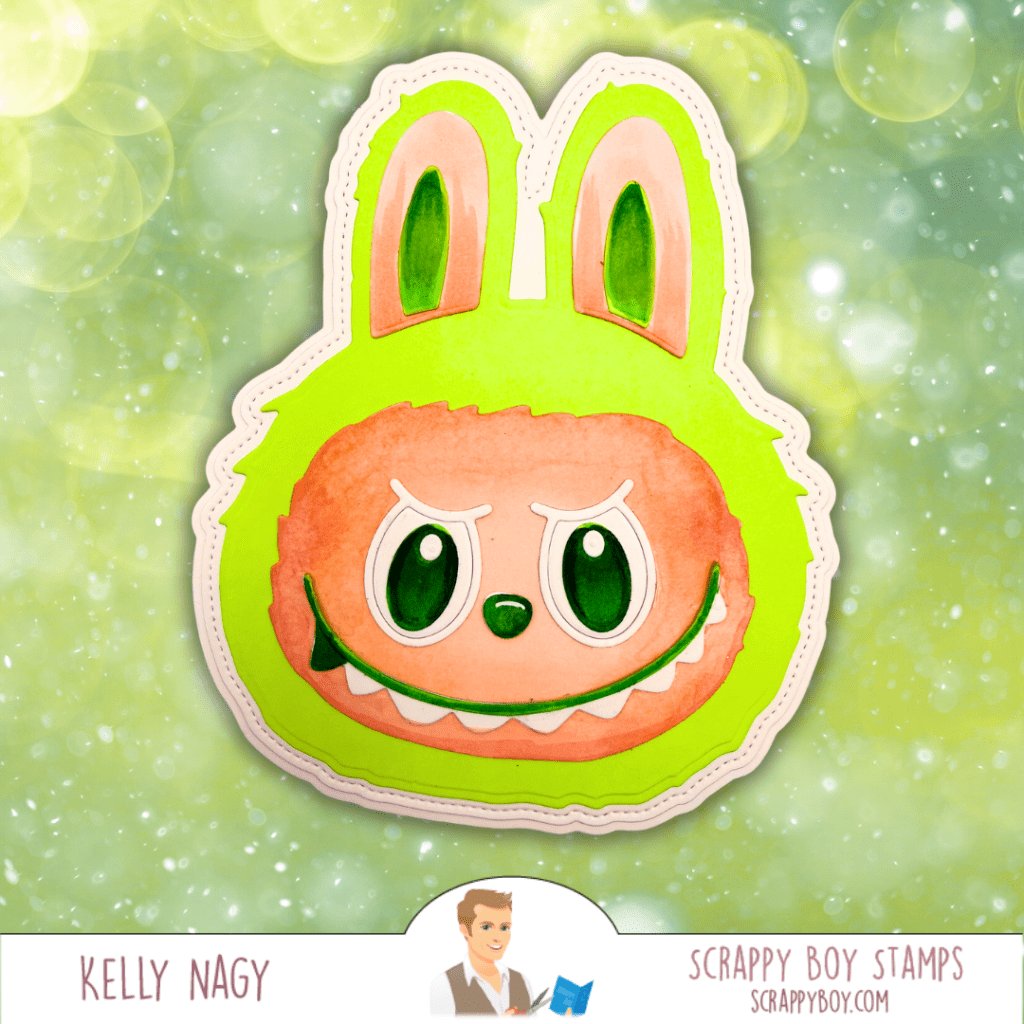
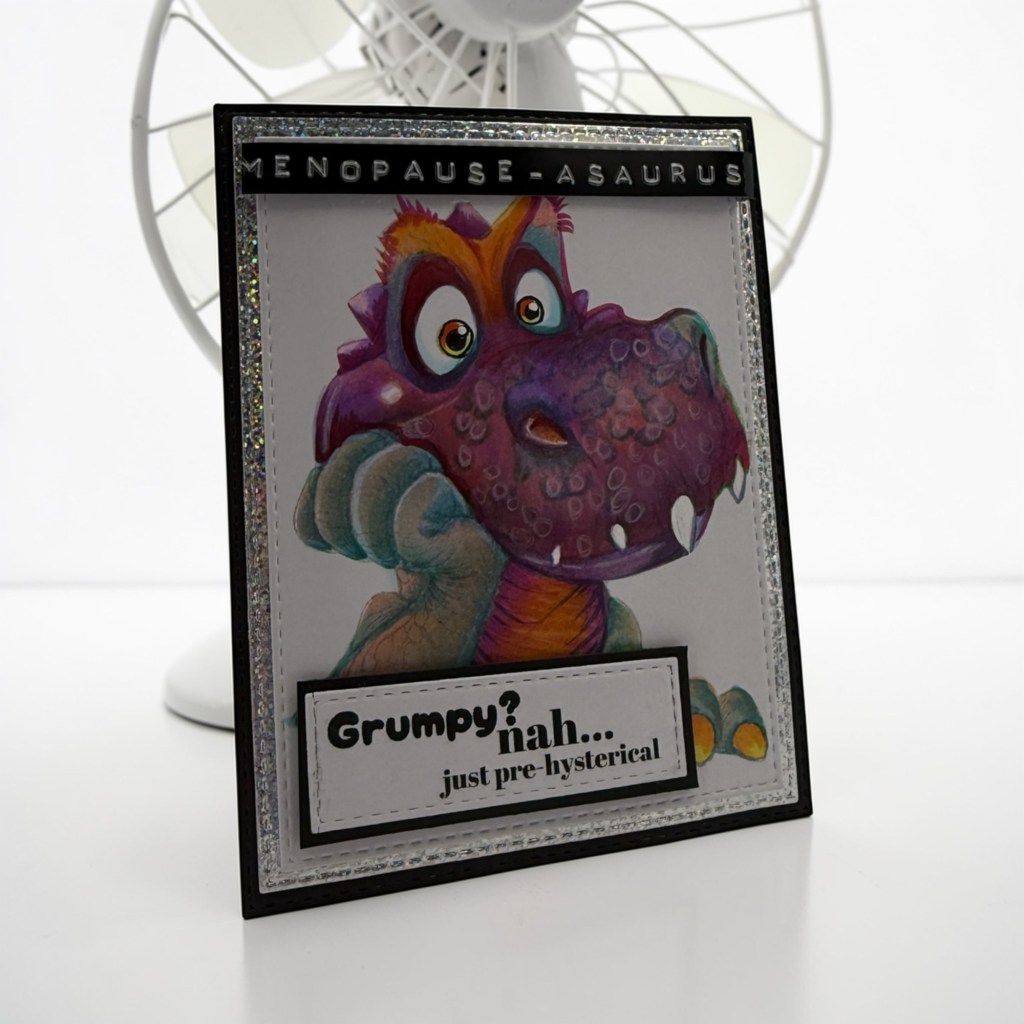
That’s how MENOPAUSE-A-SAURUS was born 🦖🔥
She represents the heat, the unpredictability, and the strength that comes with this phase of life—but with a sense of humor, because let’s face it… we need it!
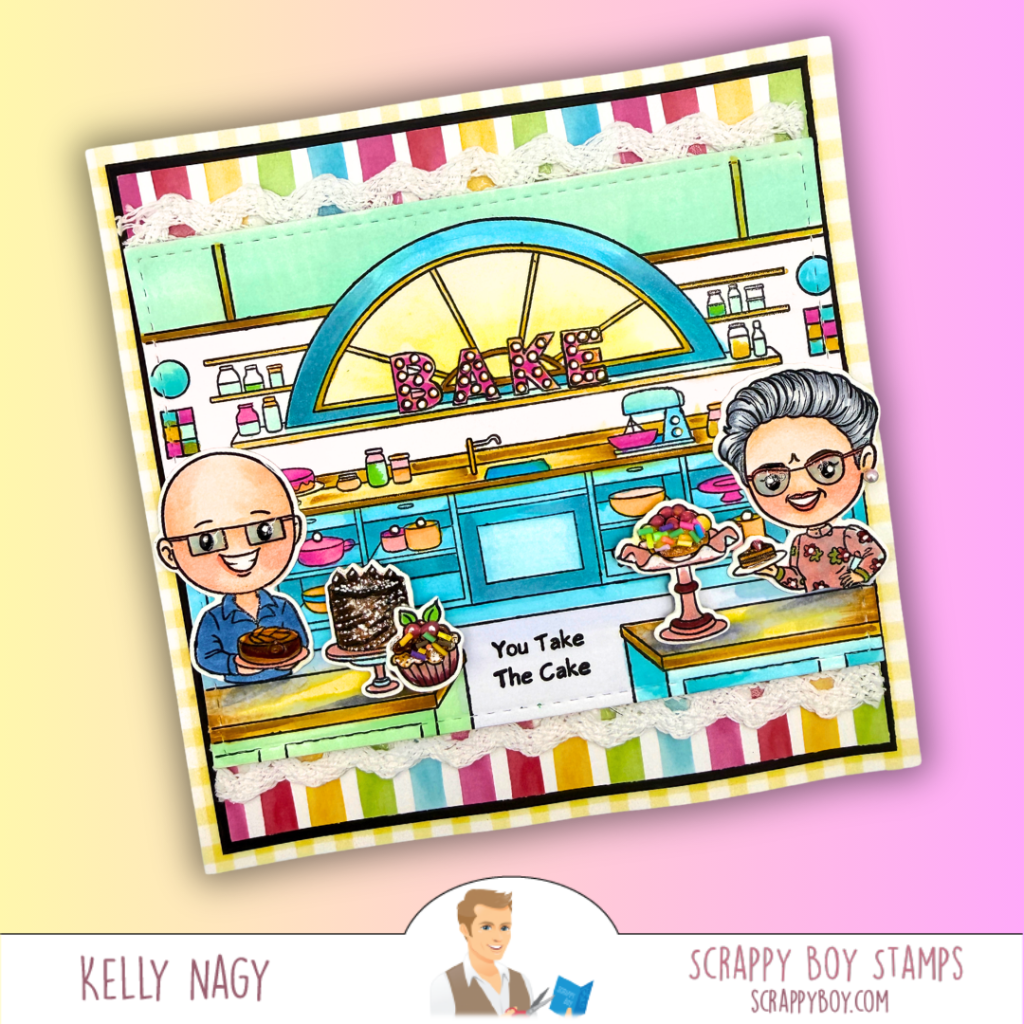
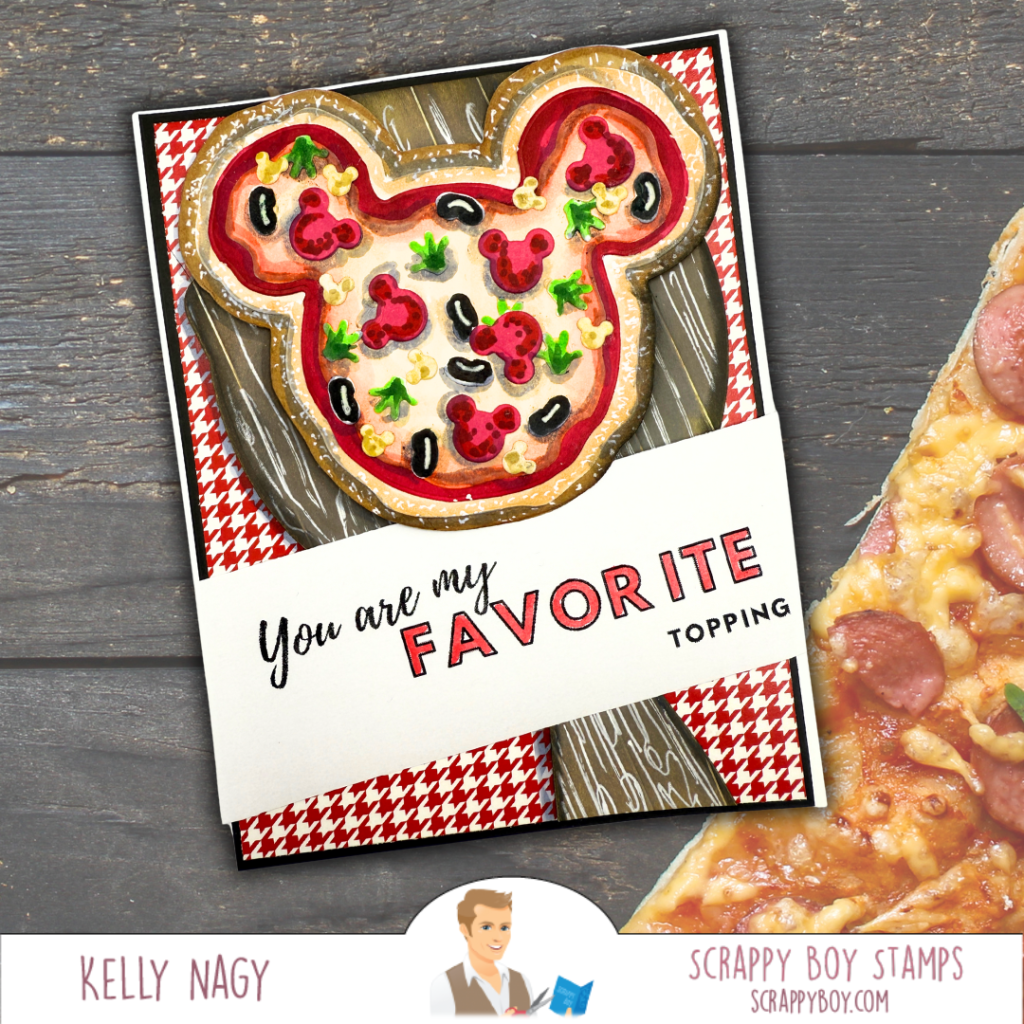
For this card, I challenged myself to take a color adventure and really push beyond my usual palette. I combined playful stamping with bold metallic accents using:
Closer To Extinction Stamp Set Smoking Hot Hero Specialty Metallic Paper
The metallic elements added just the right amount of drama (which felt appropriate 😉), and building this character from the ground up was such a fun creative exercise.
This project is more than just a card—it’s a reminder that even the more difficult transitions in life can spark creativity, connection, and yes… even laughter.
If you’re in this season too, I see you 💕 And if you’re not yet—just know, your time is coming 😆
You can find all the products I used here:
https://pajamacrafterstamps.com/STAMPEDBYKELLYBLOG
Thanks for being here and sharing in both the creativity and the real-life moments wit