Hello, crafty friends! 🎉✨
I’m thrilled to announce that Pajama Crafter Stamps has launched their August Release, featuring SIX brand new stamp sets! These designs perfectly blend the excitement of Back to School with the early sparkle of Christmas, making it the ideal time to get crafting! 🌟📚🎄
Whether you’re looking to create cheerful classroom cards or start your holiday projects early, these new sets will surely inspire you! 🎁💌
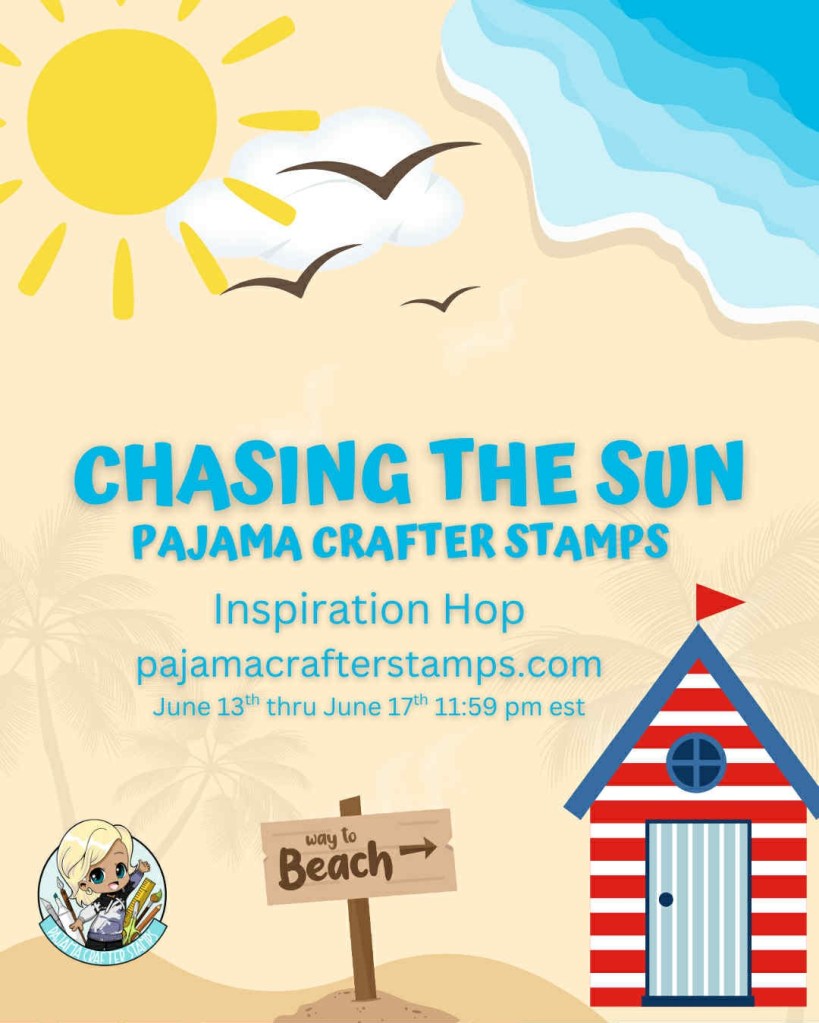
Join the Instagram Hop for a Chance to Win!
Don’t miss out on the chance to win a $25 store voucher! Here’s how to participate:
- Leave a comment and a like at each stop in the hop.
- Follow both me and @pajamacrafterstamps on Instagram.
- Make sure to enter by August 19 at 11:59 PM EDT, as the winner will be announced on August 20! 🏆
Please note: This hop is in no way sponsored, administered, or associated with Instagram or Facebook. By entering, entrants confirm they are 13+ years of age, release Instagram and Facebook of responsibility, and agree to their terms of use.
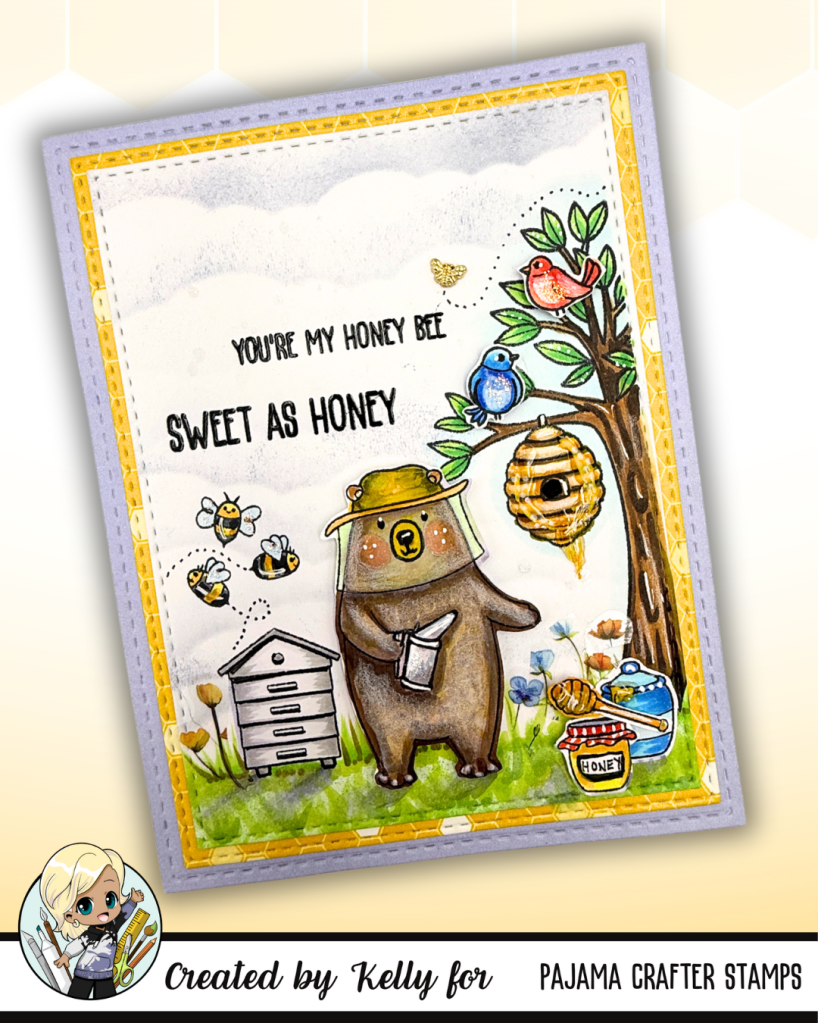
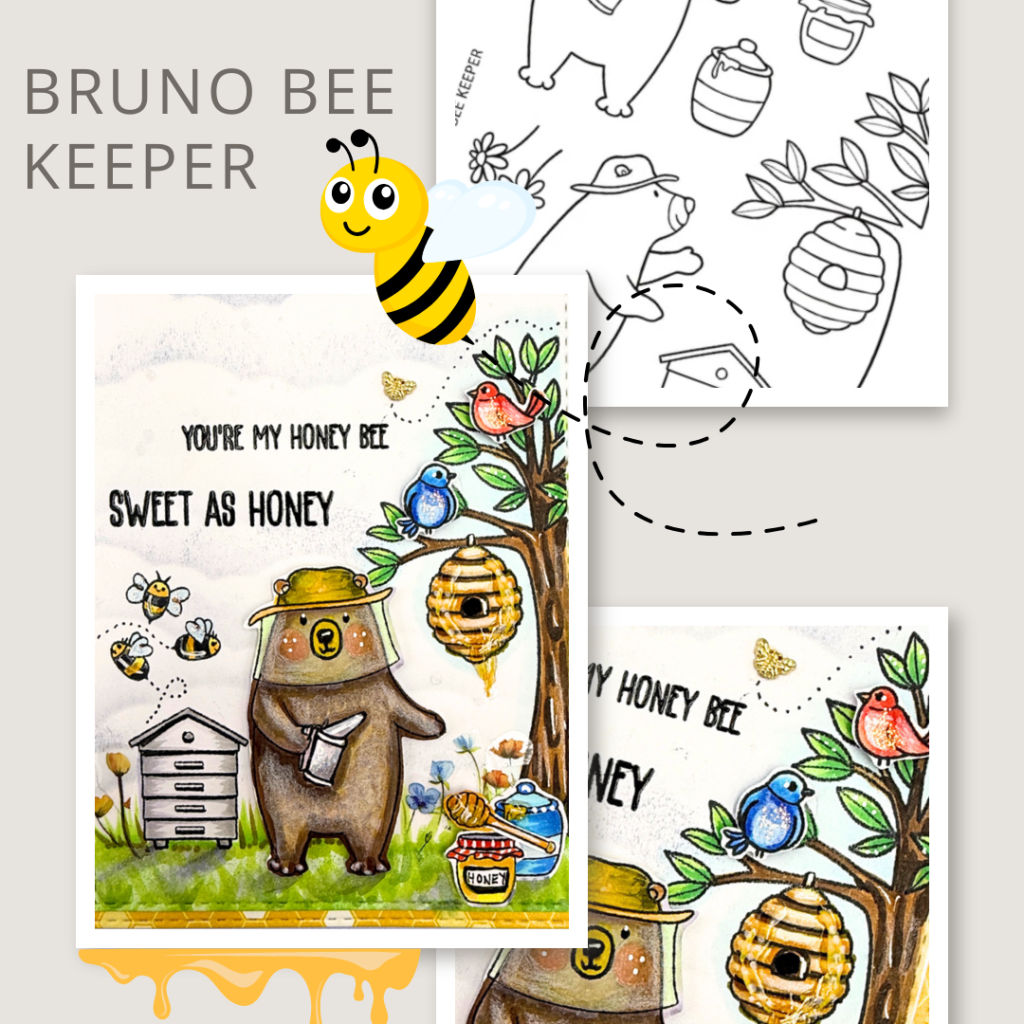
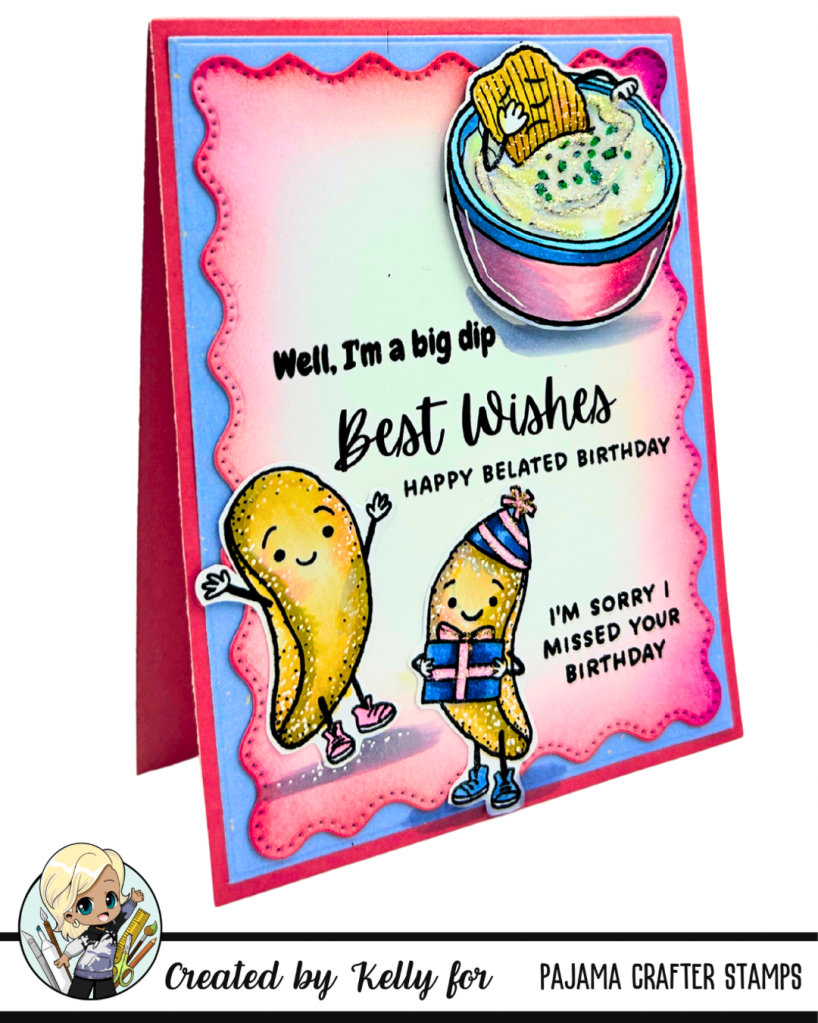
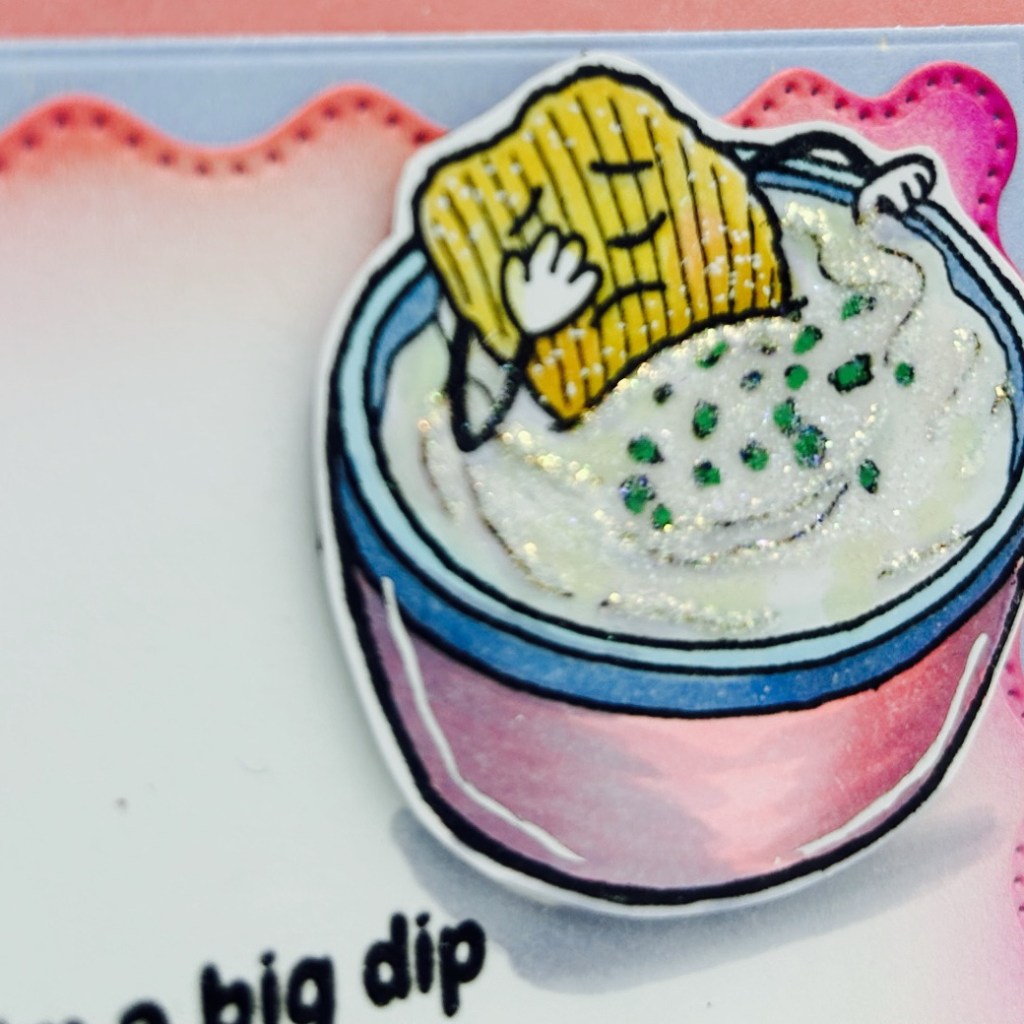
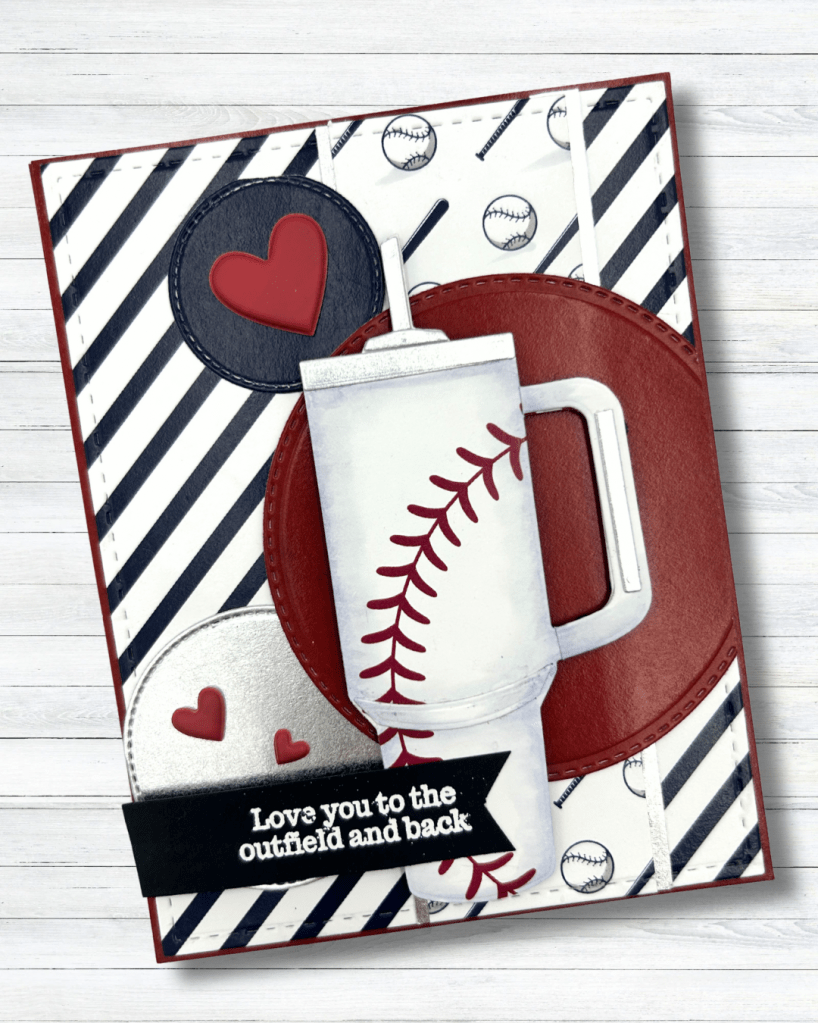
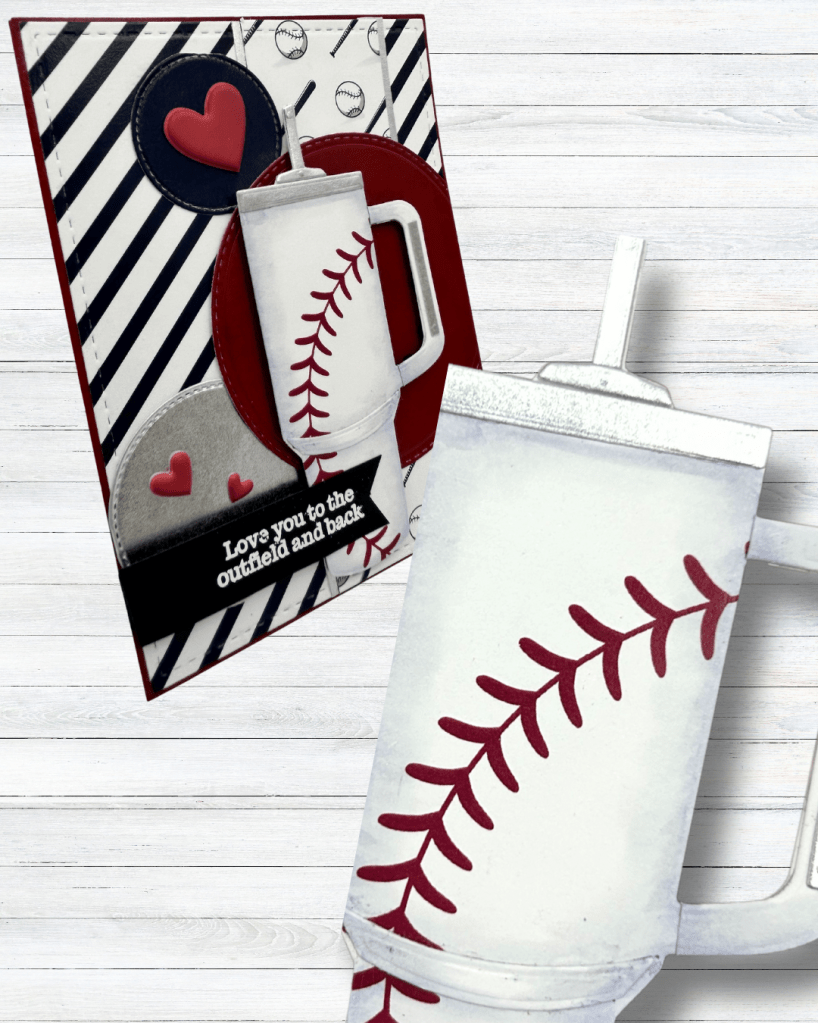
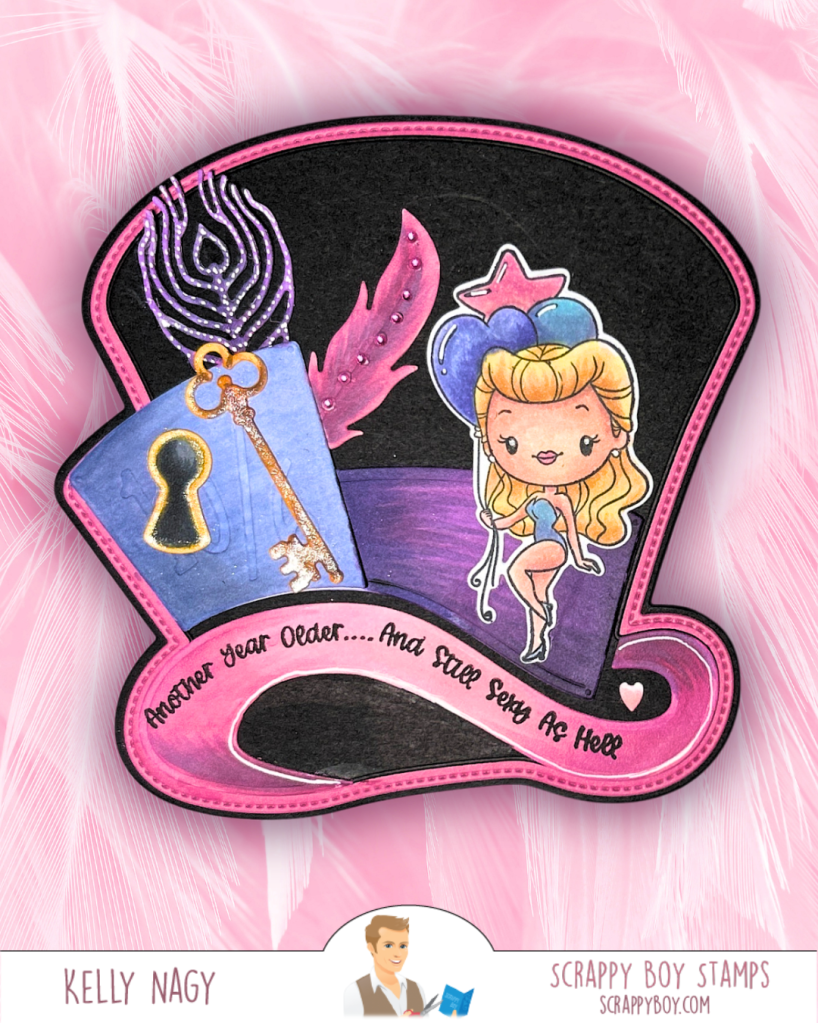
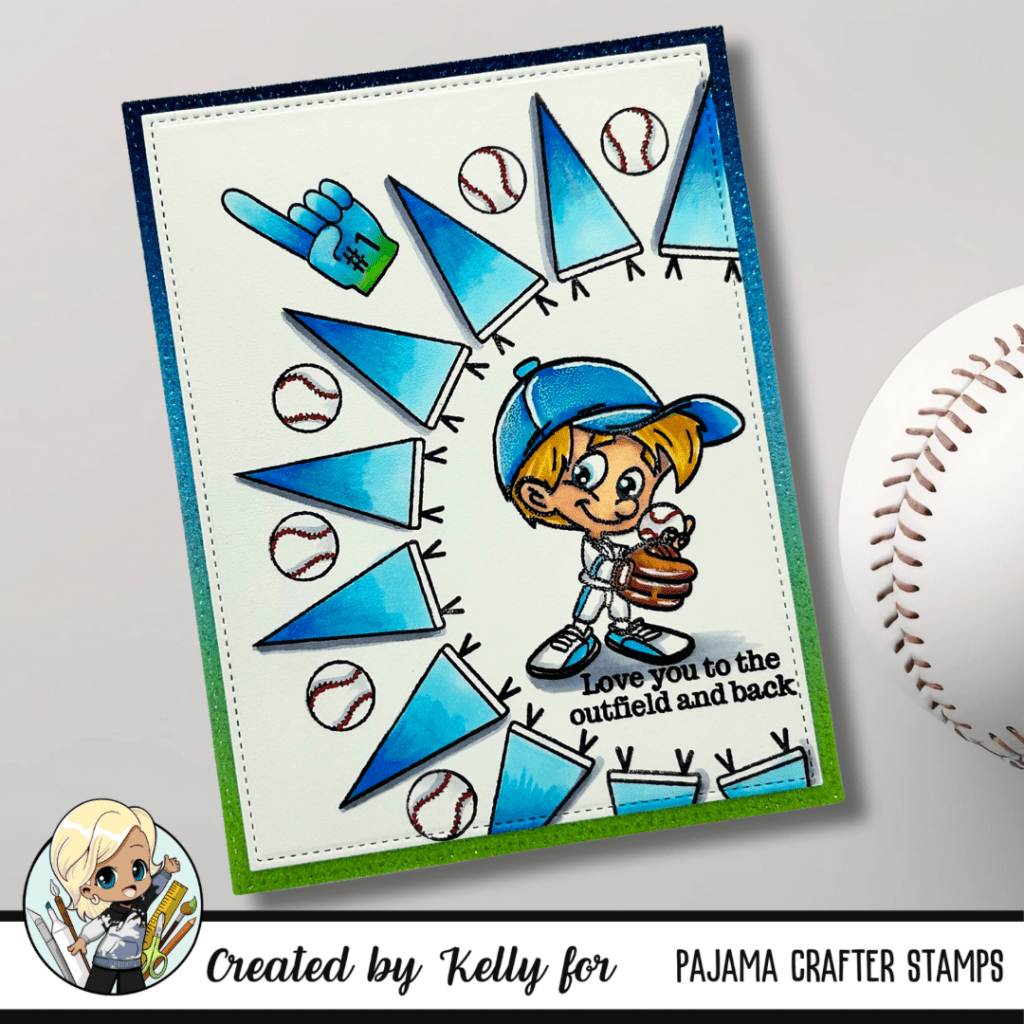
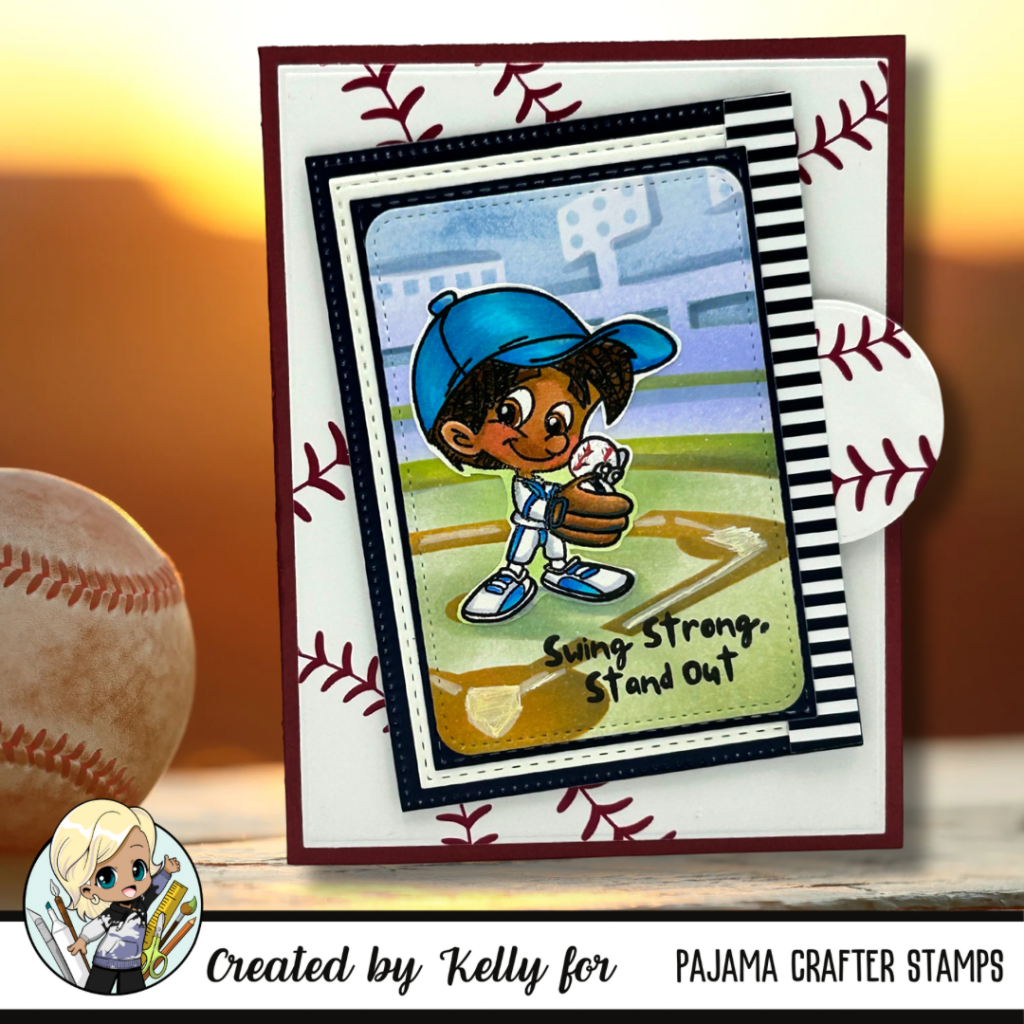
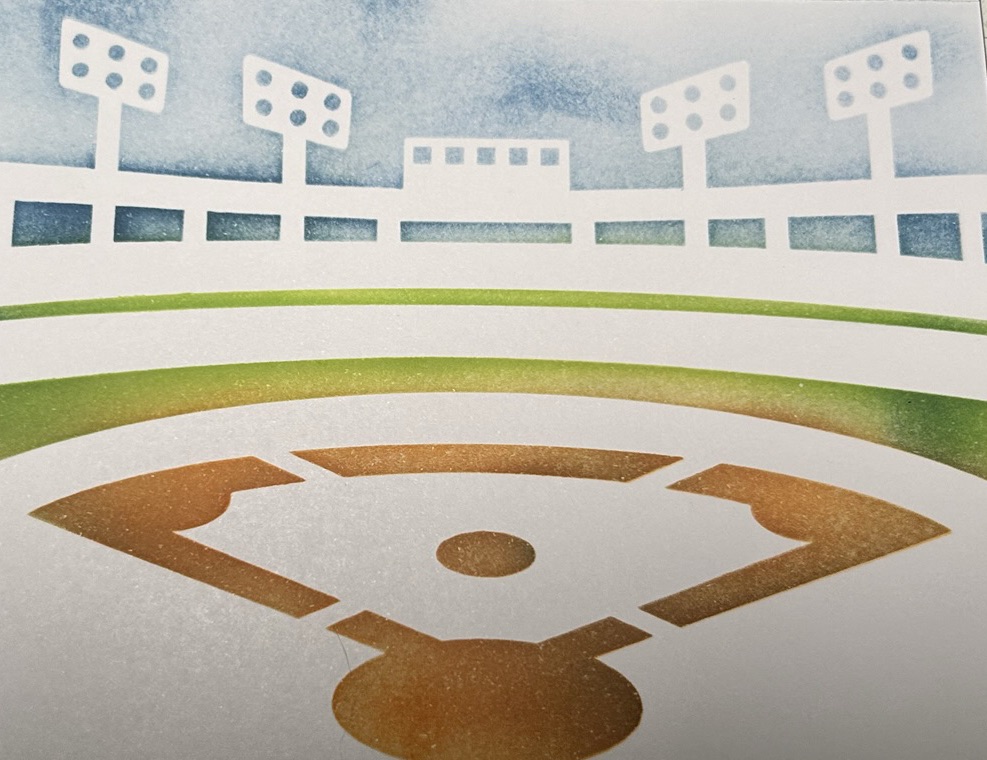
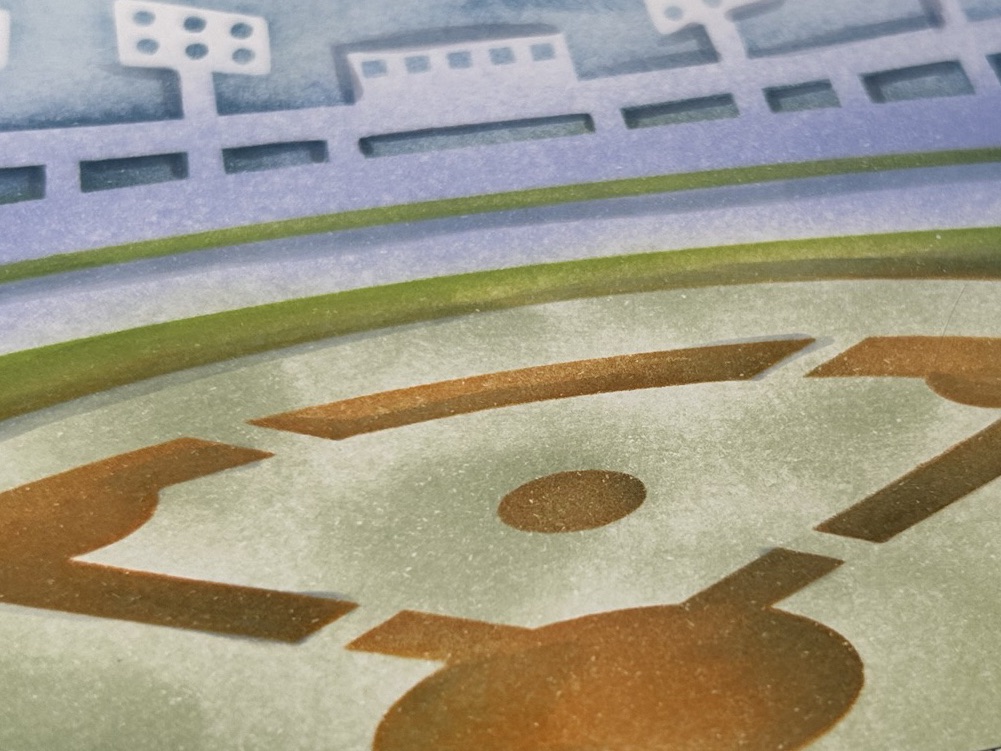
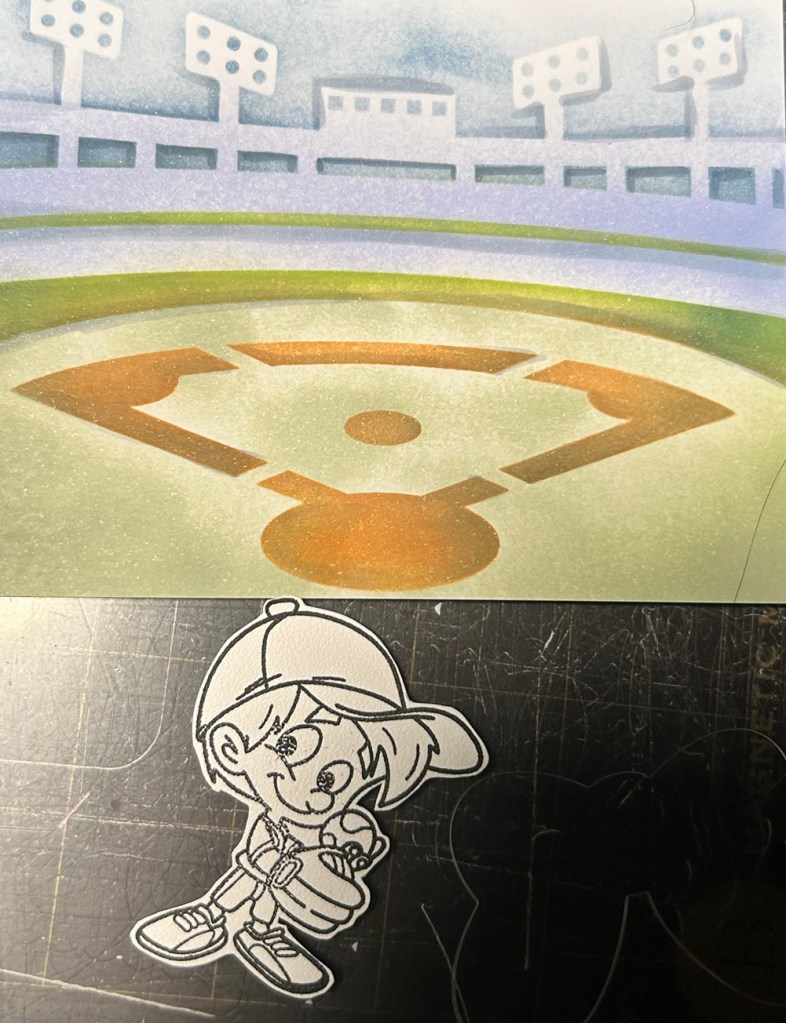
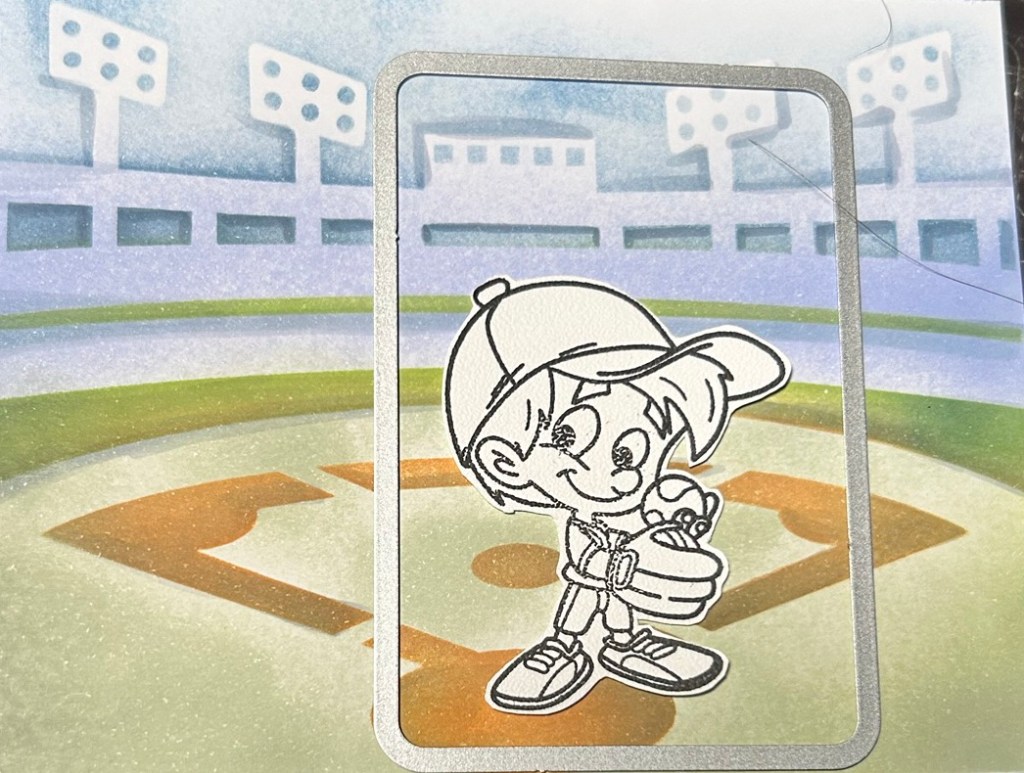
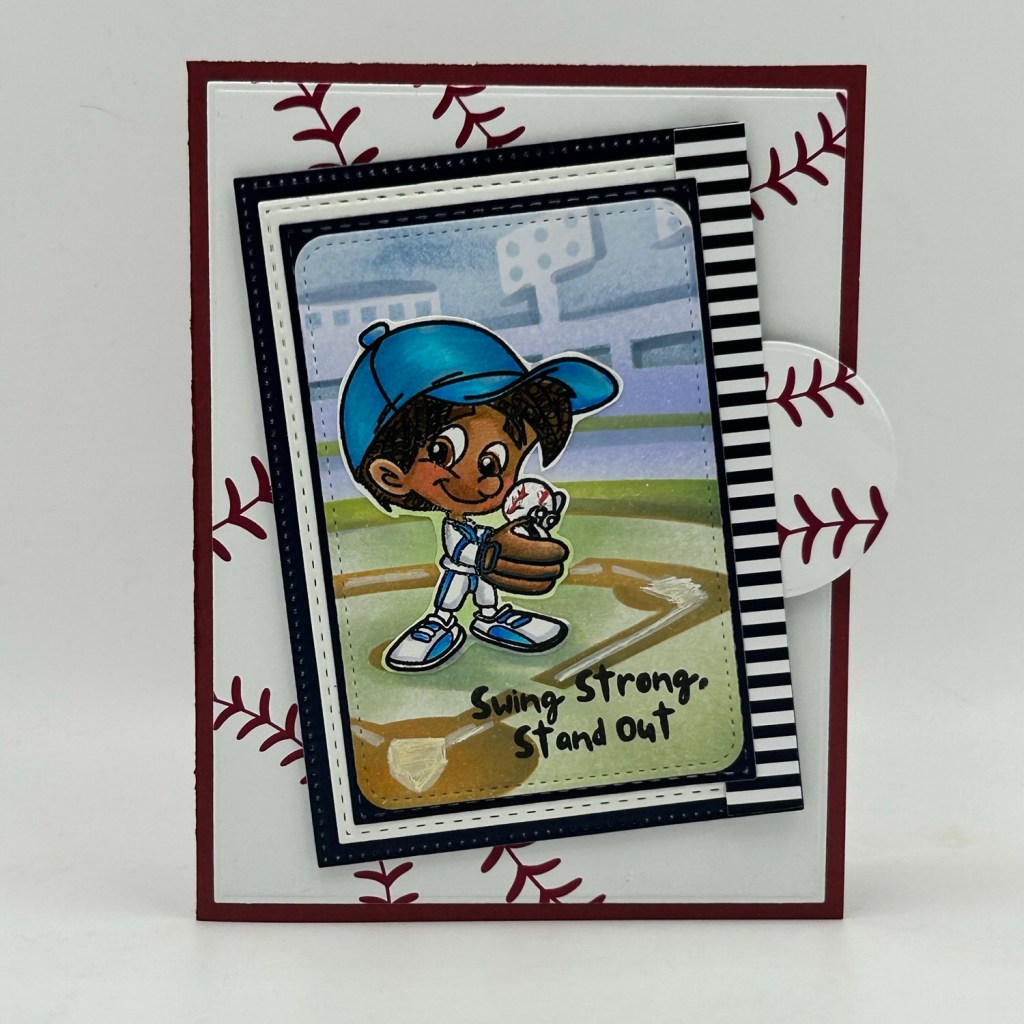
Today, I am sharing 4 projects, using 3 of the 6 newest stamp sets!
Here are the incredible new stamp sets you can explore:
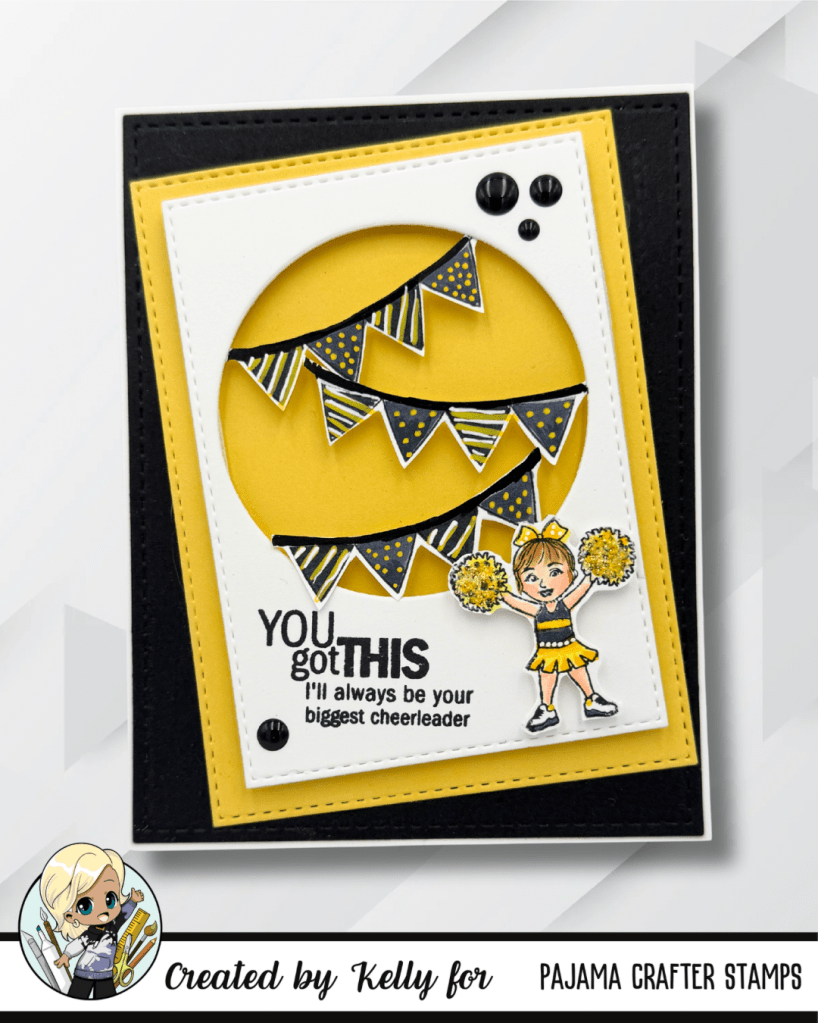
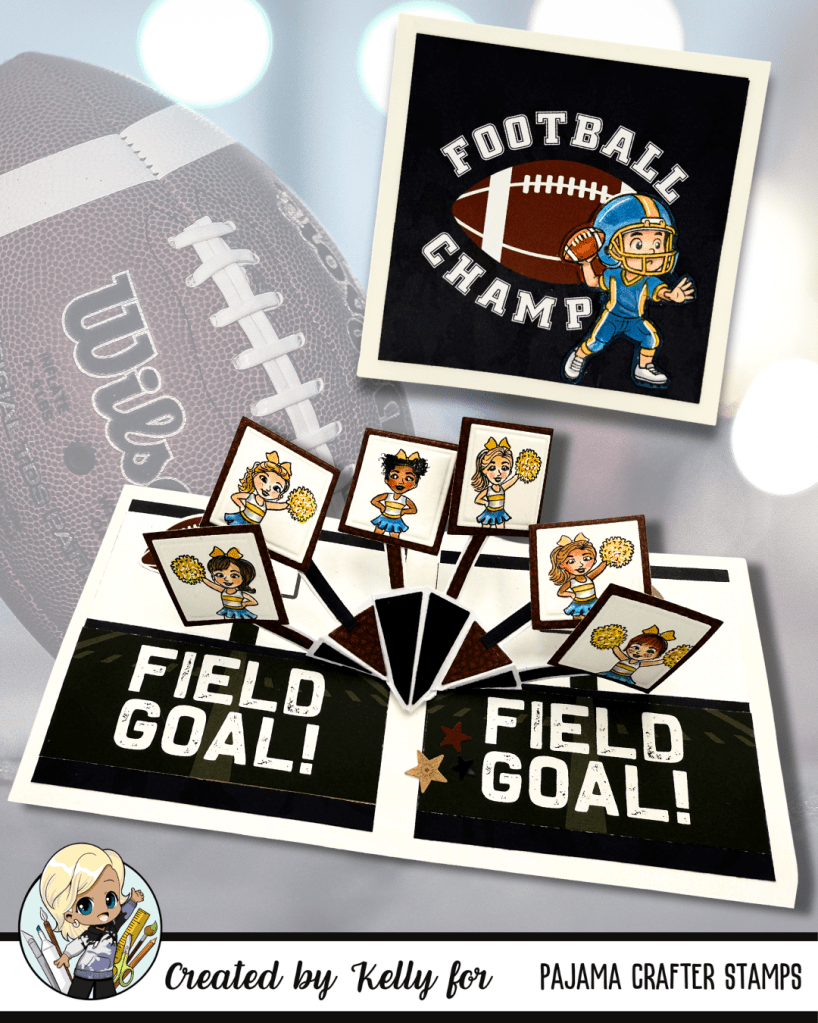


- Cheer You Up Stamps: https://pajamacrafterstamps.com/products/cheer-you-up-stamps-1
- Friday Night Lights: https://pajamacrafterstamps.com/products/friday-night-lights
- Rustic Christmas Owl: https://pajamacrafterstamps.com/search?q=owl
Don’t forget to HOP on the Pajama Crafter Stamps’ Instagram page and flow the directions on each DT’s Instgram, for your chance to win a FABULOUS prize!
Happy crafting! ✨