Hello, fellow crafters! As a passionate card maker and a huge fan of all things papercrafting, I’m thrilled to share all the excitement surrounding the latest release from Pajama Crafter Stamps! 🌈 If you love whimsical stamp images and adorable coordinating products like I do, you’re in for a treat!
Pajama Crafter Stamps is celebrating summer with their vibrant new collection, perfect for bringing some sunshine into your crafting. From fresh stamp sets to beautifully designed papers and stencils, there’s something to inspire every creative spirit. Each product is designed with love and whimsy, making them a delight to use in your projects.
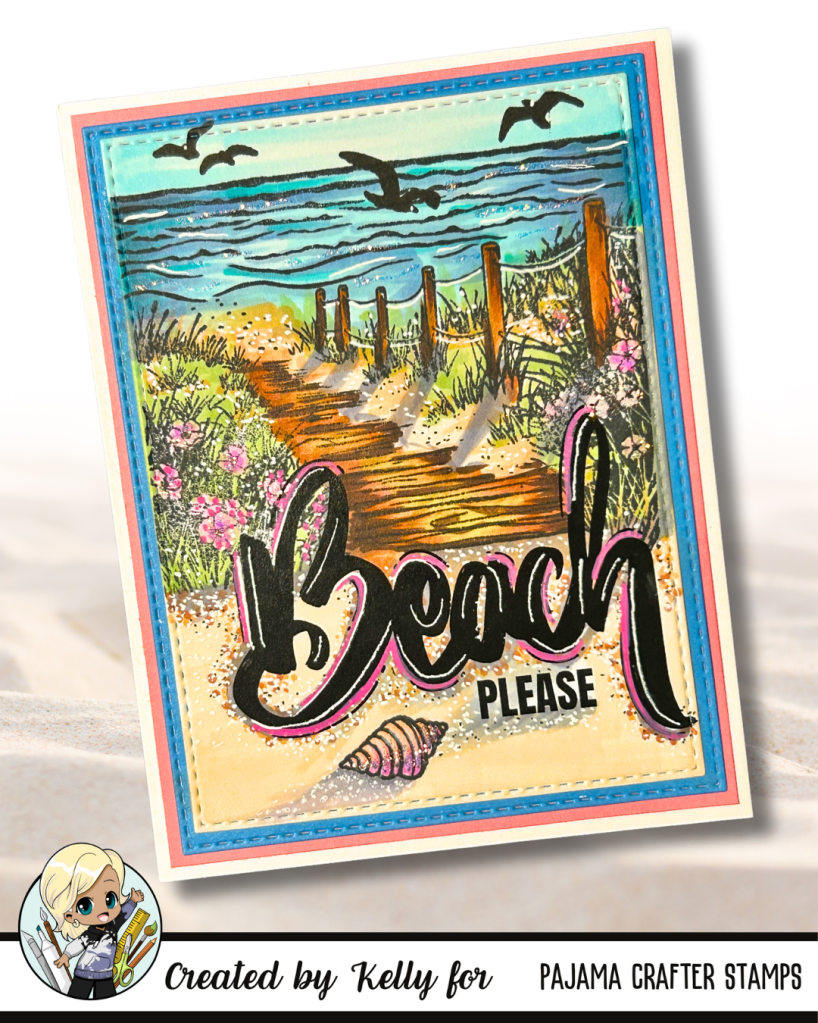
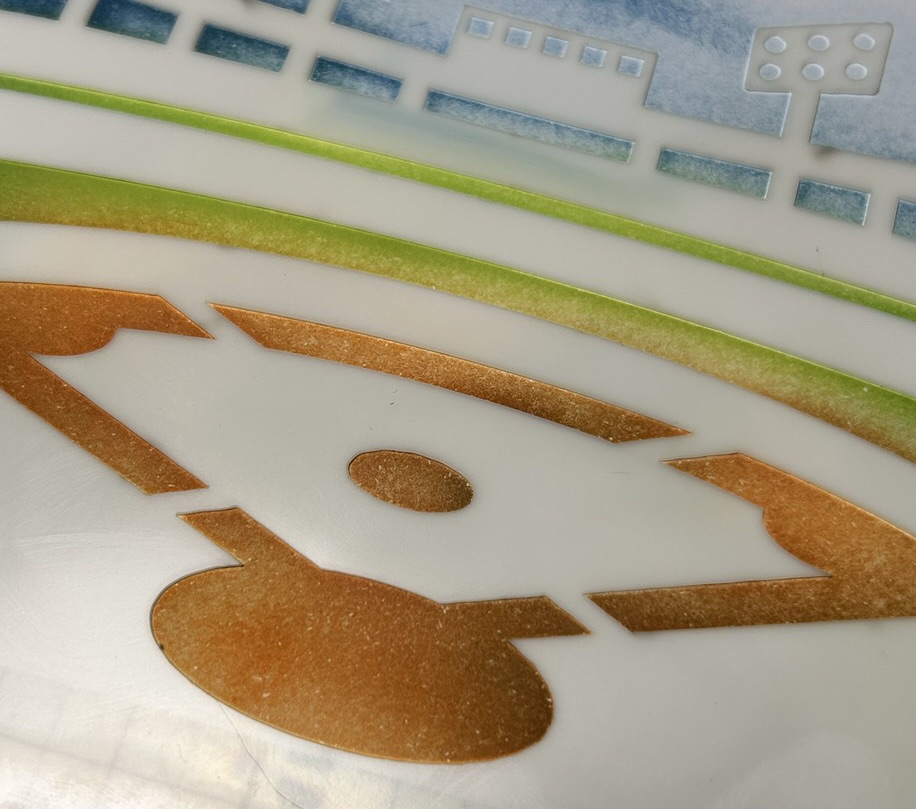
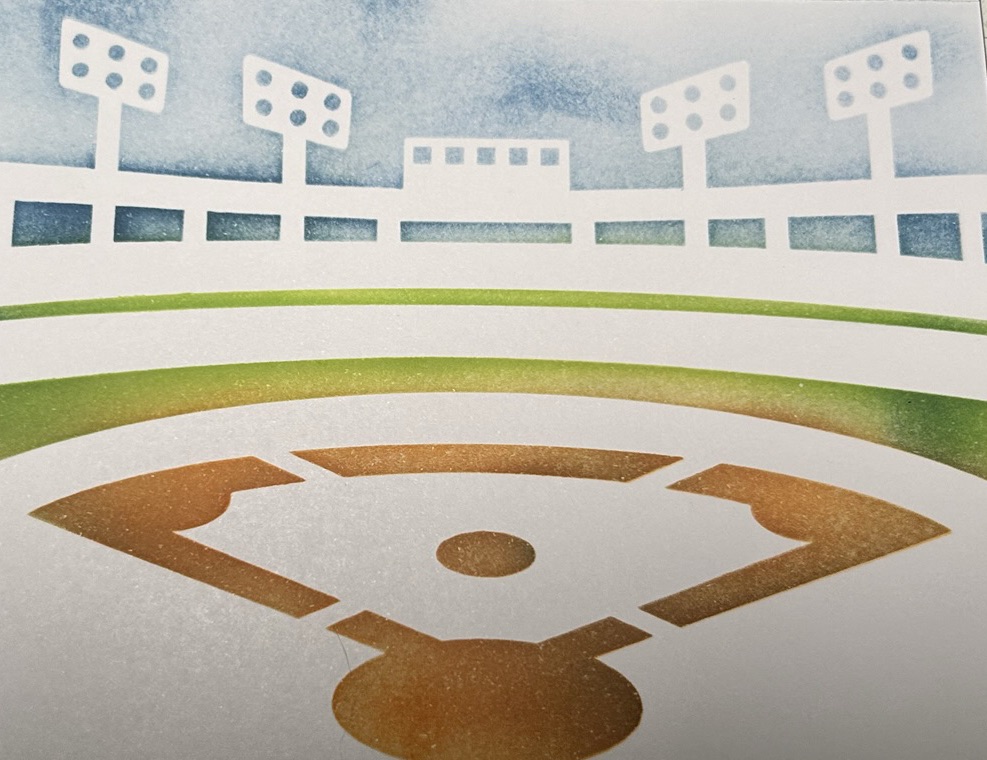
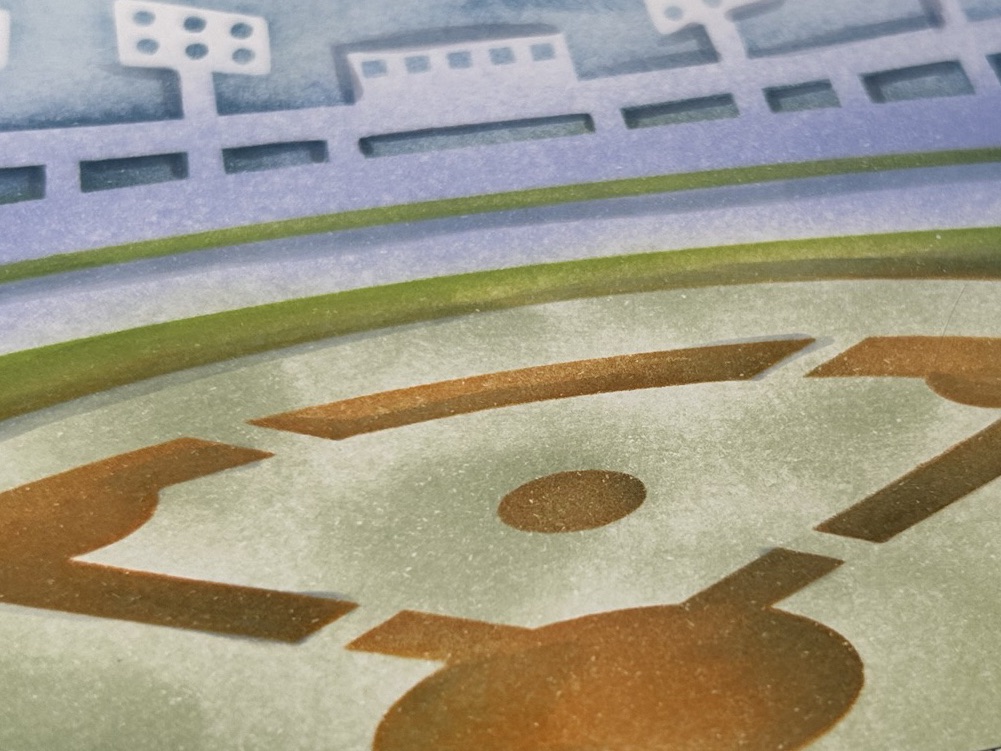
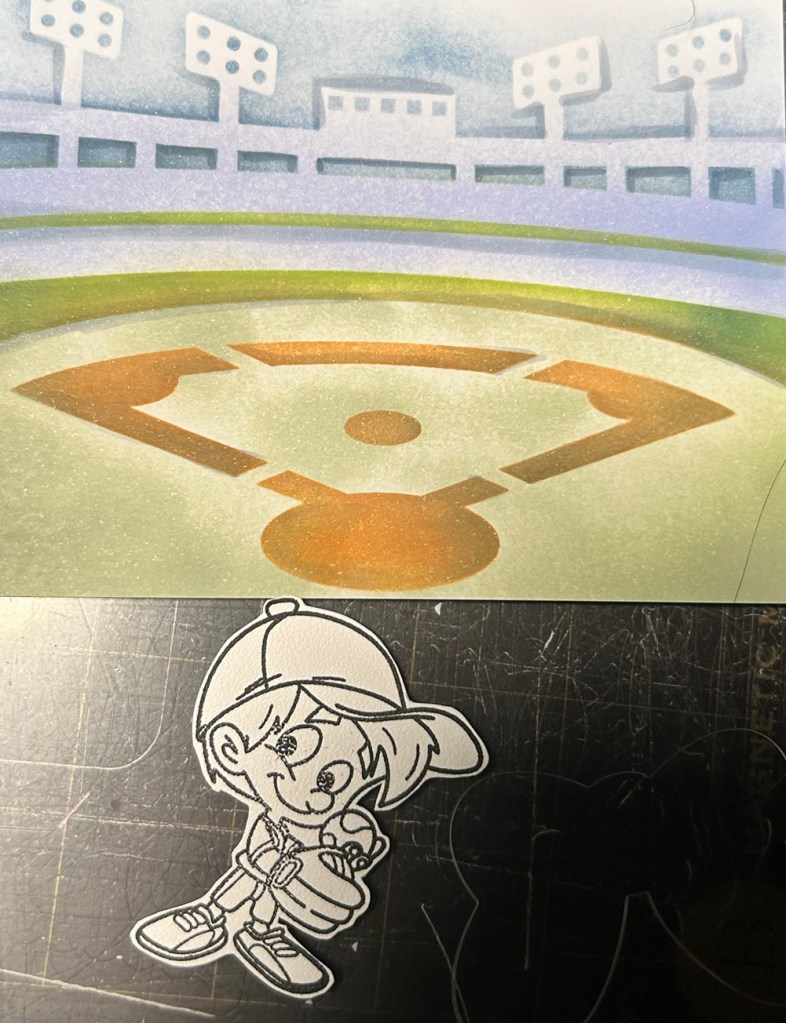
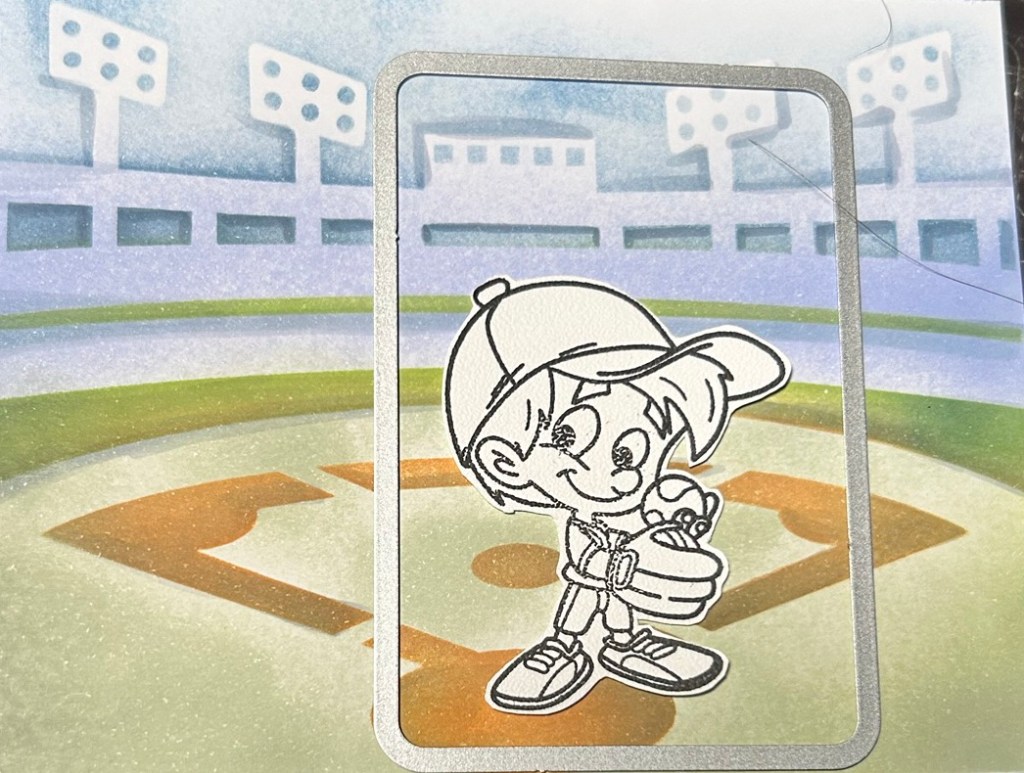
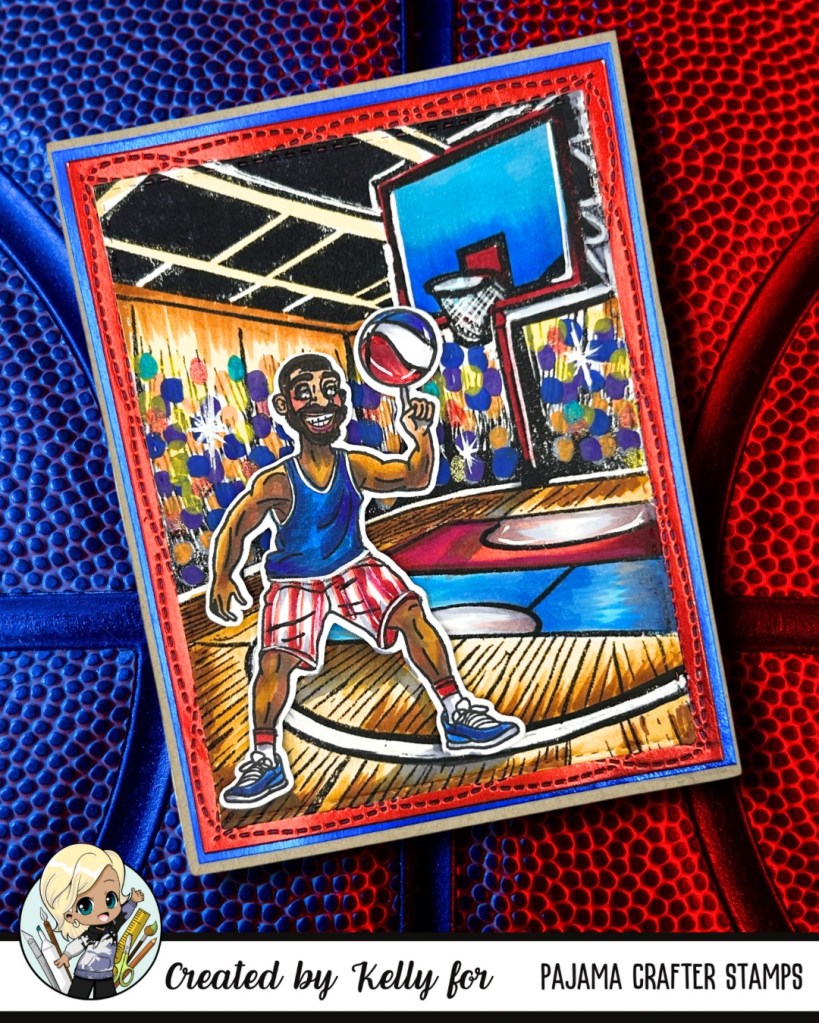
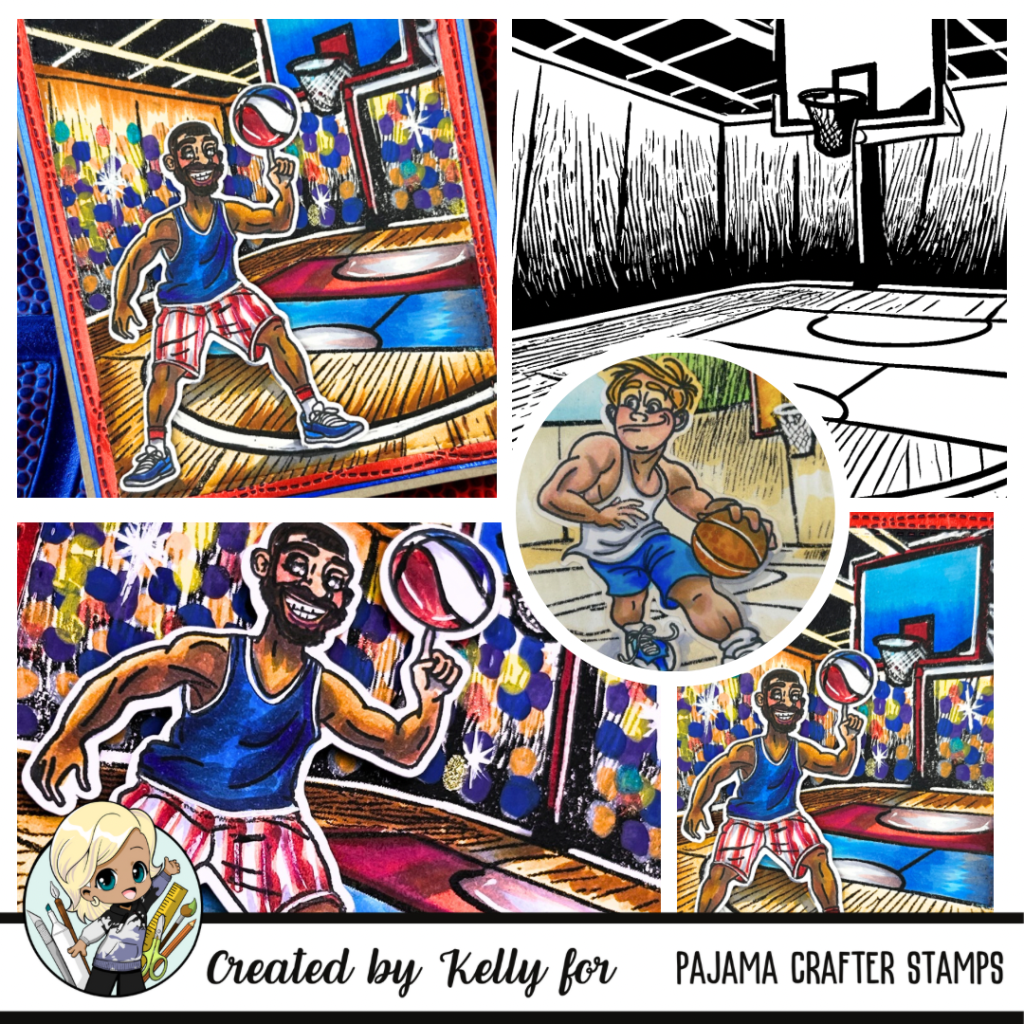
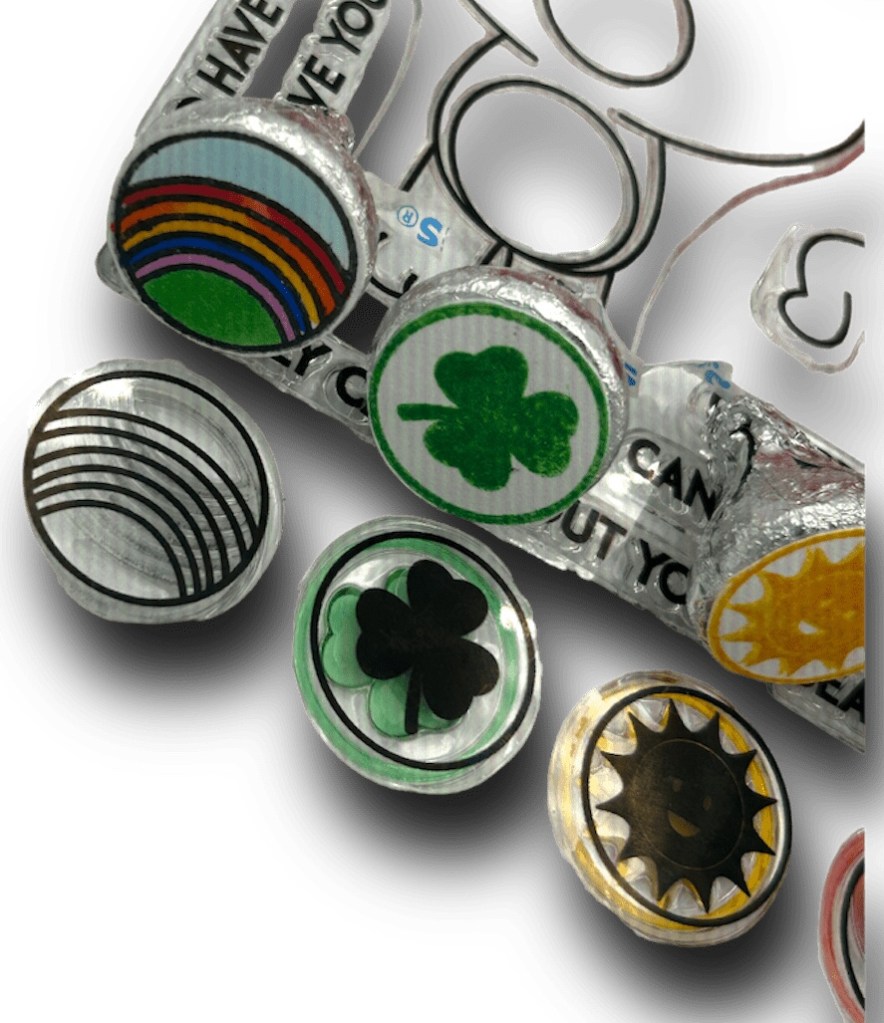
For my recent card creation, I used a panel from the lovely Beach Retreat Flash Cards, which are such a fantastic way to add colorful scenes to my crafts! With 24 unique designs in each pack, these cards can be used either as is or to explore fun foiling techniques. They allow for so much creativity! 🎨
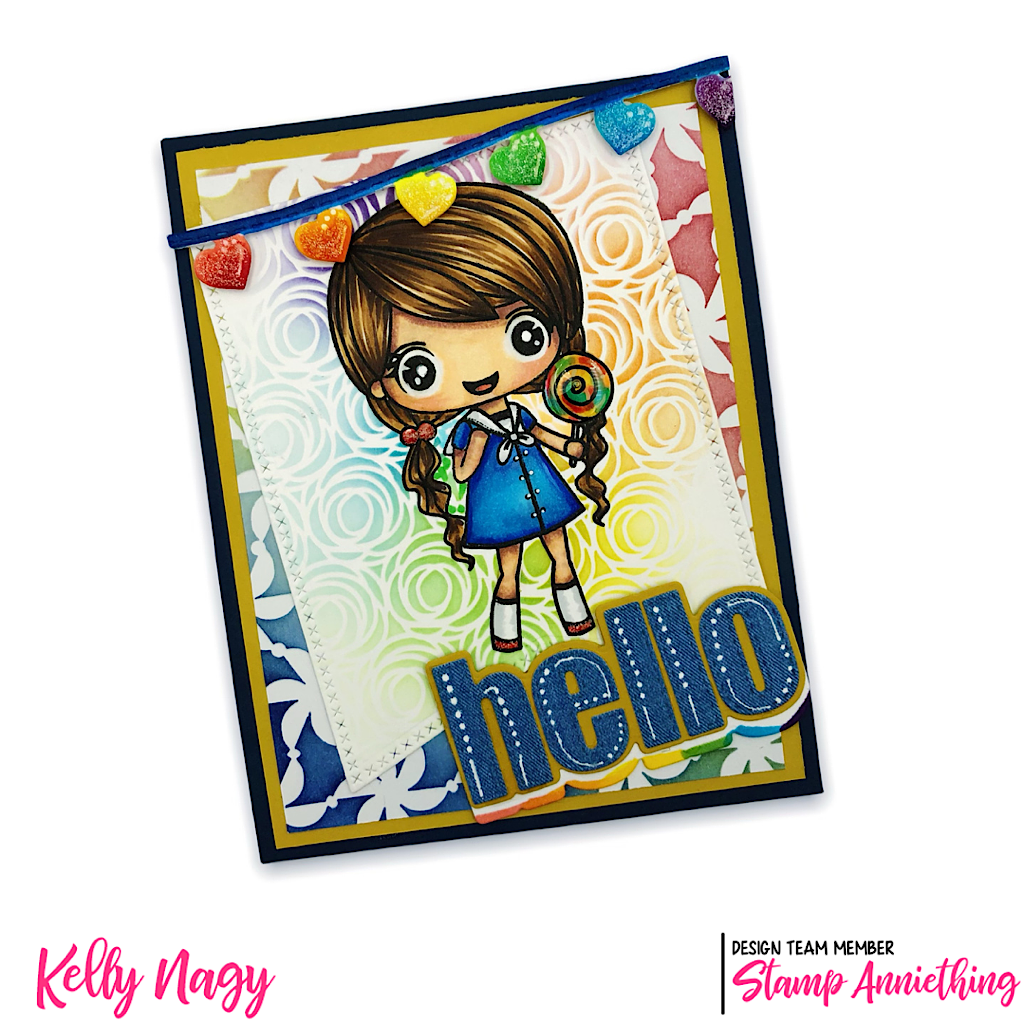
The standout for me this season is definitely the new “Sea You Soon” stamp set! Its playful imagery captures the essence of summer perfectly. I’ve had a blast stamping and coloring to create dreamy beach scenes that instantly transport me to sun-kissed days.

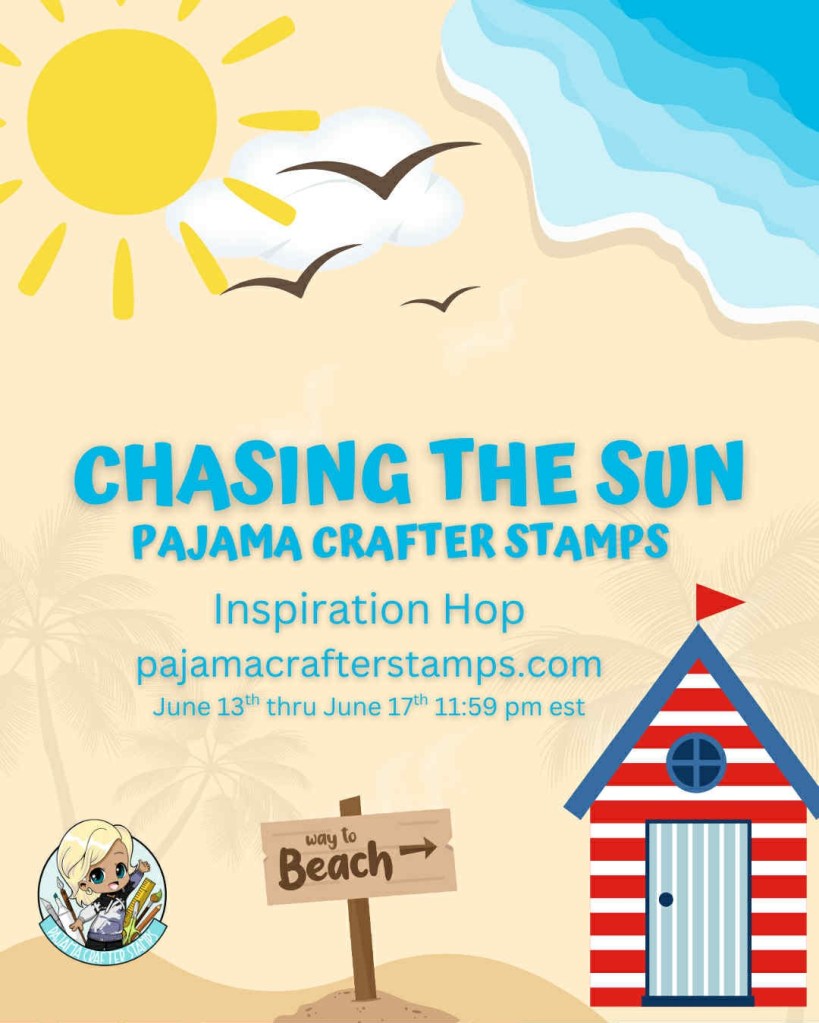
Creating with these adorable products is always a blast, and it’s wonderful to support a small family business that pours so much heart and soul into all they do. For anyone looking to add some cute, whimsical flair to their card-making arsenal, I wholeheartedly recommend checking out Pajama Crafter Stamps! There is also an INSTAGRAM HOP going on to celebrate the NEW RELEASE. Check it out!!!
Join me in celebrating sunshine and summer creativity as we continue to explore and enjoy the wonderful world of papercrafting. Happy crafting, everyone! 💖🌟