
Pajama Crafter Stamps’ Design Team Day
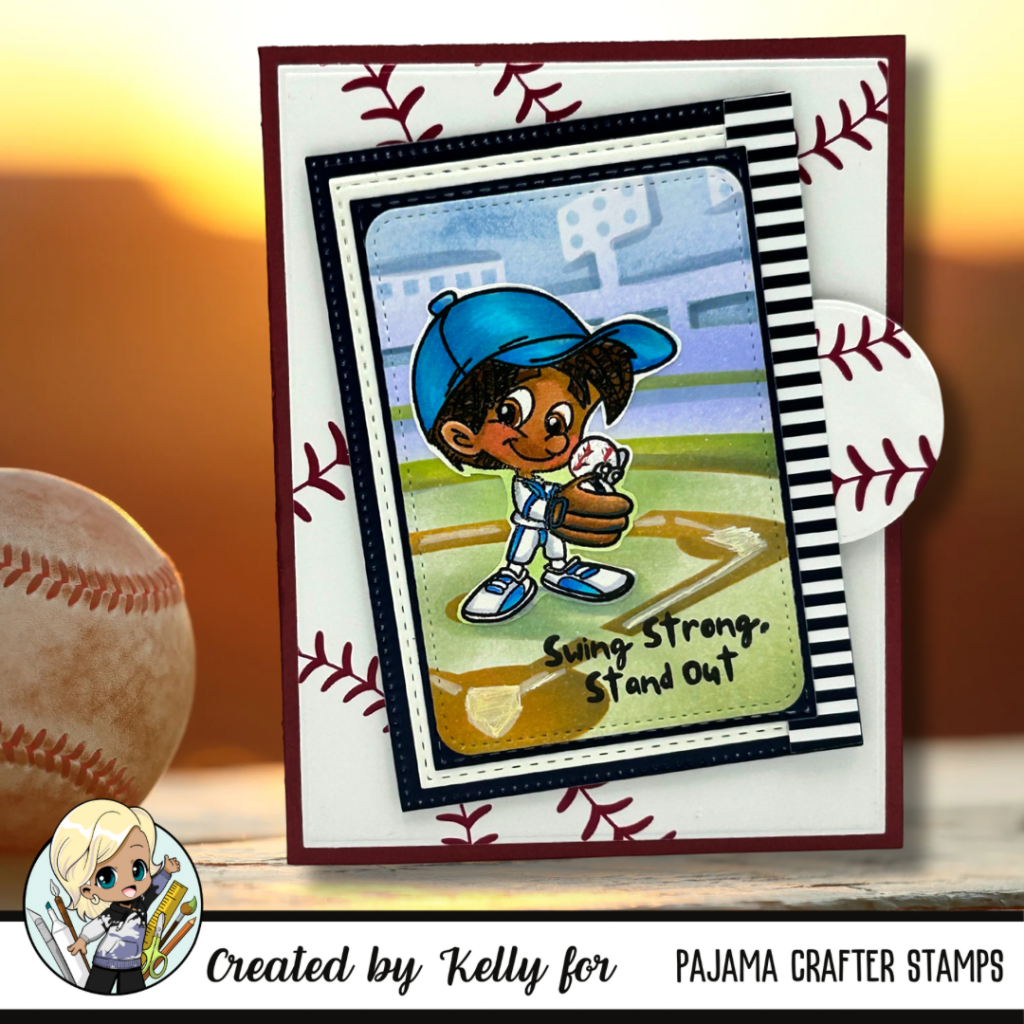
I am excited to share a fun project featuring their latest release! ⚾️ Hand-stamped greeting cards are a fantastic way to blend your creativity with a love for baseball, and the new supplies from Pajama Crafters are perfect for crafting unique cards.
Introducing the Latest from Pajama Crafters
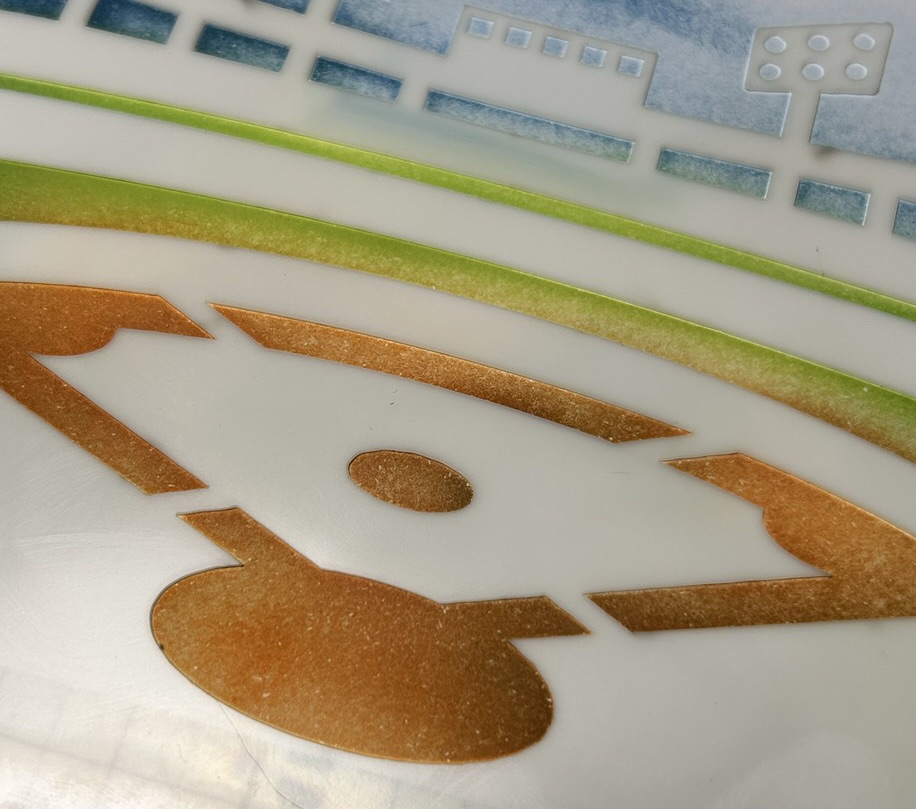
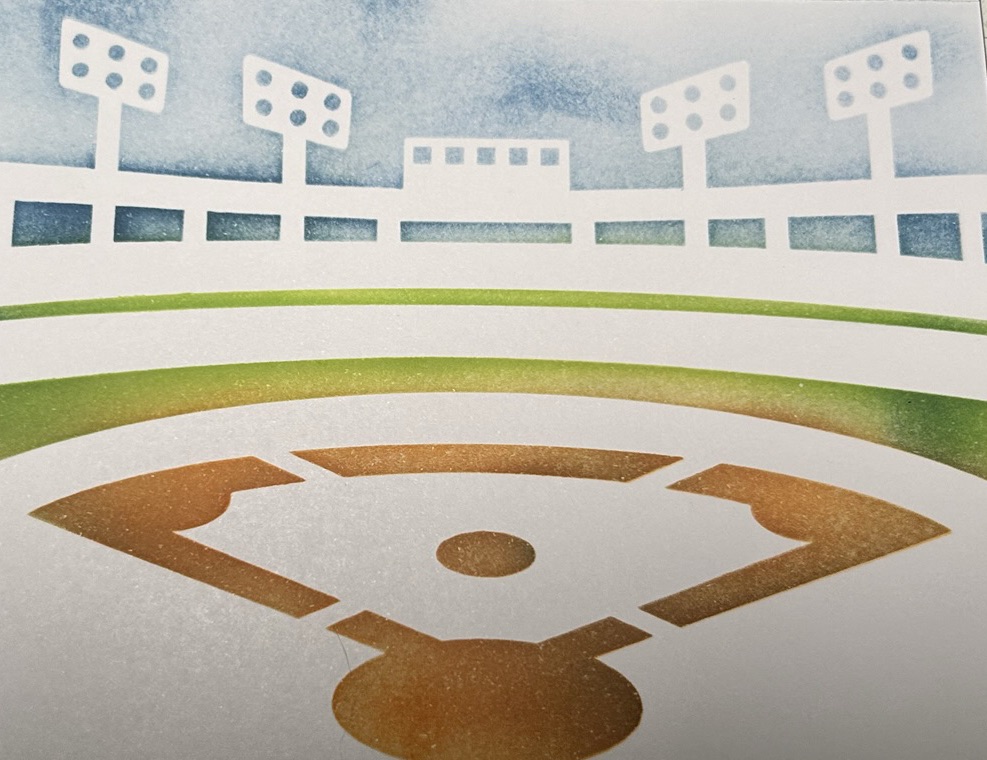
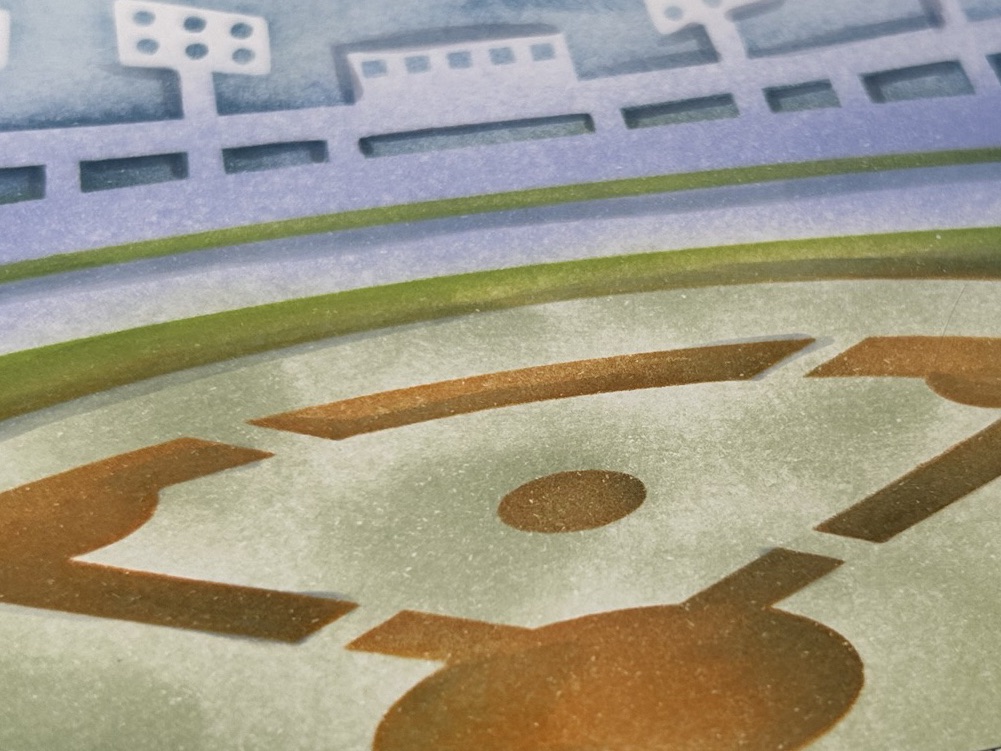
This month, I’m thrilled to introduce & showcase the Champion in the Making stamp set, complemented beautifully by a coordinating stencil called, Legends Born. These, paired with the 6×6 paper pack, are ideal for creating personalized cards that any baseball fan will cherish!
Crafting Your Card
Here’s a simple guide to making your own baseball-themed greeting card:
- Gather Your Materials: You’ll need the Champion in the Making stamp set, the Legends Born stencil, a variety of inks, and the Let’s Play Ball 6×6 paper pack. This pack boasts 48 double-sided sheets featuring 12 unique designs, so you’ll always have a great pattern to choose from! Very versatile, too!
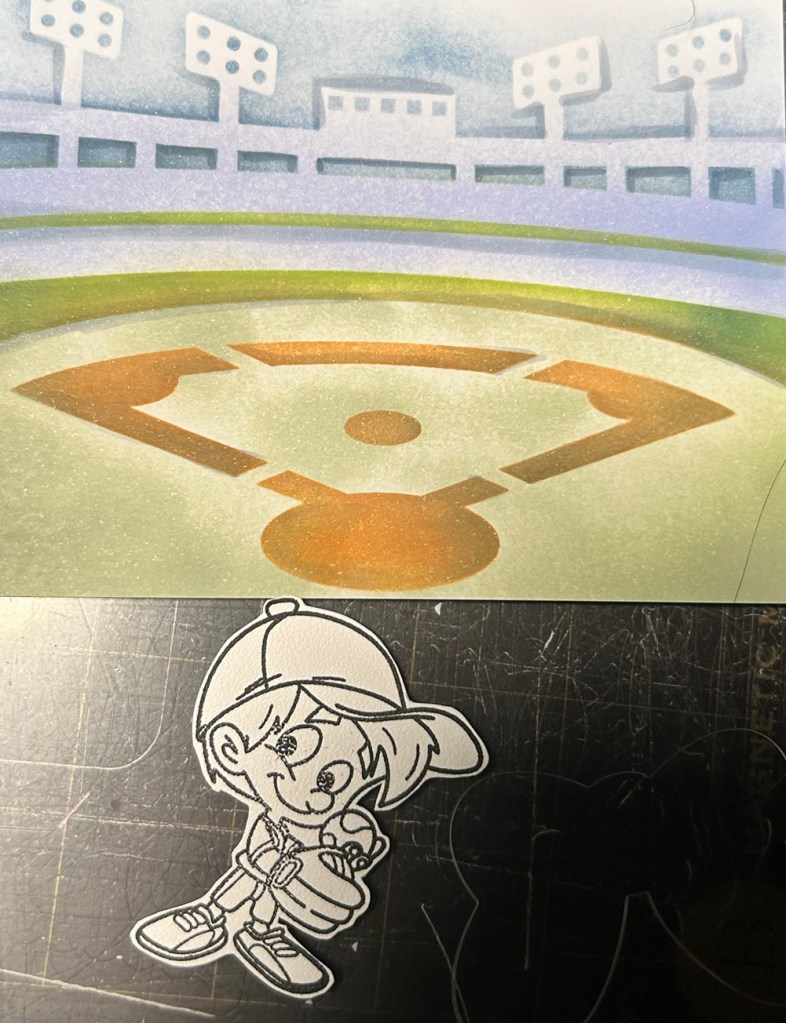
- Design Your Card: Start by selecting a few sheets from the Let’s Play Ball paper pack as your background. The vibrant patterns provide the perfect stage for your stamped images.
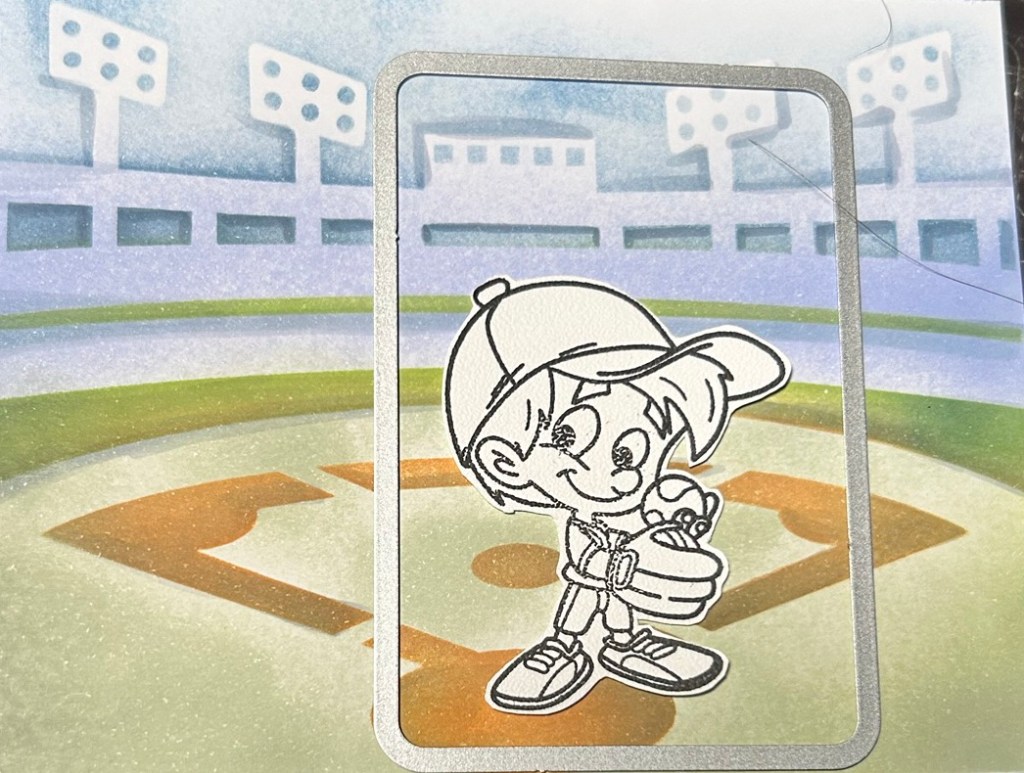
- Stamp & Layer: Use the Champion in the Making stamp set to create your baseball motifs and sentiments. After stamping, use the Legends Born die set to cut out your images, and layer them on top of your patterned papers for an eye-catching look.
- Assemble & Personalize: Once your card is layered, don’t forget to add a personal touch! Write a heartfelt message inside or include additional embellishments to make it truly unique.
Crafting as Stress Relief
Crafting is not just a fun activity; it’s also a fantastic way to relieve stress! Engaging in creative projects like card-making allows you to focus your mind, express yourself, and take a break from daily pressures. So, gather your supplies and let your creativity flow!
Final Thoughts
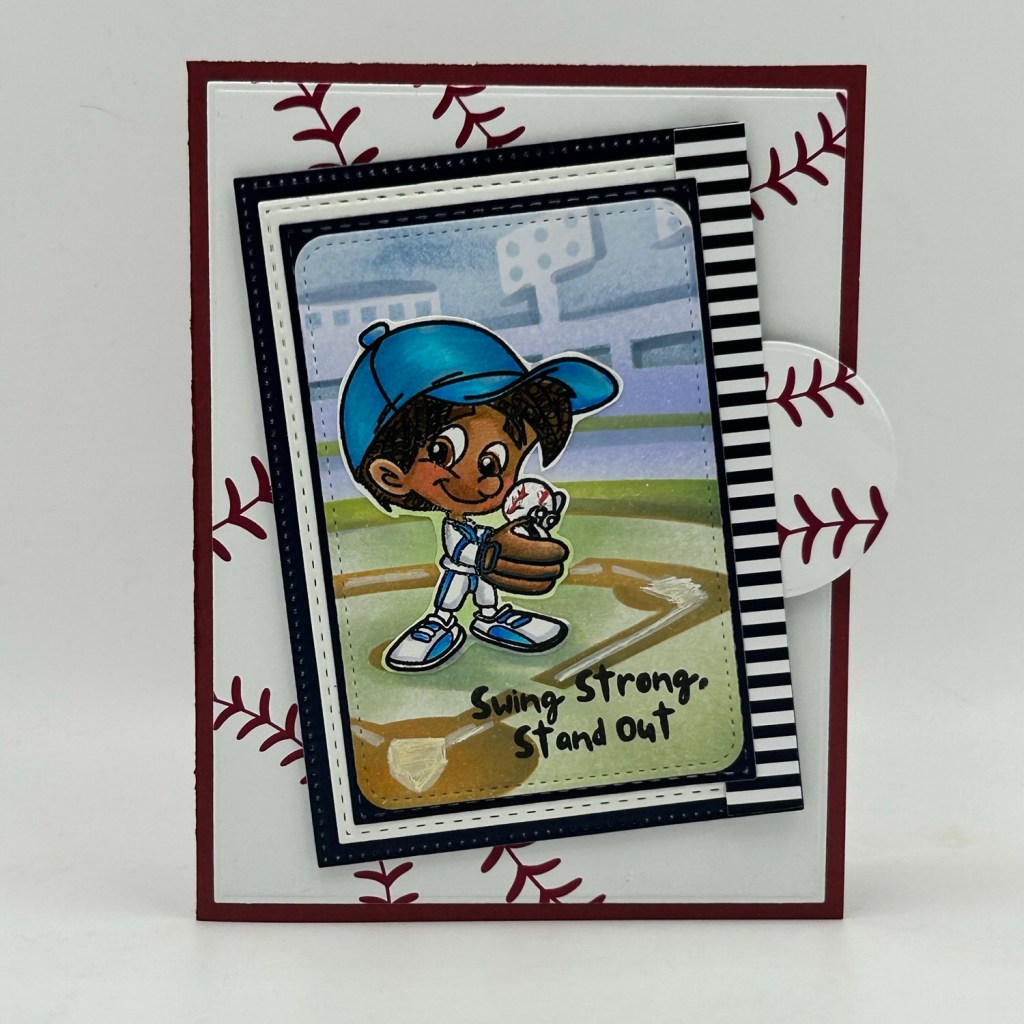
Hand-stamped baseball cards are a wonderful way to express appreciation or share a thoughtful message with friends and family. With the Champion in the Making stamp set and Legends Born coordinating stencil, and 6×6 paper pack, you can create cards that are sure to hit a home run!
Happy crafting, and may your creativity continue to soar!

