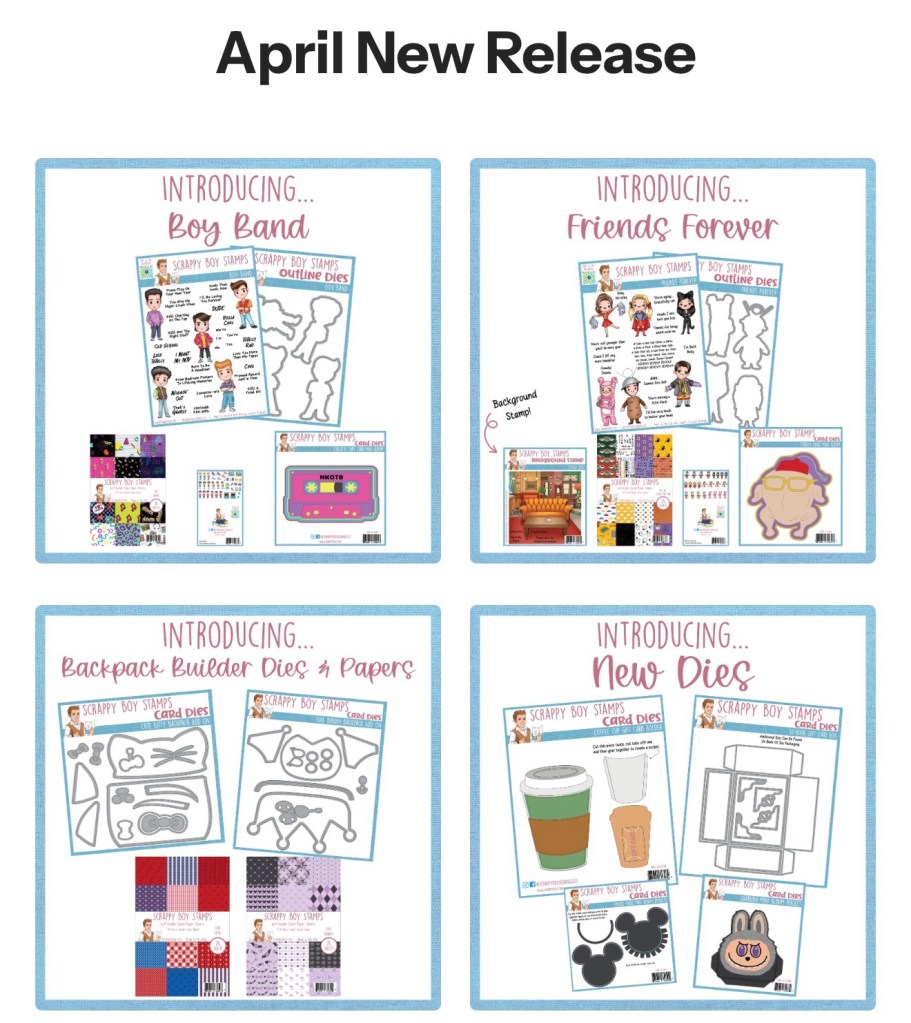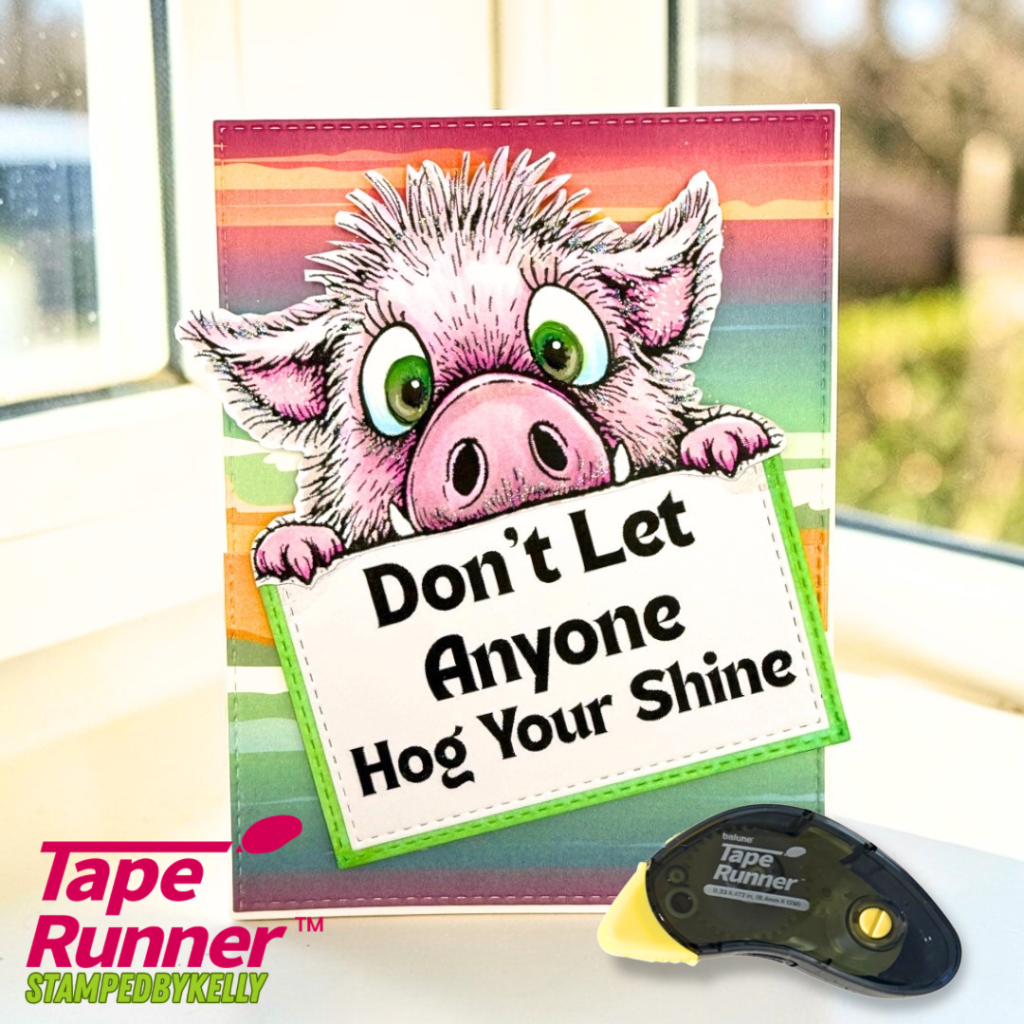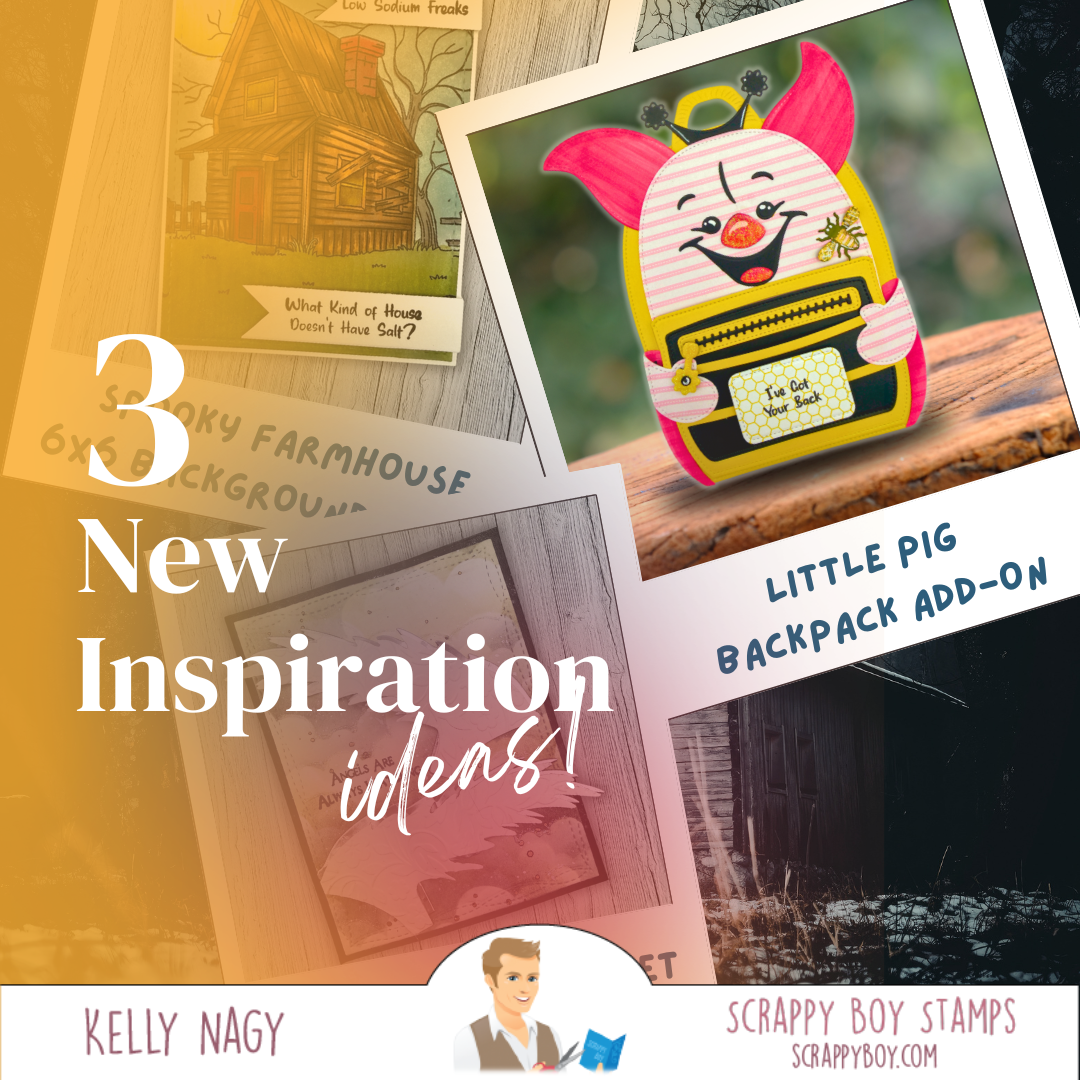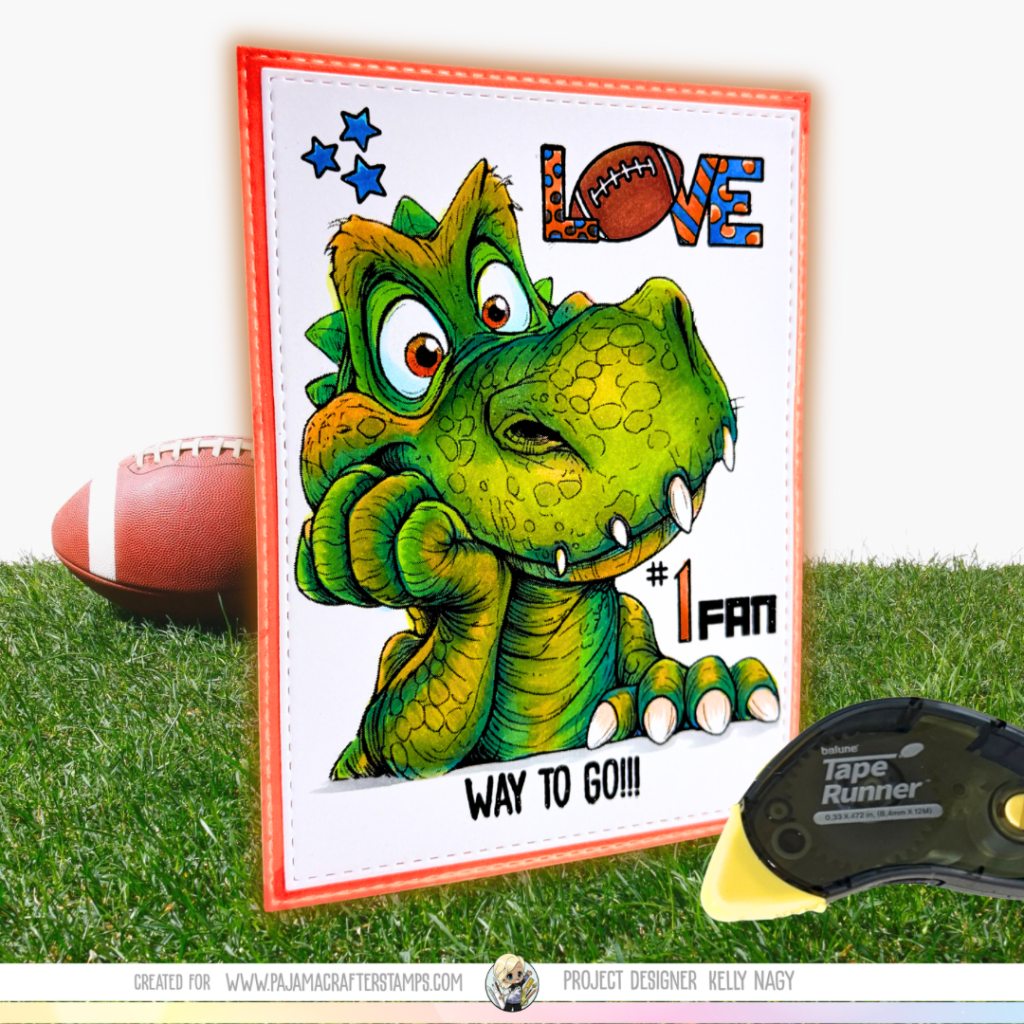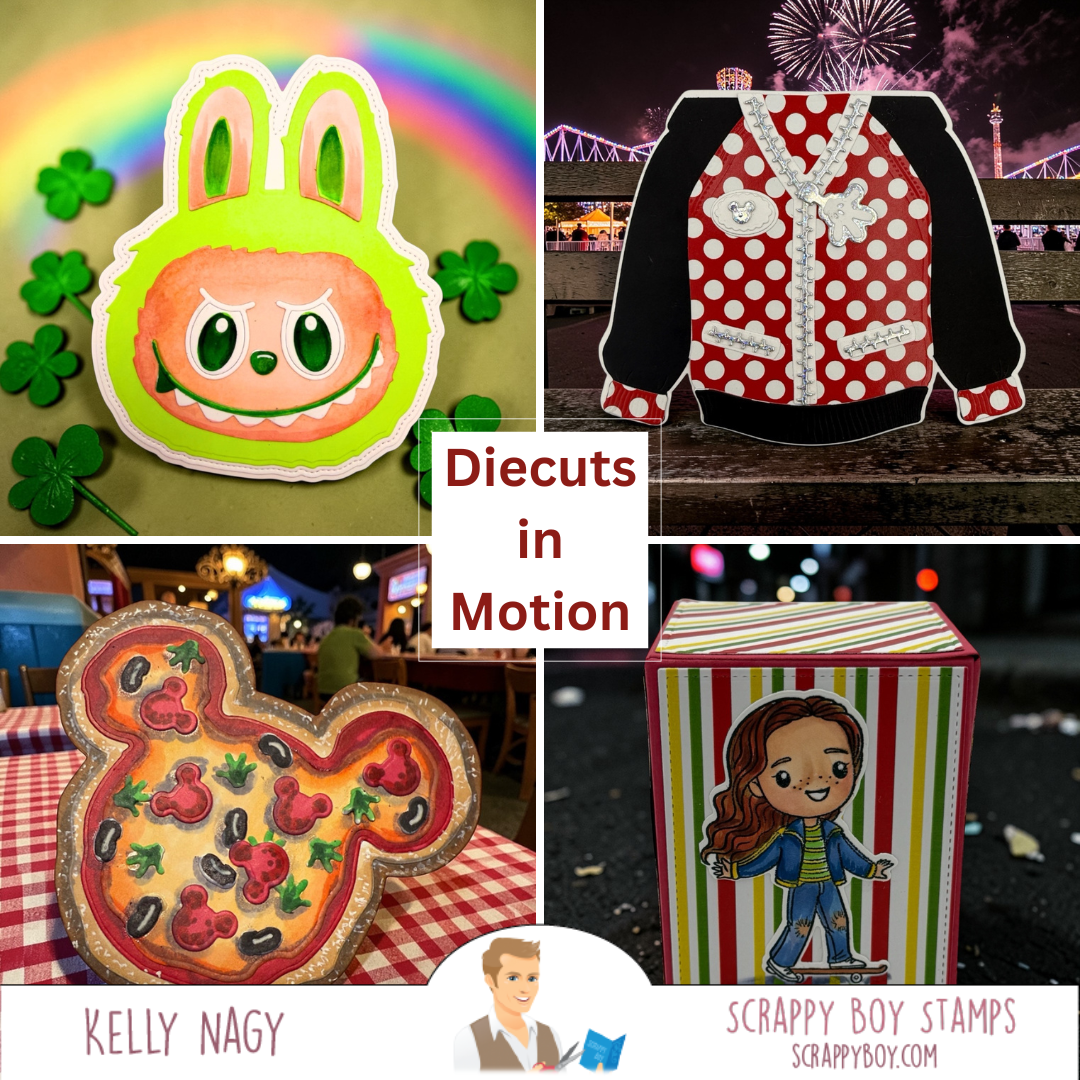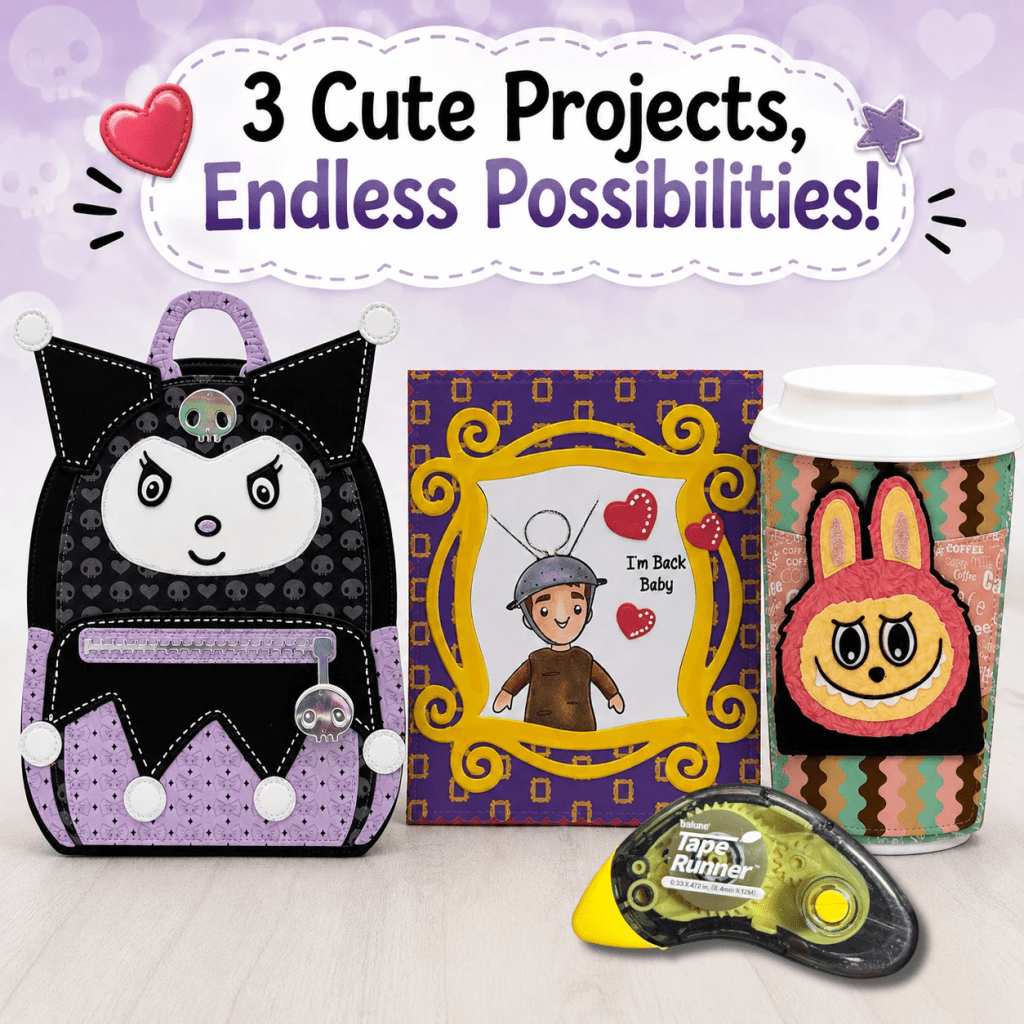
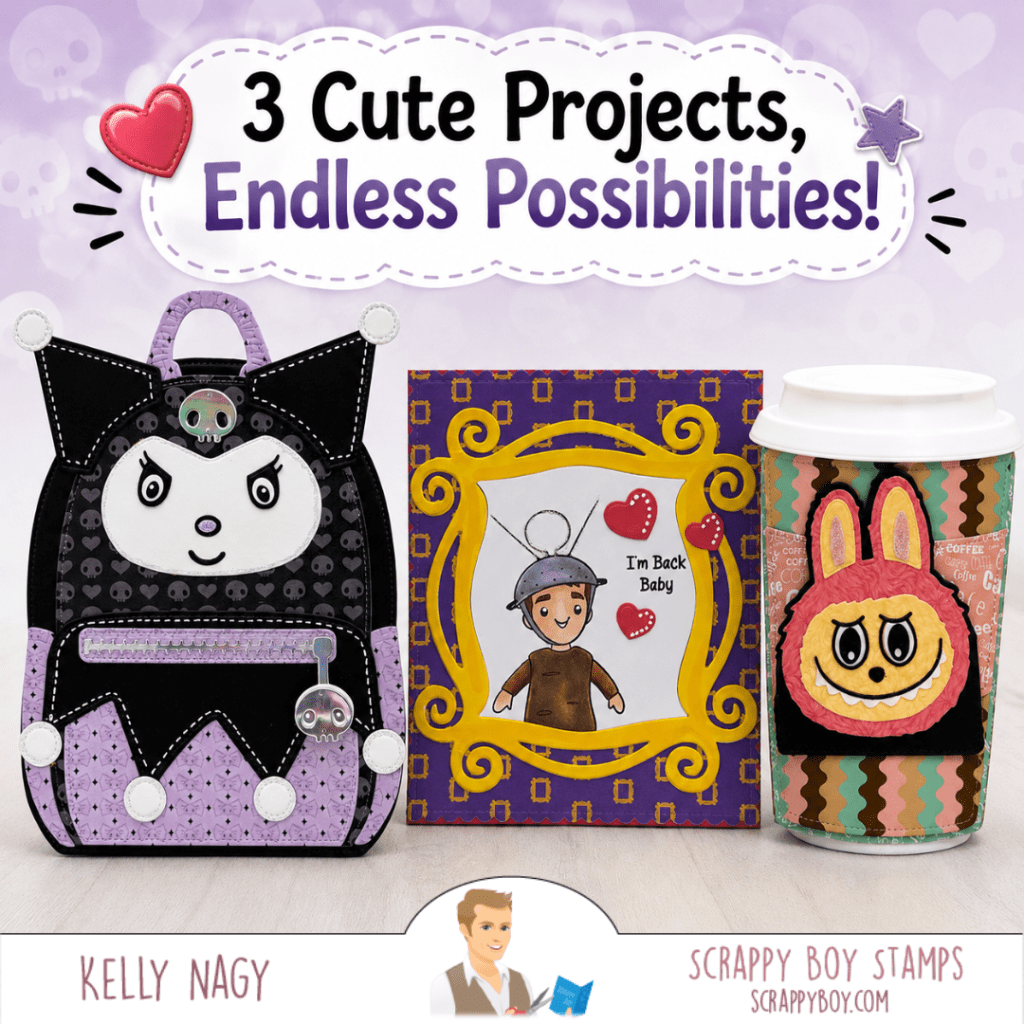
Today I’m sharing three fun handmade projects featuring products from Scrappy Boy Stamps! These projects are full of personality and include interactive elements, layered die cuts, and playful details that make paper crafting so much fun. putting them together’s really easy and clean when using the tape runner, my favorite dried adhesive. I also use a combination of wet glue and foam tape to create dimension. If you would like a coupon code for taperunner.com, use KELLY10 for 10% off your cart.
From a spooky-cute backpack gift holder to a friendship-themed card and an adorable coffee cup gift card holder, each project has its own unique style while still coordinating beautifully together.
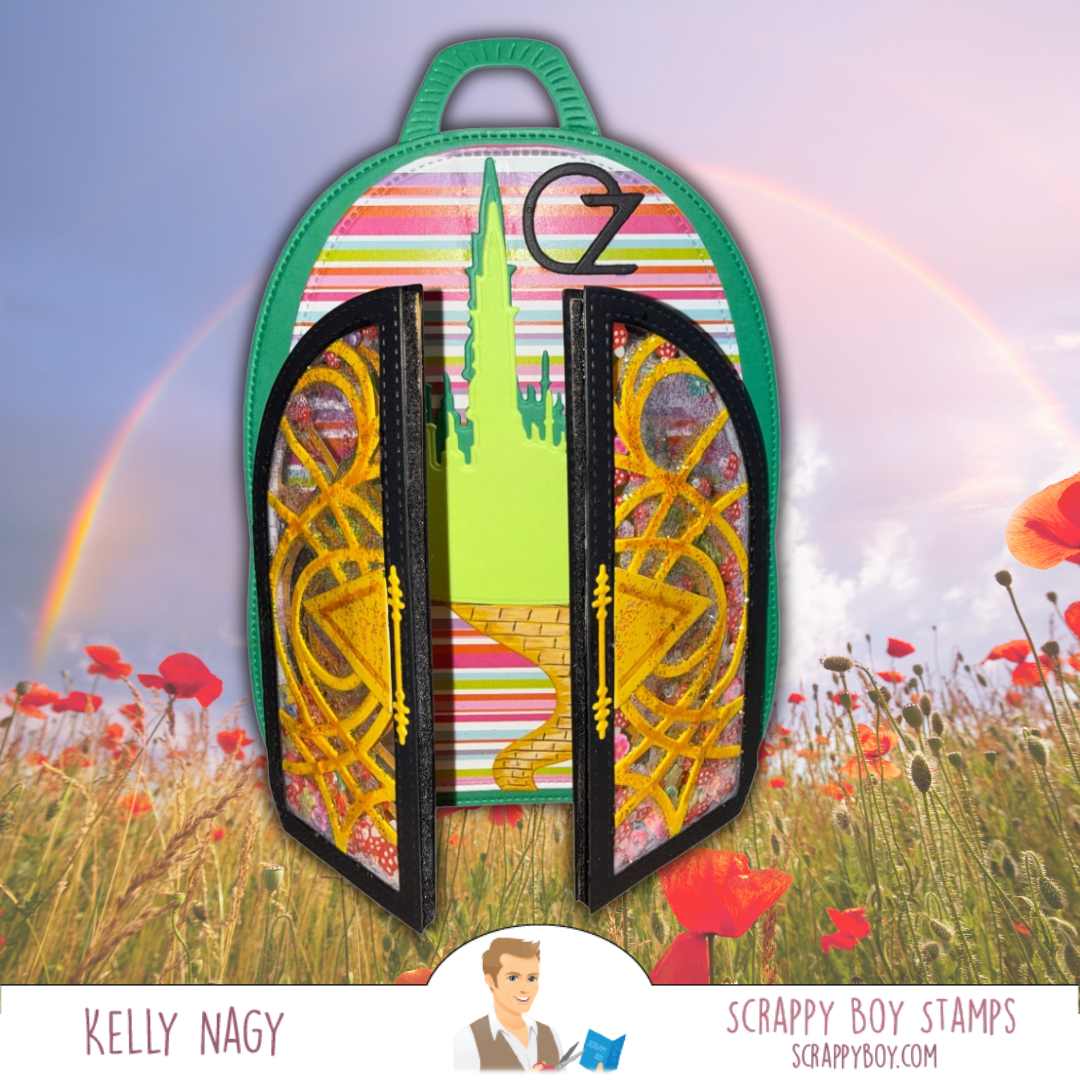
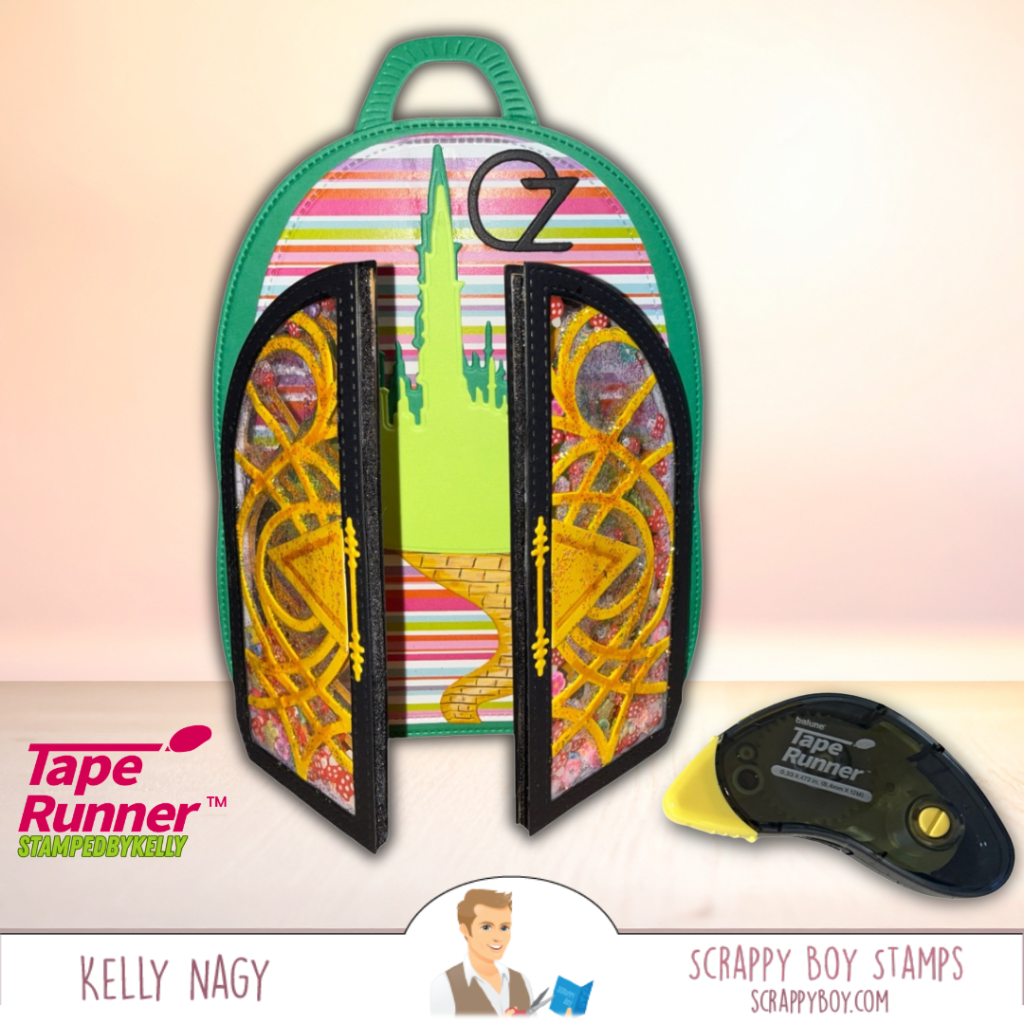
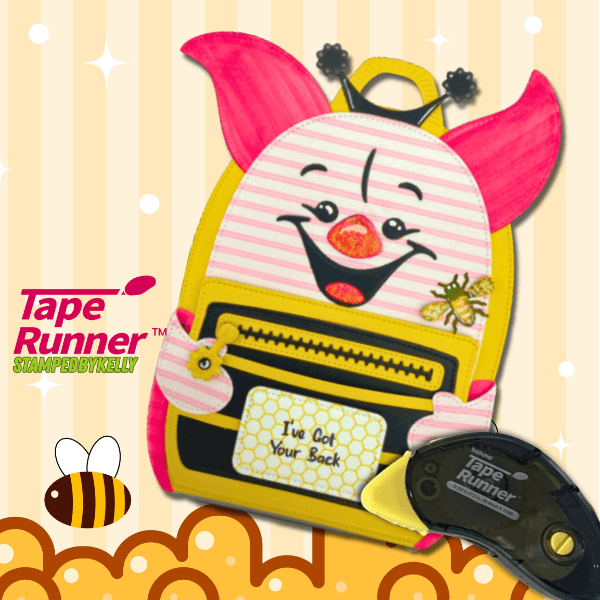
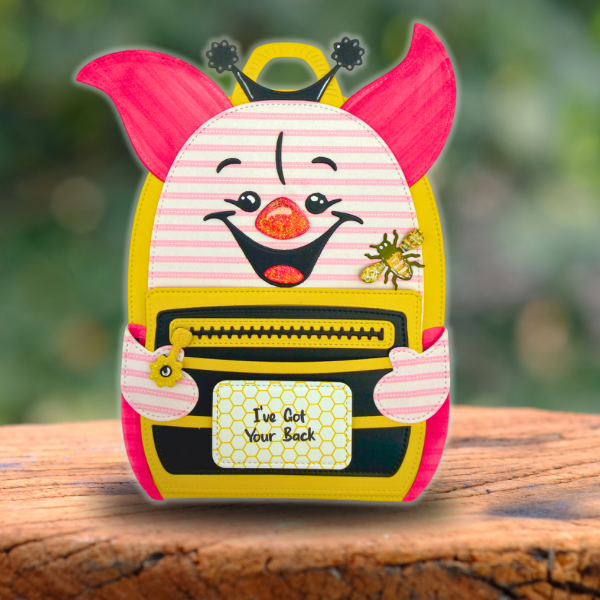
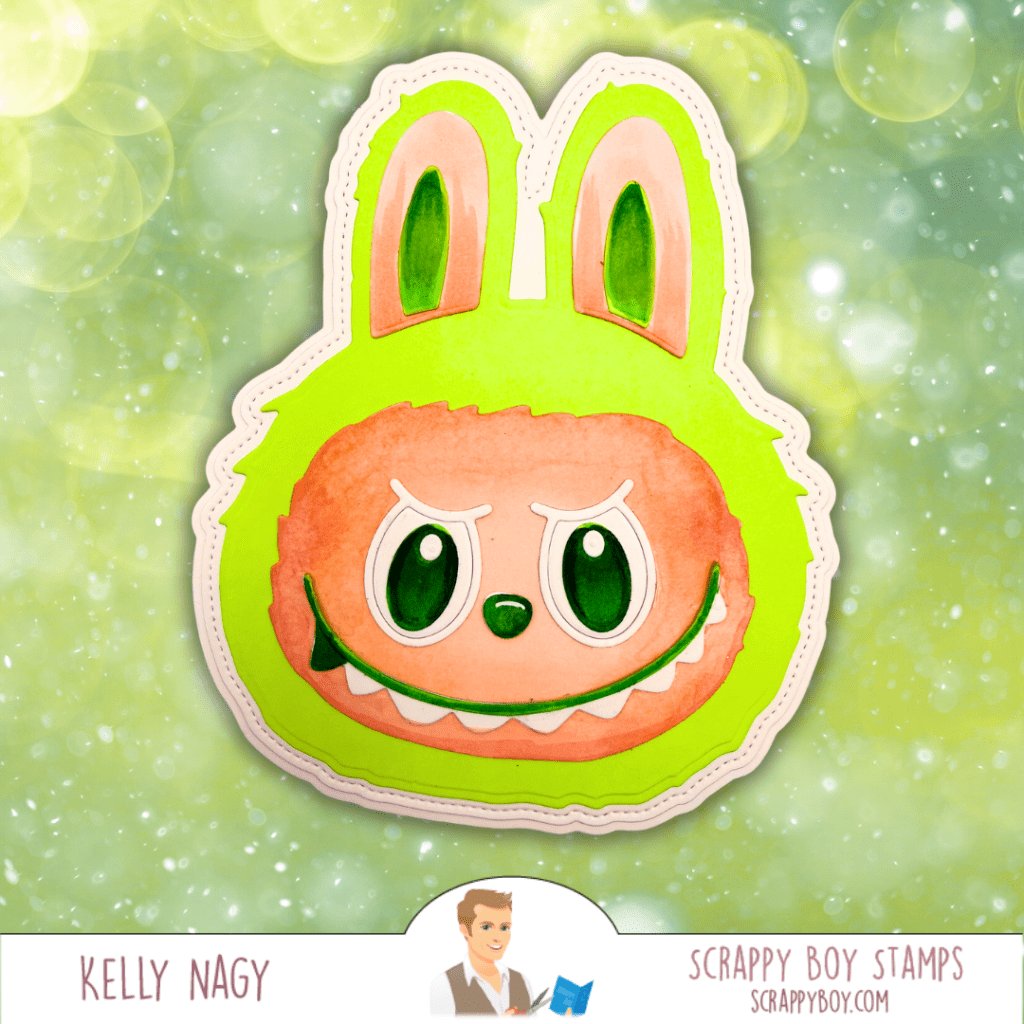
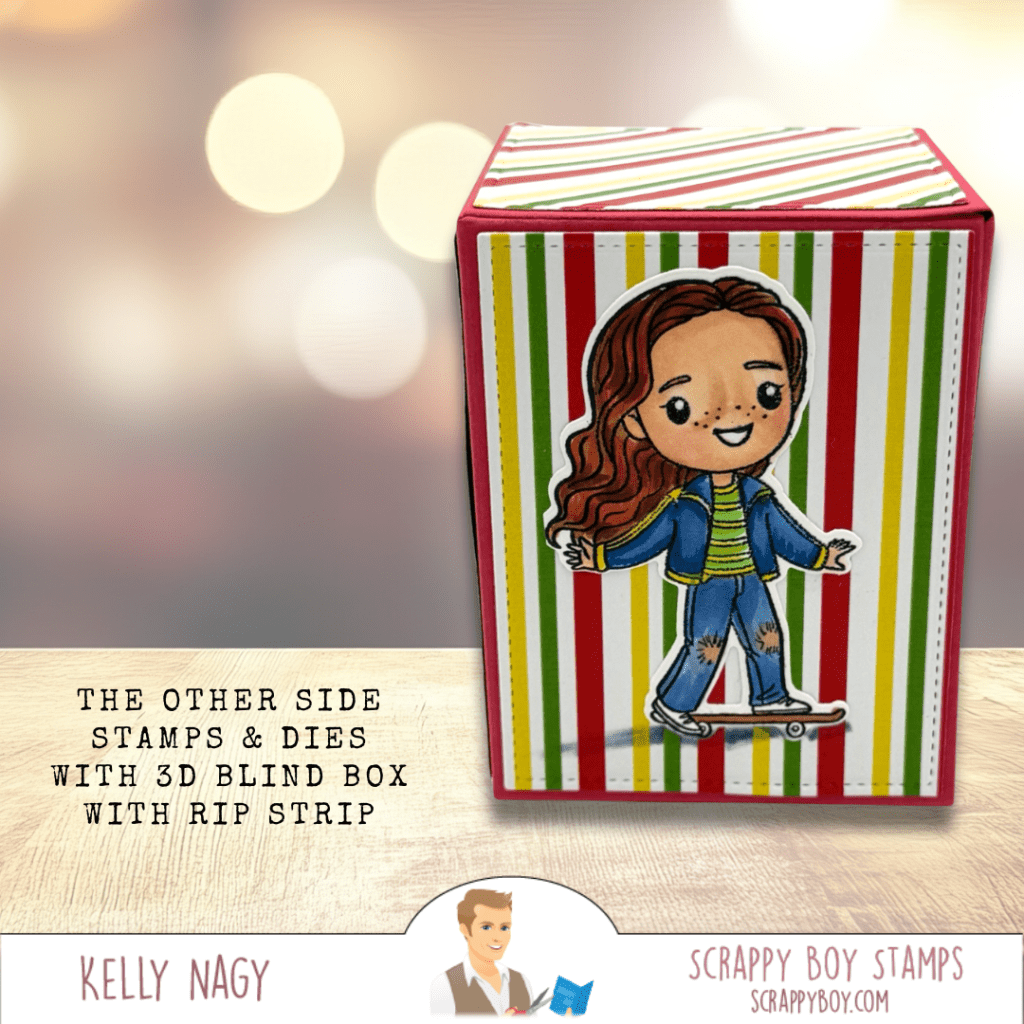
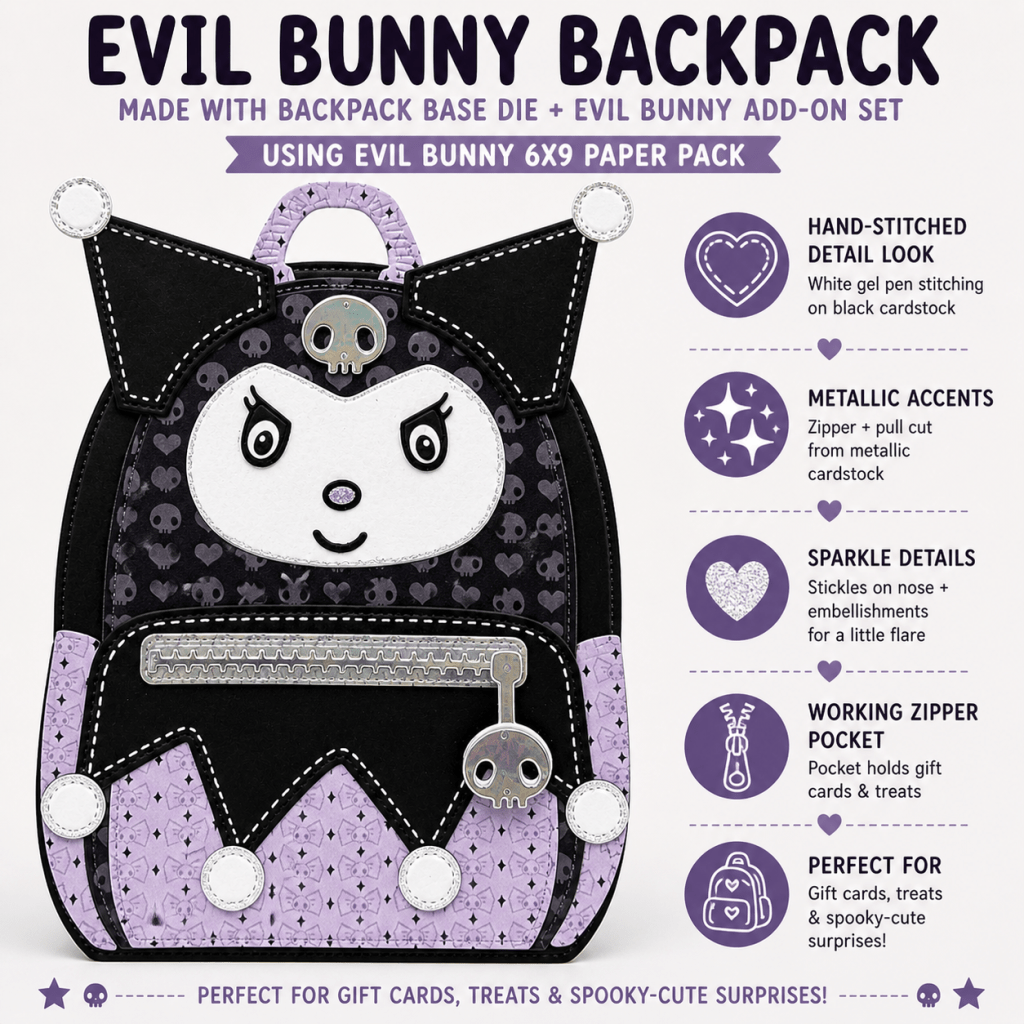
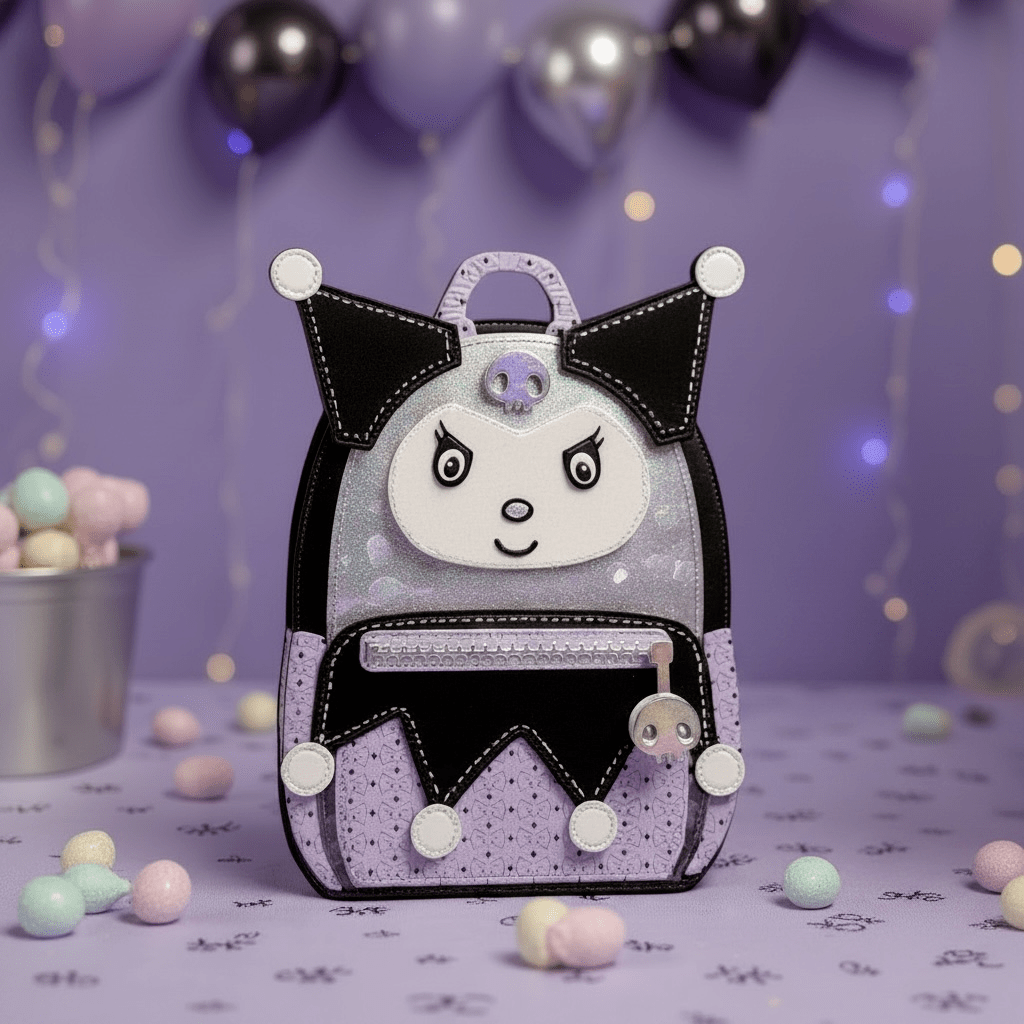
Evil Bunny Backpack Gift Holder 🖤💜
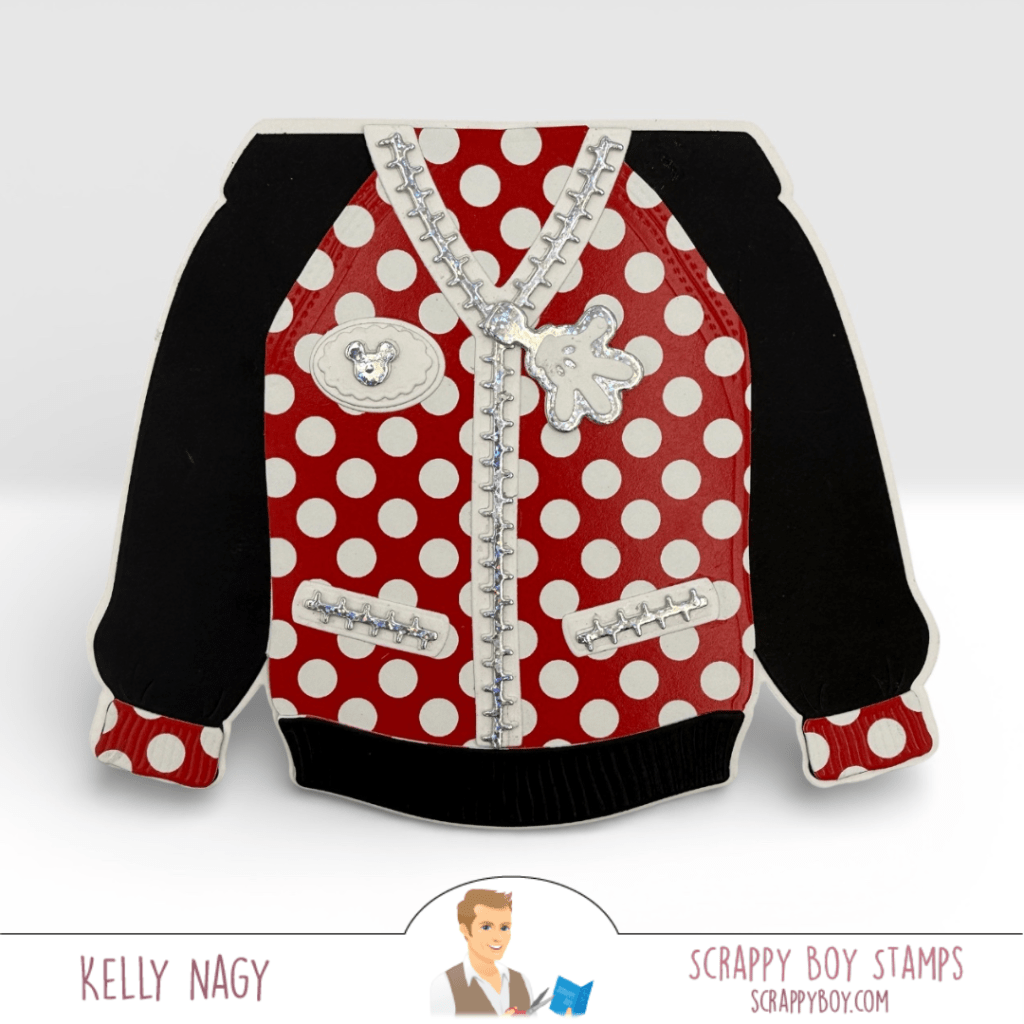
This backpack project was created using the Backpack Base Die paired with the Evil Bunny Backpack Add-On Set and coordinating patterned papers.
What I love most about this project:
- Faux stitched details using a white gel pen
- Metallic zipper accents
- Interactive zipper pocket
- Dimensional layered elements
- Perfect size for treats or gift cards
The black and lavender color palette gives this project the perfect spooky-cute vibe while still keeping it playful and fun.
Supplies Used:
- Backpack Base Die
- Evil Bunny Backpack Add-On
- Evil Bunny 6×9 Paper Pack
- White gel pen
- Metallic cardstock
- Foam adhesive
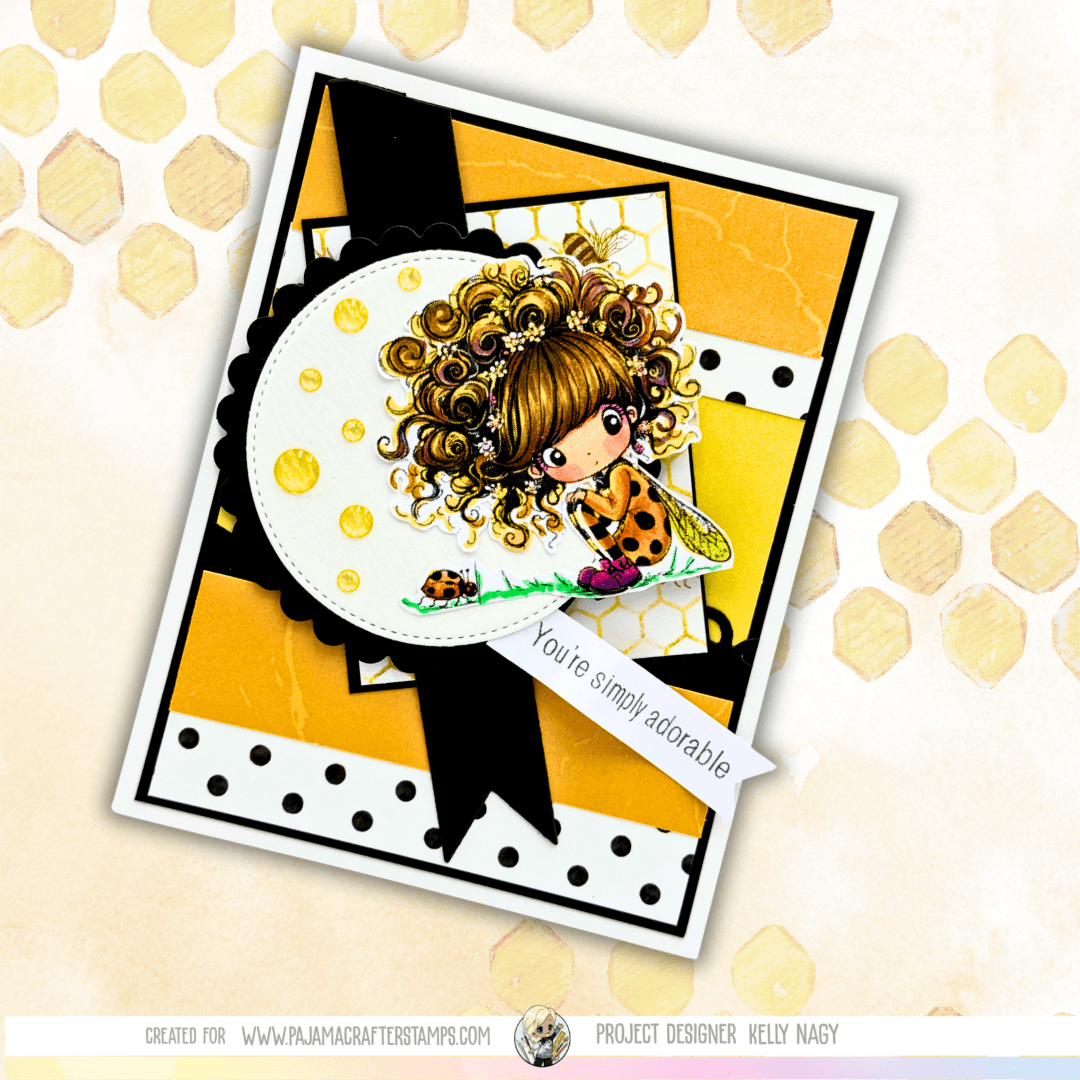
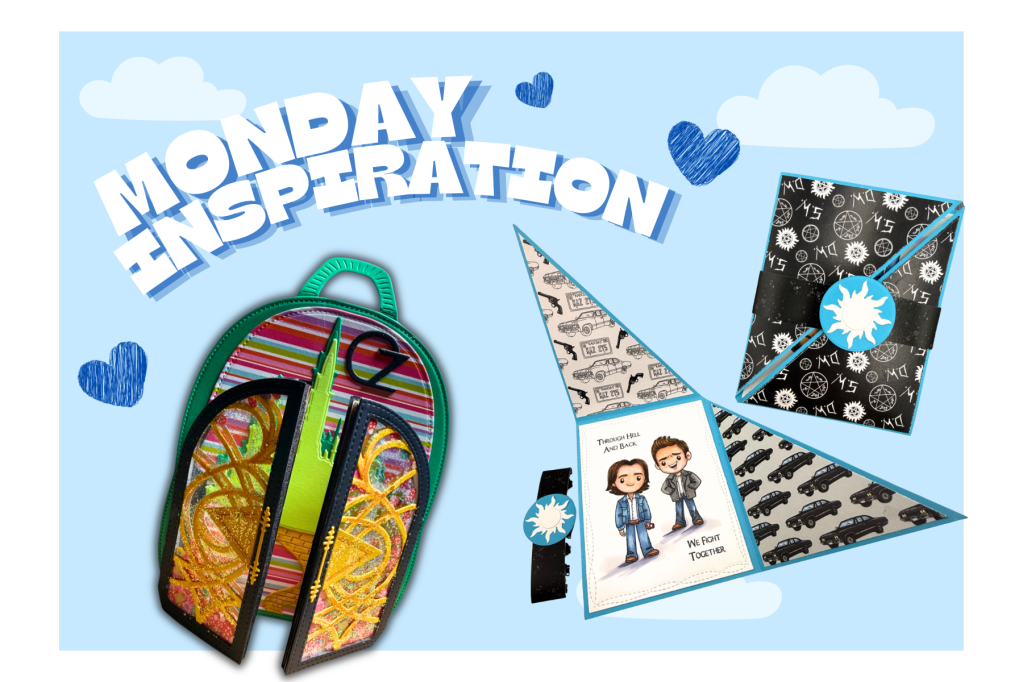
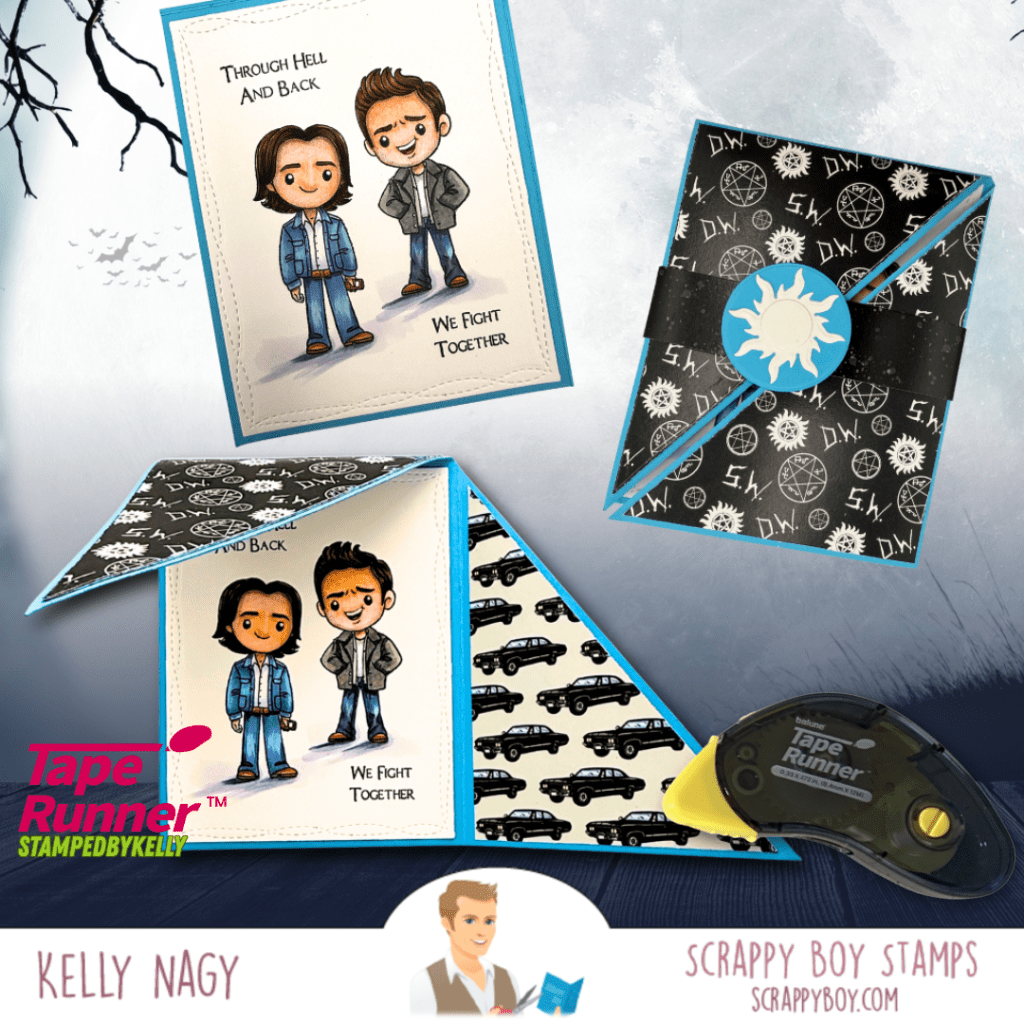
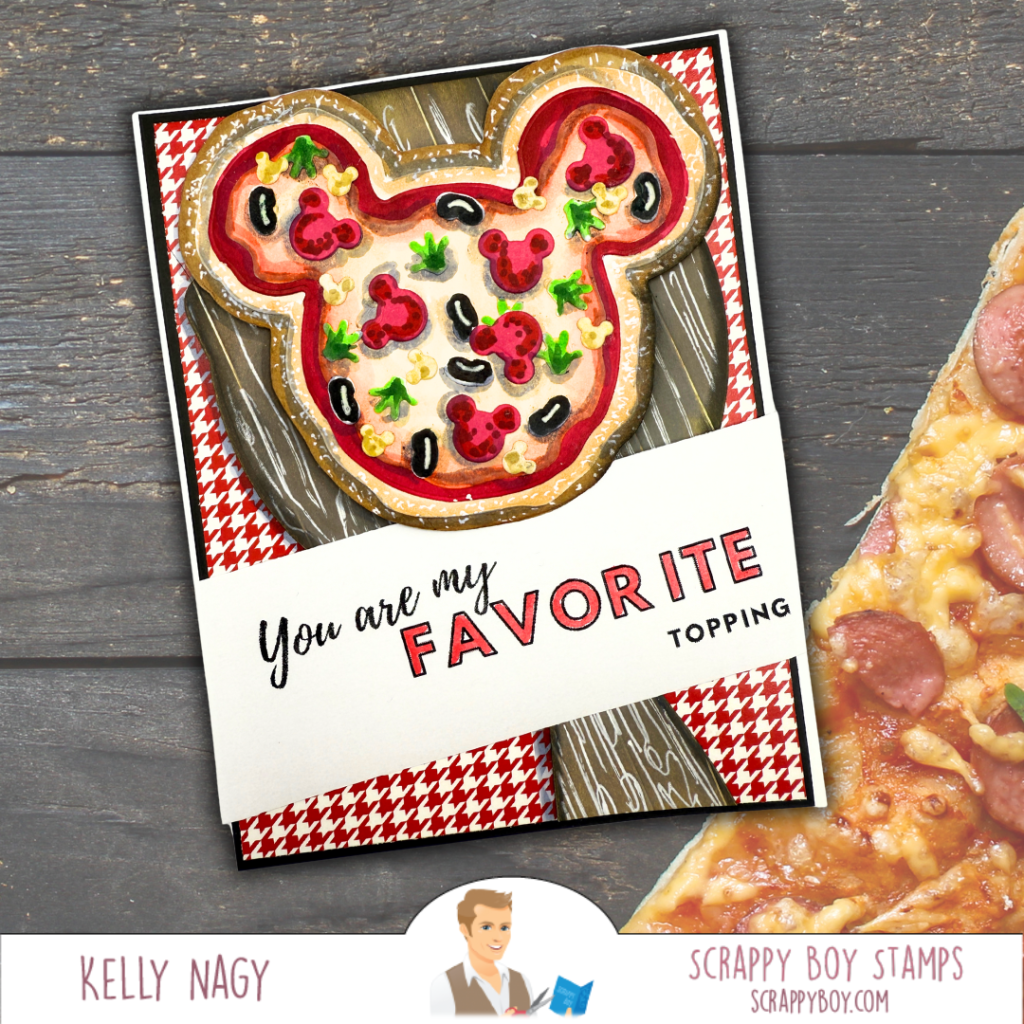
Friends Forever Card 💛💜
Next is this bright and cheerful friendship-themed card featuring the Friends Forever Stamp Set and the Picture Frame Mini Album Die.
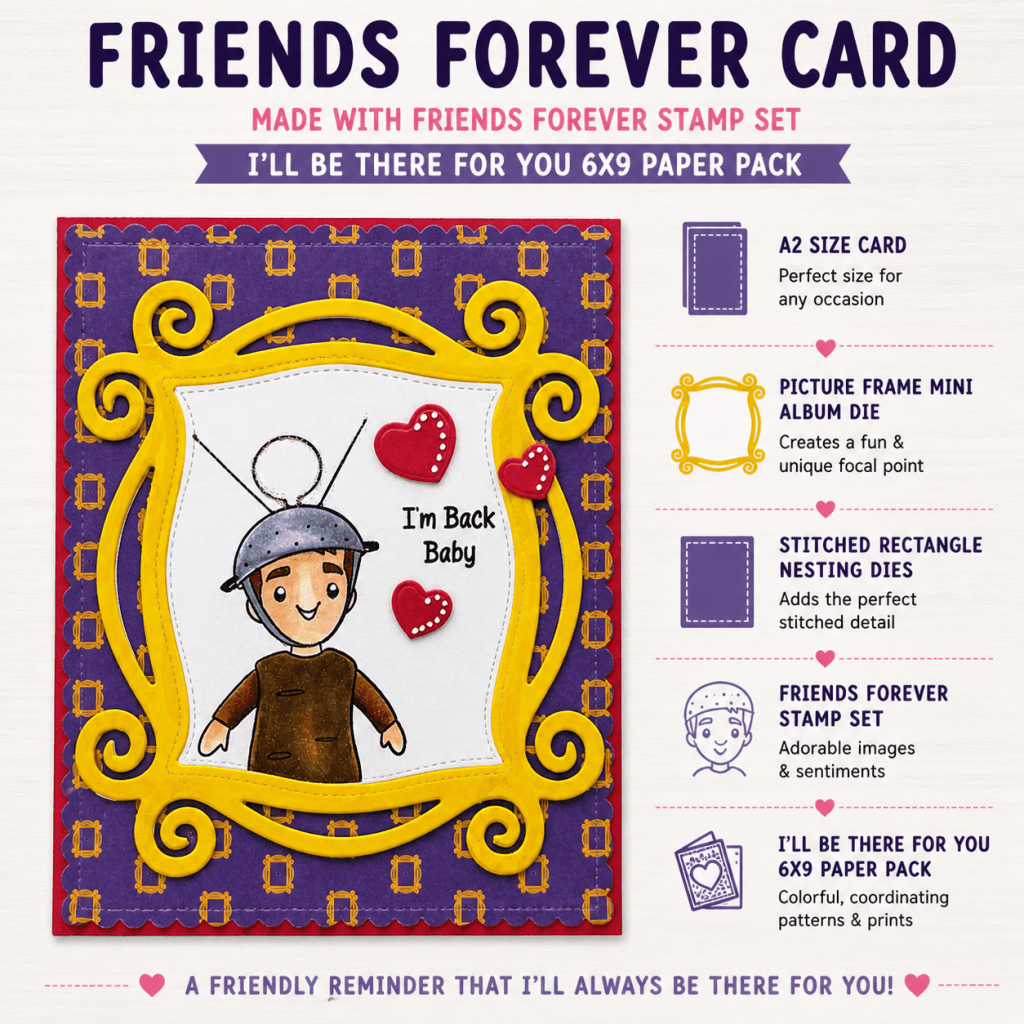
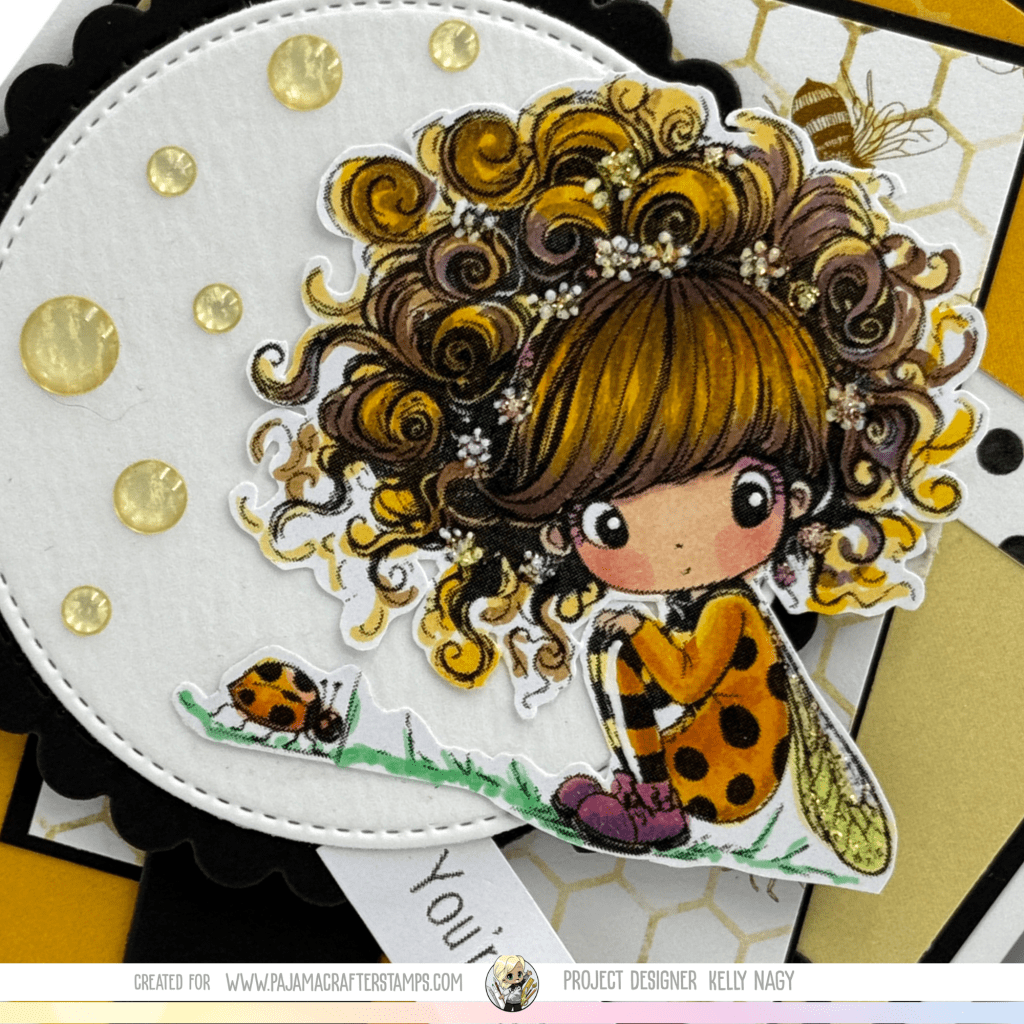
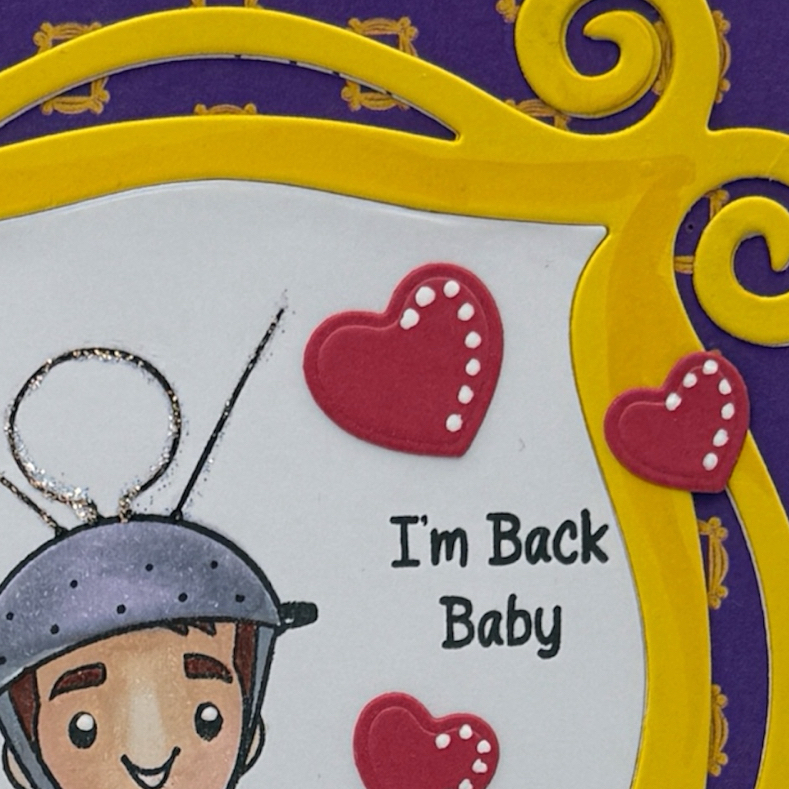
I love how the bold yellow frame pops against the purple patterned paper background. The layered hearts and sweet sentiment make this such a fun card for a friend or just-because greeting.
Details:
- A2 sized card
- Layered die cut frame focal point
- Stitched rectangle details
- Hand-colored stamped image
- Coordinating patterned papers
This design would work for birthdays, encouragement cards, or simply sending happy mail to a friend.
Coffee Cup Gift Card Holder ☕💗
This coffee-themed project might be my favorite because it combines a shaped card with a hidden gift card pocket!
Created using the Coffee Cup Gift Card Holder Die Set and paired with the Shabubu Mini Pocket Die, this project is both cute and functional.
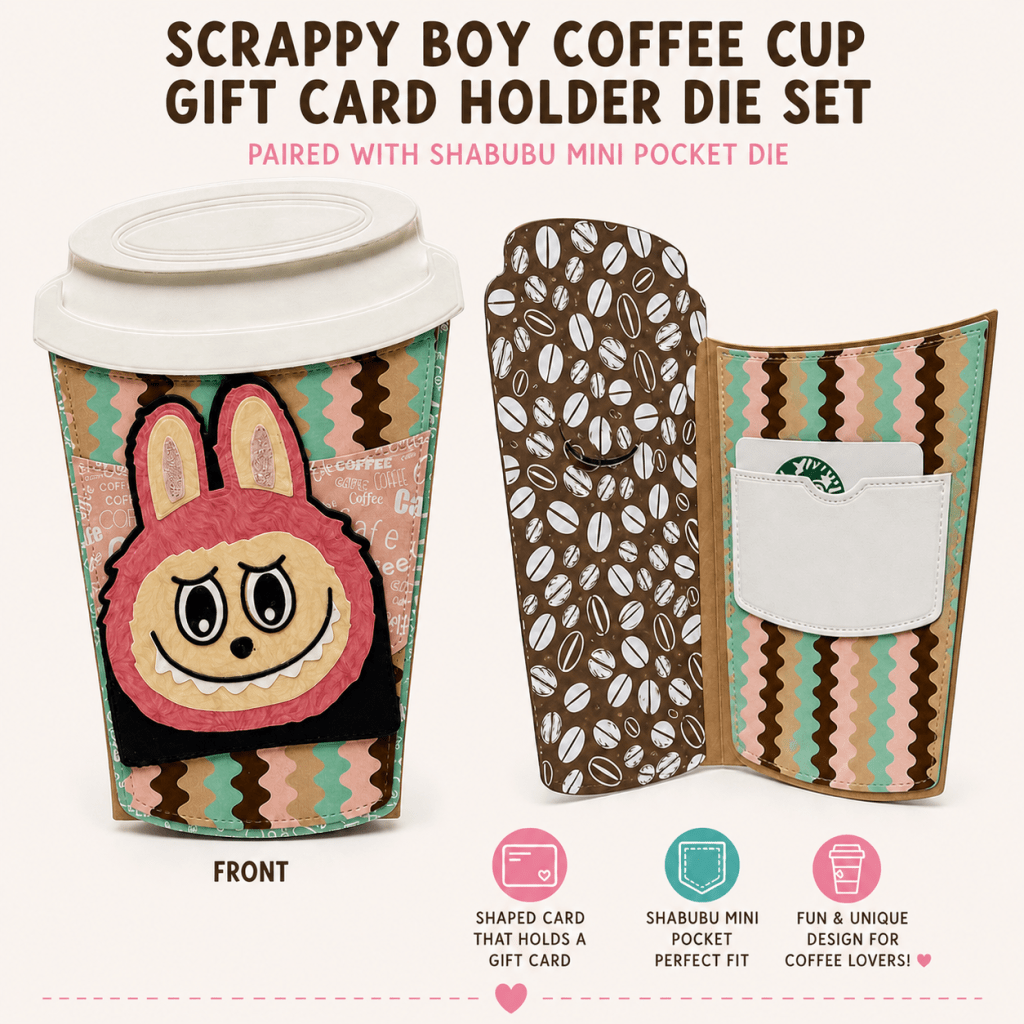
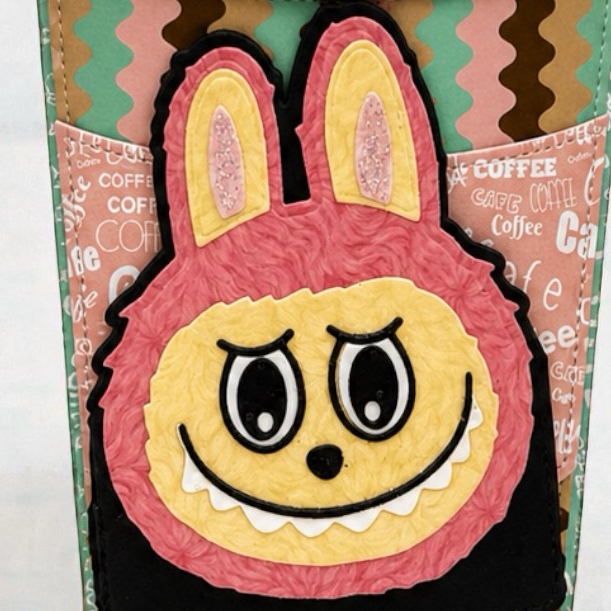
The fun patterned papers and dimensional bunny embellishment make this such a unique gift idea for coffee lovers.
Perfect For:
- Gift cards
- Teacher gifts
- Coffee shop surprises
- Birthday treats
- Thank-you gifts
Why I Love These Projects Together
Even though these projects each have a completely different theme, they all showcase what I love about crafting with Scrappy Boy Stamps:
- Interactive designs
- Fun layered dies
- Coordinating products
- Creative gift ideas
- Endless customization options
Mixing stamps, dies, papers, and embellishments together helps create projects that feel cohesive while still allowing each design to stand on its own.
Final Thoughts
I had so much fun creating these projects and experimenting with different styles and themes. Whether you love spooky-cute designs, friendship cards, or gift card holders, there are so many ways to customize these products and make them your own.
Be sure to check out more inspiration and project details over on my blog:

And you can find the featured products here: