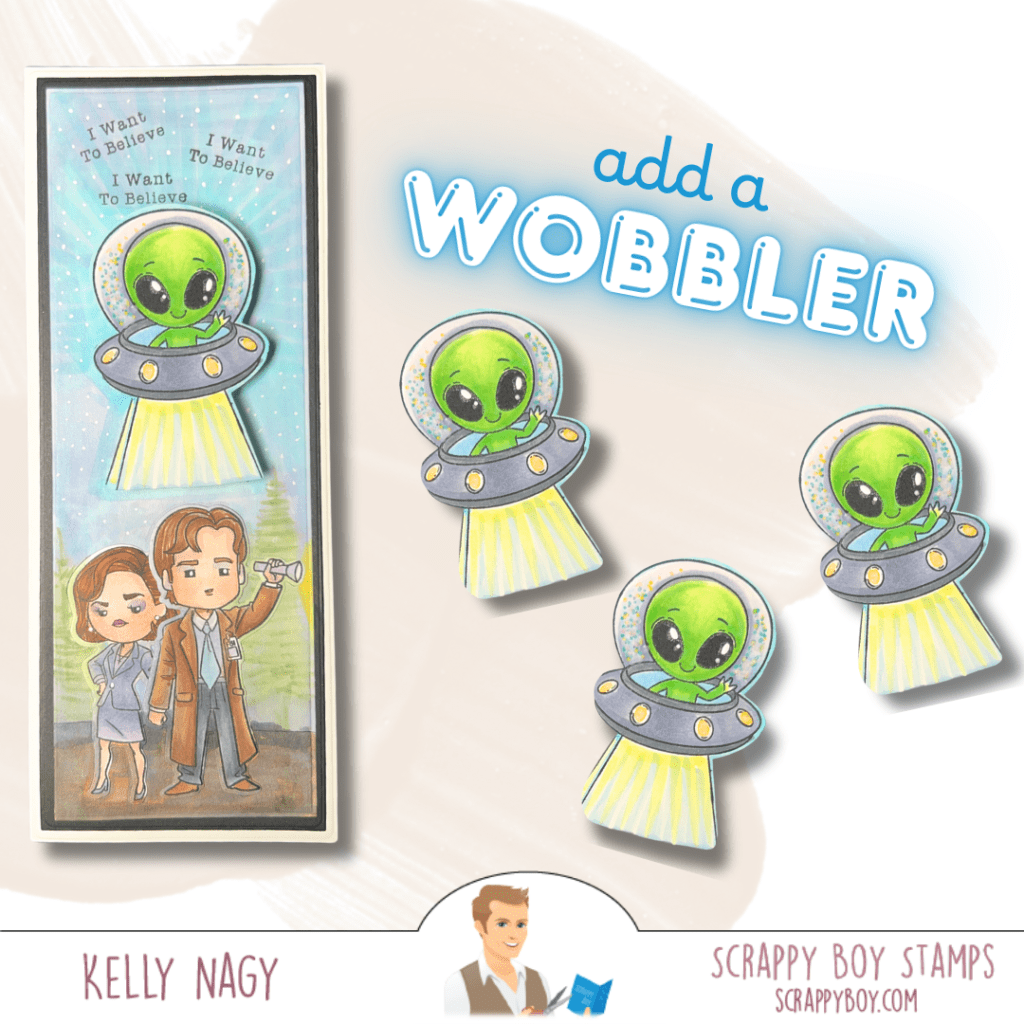
🍂 Fall Wreath w/ Truck Die Sets
This card features a beautifully layered wreath paired with a charming truck die. I also pulled in some cut elements from the DOME SHAKER DIE. Finish using a fall themed sentiment from your stash. It’s the perfect way to welcome the cozy vibes of fall!

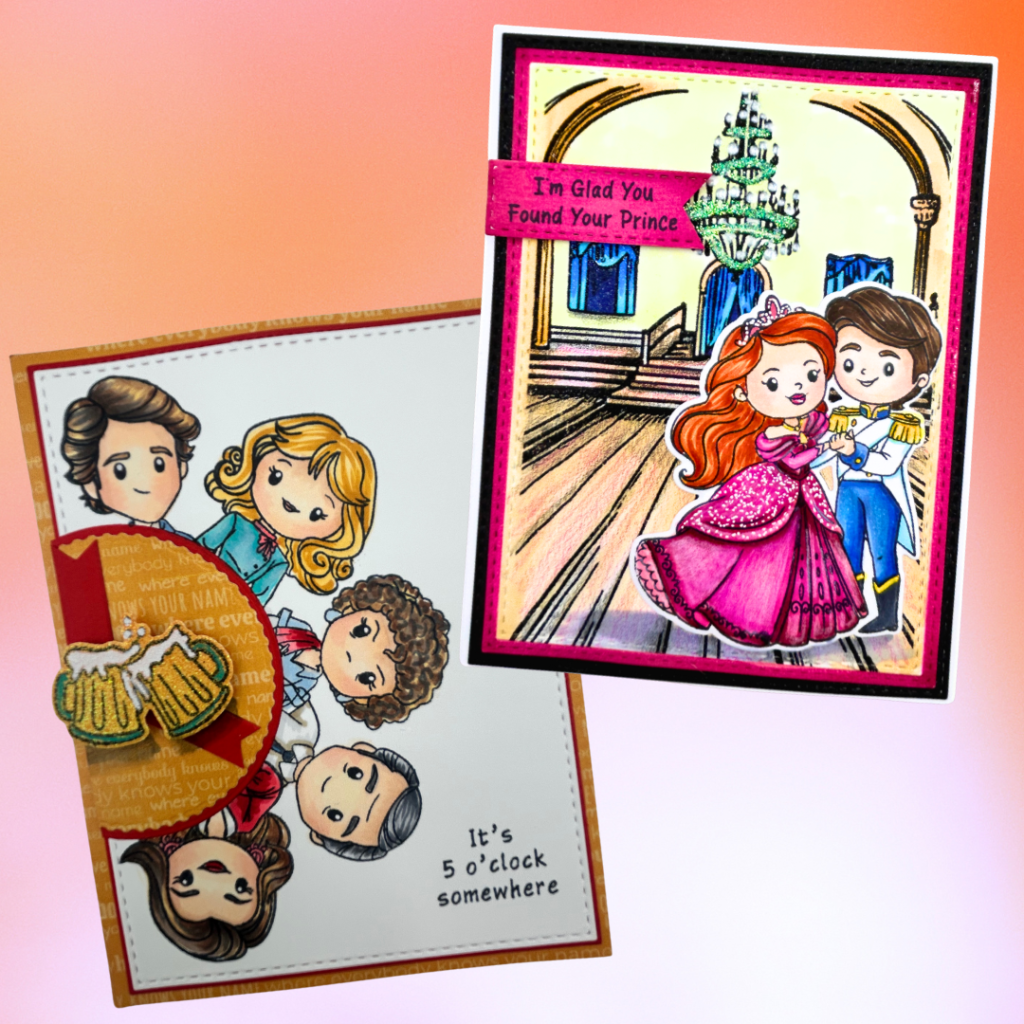
🎬 Hollywood Vixen
For all the movie lovers out there, this design captures one of the favorites of the silver screen! With vibrant colors and elegant details from a variety of diecuts including the RODEO DRIVE SHOP SCENE.
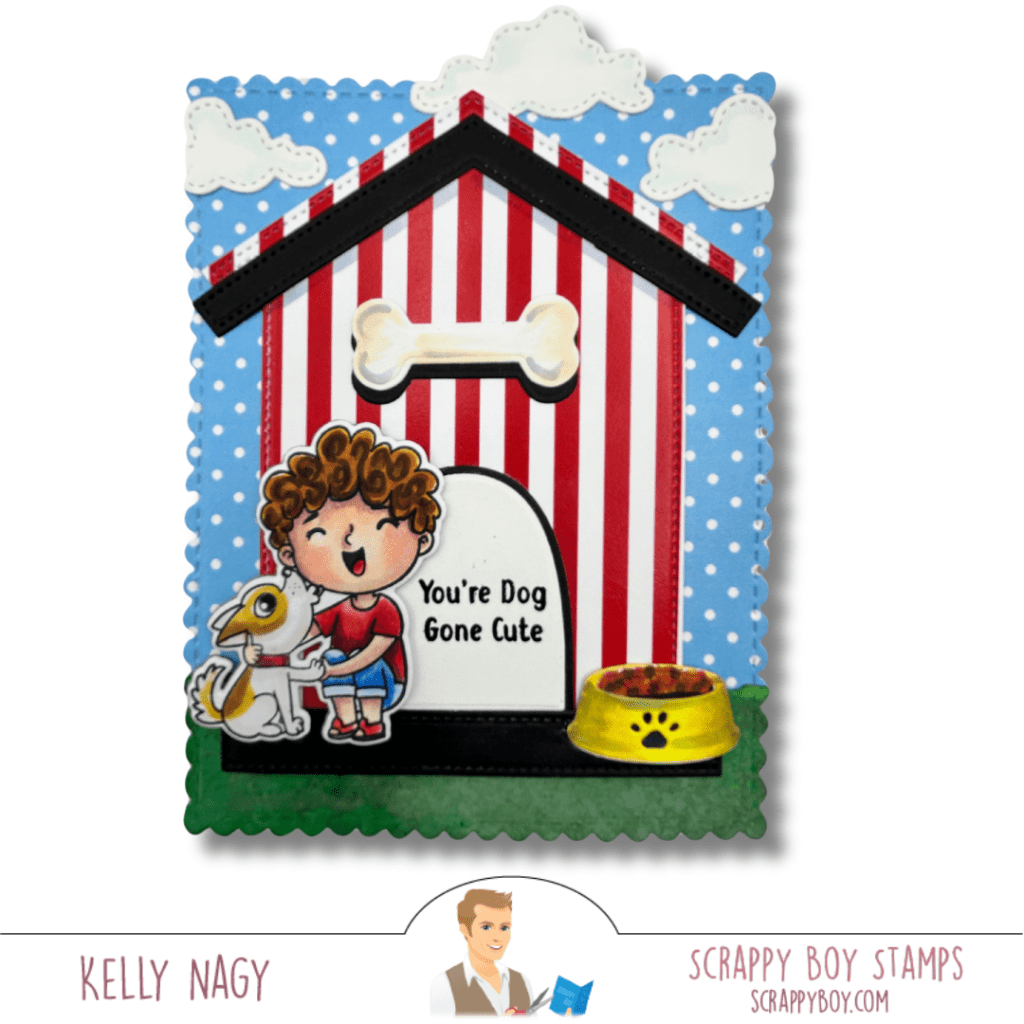
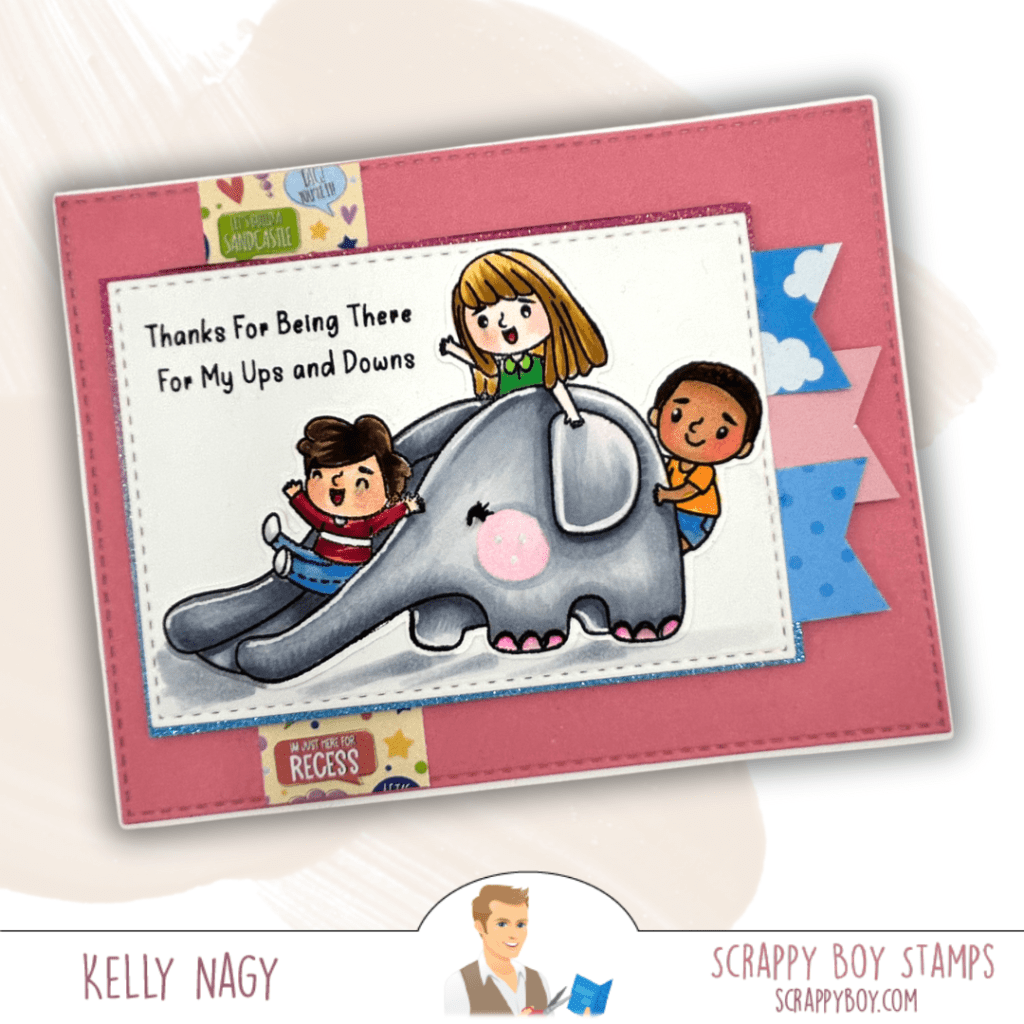
🐶 Cute Kids Dog Lovers
These adorable pups are customizable to reflect your furry friends! This card is playful and perfect for any dog lover in your life. I used the fun new DOG HOUSE GIFT CARD A2 DIESET to create a design element that is a fun focal point to show off the stamped and colored images.
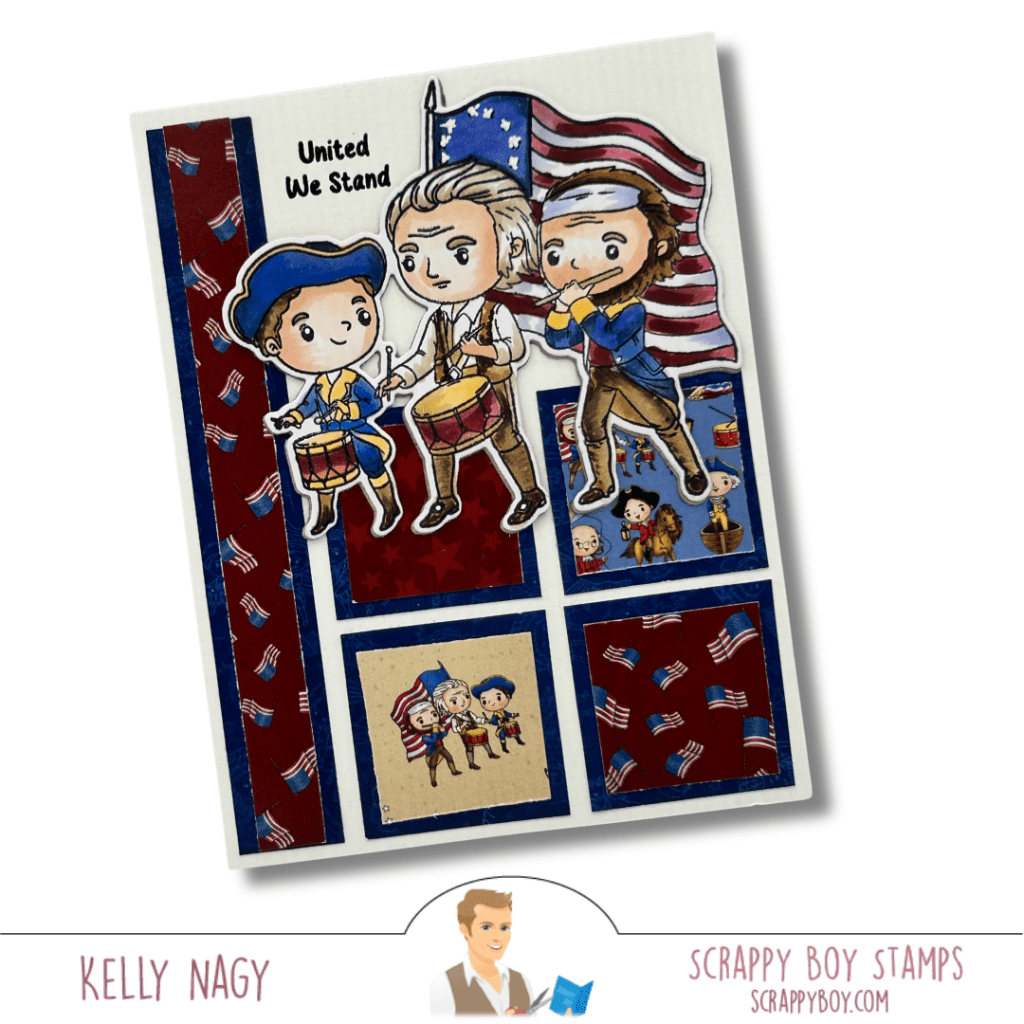
🇺🇸 Spirit of 1776
Celebrate the 4th of July with this festive set! It’s vibrant and full of fun elements that really bring out the spirit of independence. The coordinating patterned paper pulls everything together!