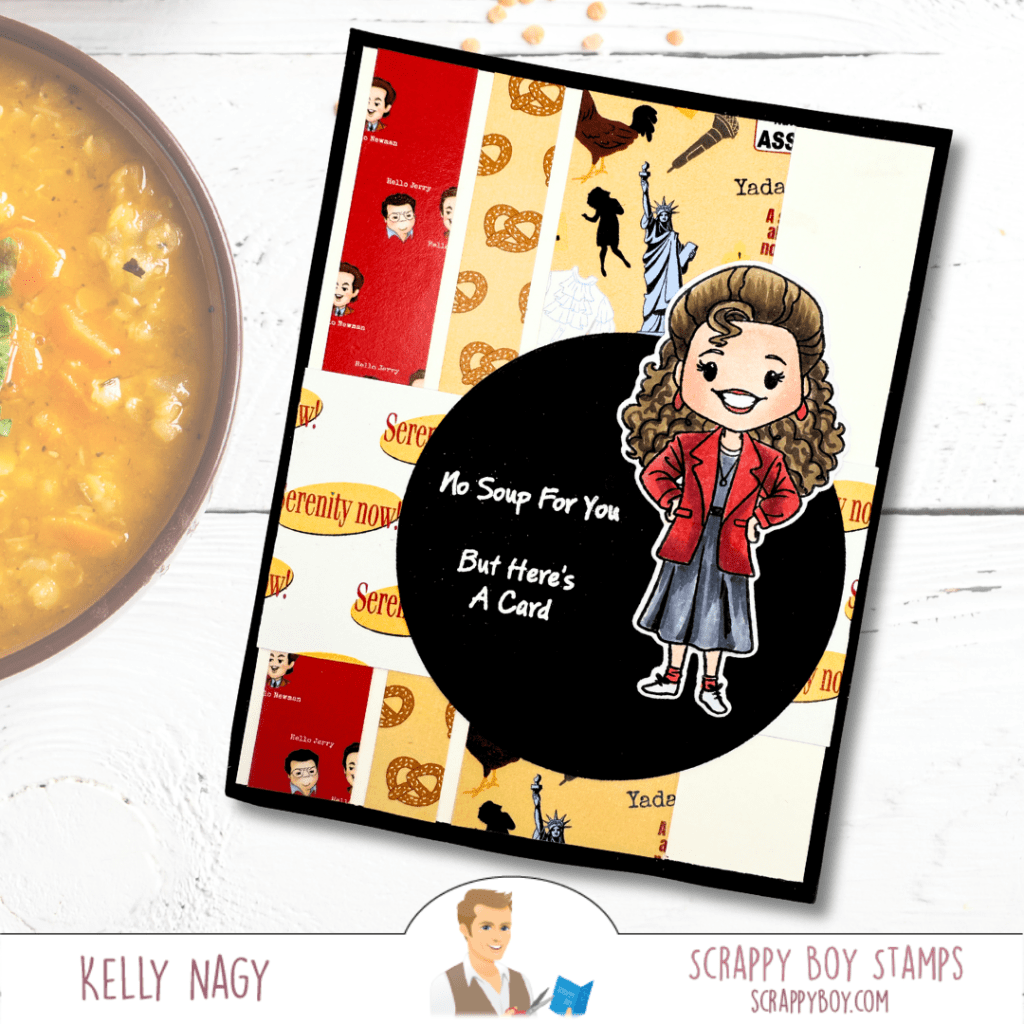
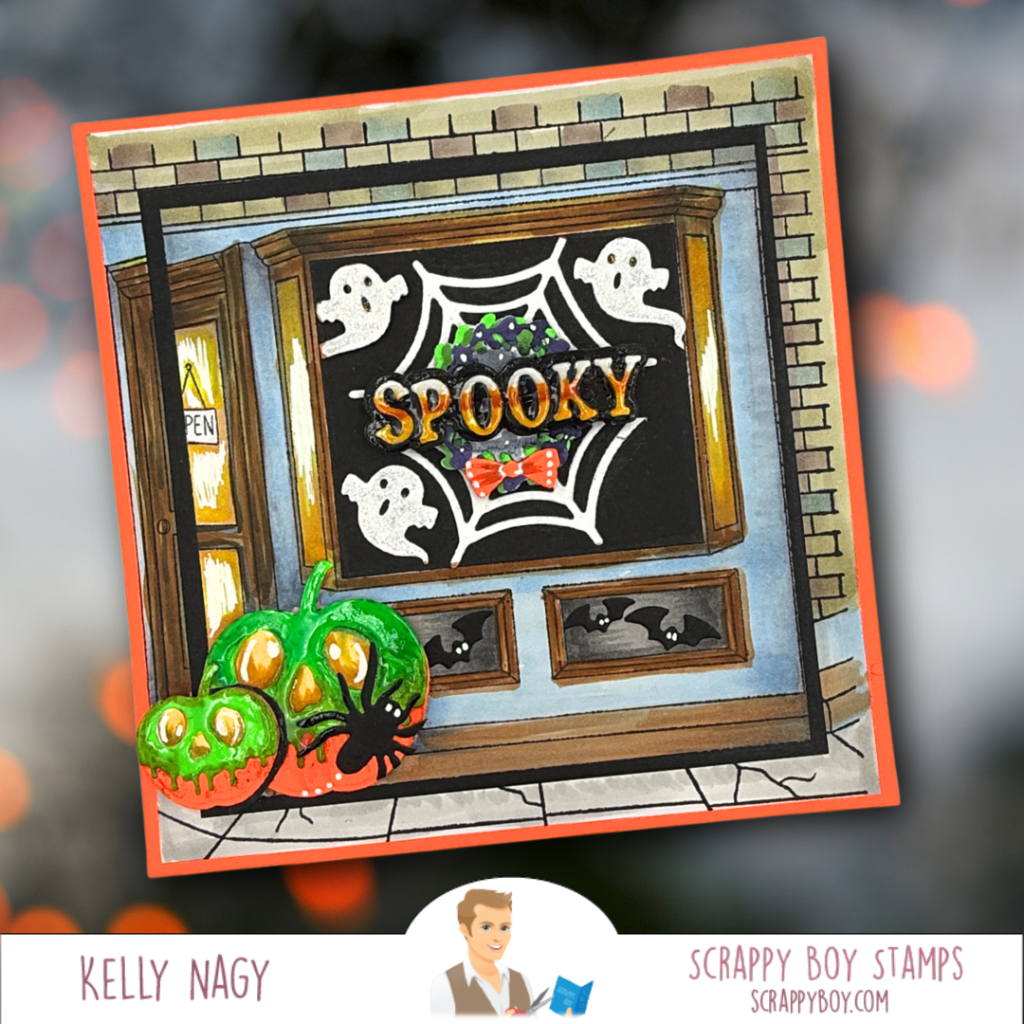
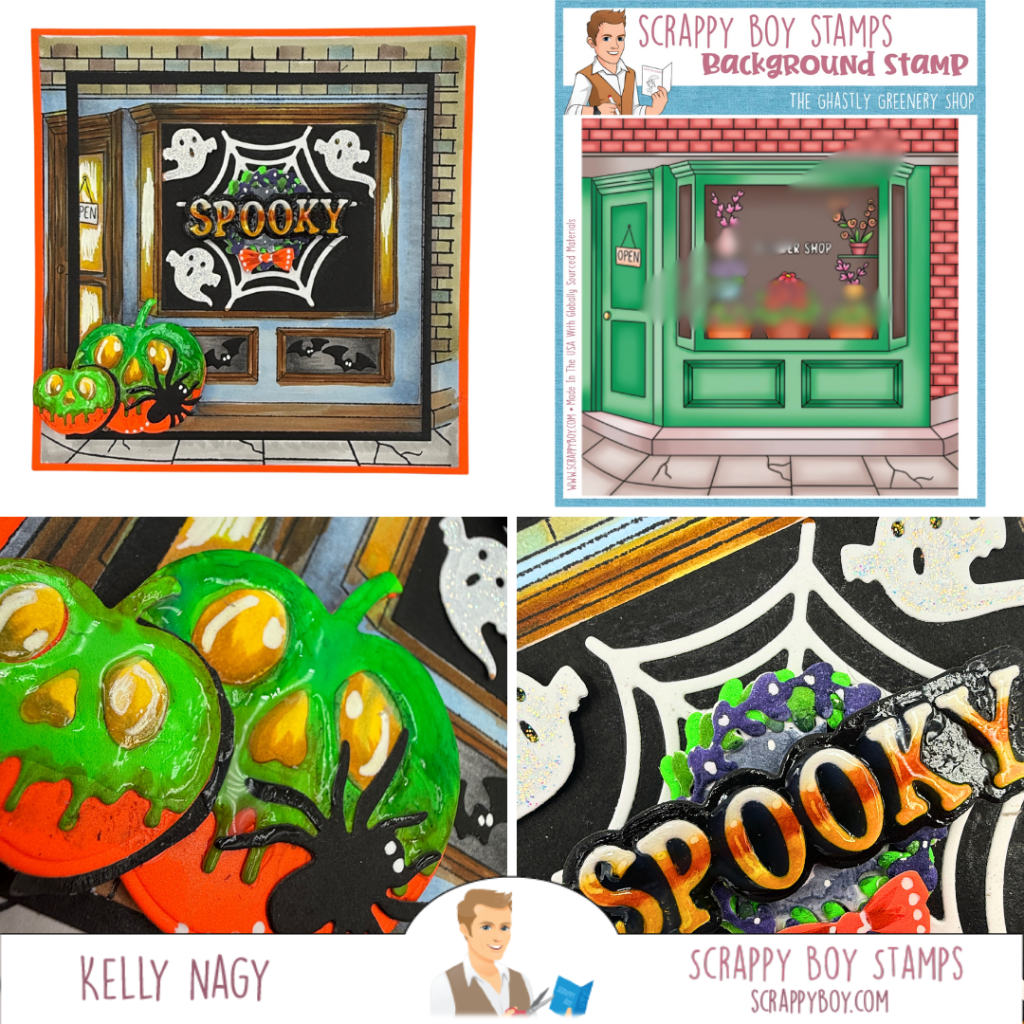
Hello, fellow crafters! As we embrace the autumn season, I couldn’t resist diving into the fun world of Halloween crafting! Today, I want to share a whimsical card idea that combines some fabulous products I adore: the Mason Jar Mini Album Die, Ghost Mouse Die Set, the Farm Truck Envelope Add-On Die Set and Marquee Die Set from Scrappy Boy Stamps. Get ready to brew up some enchanting creations! 🌙👻✨
🪄 Here’s How I Crafted This Card:
- Jar Full of Magic:
I started by using the Mason Jar Die to create a spooky container that perfectly fits my theme. This jar will be the home for the cutest little pet ghosts, making it not just a card but a magical keepsake! 🐾💀 - Adorable Ghost Friends:
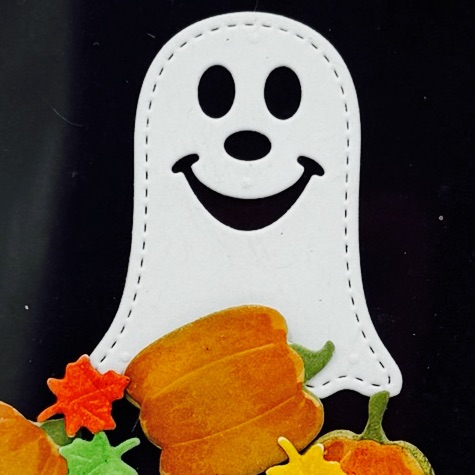
Next up, I pulled out the Ghost Mouse Die Set to cut out some charming little ghosts. Their playful expressions are simply irresistible and add a delightful touch to the card! 😻👻 - Perfectly Styled Tags:
Now, let’s talk about the Marquee Die Set! I used it to create smaller font letters to add to my tag that accentuate my jar beautifully. You can personalize them with your pet ghost’s name or just label it as “Pet Ghost!” These little details make the card feel even more special. Tie it on with some Bakers Twine! 💖🗒️ - Embellishments Galore:
To finish off my card, I added fun embellishments like fall leaves and pumpkins from the Farm Truck Envelope Add On Set. I created a shaker, so this set was perfect to make custom fillers to shake around. The goal is to make this card truly one-of-a-kind, full of the season’s magic! 🎃✨

Share the Love!
As a member of the Scrappy Boy Stamps’ Design Team, I truly enjoy exploring my creativity and sharing it with all of you. Let’s toast to a spooktacular crafting session together, where every pet ghost shines as bright as the autumn moon! I can’t wait to see your ghostly creations—share them with me @stampedbykelly and tag #scrappyboy with your projects! 🌟
👻🖌️ What’s your favorite spooky craft combo? I’m eager to hear your ideas. Happy crafting and happy haunting! 🎉 #CraftyHalloween #PetGhosts #MasonJarMagic #ScrappyBoyStamps #StampedByKelly
Join me in this festive crafting adventure, and let the spirit of Halloween inspire your creativity! 🎨✨