

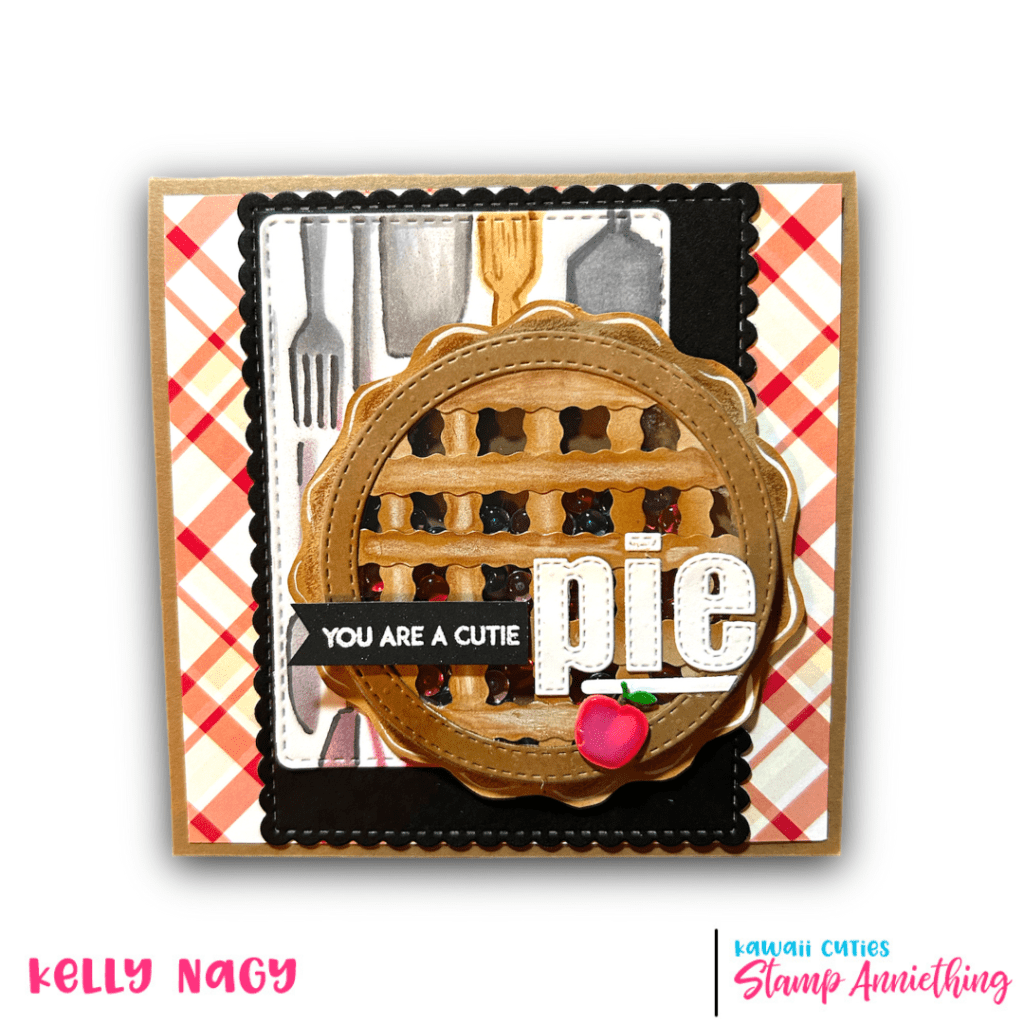
Limited Edition Set by Stamp Anniething
The art of gift-giving isn’t just about what’s inside the box. Adding a personal touch to your greeting card can make all the difference, especially when it’s for someone very special. That’s why I’m excited to share with you this really cute new set from Stamp Anniething that can be customized for any occasion and recipient.
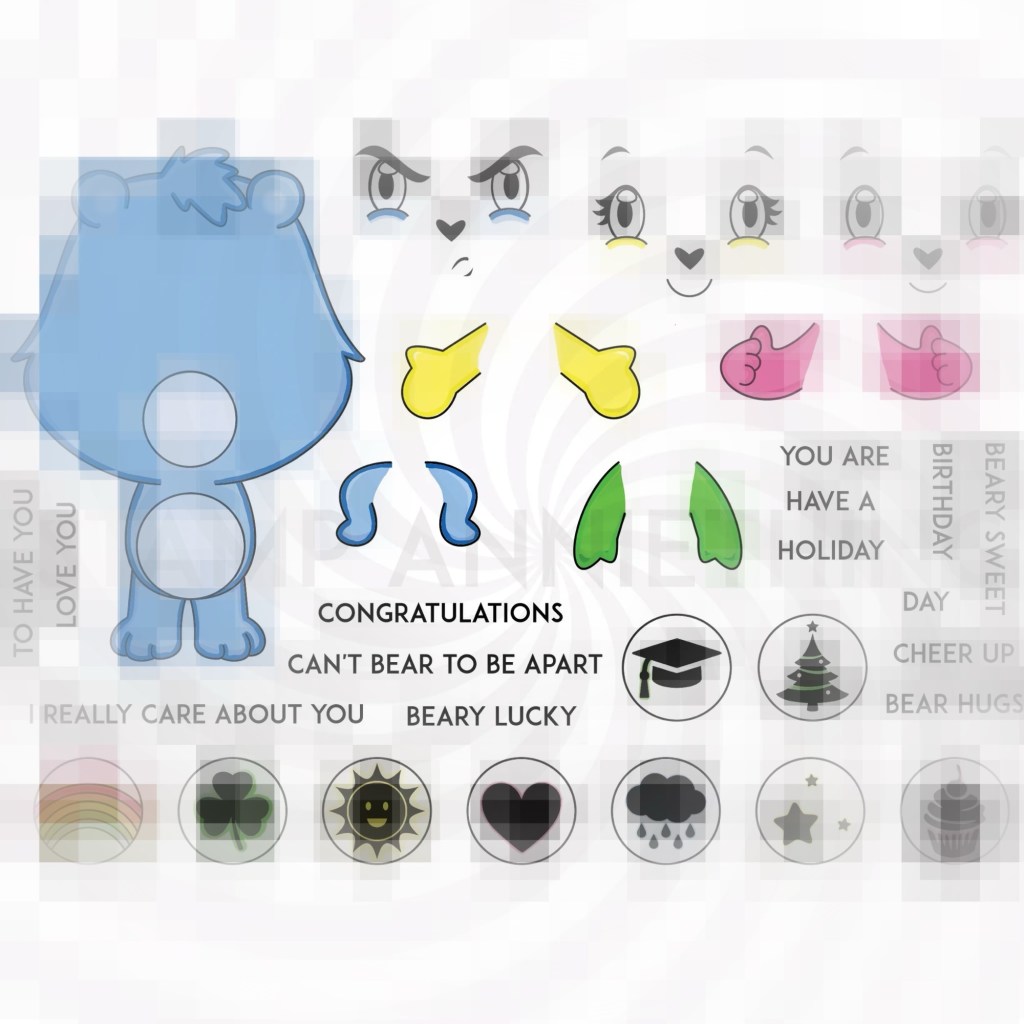
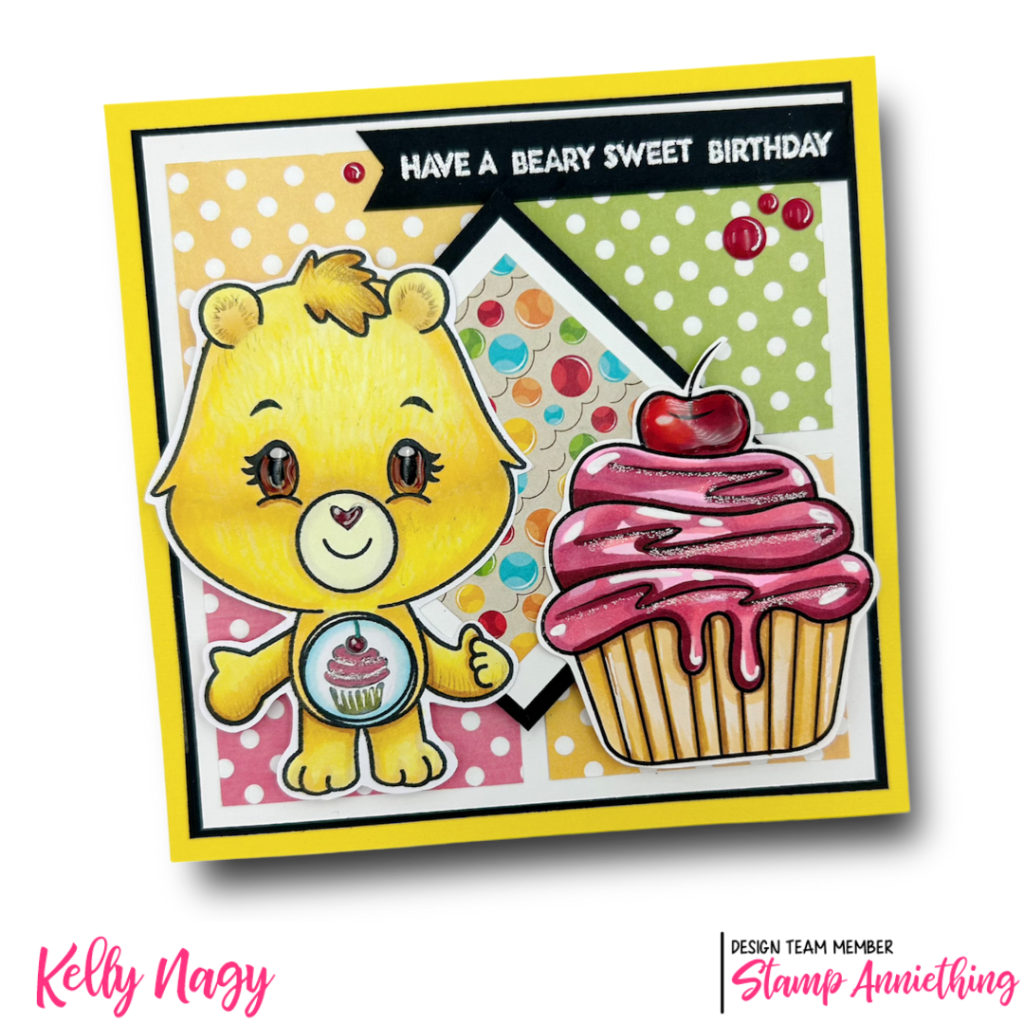
I created a birthday card using the Build A Caring Bear set, as well as patterned paper from the SUMMER TROPICS pack as a background. So, let’s dive in and see how to make this versatile square card.
The first thing you’ll need is a 5 1/4 in square card base. This size will provide enough space to showcase your creativity while still being efficient enough to mail. Next, you’re going to create your characters using the Build A Caring Bear set. The great thing about this set is that you can mix and match the different elements like faces, arms and belly tag to create your unique bear. I decided to go with a Happy Cupcake Bear because I wanted to create a festive and colorful birthday card.
Once I BUILT my bear, I started creating a fun birthday scene. To do this, I downloaded a free digital image that coordinated with the image on my bear’s belly. It’s easy to do and it provides a great way to add a personal touch to your card. I went with a cupcake!

I wanted to create texture on the card, so I used patterned paper from the SUMMER TROPICS pack to make the background. The bright colors and versatile patterns are perfect for a celebration and it compliments the bear image well. I cut a total of four (4) two-and-a-quarter inch squares and a 2 1/2 inch square in white and a 2 3/4 inch square in black to frame and then place in center on the diagonal using double-sided foam tape. I had a small square scrap I added from the Pets Grab & Go Box (no longer available), that I added to the center of the square.

Finally, I added a sentiment to the top right of the card, wishing the recipient a BEARY sweet birthday. It’s simple, but heartfelt, and it ties everything together nicely. Added some Enamel Dots from Stamp Anniething to repeat the pops of color in a triangular pattern, to draw your rye from the sentiment to the cherry on the cupcake and back to the sentiment again.
In conclusion, with little effort, anyone can make a sweet, personalized birthday card using the Build A Caring Bear set and Summer Tropics patterned paper. You can change the occasion, color scheme or even switch out the face, belly badge and arm positions to create a unique design tailored to whomever you’re giving it to. It’s a thoughtful gesture that shows you care, and the recipient will surely appreciate the time and effort put into it. Happy creating!


