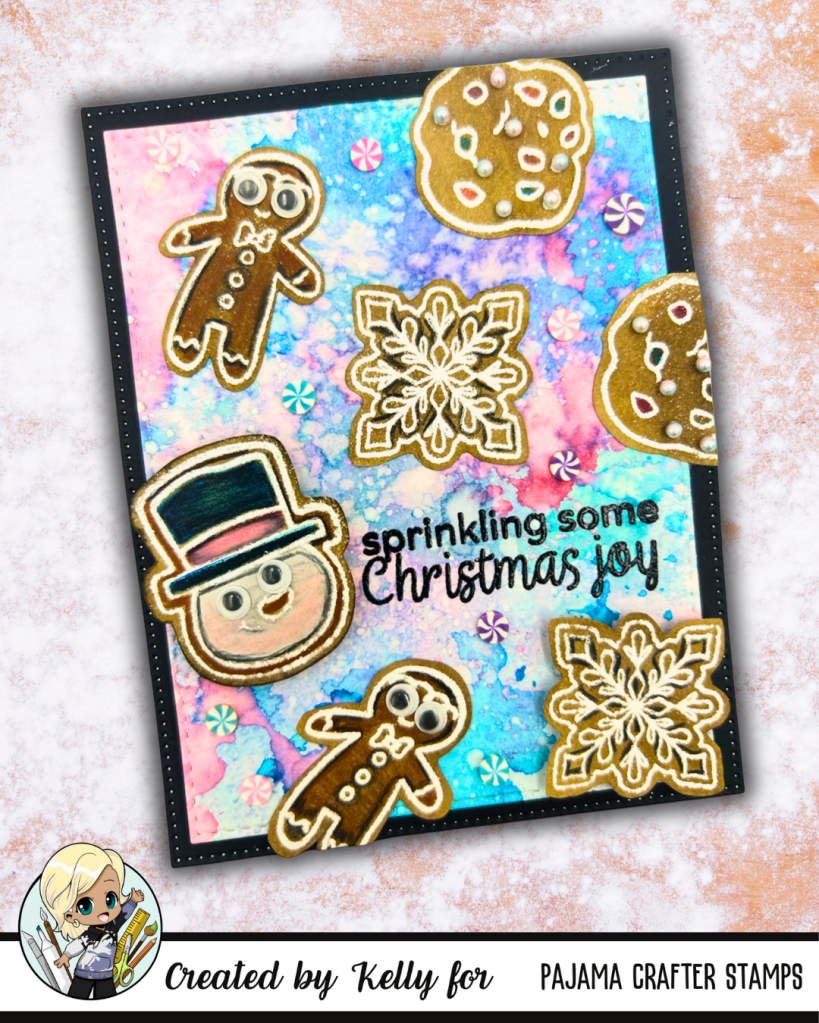
Sharing a card featuring Pajama Crafter Stamps and celebrating World Fussy Cutting Day!
Featuring Pajama Crafter Stamps
🎉✨ Happy World Fussy Cutting Day! ✂️🖌️
I’m excited to share a special card that highlights the magic of fussy cut stamped images! 💌
So grab some stamped images and a pair of scissors and let’s get crafting!
I started by using white pigment ink on Kraft colored cardstock, then heat embossed over the white ink with clear embossing powder. This technique created a beautiful look reminiscent of white royal icing on gingerbread cookies! 🍪✨
To add a touch of warmth, I blended some walnut stain Distress Ink around the edges of the cut images from the “Baking Spirits Bright” stamp set, giving them that freshly baked cookie vibe. After that, I gently wiped away any excess distressed ink from the embossed images with a soft cloth for a neat finish.
Fussy cut images popped up on watercolor panel with foam tape for added dimension.
👉 For more details a chance to win a gift certificate to the Pajama Crafter Stamps shop, check out the special hop happening over on their Instagram page!
Additionally, you can explore this fun “Baking Spirits Bright” stamp set and many unique whimsical designs at the Pajama Crafter Stamps website: pajamacrafterstamps.com (https://pajamacrafterstamps.com) 🛍️
Join in the fun and let’s celebrate creativity together!
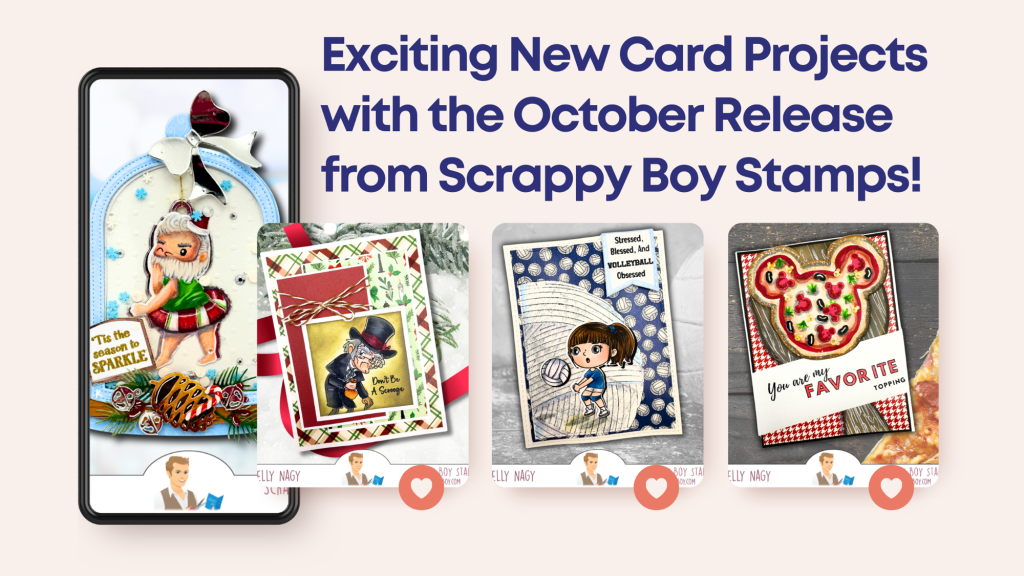
I’m absolutely thrilled to share my latest card projects featuring the October release from Scrappy Boy Stamps! Each project highlights just how versatile these products can be when paired with older release dies and new goodies.
Unique Creations: Stretching My Crafting Stash
Creating unique projects is my passion, and I love pairing unlikely sets together to come up with alternative ways to use my supplies. This approach not only stimulates my creativity but helps others stretch their stash too! Here’s a closer look at some of the projects I’ve crafted in preparation for this month’s release!
SCRAPPY BOY Supplies Used:
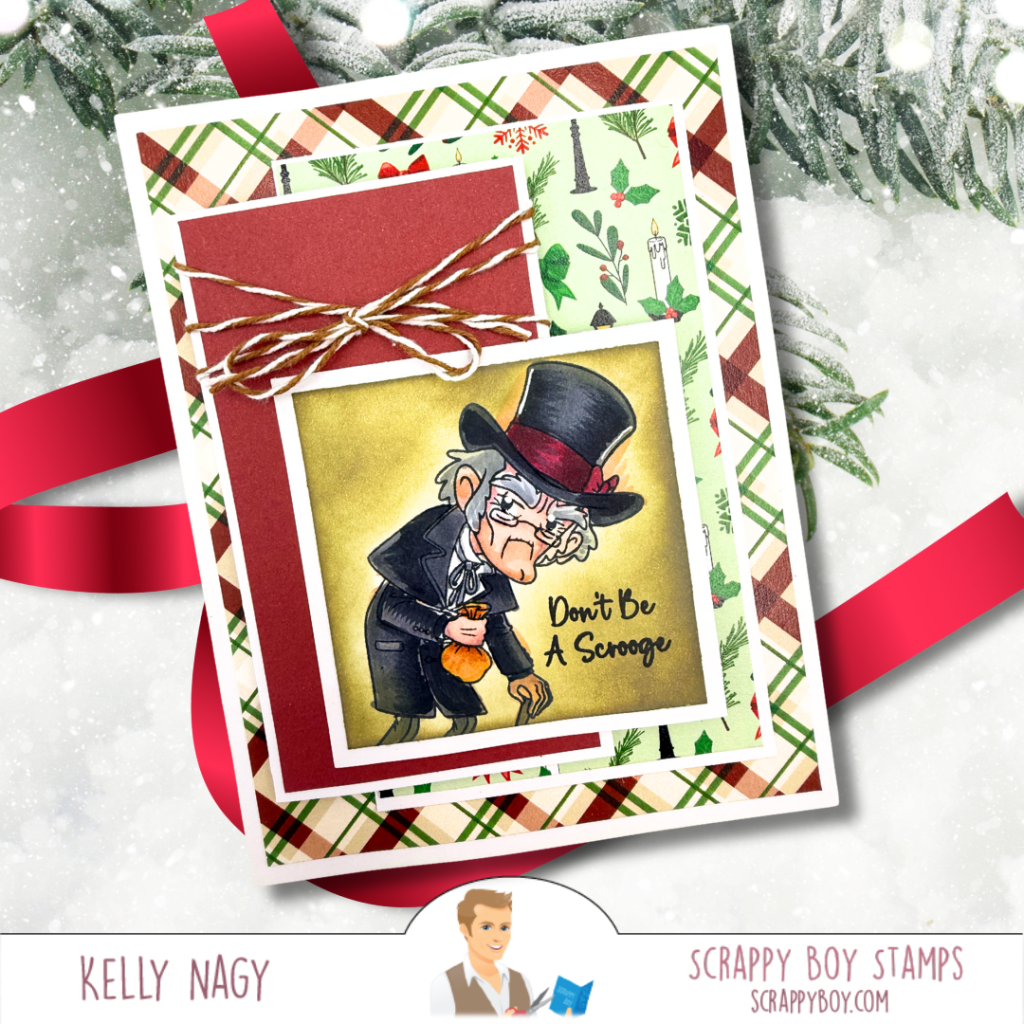
CHRISTMAS CAROL Stamps & Outline Dies
Scrappy Boy Stamps card-making die A2 NESTED STITCHED RECTANGLES
Background 6×6 Patterned Paper Pack
SCRAPPY BOY Supplies Used:
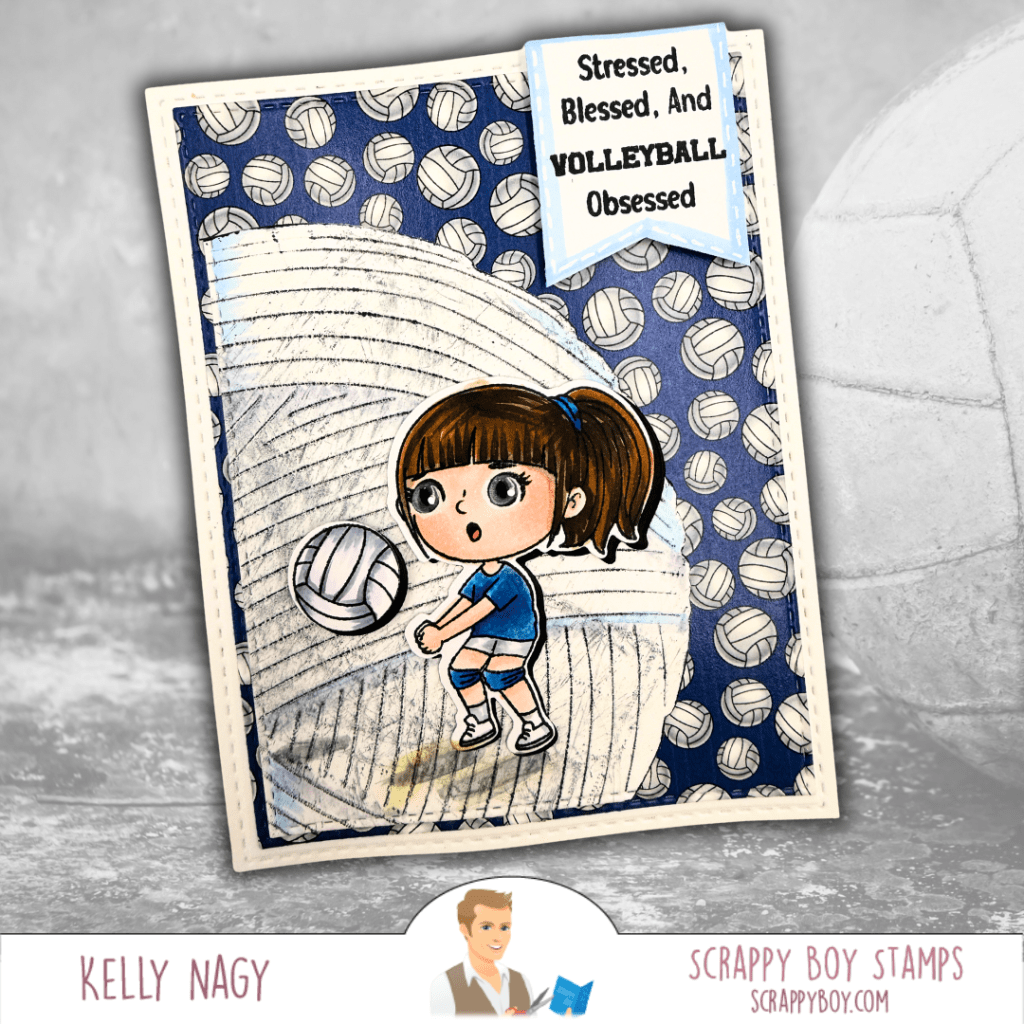
CUTE KIDS – I LOVE SPORTS stamps & coordinating outline dies
YARN BALL MINI ALBUM CARD DIE
STITCHED RECTANGLES A2 NESTING DIES
6×6 COORDINATING PAPER PACK
SCRAPPY BOY Supplies Used:
MOUSE PIZZA DIE SET
MAGIC MIRROR MINI ALBUM CARD DIE
6X6 Paper Pack – miscellaneous from prior release
SCRAPPY BOY Supplies Used:
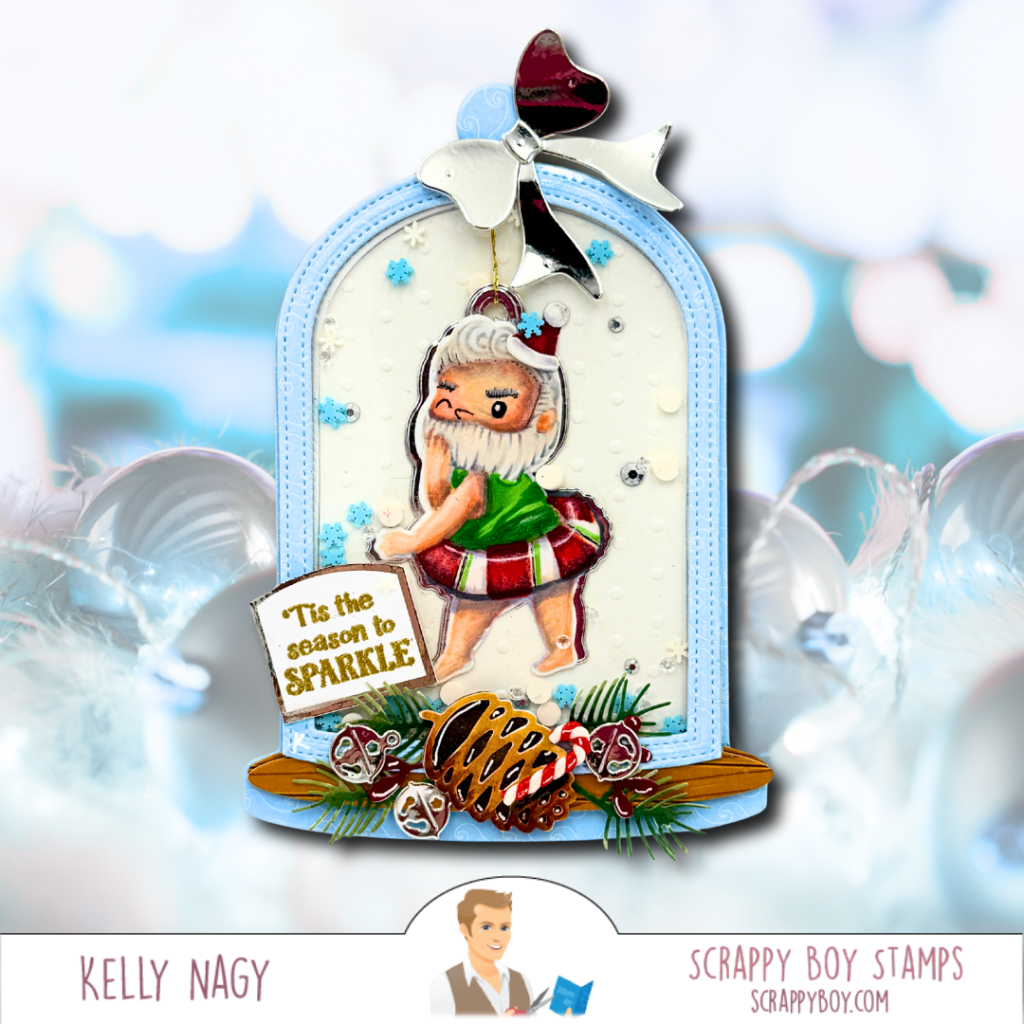
BUTT-CRACKER SUITE stamps and coordinating outline dies
A2 DOME MINI ALBUM & CARD DIE
WREATH ADD-ON ENVELOPE POP-UP DIE
Sentiment from NICE LIST Stamps.
INK ON 3 -NO LINE WATERCOLORING INK
This month, I’ve utilized a no line coloring technique on the Butt Cracker Suite images, transforming them into adorable figures lounging in inner tubes! Who knew a ballerina tutu could double as a swimming tube? And one of the images was a perfect fit to create a Santa in a peppermint-colored inner tube, making it ideal for a holiday ornament—especially fun for those crafty friends celebrating the holidays in warmer climates! 😂🌴
Together, let’s get creative and explore new crafting possibilities with our supplies! Follow along for more inspiration! Follow me @stampedbykelly on Social Media. Ask me questions and let’s inspire each other together!
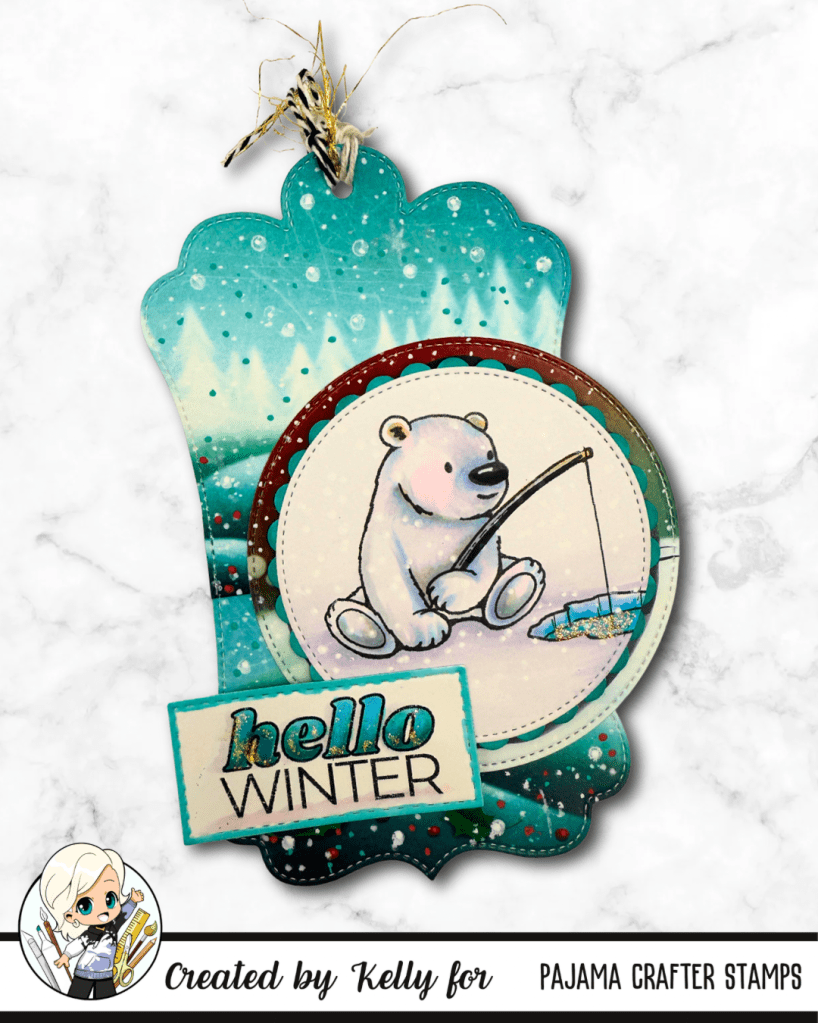
I’m excited to share a fun project featuring one of the newly released stamps from Pajama Crafter Stamps called Polar Pals! This adorable stamp set is perfect for the cozy holiday season, and I’ve paired it with some dies from my stash to create a layered tag that adds a special touch to any gift. 🎁✨
This layered tag isn’t just a pretty addition to gifts; you can also think outside the box! Here are a few more creative ways to use tags:
Elements on a Scrapbook Page: Incorporate your tags as decorative elements on your scrapbook pages. They make great titles or embellishments!
Christmas Tree Ornaments: Use your tags as ornaments for your Christmas tree, adding a personal and handmade touch to your holiday decor.
Banners & Garlands: Create a beautiful banner with tags strung together to celebrate special occasions or to decorate your craft space.
Bulletin Board Décor: Jazz up your bulletin boards with themed tags that can be changed out seasonally to keep things fresh.
There’s so much to do with tags, and I hope this project inspires you to get crafty!
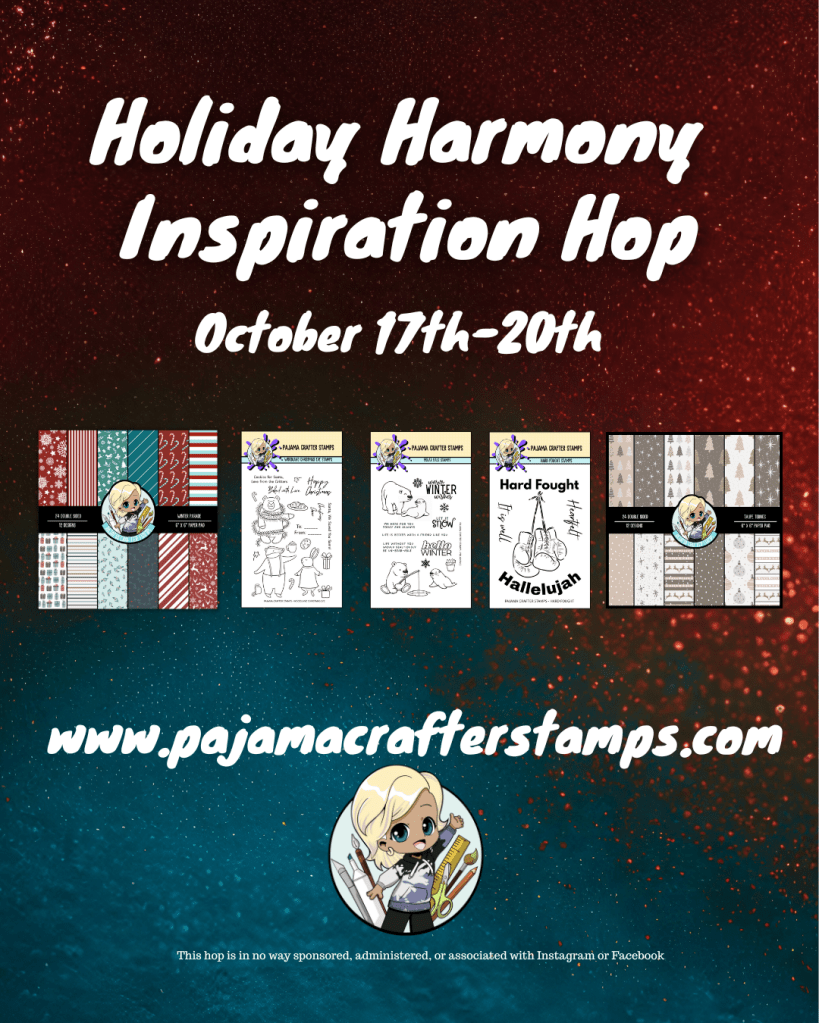
And if you’re interested, there’s a fantastic hop going on right now, where you can participate for a chance to earn a prize! The magic all starts at Pajama Crafter Stamps’ Instagram page.
Be sure to check out the latest releases at Pajama Crafter Stamps; I promise you won’t be disappointed.
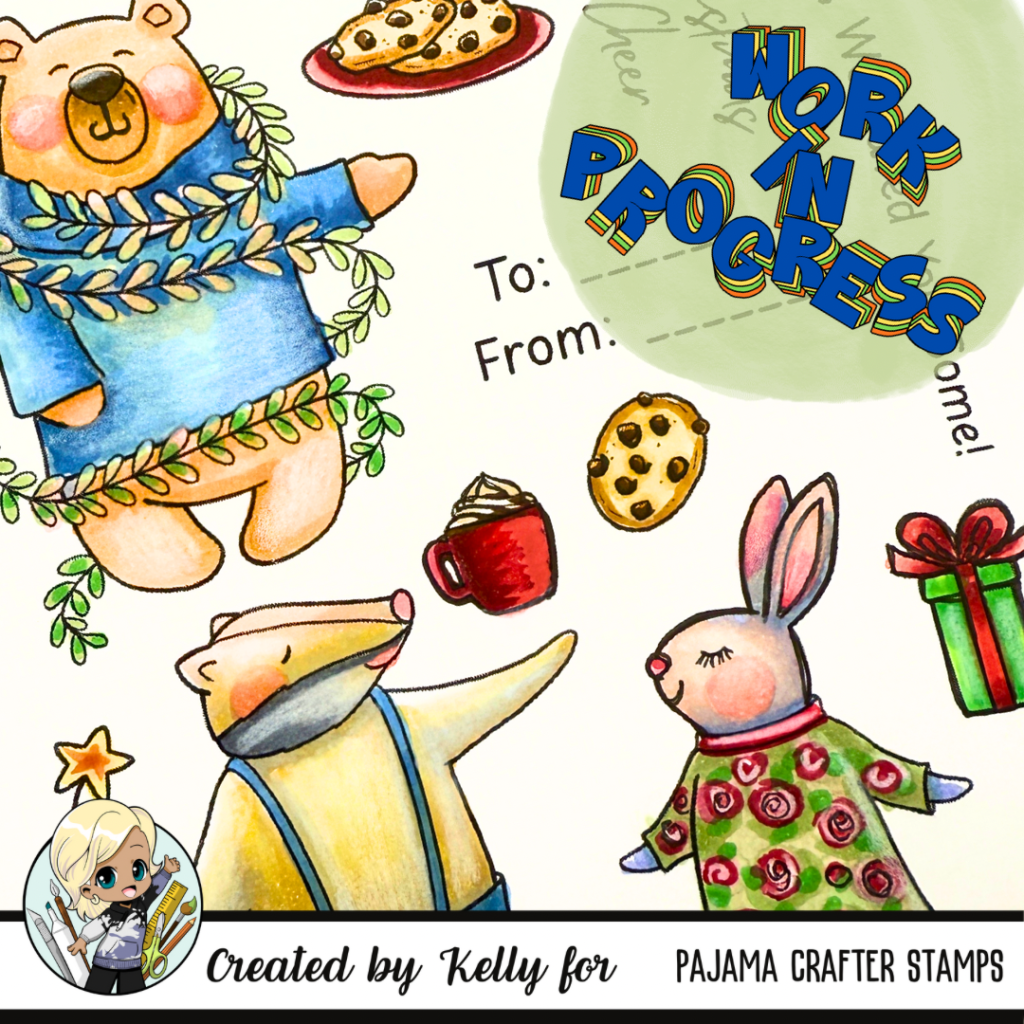
Featuring Woodland Christmas Eve Stamps from PCS
If you love the projects I create and appreciate my inspiration, I’d be overjoyed if you could click on my affiliate link below. It does not cost you anything extra but lets Joy and her family know that you’re enjoying my work: Pajama Crafter Stamps Affiliate Link (https://pajamacrafterstamps.com/STAMPEDBYKELLYBLOG).
Also, to see my completed projects using these colored up images from the previous WORK IN PROGRESS post, please follow me on Social Media @StampedbyKelly
Thank you so much, and I hope you all have a wonderful weekend filled with joy and creativity! 💖
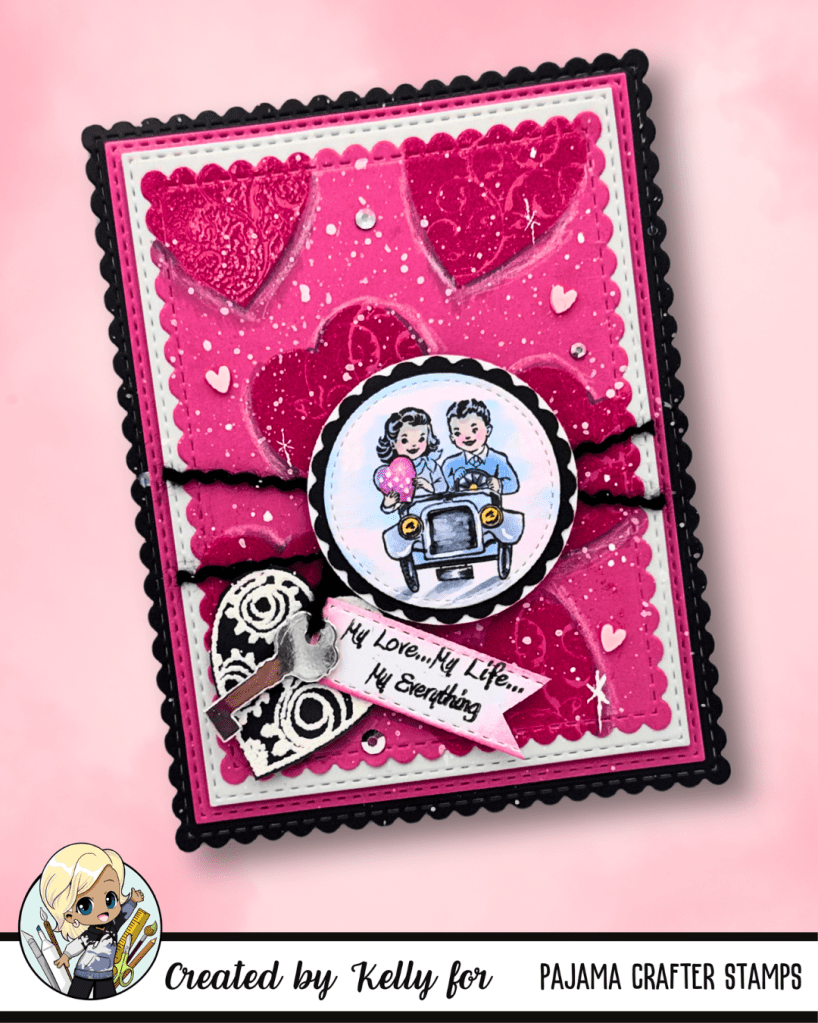
As we dive into the holiday spirit, I’m not only excited about the upcoming festivities, but I’m also preparing to celebrate my 35th wedding anniversary! 🎉 In the spirit of love and creativity, I recently dusted off an adorable stamp set from Pajama Crafters that caught my eye. With Valentine’s Day right around the corner, it’s the perfect time to share love and encouragement through our crafting.
A Special Celebration Card
For my anniversary card, I colored a cute image that represents my hubby and me, pairing it with the stunning heart locket die set. ❤️✨ To add an extra touch of warmth, I created an ink-blended background featuring embossed hearts. It truly captures the essence of our love story.
Perfect for Valentine’s Day!
Even if you’re not celebrating an anniversary, this set is perfect for crafting heartfelt cards for Valentine’s Day or any occasion to spread joy! I particularly love these cute, smaller images as they fit perfectly in those postage stamp layouts.
Retiring Set
Retiring Stamp Sets — Don’t Miss Out!
The best part? This lovely set is retiring soon! You can grab the stamp and die bundle for just $5.99, or snag the Heart Key Crown Die for only $1. 🎉 These deals won’t last long, so make sure to get your hands on them while they are still available!
Join in the Celebration!
Let’s embrace this beautiful season of love together! How are your holiday card plans coming along? I’d love for you to share your creations in the comments below. Let’s inspire one another and create something magical!
Today, let’s dive into the magical world of stamping and explore how we can transform our stamped images into whimsical scenes that tell entirely new stories. The beauty of crafting lies in its endless possibilities, and merging different stamp sets allows us to stretch our imaginations beyond the original designs!
Why Mix and Mash?
Often, we get caught up in using our stamps exactly as intended. But what if we dare to break that mold? By mixing and mashing our favorite stamped images, we can create unique narratives that are both fun and unexpected! Think about taking a flower from one set and placing it alongside a character from another—suddenly, you’ve got a new scene full of life and creativity! 🌈✨
Embrace the Joy of Creation
One of the best parts of crafting is enjoying the process itself. Don’t worry about strict rules or expected outcomes. Allow your instincts to guide you! Even if things don’t turn out as planned, each creation is a step on your artistic journey.
Right now, I have a fun project on my desk that’s in the works. I can’t wait to see how it evolves! Let’s inspire one another with fresh ideas and push our boundaries together.
So, grab your favorite stamps, cut them out, and start mixing! Let’s stamp our way to creativity and make this journey colorful and fun. Don’t forget to share your creations with me @stampedbykelly I’m always looking for new inspiration!
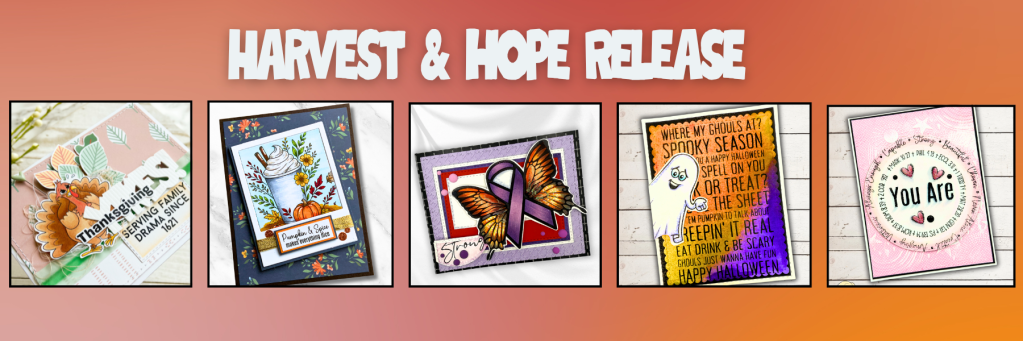
I’m excited to invite you to join us for the Harvest & Hope Inspiration Hop hosted by Pajama Crafter Stamps starting at Pajama Crafter Stamps’ Instagram Page. We’re celebrating their wonderful new September release filled with cozy fall vibes, heartfelt creativity, and a sprinkle of hope for the future. 🎉
September New Release from Pajama Crafter Stamps
This month, Pajama Crafter Stamps is thrilled to unveil:
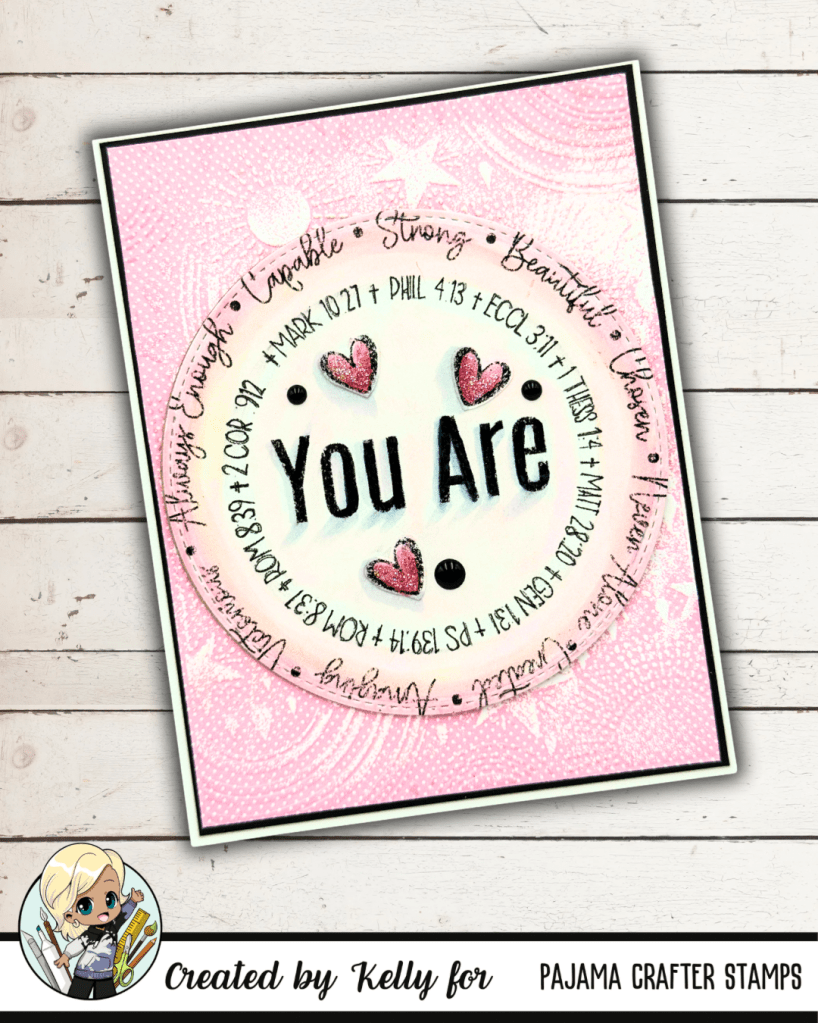
In my design, I incorporated some pink small polkadot patterned paper that I ran through an embossing folder. To bring out the intricate details of the embossing, I dragged a white pigment ink pad over the raised areas. This technique beautifully highlights the texture and makes the design pop!
Next, I layered the circle stamped image using ink blending with distressed ink in pale pink, giving it a soft, dreamy look. To add some dimension, I used dimensional foam tape to pop it up, creating an eye-catching focal point on my card. This is just one of the new sets released.
“You Are Stamps” from Pajama Crafter Stamps
🌟✨ Unleash the Power of Positivity with the “You Are” Stamp Set! ✨🌟
Dive into a world of encouraging sentiments that uplift and inspire!
It’s Fine, I’m Fine Everything’s Fine!
YOU Got This!
YOU ARE Amazing! Remember That
And so much more…
Whether you’re celebrating a friend’s achievement, sending love, or just spreading kindness, this stamp set has the perfect words for every occasion. Let your creativity shine as you craft heartfelt messages that make a difference!
Join me, @StampedbyKelly, for more inspiration and joyful crafting tips! Please know all are welcome in this creative community. Let’s spread some love together! ❤️
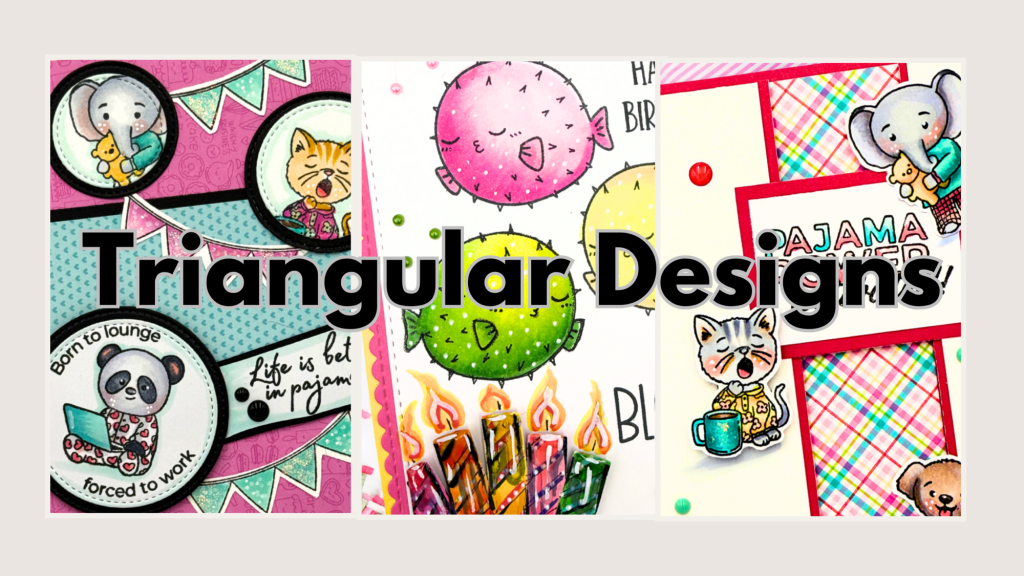
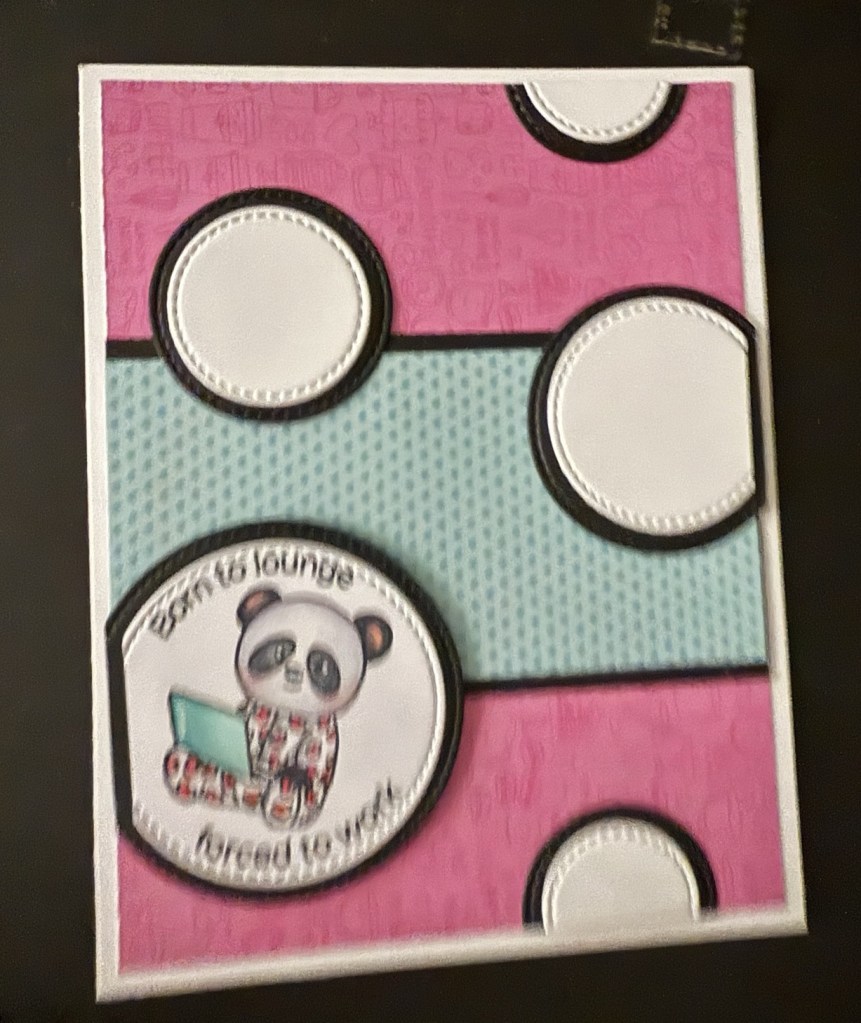
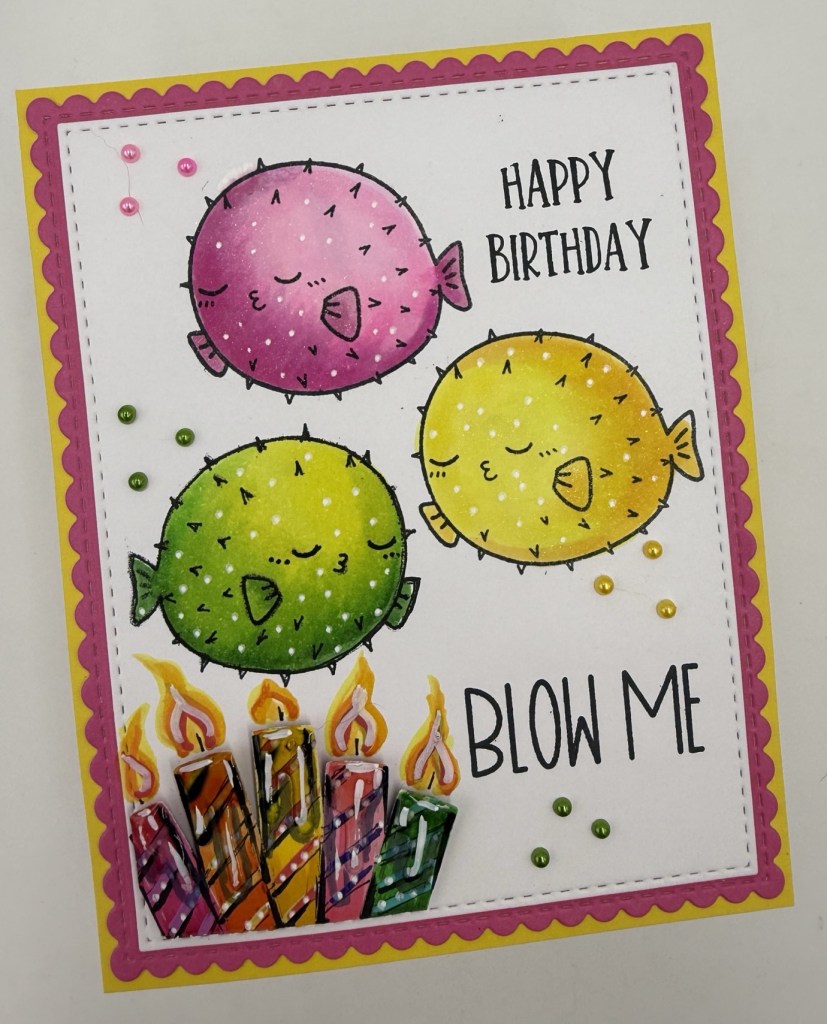
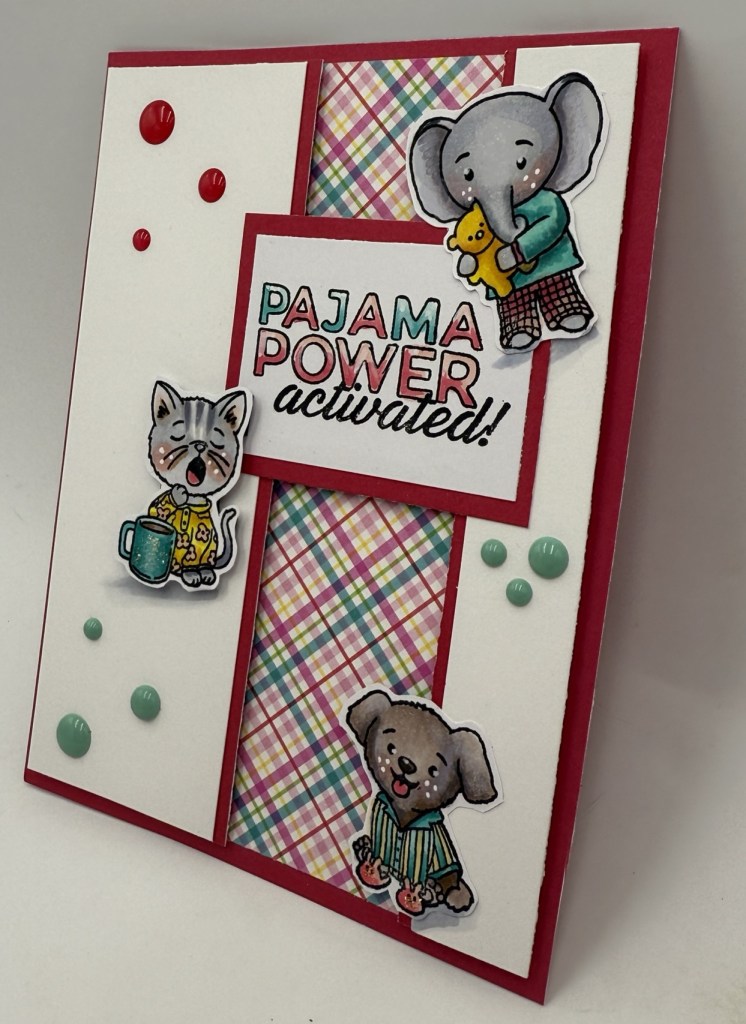
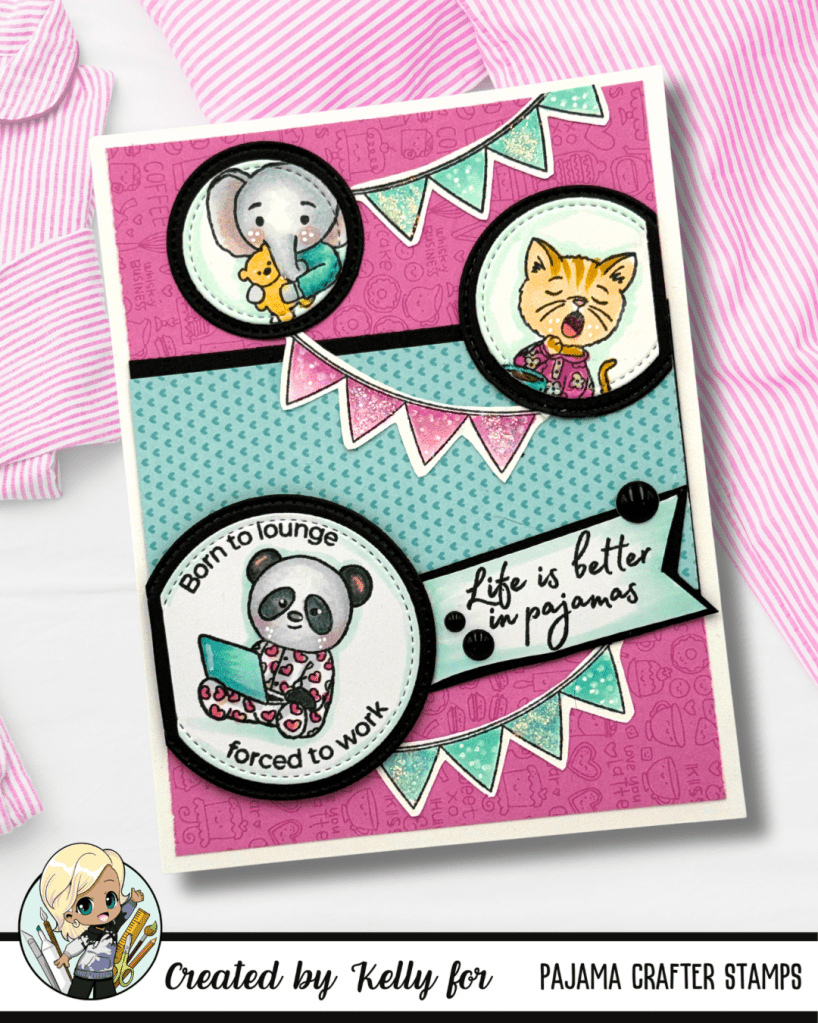
Welcome back, crafty friends! Today, I’m thrilled to share three card projects that not only bring smiles through their vibrant designs but also highlight a fascinating connection: the color palette and design technique I’ve used. By strategically employing a triangular layout, I’ve created eye-catching cards that guide the viewer’s gaze, making for a delightful visual experience.
The Importance of Color
First off, let’s talk about color! For these three cards, I carefully selected a harmonious color palette that complements the Pajama Power Stamp Set and Puffer Stamp Set. 🖌️🎨 Using colors in tandem creates a cohesive look, allowing each element to stand out while still feeling like part of a unified design.
Triangular Design: A Guide for the Eye
One of the most intriguing aspects of my card-making process is my tendency to create designs that draw the viewer’s eye in a triangular motion across the card. 🌟 Why triangles, you ask?
Triangles are naturally pleasing to the eye and provide a sense of stability and balance. By creating a triangular arrangement with your card elements, you’re subtly guiding the viewer’s focus from one point to another across the design. This method proves particularly effective when I include embellishments or smaller images—partnering them in groups of three to enhance visual flow.
Tips for Creating a Triangular Layout
Start With a Focal Point: Begin with a central image or embellishment that catches the eye. This serves as the primary anchor for your design.
Arrange Supporting Elements: Use additional images or embellishments to create a triangular structure around your focal point. Position them so they form a triangle—this can be done vertically, horizontally, or even diagonally, depending on your design.
Consider Size and Shape: Balance is key! When working with smaller images or embellishments, grouping them in threes helps create a visual interest that leads the eye seamlessly around the card.
Add Color Strategically: Use your chosen color palette to unify your elements. Colors should complement and enhance each other, making the card more welcoming and visually appealing.
Bringing It All Together
Without a large focal point dominating the design, assembling your card in this triangular fashion allows for each element to shine while still feeling cohesive. My three card projects today demonstrate how this technique creates a friendly and balanced look that is easy on the eyes.
I hope these tips inspire you to explore triangular designs in your own crafting! Let’s create a world full of joy through beautiful card-making techniques. Happy crafting, everyone! 🌼💖
Join the Conversation! What design techniques do you find yourself drawn to? Share your thoughts and experiences in the comments below!
Scrappy Boy Stamps’ August 2025 Release Inspration
Hello, crafty friends! 🎉
I’m thrilled to share my recent card creations using products from Scrappy Boy Stamps’ August release! Each project showcases a unique theme that I can’t wait for you to see!
featuring TRICKSTER GHOST
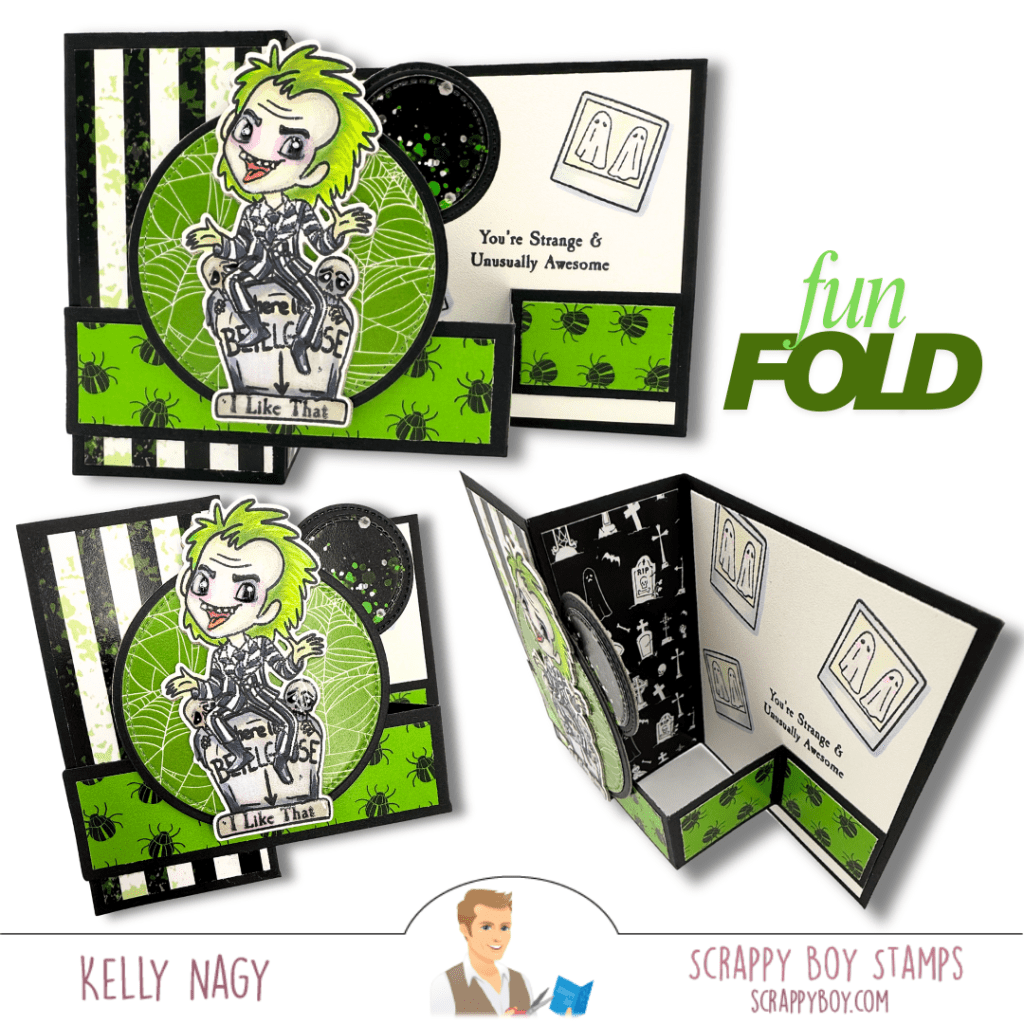
🦇 Fun Fold Card Inspired by a Cult Classic
First up, I created a fun fold card inspired by a quirky underworld couple from a beloved movie. This card is perfect for Halloween lovers! With enchanting pattern papers and a main character that brings a smile, it’s a delightful addition to any Halloween celebration. 👻💀
Creating a Z-fold card in A2 size is simple and fun! Start with a piece of cardstock measuring 4.25” x 11” and score it at 2.75” and 5.5” along the long side. Fold the cardstock in half at the 5.5” score line, creating the first ‘Z’ fold. Then, take the smaller section and fold it back on itself at the 2.75” score line. This will give you a card that opens in a zigzag manner. Decorate each panel as desired, and you’ll have a beautiful Z-fold card perfect for any occasion! Happy crafting!
FEATURING: Cute Kids Detectives
🔍 Crafty Twist on a Favorite Show
Next, I took inspiration from a show I adore, where amateur sleuths navigate mysteries in their fancy apartment building. This time, there’s a twist—my characters are all crafters! 🎨✂️ I’ve customized each character image with specific colors to make them instantly recognizable, and added crafty elements from the “Crafting Tools Die Set Add-On Craft Cart.”
Crafting inspiration can come from the smallest details! By layering cardstock and utilizing elements from your stash, like the crafty elements from the add-on set for the craft cart, you can beautifully tie your design together and add depth. I also love to create custom sentiments using my printer, which I cut out and pop up with dimensional foam tape for added interest. One of my favorite aspects of the Scrappy Boy line is how it mimics the images in the coordinating pattern paper, creating miniature versions that are perfect for fussy cutting. Incorporating these into my scenes brings an extra layer of creativity to my projects!
FEATURING: Magnifying Glass Die
🎡 Whimsical SHAKER Mouse Wand
Lastly, I’m excited to introduce the new standalone Magnifying Glass Die that coordinates with the Cute Kids Detective Set! Instead of a standard magnifying glass, I paired it with fun theme park elements and colorful papers, creating a whimsical SHAKER mouse wand. 🎈🐭 I even made some shaker bits using coordinating cardstock and shaker cover plate dies to add that extra flair! The zipper pull mouse hand die creates a fun “dangle” on the SHAKER wand.
I’m excited to share how I transformed the magnifying glass into a theme park-inspired shaker wand! Many of the elements released are perfectly sized to layer with other items in your stash, so don’t hesitate to mix and match or get creative with die cuts—even using the negative space they leave behind. I love the fun new spin I was able to give the magnifying glass, especially with the addition of a dangle made from a zipper pull mouse hand die on the handle! Inside the shaker, I filled it with confetti and cut pieces from a cover plate die, creating shaker bits that perfectly match my project. How fun is it to elevate your creations this way? Be sure to check out all the fantastic products available at scrappyboy.com!
Your support means the world to me, so don’t forget to follow me on social media @stampedbykelly. 💖
Featuring Bruno Bee Keeper & The Bees Knees Paper Pad
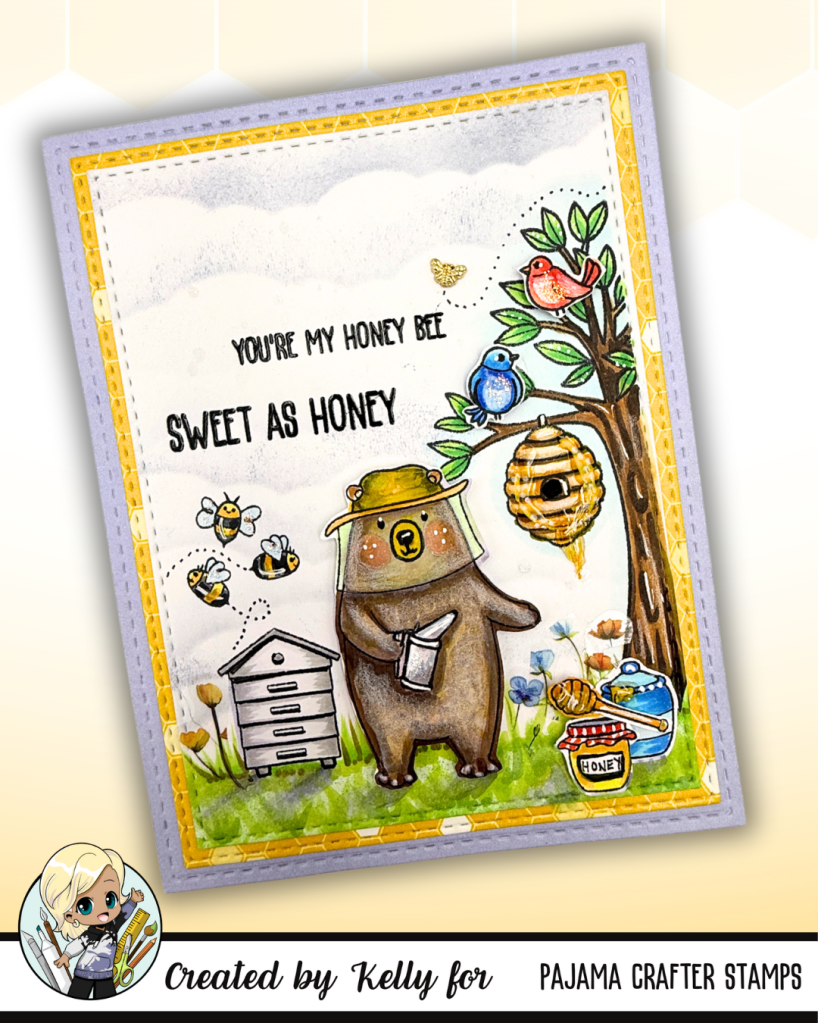
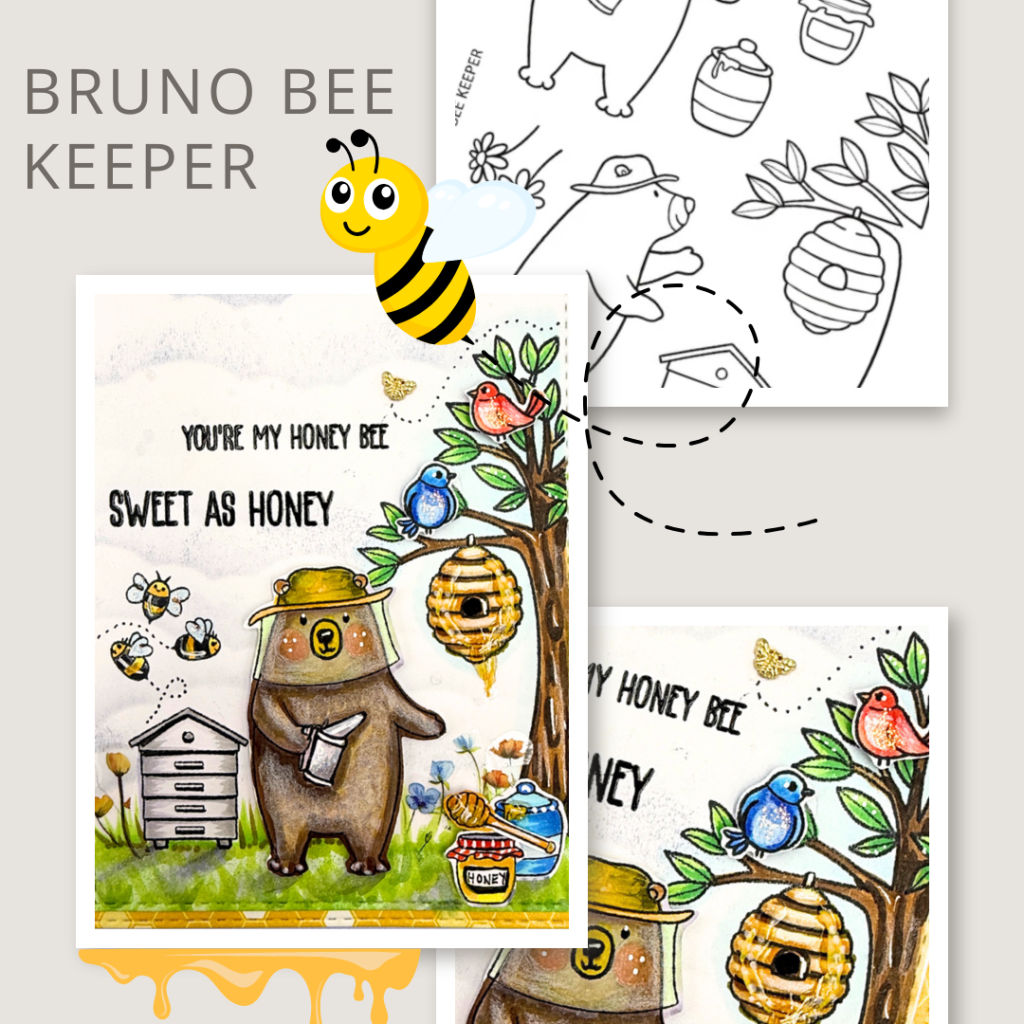
I am absolutely buzzing with excitement to share my latest creation with you all—a vibrant A2 sized card using the adorable “Bruno Bee Keeper” stamp set! This set is simply a delight, packed with charming bears, lovely flowers, and a host of other fun elements that bring a sweet touch to any project.
Card Details: For this card, I chose a sunny yellow honeycomb paper from the coordinating 6×6 pattern paper pack. It’s just as cute as it sounds, featuring 24 double-sided sheets that include the most delightful bee and honeycomb designs! 🐻🍯
The stamp set includes various images, such as:
Cute bears 🐻
Flowers 🌸
Birds 🐥
Bees 🐝
A bee house 🏠
A tree with a beehive 🌳🍯
I added some sparkle to the bee’s wings using Stickles and created a soft cloud background with a stencil. For extra shine, I used Crystal Effects Glaze on the honey drips from the jar and the hive. The result is a card that truly shines, just like honey! ✨
Sweet Sentiments: The “Bruno Bee Keeper” set also includes lovely sentiments like “Bee Brave” and “You’re My Honeybee,” which add a personal touch to every card. 💖 These messages are perfect for showing support and affection to friends and loved ones.
Join the Buzz! Your support means the world to me! 💕 Please take a moment to like or comment if you enjoy what you see—it really helps me know that my designs resonate with fellow crafters and friends.
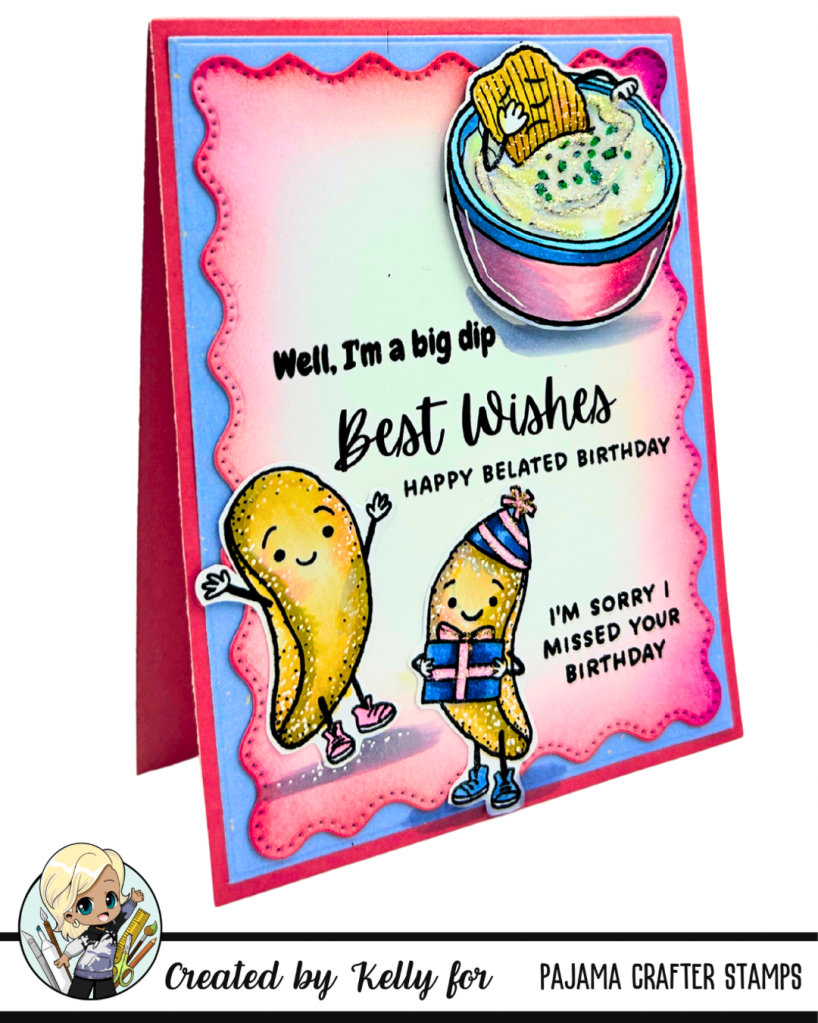
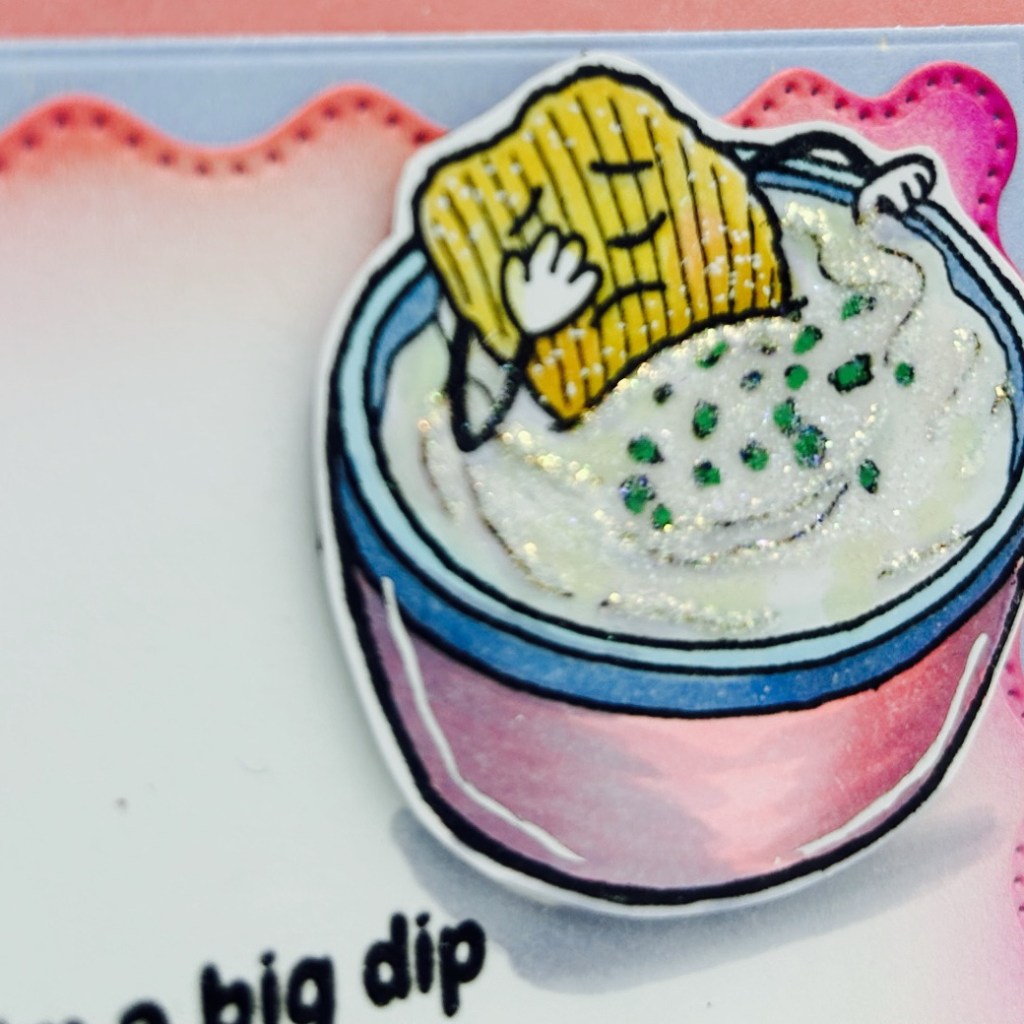
I’m thrilled to share a card I created featuring the adorable CHIP CHIP HOORAY stamp set from Pajama Crafters Stamps! 🦜✨ This set is just perfect for crafting fun and lighthearted cards, and I couldn’t resist using this FUN belated birthday sentiment ! 🎈🎂
Add details like white gel pen, Stickles and Crystal Effects