🍂 Fall Wreath w/ Truck Die Sets This card features a beautifully layered wreath paired with a charming truck die. I also pulled in some cut elements from the DOME SHAKER DIE. Finish using a fall themed sentiment from your stash. It’s the perfect way to welcome the cozy vibes of fall!
🎬 Hollywood Vixen For all the movie lovers out there, this design captures one of the favorites of the silver screen! With vibrant colors and elegant details from a variety of diecuts including the RODEO DRIVE SHOP SCENE.
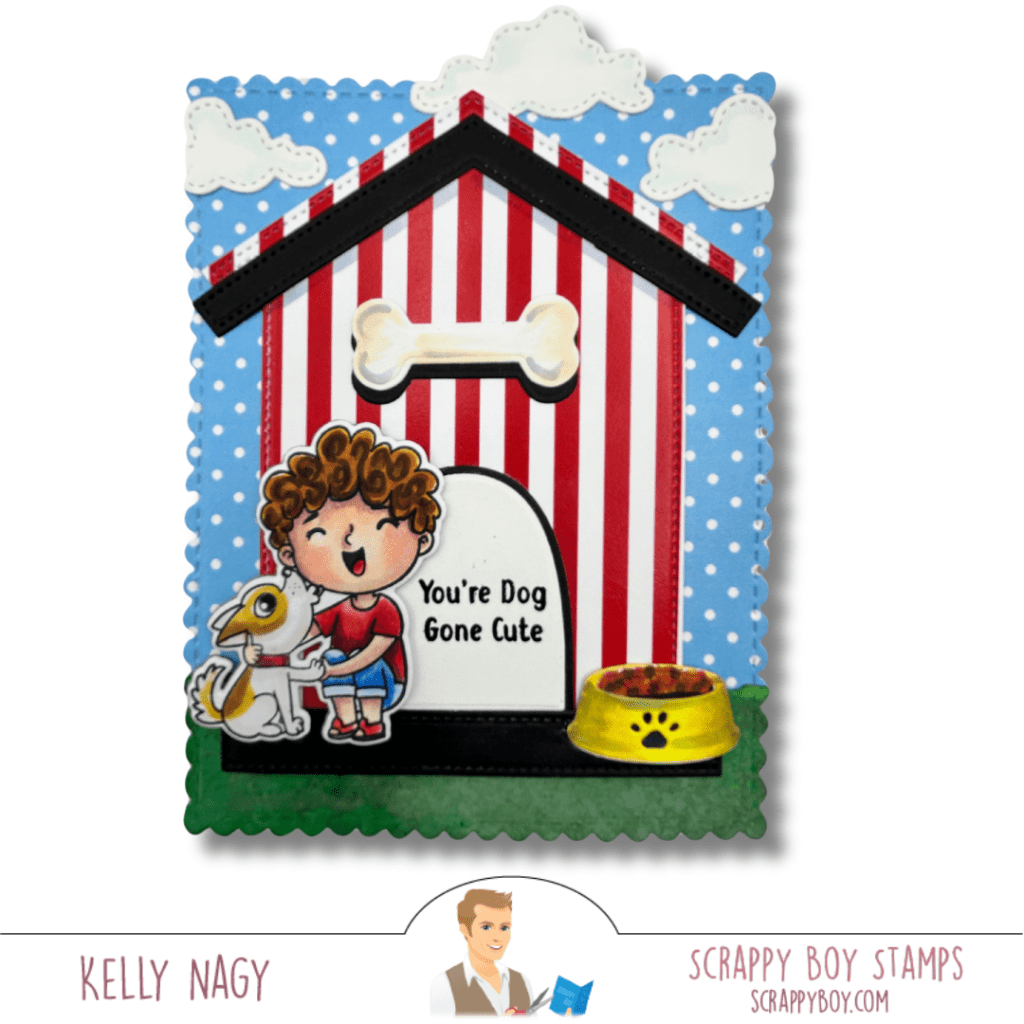
🐶 Cute Kids Dog Lovers These adorable pups are customizable to reflect your furry friends! This card is playful and perfect for any dog lover in your life. I used the fun new DOG HOUSE GIFT CARD A2 DIESET to create a design element that is a fun focal point to show off the stamped and colored images.
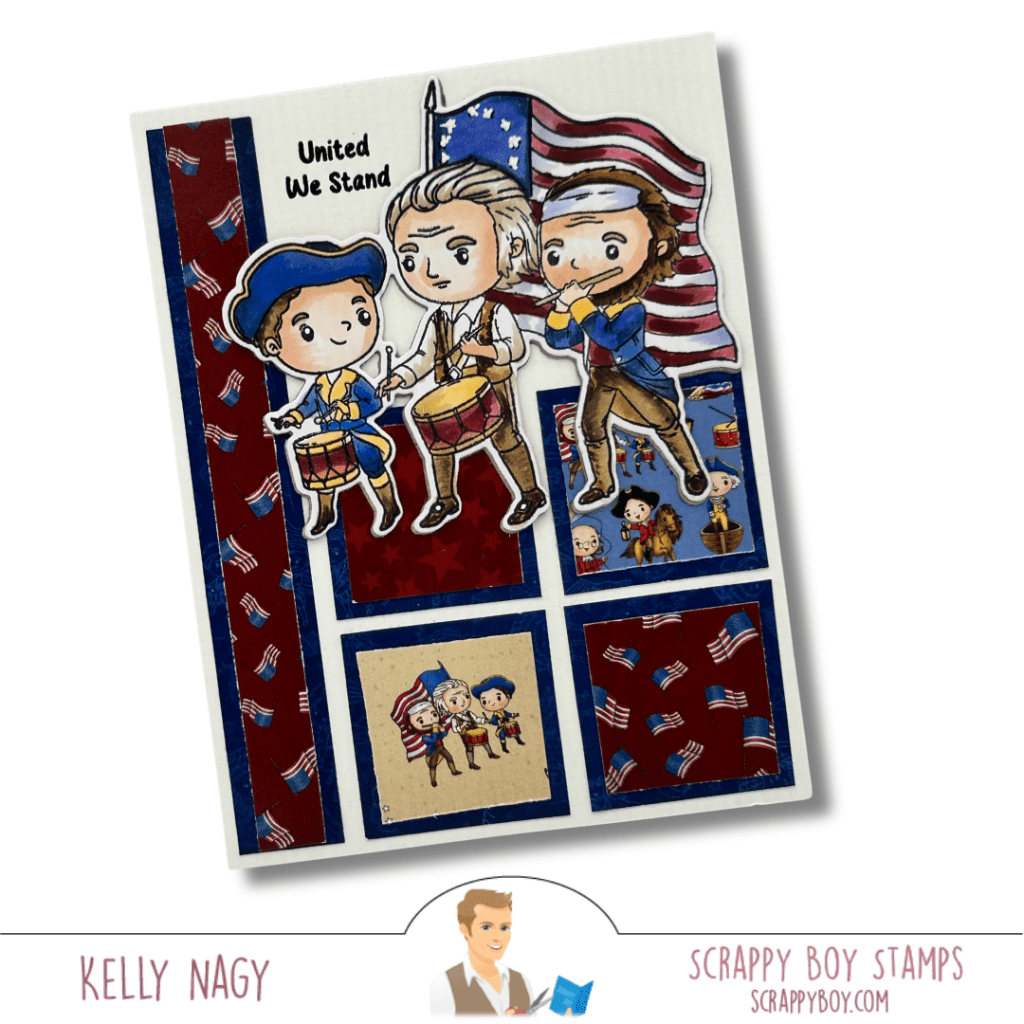
🇺🇸 Spirit of 1776 Celebrate the 4th of July with this festive set! It’s vibrant and full of fun elements that really bring out the spirit of independence. The coordinating patterned paper pulls everything together!
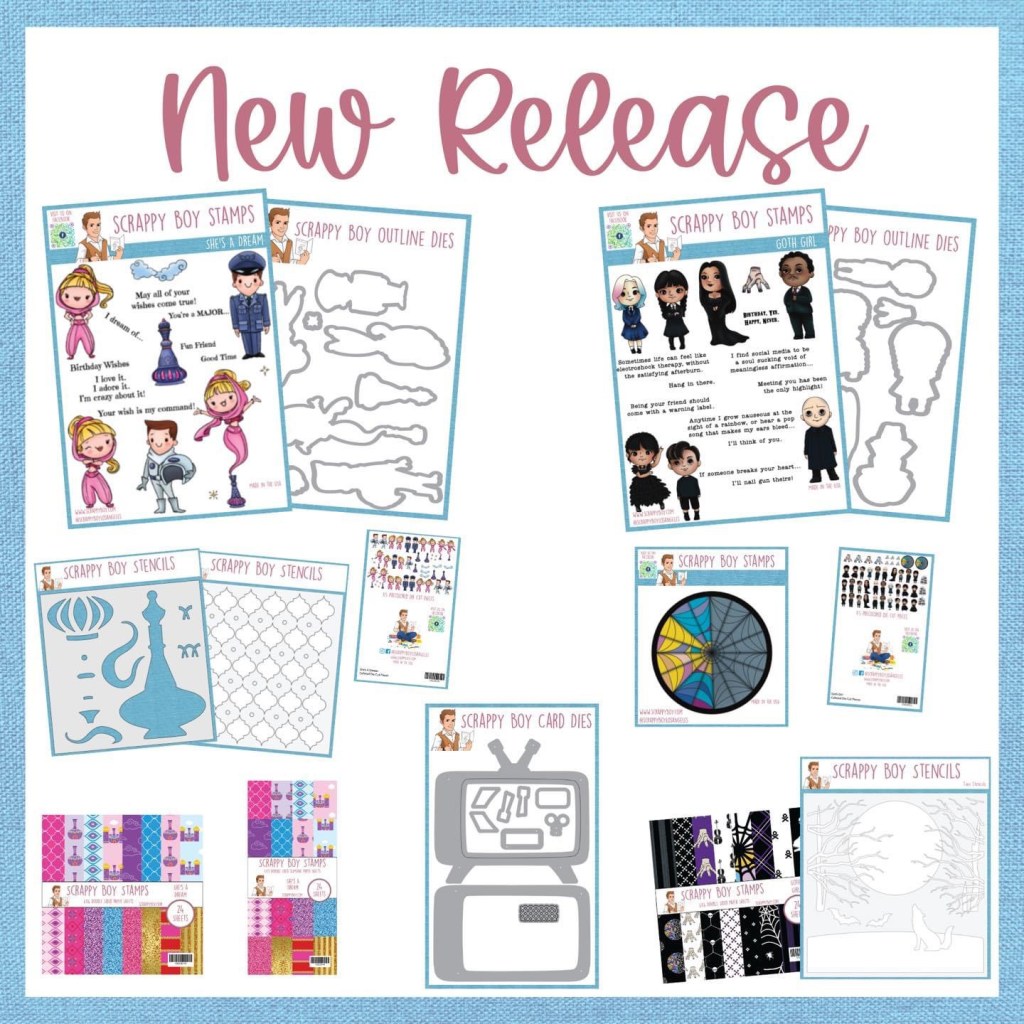
Attention stamping and paper-crafting enthusiasts! Scrappy Boy Stamps has just released their much-anticipated March release, and it is now available for purchase on their website, http://www.scrappyboy.com. This month’s release features an array of adorable and whimsical stamps and coordinating products, perfect for adding a touch of charm and whimsy to your paper crafts.
Let’s take a look at some of the highlights of this month’s release:
✨✨SHE’S A DREAM ✨✨
💖She’s A Dream 6×8 Stamp Set & Dies
She’s A Dream 6×8 Stamp Set
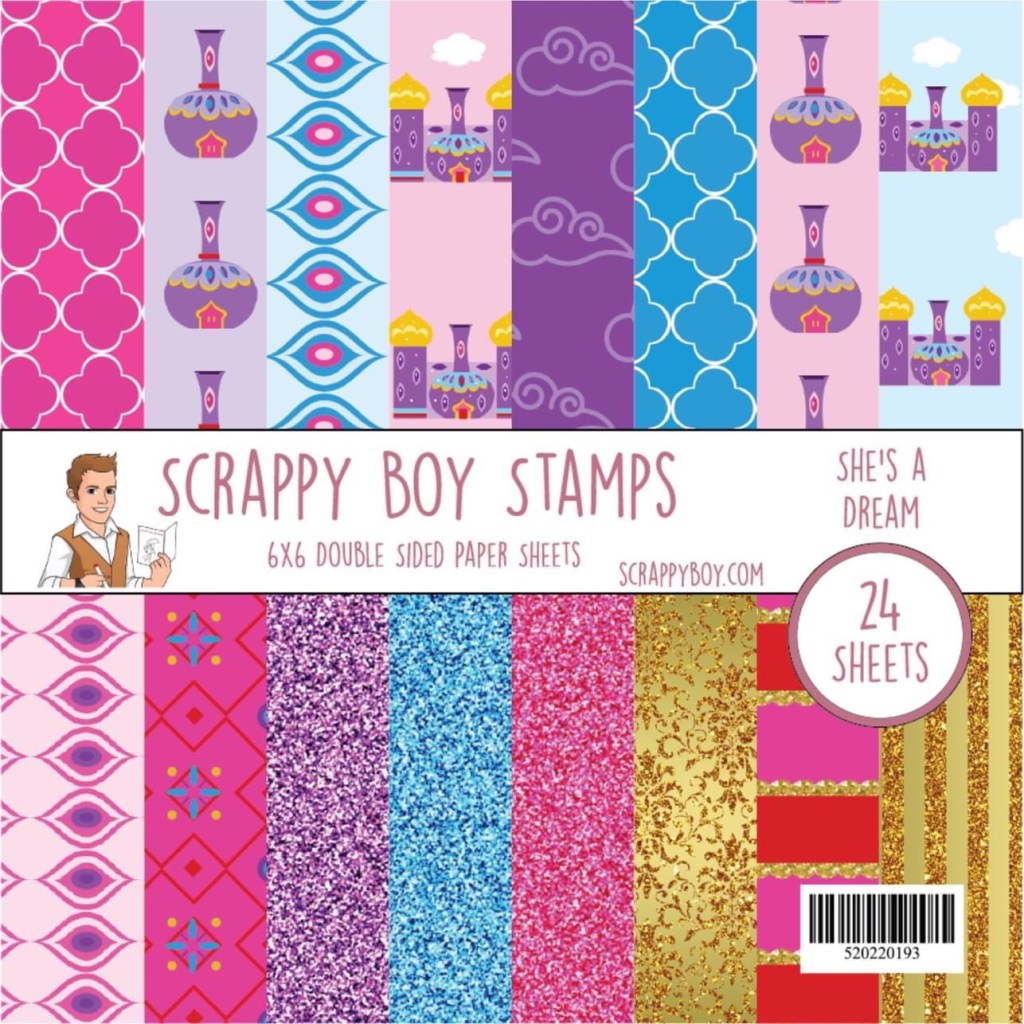
💜She’s A Dream 6×6 & 4×9 Paper Packs
She’s A Dream 6×6 & 4×9 Paper Packs
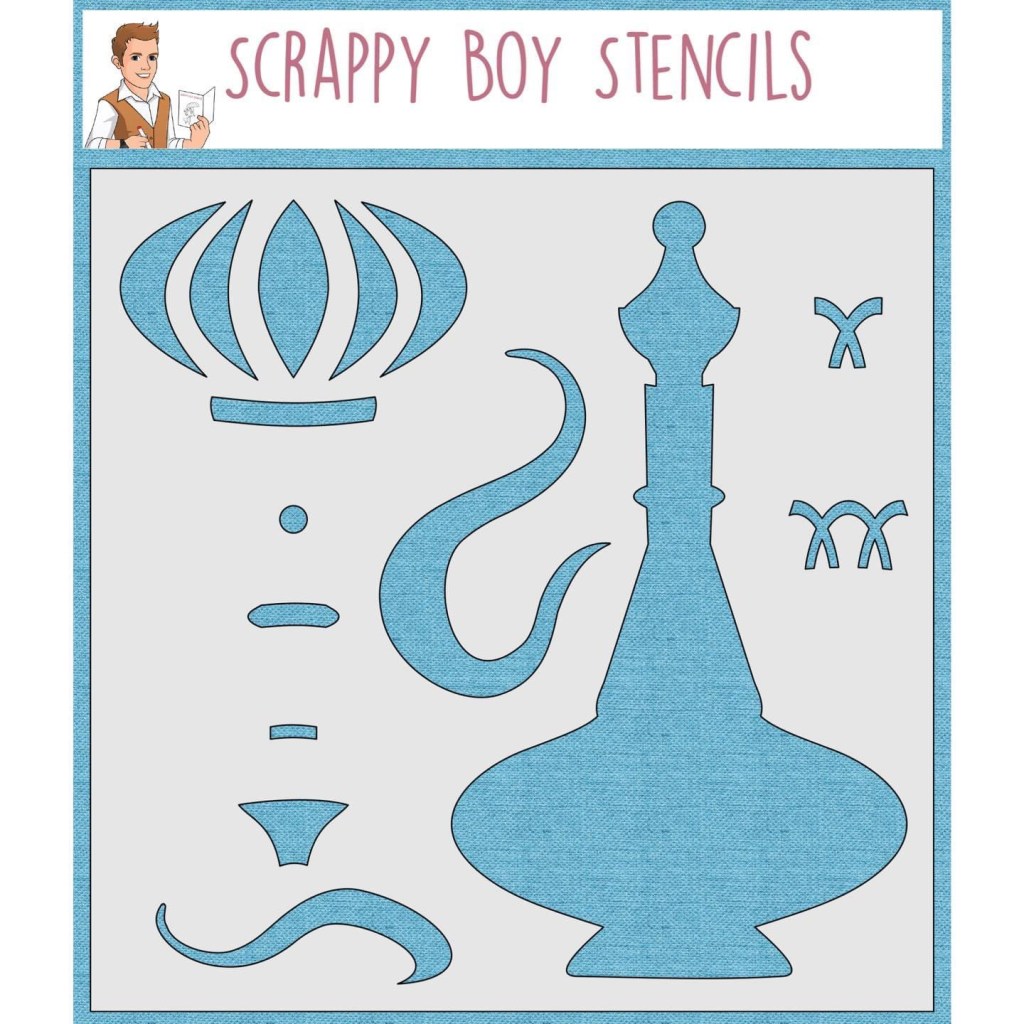
💖She’s A Dream Bottle builder Stencil
She’s A Dream Bottle builder Stencil
💜She’s A Dream Background Stencil
She’s A Dream Background Stencil
💖She’s A Dream Colored Die Cut Pieces
🕷️🕷️CUTE GIRLS GOTH GIRL🕷️🕷️
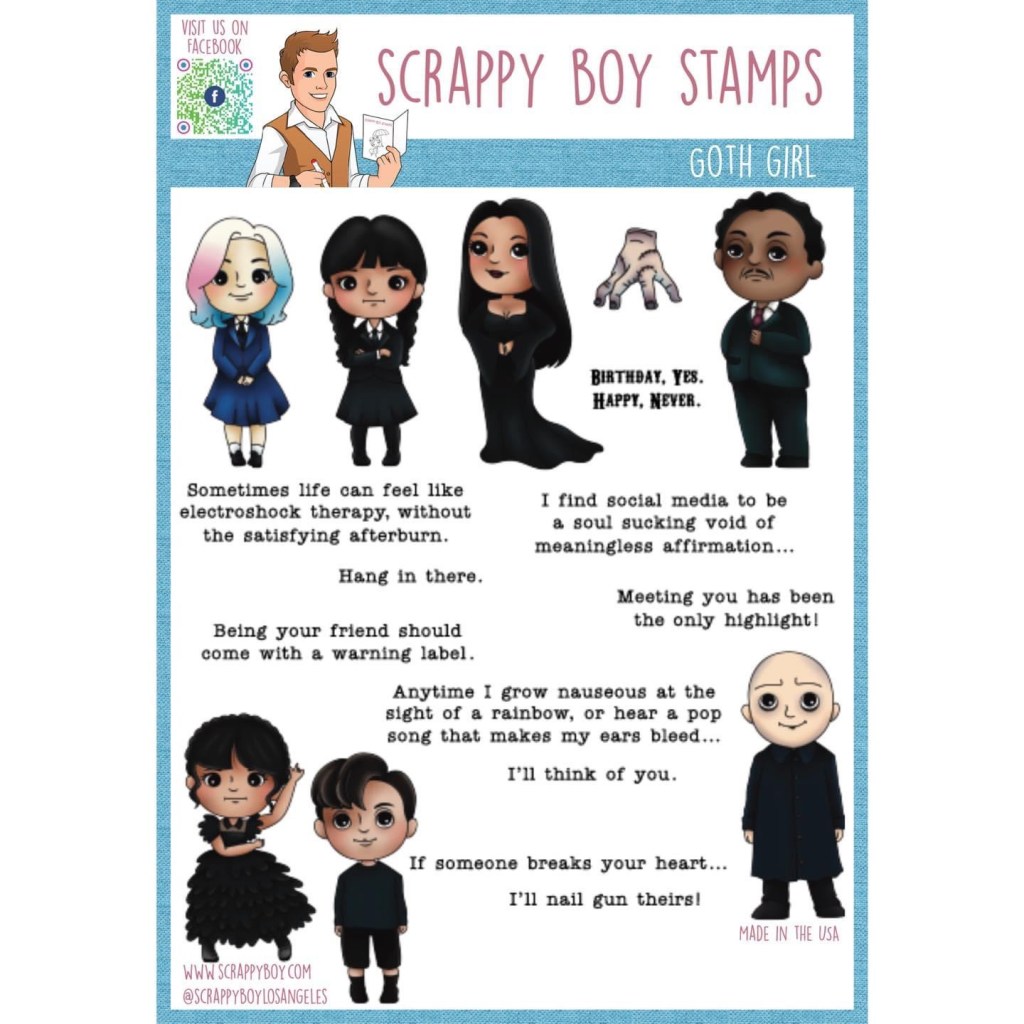
🖤Goth Girl 6×8 Stamp Set & Dies
Goth Girl 6×8 Stamp Set
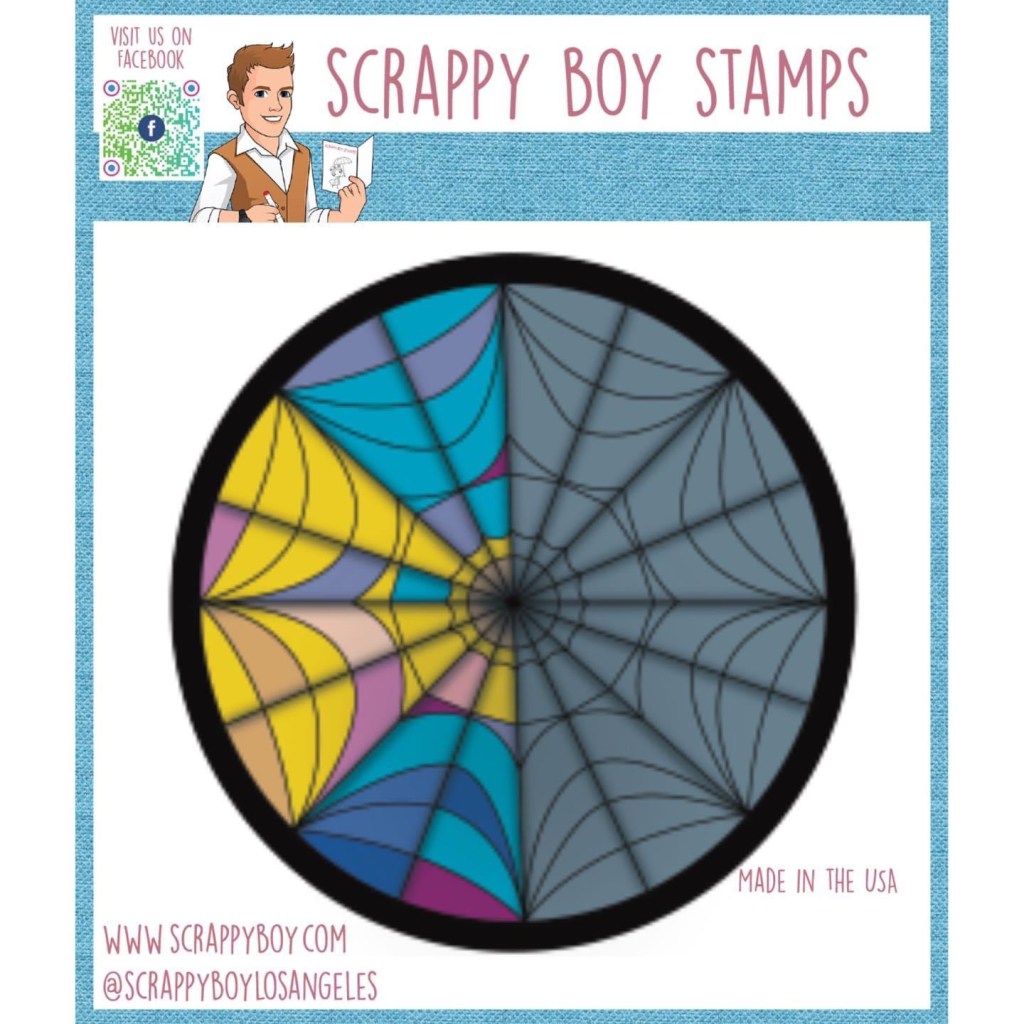
🖤Goth Girl Window 4×4 Stamp set (no die)
Goth Girl Window 4×4 Stamp set
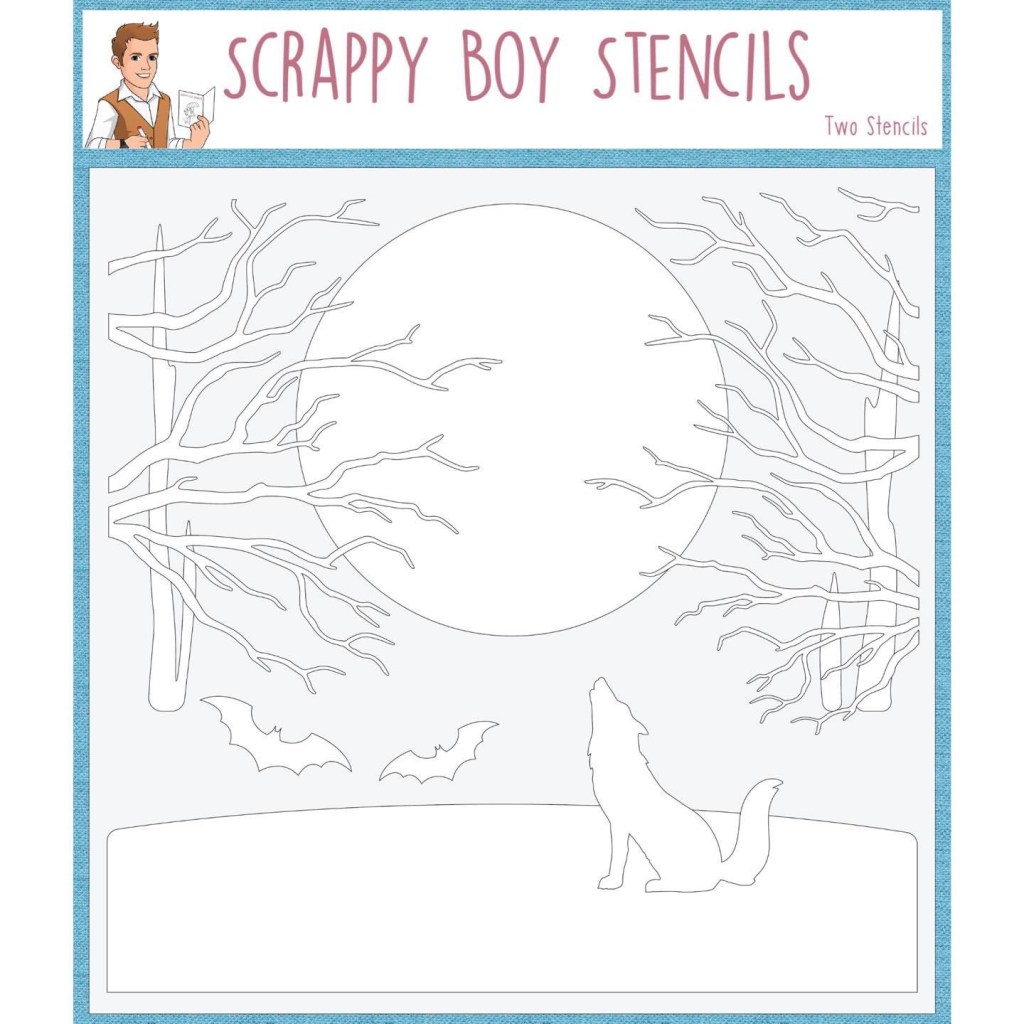
🖤Goth Girl Layered Background Stencil
Goth Girl Layered Background Stencil
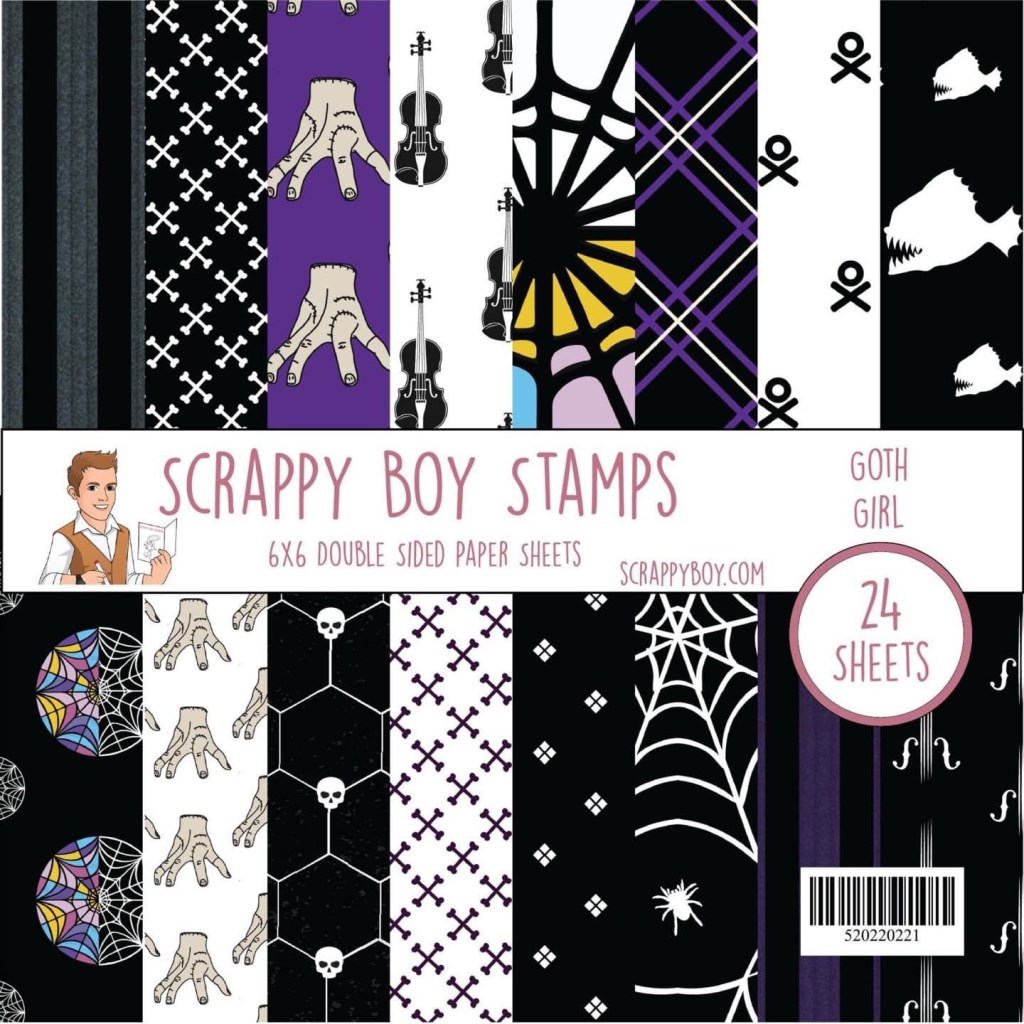
🖤Goth Girl 6×6 Paper Pack
Goth Girl 6×6 Paper Pack
🖤Goth Girl Colored Die Cut Pieces
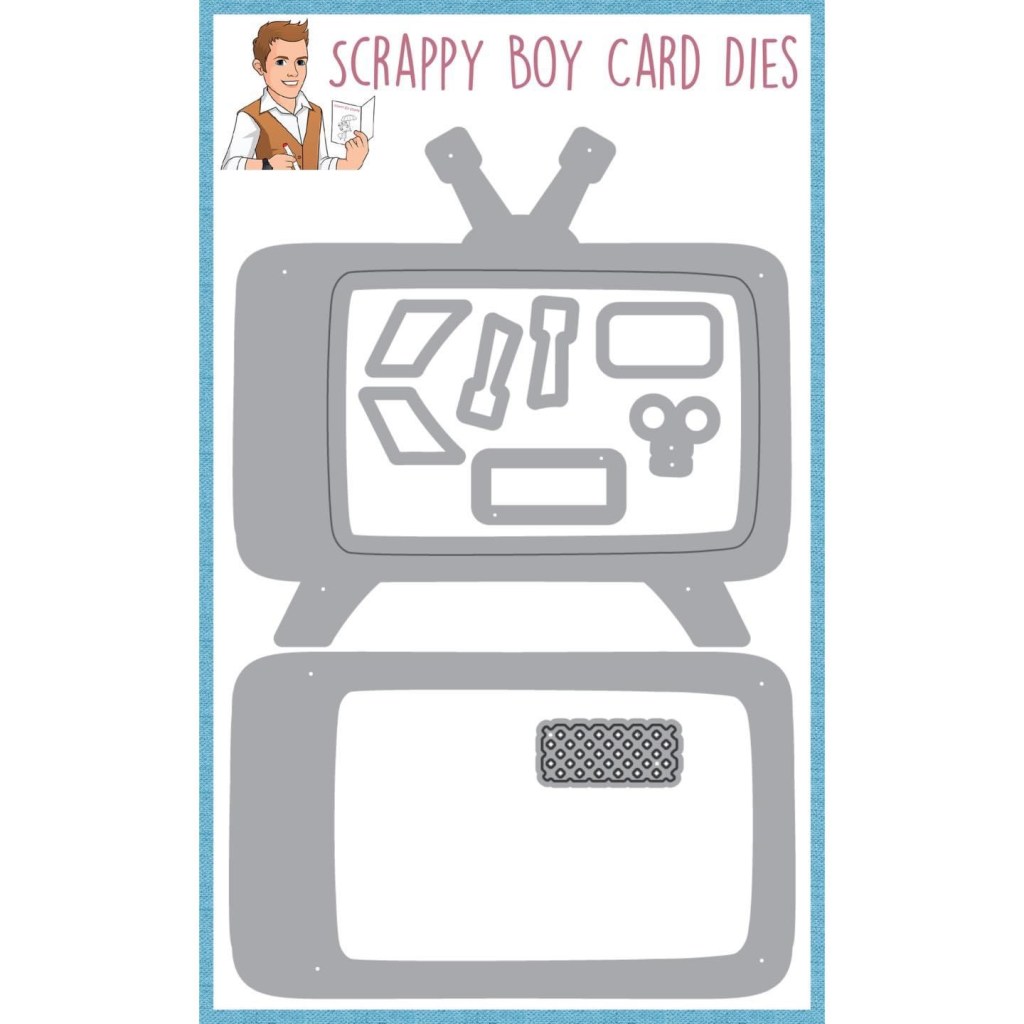
📺TV SHAKER DIE📺
These are the coordinated products included in this month’s release. Each stamp is made from high-quality photopolymer, ensuring crisp and clean images every time. Plus, they are easy to store and organize thanks to their slim design.
In addition to their stamps, Scrappy Boy Stamps also offers a variety of other crafting supplies, including dies, stencils, and pre-colored die-cut pieces. Plus, with free shipping on orders over $100, it’s the perfect time to stock up on all your crafting essentials.
So what are you waiting for? Head over to http://www.scrappyboy.com now to check out their March release and all the other wonderful products they have to offer. After that, all that’s left is to START CREATING!!
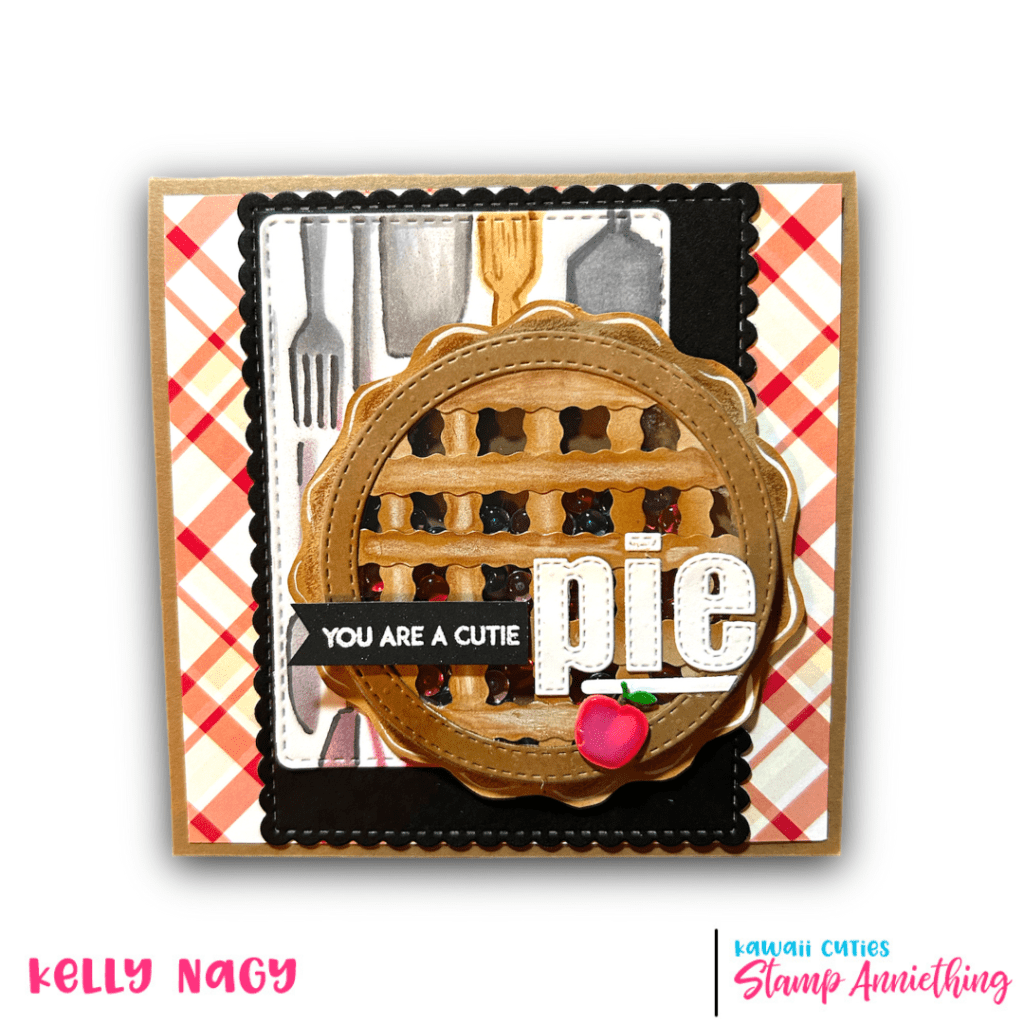
I am following up after my LIVE held on Tuesday, 3/14, International Pi Day, where I started to share how to get creative and make something fun and unique to honor the day! And what better and CALORIE FREE way to celebrate Pi Day, than by creating a pie shaker element using the Circle Shaker Basics 1 set from Stamp Anniething?
A pre-recorded video will be shared on the Stamp Anniething Stampers Facebook page shortly which will provide additional details and elaborate more on how to create this shaker element and two 5.5 inch square cards. My initial LIVE was cut short due to a family emergency and appreciate everyone’s concern. We are all good now!
Card using Pie Shaker Element
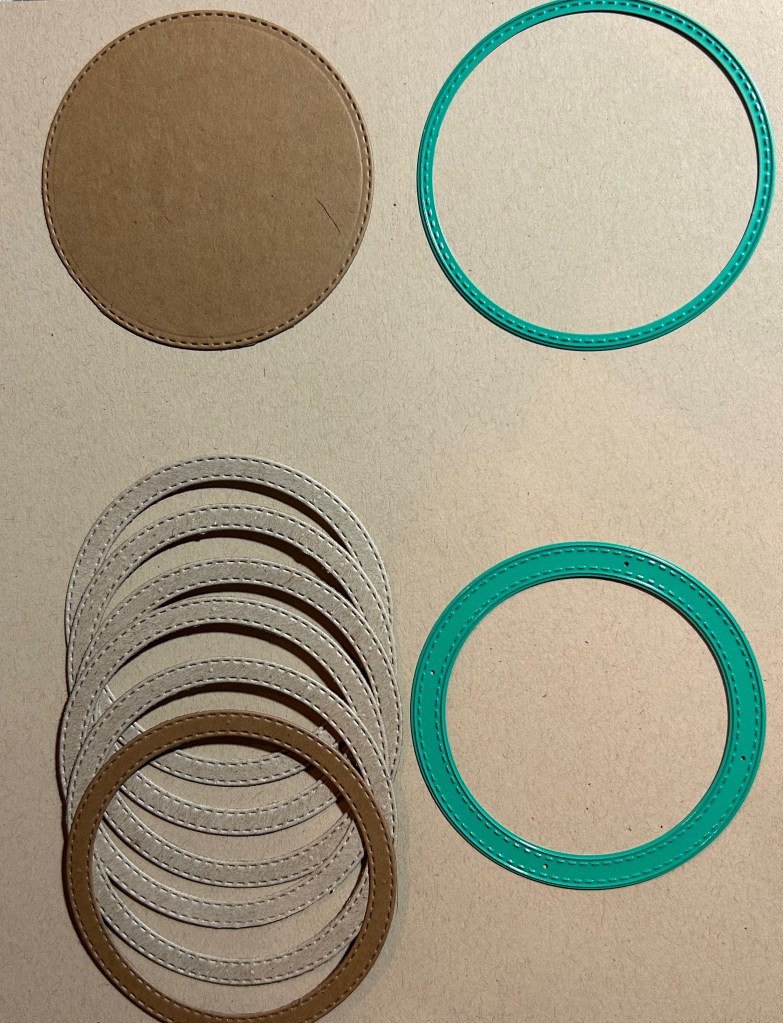
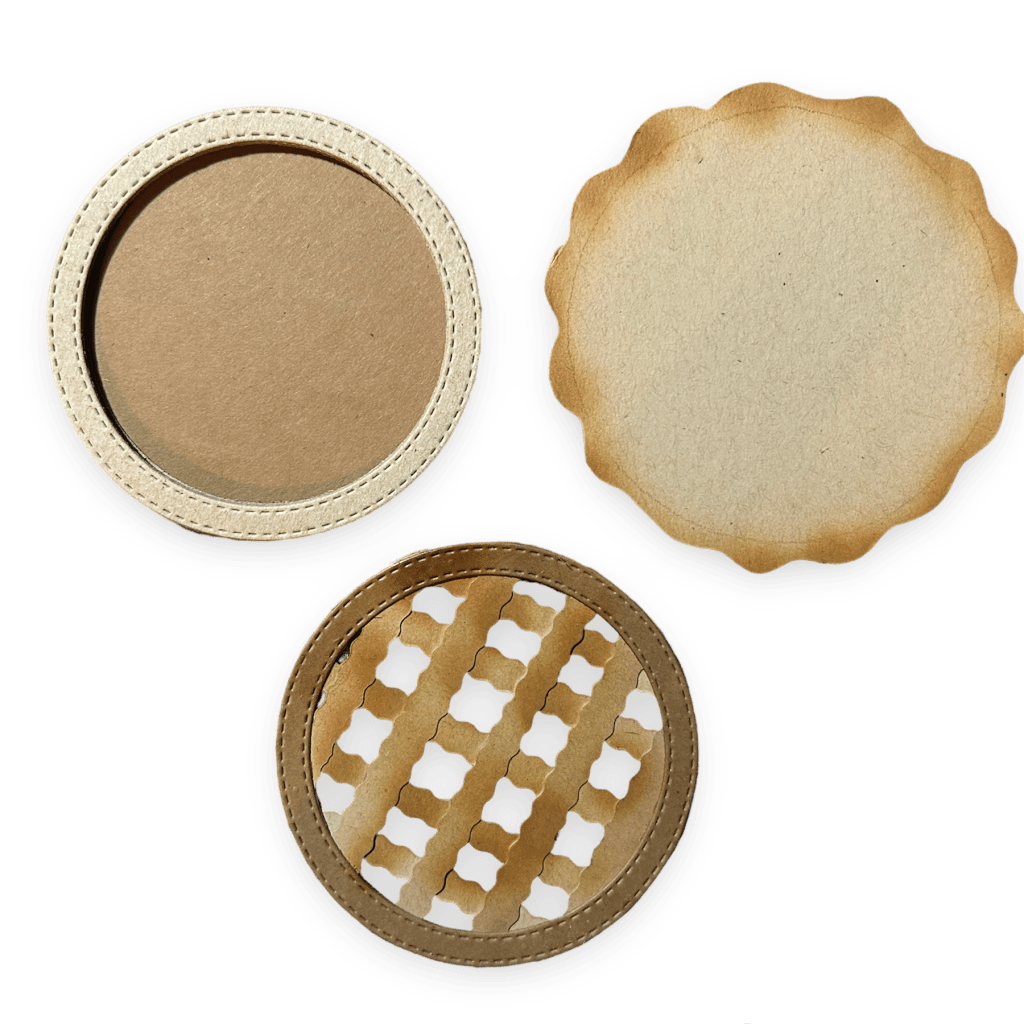
To get started, you’ll need the Circle Shaker Basics 1 set, some cardstock in your desired color, chipboard, acetate sheet, shaker bits and liquid adhesive. Begin by die-cutting 5 circles using the circle “frame” die from the set – one from cardstock and the others from chipboard. Make sure when gluing together, they match up in size.
Shaker Basics 1 from Stamp Anniething 5 chipboard & 1 card-stock – image shows which dies to use to cut. Keep negative pieces for a future project. Cut acetate sheet with the single die at the top. Later, we will use this to seal your pie and create barrier to hold shaker bits in.
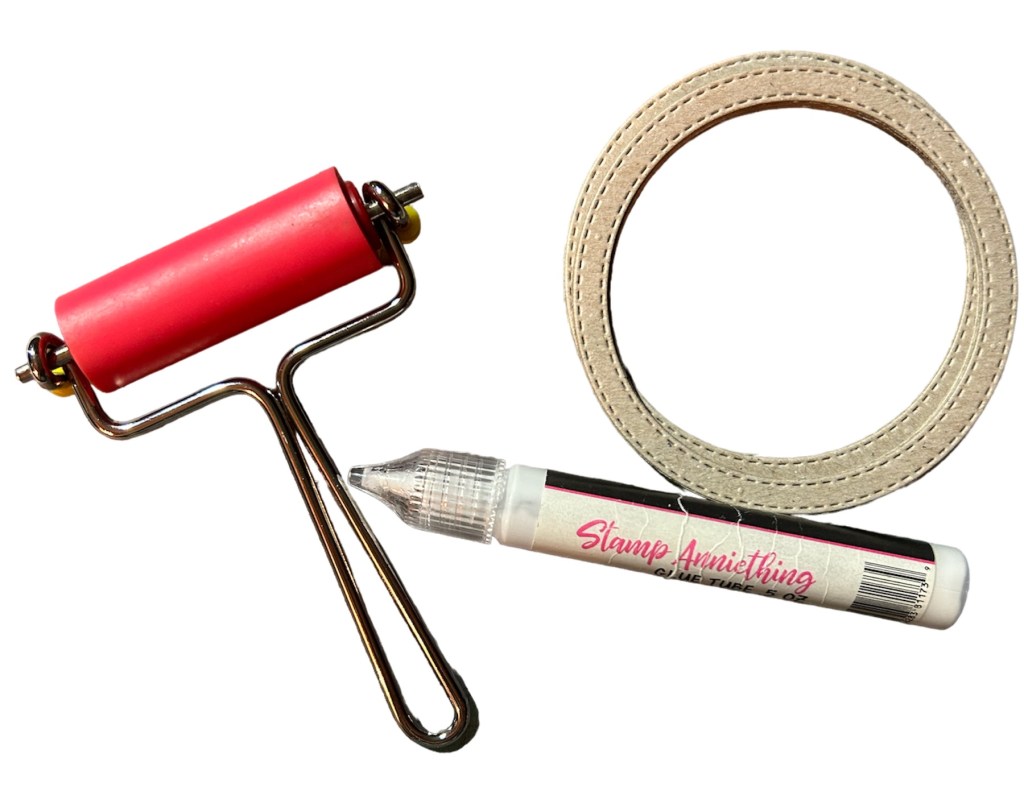
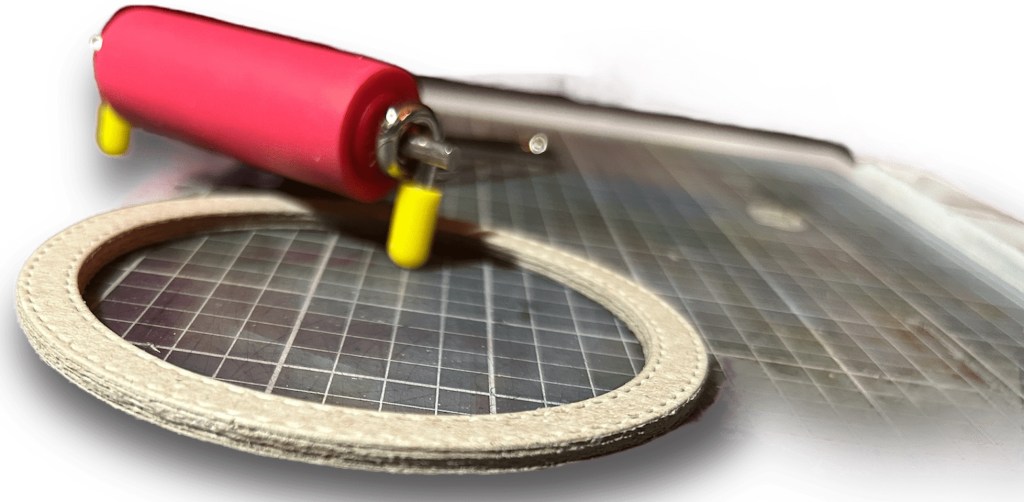
Next, layer of each die-cut with the liquid adhesive and use brayer or your fingers to make sure the layers are stacked evenly and ensure there is no air or separation between layers to prevent your shaker bits from escaping.
Running brayer over each layer helps create a strong seal, keeping shaker fill where it belongs.
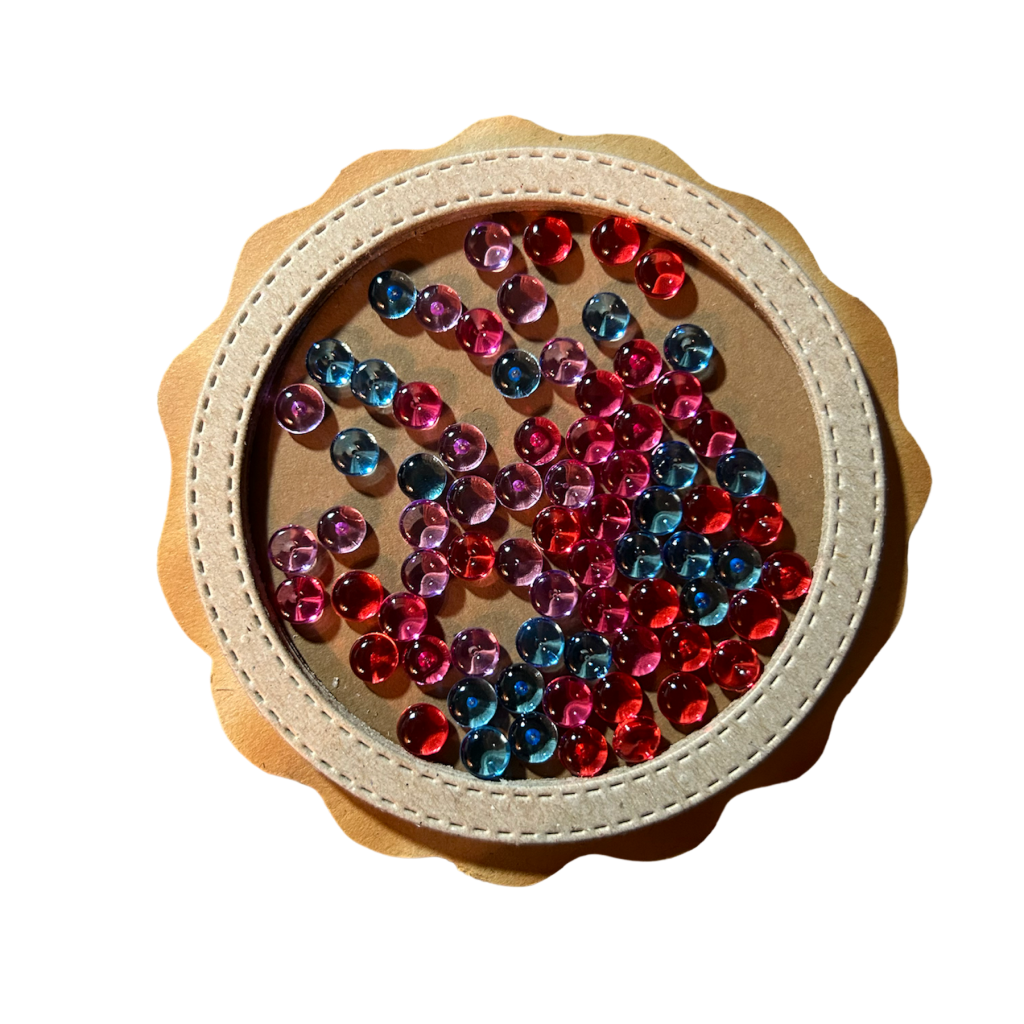
Now, add the shaker bits-on top of the cardstock circle in the well you created, as desired – you can add whatever you want to create interest (sequins, clay shaker bits, etc). I used jelly dots. You can use one color or simply mix a variety of colors for a more random look, as I have done here. Once you’re happy with how the shaker filling are arranged, carefully glue the cardstock circle onto the top on the acetate circle to seal.
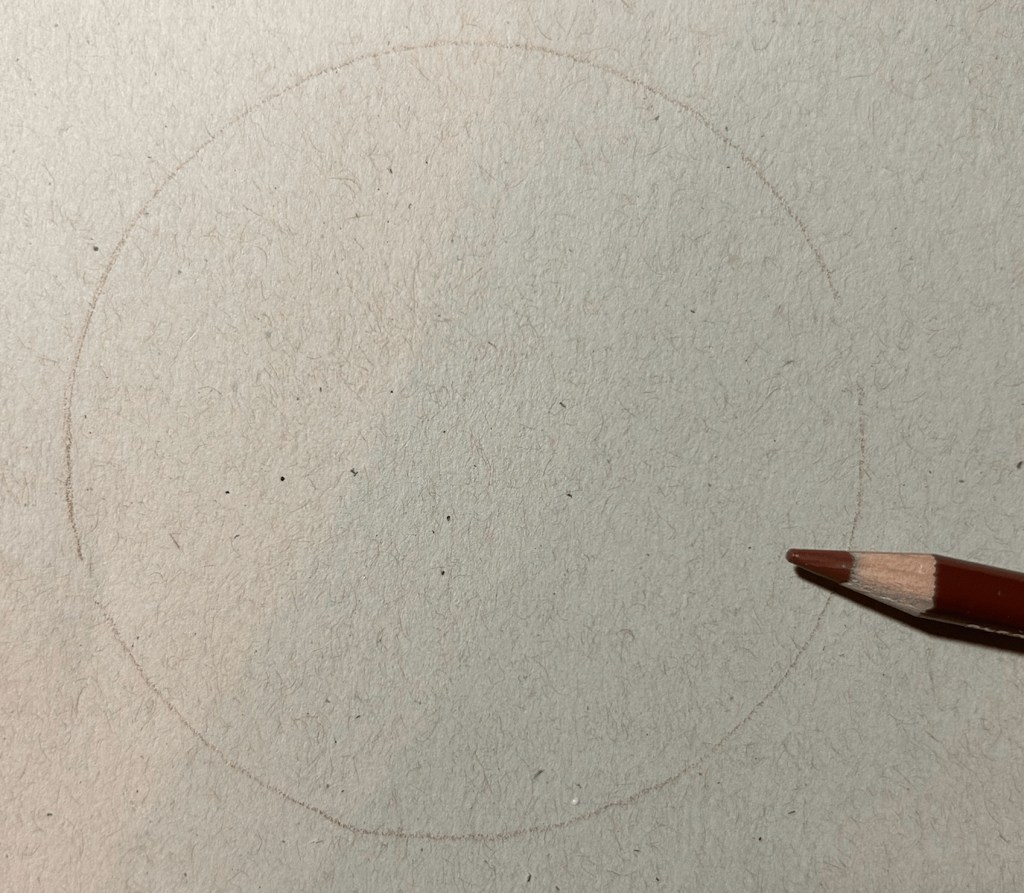
See the depth created by layering chipboard versus using foam tape.To create wavy pie crust edge, trace circle onto coordinating card stock. Then cut with scissors a curvy edge about 1/2 inch wider than the initial line drawn. Ink blend edges to look like it browned in oven and finish with white gel pen for added interest.This photo shows the different pieces that will be glued together to create pieFill well with shaker bits after gluing down to free-handed circle you traced and fussy cut to create the wavy outside of the pie crust edge. This seals one side of your pie element. Place something heavy to ensure good adhesion.
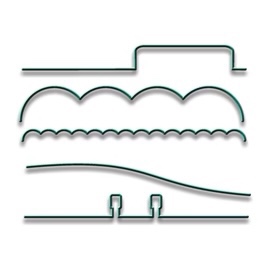
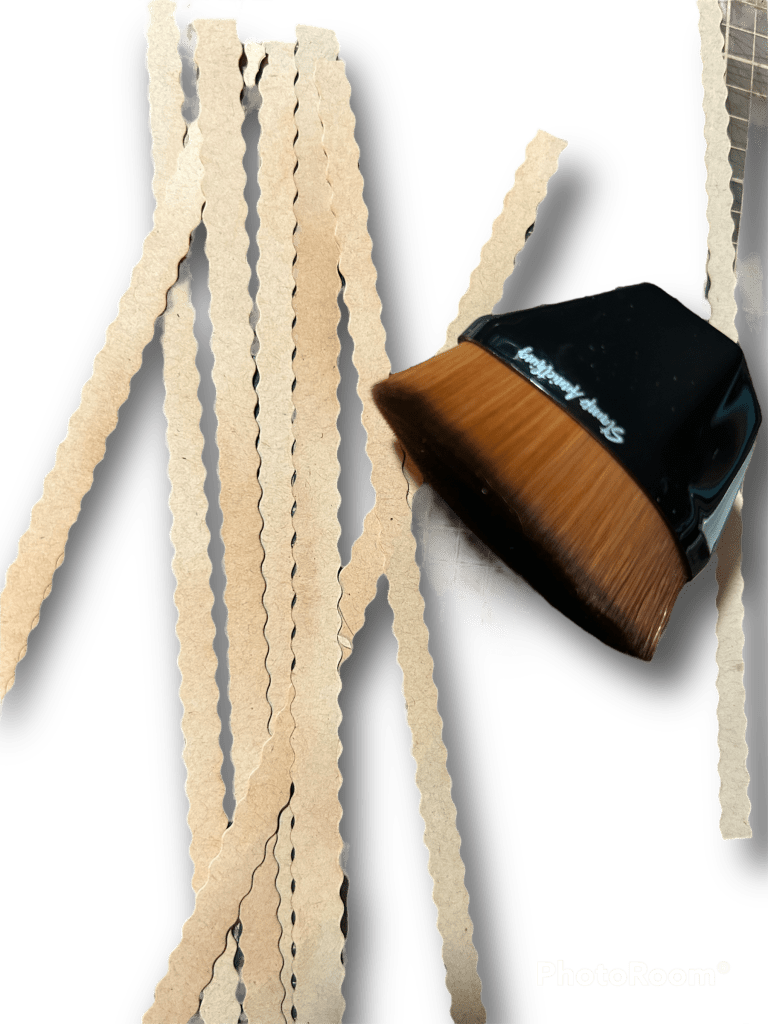
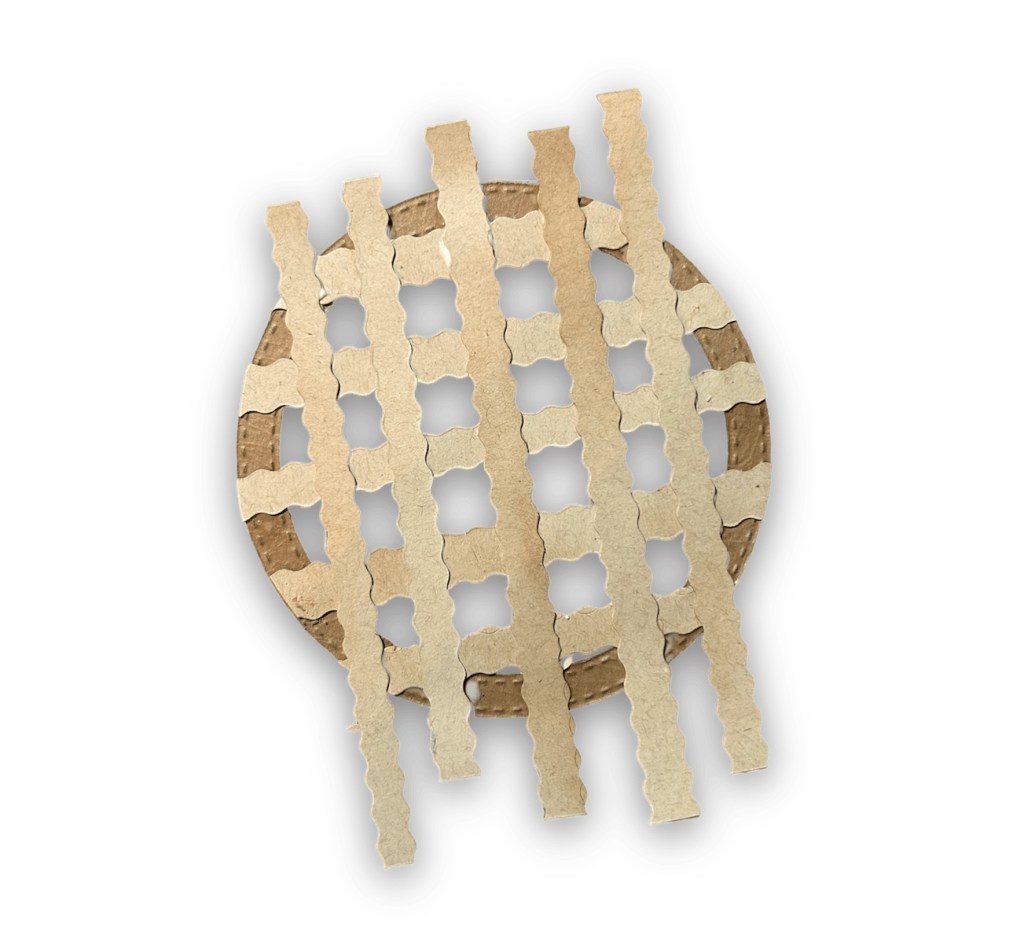
Finally, you can add some touches to make it look like a pie – for example, you can cut small strips of card stock in 1/4 in strips either with decorative scissors or your paper trimmer. Consider ink blending the edges to create a visual effect of being browned in the oven. Other options for a decorative edge could be to use the edger dies from Stamp Anniething to make it look more like rippled pastry to form the lattice crust.
Edger dies/see smaller scalloped aboveInk blend your strips and glue down in s lattice design snd then cut off any edges that hang over.Layer strips and glue down to single frame to create pie top.
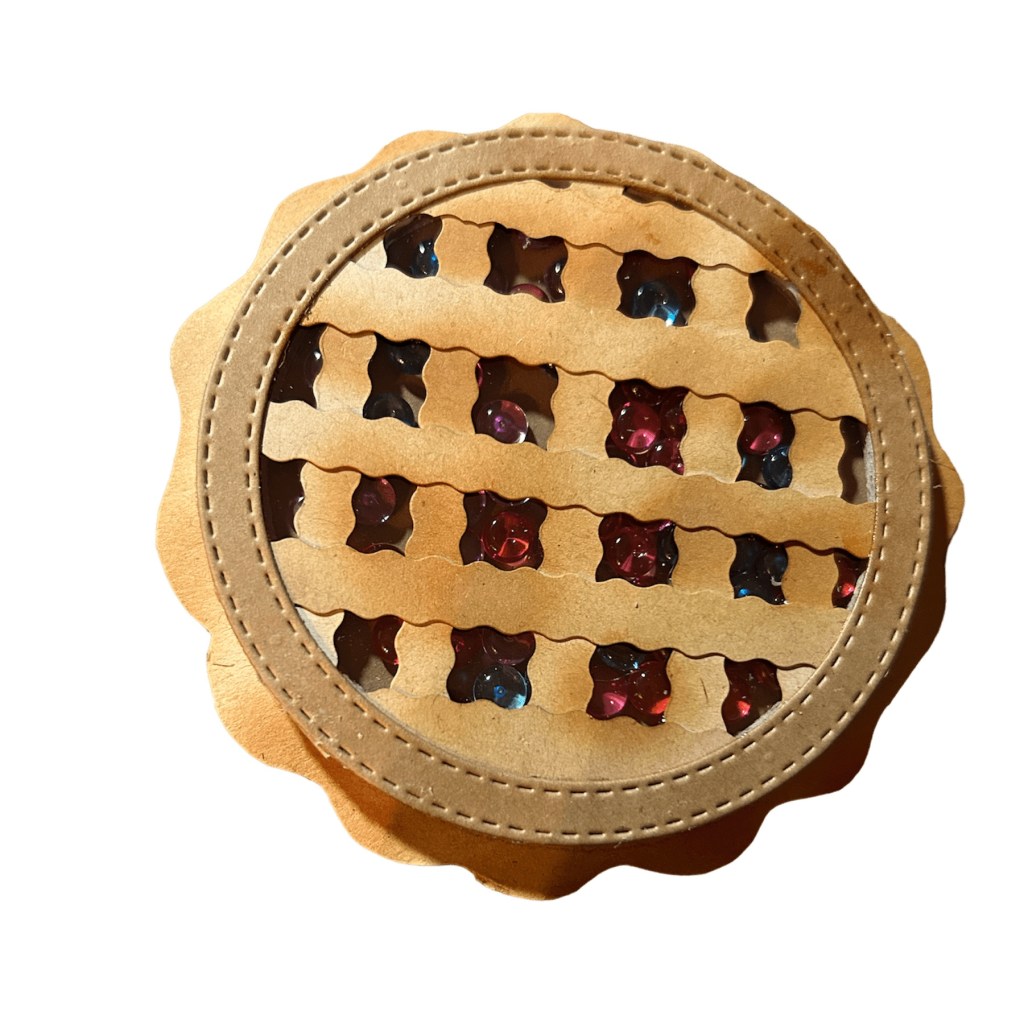
And voila – you now have a pie shaker element that you can use to decorate cards, scrapbook pages, or even as a fun little trinket to give away as a gift, attached to a tag, memordex card or mini recipe album! The possibilities are endless, and the best part is that you can customize it to fit your personal style and preference.
Finished pie element
So why not get your creative juices flowing and make your own pie shaker element to not just celebrate International Pi Day, but stretch your current die stash and use your supplies in a new, unique and fun ways!?!
Example of 5.5 inch square card paired up with a chibi
Happy crafting!
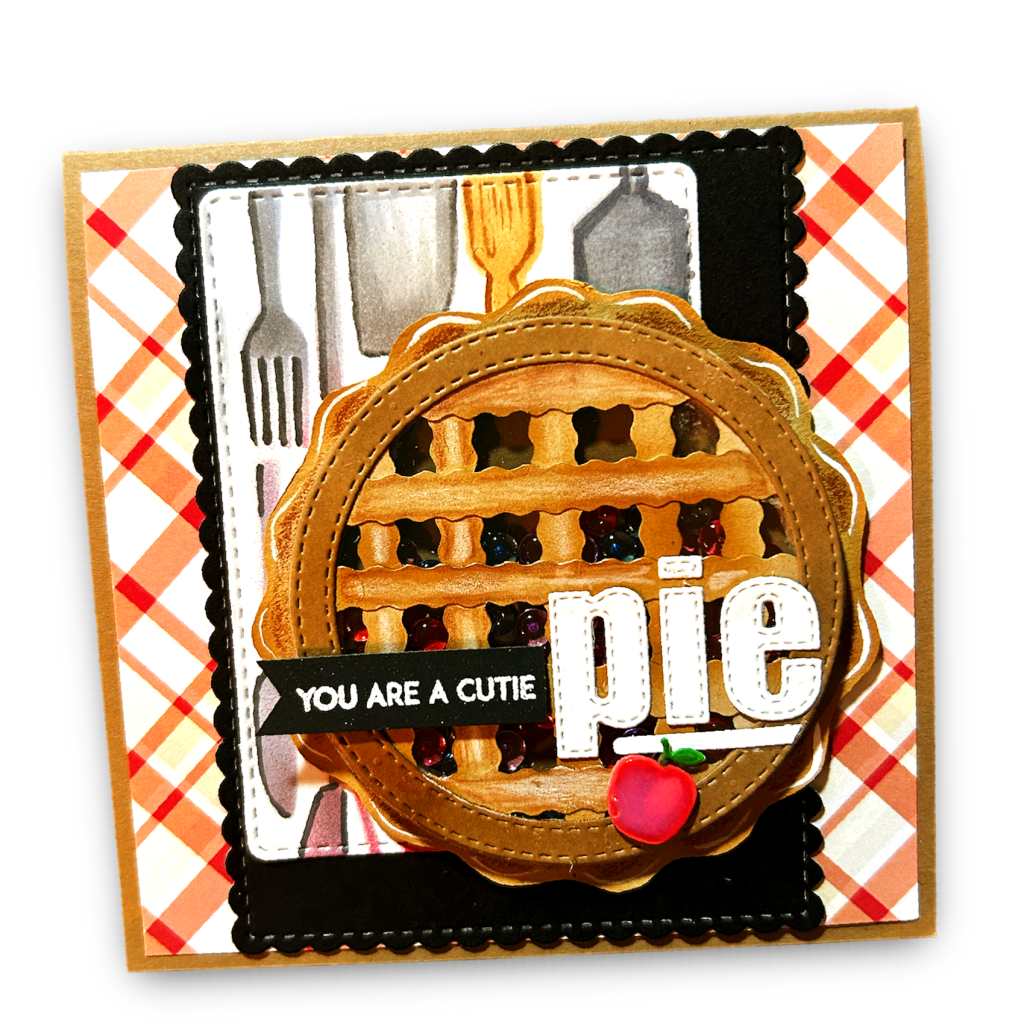
Final Card Project using pie element without chibi
If you haven’t heard it yet today, YOU ARE INCREDIBLE and you matter! Happy Crafting! Please follow, like, subscribe and share