

🎉 Cheers to the Best Seat in the House! 🎉
As we begin our dive headfirst into 2025 this week, let’s take a moment to celebrate one of the greatest joys of the holiday season: getting the best seat on the couch! You know, that coveted spot where you can sit back, relax, and enjoy the chaos of family and friends all around you.
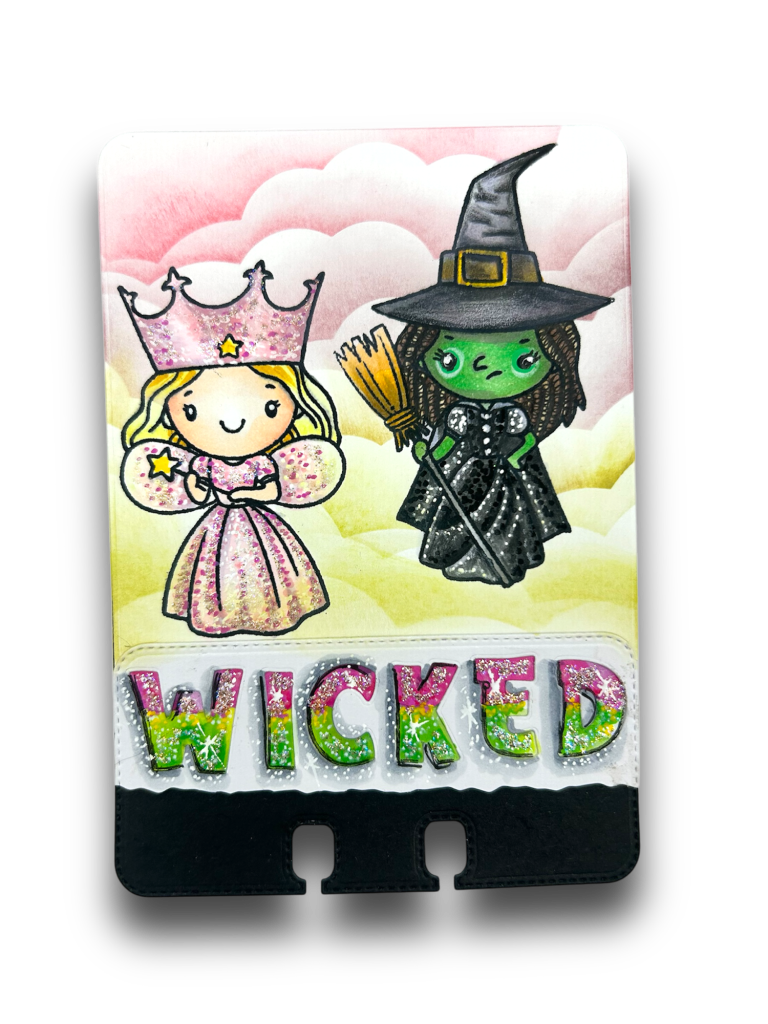
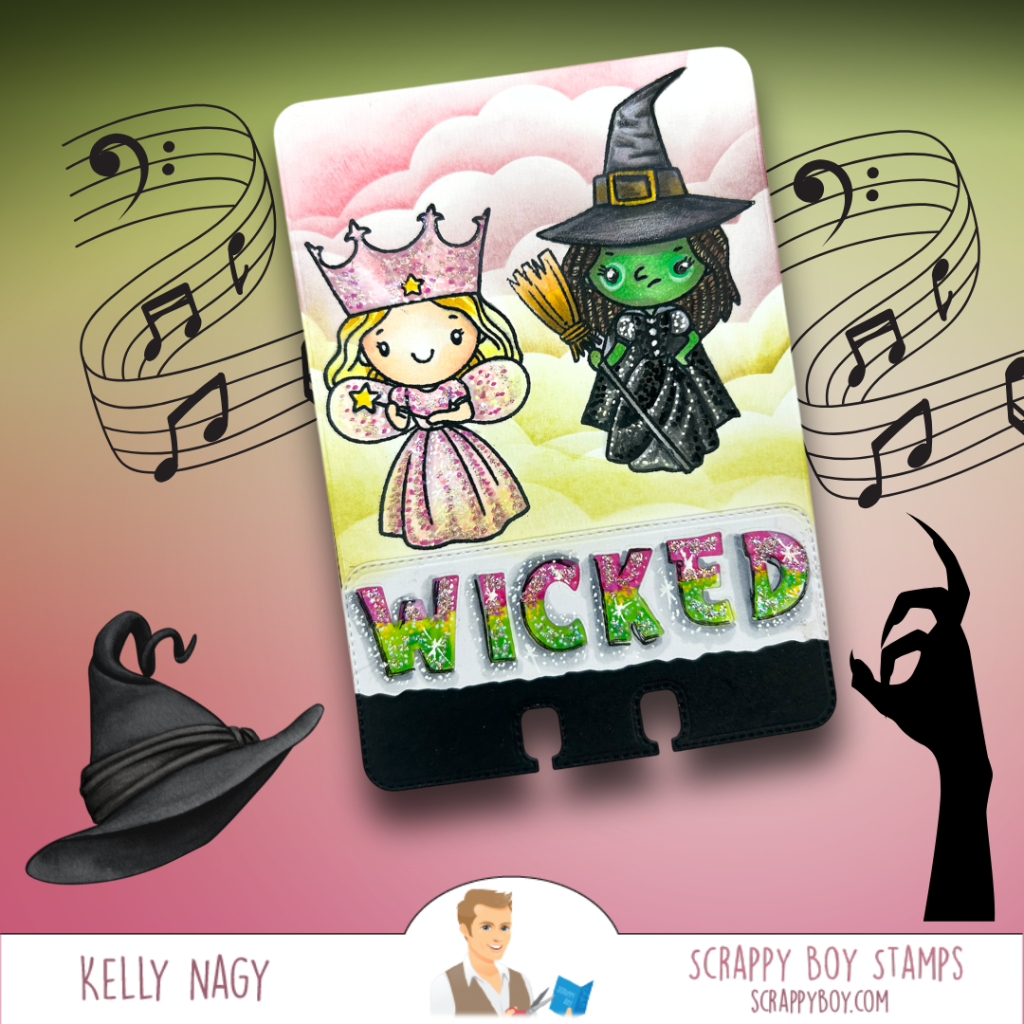
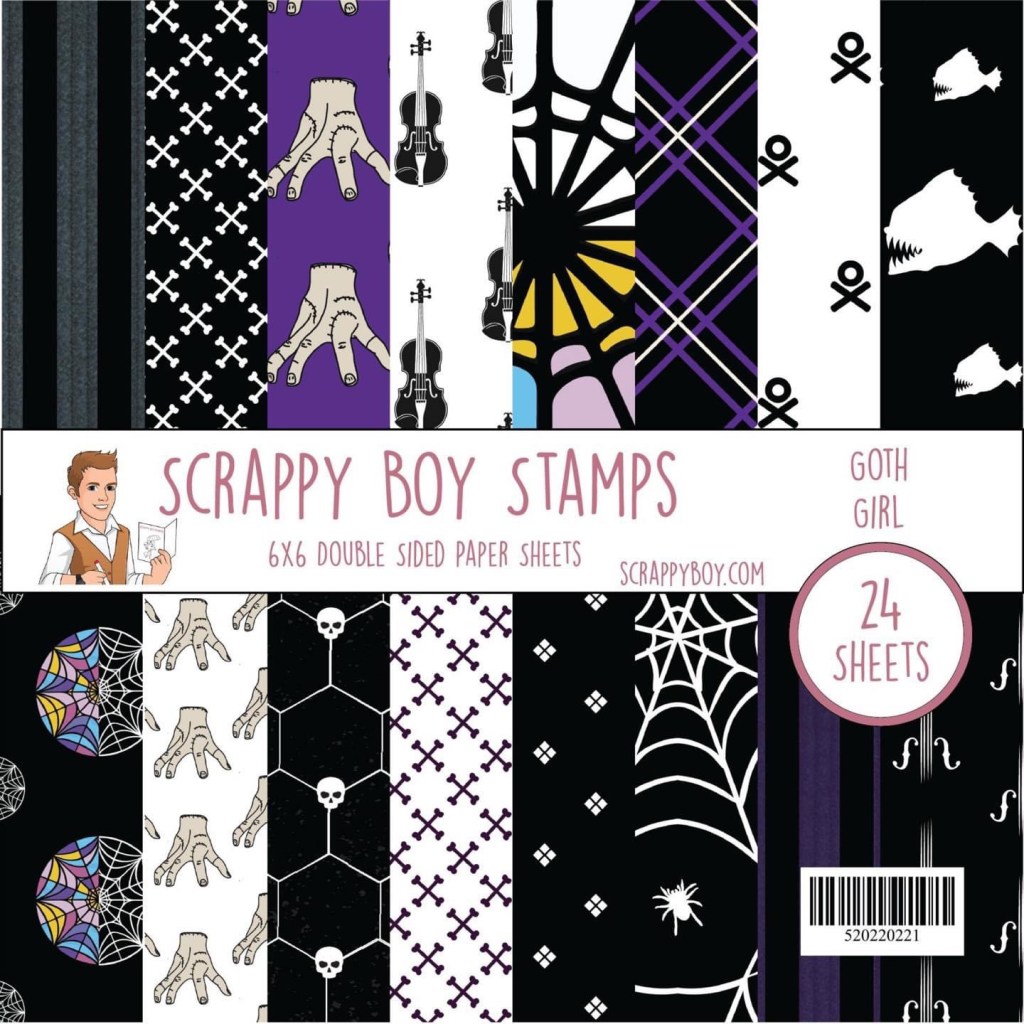
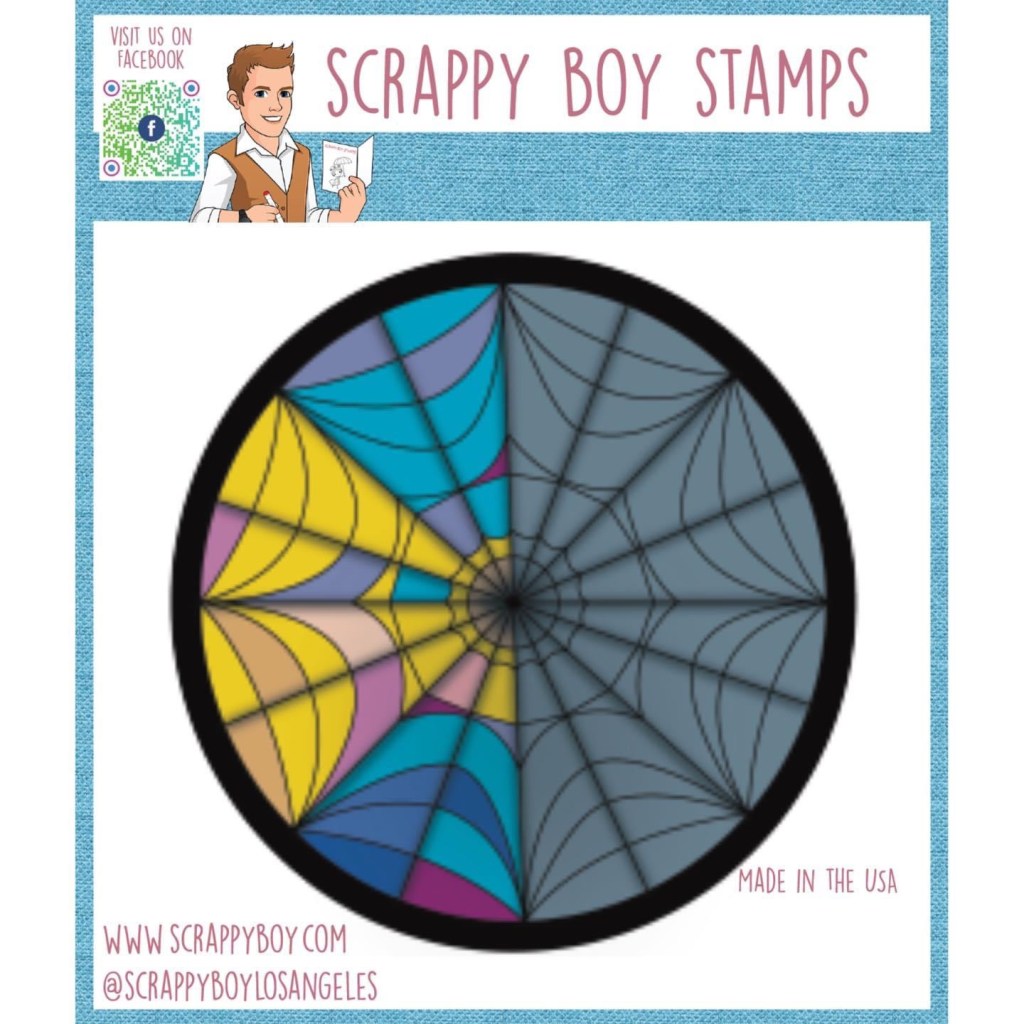
This week, I created a card using some fabulous goodies from December’s Scrappy Boy Stamps’ release!
- Math, Science & History Stamps & Dies
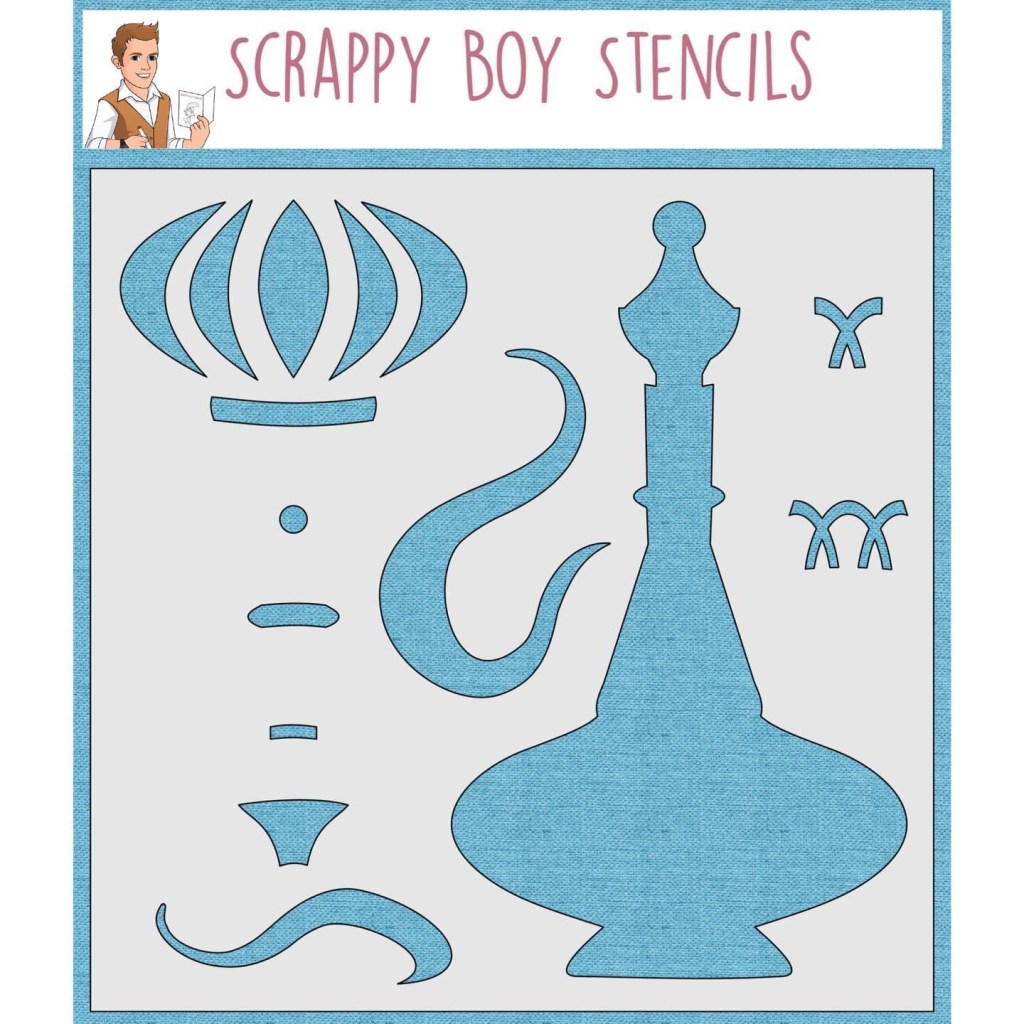
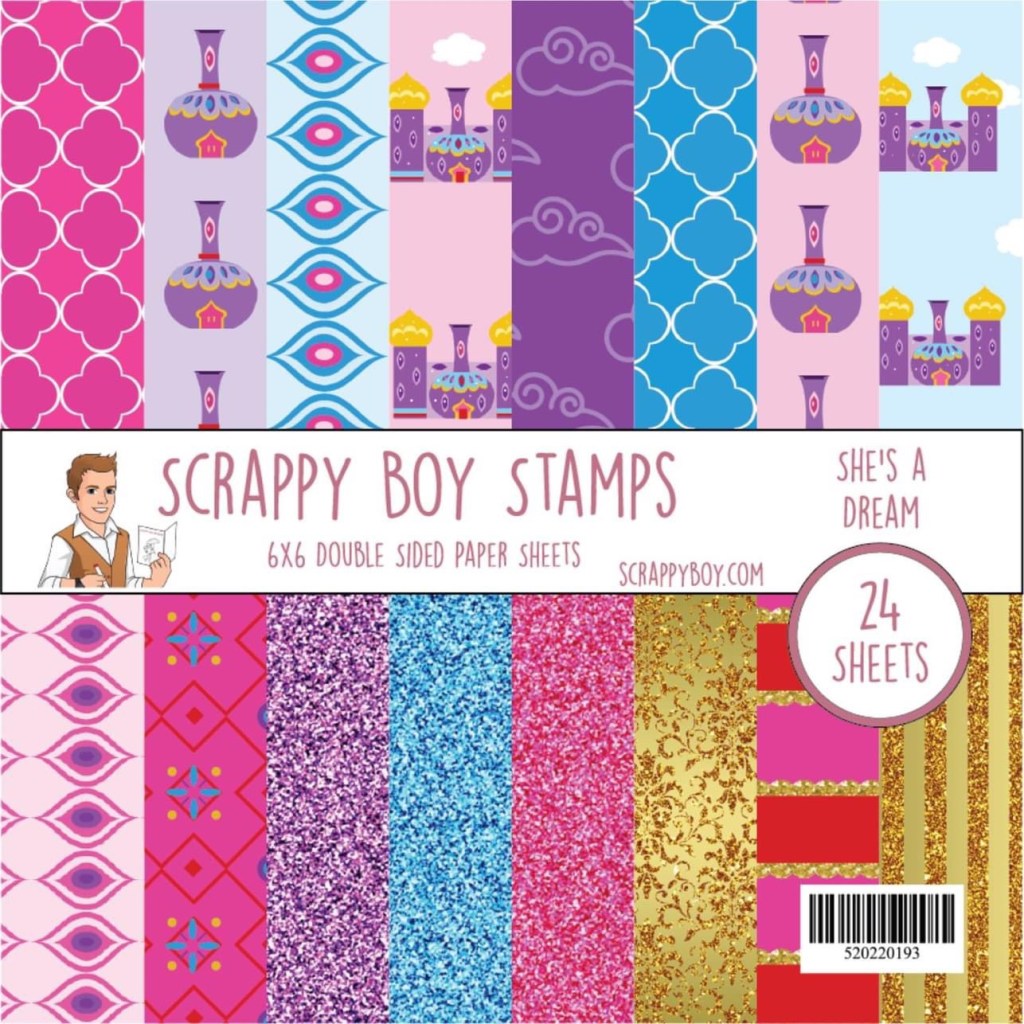
- Unravel the Mystery Stamps, Dies & Paper Pack
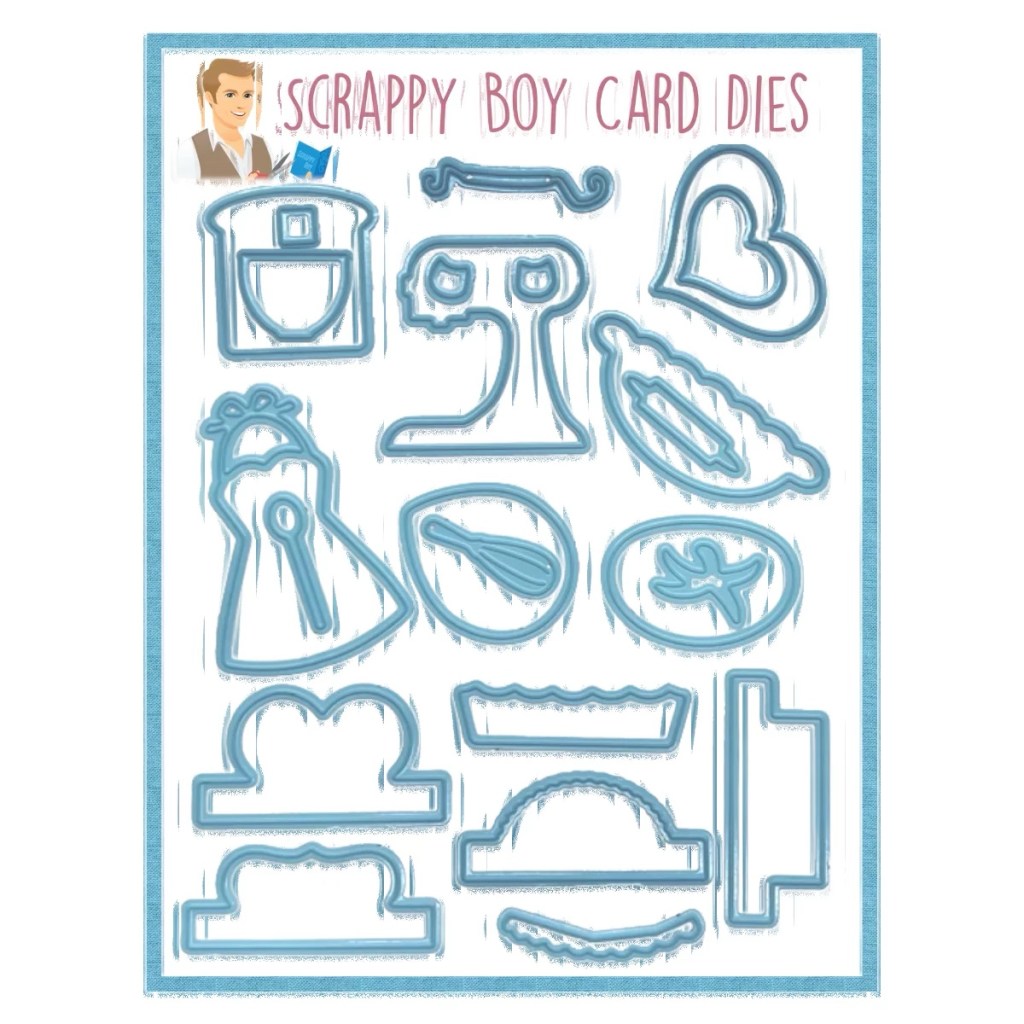
- I’ll Be There For You Couch Mini Album Die – previous release

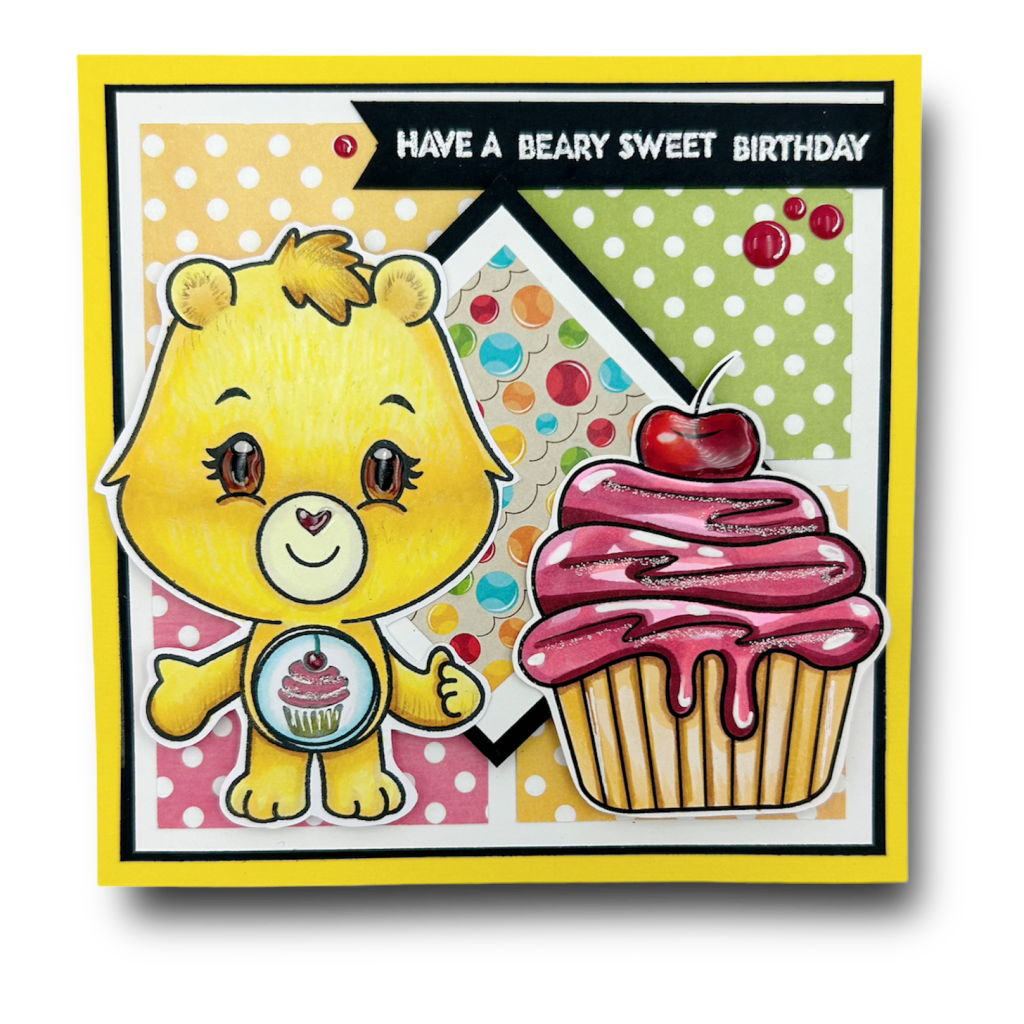
This SHAPED card is a whimsical representation of the couch shenanigans we all experience during the holidays. You know what I mean—when you accidentally plop down in someone’s special spot and suddenly become Public Enemy No. 1. 😂 Have you ever been chastised for that? I can’t be the only one!
What I love most about this project is how I mixed and matched products from Scrappy Boy Stamps’ previous releases. I pulled out the I’ll Be There For You Couch Mini Album / Card Die. Have you noticed, Scrappy Boy Stamps’ unique style and size are so consistent, it sometimes feels like their individual releases just beg to be combined!
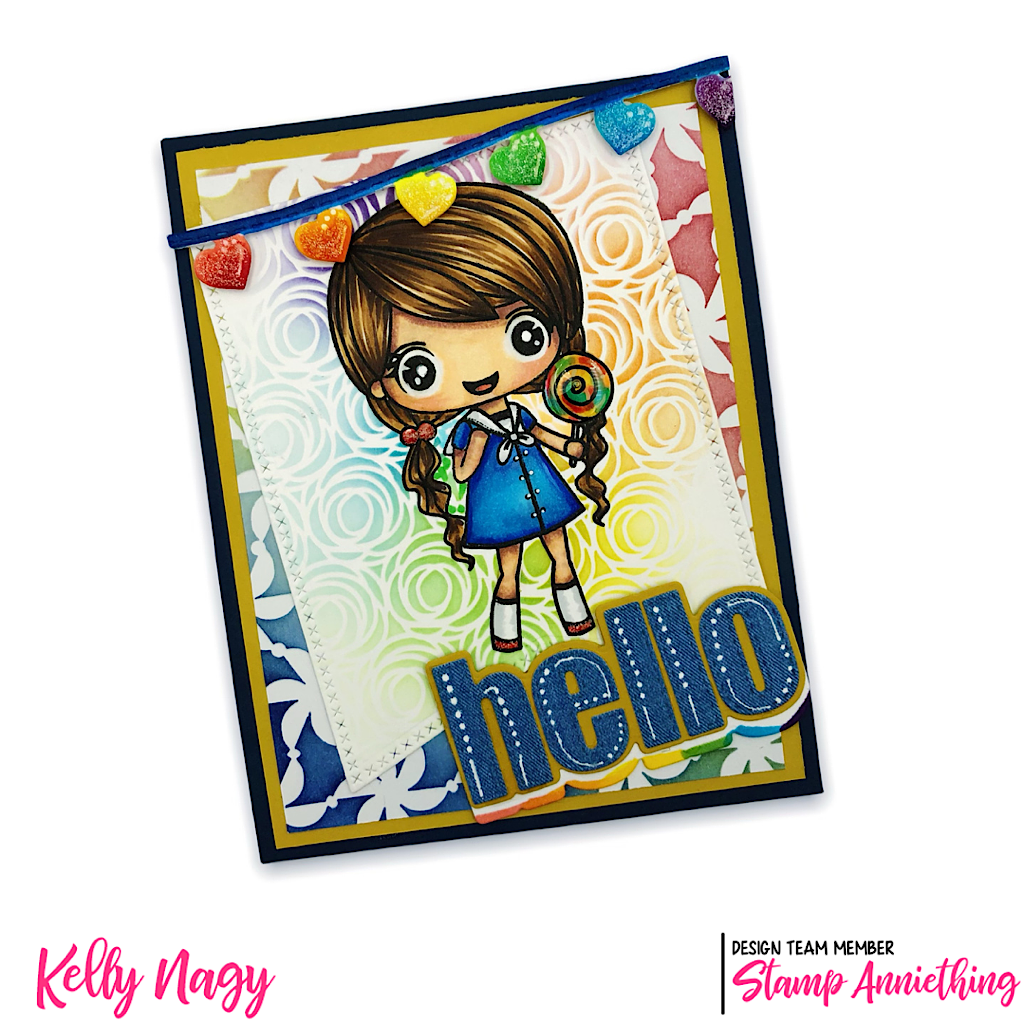
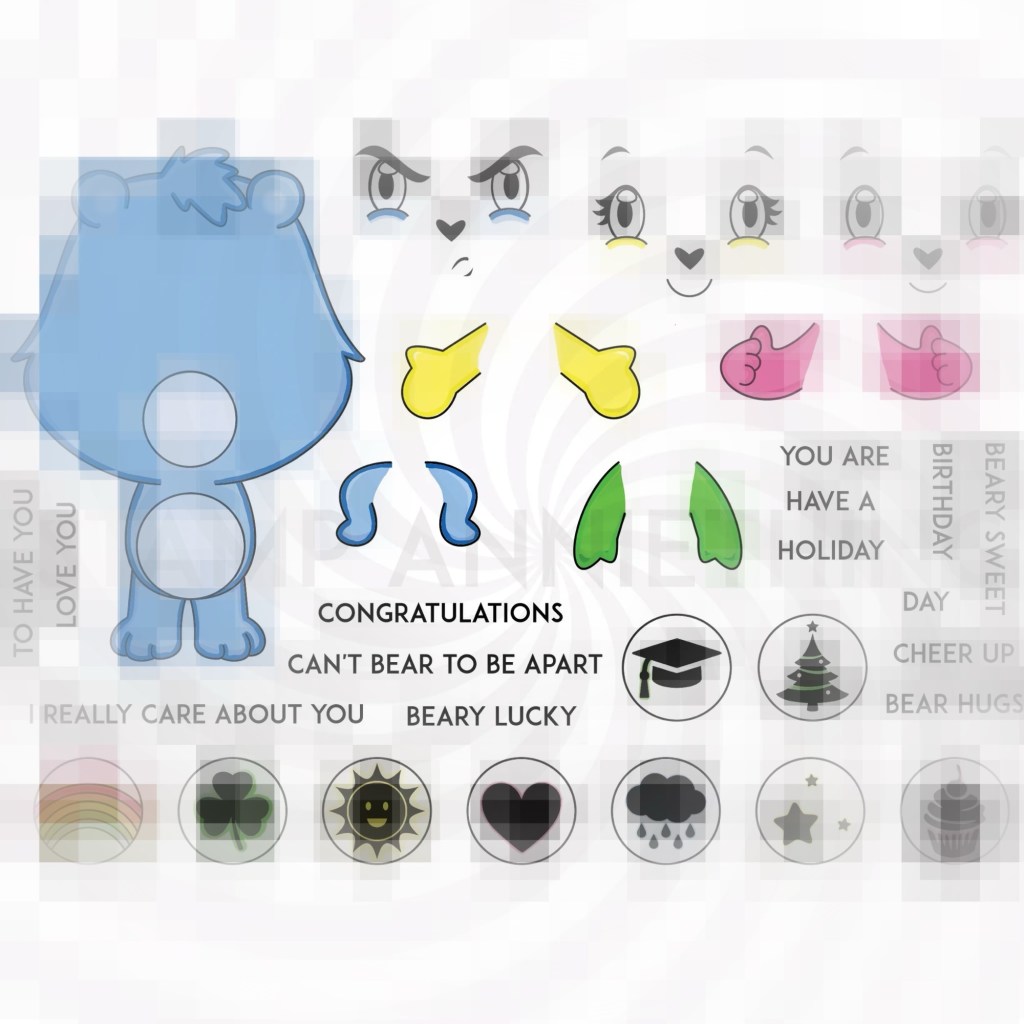
Copic Coloring on X-Press -It Blending Card
- Light Skin – E04, E11, E21, E00, E000
- Cheeks – R20
- Hair – E23, E25, E29
- Shirt – R22, R46, R59, Y02, Y15, Y19, N1, B00
- Medium Skin – E04, E11, E34, R21
- Hair – E77, E79, C5
- Overshirt – BV31, BV000
- Undershirt – YR21, YR24, YR27
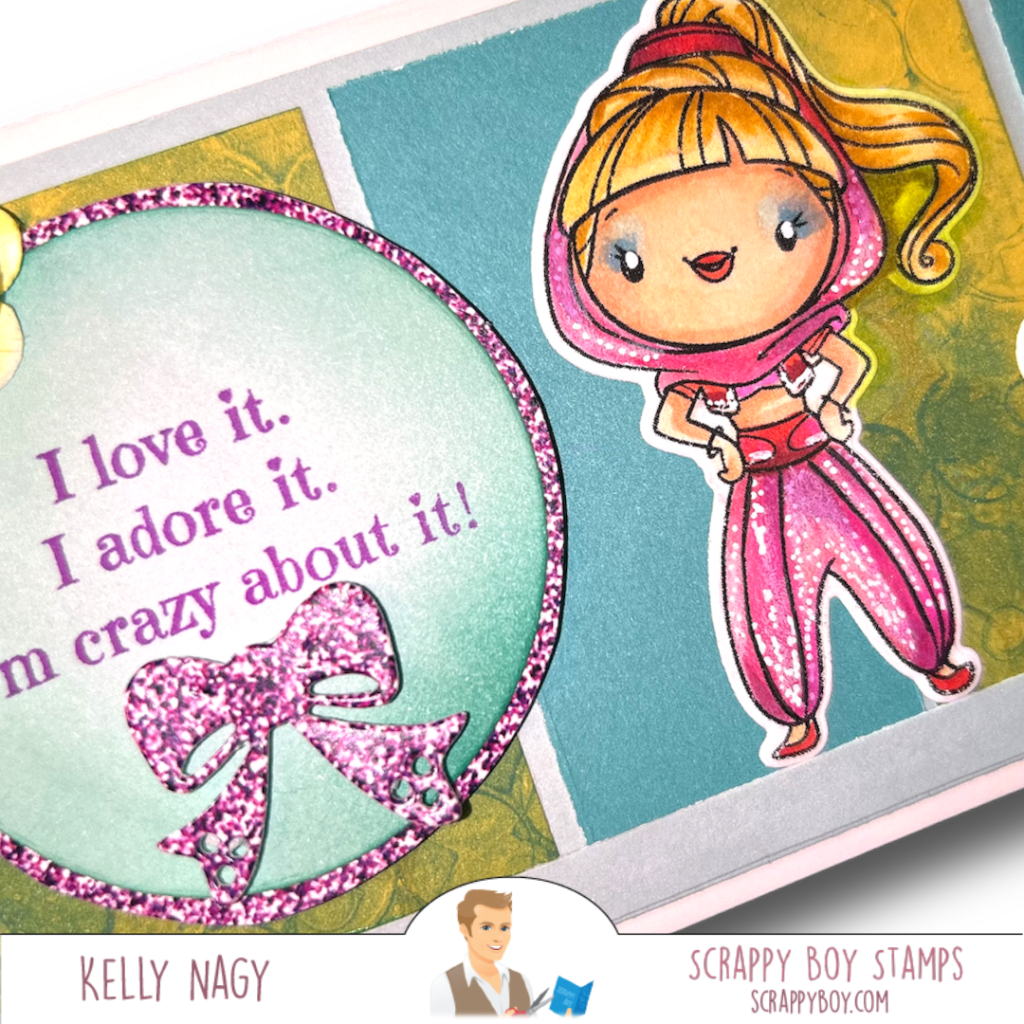
- Necklace – BG45
- Khaki Pants – E31, E35
- Shoes – C5, C7
Couch was die-cut in several layers and ink blended with darker distress ink to create depth and texture. Pro Tip: Cut the main couch in a lighter brown and ink blend over the brown, so your base starts as brown snd you don’t have to build up from plain white card stock. Work smarter, not harder!
I’m so grateful you stopped by my blog today! If you’re looking for inspiration and want to see how I mix and match products from Scrappy Boy Stamps and other fabulous companies in our community, please like, subscribe, share, and follow. Your support means the world to me! You can find me on social media @stampedbykelly ☺️
Here’s to finding your perfect spot on the couch in 2025!! 🛋️💖
Happy crafting! ✂️✨


