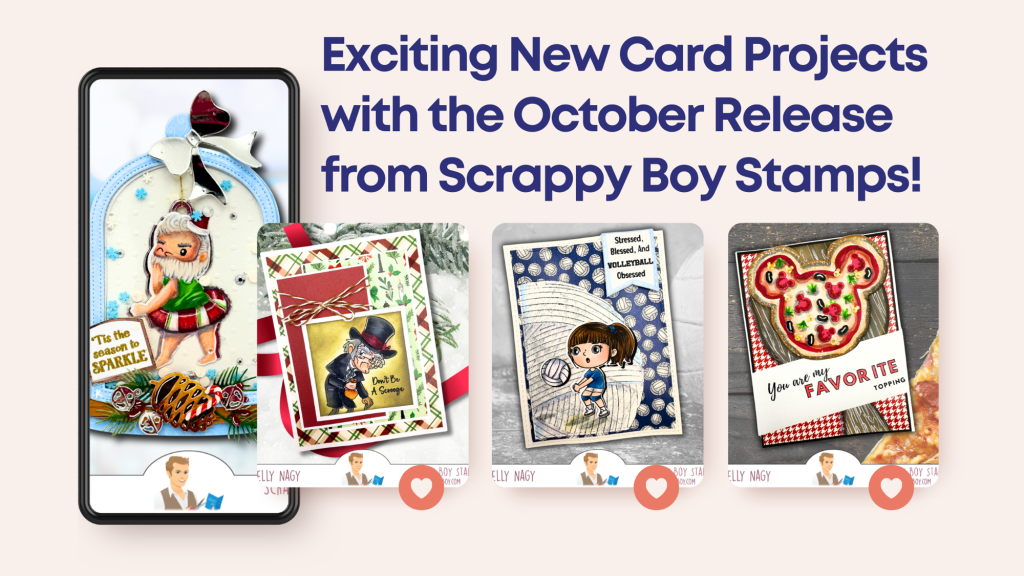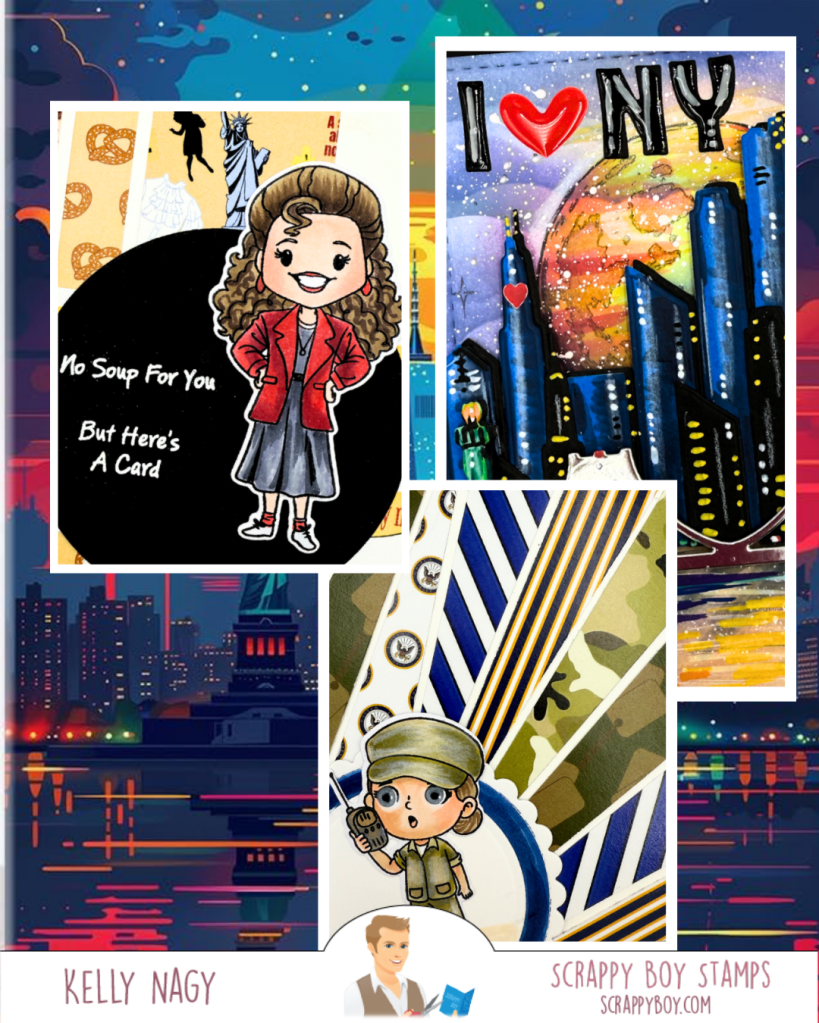
Hello, Crafty Friends!
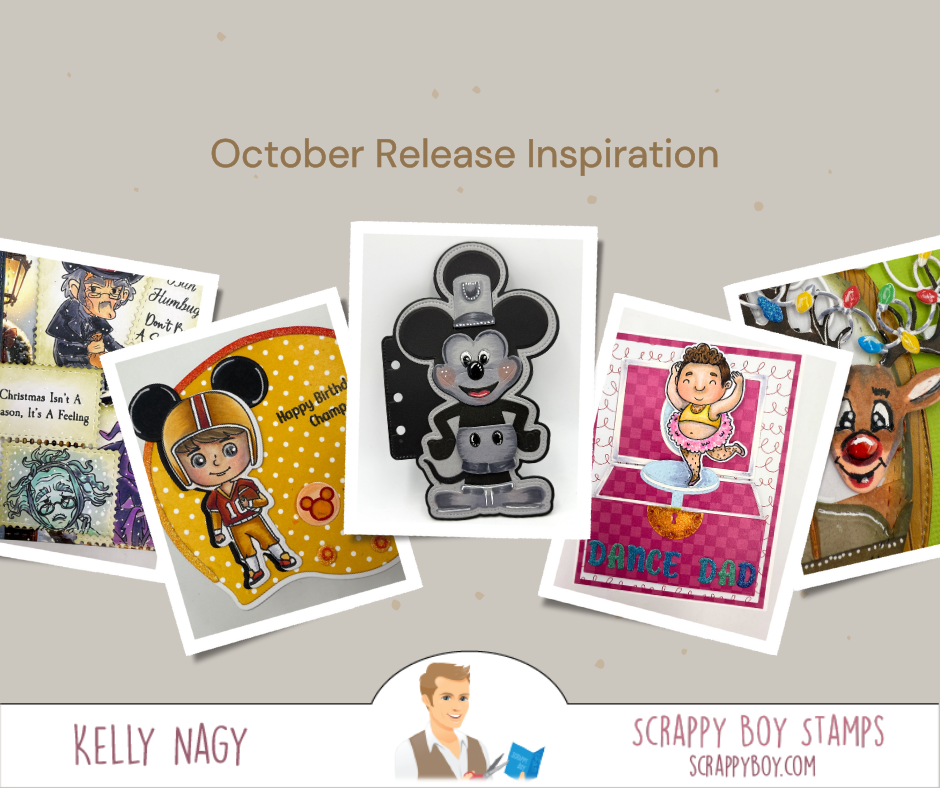
I’m back with more fantastic projects inspired by Scrappy Boy Stamps’ October Release, and I couldn’t be more excited! I have thoroughly enjoyed crafting with their latest offerings, and this week, I’m thrilled to share five new projects.
Let’s dive into the creative fun!
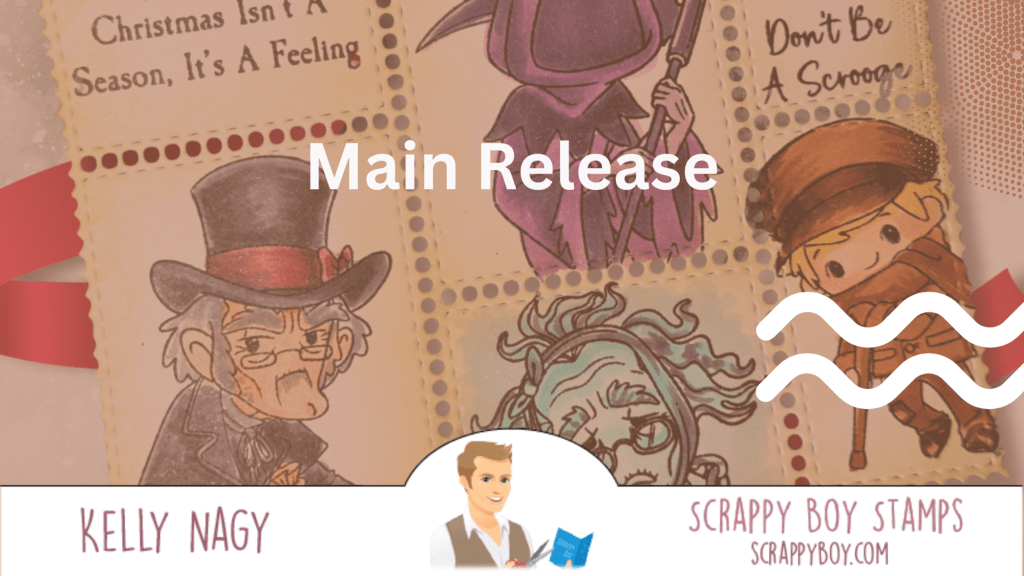
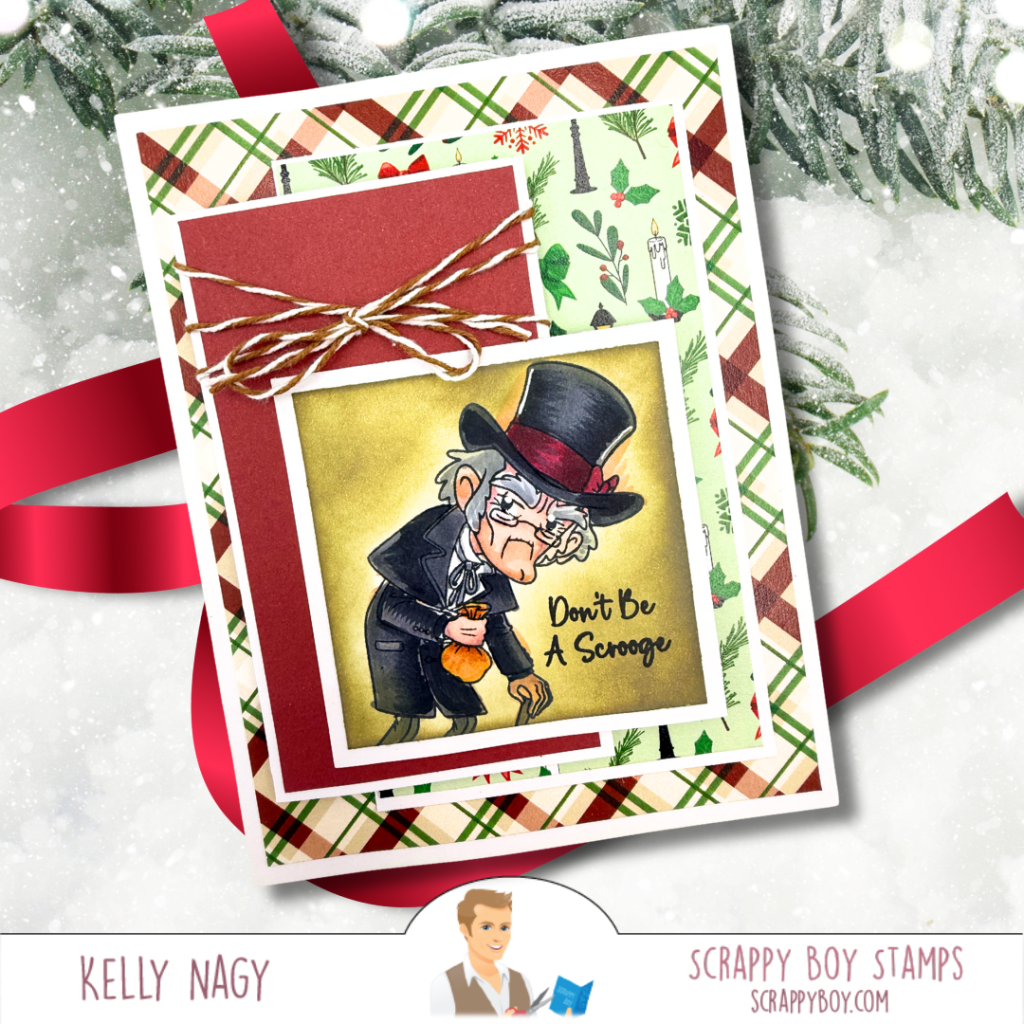
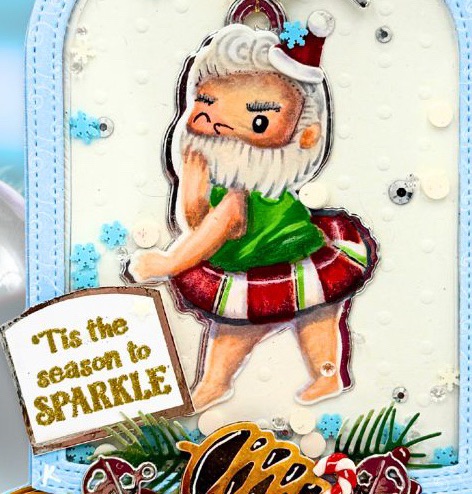
1️⃣ Main Release: Christmas Carol 🎶
First up, we have the Christmas Carol collection! This beautiful line is perfect for bringing holiday cheer to our crafting. From festive cards to delightful scrapbook pages, the charming stamps truly capture the magic of the season.
Check out the project I created using this lovely collection. If you look closely, you can see the beautiful patterned paper perking out from underneath.

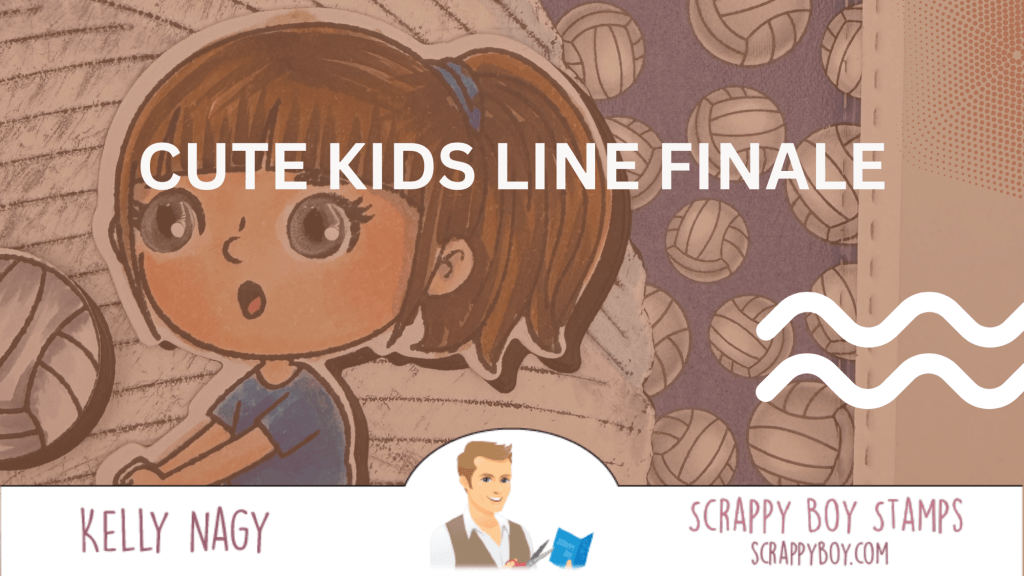
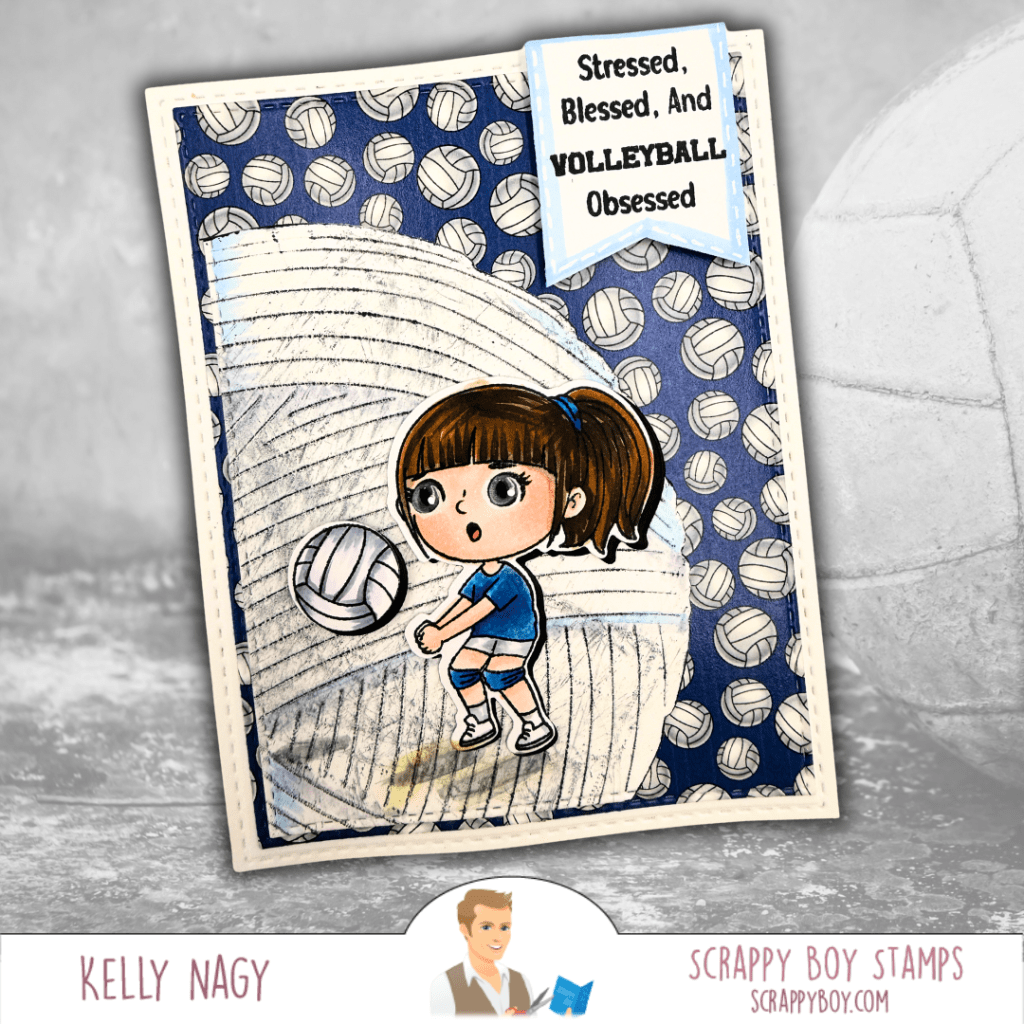
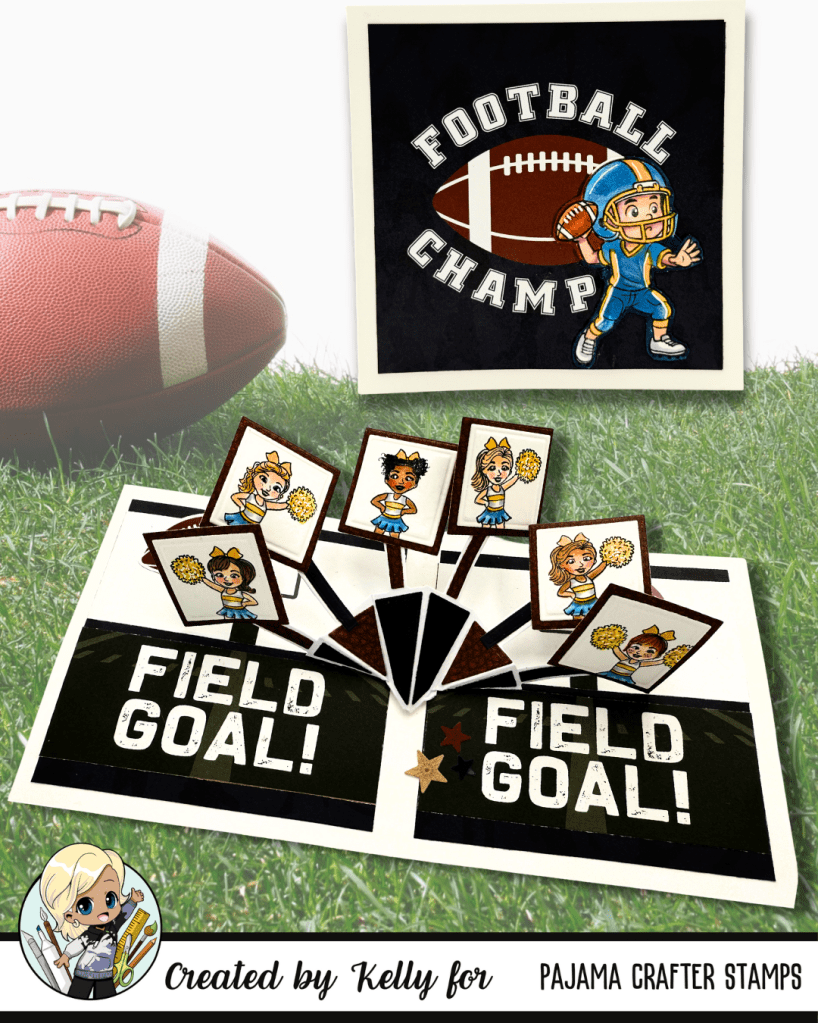
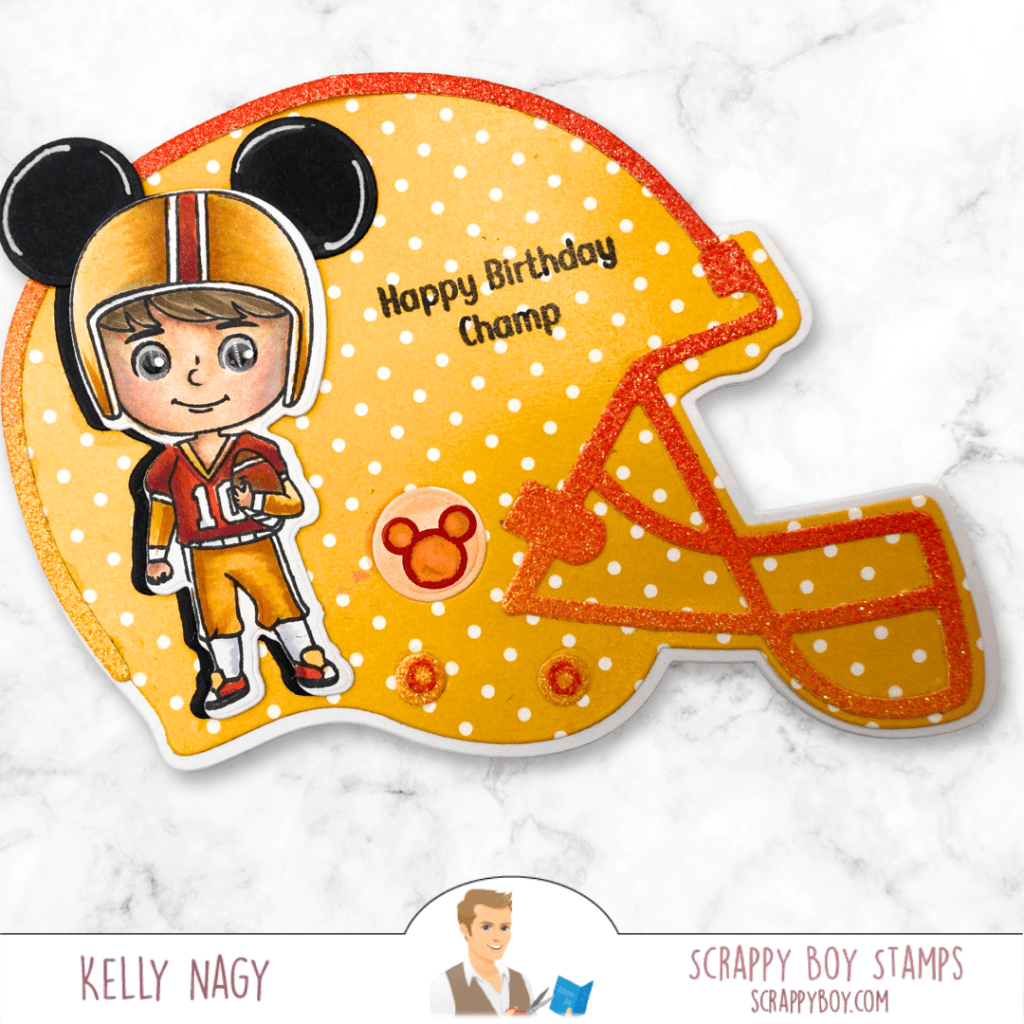
2️⃣ Cute Kids Line: I Love Sports ⚽️
Next, I’m excited to showcase the final release from the Cute Kids line: I Love Sports! This adorable collection celebrates the active lives of our little ones, and I couldn’t resist crafting this playful piece:
✨ Featured Product: Football Helmet Mini Album & Card Die
I used this duo to create personalized gifts that honor our young athletes, making crafting feel so special and fun!
Here is the project I made with the very last CUTE KIDS set to be released. Grab yours before it is too late!
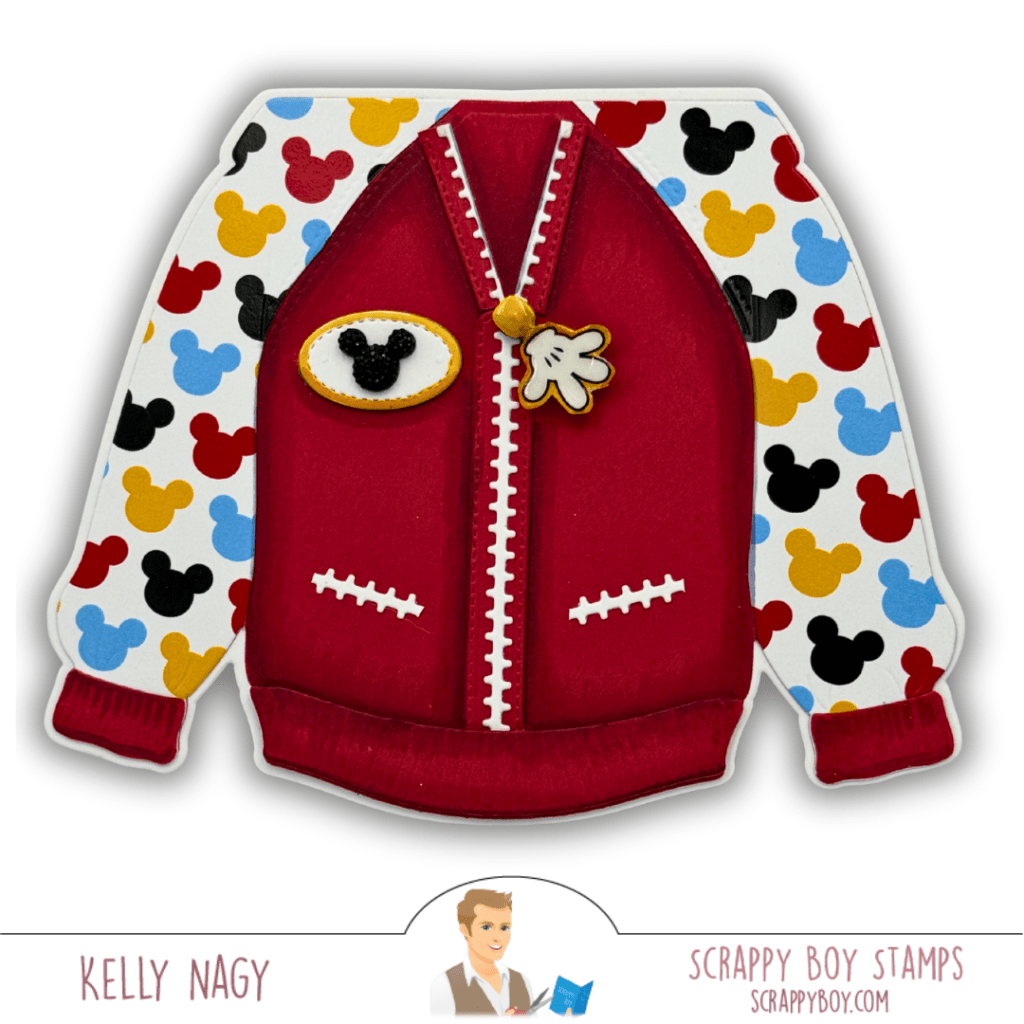
3️⃣ Vintage Mini Mouse Album Dies 🐭✨
For a touch of nostalgia, I’m in love with the Vintage Mini Mouse Album Dies! These dies help create charming mini albums that are perfect for memory-keeping or unique gifts.
Here’s how I brought this whimsical die to life:

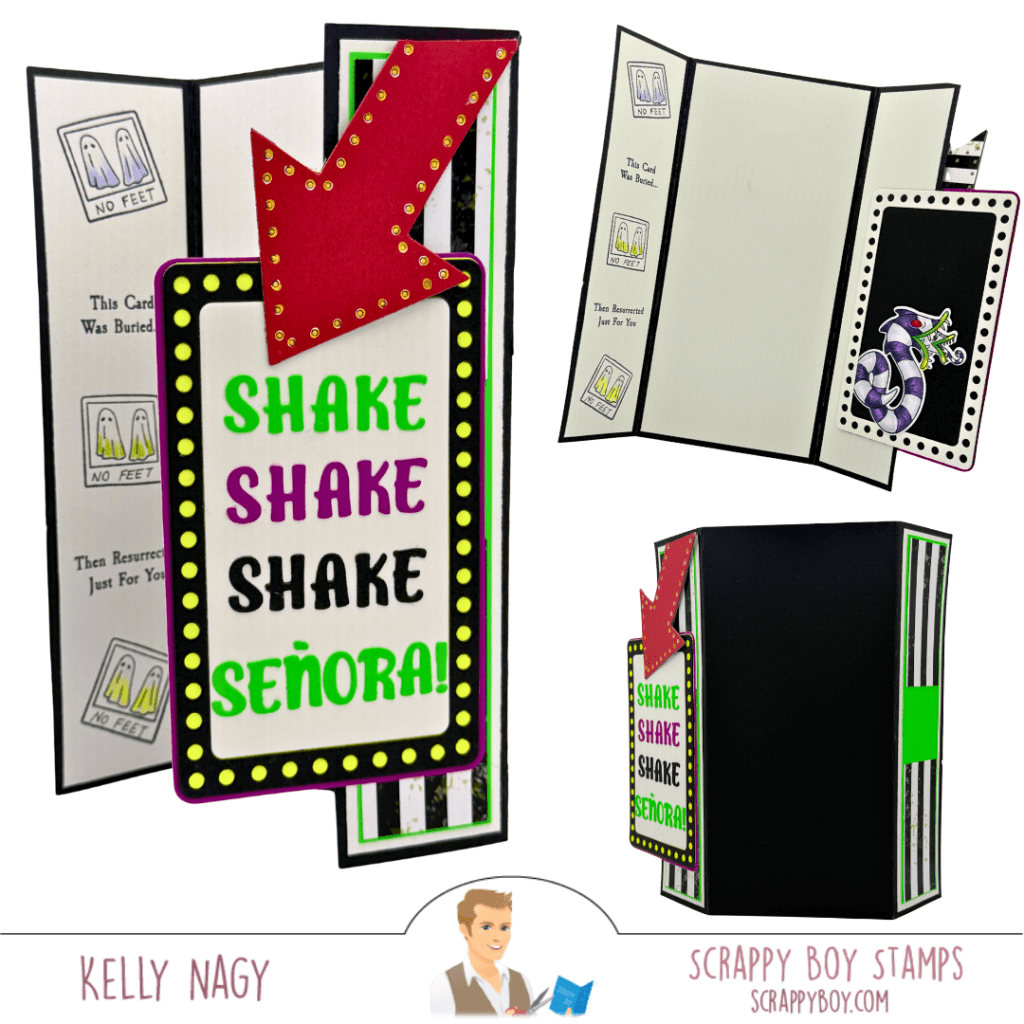
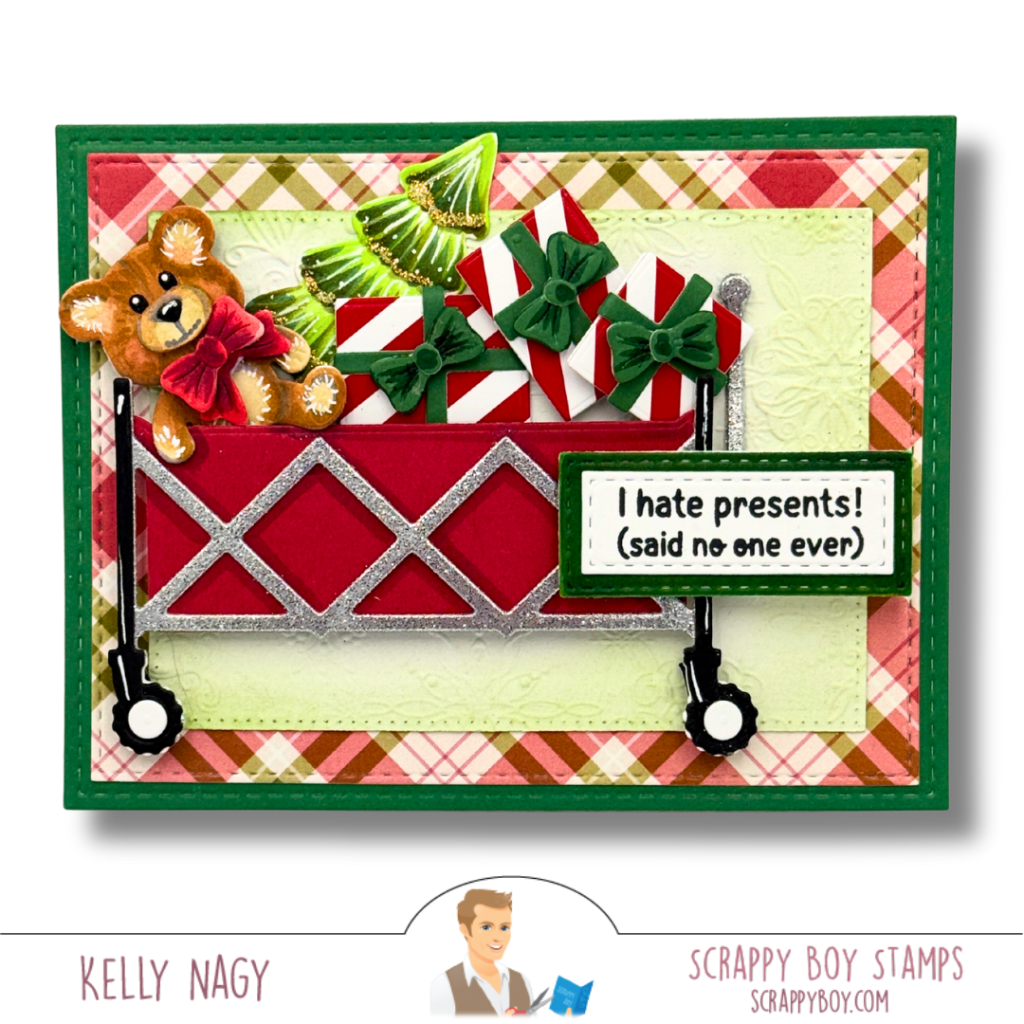
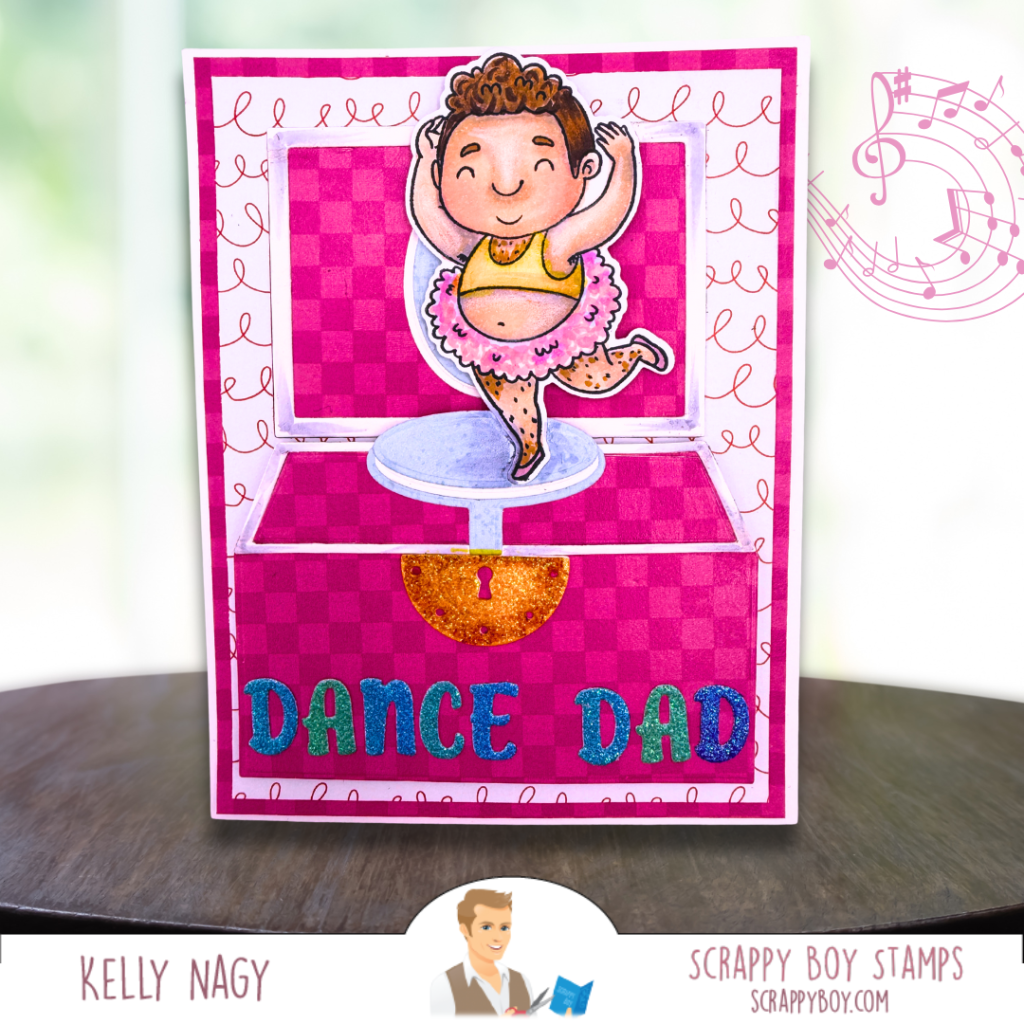
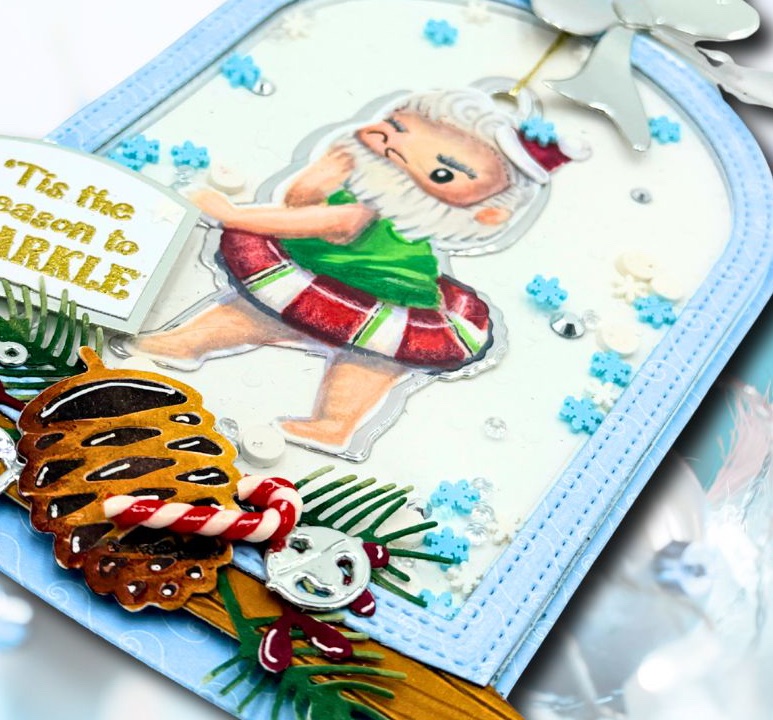
4️⃣ Butt Cracker Suite 🎄
The humorous Butt Cracker Suite, paired with the A2 Music Box Die, is all about fun! This quirky collection is perfect for holiday crafting. The A2 Music Box Die adds an awesome interactive element to your card-making projects!
To celebrate DANCE DAD’s everywhere, I created the following card using this quirky suite:
Take a look at several ways you can really change the look of these little cuties.


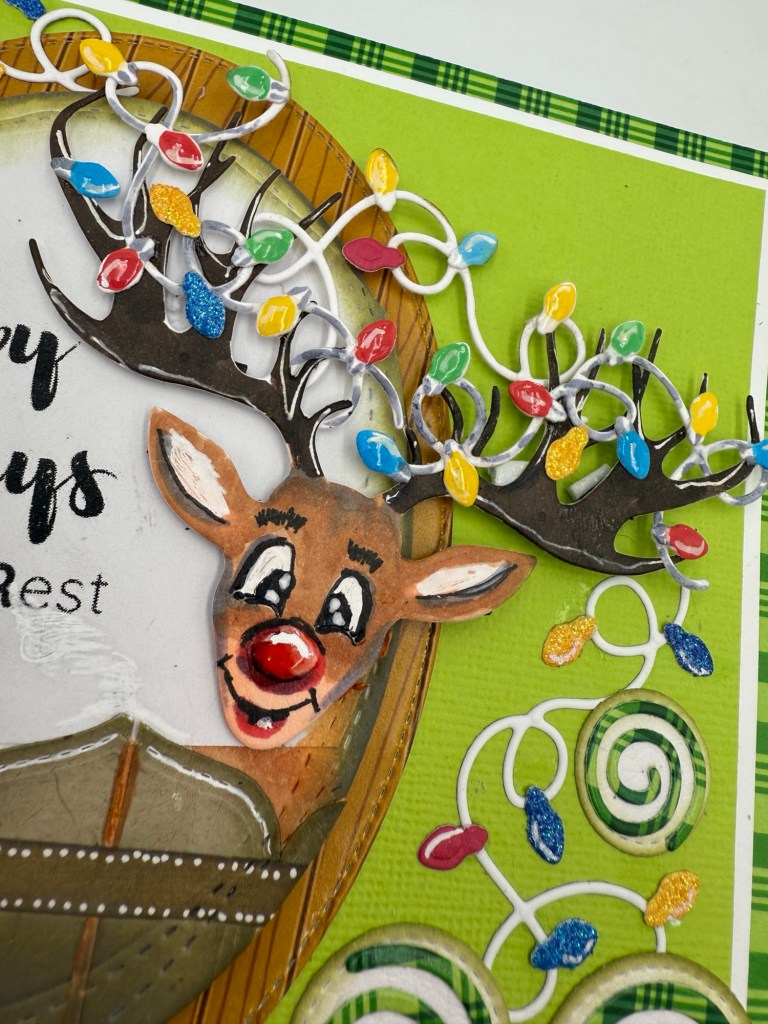
5️⃣ Reindeer Head Die 🦌
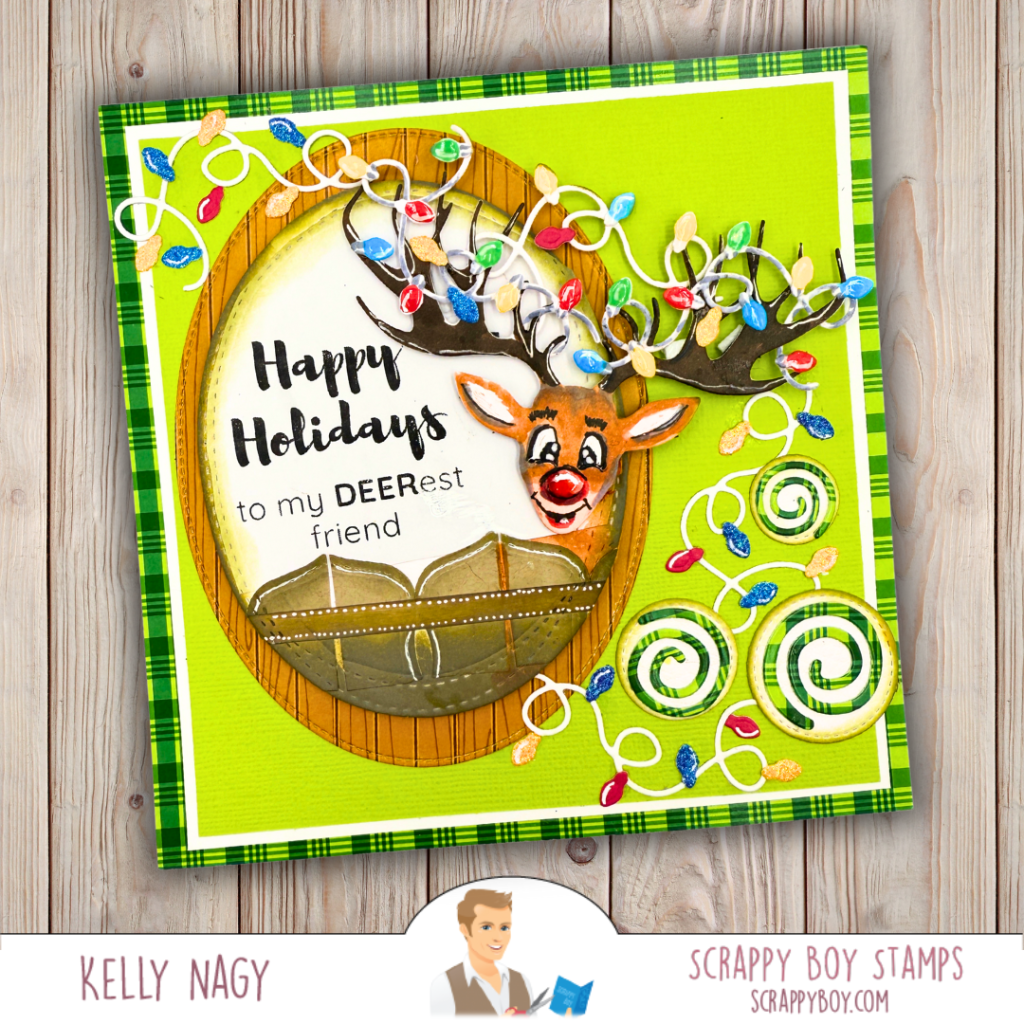
Lastly, I had a blast working with the Reindeer Head Die. This versatile die is great for adding festive charm to a variety of projects—everything from decor pieces to cards and scrapbook layouts.
Here’s how I incorporated this die into my crafting using SHARPIE CREATIVE MARKERS to bring the deer’s face to life.
With this amazing lineup from Scrappy Boy Stamps, there’s something for every crafter to enjoy! I hope these projects inspire you to explore their latest release. Stay tuned for more creative ideas, and let’s keep crafting together! 🛍️💖