Crafting Magic with Scrappy Boy’s YARN MINI ALBUM / CARD DIE: Snowman Edition!

Fun downloadable to pair with items in your SCRAPPY BOY stash…or any circle dies, cutters or cut your own out of construction paper. Great activity for kids, grandchildren and everyone in between!

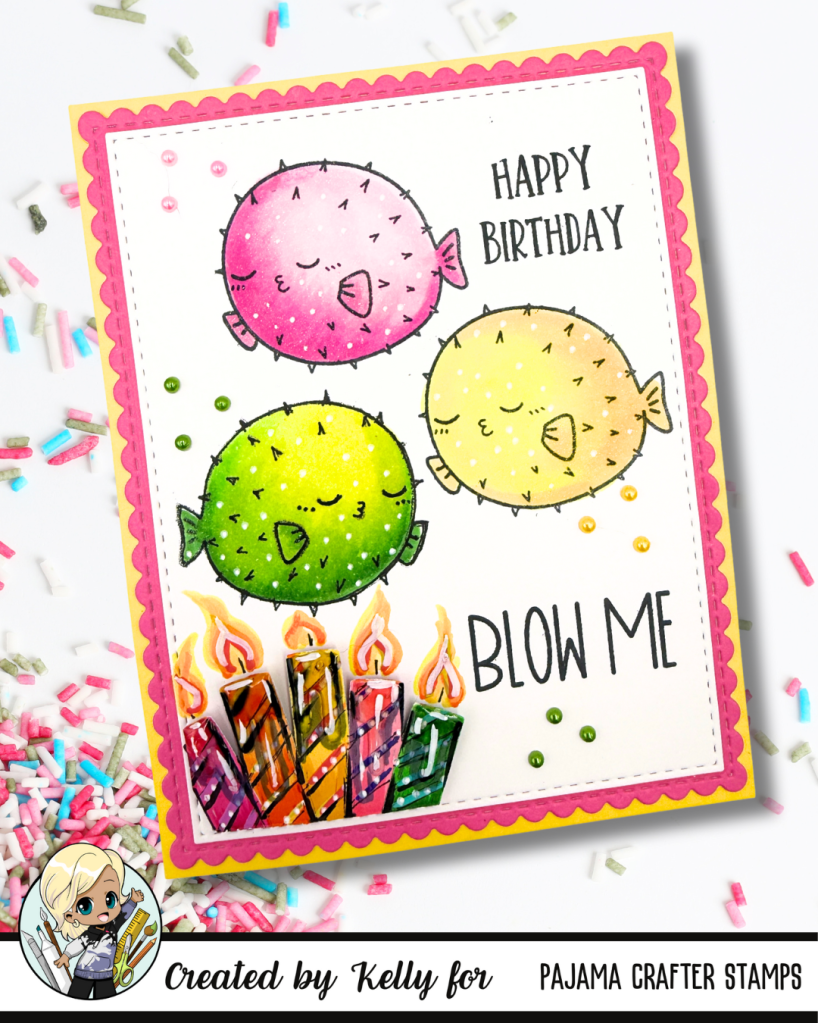
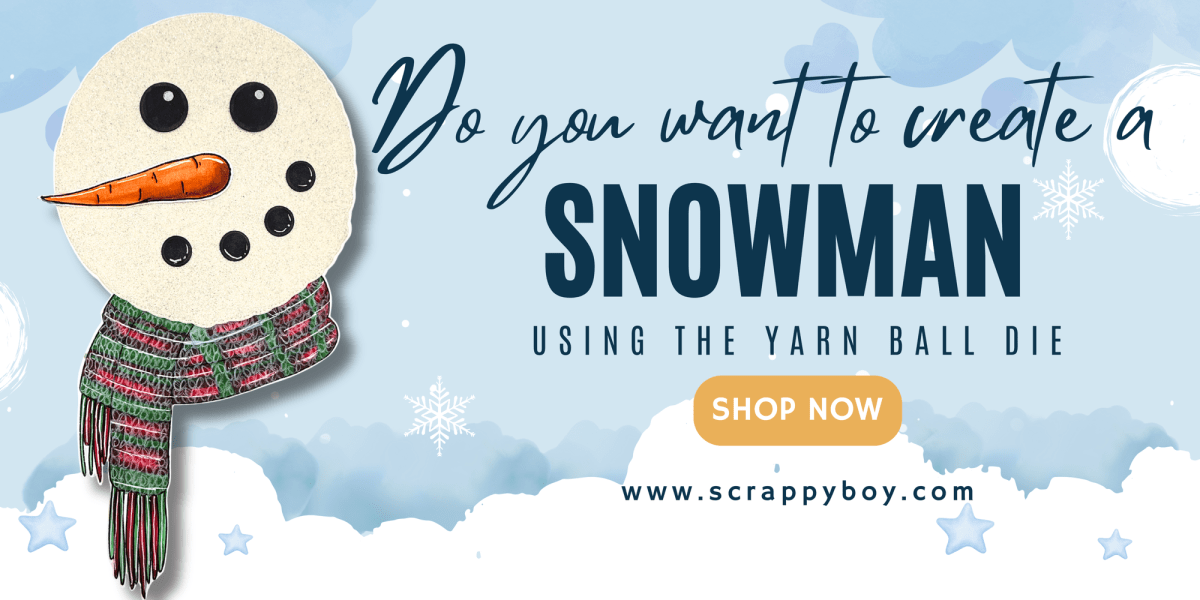
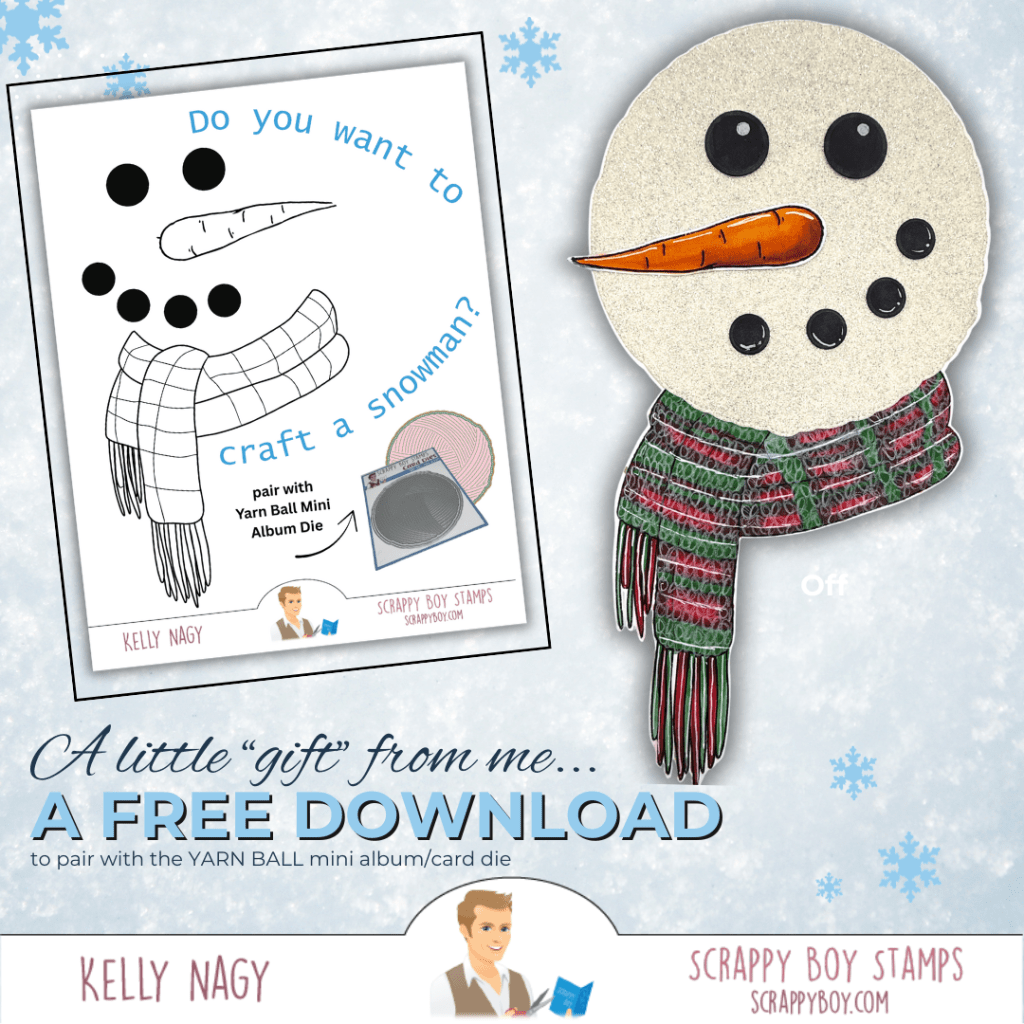
Happy Monday, crafty friends! 🎉✨ Today, I’m excited to share a delightful project using the Scrappy Boy YARN MINI ALBUM / CARD DIE. With just a few simple steps, you can create an adorable snowman that’s perfect for the winter season! Plus, I’ll showcase two additional projects featuring Scrappy Boy stamp sets to highlight the versatility of this die. Let’s get started!

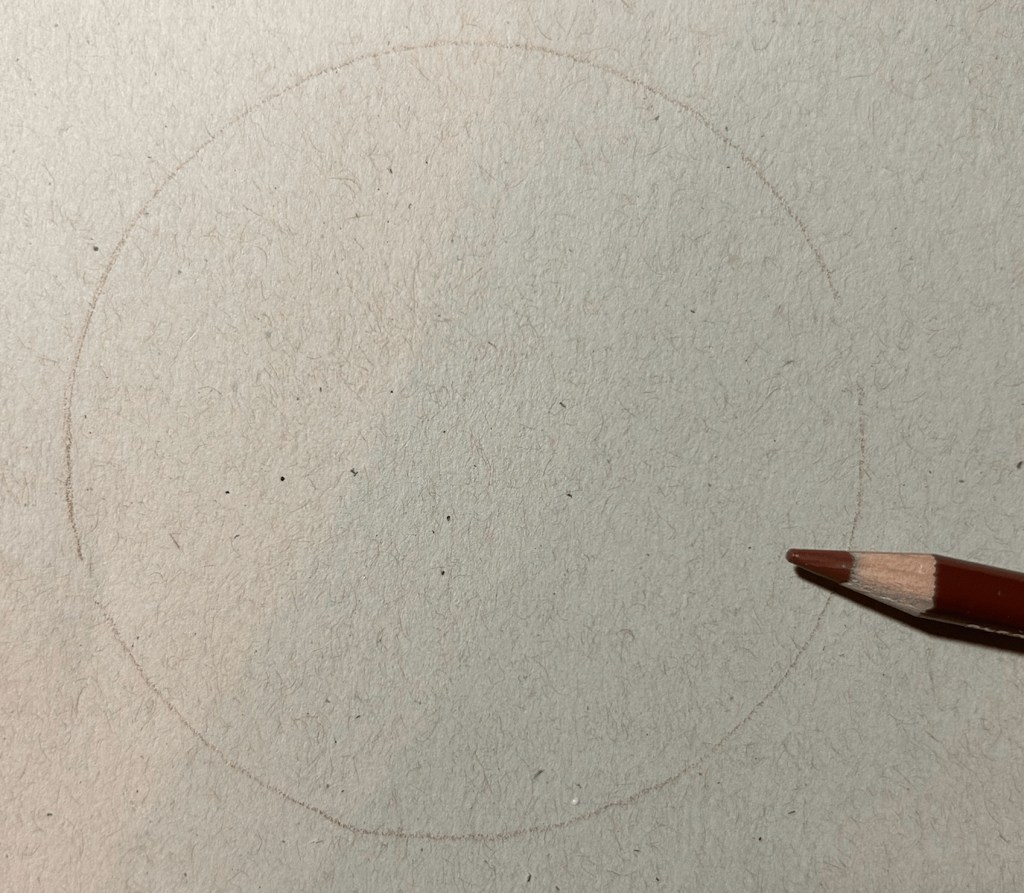
Step 1: Print the Free Download

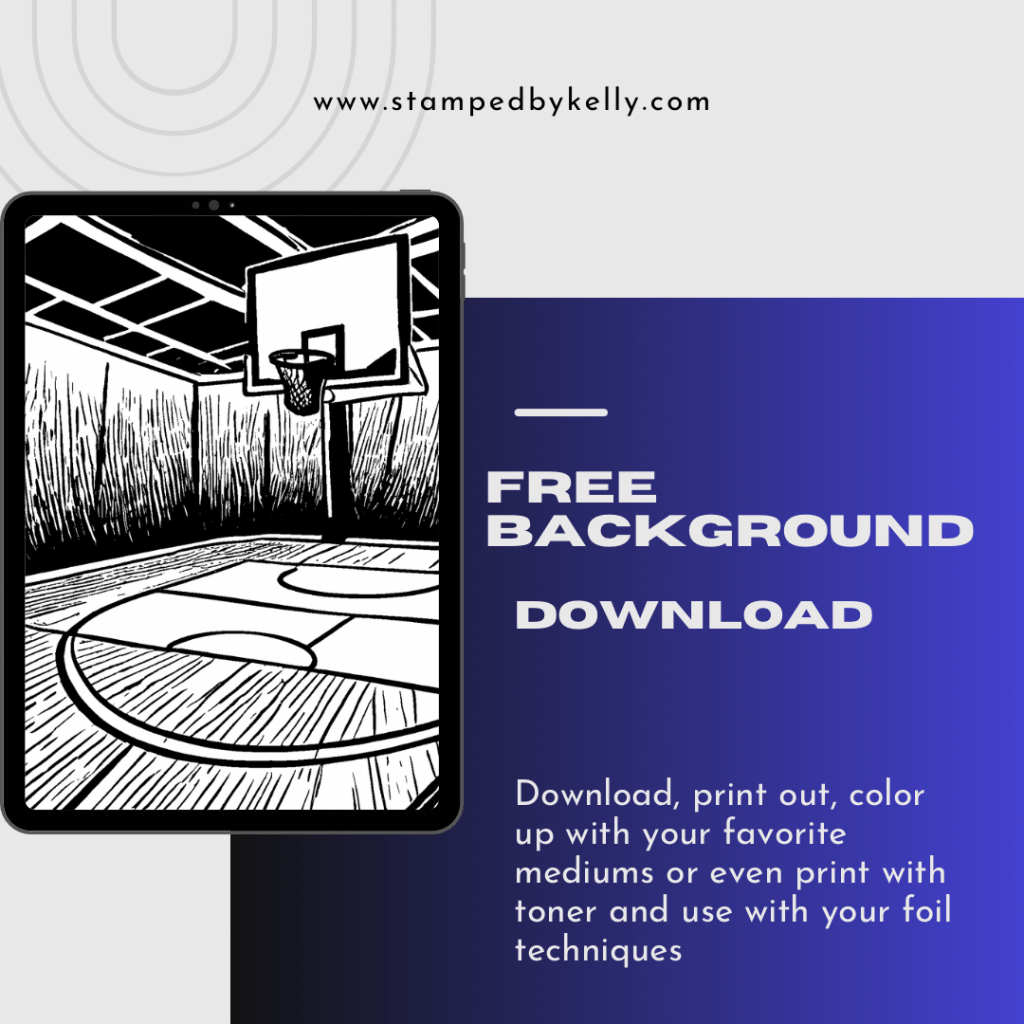
Head over to my blog at http://www.stampedbykelly.com (http://www.stampedbykelly.com) to grab your fun download, which includes a step-by-step guide and templates for your snowman project.

Tip: Make sure to print on cardstock for better durability!

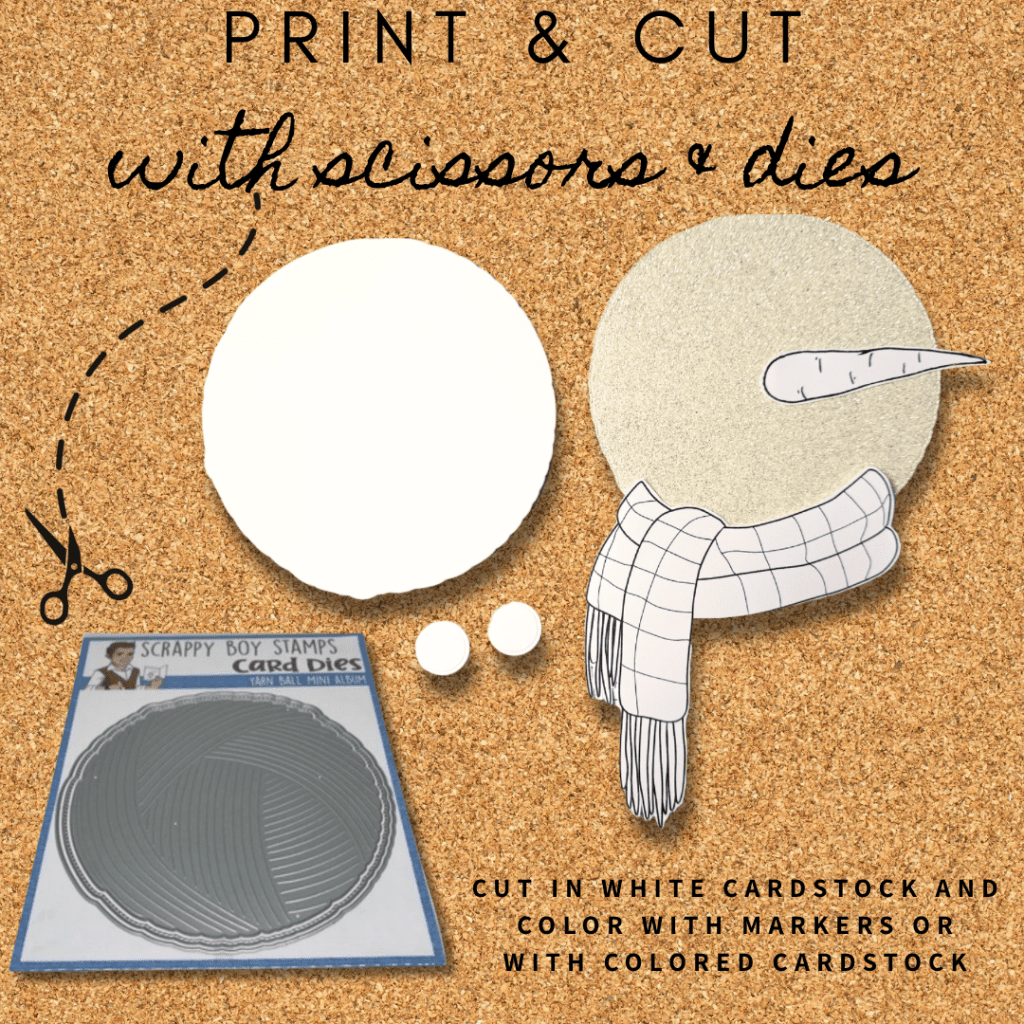
Step 2: Cut Your Pieces

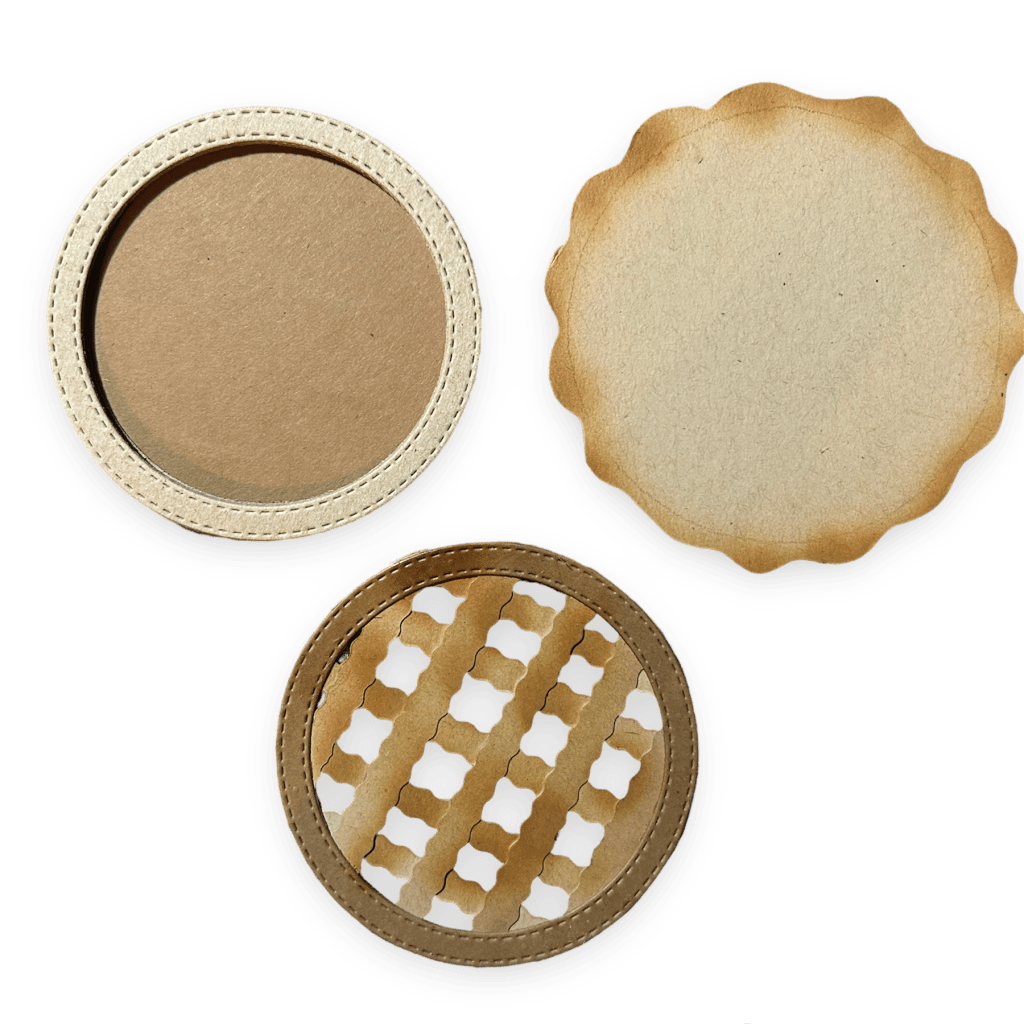
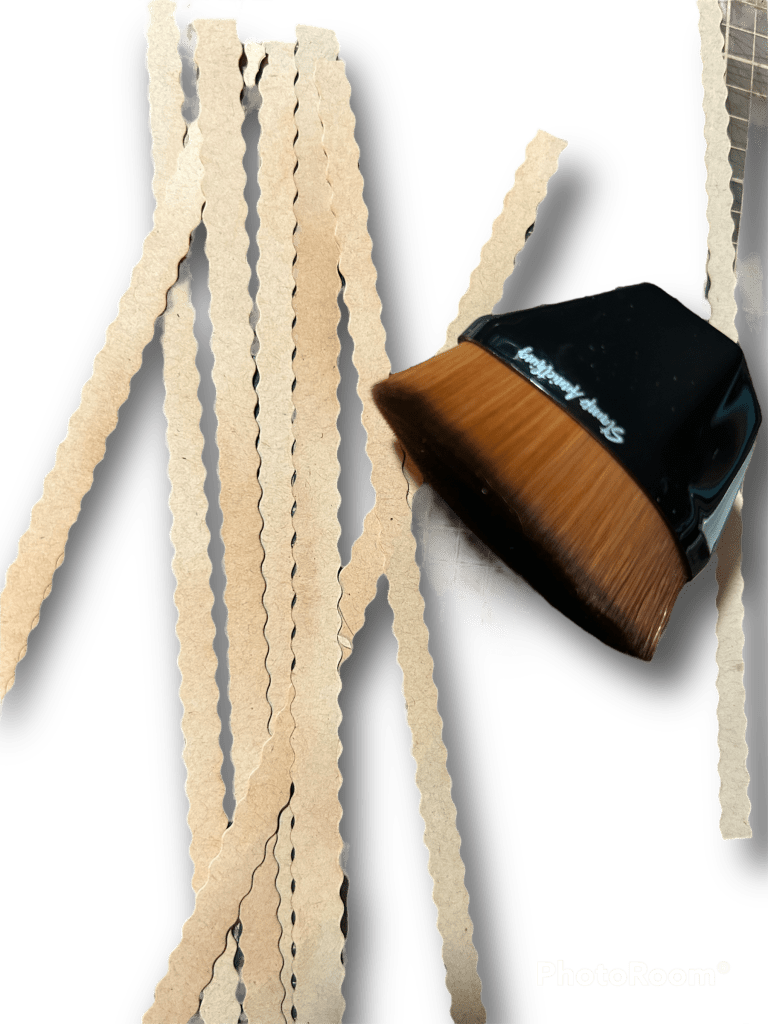
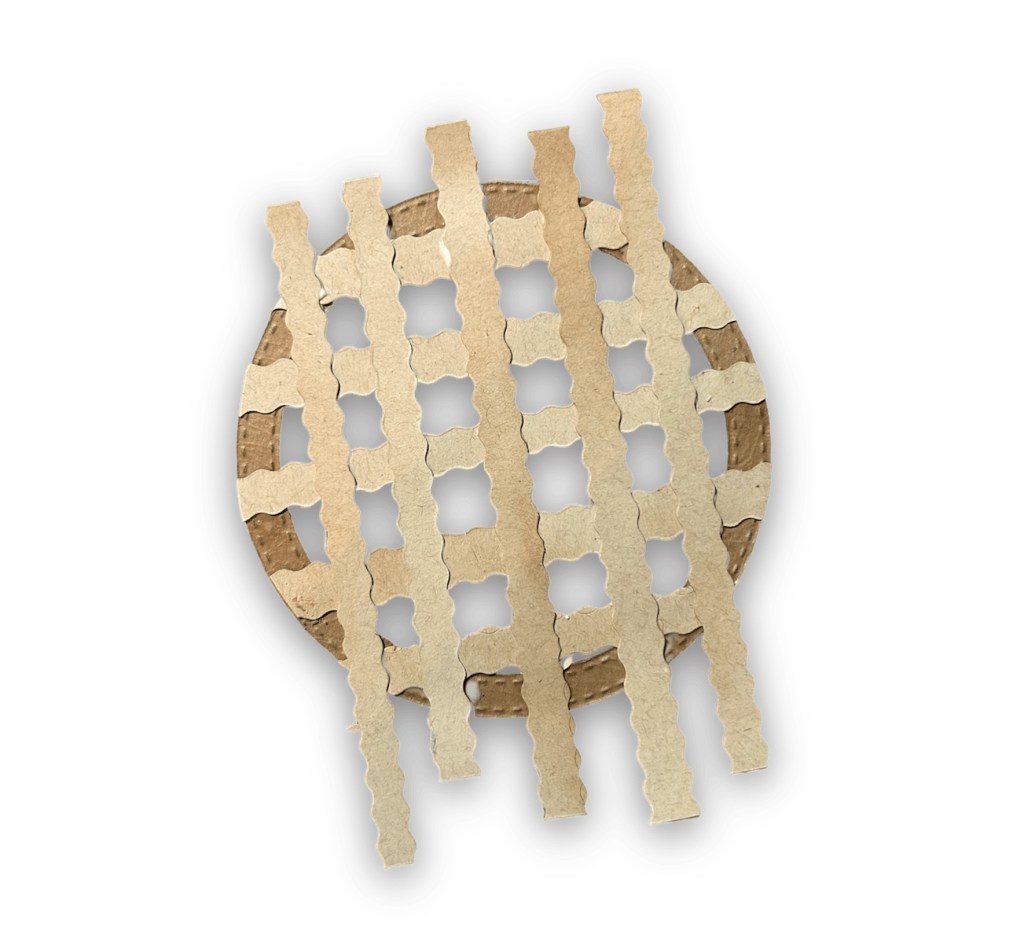
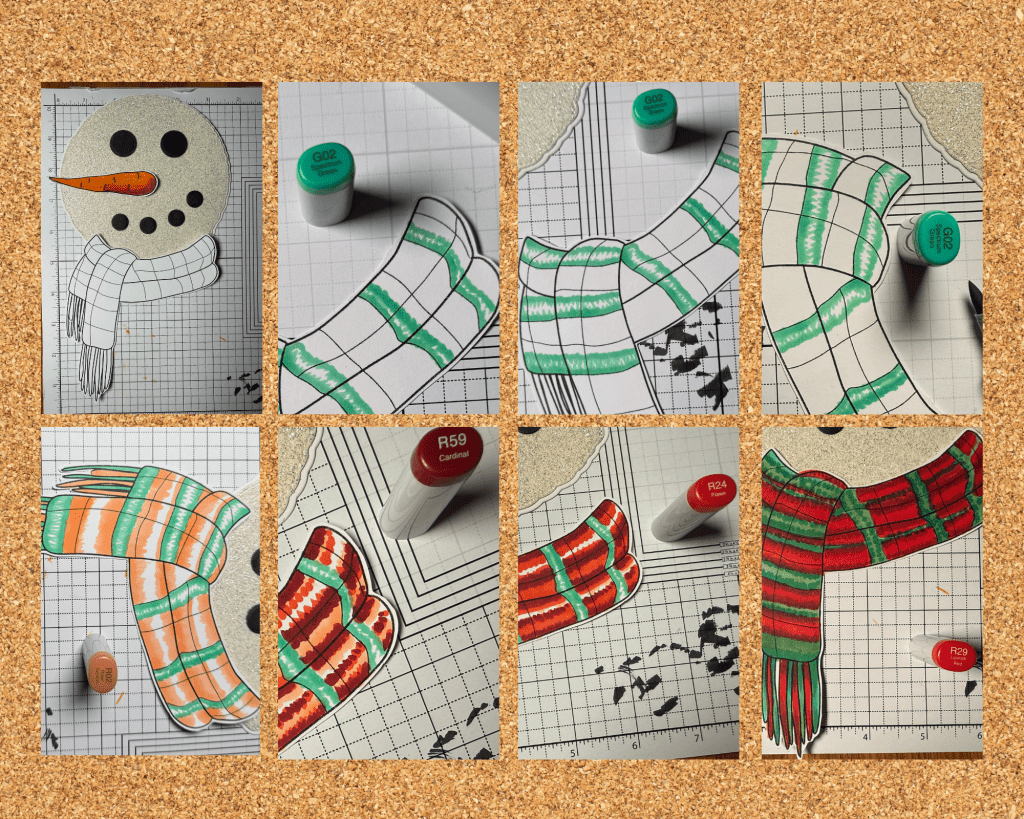
Using the YARN MINI ALBUM / CARD DIE, cut out the snowman pieces from white cardstock:

  • Base: This will be the mat underneath the head of your snowman.
  • I cut my top layer out of white glitter cardstock for extra interest.
  • Accessories: Cut out scarf and “coal” from colored cardstock or white (easy) and color up with Black Markers.

If you own the TRAILER MINI ALBUM / CARD DIE, you can also create wheels by cutting circles from black cardstock instead of the printed coal circles!

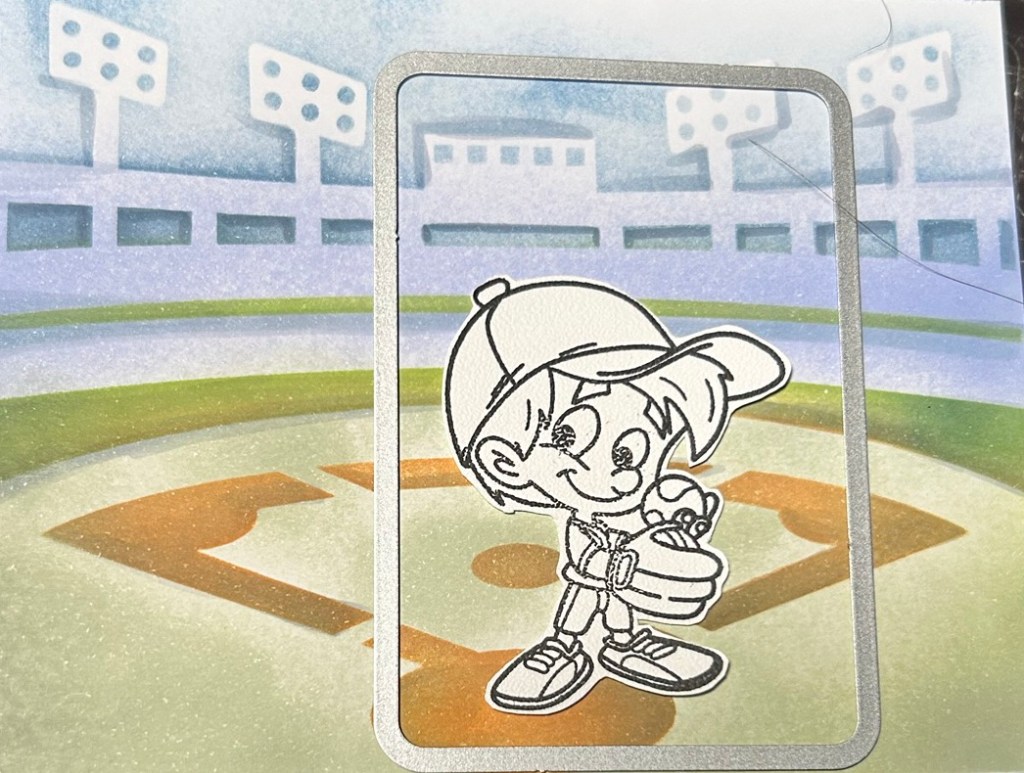
I cut in white card and colored up with my COPIC 100.

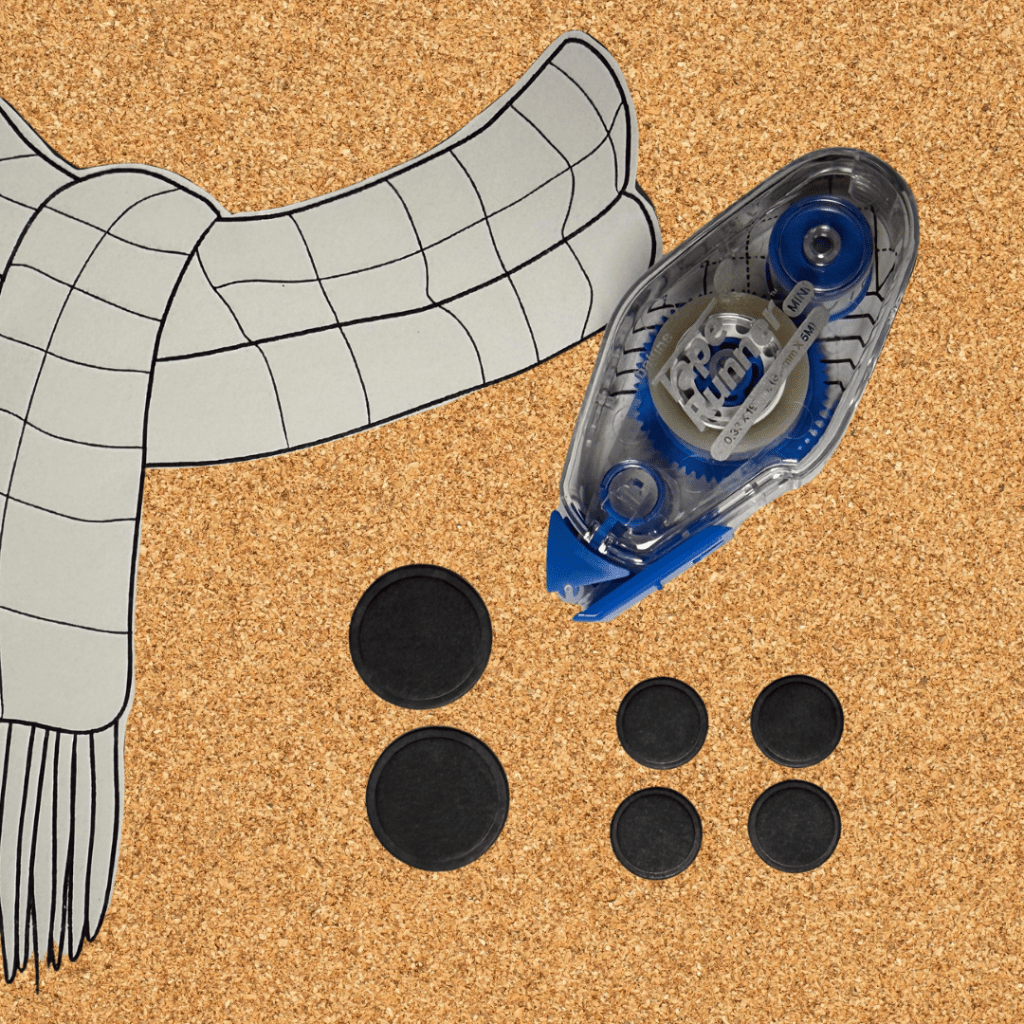
Step 3: Color Your Accessories

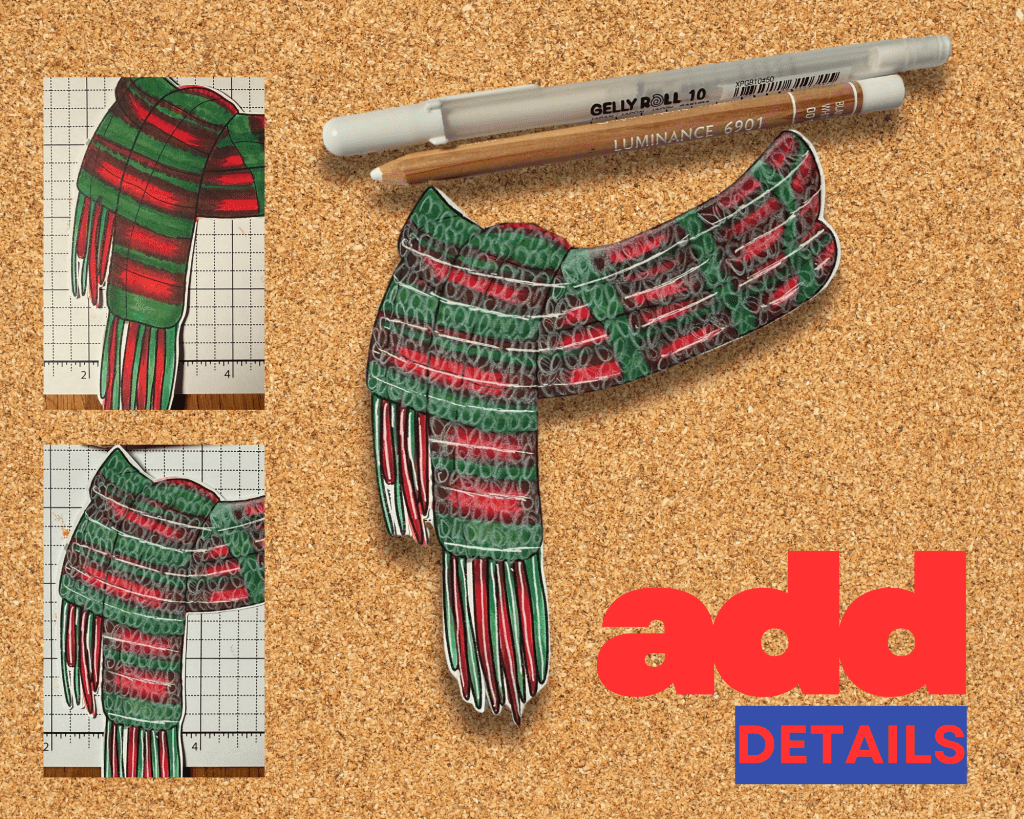
Bring your snowman to life by coloring the accessories. Use markers, colored pencils, or your favorite coloring medium to add personality to your snowman!

Step 4: Assemble Your Snowman. I used the TAPE RUNNER MINI to put my snowman together. You can get 10% OFF your purchase at http://taperunner.com using PROMO CODE: KELLY10

Now it’s time to put it all together!

  1. Start with the base: Attach the snowman’s head (the smaller winky circle) die to the base (the larger circle).
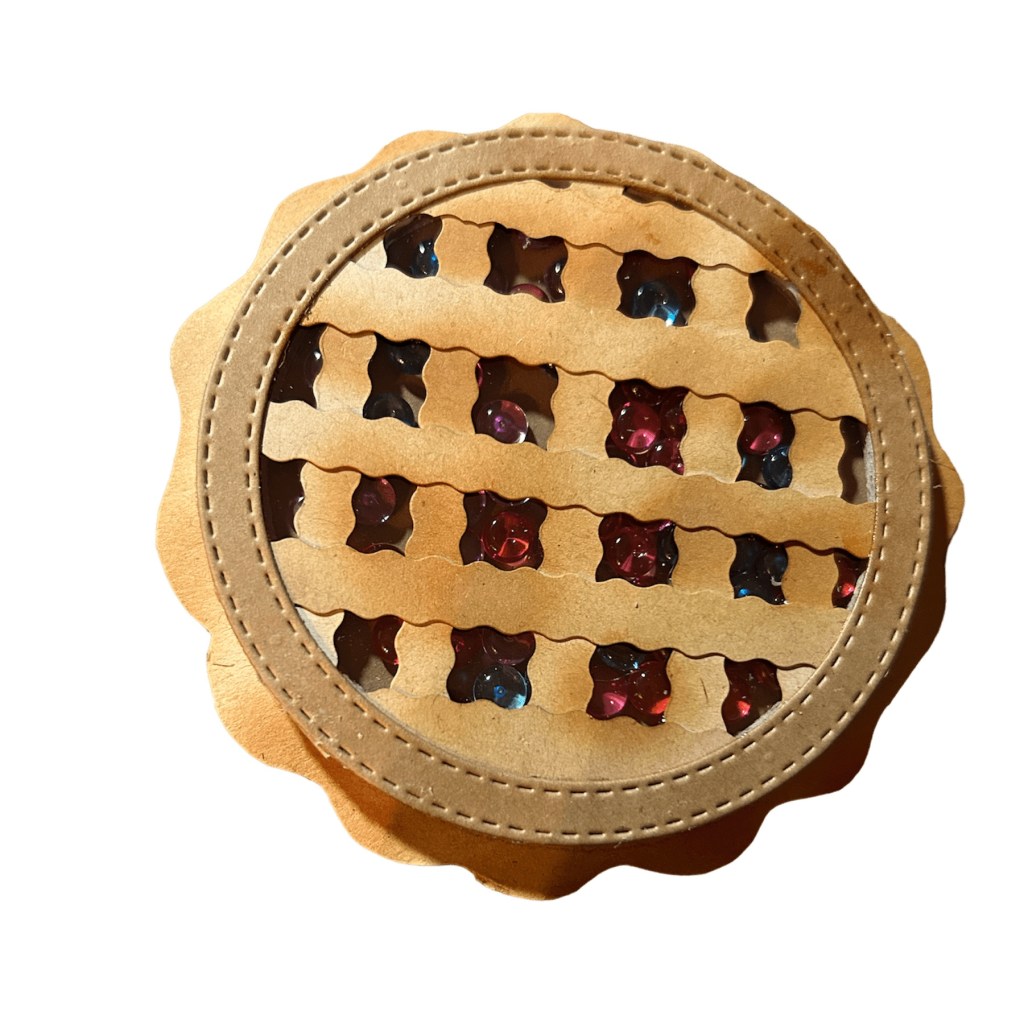
  2. Add accessories: Glue scarf and buttons (Scrappy Boy Shirt Mini Album Card Die), circles (tires and hubcaps from the TRAILER MINI ALBUM AND CARD DIE) or a circle punch from your stash. If you like to fussy-cut, the circles are on the printable page.
  3. Final touches: Add white gel pen accents to eyes, carrot nose and mouth.

Additional Projects to Inspire You
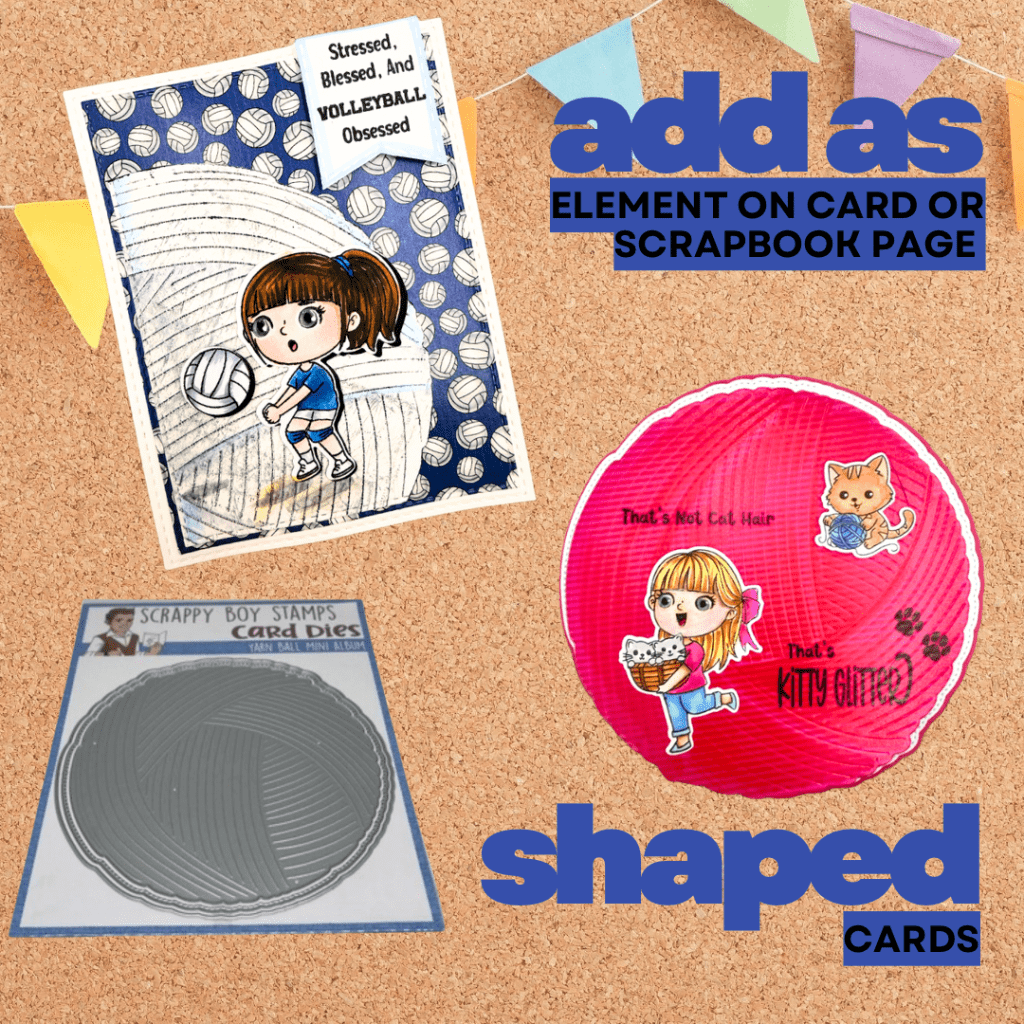
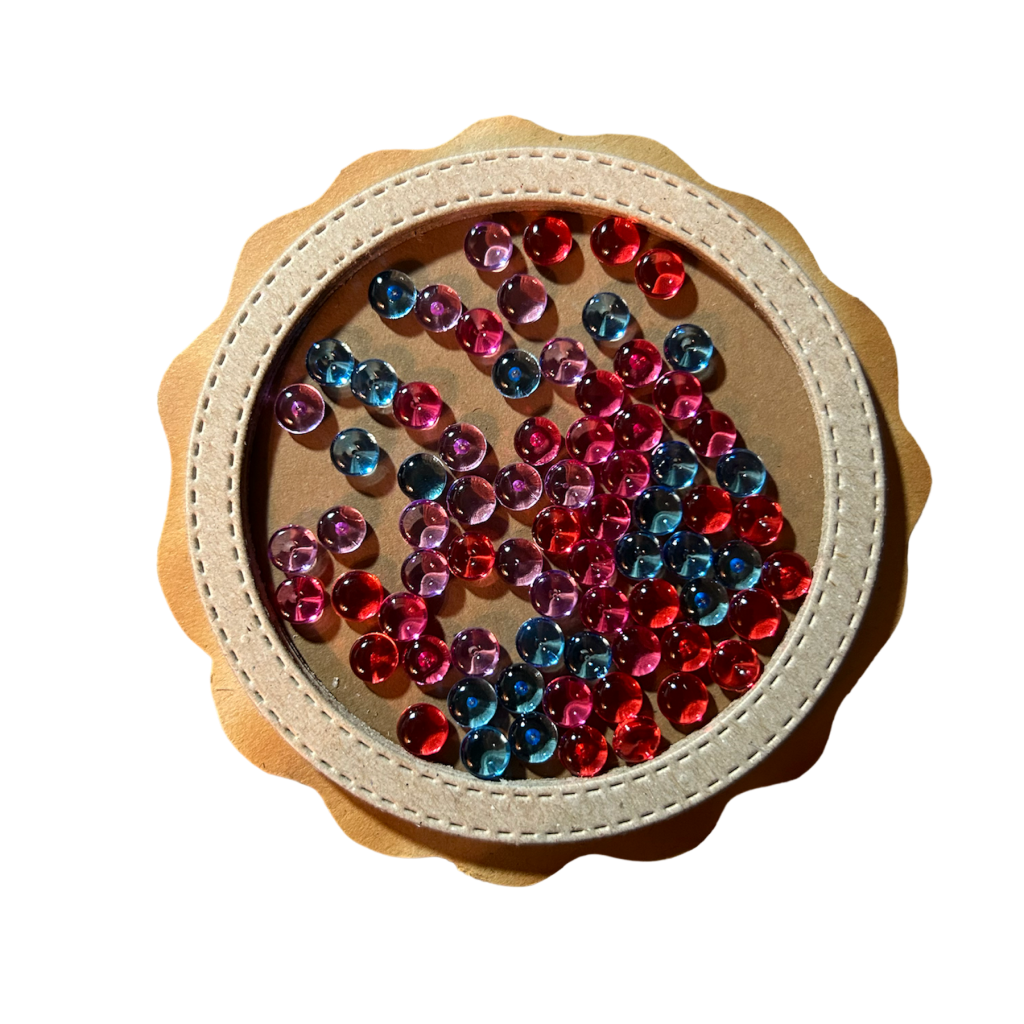
  1. Yarn Ball Card
    Using the same die, I created a cheerful yarn ball card perfect for any crafting enthusiast. Just cut and decorate with bright, fun colors—it’s a great way to brighten someone’s day! Stamp set is the CUTE GIRLS CAT LOVERS: https://scrappyboy.com/products/cute-girls-cat-lovers-6×8-stamp-set
  2. Volleyball Encouragement Card
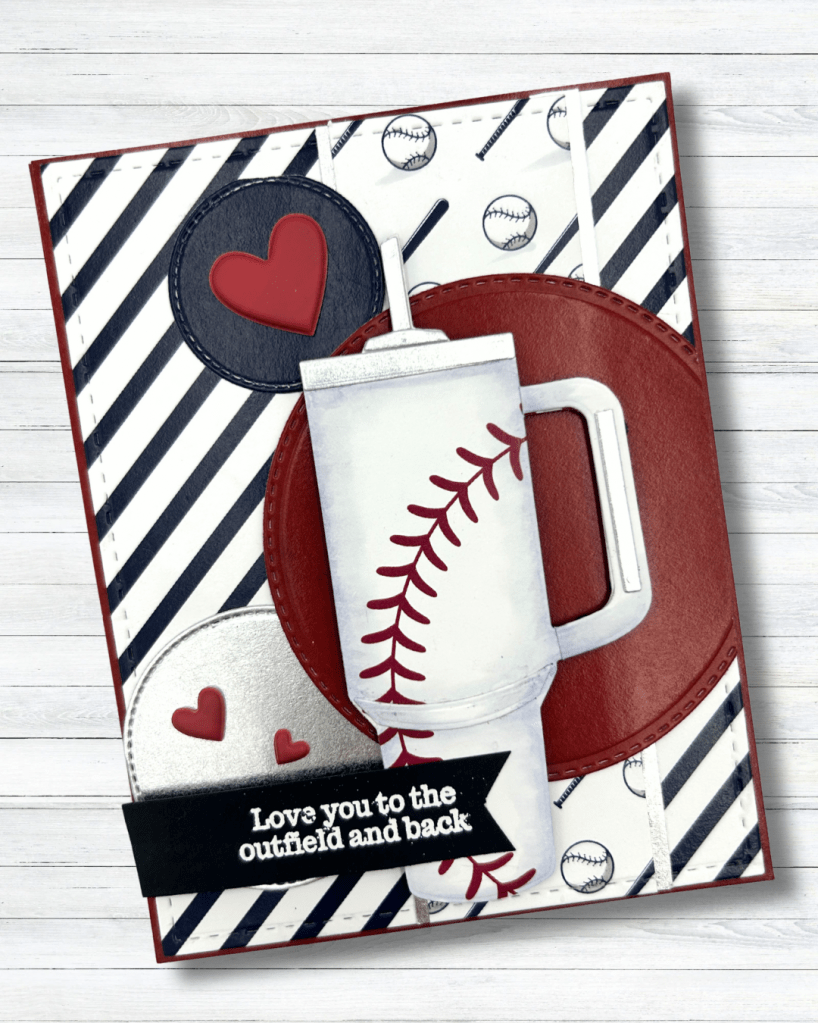
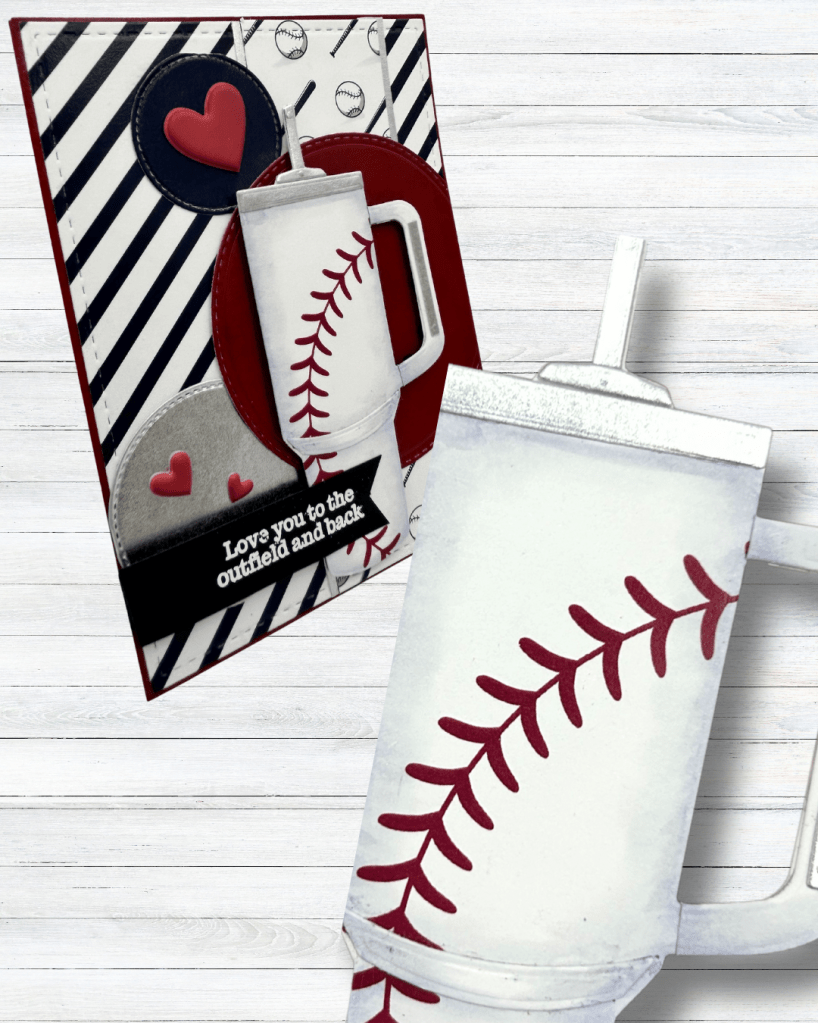
    I transformed the YARN MINI ALBUM / CARD DIE into a volleyball for a fun volleyball-themed card! Just ink blend over with a gray or extremely light handed-blending with black and use the embossed die-cut piece,. The ink reveals and accentuates the texture.

Share Your Creations

I can’t wait to see your snowman and other projects! Be sure to tag me @stampedbykelly and share your creations on the Scrappy Boy Friends and Inspiration Facebook page.

FOLLOW ME ON FACEBOOK

Happy crafting and Happy Holidays! 🎅✨ Don’t forget to check out the YARN DIE and more at http://www.scrappyboy.com (http://www.scrappyboy.com)! 🌟


Labor Day Sale at Pajama Crafters Stamps!

Hello, crafty friends!

I’m excited to share that Pajama Crafters Stamps is hosting a fantastic Labor Day sale that you won’t want to miss! As a proud supporter of this military family-owned small business, I want to highlight some of the cards made with their amazing products.

Celebrate with Crafty Creativity!

During this Labor Day sale, you can grab some of your favorite crafting goodies from Pajama Crafters Stamps. Whether you’re looking for cute stamps, beautiful paper, or inspiration for your card-making projects, they have it all! From whimsical designs to versatile sentiments, Pajama Crafters has something for every crafter.

My Favorite Cards

What better way to share Pajama Crafter Stamps’ products than share cards I have made using them….,,

Special Offer Just for You! with no code needed and get an extra 15% off your purchase nu clicking on the following link to visit the Pajama Crafters Stamps website: https://pajamacrafterstamps.com/STAMPEDBYKELLYBLOG

Shop between now through 11:59 pm on Monday, September 1st to enjoy a special discount 15% discount – no code needed! Just fill your cart with your favorite crafting supplies and watch the savings add up.

Your support for this incredible small business makes a huge difference. Thank you for being part of our crafting community!

Happy crafting and enjoy the sale!

Stay creative,
Kelly Nagy

http://www.stampedbykelly.com


Scrappy Boy June 2025 Release Design Team Day

🍂 Fall Wreath w/ Truck Die Sets
This card features a beautifully layered wreath paired with a charming truck die. I also pulled in some cut elements from the DOME SHAKER DIE. Finish using a fall themed sentiment from your stash. It’s the perfect way to welcome the cozy vibes of fall!

    🎬 Hollywood Vixen
    For all the movie lovers out there, this design captures one of the favorites of the silver screen! With vibrant colors and elegant details from a variety of diecuts including the RODEO DRIVE SHOP SCENE.

    🐶 Cute Kids Dog Lovers
    These adorable pups are customizable to reflect your furry friends! This card is playful and perfect for any dog lover in your life. I used the fun new DOG HOUSE GIFT CARD A2 DIESET to create a design element that is a fun focal point to show off the stamped and colored images.

    🇺🇸 Spirit of 1776
    Celebrate the 4th of July with this festive set! It’s vibrant and full of fun elements that really bring out the spirit of independence. The coordinating patterned paper pulls everything together!

    Creating a Versatile Card for Every Occasion!

    I’m excited to share this A2-sized card project that’s perfect for baseball fans and can be customized for any occasion! Using the fantastic “Adult Sippy Cup” die and the “Let’s Play Ball” 6×6 paper pack from Pajama Crafters Stamps, I was able to whip up a fun and engaging card that truly showcases the versatility of these products.

    One of the best aspects of the “Let’s Play Ball” paper pack is its thoughtful design. It features a delightful mix of baseball-themed patterns along with solid reds and blues, as well as stripes on the back. This adds an extra layer of versatility that makes the pack ideal for not only Father’s Day cards but also for upcoming patriotic holidays and a variety of other occasions. The combination of patterns allows for endless creative possibilities!

    For this card, I played around with different colors and patterns from the pack to create a unique look. It’s not just a Father’s Day card; it can also serve as a simple “thinking of you” note or a celebration of any baseball-loving person in your life. The “Adult Sippy Cup” die is not only fun but also an essential addition to your crafting stash, allowing you to create custom cards with whatever paper designs you already have on hand.

    I invite you to explore how many different papers from the “Let’s Play Ball” pack you can spot in my card! Want to get creative? Don’t hesitate to use your own patterns and colors to make a card that’s uniquely yours.

    For more inspiration and ideas, check out my blog at http://www.stampedbykelly.com (http://www.stampedbykelly.com), and don’t forget to follow me on social media @stampedbykelly! I can’t wait to see what you create!

    #CardMaking #FathersDay #BaseballFan #PajamaCrafterStamps #DIYCards #AdultSippyCup #LetsPlayBall #stampedbykelly

    Celebrating Memorial Day with Creativity: A Versatile Spin on the Mad Hatter Card Die Set

    As we celebrate Memorial Day, I’m excited to showcase two unique card projects that highlight the versatility of the Mad Hatter card die set from Scrappy Boy Stamps. While this die was originally designed for whimsical, themed projects inspired by the tale of the “Mad Hatter”, I decided to take a different approach and customize it for today’s patriotic holiday.

    Project 1: Patriotic Themed Card

    A mash up between Scrappy Boy & Pajama Crafter Stamps


    For my first project, I focused on a vibrant red, white, and blue palette to create a heartfelt card honoring our fallen heroes. By changing up the colors and incorporating relevant embellishments, I transformed the Mad Hatter die into something truly special for this occasion. The combination of thoughtful design and color allowed me to create a meaningful tribute that resonates with the spirit of Memorial Day.

    Project 2: Celebrating Birthdays with Pinup Girls

    Scrappy Boy Old meets New Release


    In contrast, my second project features the same Mad Hatter die set, but this time paired with the brand-new Pinup Girls Birthday set that was released earlier this week. By simply adjusting the colors and the sentiment, I was able to create a fun and festive birthday card! This demonstrates just how adaptable these products can be, allowing for endless creative possibilities.

    The beauty of crafting lies in the ability to innovate and personalize your projects. With a little imagination, you can repurpose any die set to fit a specific occasion or theme, proving that your creativity is your only limitation.

    I hope my projects inspire you to think outside the box and explore new ways to utilize your crafting supplies!

    Happy crafting, and enjoy the rest of your Memorial Day!

    MemorialDay #ScrappyBoy #CardMaking #VersatileCrafting #CreativeInspiration #pajamacrafterstamps

    Score Big with a Hand-Stamped Baseball Card! ⚾️

    Featuring April 2025 Release

    Pajama Crafter Stamps’ Design Team Day

    I am excited to share a fun project featuring their latest release! ⚾️ Hand-stamped greeting cards are a fantastic way to blend your creativity with a love for baseball, and the new supplies from Pajama Crafters are perfect for crafting unique cards.

    Introducing the Latest from Pajama Crafters

    This month, I’m thrilled to introduce & showcase the Champion in the Making stamp set, complemented beautifully by a coordinating stencil called, Legends Born. These, paired with the 6×6 paper pack, are ideal for creating personalized cards that any baseball fan will cherish!

    Crafting Your Card

    Here’s a simple guide to making your own baseball-themed greeting card:

    1. Gather Your Materials: You’ll need the Champion in the Making stamp set, the Legends Born stencil, a variety of inks, and the Let’s Play Ball 6×6 paper pack. This pack boasts 48 double-sided sheets featuring 12 unique designs, so you’ll always have a great pattern to choose from! Very versatile, too!
    2. Design Your Card: Start by selecting a few sheets from the Let’s Play Ball paper pack as your background. The vibrant patterns provide the perfect stage for your stamped images.
    3. Stamp & Layer: Use the Champion in the Making stamp set to create your baseball motifs and sentiments. After stamping, use the Legends Born die set to cut out your images, and layer them on top of your patterned papers for an eye-catching look.
    4. Assemble & Personalize: Once your card is layered, don’t forget to add a personal touch! Write a heartfelt message inside or include additional embellishments to make it truly unique.
    Remove Stencil & Ink Blend Over White

    Crafting as Stress Relief

    Crafting is not just a fun activity; it’s also a fantastic way to relieve stress! Engaging in creative projects like card-making allows you to focus your mind, express yourself, and take a break from daily pressures. So, gather your supplies and let your creativity flow!

    Final Thoughts

    Hand-stamped baseball cards are a wonderful way to express appreciation or share a thoughtful message with friends and family. With the Champion in the Making stamp set and Legends Born coordinating stencil, and 6×6 paper pack, you can create cards that are sure to hit a home run!

    Happy crafting, and may your creativity continue to soar!

    #StampedbyKelly #PajamaCrafterStamps #HandmadeCards #CraftingStressRelief

    🎉 Kick Off Your Weekend with a Globetrotter’s Themed Card! 🎉

    Featuring Pajama Crafter Stamps

    Ah, Saturday mornings! Those magical hours when cartoons lit up the screen, and the Harlem Globetrotters whisked us away on whimsical adventures filled with laughter, amazing basketball tricks, and that unforgettable theme song. 🏀✨ Inspired by those iconic episodes, I decided to craft a Globetrotter-themed card to kickstart this weekend!

    Creating this card was an absolute BLAST! I had so much fun designing an A2 panel to jumpstart my crafting and create a background to bring the images to life.

    I spy a different athlete and they have a girl, too.

    💡 For all my fellow crafters — this isn’t just a one-size-fits-all project! You can customize your card with the delightful LET’S BOUNCE set. Celebrate a beloved player or infuse the colors of your favorite team; the possibilities are endless! To see the fun lineup, including the stamp set called LET’S BOUNCE >>>>>>>Click Here

    Don’t miss out on unleashing your inner Globetrotter this weekend! Craft your unique card and let those vibrant colors and fun designs shine! Click the link above to DOWNLOAD the background to help you bring these images to life. You can download and use for FREE! Please tag me @stampedbykelly so I can see what you make!!!

    Happy crafting, everyone! Please follow me on social media @stampedbykelly for my next post which will have my Copic Combos for this card updated.🌟✂️


    Celebrating International Pi Day on 3/14

    I am following up after my LIVE held on Tuesday, 3/14, International Pi Day, where I started to share how to get creative and make something fun and unique to honor the day! And what better and CALORIE FREE way to celebrate Pi Day, than by creating a pie shaker element using the Circle Shaker Basics 1 set from Stamp Anniething?

    A pre-recorded video will be shared on the Stamp Anniething Stampers Facebook page shortly which will provide additional details and elaborate more on how to create this shaker element and two 5.5 inch square cards. My initial LIVE was cut short due to a family emergency and appreciate everyone’s concern. We are all good now!

    Card using Pie Shaker Element

    To get started, you’ll need the Circle Shaker Basics 1 set, some cardstock in your desired color, chipboard, acetate sheet, shaker bits and liquid adhesive. Begin by die-cutting 5 circles using the circle “frame” die from the set – one from cardstock and the others from chipboard. Make sure when gluing together, they match up in size.

    Shaker Basics 1 from Stamp Anniething
    5 chipboard & 1 card-stock – image shows which dies to use to cut. Keep negative pieces for a future project. Cut acetate sheet with the single die at the top. Later, we will use this to seal your pie and create barrier to hold shaker bits in.

    Next, layer of each die-cut with the liquid adhesive and use brayer or your fingers to make sure the layers are stacked evenly and ensure there is no air or separation between layers to prevent your shaker bits from escaping.

    Running brayer over each layer helps create a strong seal, keeping shaker fill where it belongs.

    Now, add the shaker bits-on top of the cardstock circle in the well you created, as desired – you can add whatever you want to create interest (sequins, clay shaker bits, etc). I used jelly dots. You can use one color or simply mix a variety of colors for a more random look, as I have done here. Once you’re happy with how the shaker filling are arranged, carefully glue the cardstock circle onto the top on the acetate circle to seal.

    See the depth created by layering chipboard versus using foam tape.
    To create wavy pie crust edge, trace circle onto coordinating card stock. Then cut with scissors a curvy edge about 1/2 inch wider than the initial line drawn. Ink blend edges to look like it browned in oven and finish with white gel pen for added interest.
    This photo shows the different pieces that will be glued together to create pie
    Fill well with shaker bits after gluing down to free-handed circle you traced and fussy cut to create the wavy outside of the pie crust edge. This seals one side of your pie element. Place something heavy to ensure good adhesion.

    Finally, you can add some touches to make it look like a pie – for example, you can cut small strips of card stock in 1/4 in strips either with decorative scissors or your paper trimmer. Consider ink blending the edges to create a visual effect of being browned in the oven. Other options for a decorative edge could be to use the edger dies from Stamp Anniething to make it look more like rippled pastry to form the lattice crust.

    Edger dies/see smaller scalloped above
    Ink blend your strips and glue down in s lattice design snd then cut off any edges that hang over.
    Layer strips and glue down to single frame to create pie top.

    And voila – you now have a pie shaker element that you can use to decorate cards, scrapbook pages, or even as a fun little trinket to give away as a gift, attached to a tag, memordex card or mini recipe album! The possibilities are endless, and the best part is that you can customize it to fit your personal style and preference.

    Finished pie element

    So why not get your creative juices flowing and make your own pie shaker element to not just celebrate International Pi Day, but stretch your current die stash and use your supplies in a new, unique and fun ways!?!

    Example of 5.5 inch square card paired up with a chibi

    Happy crafting!

    Final Card Project using pie element without chibi

    If you haven’t heard it yet today, YOU ARE INCREDIBLE and you matter! Happy Crafting! Please follow, like, subscribe and share

    Memorial Day Card Inspiration

    Thank you to the brave men and women who have made the ultimate sacrifice. This card’s color pallet was inspired by the colors in our American 🇺🇸Flag.

    A2 Size Card featuring Annie’s Garden Stamp Set: Bumblebee and Roses

    I created this card using images from the Bumblebee and Roses set from Annie’s Garden.

    I stamped the flowers onto a A2 size card panel using Memento Black Ink on card stock that is alcohol ink friendly. I used 110 lb Hammermill paper.

    Stamp your image in different angles on card panel to cover.

    I started coloring the leaves using my COPIC markers. Y04, YG07 and G09 were used to color the leaves.

    Sometimes if you are coloring something quickly, I do assembly line coloring, to speed like colored objects.

    I don’t always go ahead, as I like the ink to be wet when coloring so that the colors blend automatically, the work is done for you when you apply the ink layers while the ink underneath is still wet, or at least damp.

    To color the RED roses, I used the following blend: BV23 (shadow/under paint), R22, R24, R29, and R39.


    Add shadows down first with BV23
    After coloring all the flowers, I decided I wanted to create a wooden background. I divided the panel using a ruler and doodled with a Micron permanent black ink and filled in with Copic markers to complete the background.
    Continue down the panel until wood pattern is complete

    COPIC Blends are as follows:

    • Blue Roses – B01, FBG2, FB2, B12 and B18
    • White Roses – C1, Y000 and RV000
    • Bumblebee – Y000, YR23, YR27, FY1 and BG11
    • Wood – E57, E53, E51, E50 (shadow BV31 & E13)

    Once the Copic coloring was complete, I used Prismacolor pencils and Gamsol to add extra depth to the shadows. Thank you for your support. Please like and follow! Happy Crafting!❤️