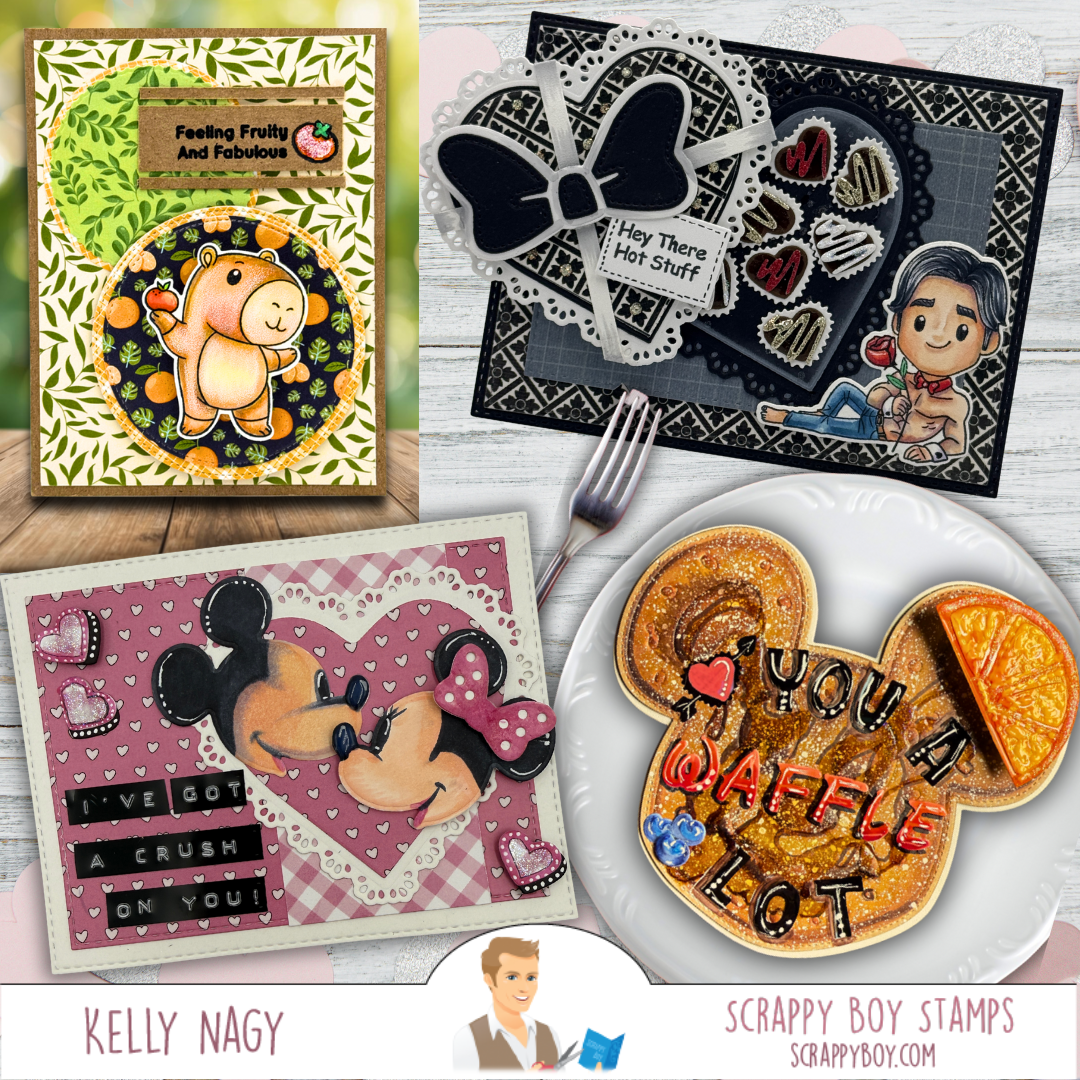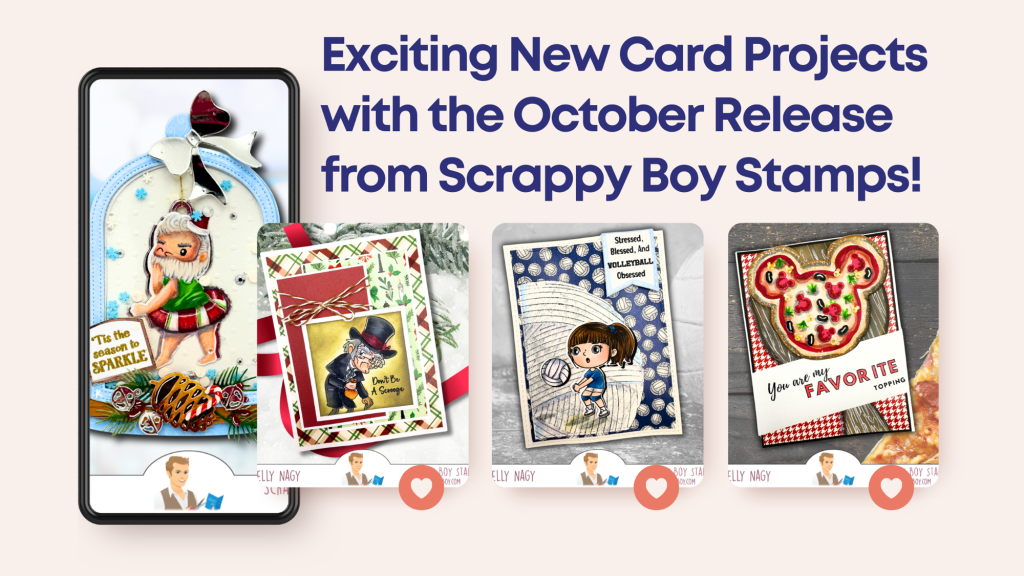

The newest release from Scrappy Boy Stamps is packed with playful characters, creative dies, and fun papers that make crafting an absolute joy! Today I’m sharing three different paper projects featuring items from this release. Each project highlights how easily these products can be mixed, matched, and customized to create something truly unique.
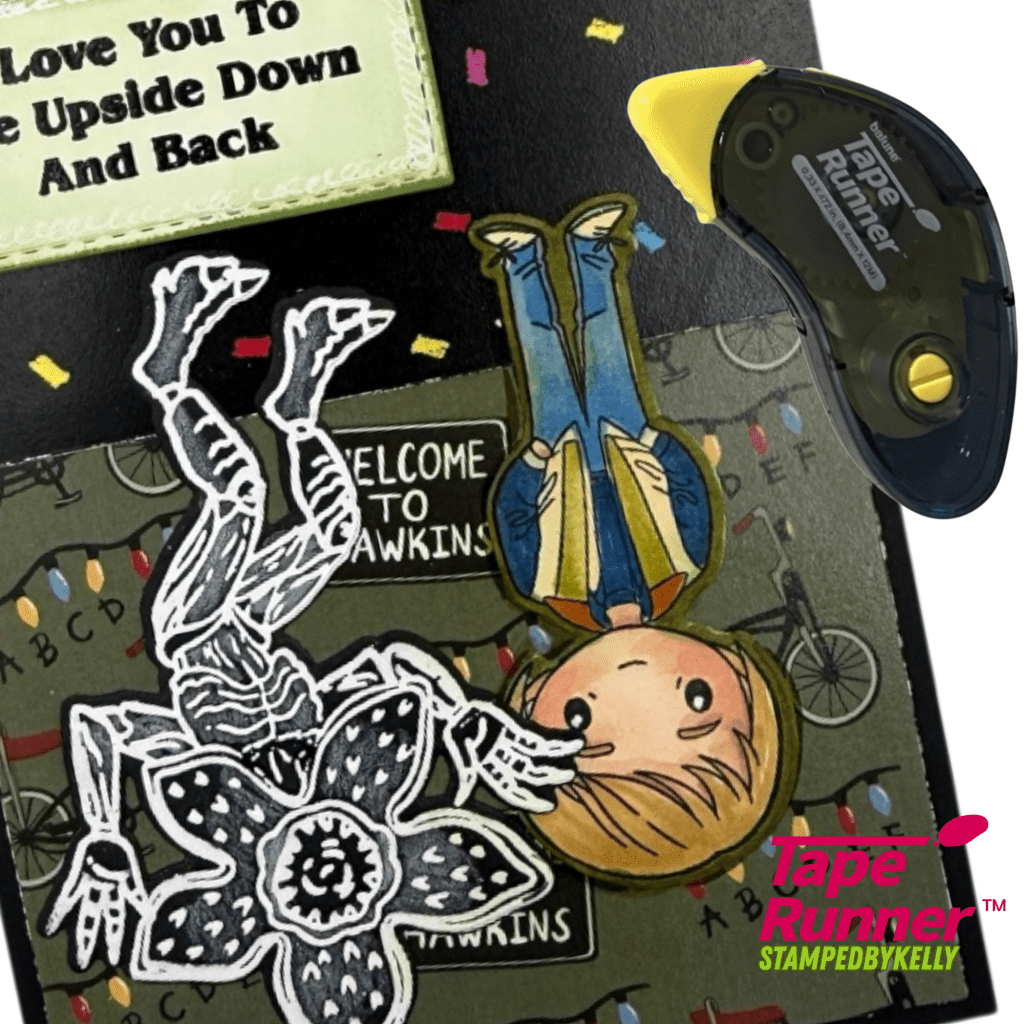
Before we jump into the projects, I also want to share one of my favorite crafting essentials. When assembling my cards and layered die cuts, I almost always reach for dry adhesive from Tape Runner. Dry adhesive is fantastic for cardmaking because it helps keep papers—especially lighter weighted papers—from warping or developing ripples, which can sometimes happen with wetter adhesives.
Another reason I love using dry adhesive is that it’s a bit more forgiving at the start. If something isn’t perfectly aligned, you can gently warm the adhesive with a heat tool and carefully lift the piece to reposition it before it fully bonds. This makes it much easier to straighten layers and fine-tune placement while assembling your design.
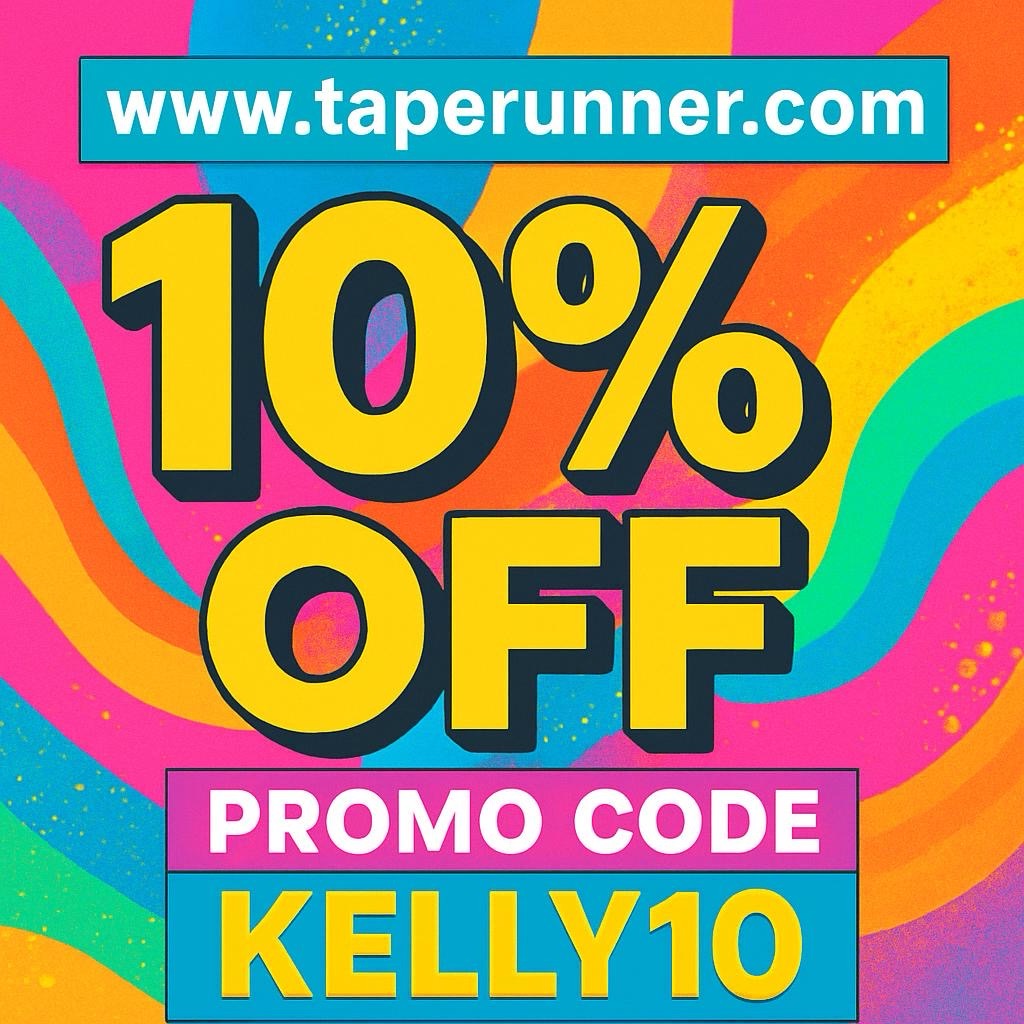
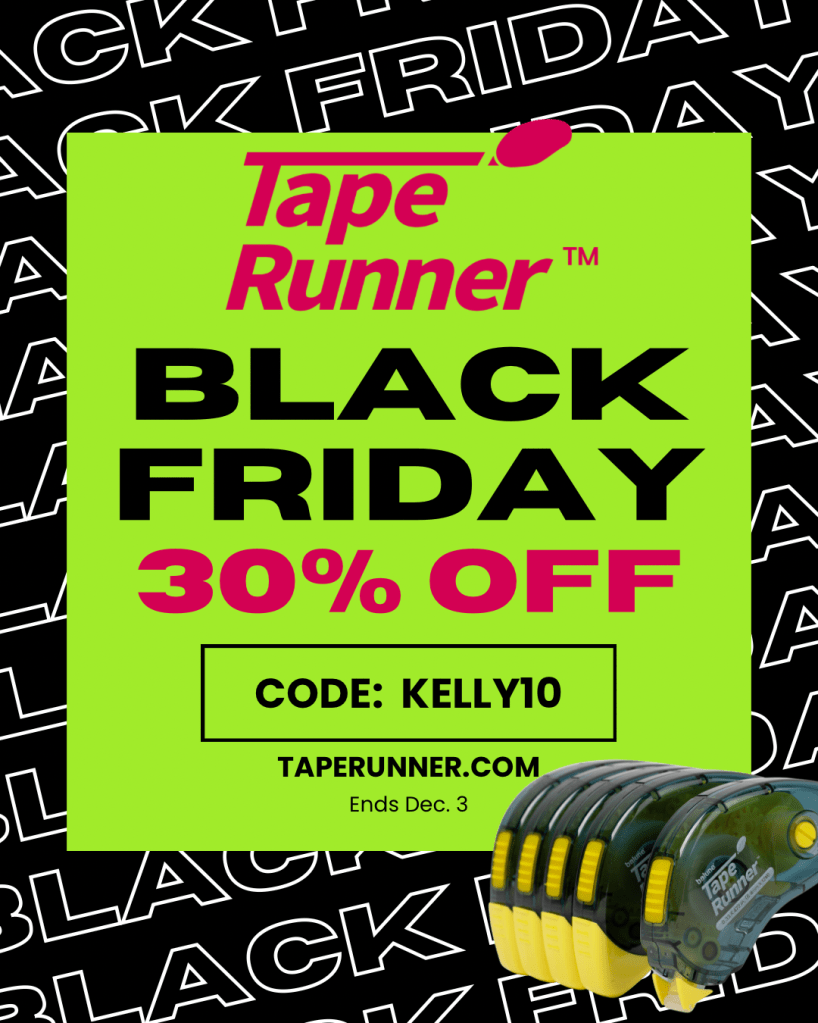
If you’d like to give it a try, you can visit taperunner.com and use the promo code KELLY10 to receive 10% off your entire cart.
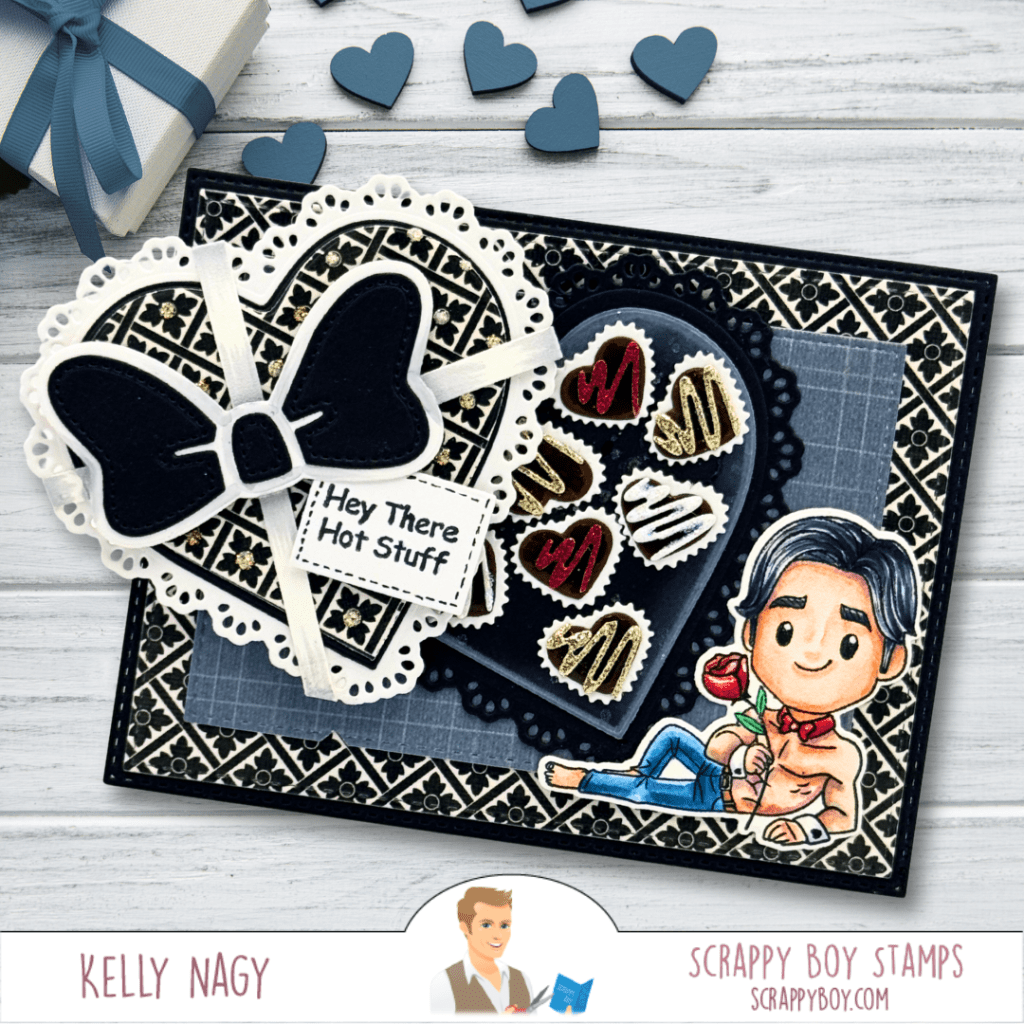
A2 Landscape Card – The Other Side
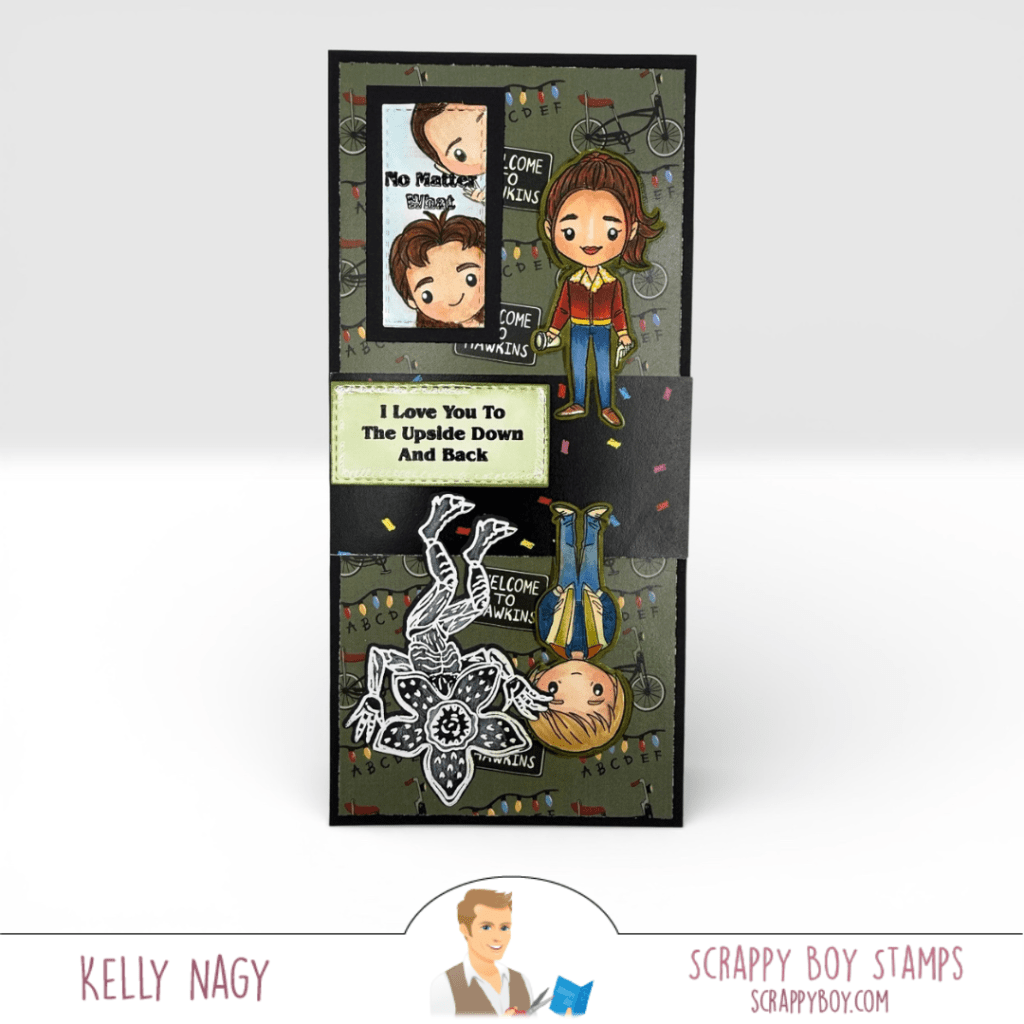
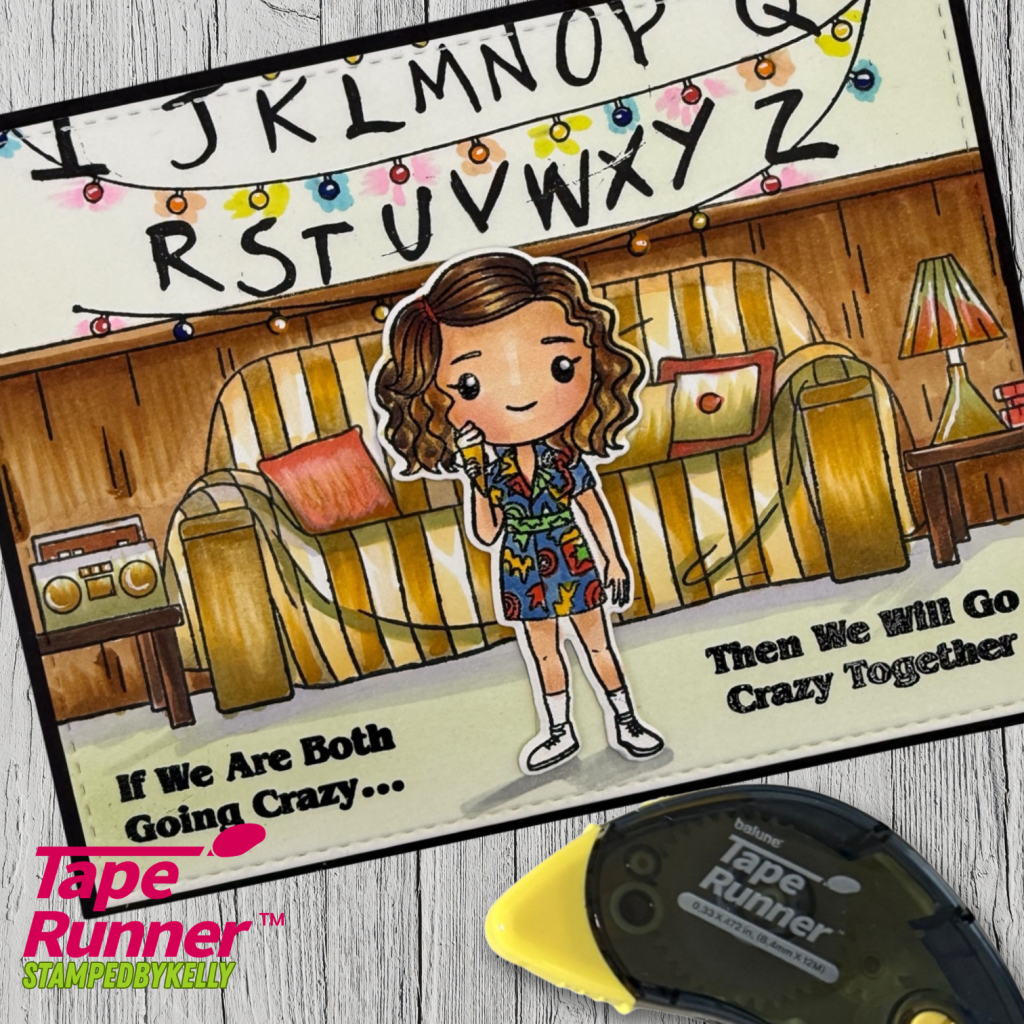
For my first project, I created an A2 landscape card using the The Other Side Stamps & Outline Dies. I paired the images with the Beyond The Normal Living Room Background Stamp to build a fun and detailed scene.
To pull the design together, I used patterned papers from the Beyond the Normal 6×9 Paper Pack. The papers coordinate beautifully with the stamped images and really help bring the entire card to life. I love how easy it is to create a full scene with this collection—it almost feels like stepping right into the story.
When layering the stamped images and patterned papers, I used dry adhesive from Tape Runner to keep everything smooth and flat. Scene cards often include multiple layers, and dry adhesive helps prevent bubbling or distortion in the patterned paper.
Products Used
The Other Side Stamps & Outline Dies Beyond The Normal Living Room Background Stamp (6×6) Beyond The Normal 6×9 Paper Pack
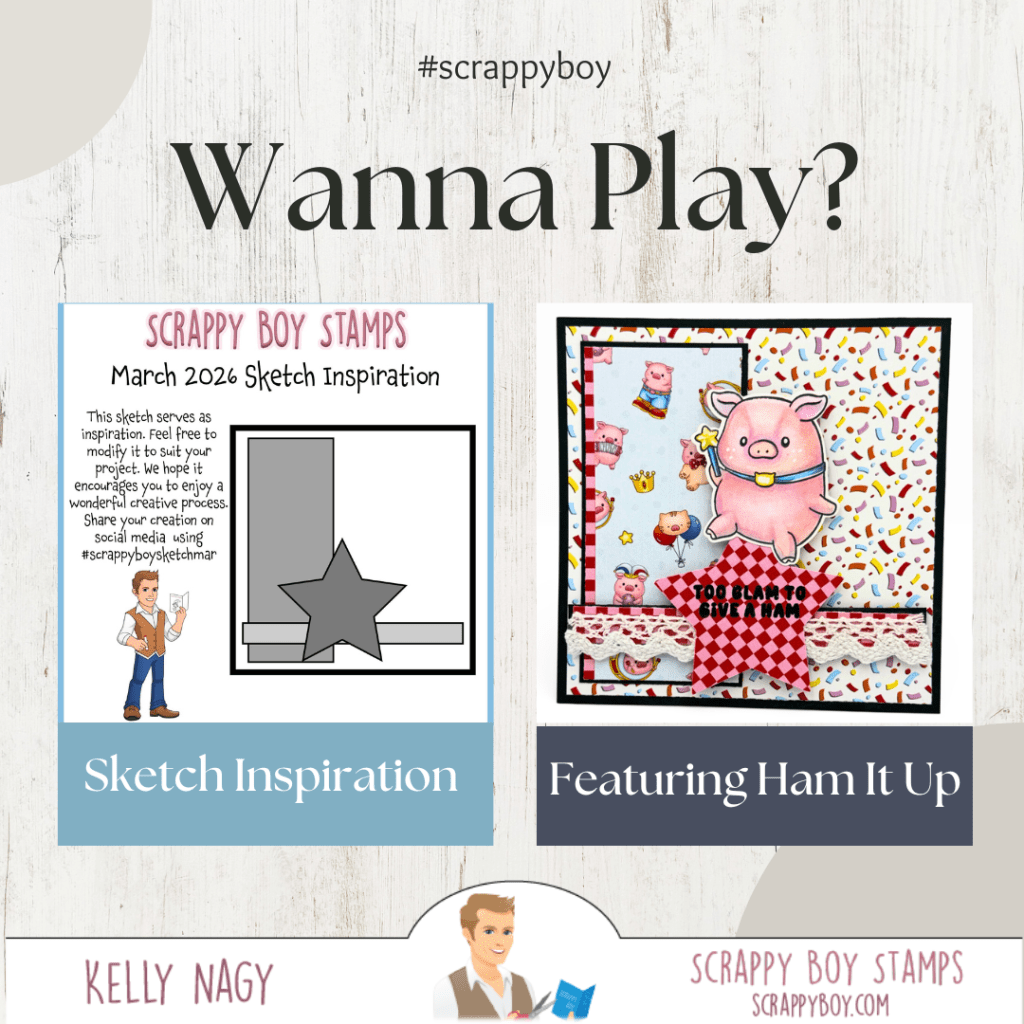
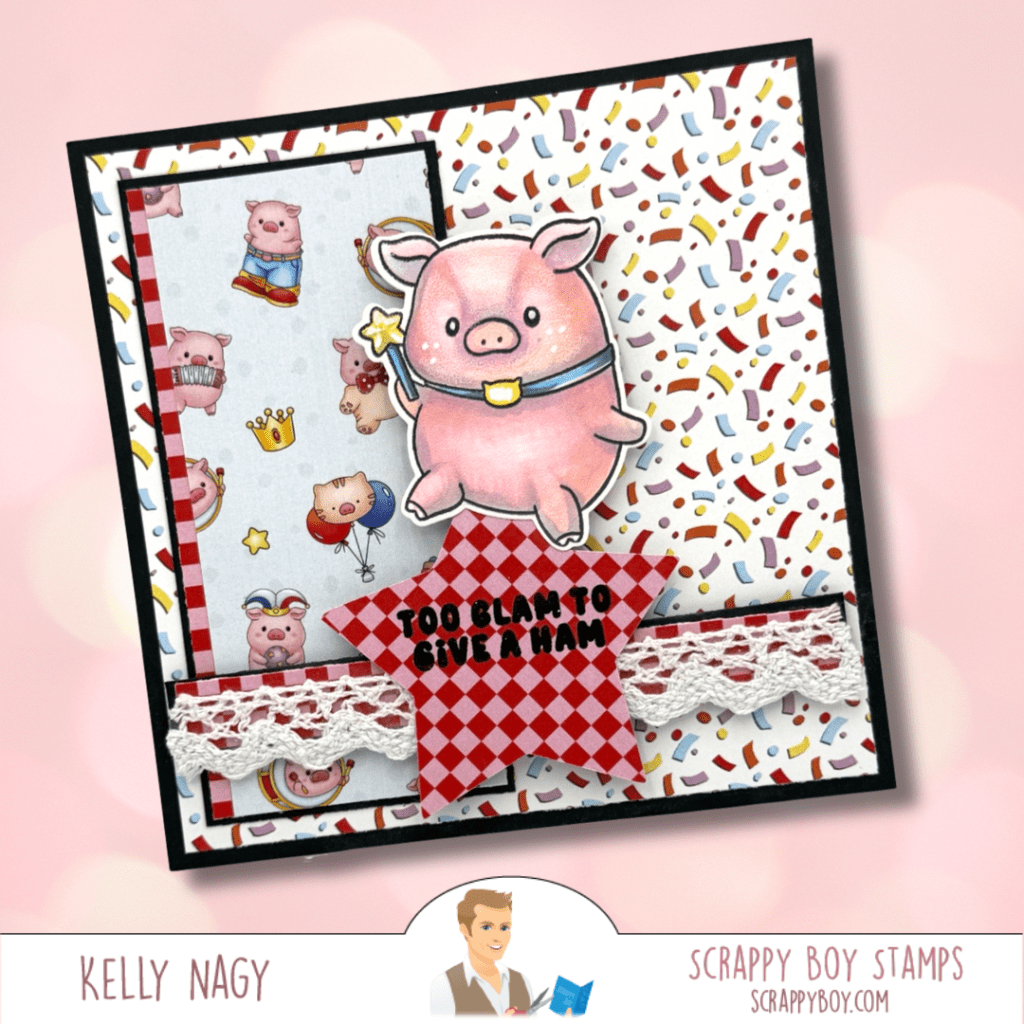
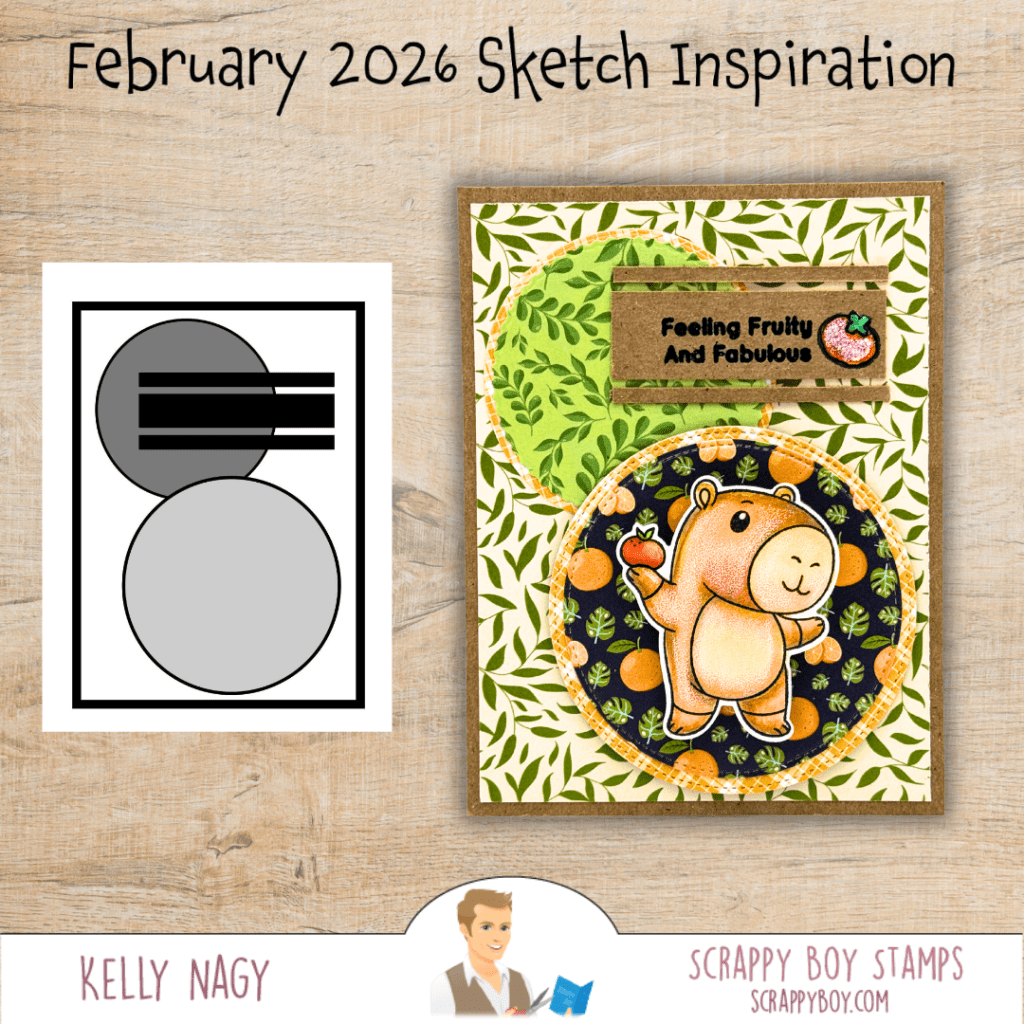
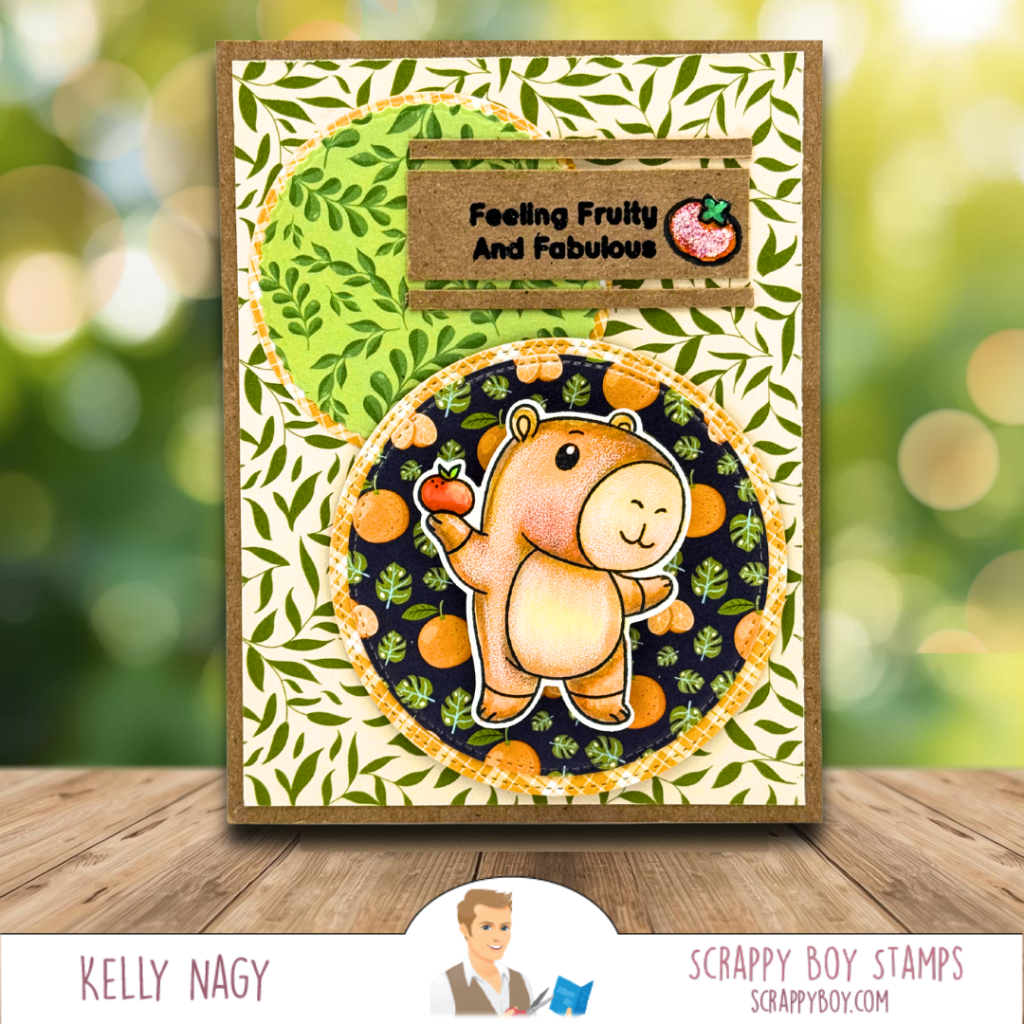
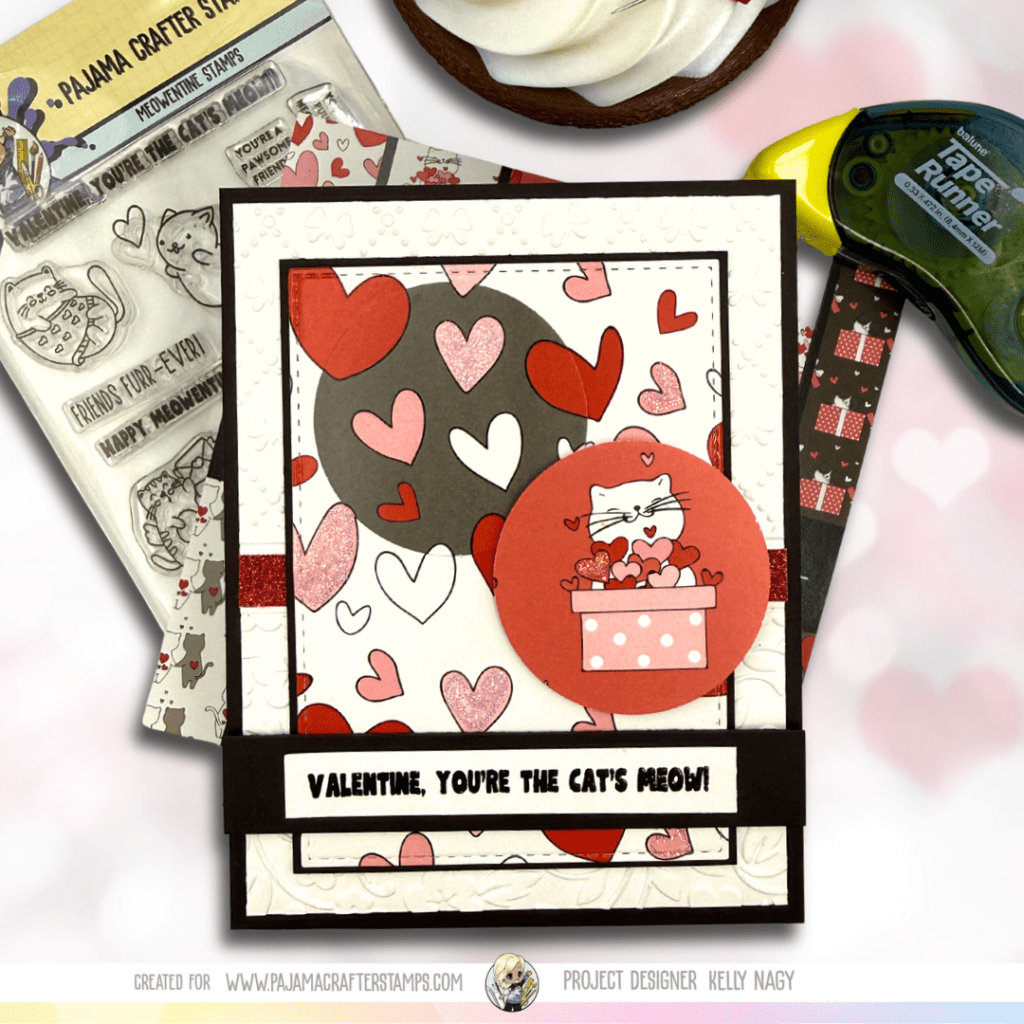
Mini Slimline Card – Ham It Up
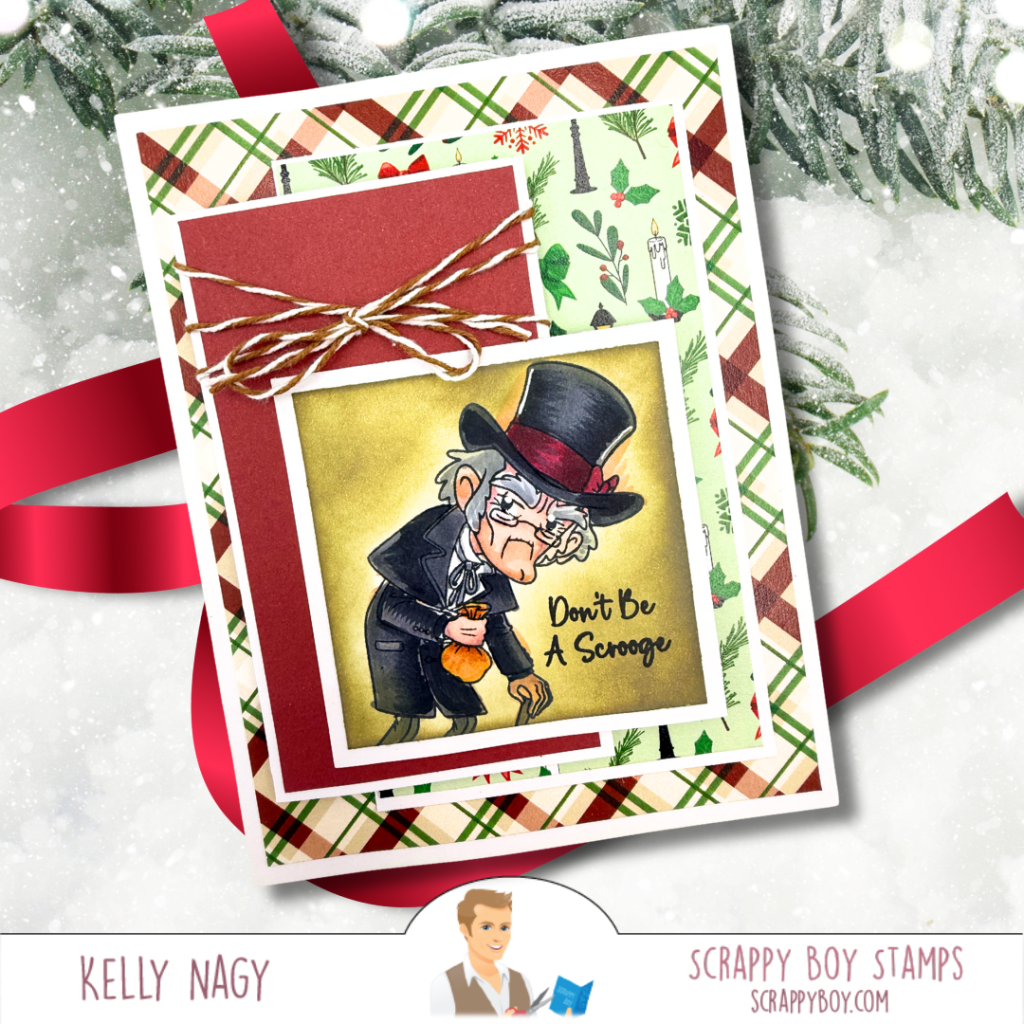
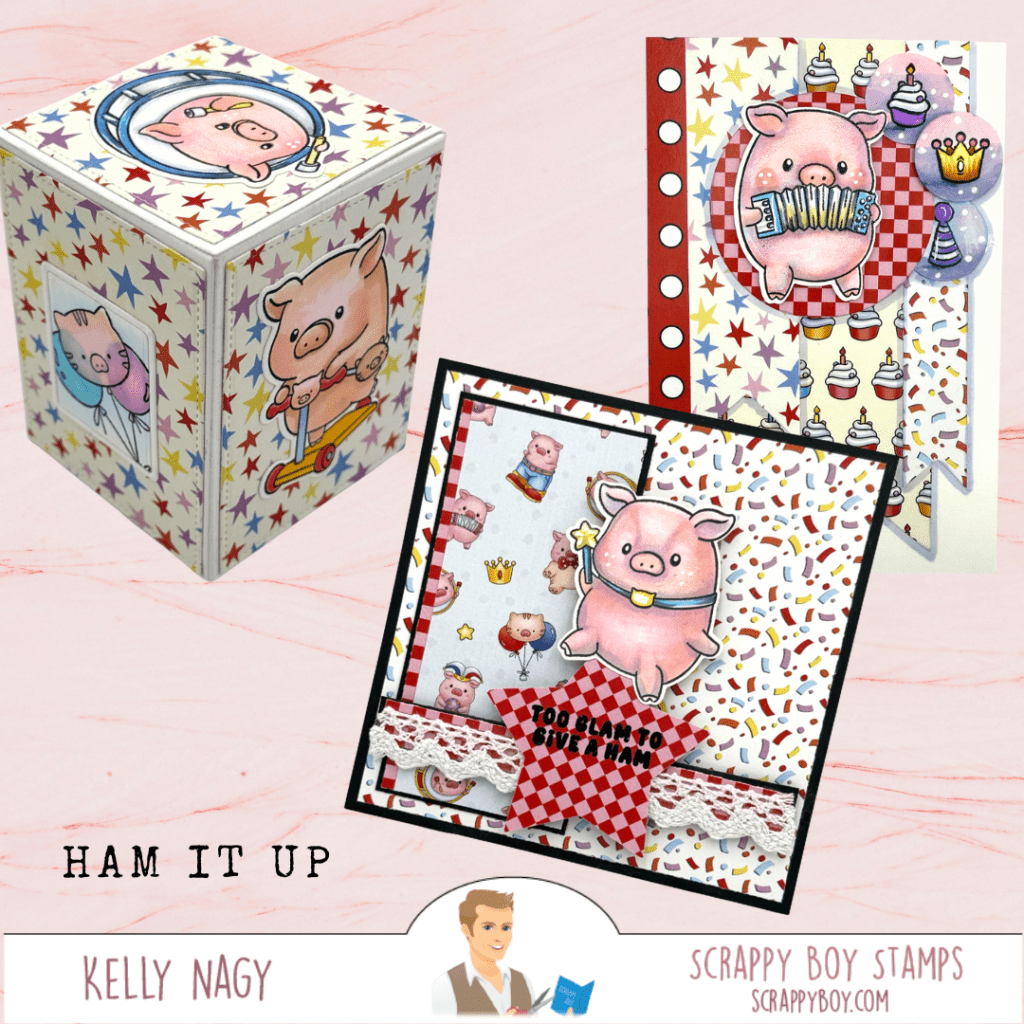
Next, I created a playful mini slimline card using the adorable Ham It Up collection.
This project features the Ham It Up Stamps, Outline Dies, and the coordinating 6×9 Paper Pack. The patterned papers add the perfect pop of color, while the stamped images bring so much personality to the card.
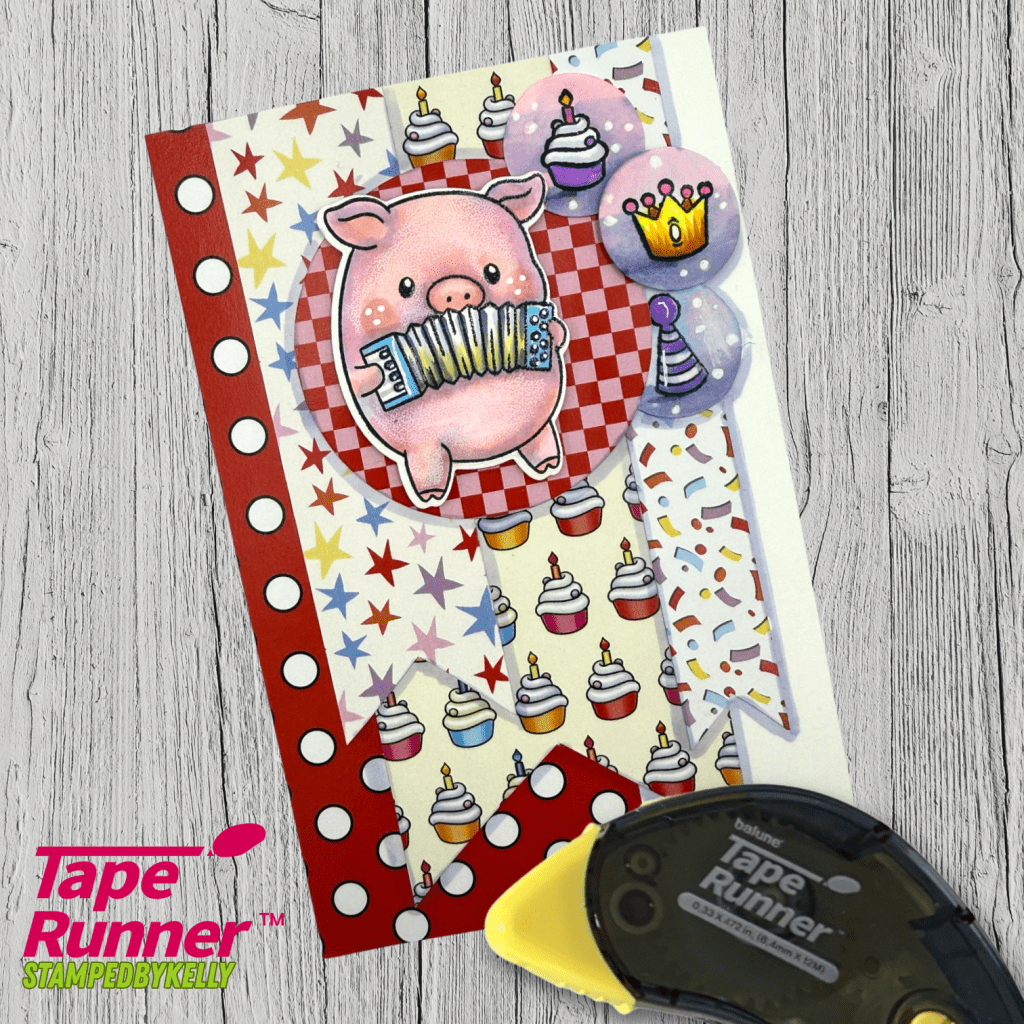
Mini slimline cards are such a fun format when you want something a little different while still keeping the design simple and eye-catching. I again used dry adhesive from Tape Runner while assembling the layers and die cuts because it works wonderfully for stacking die-cut elements while keeping everything smooth and wrinkle-free.
Products Used
Ham It Up Stamps Ham It Up Outline Dies Ham It Up 6×9 Paper Pack
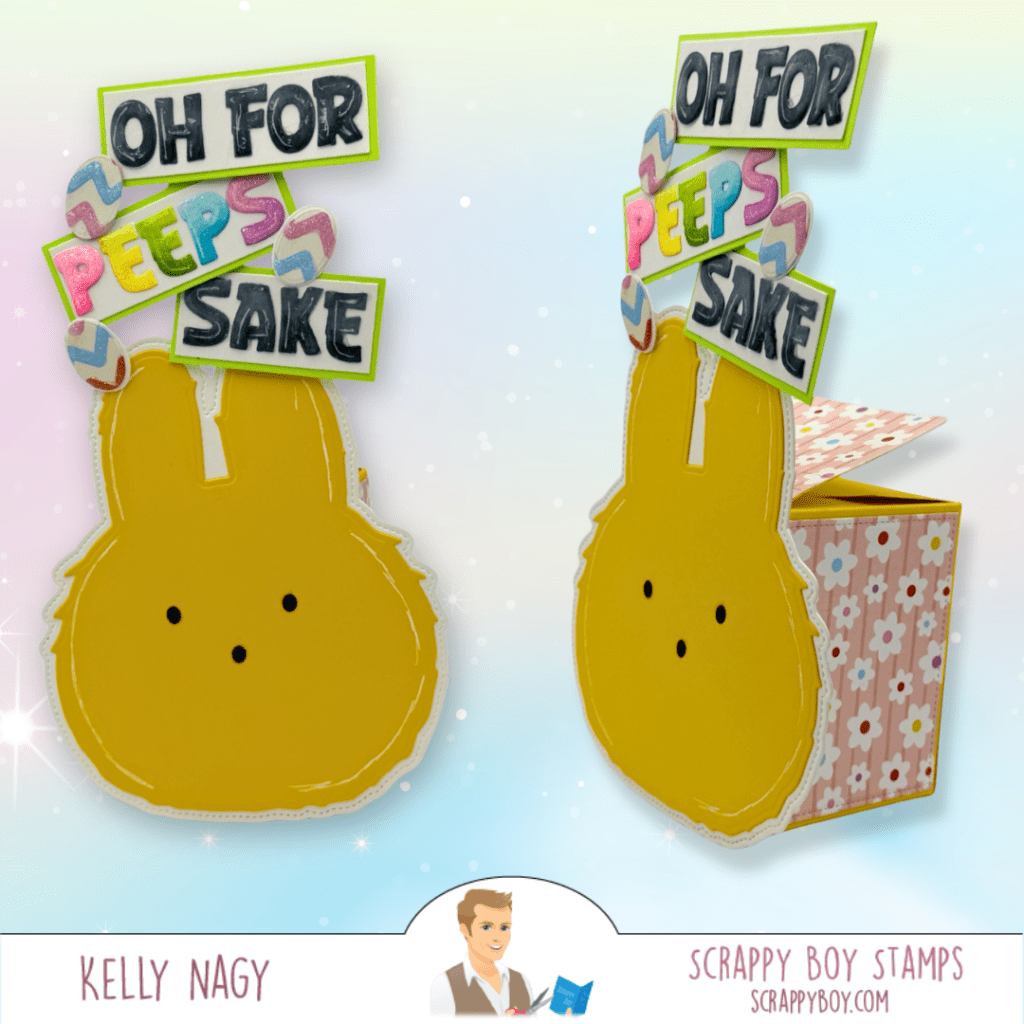
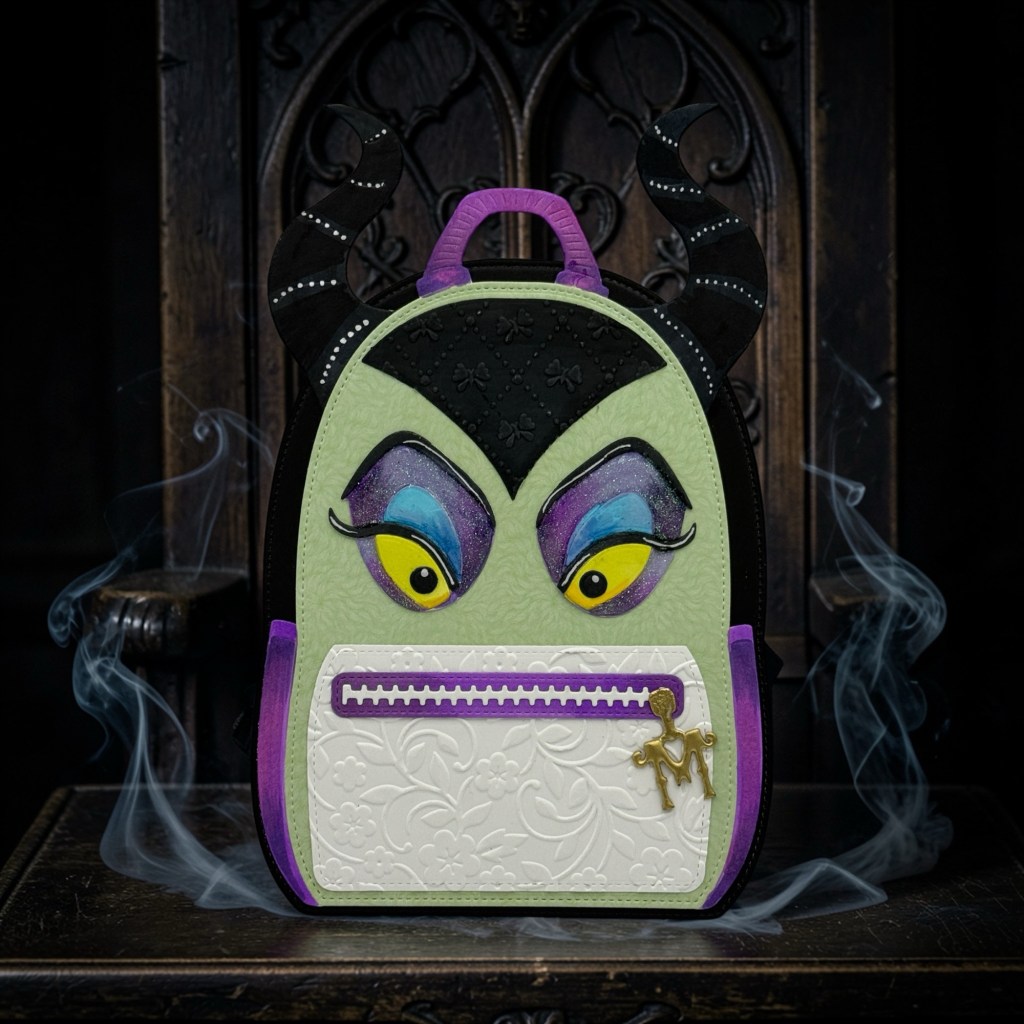
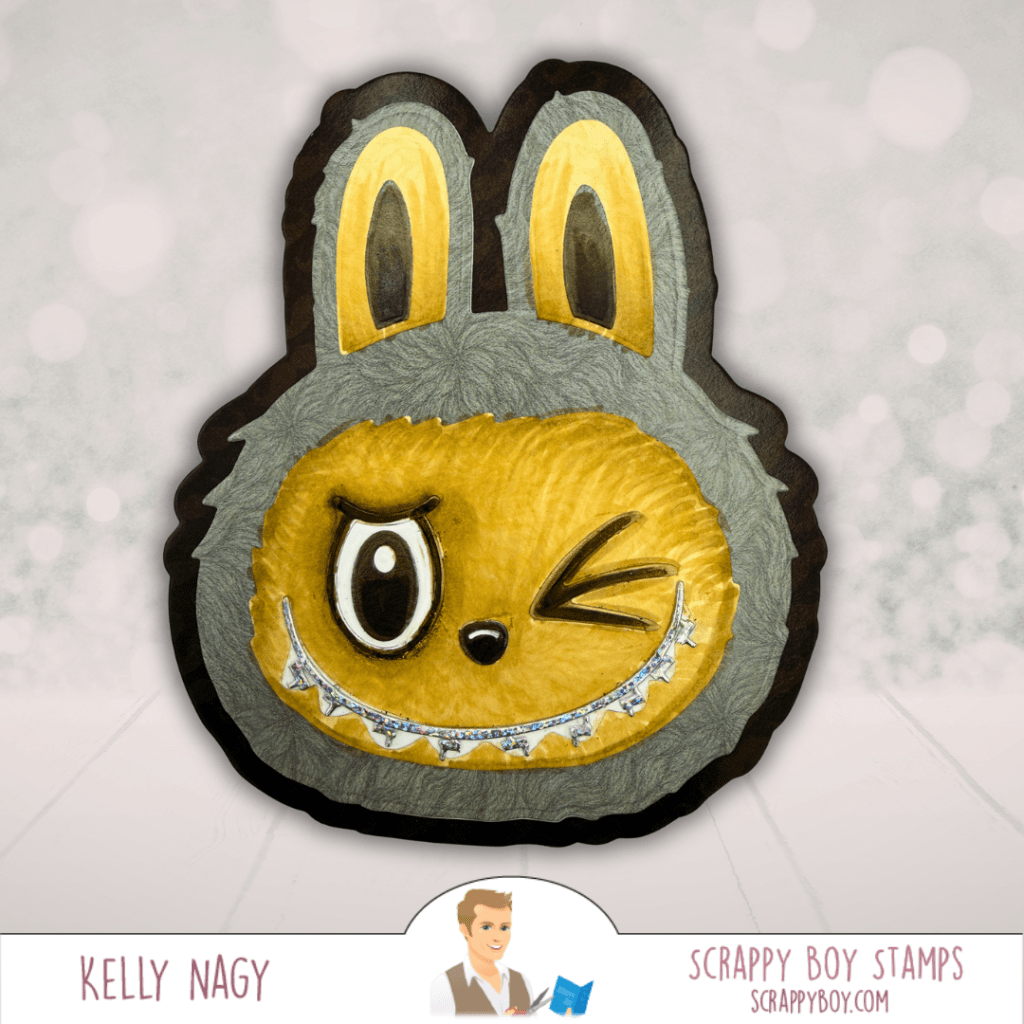
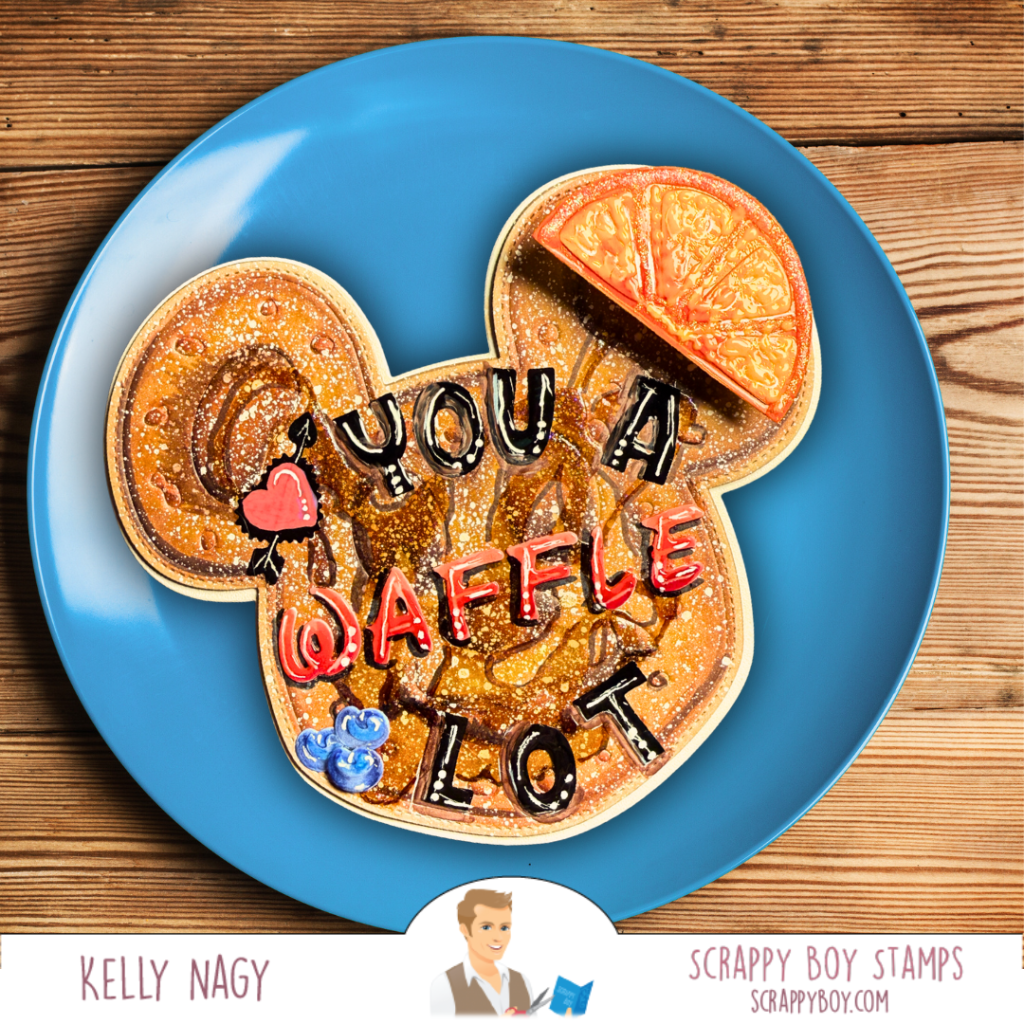
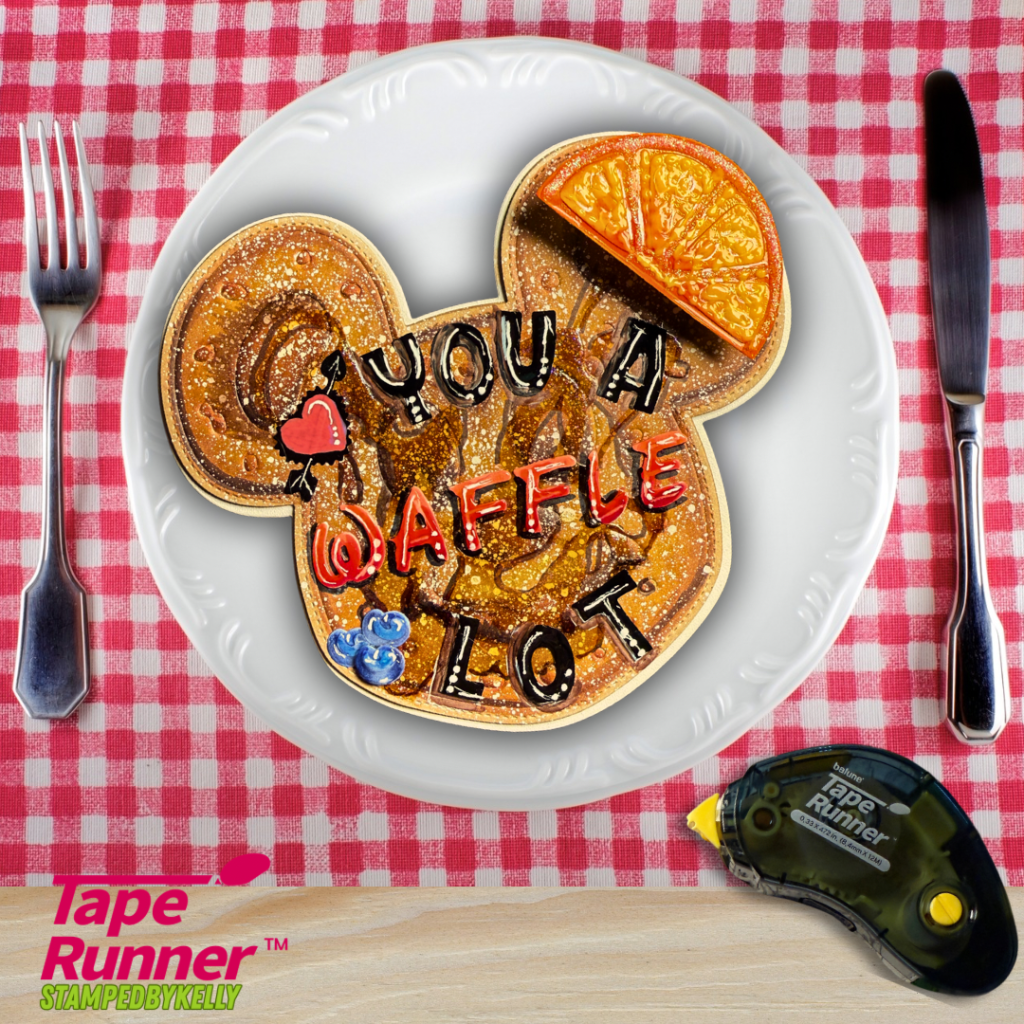
Shabubu Easter Favor – A Fun Surprise Project
For my third project, I wanted to create something a little unexpected! I used the Shabubu Head Card Die and paired it with the Blind Box Die with Rip Strip to design a fun Easter favor or small gift project.
The Blind Box die creates a playful interactive element with the rip strip, making the project feel like opening a surprise package. To personalize the favor, I added a custom message using the Scrappy Boy Alphabet Die.
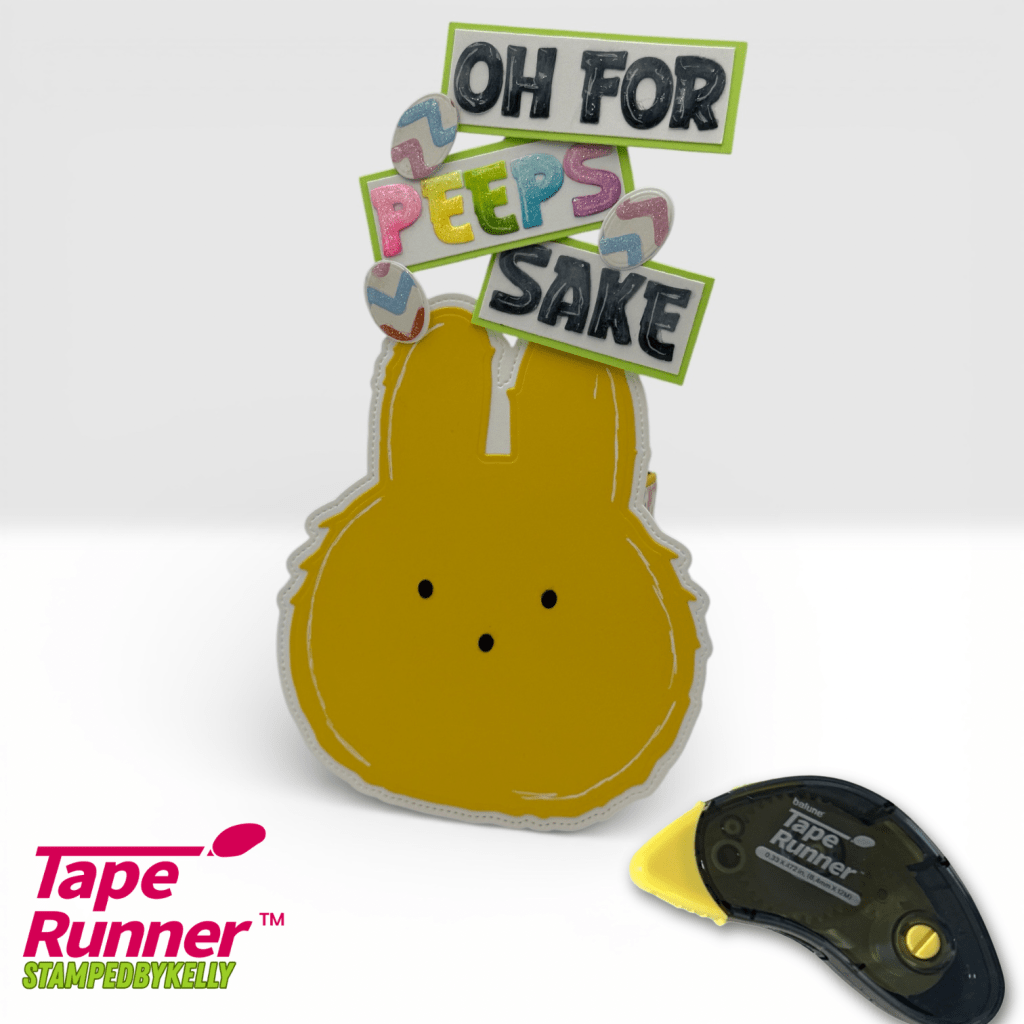
This would be perfect for Easter treats, small gifts, or party favors, and I love how these dies can be combined in creative ways to create something completely new. While building up the layered die pieces for the Shabubu design, dry adhesive from Tape Runner made it easy to stack the layers neatly while keeping everything perfectly flat.
Products Used
Shabubu Head Card Die Blind Box Die with Rip Strip Scrappy Boy Alphabet Die
So Many Creative Possibilities
This newest release from Scrappy Boy Stamps offers so many fun ways to create cards, gifts, and interactive projects. Whether you’re making detailed scene cards, mini slimlines, or surprise gift packaging, these products make it easy to craft something memorable.
And when it comes to assembling those layers, dry adhesive from Tape Runner is one of my favorite tools for keeping papers smooth, preventing warping, and allowing a little flexibility while putting everything together.
If you’re interested in these products, you can find Scrappy Boy Stamps products at scrappyboy.com as well as at Scrapbook.com.
Happy crafting! ✂️✨
#ScrappyBoyStamps #StampedbyKelly #Peeps #Easter #Copic