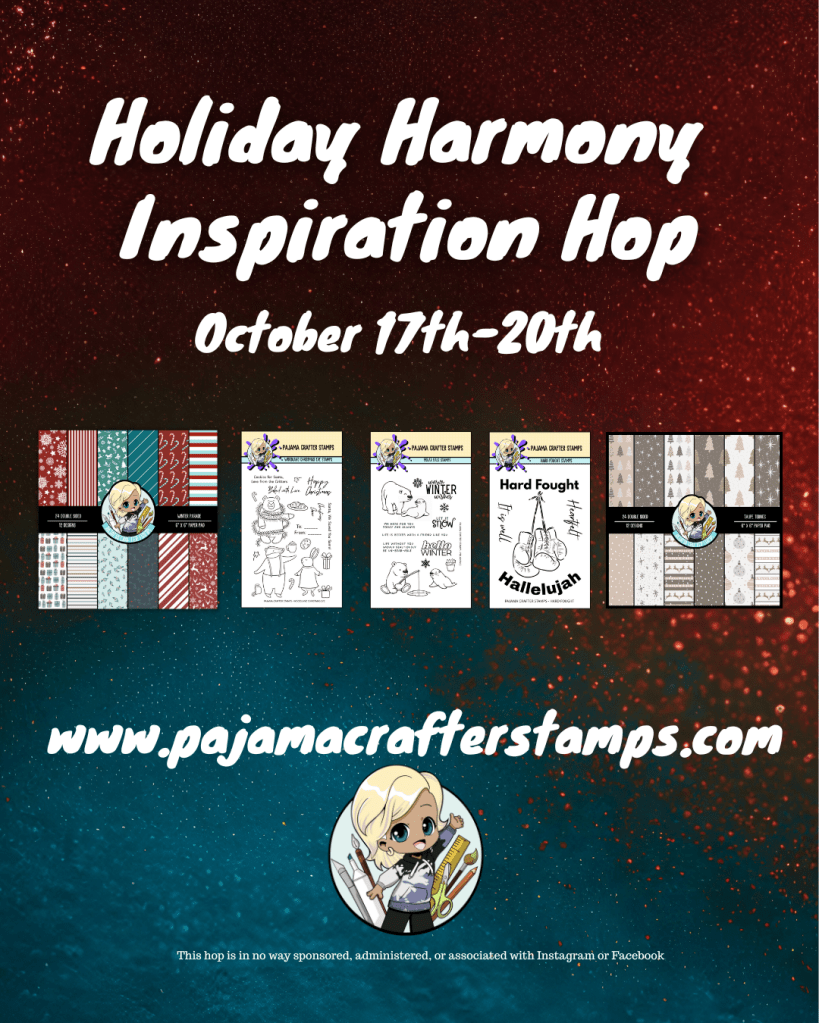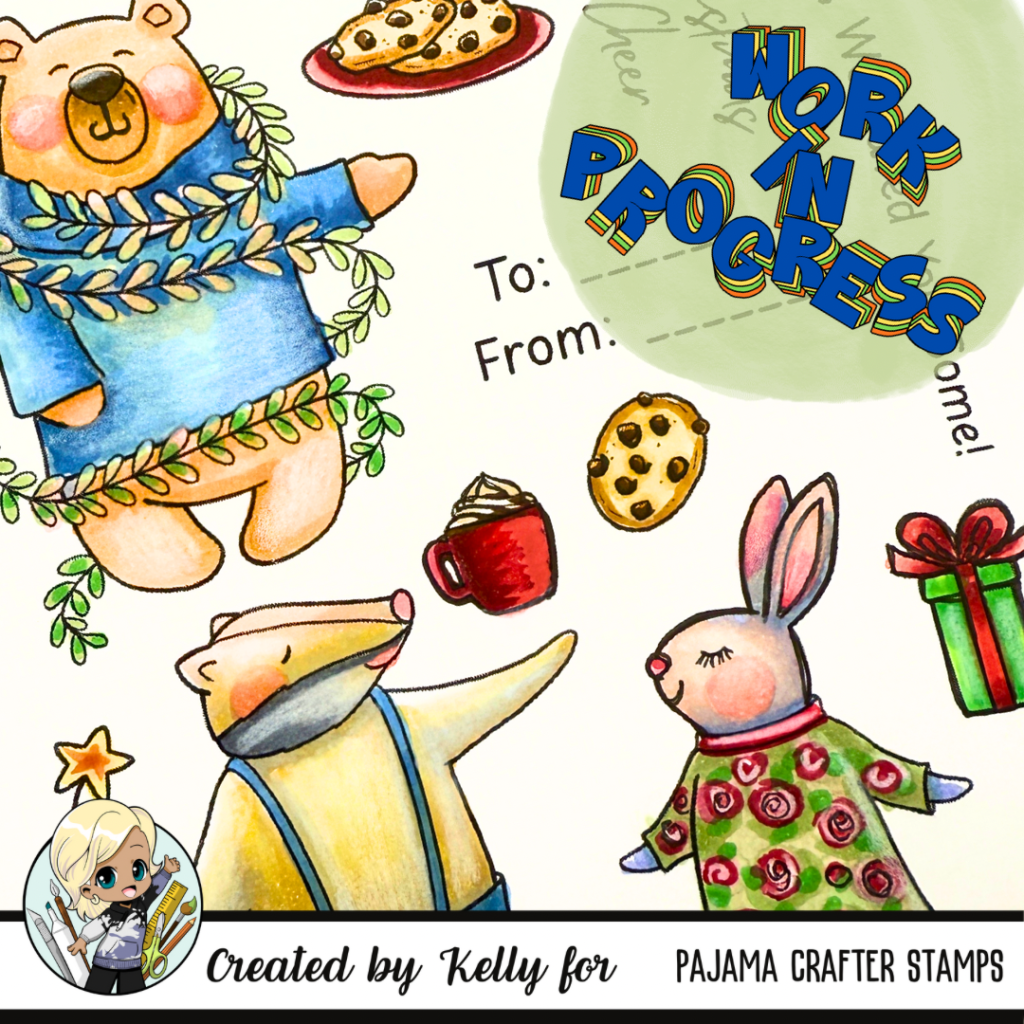
Hello, fellow crafters! Today, I want to share a delightful project that combines two of my favorite Pajama Crafter Stamp’s stamp sets: Rustic Christmas Owl and High Five. 🦉🐱
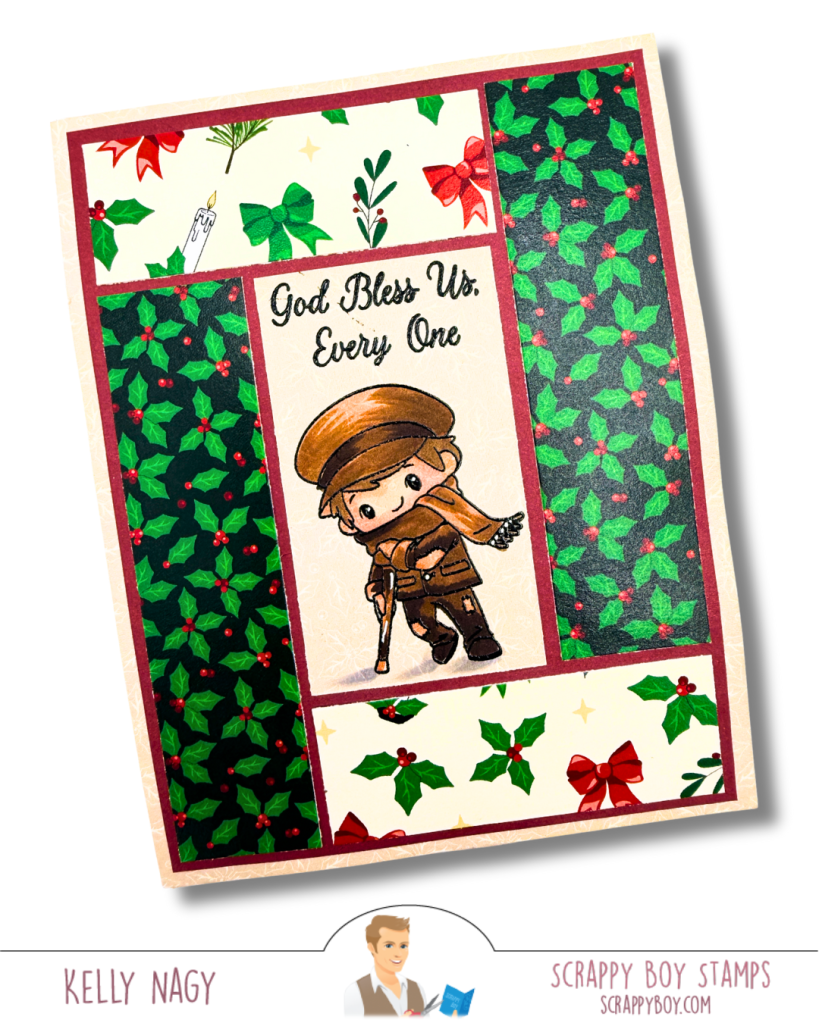
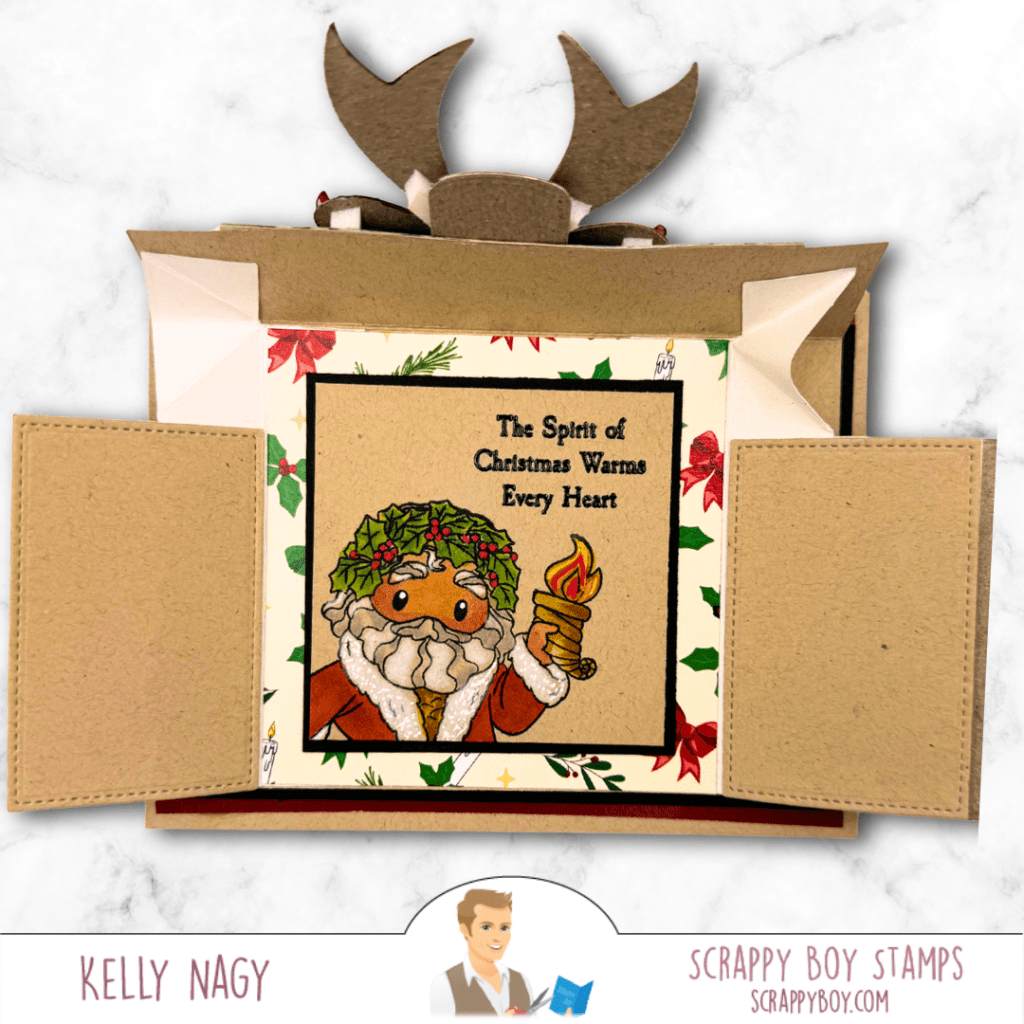
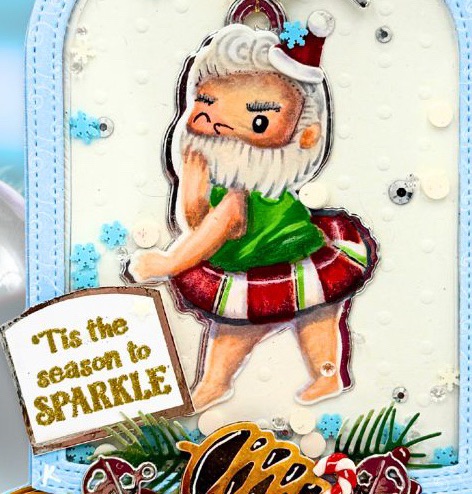
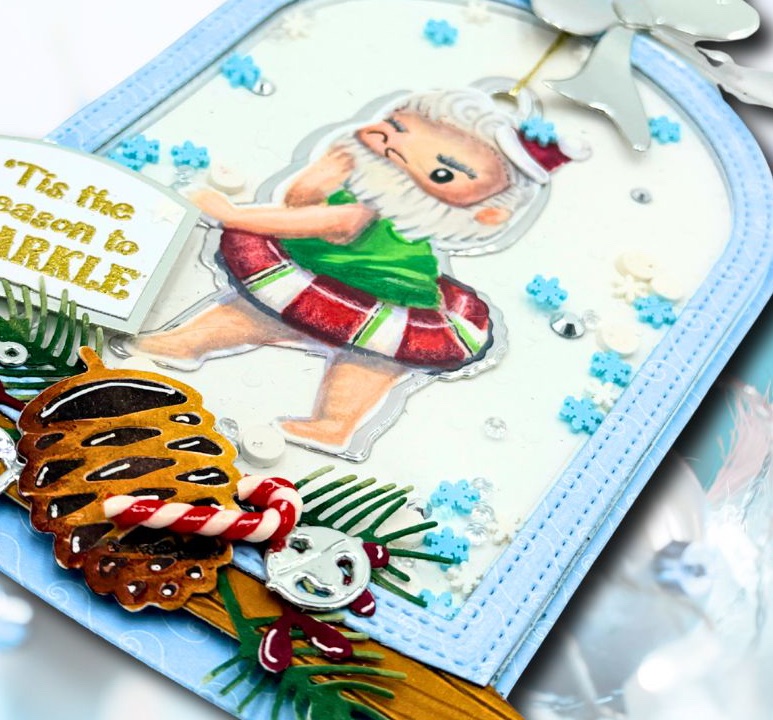
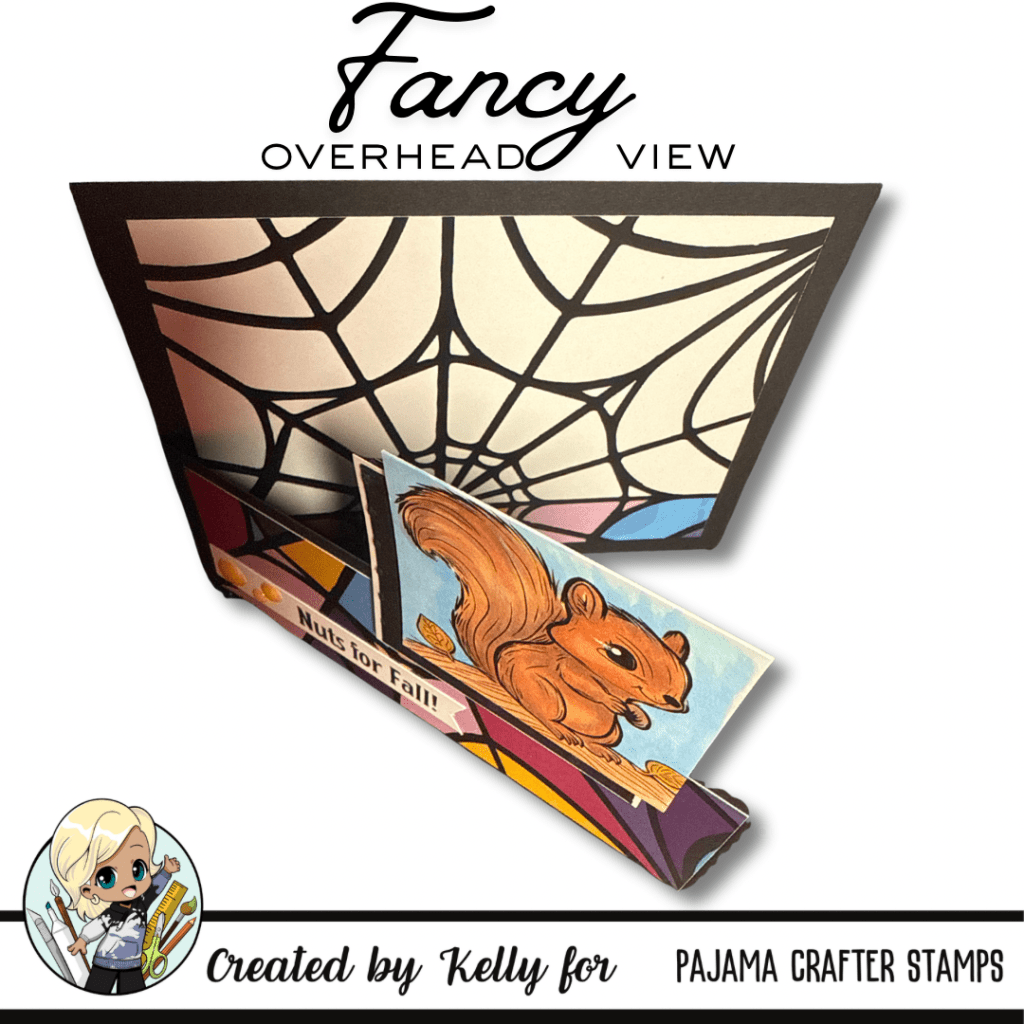
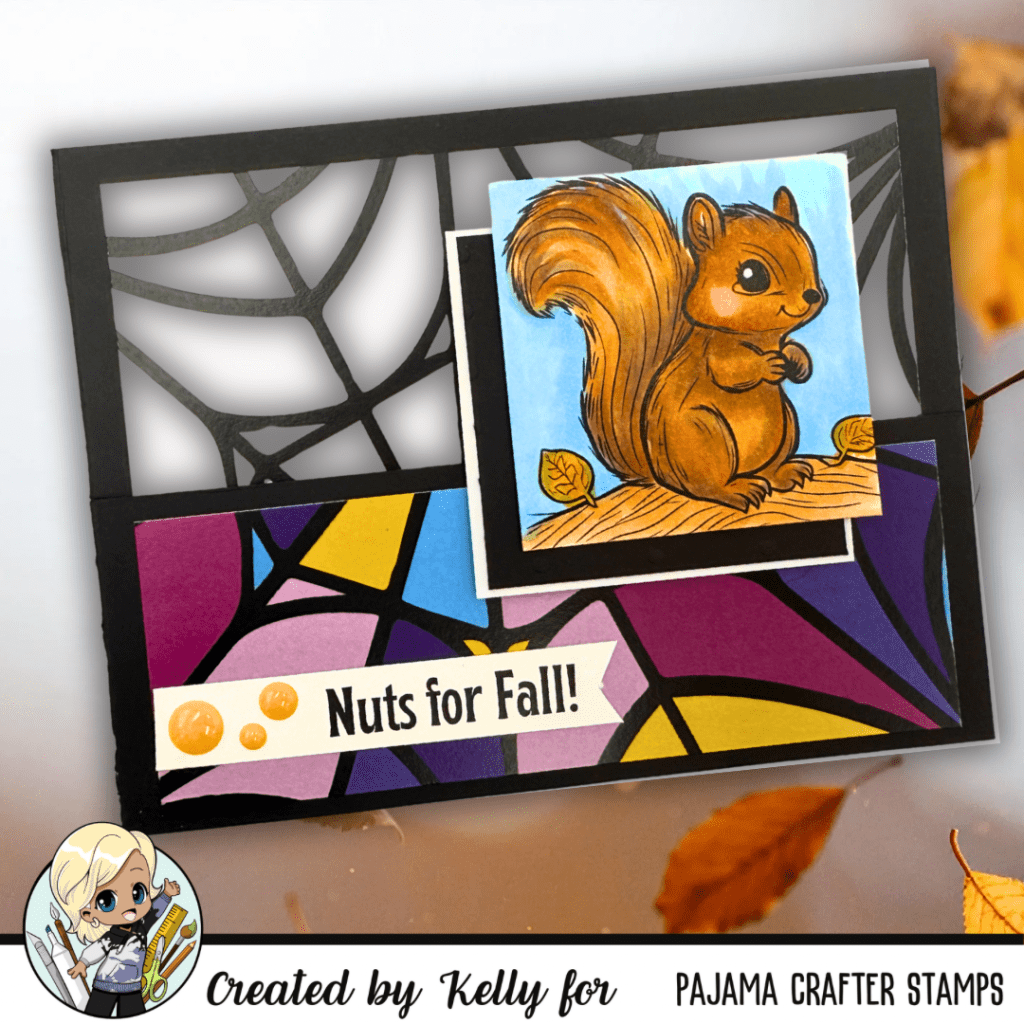
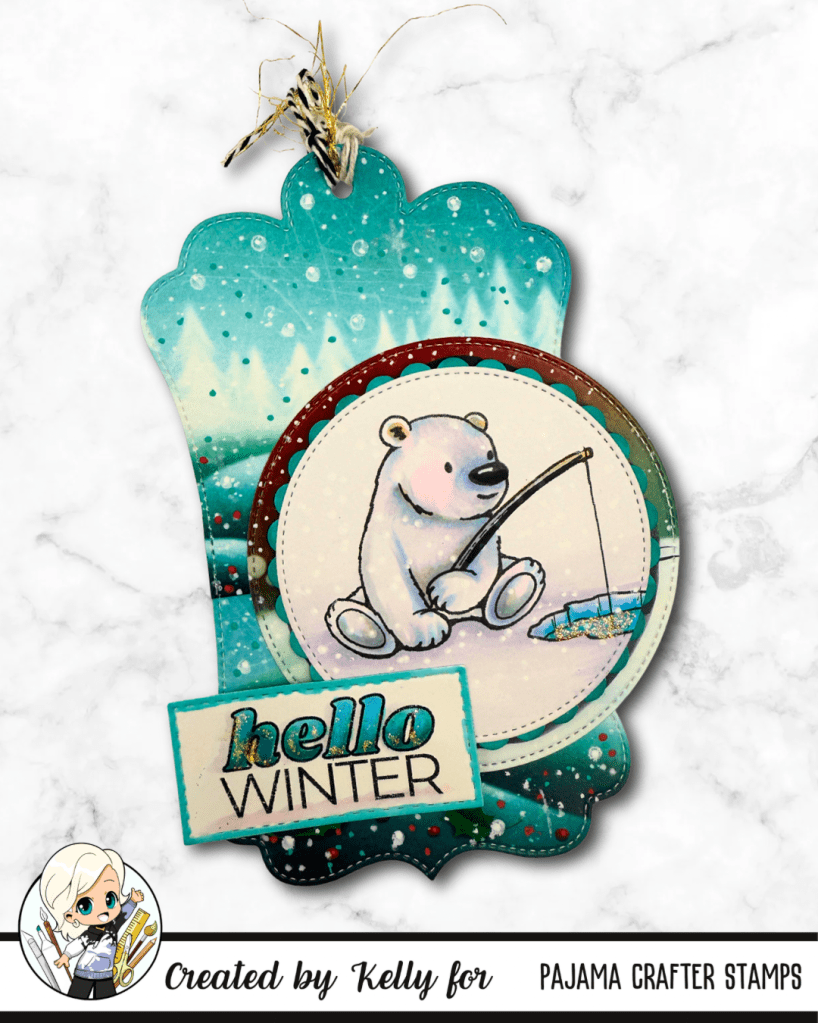
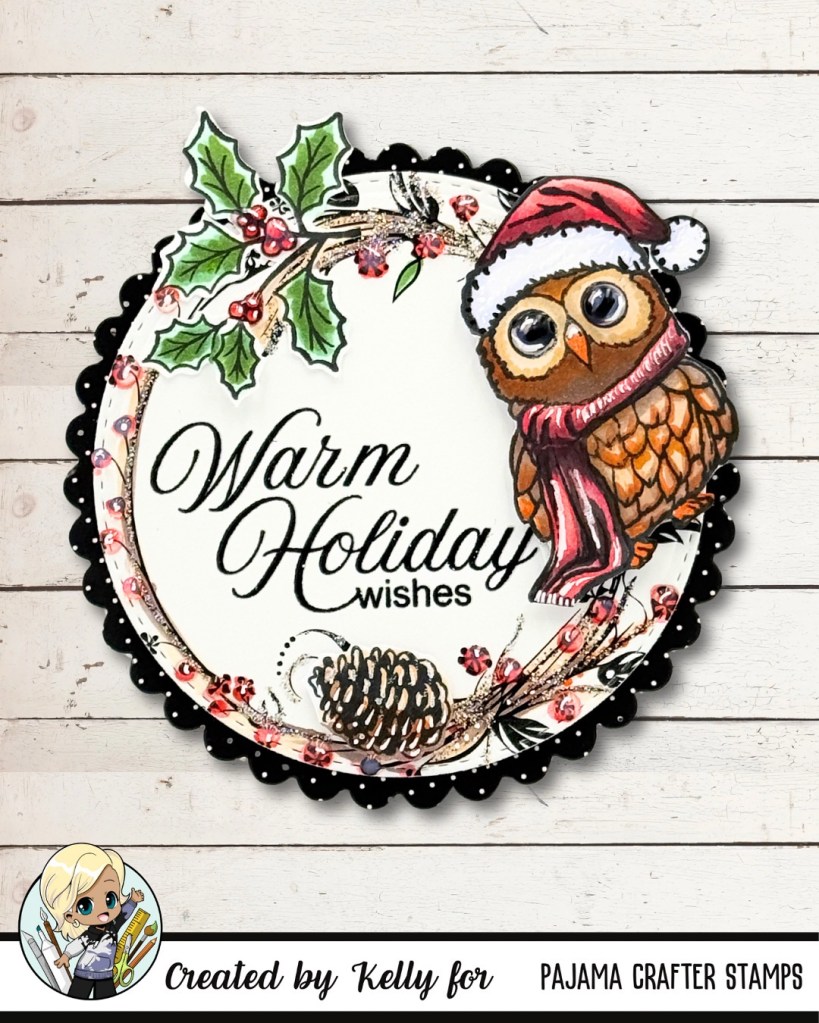
Here is a photo using the images from RUSTIC CHRISTMAS OWL set:
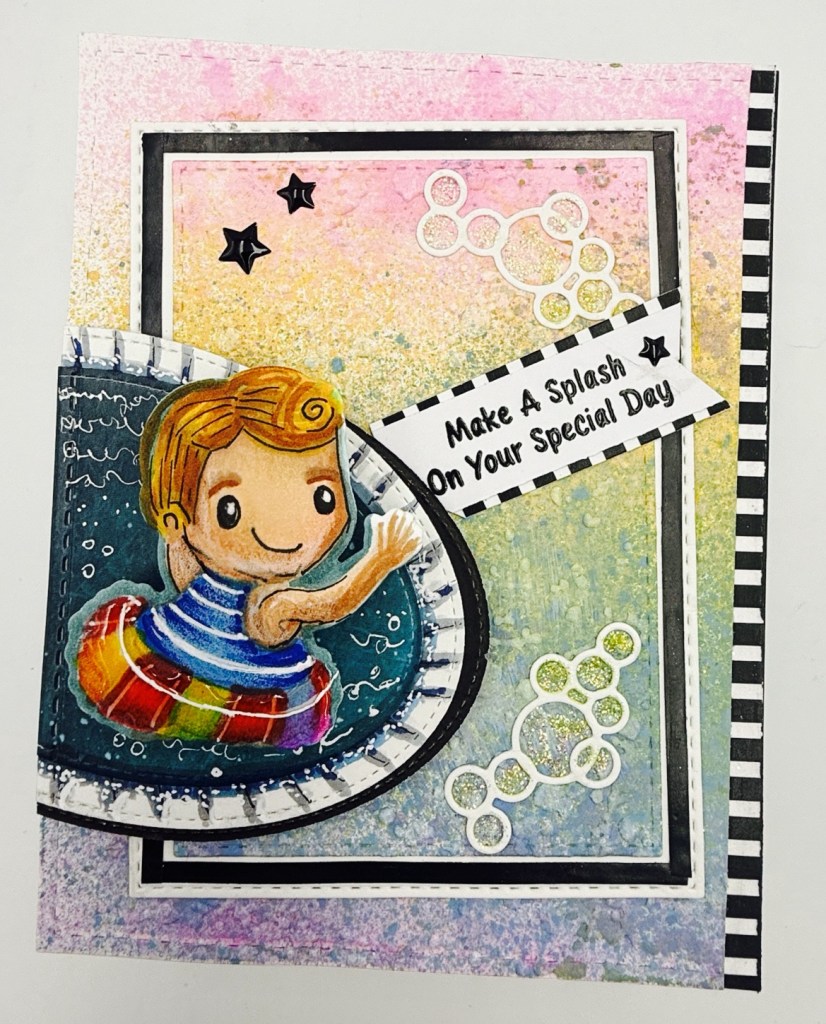
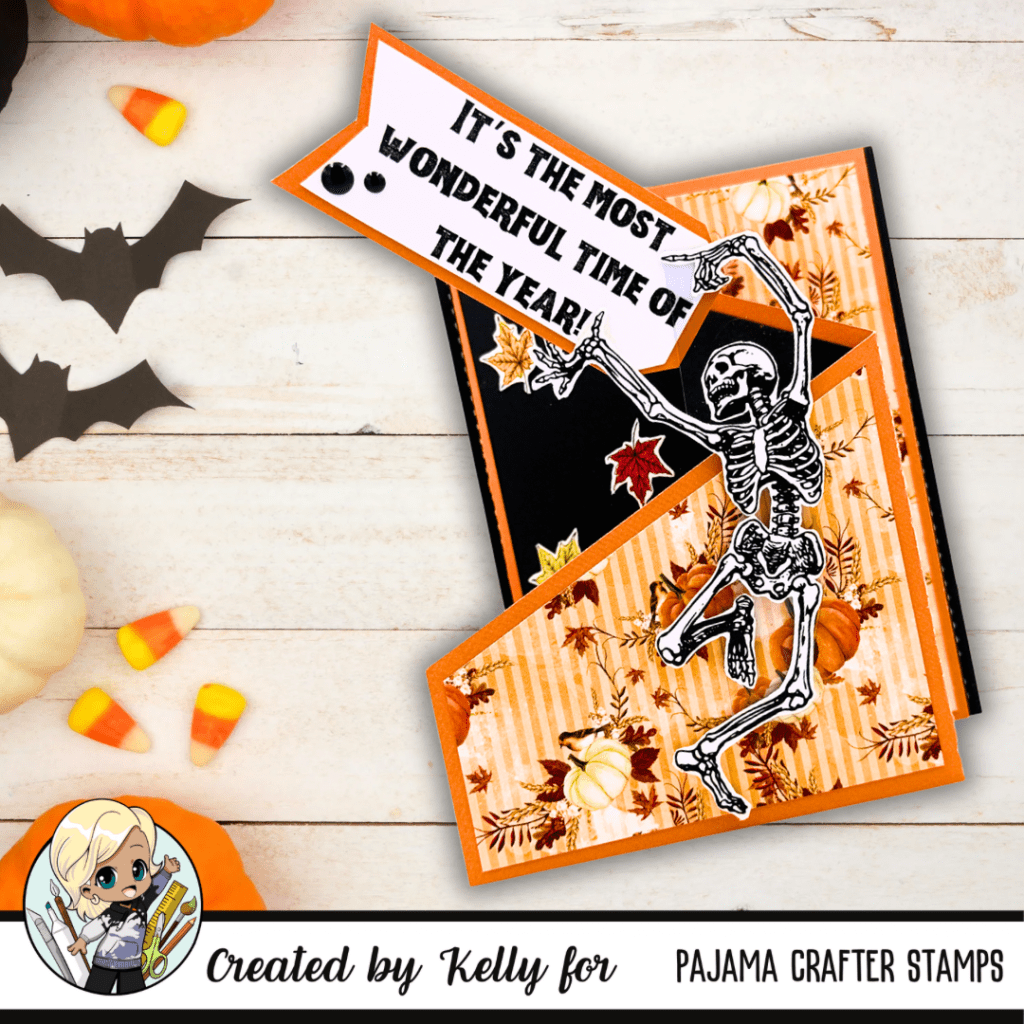
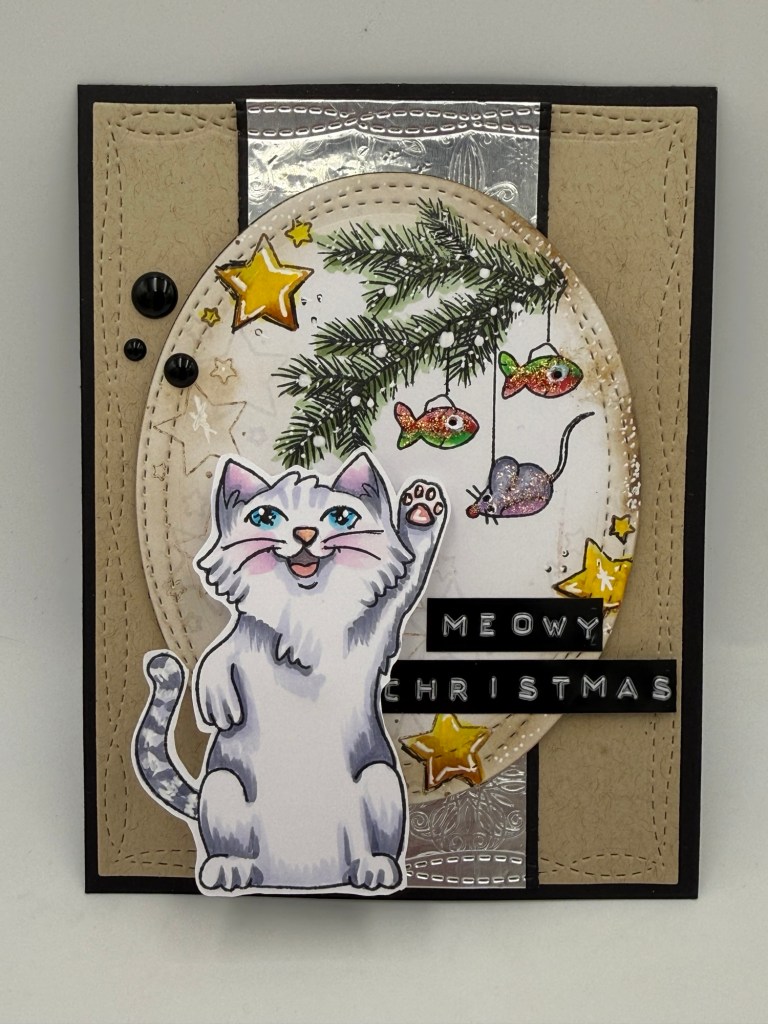
I recently whipped up a fun card featuring the evergreen branch from the Rustic set, paired with the playful mouse and fish smaller images as “ornaments” and one of the mischievous cats from the High Five set. The stars are also from the HIGH FIVE set and really pop off the page! The best part? The process of mixing and matching these stamp sets to create something entirely unique!

Step by Step Breakdown
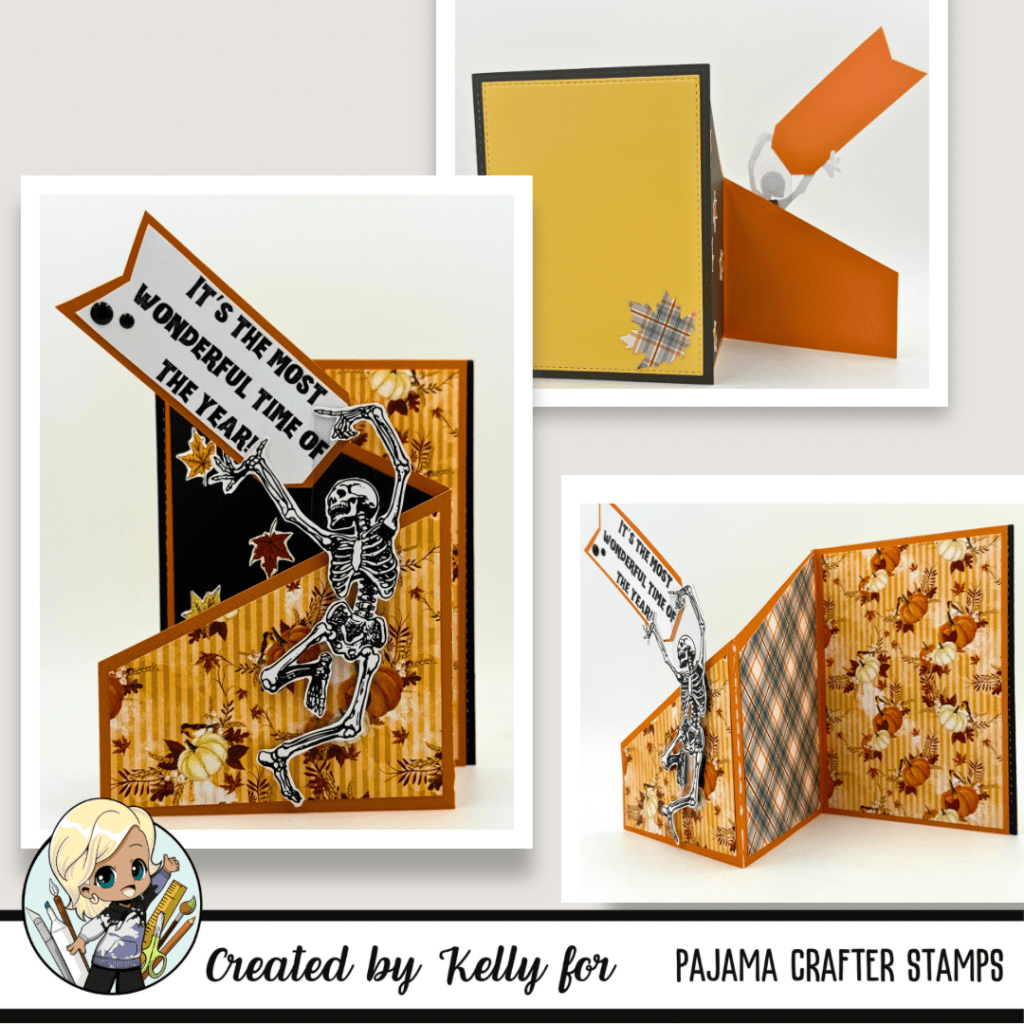
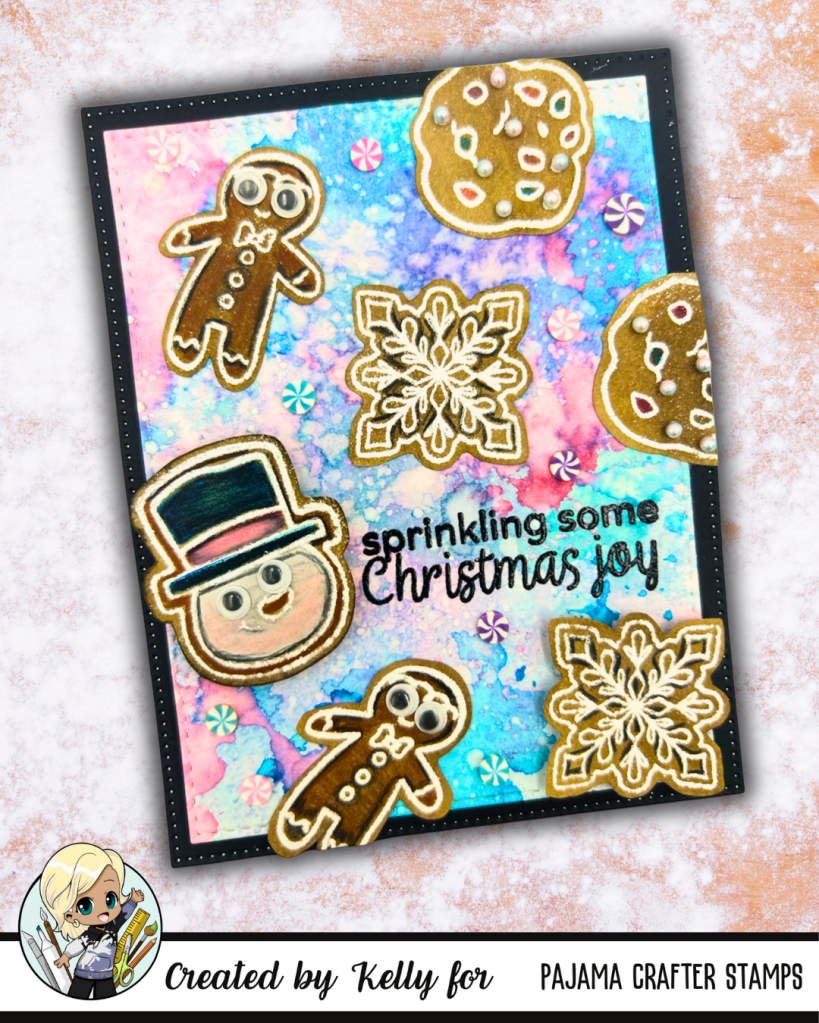
- Choosing the Base: I started with a lovely card base in BLACK, setting the perfect tone for a non-traditional Christmas-themed creation.
- Stamping the Cat: I stamped the adorable cat, coloring it up with my Copic markers, ensuring to capture all the little details that make it so charming. It sets the stage for a warm holiday vibe!
- Ornament Fun: Next, I added the ornaments from the High Five set, hanging them playfully from the limb I stamped onto a piece of Alcohol Marker Friendly paper using a stitched oval die. I used my Copic markers to color the branch and ornaments. I then used Diamond Stickles to add extra sparkle. Their vibrant colors really pop against the background!
- Making the Mischievous Cat Wiggle: No card is complete without a hint of mischief! After stamping and coloring the cheeky cat from the HIGH FIVE set, I attached an ACTION WOBBLER on the back of the cat in the middle of the back-side of the cat cutout and adhered it as if it’s ready to pounce on those ornaments. It adds a whimsical touch that’s sure to bring a smile.
- Finishing Touches: I added some stamped stars using a Distress Oxide ink pad in WALNUT STAIN and colored up in yellow and added white gel pen for shine.
Why Mixing Sets is So Much Fun
One of the joys of crafting is the ability to personalize every little detail. When you mix and match different stamp sets, you’re not only saving time, but you’re also sparking creativity in ways you might never have imagined!
I love how the Rustic Christmas Owl branch turns this non-Christmas set called HIGH FIVE, into a warm and light-hearted holiday-themed card with a classic feel, while the playful elements of the High Five set give it a modern twist. It’s like creating a whole new story on each card, filled with charm and cheer!
Have you tried mixing different stamp sets? I’d love to see your creations! Share your thoughts in the comments below.
To find all of these awesome products, please click here 👉🏻 https://pajamacrafterstamps.com/STAMPEDBYKELLYBLOG
Need a great dry adhesive? Try TAPE RUNNER! 👉🏻www.taperunner.com

BEFORE 12/3 get 30% OFF – Black Friday Special
After 12/3, code will still give 10% OFF
Happy crafting! 🥳