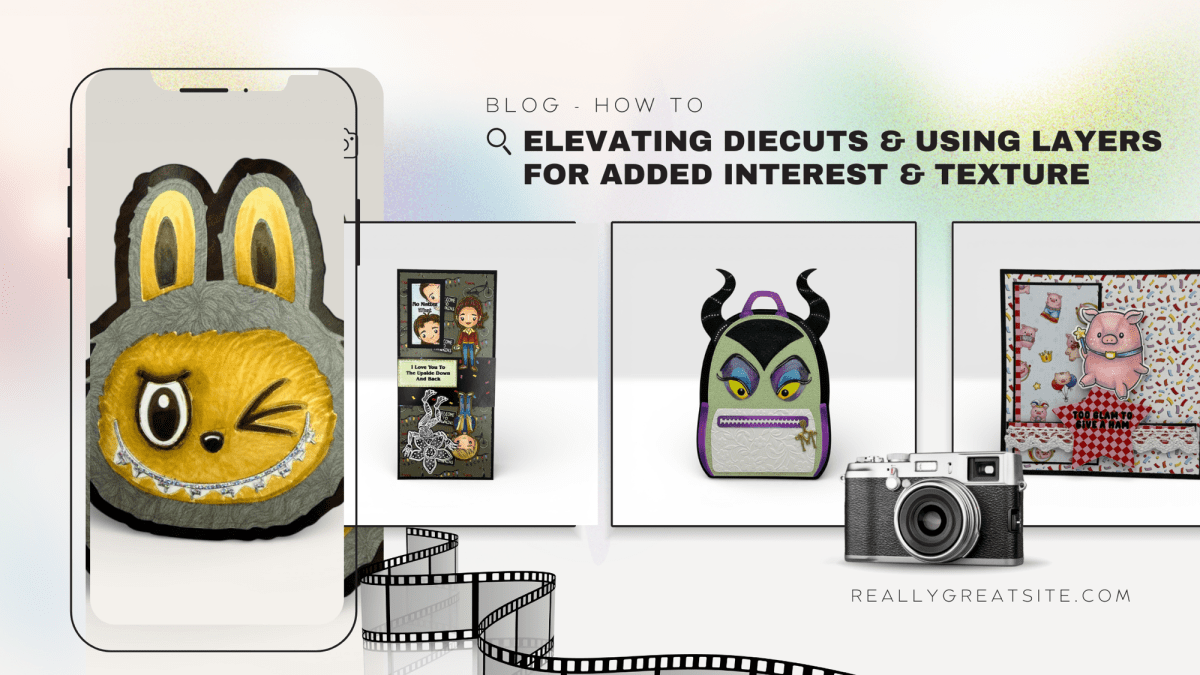
I’m thrilled to share FOUR unique and whimsical projects that celebrate pop culture and childhood memories, showcasing the latest imaginative items from Scrappy Boy Stamps! 💖 Each creation features their playful stamps, outline dies, and coordinating paper packs—designed to make your crafting journey a joyful experience!
✨ 1. Slimline Card
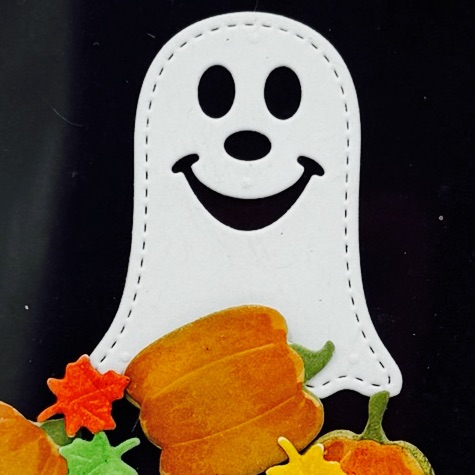
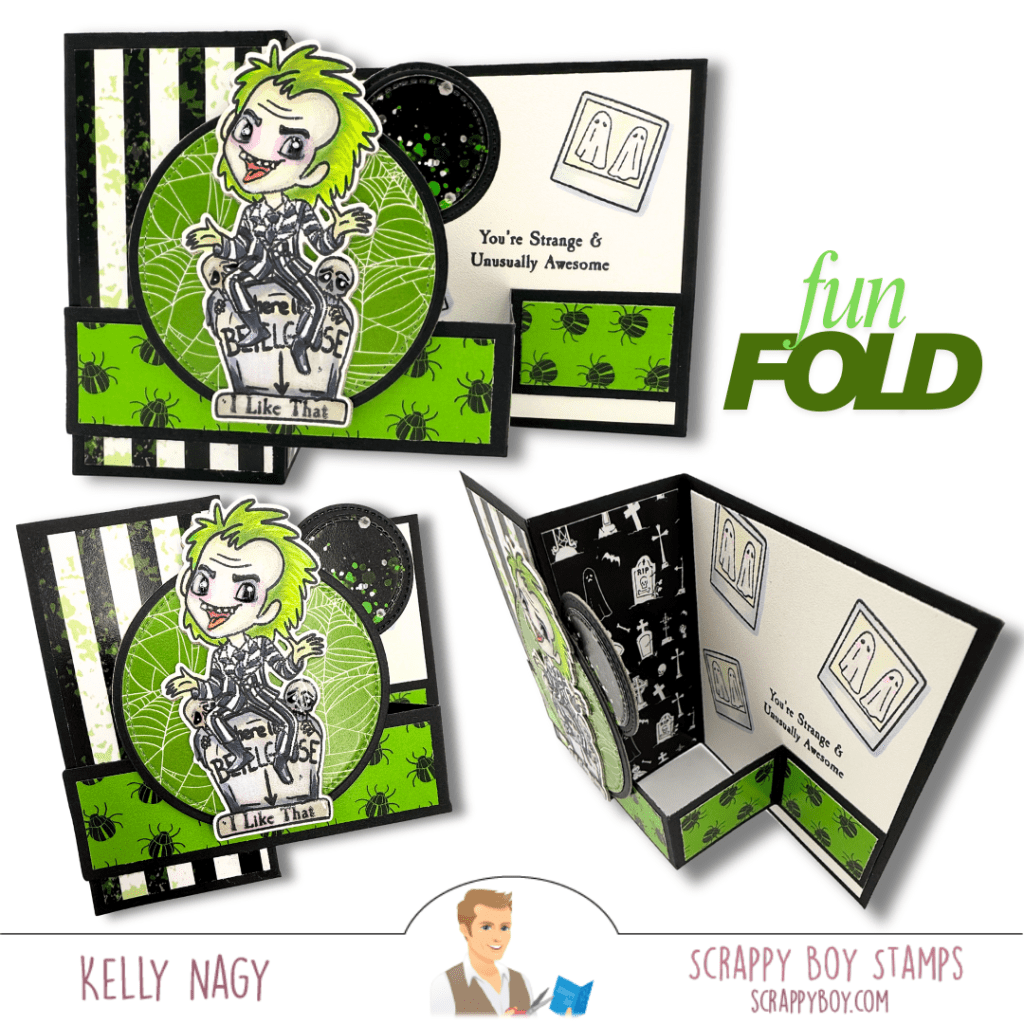
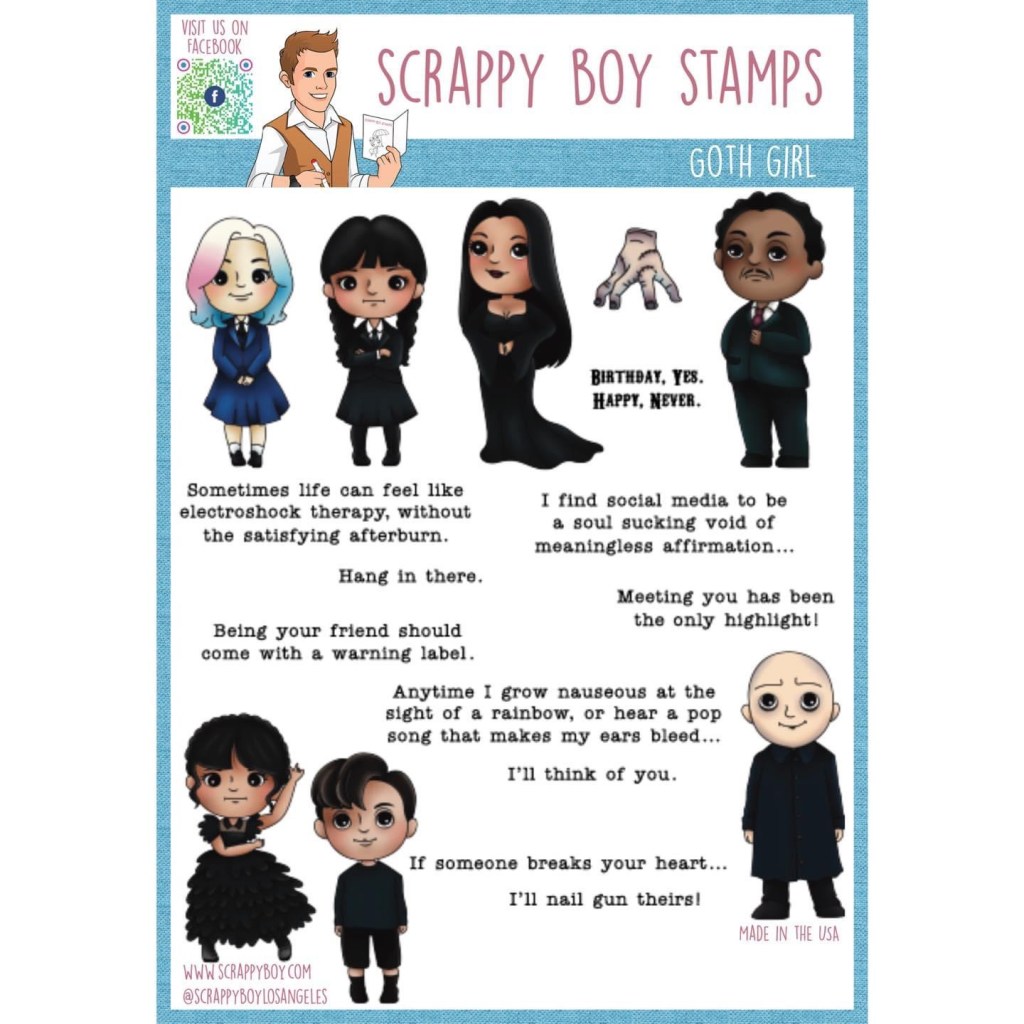
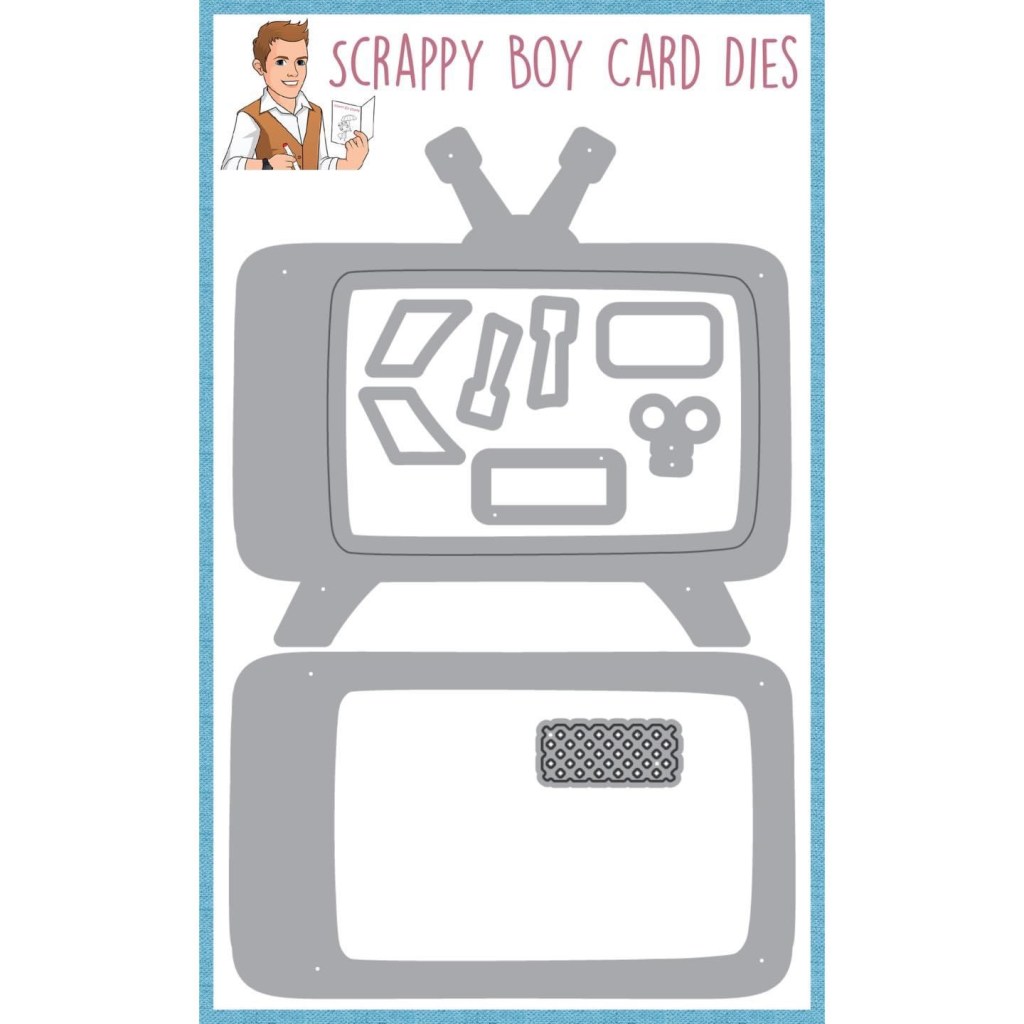
This card showcases the main release stamp set, Beyond the Normal, inspired by all things supernatural and mysterious that touch our nostalgic hearts. Its bold design invites you to embrace the weird and wonderful! Check out how vibrant it looks!
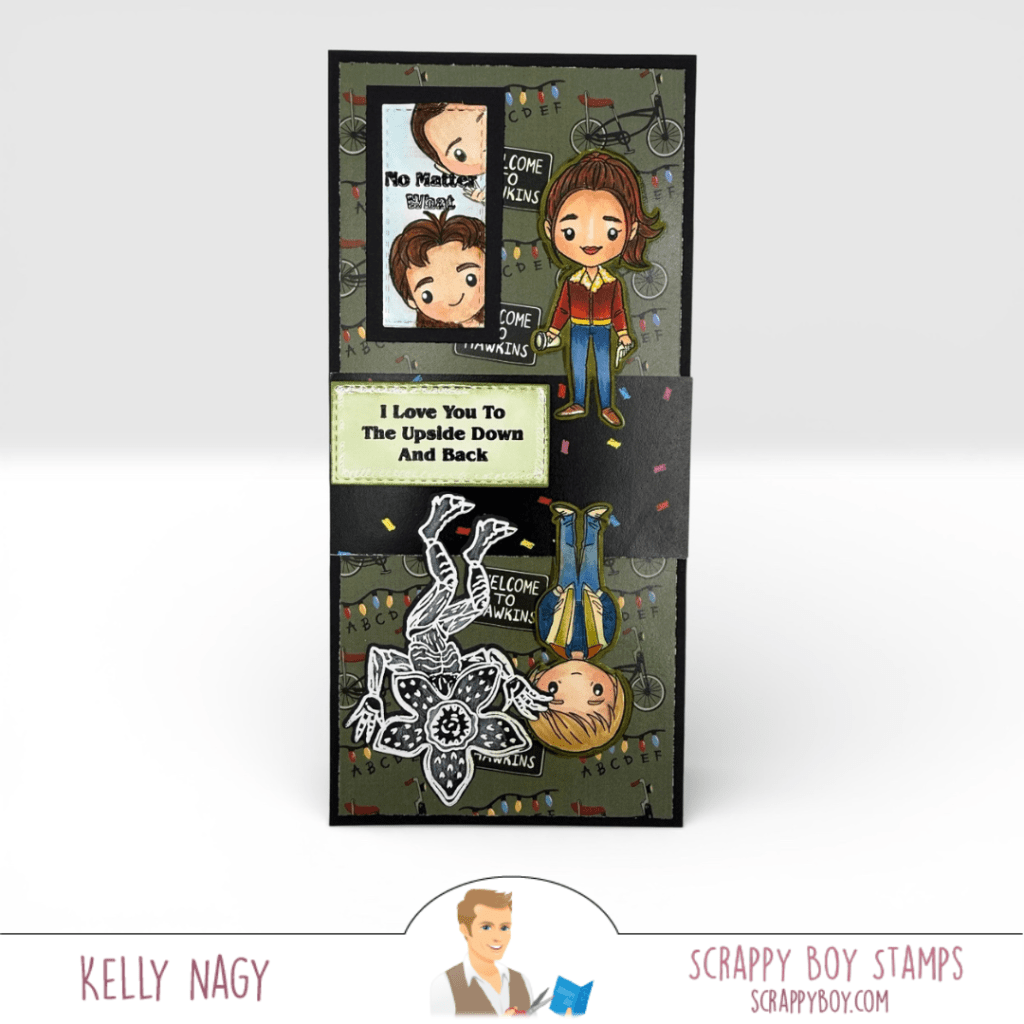
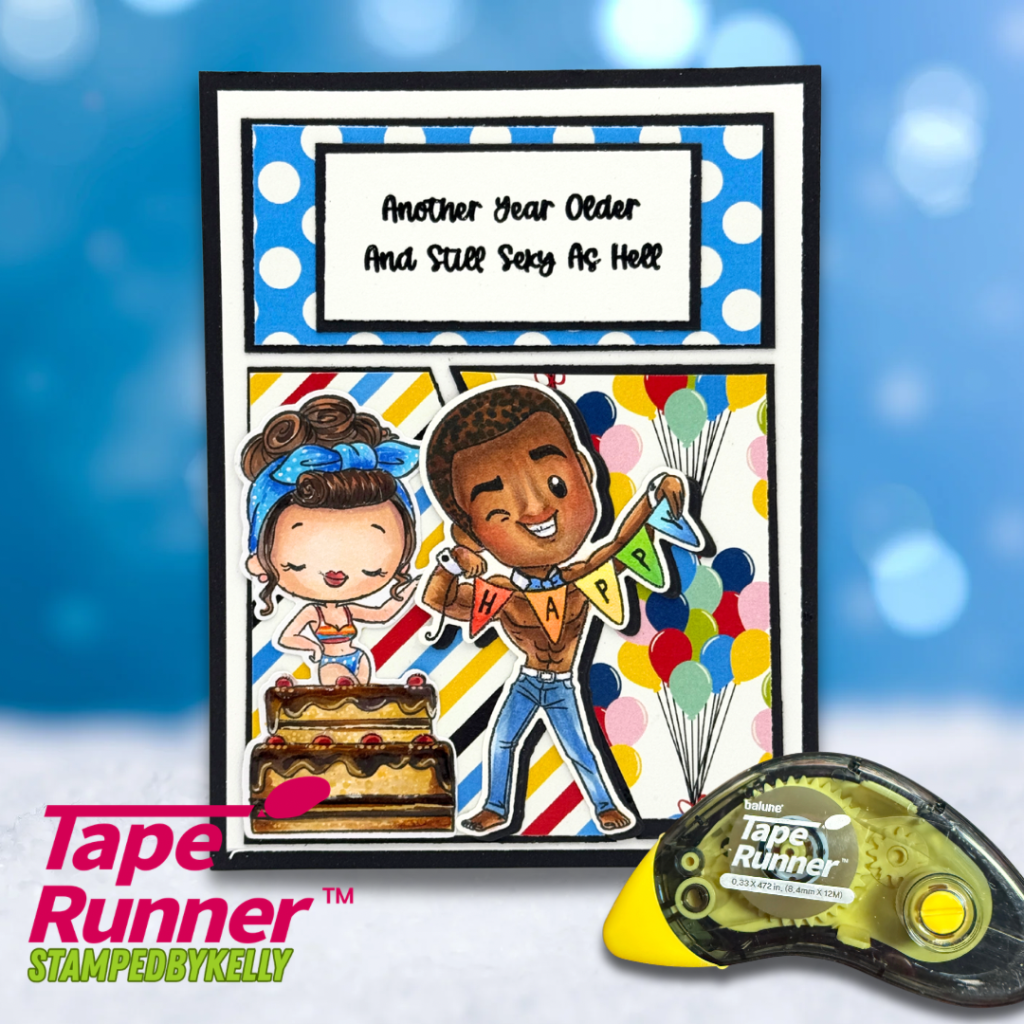
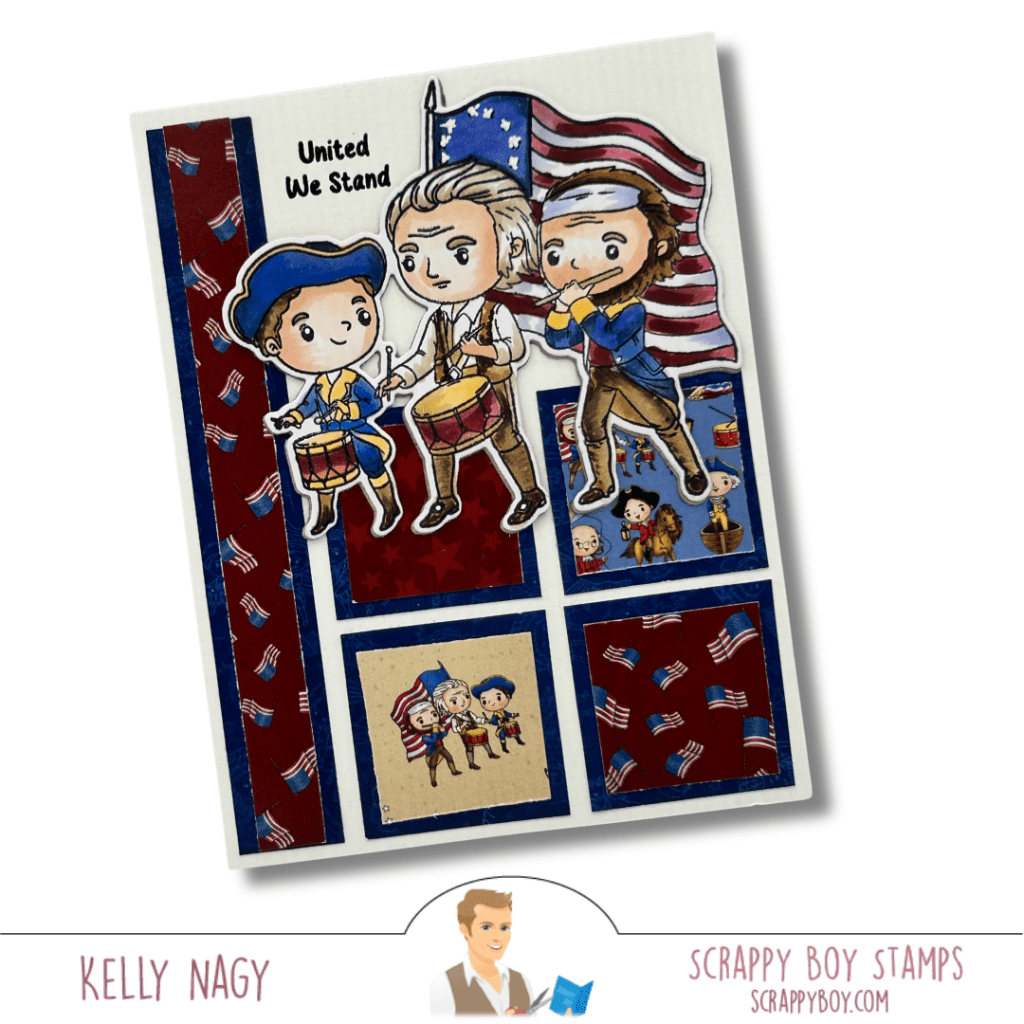
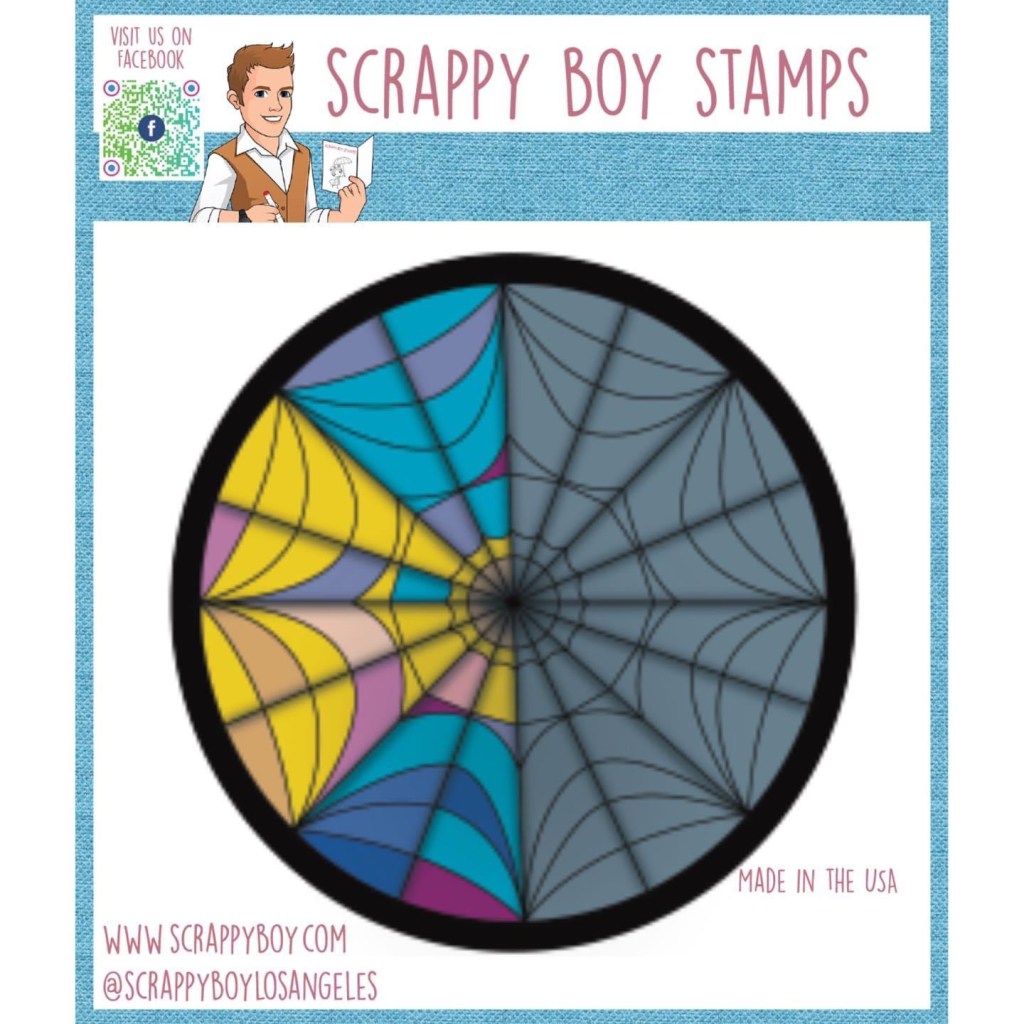
For my first project, I put together a slimline card featuring characters inspired by a beloved pop culture show. I really appreciate the benefits of a slimline card; it provides extra space to let my creativity flow and allows for more stamping images to be included, which is always fun! This layout gave me the chance to showcase multiple characters in a way that reflects the show’s intriguing concept of two distinct worlds. To illustrate this, I stamped part of my scene upside down as well as right side up on the front of the card, which I found to be a playful way to add depth to the design. Additionally, I wanted to highlight one of the characters, so I heat embossed it in white on darker patterned paper. This creates a striking contrast that draws attention to this focal element, adding an extra layer of visual interest to the overall project!
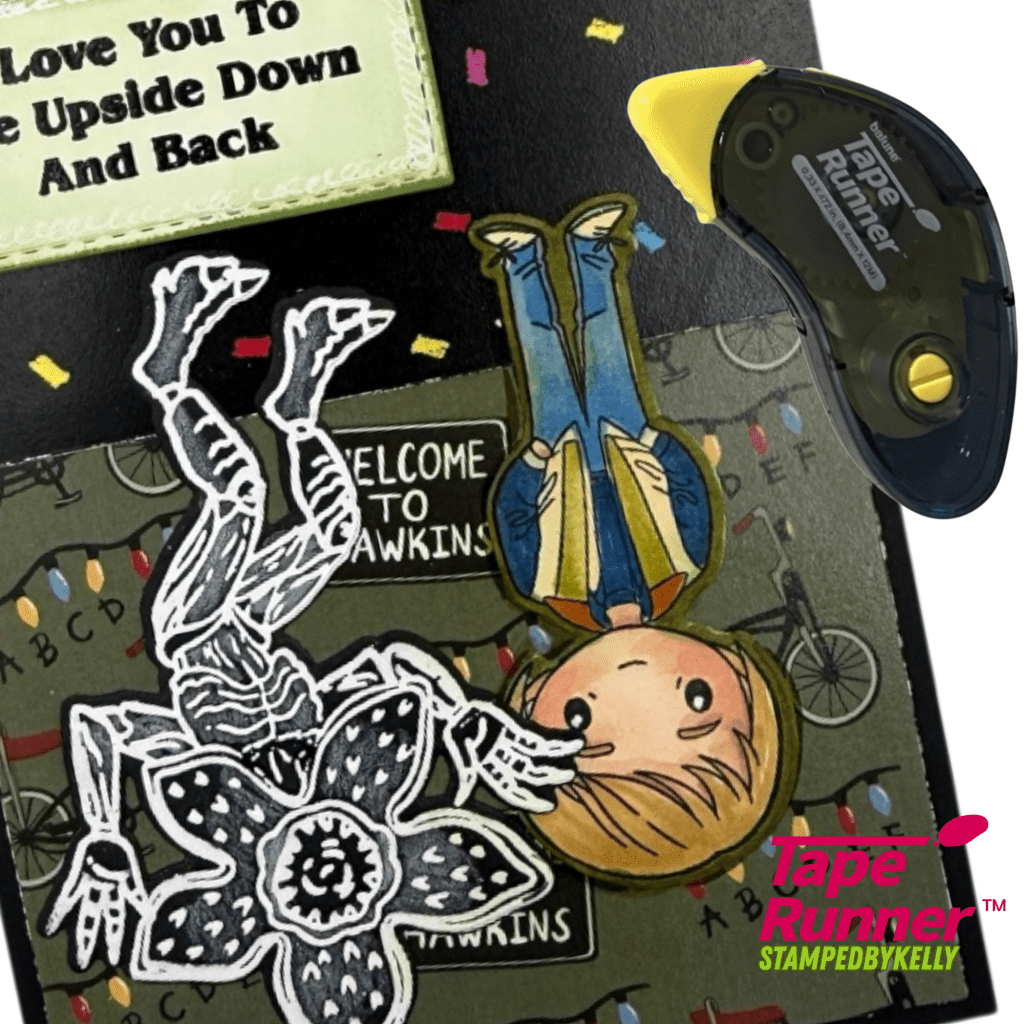
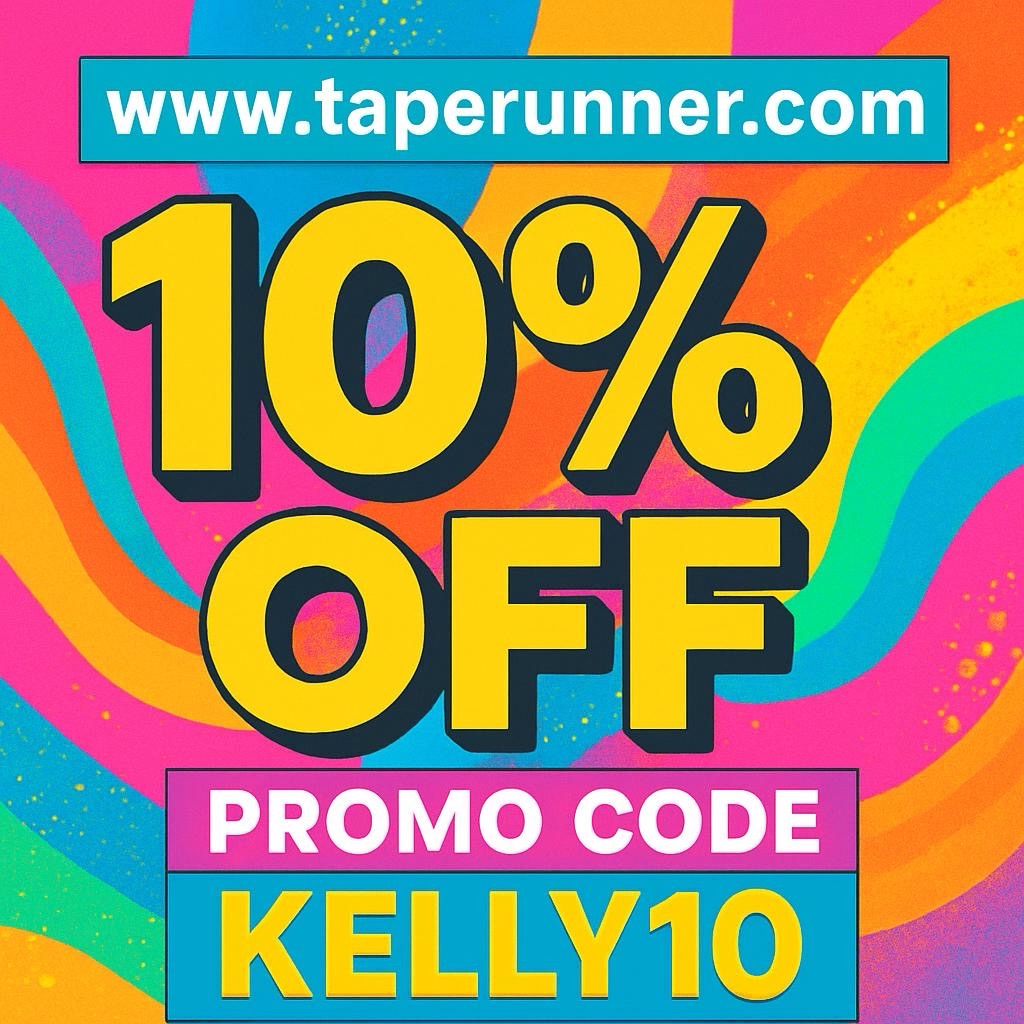
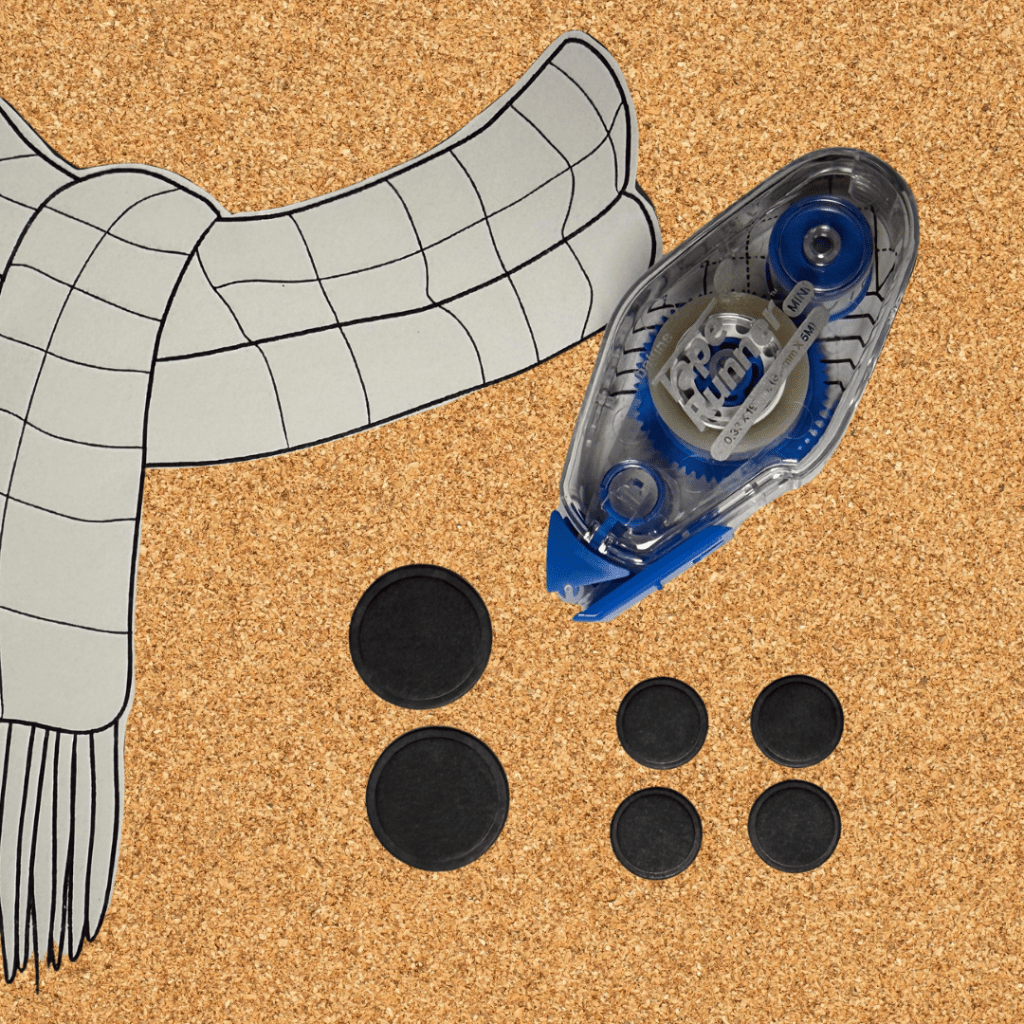
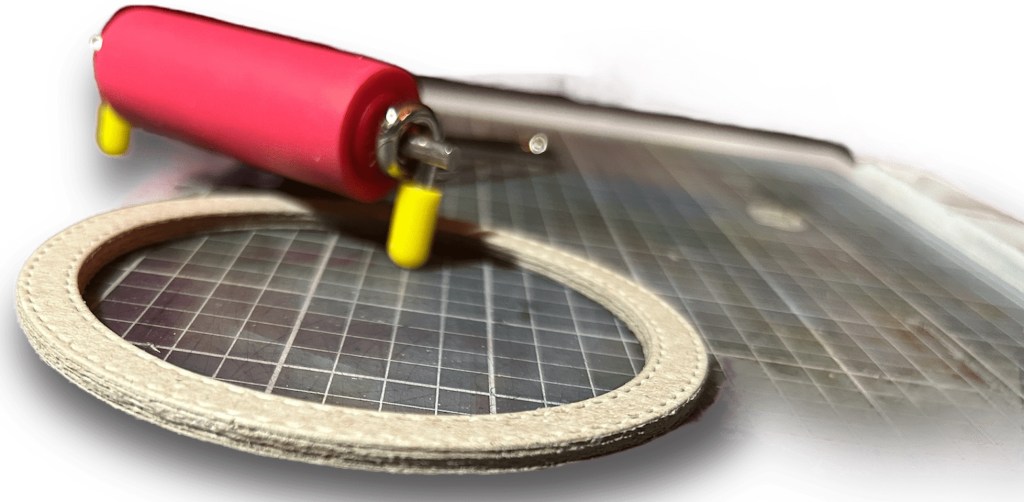
✨ I love transforming my projects by layering elements together, and my secret weapon? The fantastic dry adhesive from taperunner.com! This game-changing tape runner allows me to build my layers without any warping or absorbent moisture that can harm my precious paper fibers. Plus, it’s quick, clean, and perfect for every craft! With different tape runners available for various projects, there’s something for everyone. I highly recommend checking out tape runner.com and using promo code KELLY10 for 10% off everything in your cart! 🎨💖
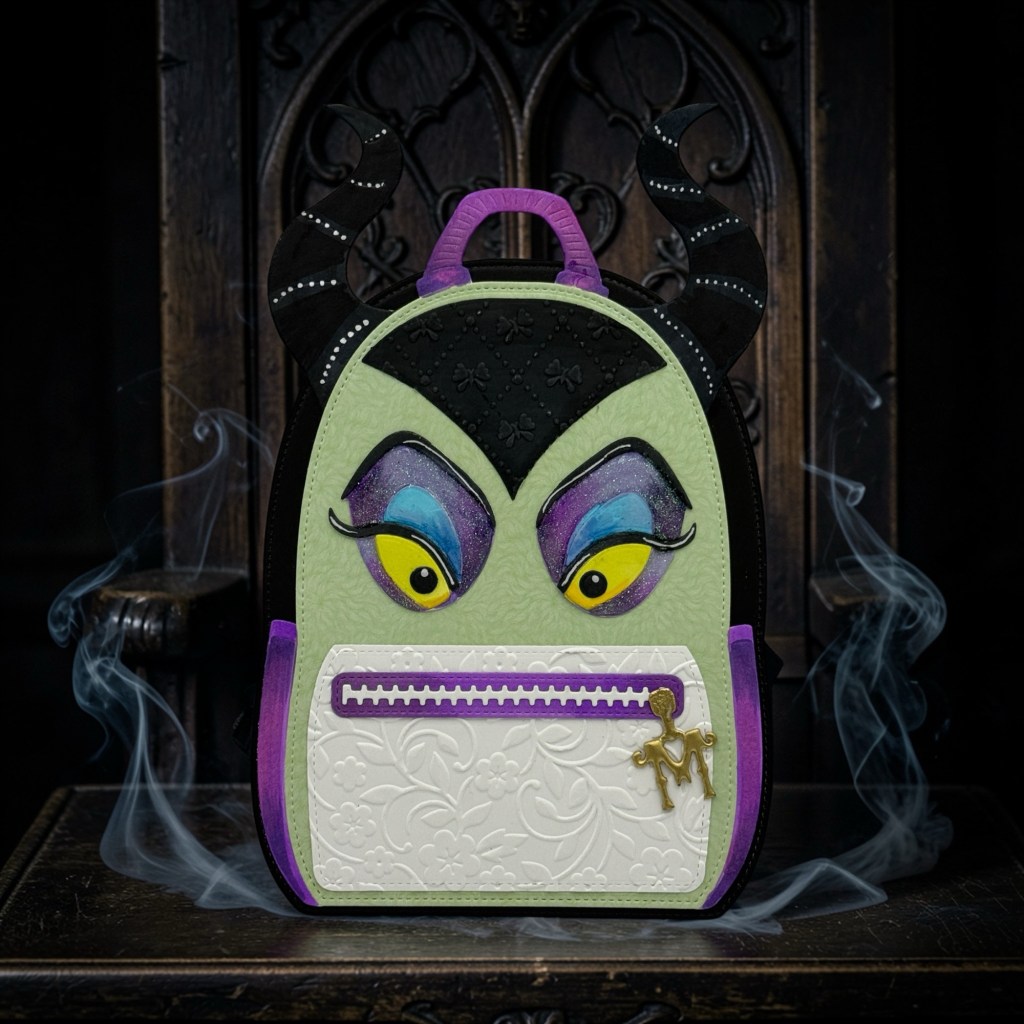
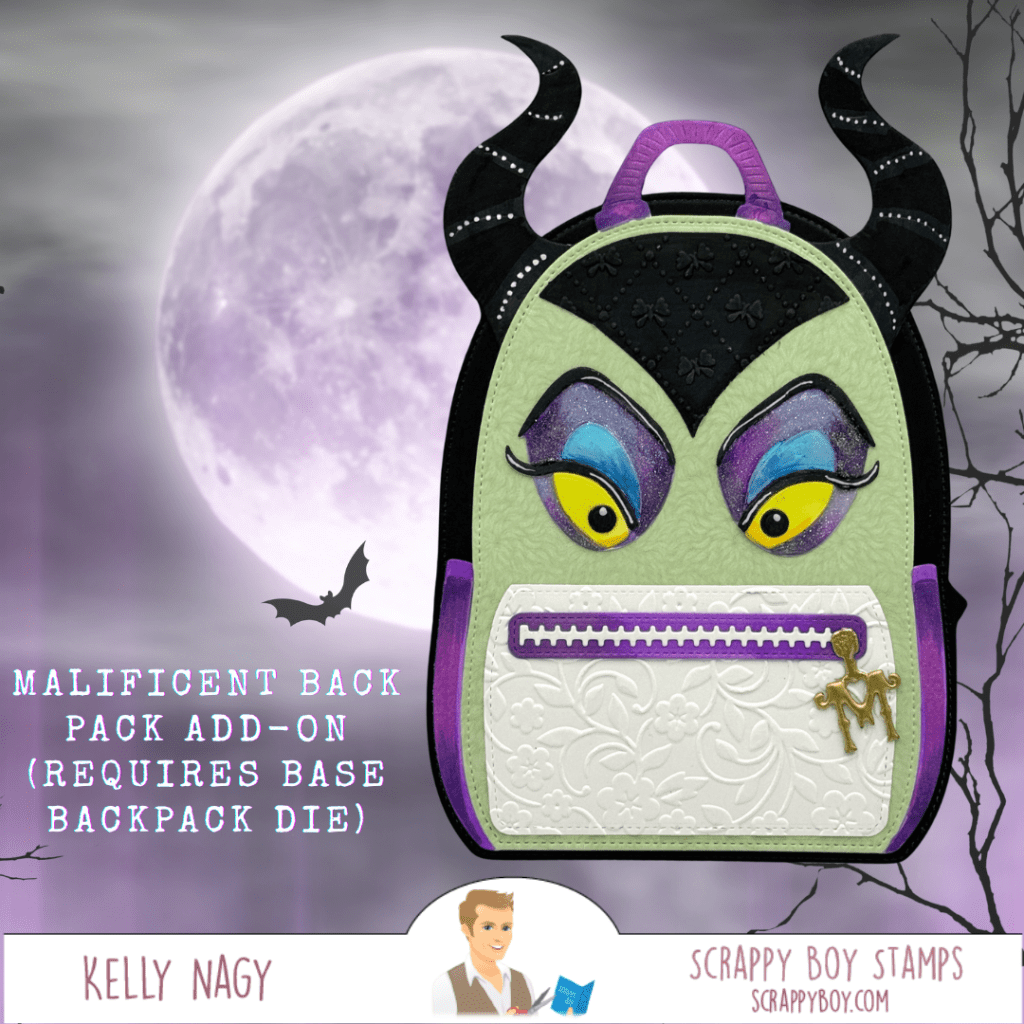
(Optional Backpack Base Sold Separately)
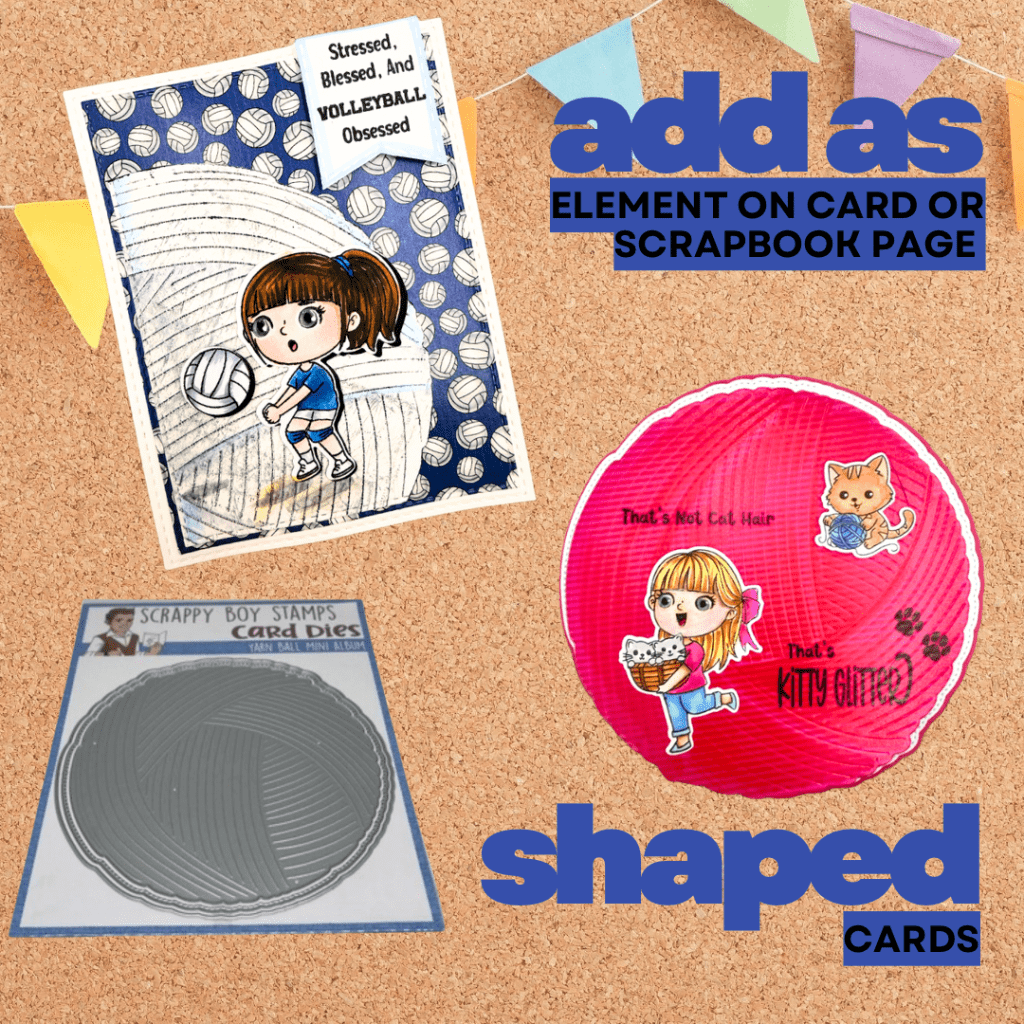
🎒 2. Shaped Card / Gift Box / Favor
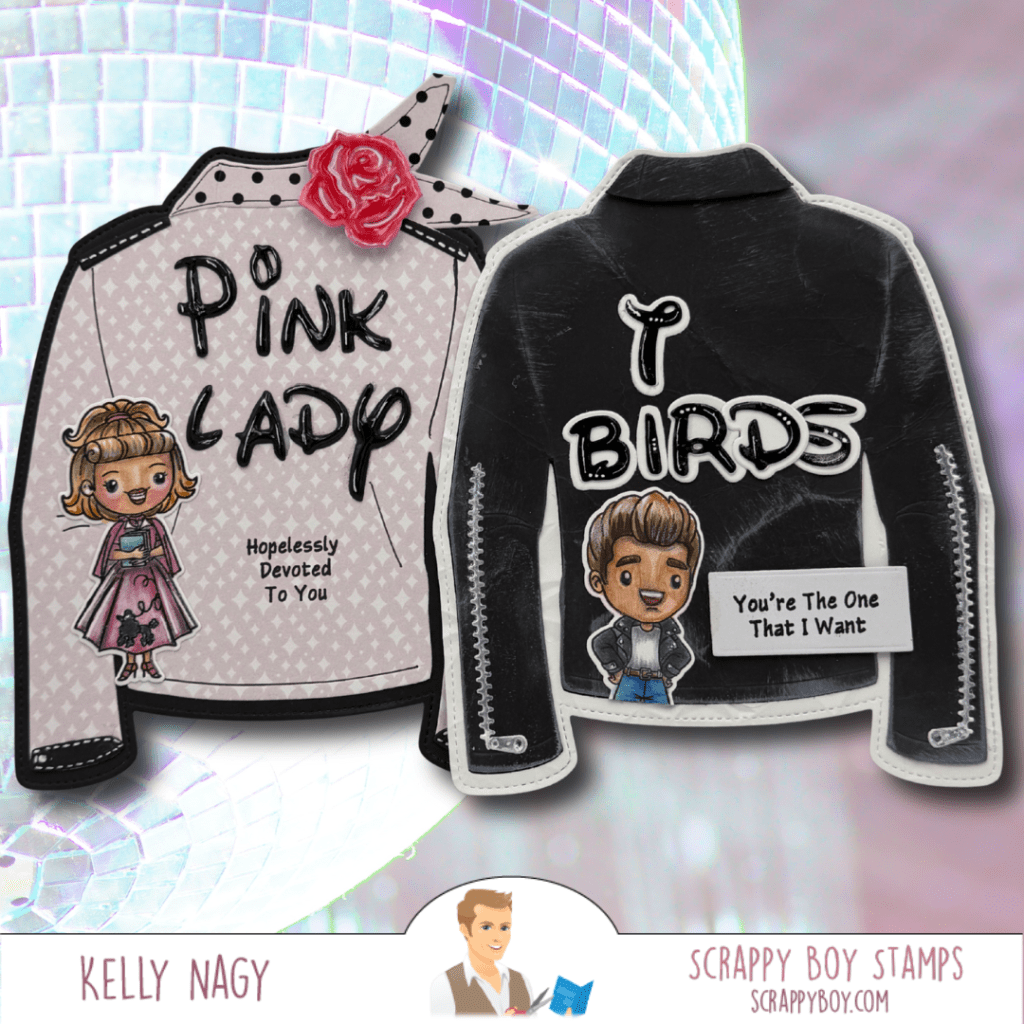
Using the Maleficent Backpack Add-On (base Backpack Die sold separately), I crafted a versatile design that can serve as a shaped card, mini album, party favor, or gift box! This creation is perfect for adding a whimsical touch to any occasion while celebrating those childhood adventures. Don’t miss this in action!
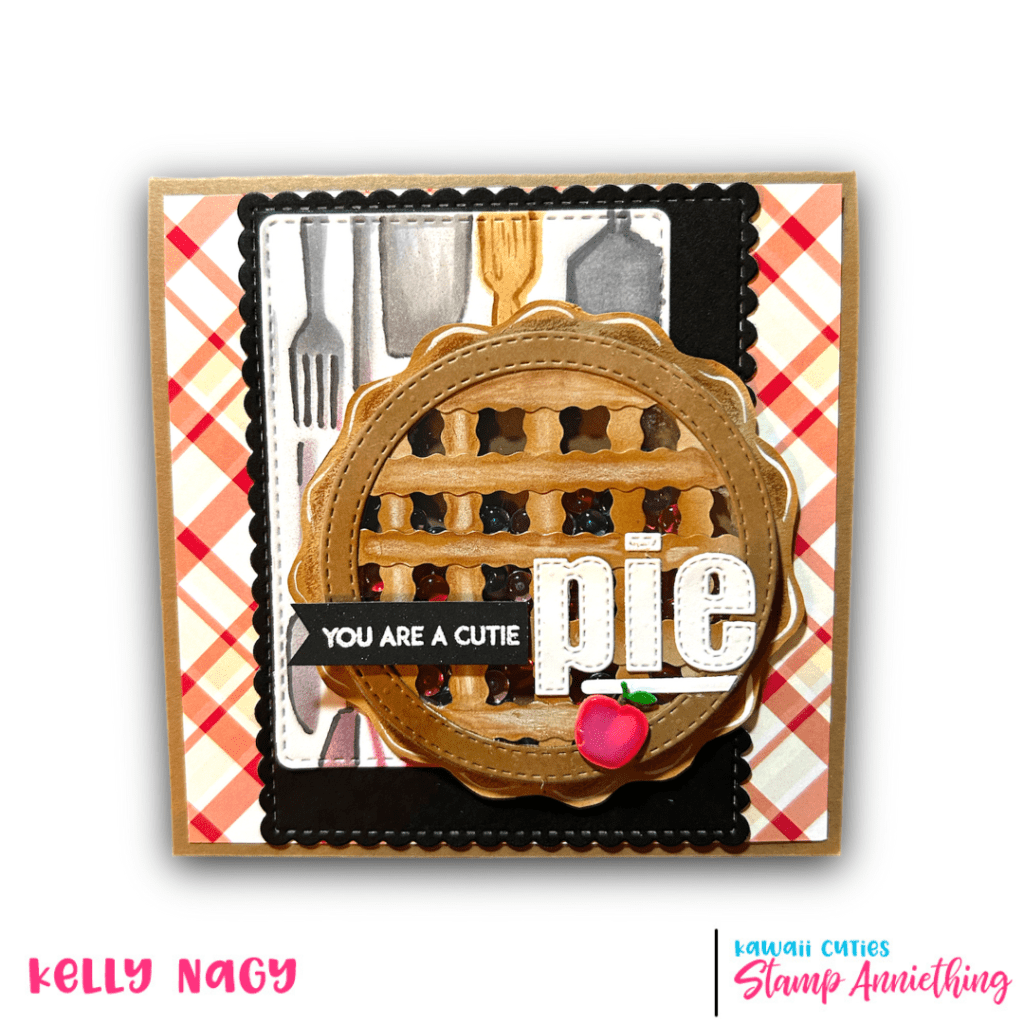
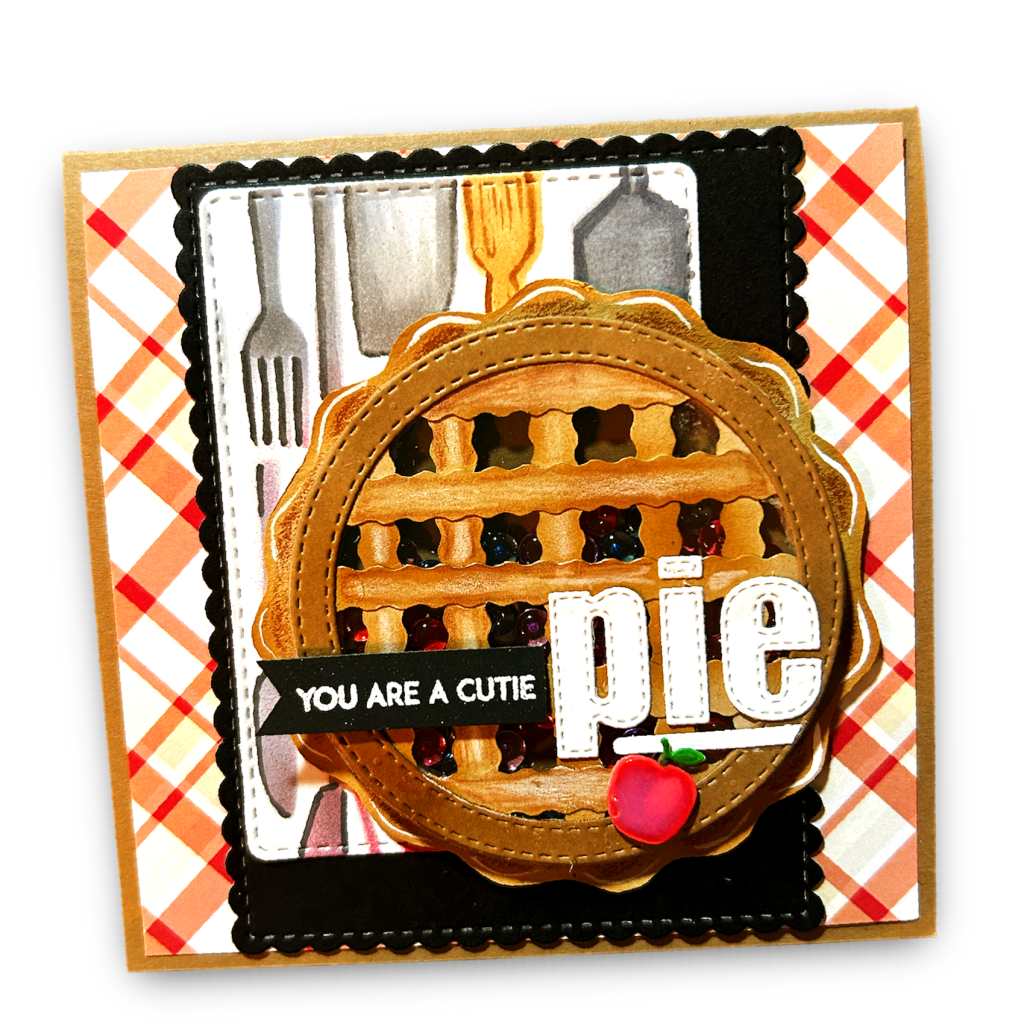
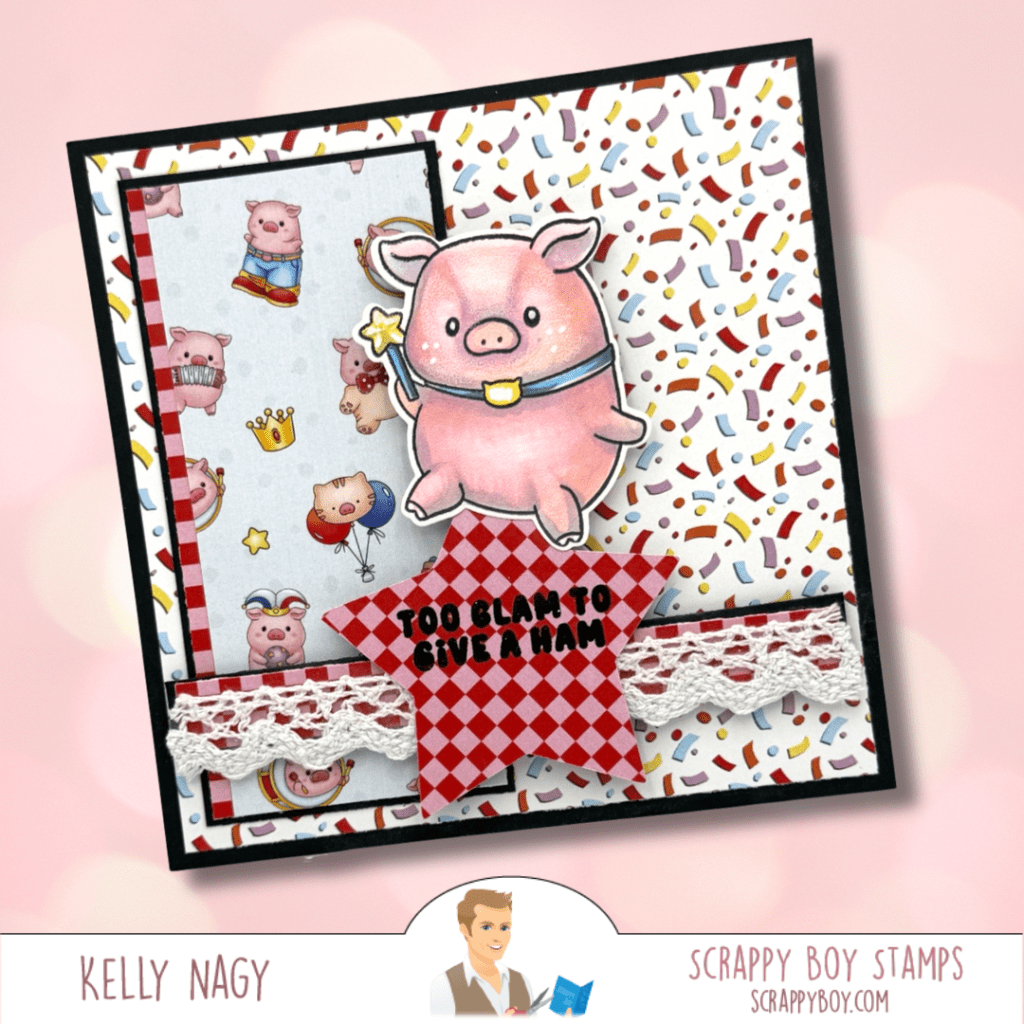
🐷 3. Square Card
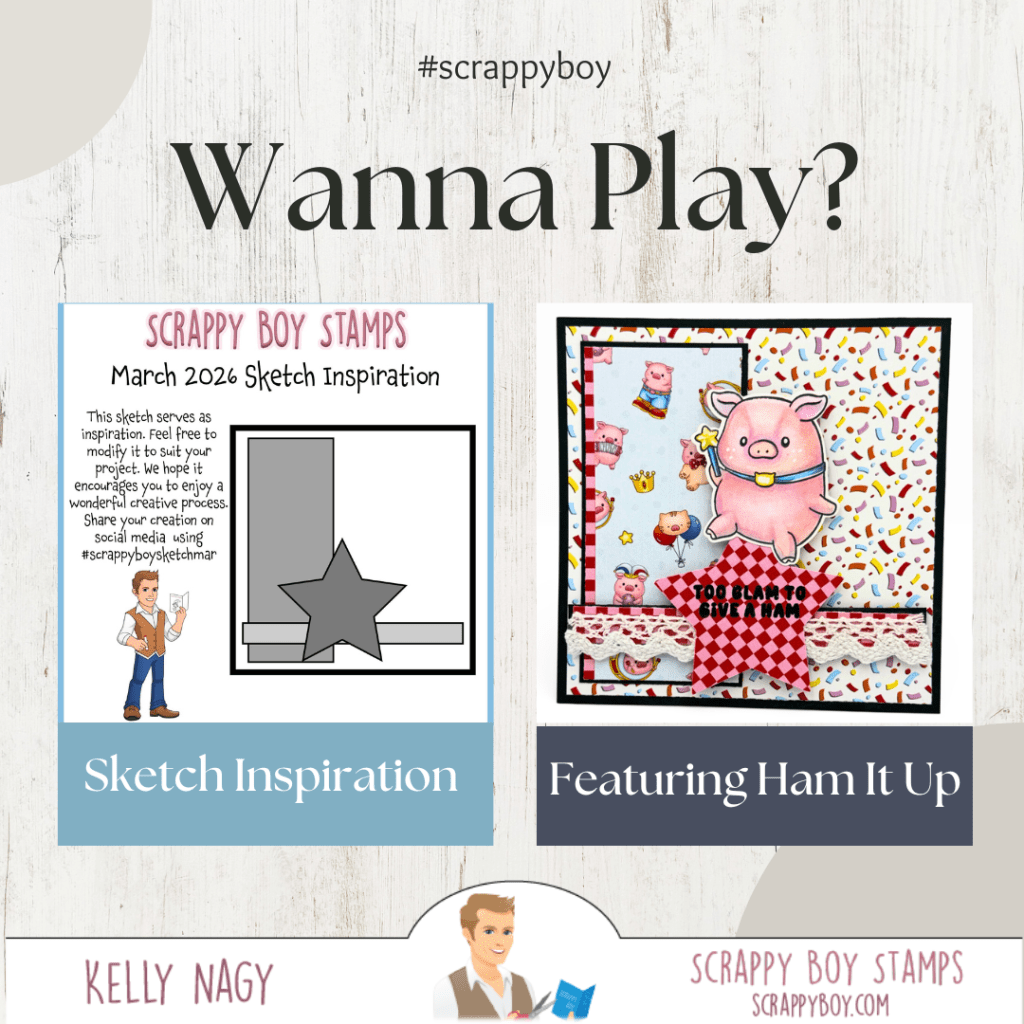
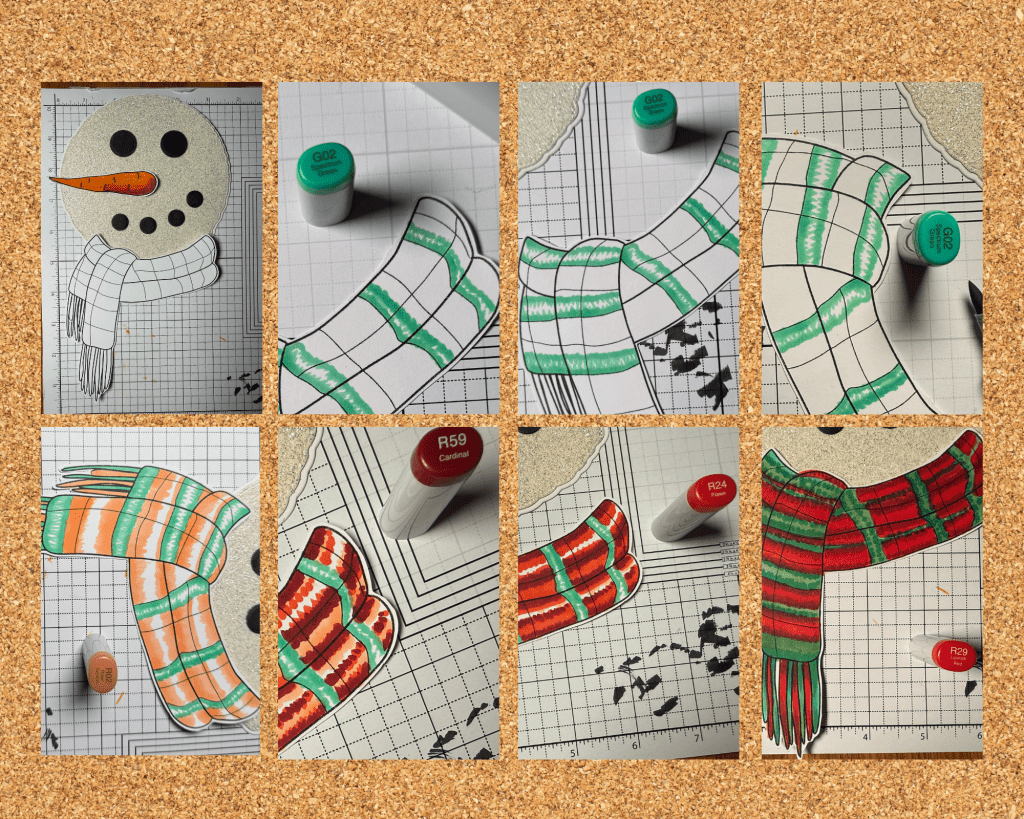
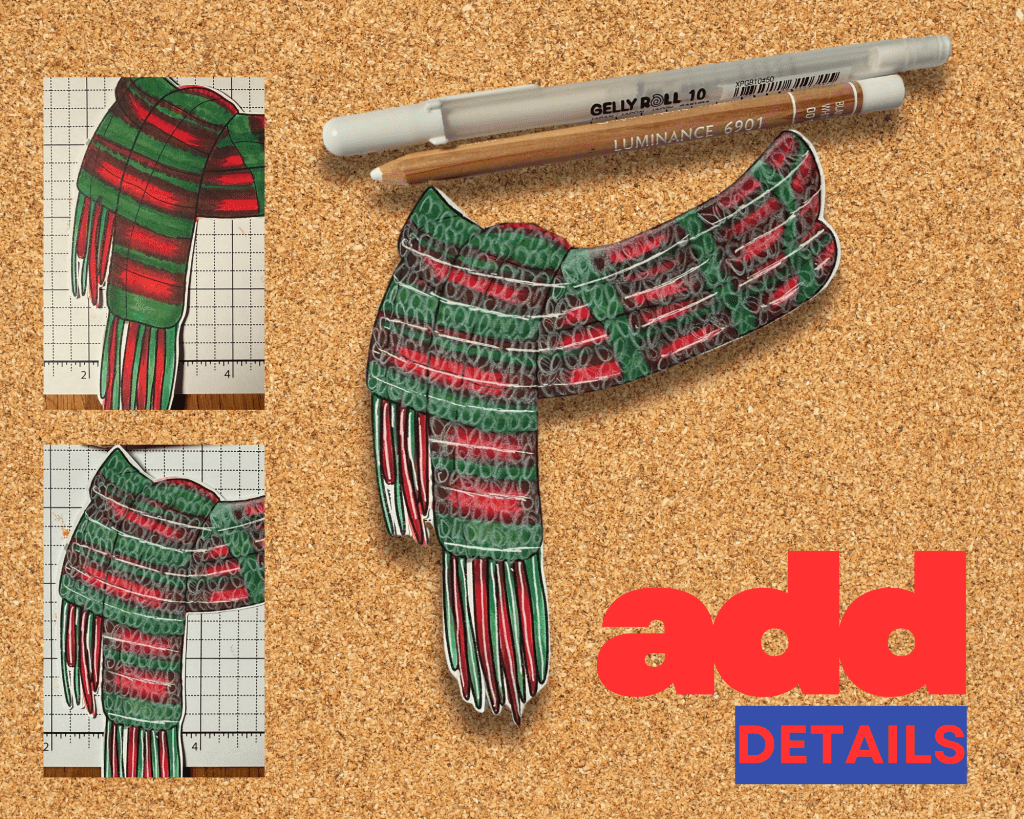
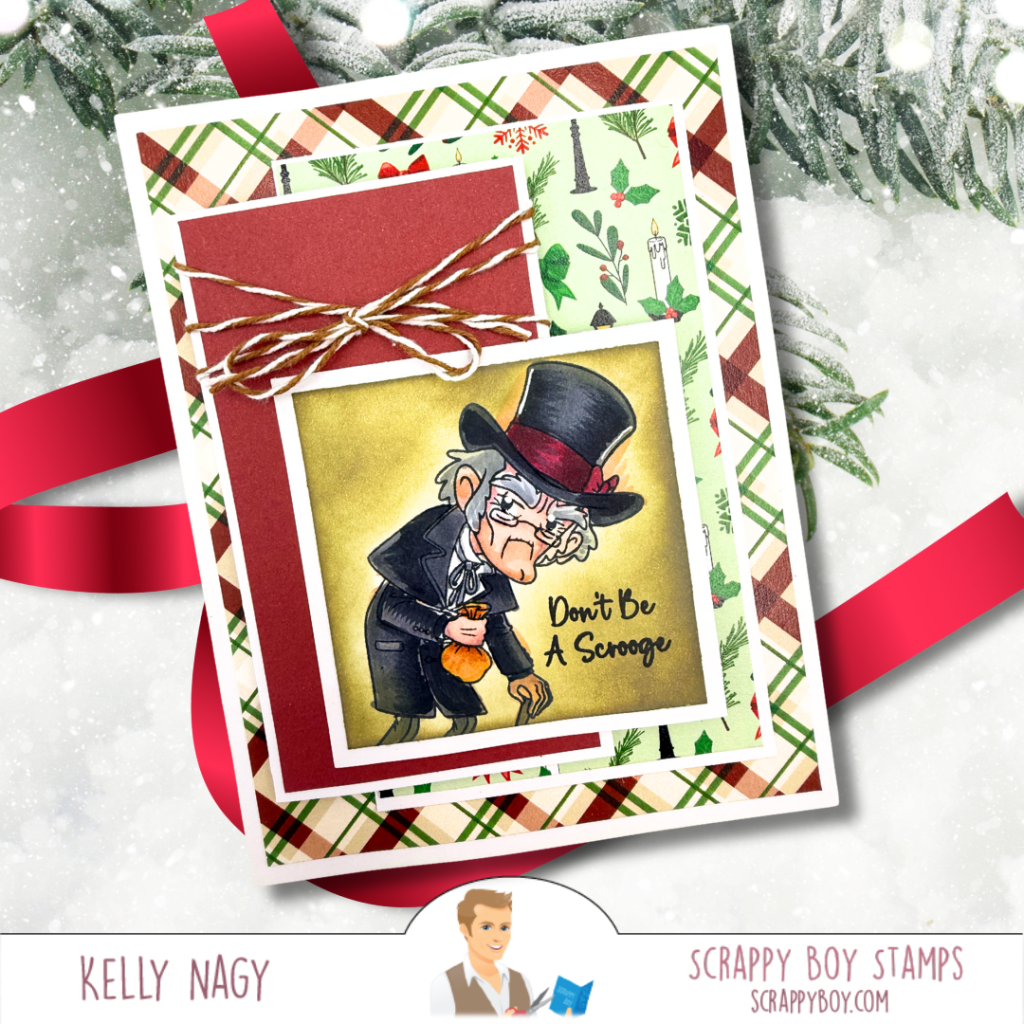
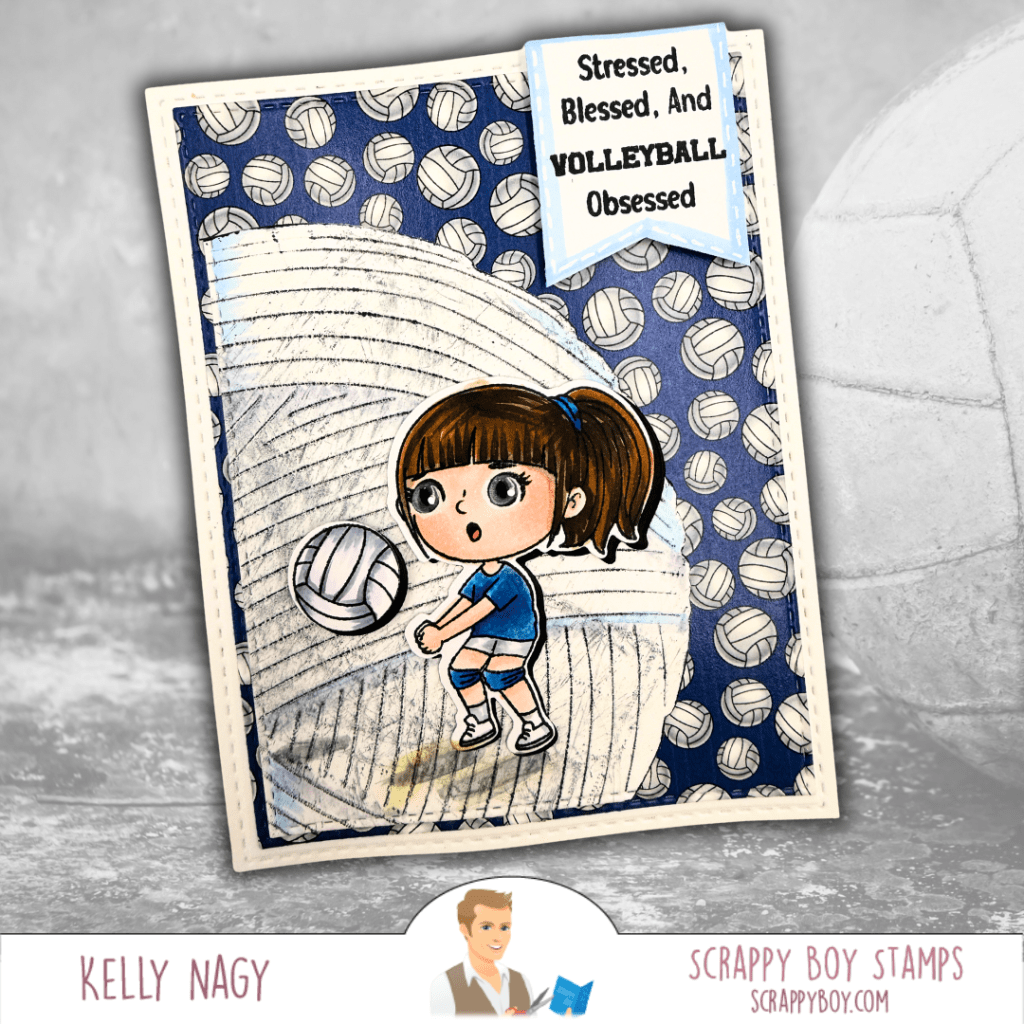
Featuring the Ham It Up stamp set, this fun square card was inspired by the Scrappy Boy March card sketch challenge. It’s a fantastic way to unleash your creativity and reminisce about our favorite whimsical moments! Check out the details!
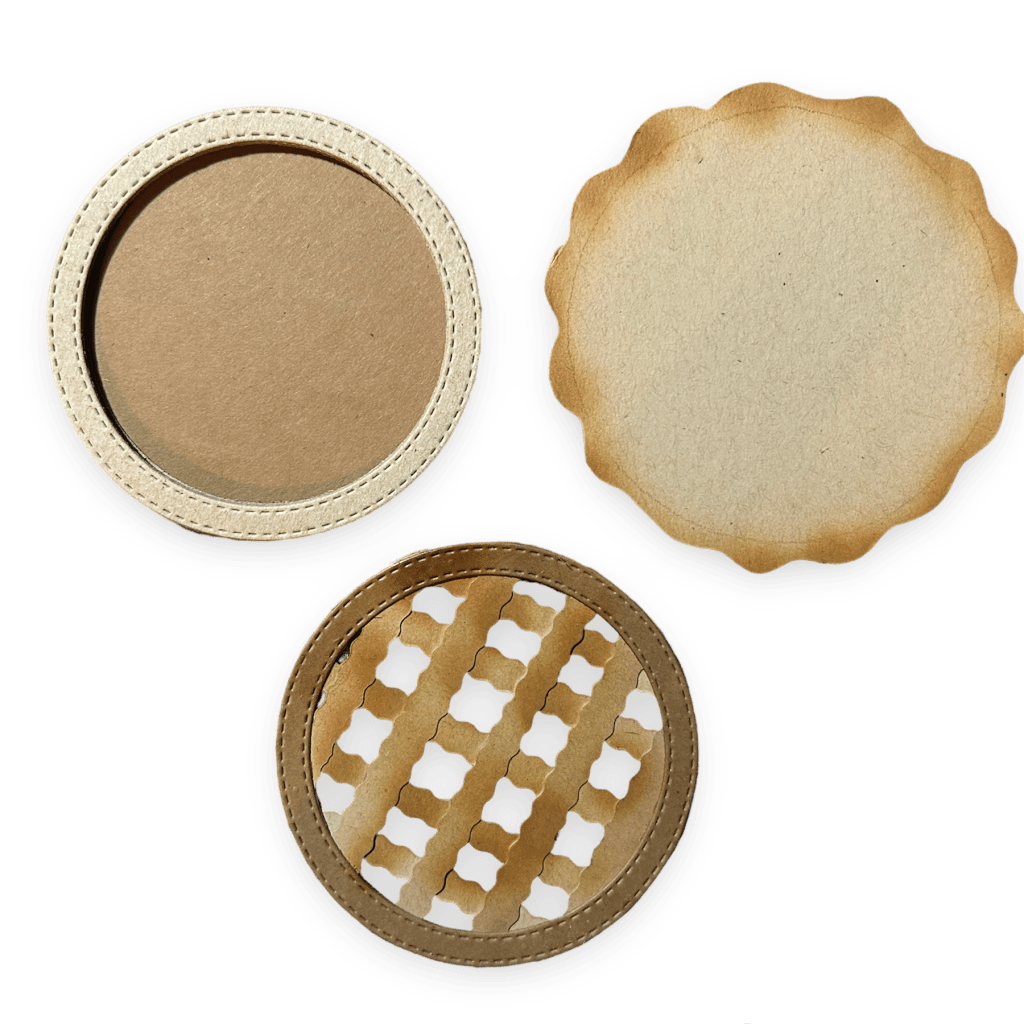
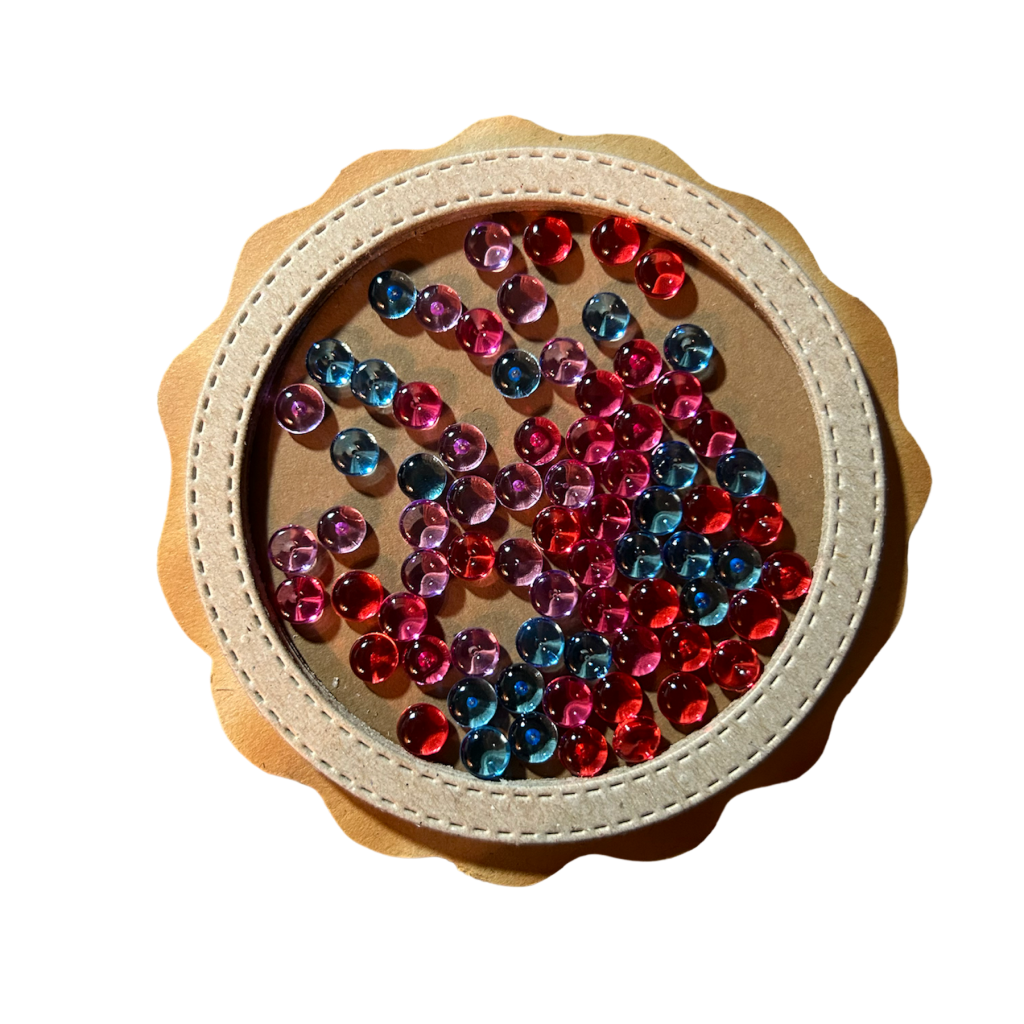
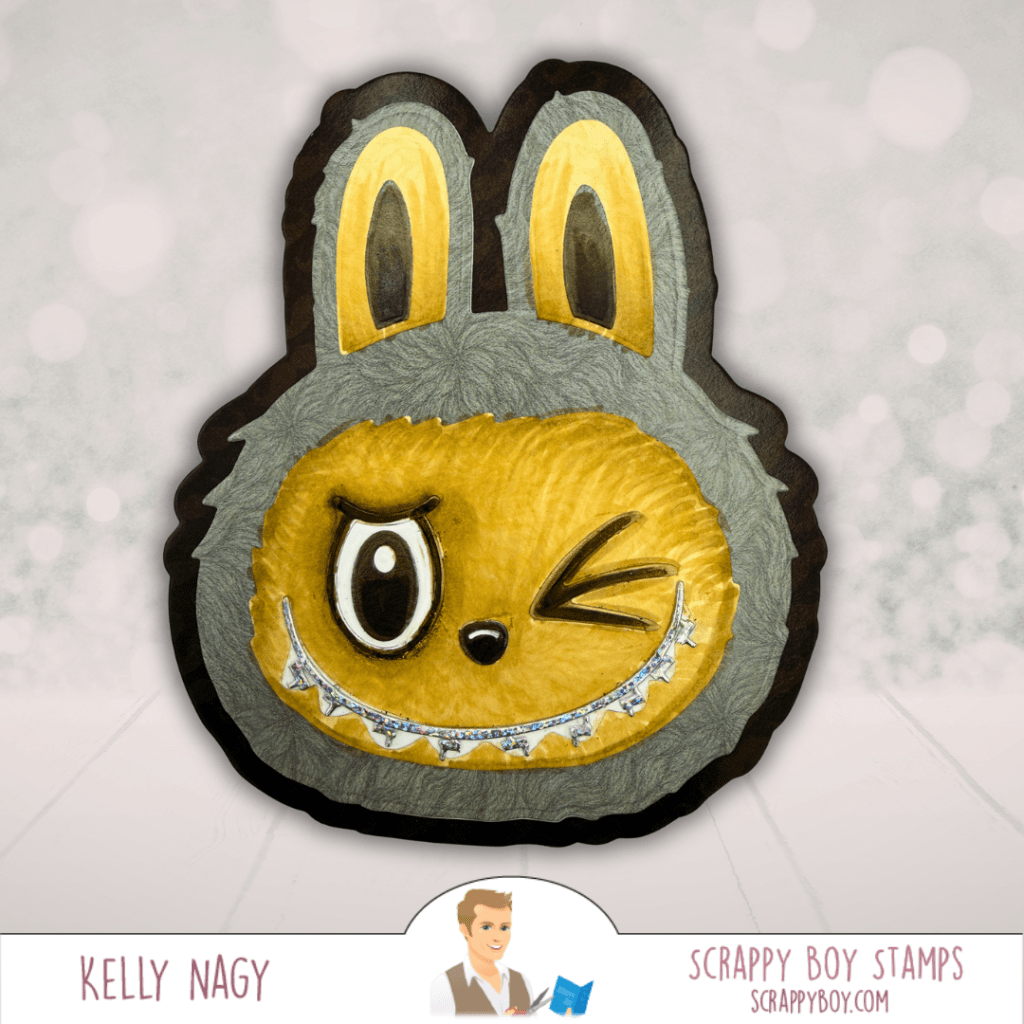
😁 4. Shabubu Head Mini Album Die
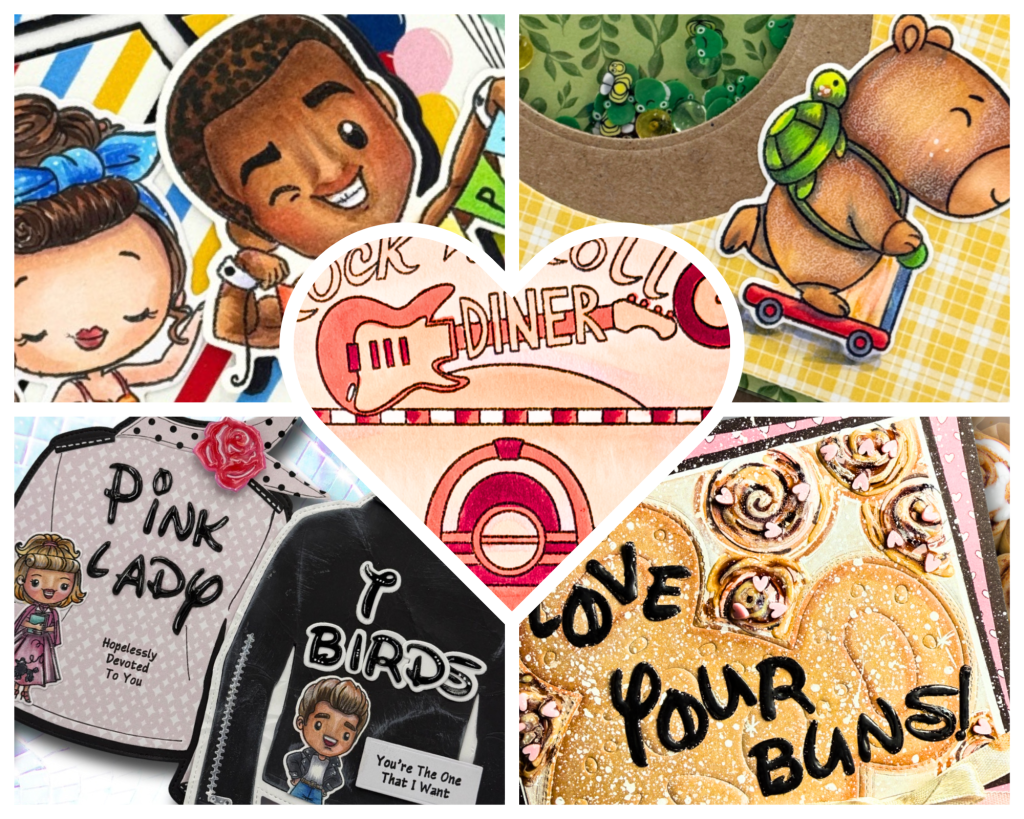
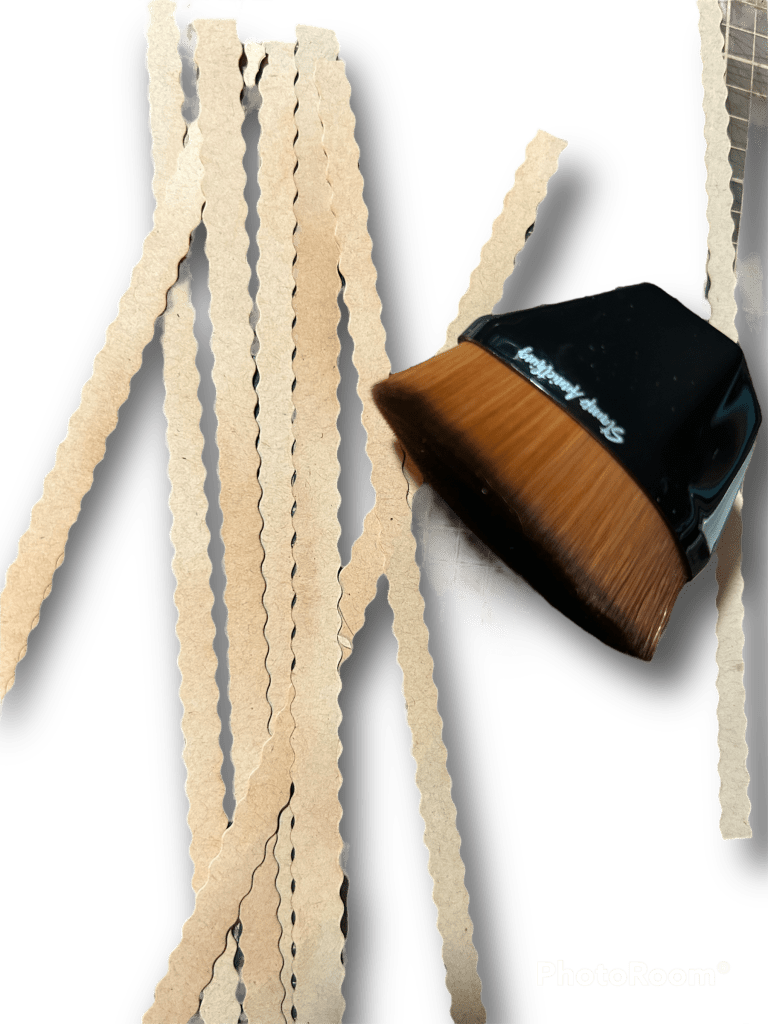
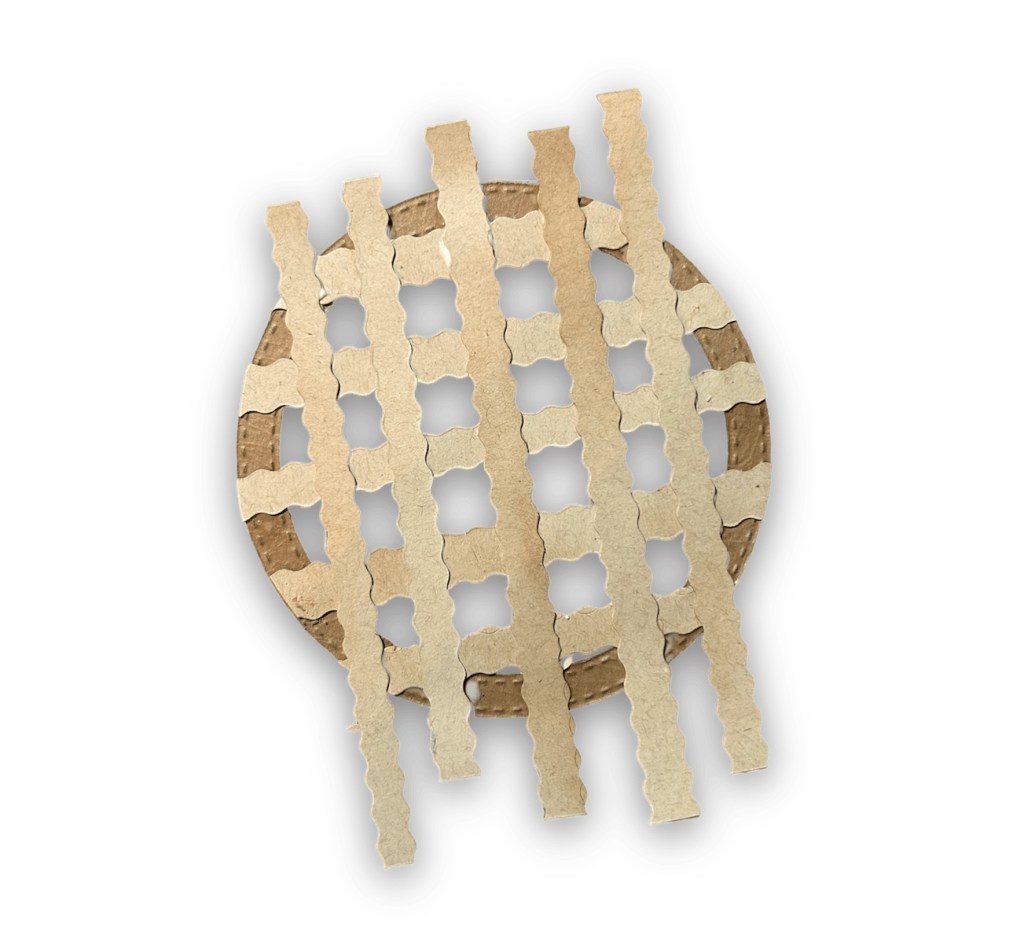
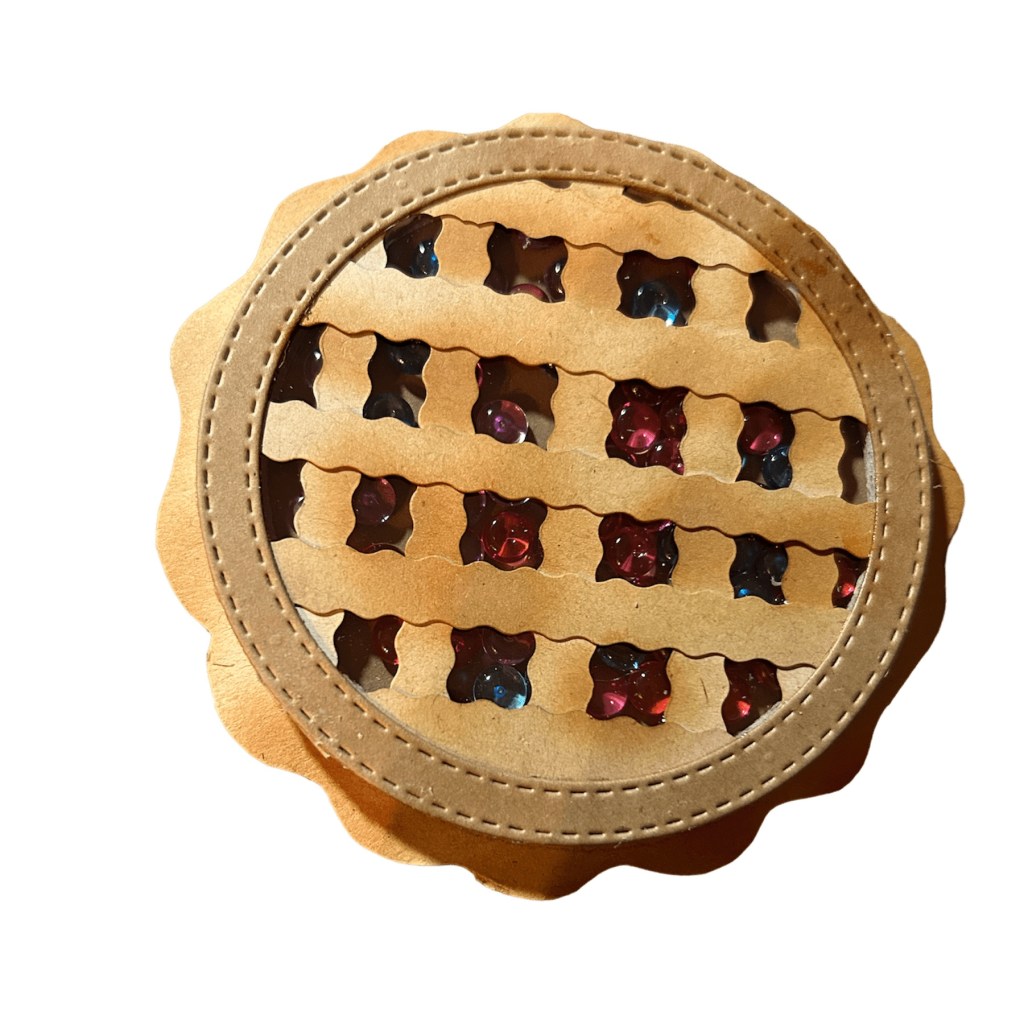
I transformed this adorable mini-album and card die that’s playful enough for teens (or even adults!) with braces! By cutting tiny pieces from the zipper die in metallic silver cardstock, I created fun custom braces. There is a zipper die in several of Scrappy Boy Stamps’ sets, like the jacket add-on, the backpack base die, and possibly more others. It’s the perfect way to celebrate a new smile and relive those cherished memories!
Dive into these exciting projects and discover more whimsical designs at http://www.scrappyboy.com (http://www.scrappyboy.com) while supporting small businesses! 💕
For more inspiration and creative twists on your supplies, connect with me:
📲 Follow me at Stampedbykelly
📘 Join the fun on Facebook: Crafting Chaos & Creativity
🖥 Return to my blog: http://www.stampedbykelly.com (http://www.stampedbykelly.com)
Let’s get crafting! 🥳✂️